
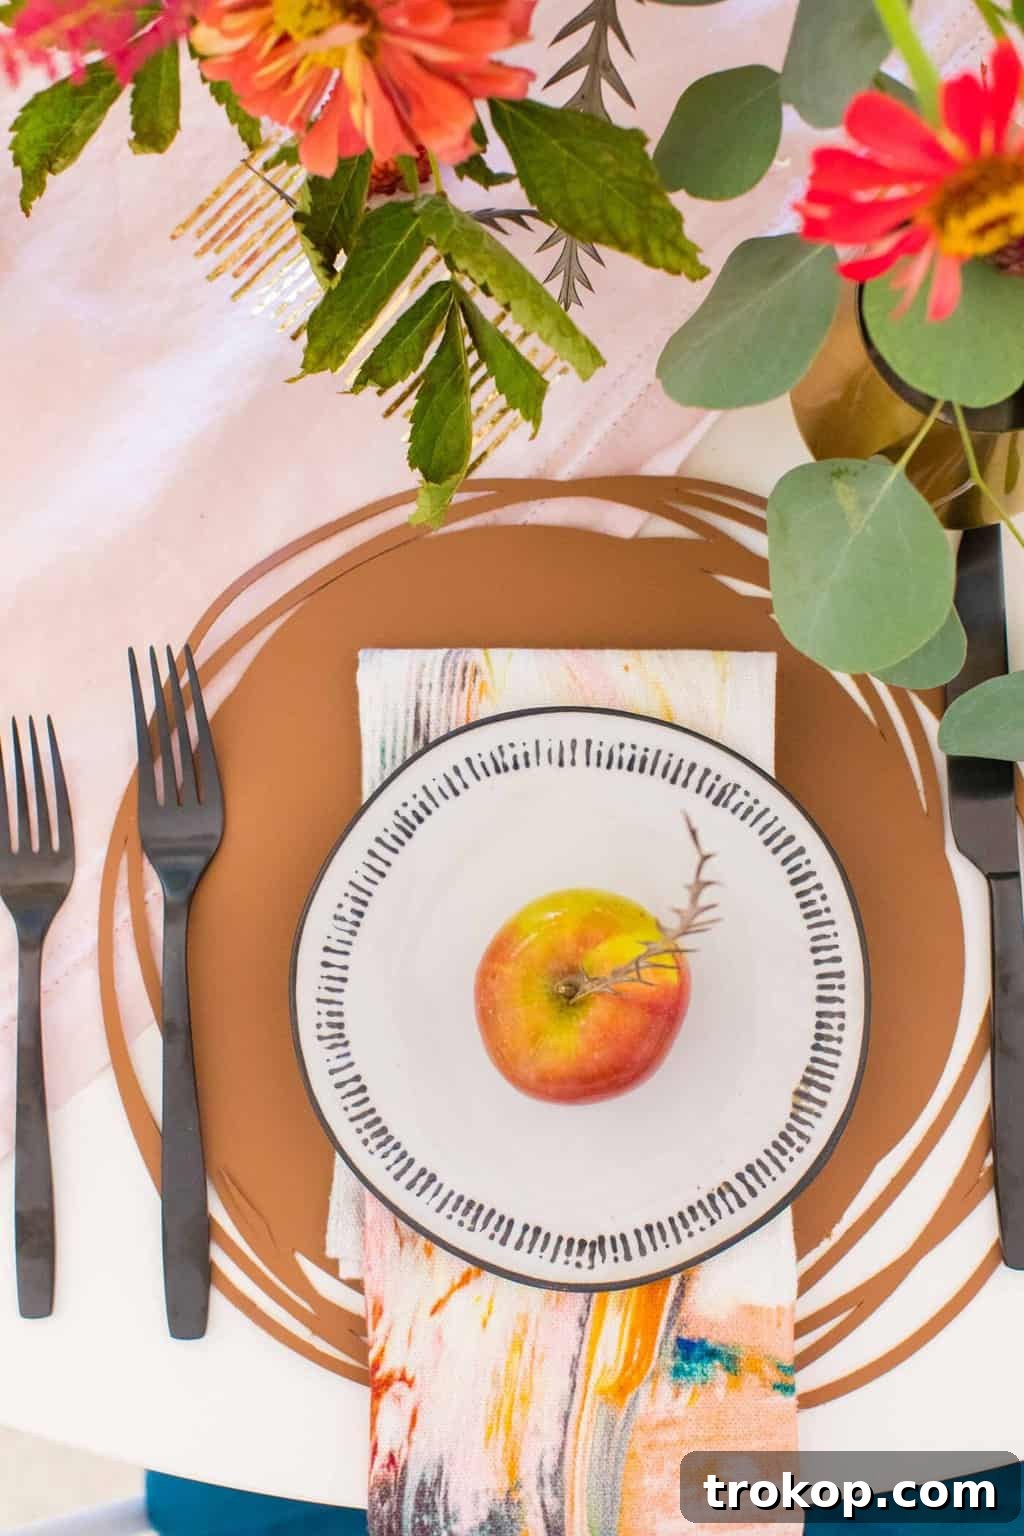
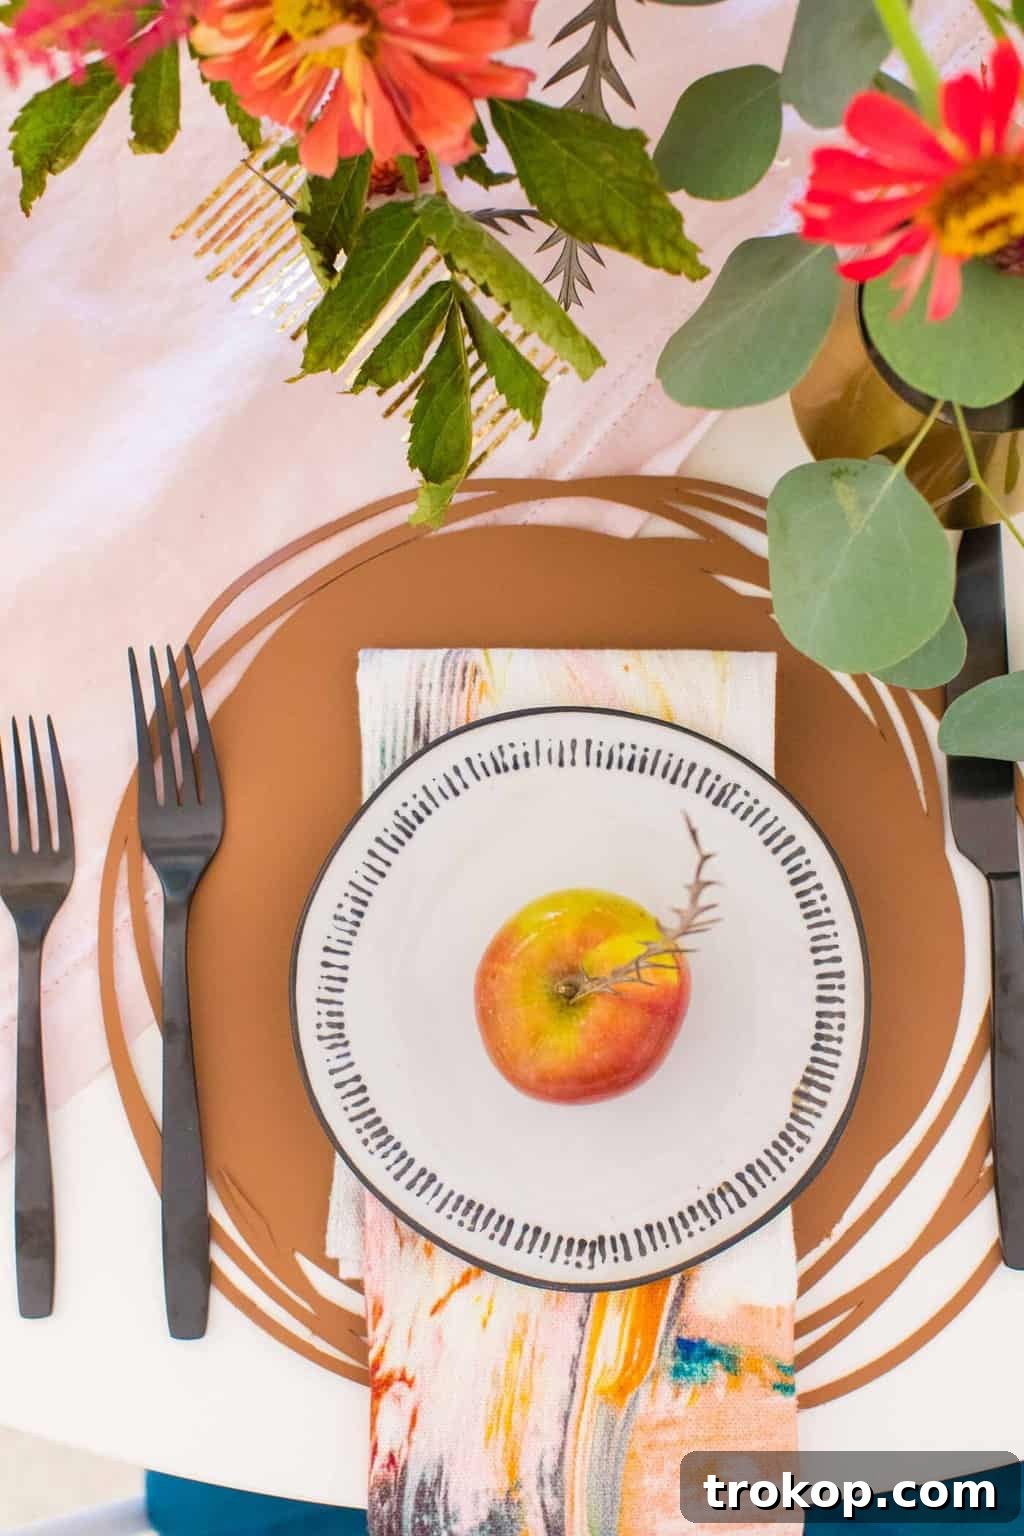
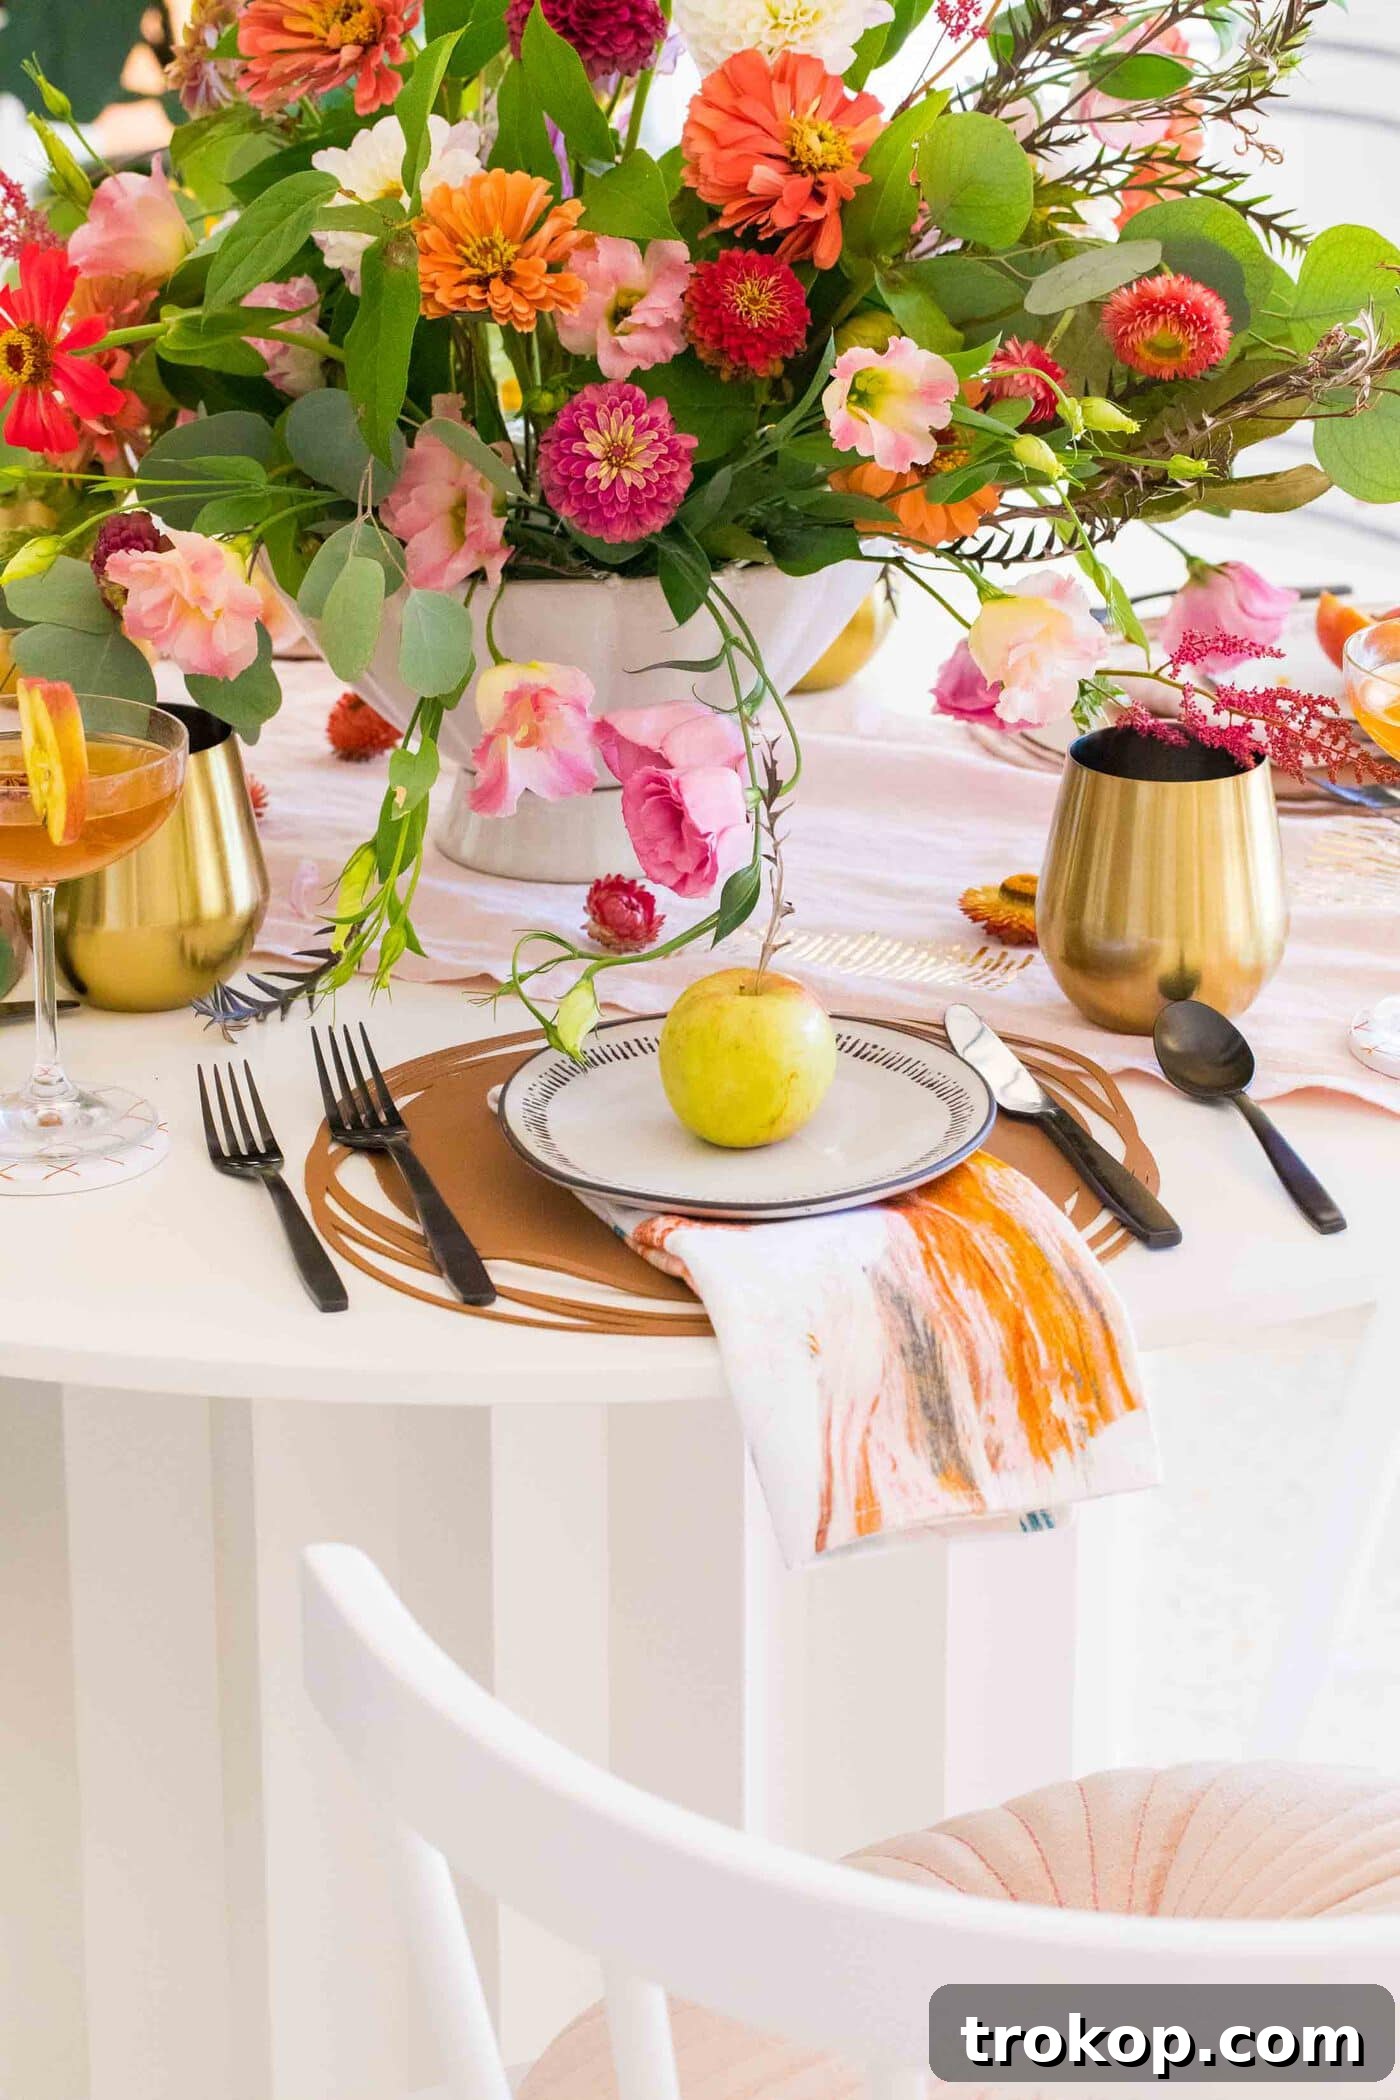
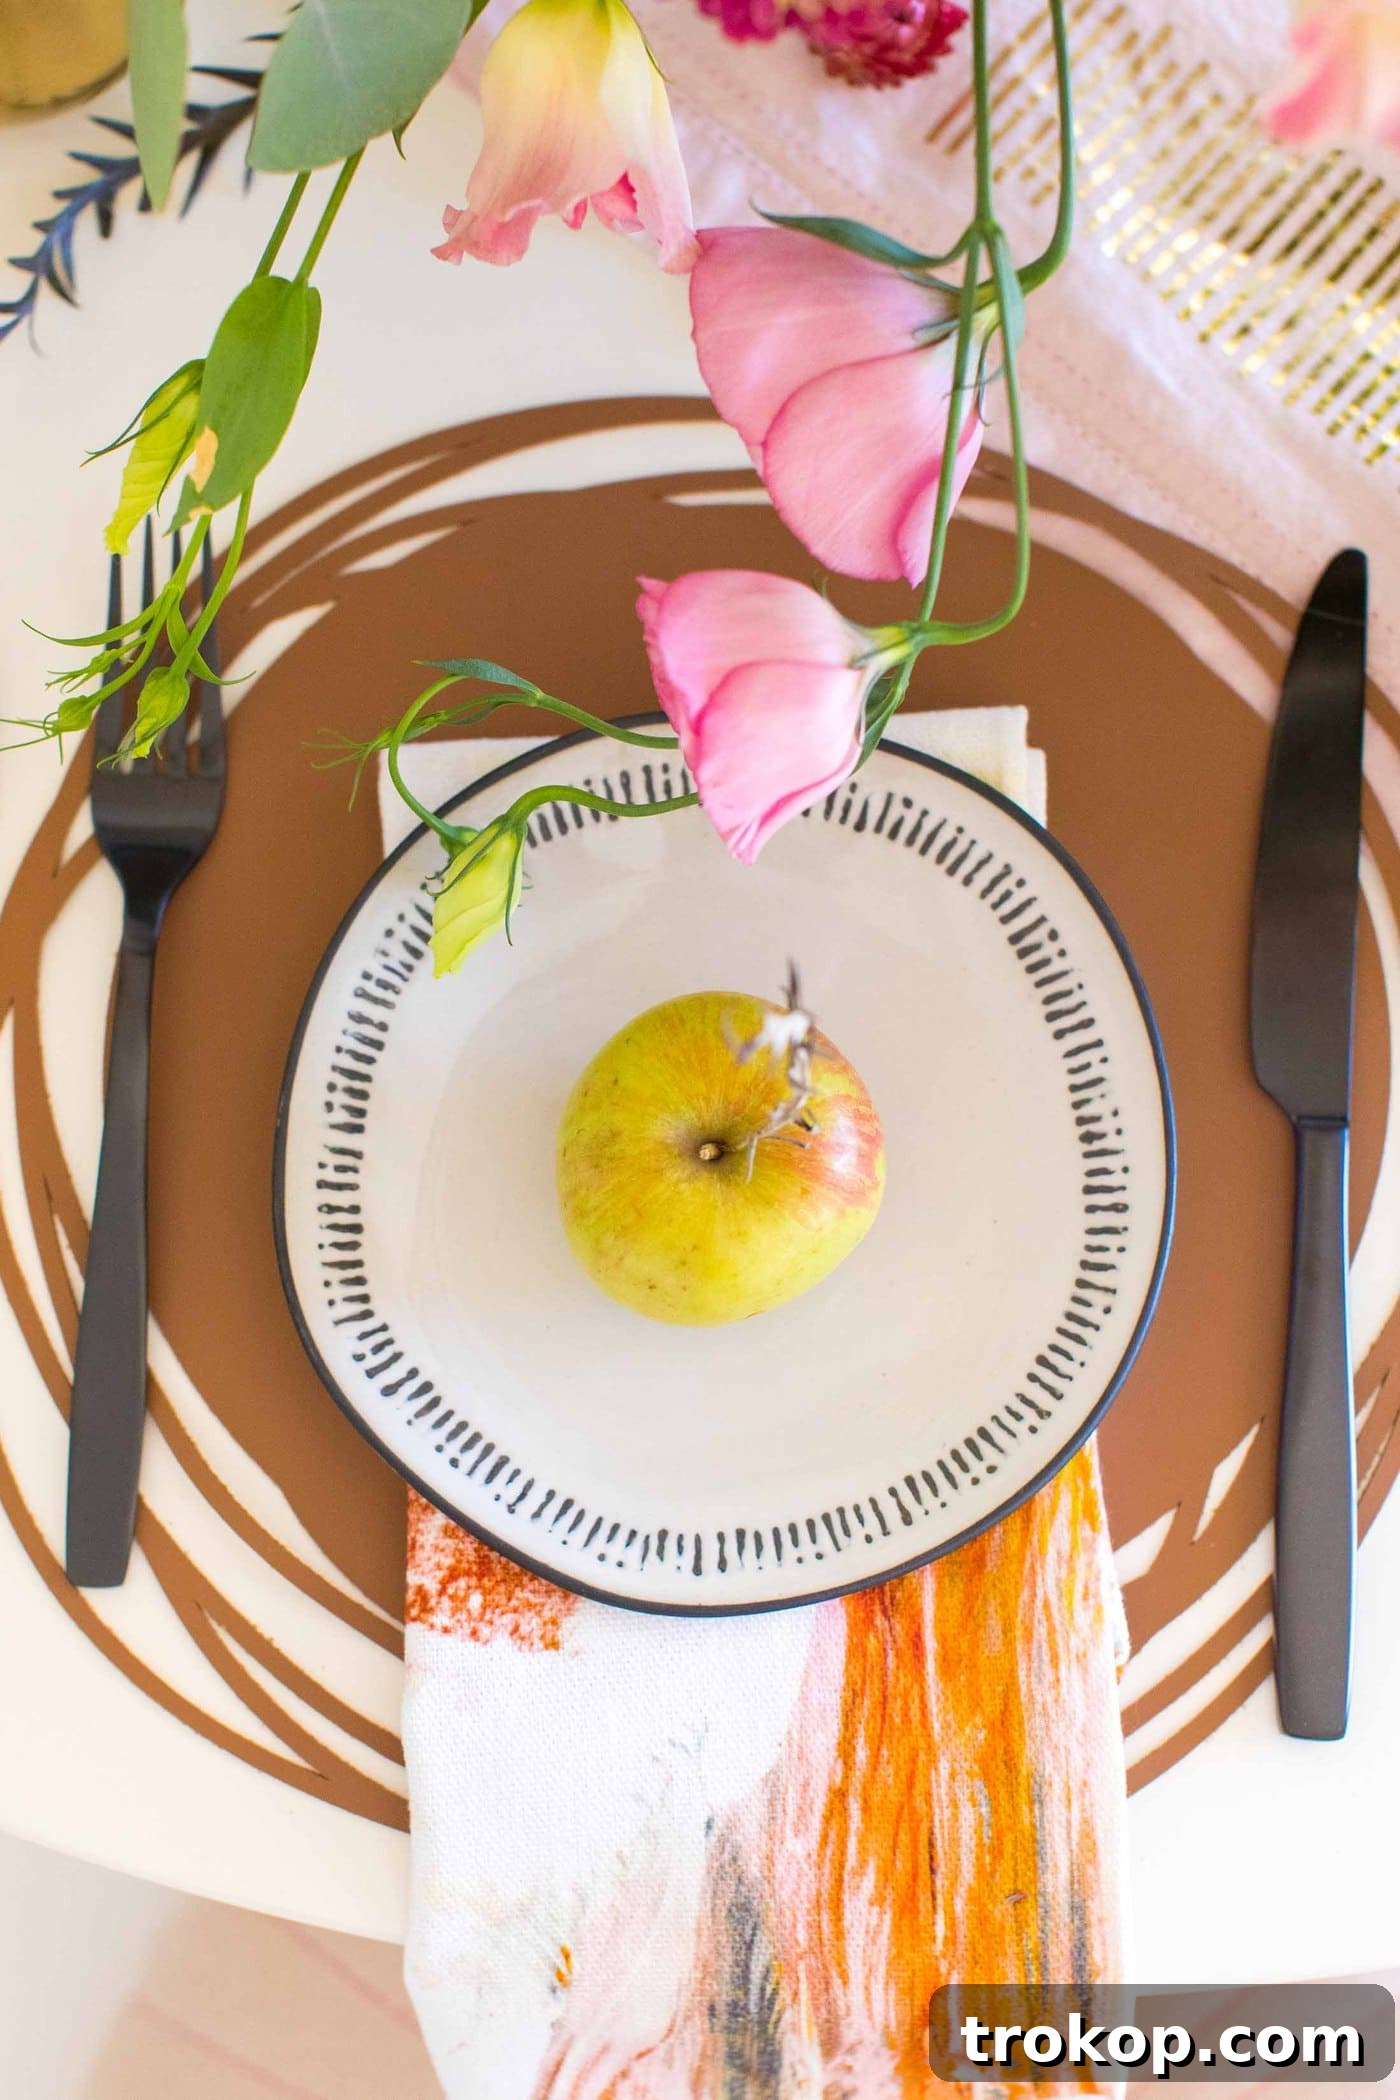
As the holiday season draws near, the urge to spruce up our homes and create inviting spaces becomes ever stronger. While a special occasion isn’t strictly necessary to indulge in a creative DIY project, the festive spirit certainly adds an extra layer of motivation! Today, we’re diving into an incredibly rewarding and surprisingly simple project: crafting your very own modern faux leather placemats. These aren’t just any placemats; they are designed for versatility, durability, and a touch of effortless elegance that will elevate your dining experience all year round.
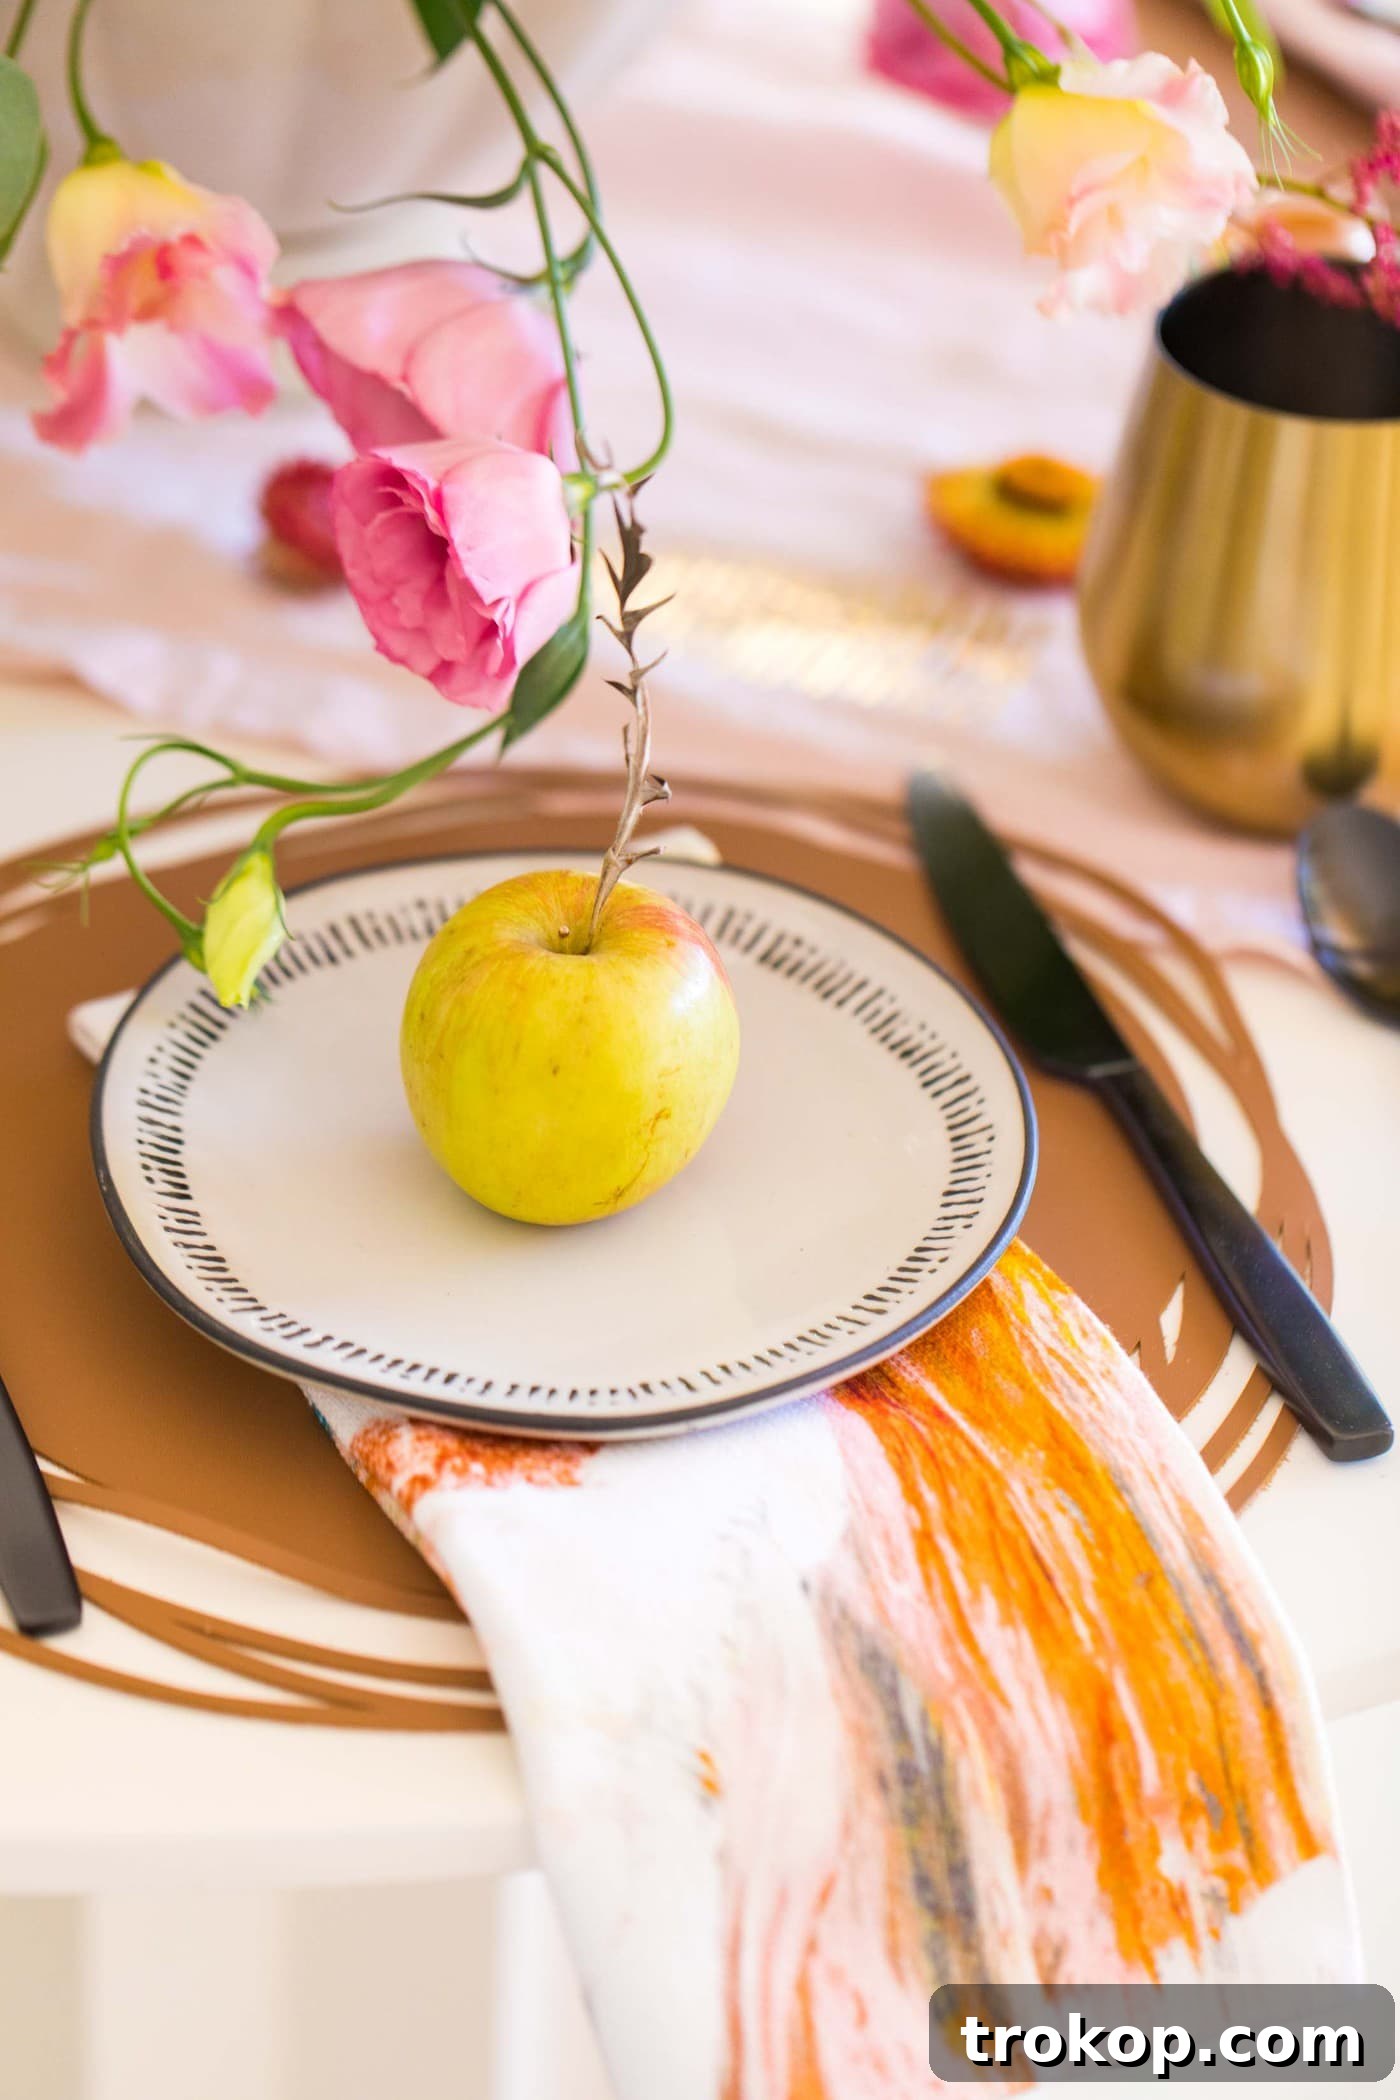
I originally designed these stylish placemats to complement my fall dining table decor ideas, specifically utilizing the incredible precision of my Cricut Maker. My goal was to create something that exuded autumnal charm while remaining budget-friendly and adaptable to various styles. Faux leather emerged as the perfect material, offering a sophisticated look without the hefty price tag or complicated maintenance.
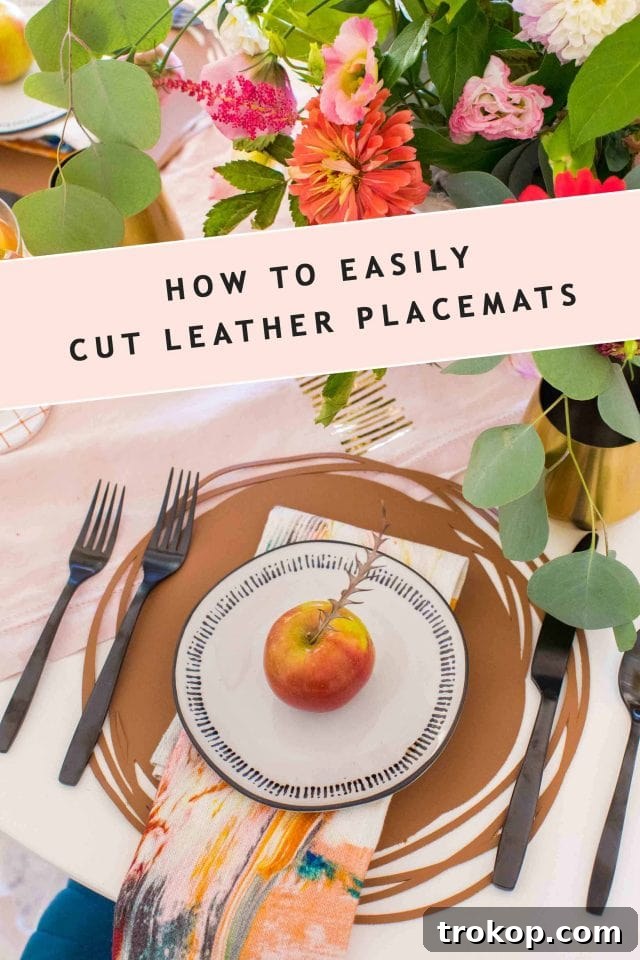
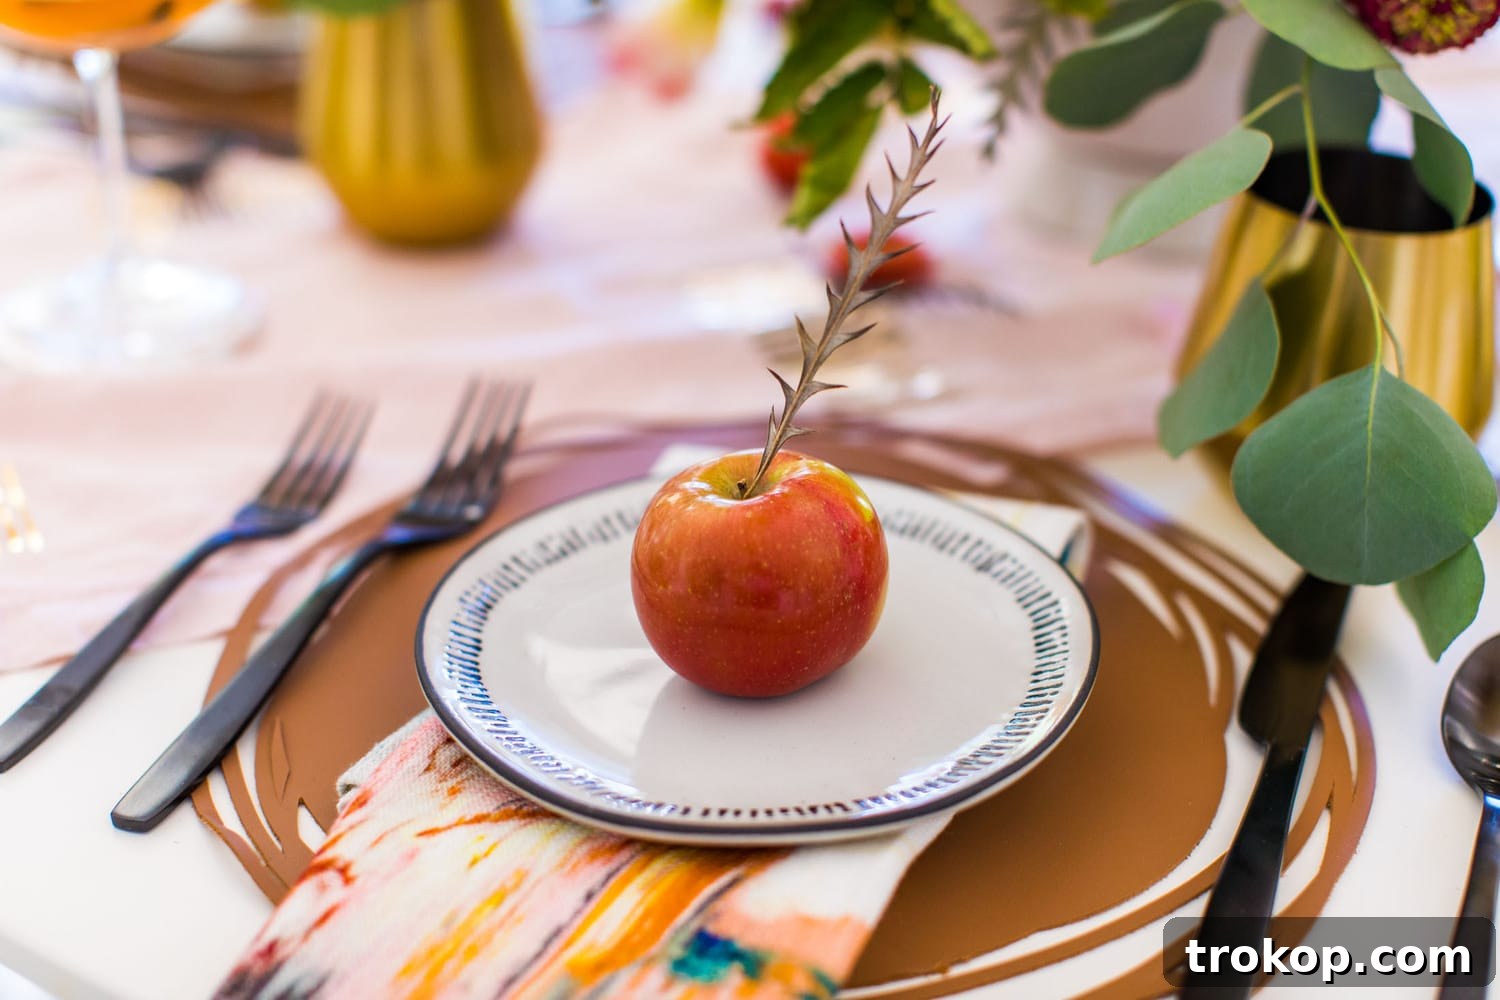
What makes these DIY faux leather placemats truly stand out is their remarkable ease of creation. Forget about wrestling with a sewing machine or intricate patterns; this project is entirely no-sew! This factor alone is a significant win, making it accessible even for crafting novices. Furthermore, the inherent properties of faux leather mean these placemats are not only inexpensive to make but also reversible and exceptionally easy to clean. Unlike traditional fabric placemats that often require washing and ironing after every use, a simple wipe-down is all it takes to keep these looking fresh. They flawlessly integrated with our DIY table runner and overall fall home decor scheme, adding a cohesive and chic touch.
Ready to transform your dining space? Let’s explore how to create these beautiful, functional, and stylish placemats, along with practical tips for storing and maintaining them for years to come.
Why Choose Faux Leather for Your DIY Placemats?
The choice of material is paramount when embarking on a DIY home decor project, and for placemats, faux leather offers an unbeatable combination of aesthetics and practicality. Beyond its stylish and modern appearance, which effortlessly complements various interior design themes, faux leather brings several tangible benefits to the table. Firstly, it’s remarkably durable, standing up to the rigors of daily use much better than many traditional fabrics. Its non-porous surface makes it highly resistant to spills and stains, a common adversary for any dining accessory. This characteristic also contributes to its incredible ease of cleaning, requiring just a simple wipe-down rather than a full wash cycle.
Moreover, faux leather is a significantly more affordable option than genuine leather, allowing you to create a high-end look without breaking the bank. Its versatility extends to its reversible nature, giving you the option to choose between two different finishes or colors if you select a double-sided material. This means you can easily switch up your table setting’s aesthetic without needing an entirely new set of placemats. For those who appreciate animal-friendly alternatives, faux leather provides a guilt-free way to incorporate a luxurious texture into your home. Its ability to be precisely cut by a machine like the Cricut Maker also opens up a world of intricate design possibilities that would be challenging to achieve with traditional methods.
Crafting Modern Faux Leather Placemats: A Step-by-Step Cricut Guide
Creating these contemporary faux leather placemats is a straightforward process, especially when you harness the power and precision of a cutting machine like the Cricut Maker. Follow these steps to bring your vision to life and add a personalized touch to your dining decor.
Materials You’ll Need
- Cricut genuine leather (or faux leather sheet of your choice): Choose a color and texture that aligns with your decor. Faux leather is often easier to work with and more budget-friendly.
- Cricut Maker: This smart cutting machine is essential for achieving clean, precise cuts.
- Cricut deep point blade: Necessary for cutting thicker materials like faux leather cleanly and efficiently.
- Cricut strong grip mat: Provides the necessary adhesion to hold the faux leather securely in place during cutting.
Preparing Your Cricut Machine & Design Space
1 — Begin by connecting your Cricut Maker to your computer. Once connected, open Cricut Design Space. Carefully insert the deep point blade into Clamp B (the right clamp) of your machine. Ensuring the correct blade is installed is crucial for a successful cut on faux leather.
2 — Next, it’s time to select or create your placemat design within Design Space. You have the flexibility to use the vast library of images and shapes provided by Cricut, which offers numerous options for custom placemats. Alternatively, if you have a specific vision, like my preferred modern round placemat design, you can create your own template using a graphics program like Photoshop and then upload it into Design Space. The machine’s precision is invaluable for creating intricate shapes and perfectly smooth curves that are difficult to achieve by hand. For those interested in replicating my specific design, you can download my template for the modern round placemats right here!
Pro-tip for Design Space: When designing or selecting your template, pay close attention to the spacing and size of any lines or intricate details. If lines are too small or too close together, the Cricut machine may encounter difficulties cutting them cleanly and accurately on faux leather. Aim for designs with sufficient spacing and robust lines to ensure the best cutting results.

The Cutting Process: Precision with Your Cricut Maker
3 — Once your chosen or custom design is perfectly set up and positioned in Design Space, click the “Make It” button located in the top right corner of the screen. This will take you to the mat preview screen, where you can confirm your material placement.
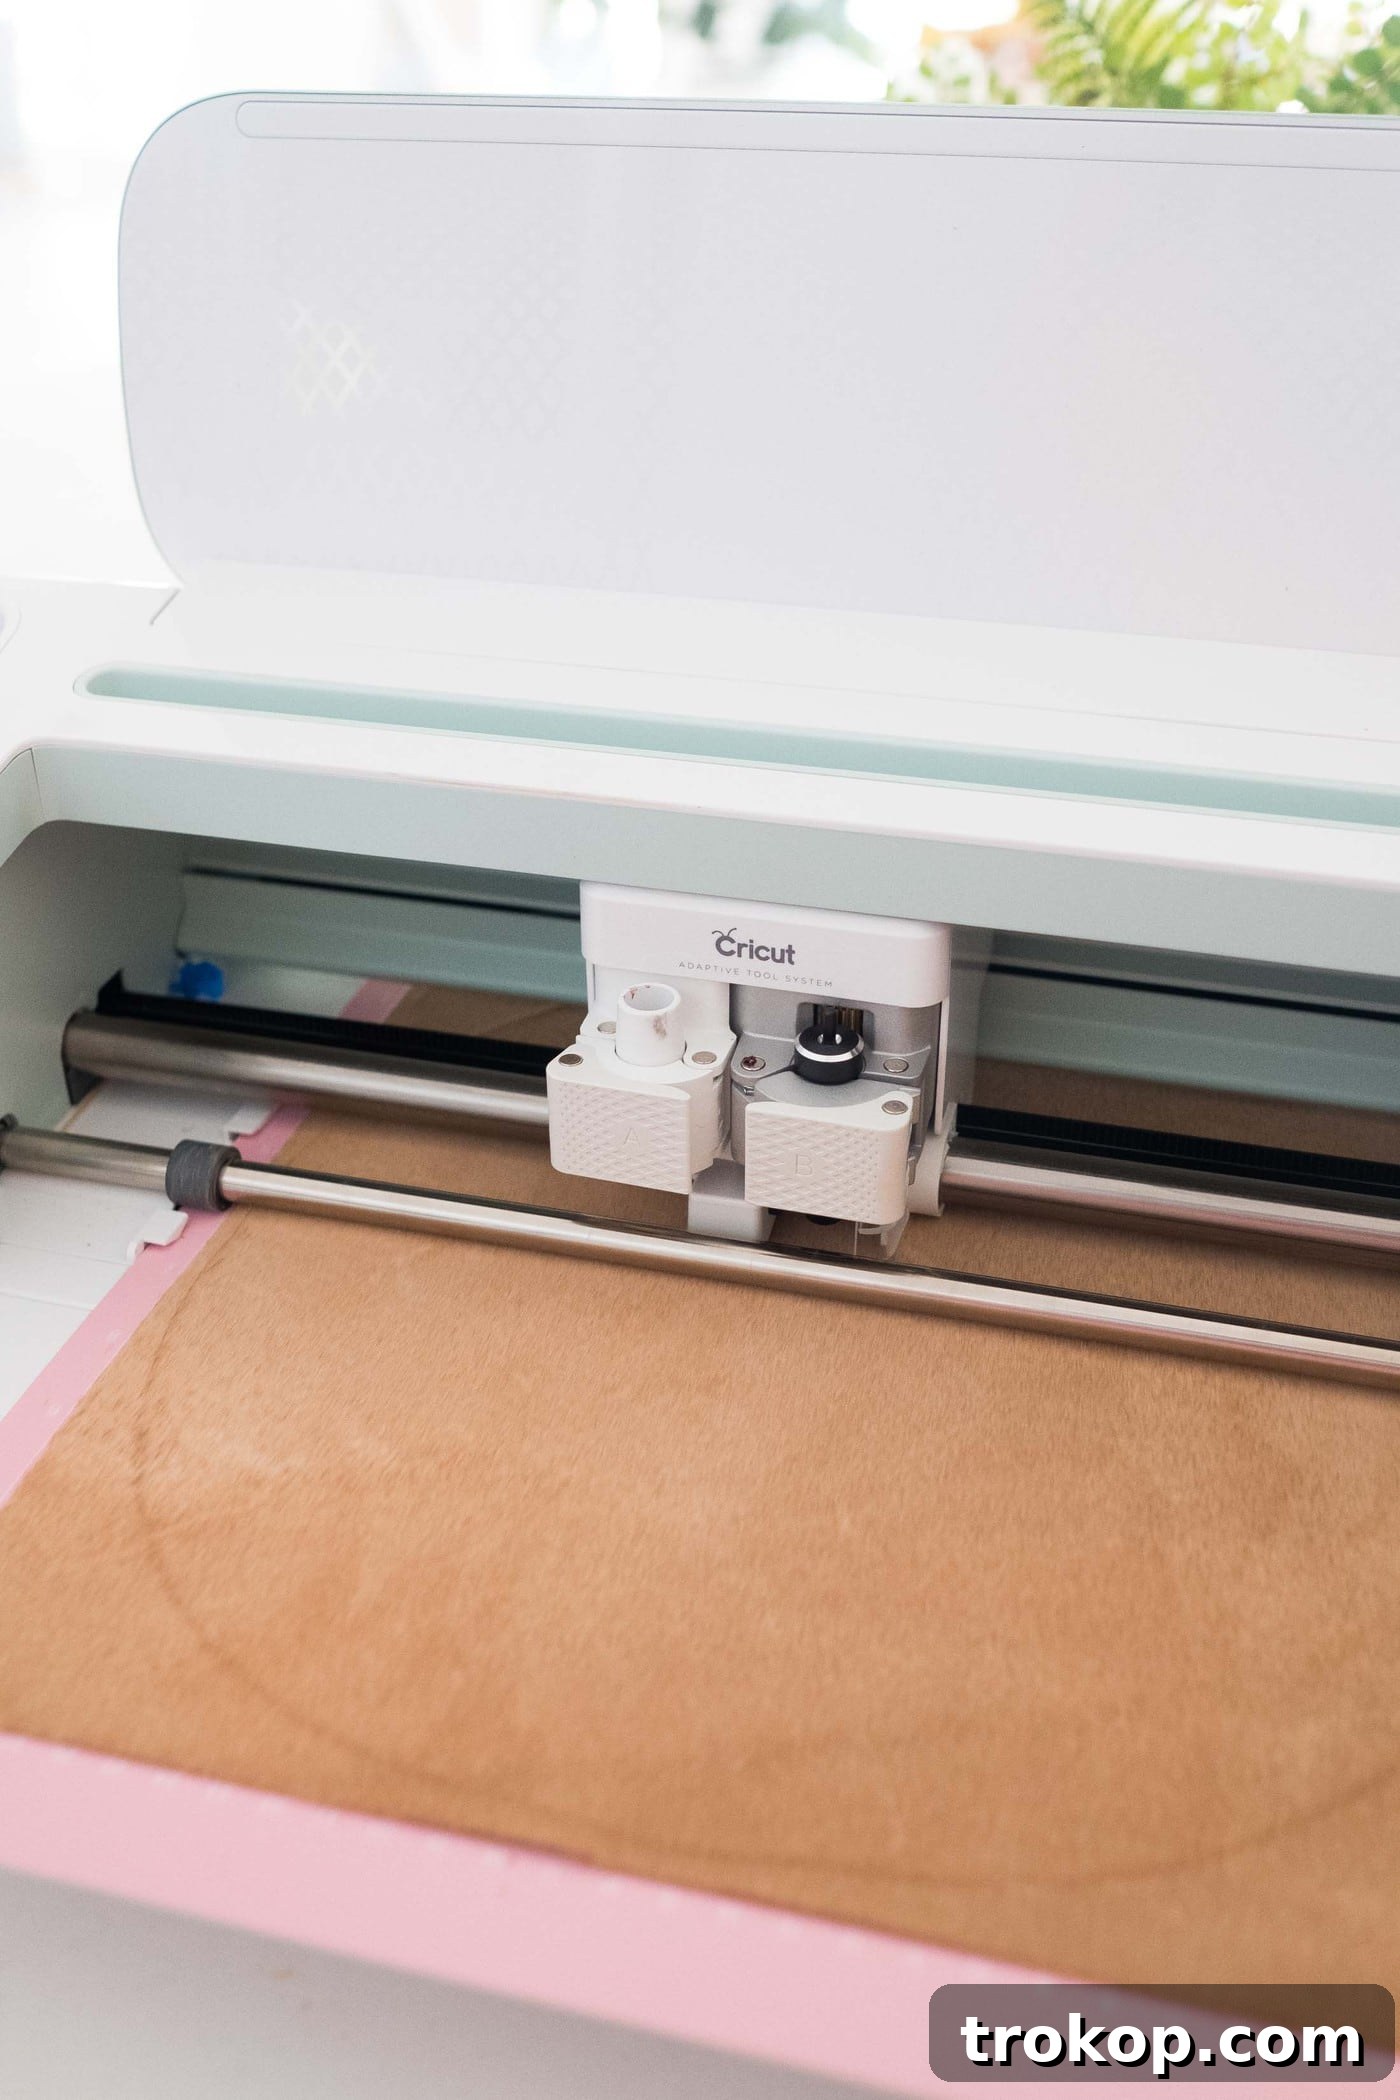
4 — Carefully place your faux leather onto the strong grip mat, face down with the suede side facing up. This orientation helps prevent any potential marks on the finished side of your placemat and ensures better adhesion. For designs that allow, I highly recommend securing the edges of your faux leather to the mat using painter’s tape. This extra step provides additional stability and prevents the material from shifting during the cutting process, especially with thicker faux leather. Load the prepared mat into your Cricut Maker. In Design Space, select “genuine leather” as your material setting (even for faux leather, this setting often provides the optimal pressure for a clean cut). Finally, press the flashing Cricut logo on your machine to initiate the cut.
Finishing Touches: Peeling and Repeating
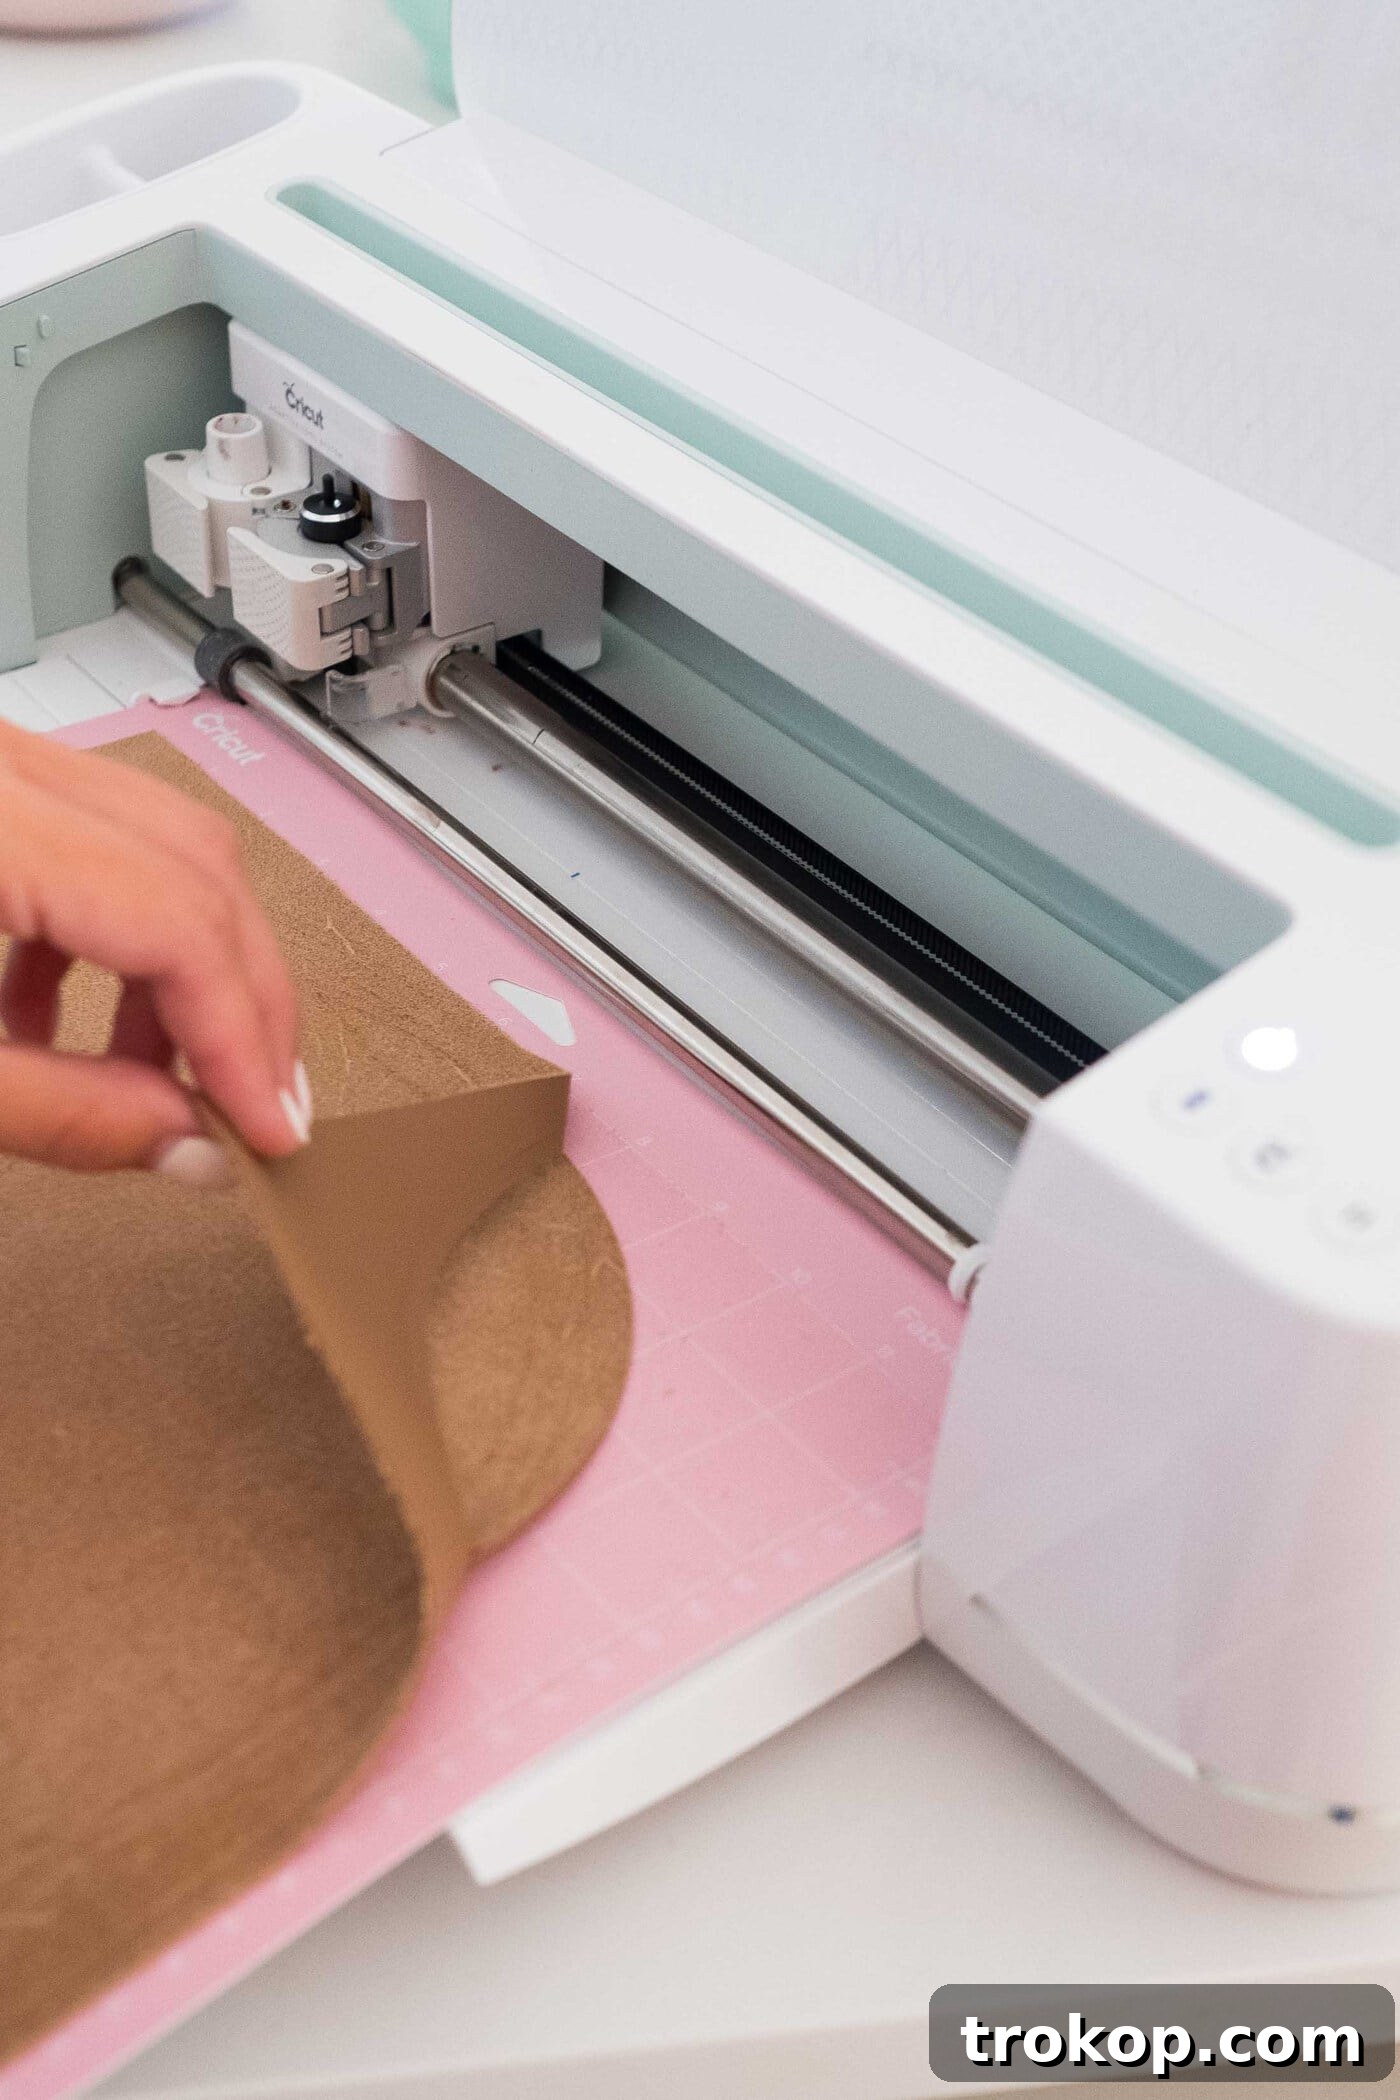
5 — Once your Cricut Maker has completed the cutting process, carefully unload the mat. Gently peel the freshly cut design off the mat, being mindful not to stretch or distort the faux leather. Remove any excess material or small cut-out pieces. You’ll be amazed by the clean and professional edges your Cricut has created!
6 — With your first placemat successfully cut, simply repeat this process for the total number of place settings you need for your dining table. This batch production method ensures consistency and efficiency, allowing you to create a full set of cohesive placemats in a relatively short amount of time. Enjoy the satisfaction of seeing your dining table transform with these beautiful, handmade additions!
Maximizing the Lifespan of Your Handmade Placemats
Your beautiful, custom-made placemats are an investment in your home decor, and with a little care, they can grace your dining table for many years. Proper storage and cleaning are key to maintaining their pristine condition and ensuring they always look their best.
Smart Storage Solutions for DIY Placemats
While placemats are pivotal in setting the tone for a dining experience, they can easily get creased or misshapen if not stored correctly. This is particularly true for fabric placemats that might require frequent ironing, but even faux leather can benefit from careful storage to preserve its smooth finish. If you have the luxury of space, dedicating a drawer in your dining room or kitchen specifically for storing all your placemats flat is ideal. This prevents any folding or bending that could lead to permanent creases. For those with limited drawer space, a flat plastic storage bin under a bed or in a closet also works wonderfully. Ensure they are laid flat and aren’t heavily weighed down by other items. If stacking, place a piece of acid-free tissue paper between each placemat to protect their surfaces, especially if they have any embossed designs or unique textures.
Effortless Cleaning: Keeping Your Faux Leather Placemats Pristine
One of the most significant advantages of choosing faux leather for your DIY placemats is the incredibly simple cleaning process. Unlike traditional fabric placemats that absorb spills and often require machine washing, faux leather can be cleaned with minimal effort. Simply use a soft, damp cloth to wipe down any spills or food residue after each use. For tougher spots, a mild soap solution can be applied to the damp cloth, followed by a clean, damp cloth to wipe away any soap residue. It’s crucial, however, to avoid using any type of harsh cleaners, abrasive sponges, or strong chemical solvents on the surface. These can strip the protective coating, damage the material, or cause discoloration. This easy maintenance not only saves you time but also helps preserve the material’s integrity and aesthetic appeal, keeping your placemats looking new meal after meal.
Choosing the Perfect Size for Your DIY Placemat
A well-sized placemat is not just about aesthetics; it’s a functional guardian for your dining table, protecting it from spills, heat, and scratches. While personal preference plays a role, there are general guidelines to consider when determining the ideal dimensions for your DIY placemats to ensure they look proportionate and perform effectively.
Standard placemats typically measure around 12×18 inches (30×45 cm) for rectangular shapes, or 15-18 inches (38-45 cm) in diameter for round ones. However, when making your own, you have the freedom to customize. A good rule of thumb is to ensure your placemat extends at least 6 inches (approximately 15 cm) beyond the edge of your dinner plate on all sides. This generous overhang provides ample space to catch stray crumbs and spills before they reach your tabletop, offering superior protection. For larger tables or more elaborate place settings, you might consider slightly larger placemats to create a grander, more formal presentation.
Another crucial consideration is the space available on your table. Ensure that when all placemats are laid out, there is still enough room between each setting for comfortable dining and to avoid a cluttered look. If your table is particularly narrow, opting for a slightly smaller width or a more elongated, oval shape might be more suitable than a wide rectangle. Furthermore, if your design incorporates specific details like decorative stitching or intricate cut-outs, make sure the overall dimensions are sufficient to showcase these elements effectively. For instance, a detailed border might look odd or get lost if reduced to a very small size. Generally, avoid widths smaller than 3 inches (about 7 cm) for any design elements, as they tend to lose their visual impact. Choosing a larger placemat rather than several smaller pieces can also make tidying up spills easier, as there’s more surface area to work with.
Ultimately, the best size will depend on your table dimensions, the dinnerware you typically use, and the overall aesthetic you wish to achieve. Experimenting with paper templates can be a great way to visualize the size and fit before cutting your precious faux leather.
Beyond Placemats: More DIY Decor Ideas for Your Home
If you’ve enjoyed the process of crafting these modern faux leather placemats with your Cricut, you’ll be thrilled to discover the endless possibilities for extending your DIY decor skills. The Cricut Maker, with its precision and versatility, is a game-changer for personalized home accents. For instance, to further enhance your fall table decor or complement your new placemats, consider tackling a DIY table runner. A beautifully coordinated runner can tie your entire tablescape together, adding layers of texture and visual interest. Whether you opt for a no-sew fabric design or incorporate cut-out elements with your Cricut, it’s a project that yields impressive results.
Another fantastic project that perfectly pairs with your placemats and table runner is a set of DIY coasters using Cricut Infusible Ink. Coasters are not only practical for protecting surfaces but also offer a wonderful opportunity to add small bursts of color, pattern, or personalization. Using Infusible Ink allows for vibrant, long-lasting designs that are seamlessly infused into the coaster material, ensuring they stand up to moisture and heat without peeling or fading. These three projects—placemats, table runner, and coasters—were all part of the same cohesive fall table setting I created, demonstrating how a few thoughtfully chosen DIY elements can transform your dining space into a beautifully curated haven.
Embrace the joy of handmade decor and let your creativity flow. With tools like the Cricut Maker and versatile materials like faux leather, enhancing your home with unique, stylish, and functional pieces has never been easier or more rewarding.