

As autumn embraces us with its crisp air and vibrant colors, the beloved tradition of pumpkin carving once again takes center stage in our Halloween preparations. Transforming a simple pumpkin into a glowing, ghoulish, or grinning jack-o’-lantern is a cherished autumnal activity, perfectly setting the mood for spooky celebrations and festive Halloween front door decor.
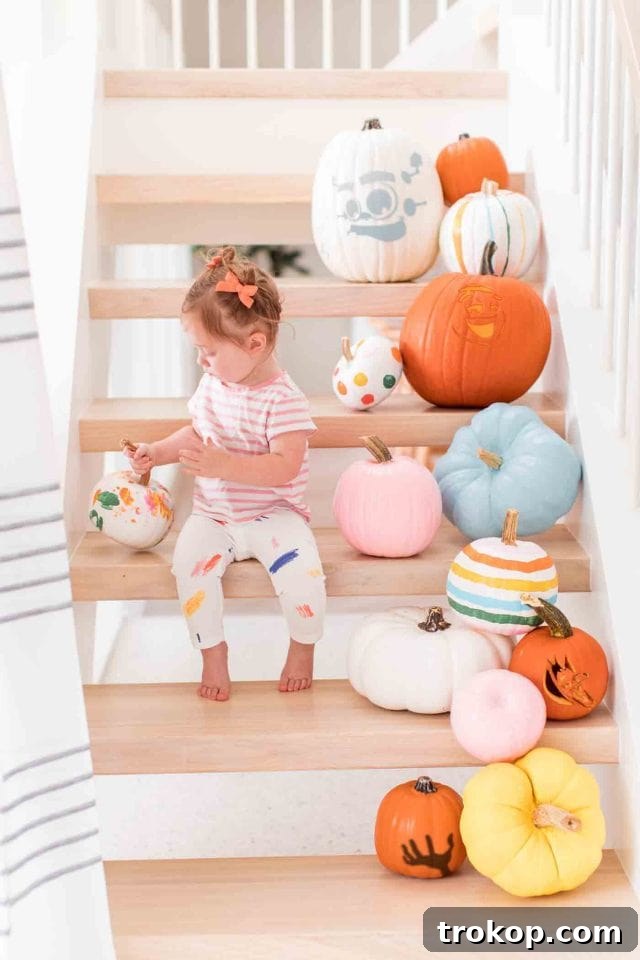
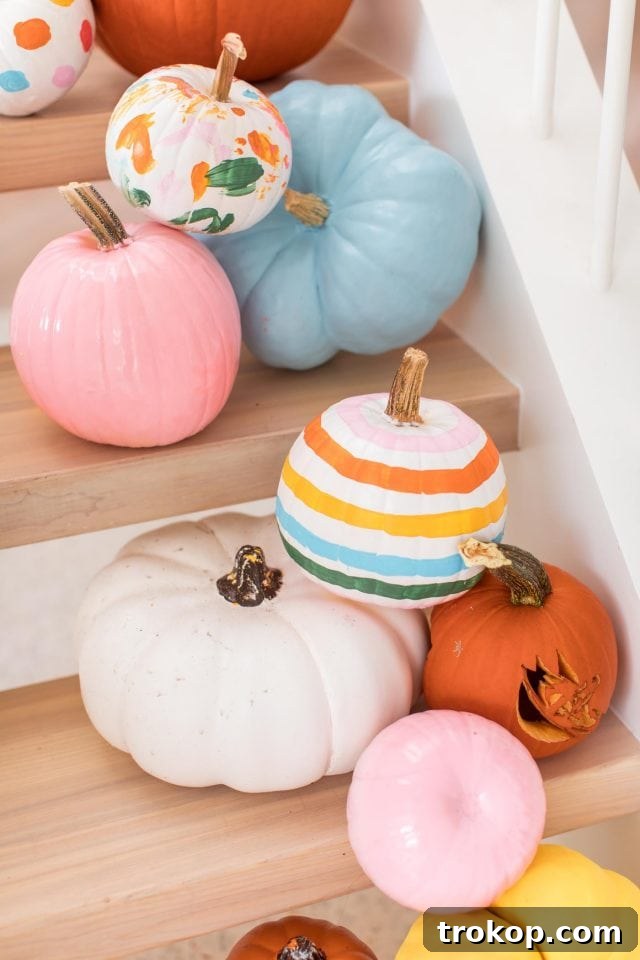
While some seasoned carvers can freehand intricate designs with artistic flair, the truth is, pumpkin carving can be quite an art form, and not always the easiest for everyone. It’s undeniably one of the messiest—yet most popular—forms of pumpkin decor. If you’re looking to achieve professional-looking results without being a master sculptor, then pumpkin stencils and patterns are your secret weapon. They guide your hand, allowing you to create stunning and detailed pumpkin designs with confidence, and we’re here to help you every step of the way!
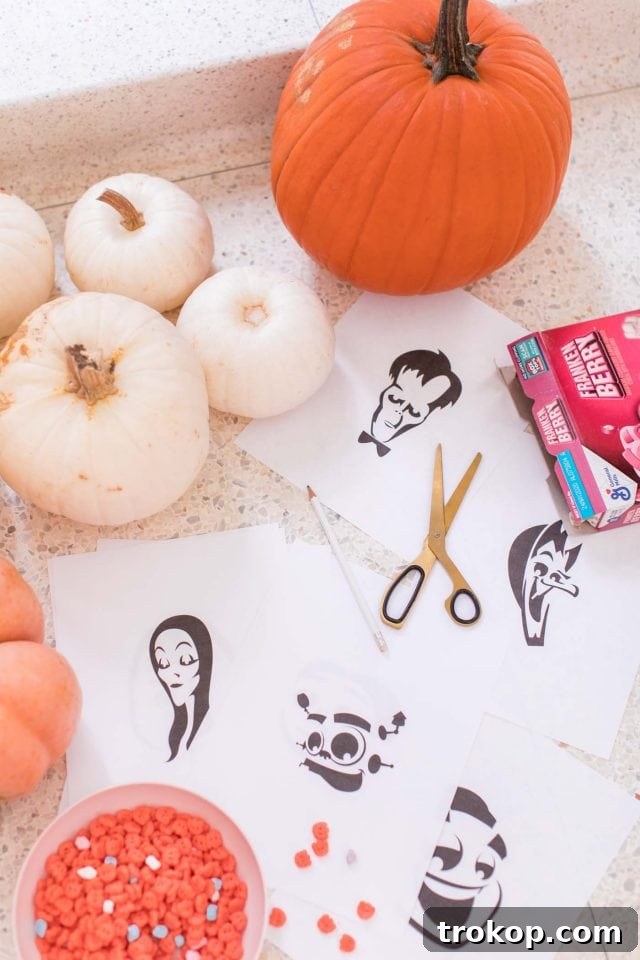
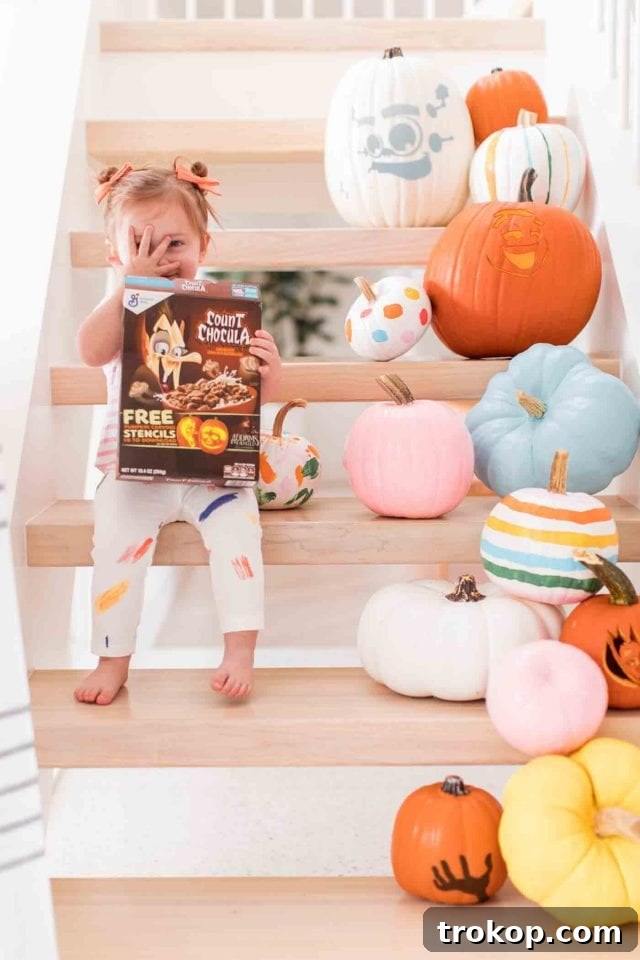
Our family, being huge cereal enthusiasts, was thrilled when our friends at General Mills Cereal offered their fantastic collection of free pumpkin carving stencils. Naturally, we couldn’t resist bringing characters like Frankenberry, Booberry, and Count Chocula to life on our pumpkins!
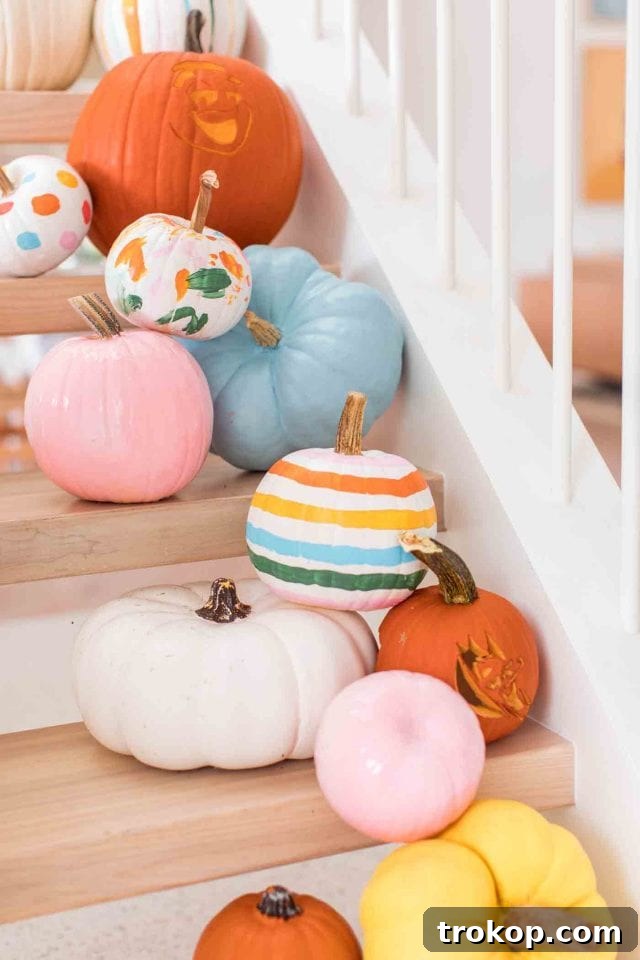
With a toddler who loves to be involved in all holiday decisions, this year’s Halloween decor theme shifted from traditional jack-o’-lanterns to the playful world of Monsters Cereal and The Addams Family. The results were wonderfully whimsical and perfectly suited for our spirited household. Plus, our delicious chocolatey and berry ghost cereal, complete with bat-shaped marshmallows, provided the perfect carving snack, making the entire experience a sweet success!
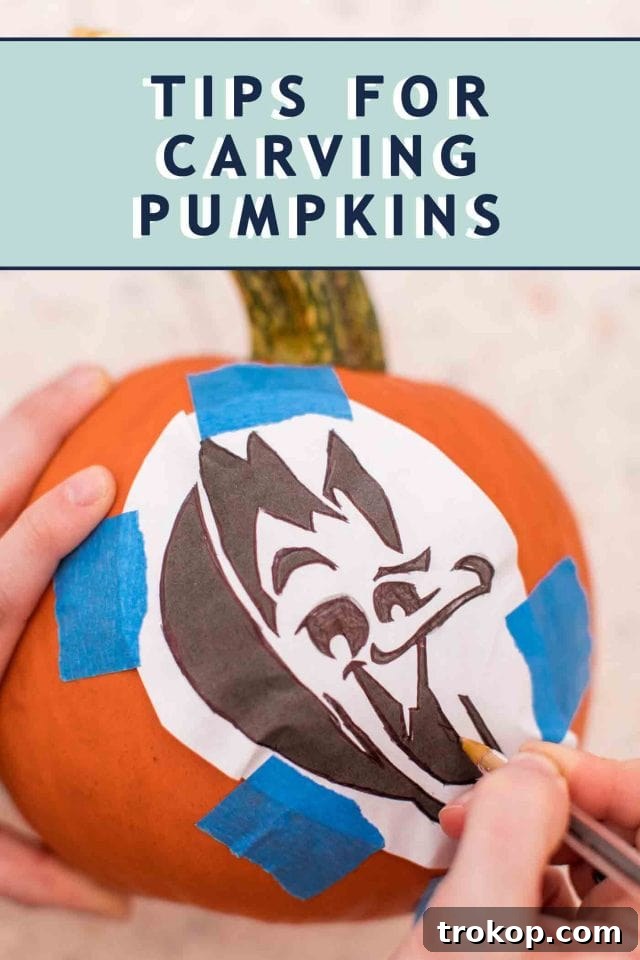
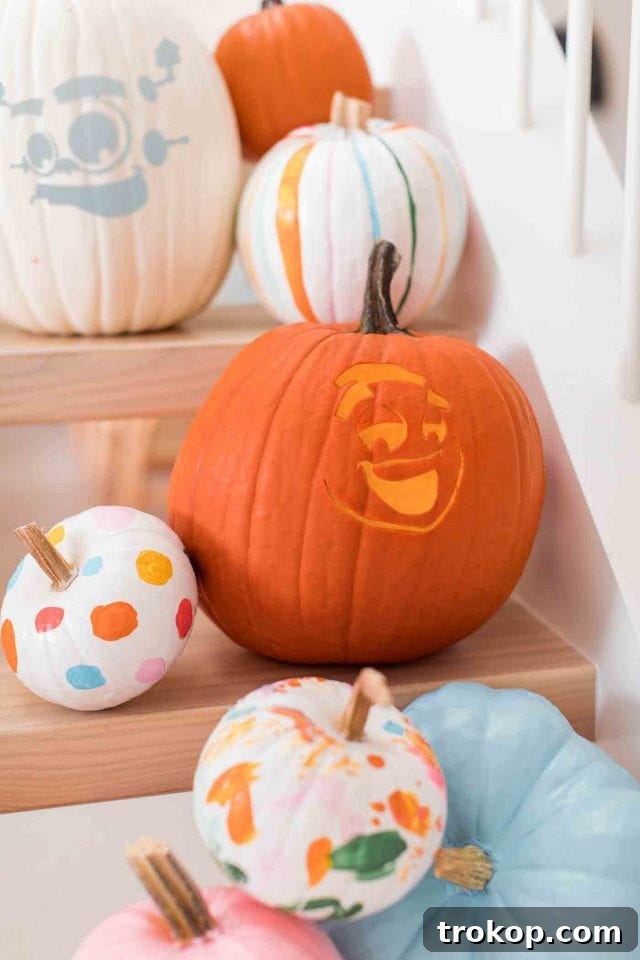
Table of Contents
Choosing the Perfect Pumpkin for Carving
Before you even think about carving, selecting the right pumpkin is crucial for a smooth and successful project. Look for a pumpkin that has a relatively smooth and unblemished surface, especially in the area where you plan to apply your pumpkin carving stencil. A smooth surface will make it much easier for the stencil to adhere evenly and for you to trace the design accurately. Consider the size and shape as well; a rounder, more symmetrical pumpkin is generally easier to work with than one with many bumps or an irregular shape. Ensure it has a sturdy, flat base so it won’t tip over during carving or when displayed. Avoid pumpkins with soft spots, deep cuts, or signs of mold, as these will rot quickly and compromise your artistic efforts. A healthy, fresh pumpkin is the best canvas for your Halloween masterpiece!
Essential Tools for Carving a Pumpkin with a Stencil
Whether you’re a seasoned pumpkin carving enthusiast or trying it for the first time, having the right tools makes all the difference. You can opt for a specialized complete pumpkin carving tool kit that provides everything you need, or you can assemble a functional kit from common household items. Here’s a versatile mix of pumpkin carving tools that will help you achieve intricate designs with your pumpkin patterns:
- Complete Pumpkin Carving Tool Kit: These kits are excellent for reuse year after year, typically including a variety of serrated saws, detail knives, and scooping tools designed specifically for pumpkin flesh. They often come with different blade sizes for coarse and fine work.
- Household Drill: An unexpected but incredibly useful tool for creating perfectly round holes or unique dotted patterns. Use various drill bit sizes for different effects, adding depth and texture to your carved pumpkin.
- Ladle Spoon or a Spoon with a Serrated Edge: Essential for the messy but satisfying task of scooping out the pumpkin’s stringy insides and seeds. A serrated edge makes quick work of removing all the pulp, ensuring a clean canvas and brighter glow.
- X-Acto Knife or Craft Knife: A fantastic alternative for carving delicate pumpkin designs. Its sharp, fine blade offers precision and control, making it ideal for intricate details that larger carving saws might struggle with. Always exercise caution when using such sharp tools.
- Needle Tool from Your Sewing or Clay Kit (or an Awl): This tiny tool is perfect for outlining your designs. It allows you to prick small holes along the stencil lines, transferring the pattern accurately to the pumpkin surface without tearing the paper.
- Ballpoint Pen and Push Pins or Painter’s Tape: Push pins or painter’s tape are crucial for securely attaching your pumpkin stencil to the curved surface of the pumpkin. A ballpoint pen is then used to firmly trace over the stencil lines, creating clear indentations on the pumpkin’s skin that serve as your carving guide.
Step-by-Step Guide to Carving a Pumpkin with a Stencil
Once you’ve gathered your chosen pumpkin and pumpkin stencil, follow these essential pumpkin carving tips to make the carving process easier, safer, and ensure your Halloween decor design truly shines.
1 — Print and Trim Your Stencil
After selecting your desired pumpkin pattern, print it out on standard printer paper. Carefully trim away any excess paper around the edges of the design. This step is important because it makes the stencil more flexible and easier to position and secure onto the curved surface of your pumpkin, reducing wrinkles and ensuring a smoother transfer of the design.
2 — Prepare Your Pumpkin for Carving
Proper pumpkin preparation is key for both ease of carving and extending the life of your carved pumpkin.
- Avoid Cutting the Stem or Top: This is a common mistake! Never cut the opening from the stem end or top of the pumpkin. The stem is vital for keeping the pumpkin hydrated and fresh, helping it to last longer. Cutting around it can accelerate decay.
- Cut an Opening in the Back Instead: Instead of the top, create a square or rectangular opening in the back of the pumpkin. Make it just large enough for your hand to comfortably fit inside. This strategic placement not only helps preserve the pumpkin’s freshness but also provides a neat way to insert a candle or LED light without disturbing the main design. Be sure to cut the opening at an inward angle, so the cut-out piece won’t fall into the pumpkin once replaced. Save the piece you cut out so you can fit it back in afterward to help keep critters out and moisture in.
- Thoroughly Scoop Out the Pumpkin: Reach inside and remove all the seeds, stringy pulp, and loose fibers from the interior walls. Use a sturdy spoon, ideally one with a serrated edge, to scrape the walls clean. A thoroughly cleaned interior allows your carved design to glow brightly and evenly when lit, and also helps slow down the rotting process.
- Clean the Pumpkin Surface: Before applying your stencil, take an antibacterial wipe or a damp cloth to clean the outside surface of the pumpkin. Removing dirt, grime, and surface bacteria provides a smoother area for the stencil to adhere to and can also help in slowing the onset of decay after carving. Let it dry completely before proceeding.

3 — Secure the Stencil with Precision
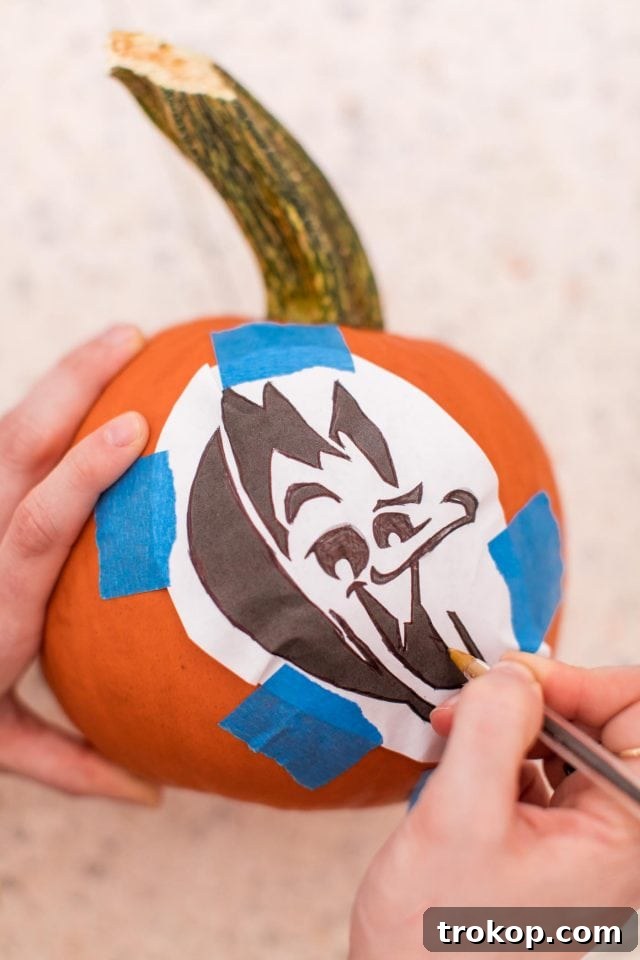
Carefully position your pumpkin stencil exactly where you want the design to appear on the pumpkin. Since pumpkins are curved, you may need to make small cuts around the edges of the paper stencil to help it lie flat. Once positioned, use push pins or painter’s tape to hold it firmly in place. Ensure there are no air bubbles or wrinkles under the stencil, as this could distort your final pumpkin design.
4 — Transfer the Design onto Your Pumpkin
With a ballpoint pen, press firmly as you trace over all the lines of the stencil design. Applying consistent pressure will leave clear indentations on the pumpkin’s surface, creating a precise outline for you to follow. Alternatively, you can use an awl or needle tool to prick small, closely spaced holes along the stencil lines, creating a dot-to-dot guide on the pumpkin. Gently lift one side of the stencil to check your work. Once you’re confident all lines have been transferred, remove the stencil completely and set it aside.
5 — Refine Your Traced Design
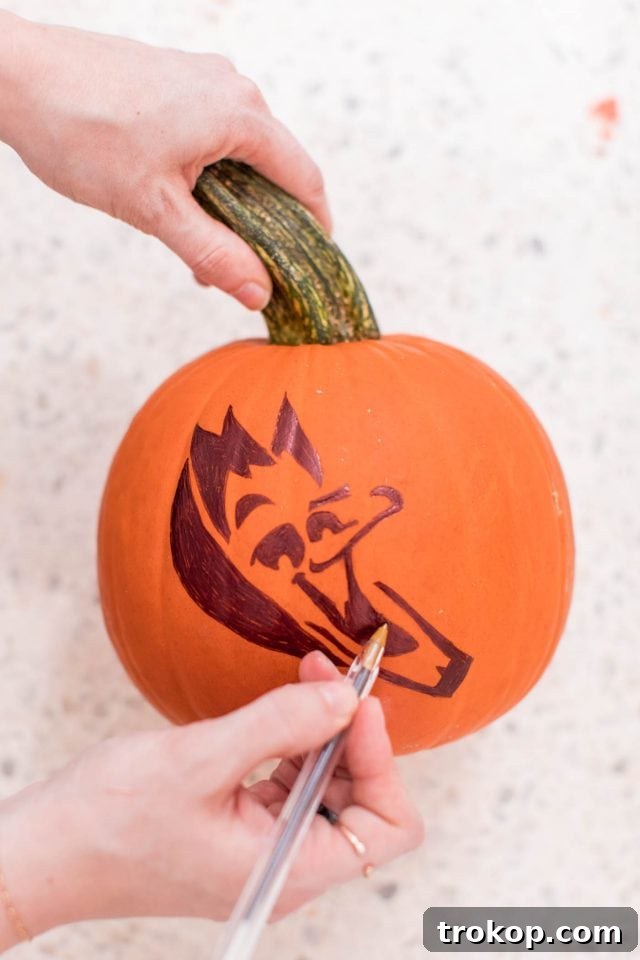
Now that the stencil is removed, go back over the traced or pricked lines with your ballpoint pen or a fine-tip marker to darken them. This makes the pumpkin pattern easier to see and follow when you begin carving. For extra clarity, you can even fill in areas that will be completely removed with a marker, helping you visualize the final outcome and avoid accidental cuts.
6 — Mastering the Carve: Two Methods for Stunning Results
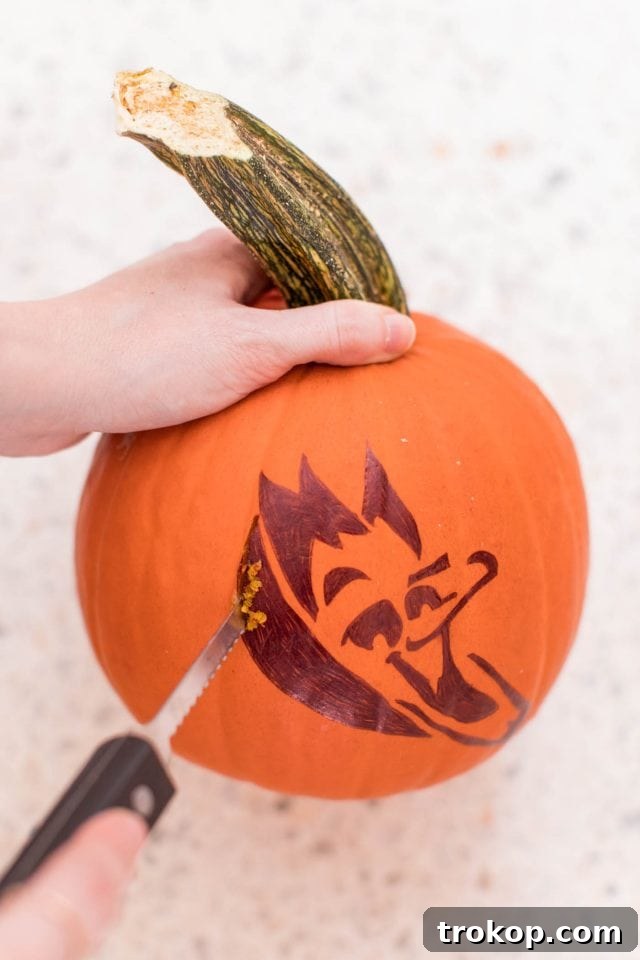
With your design transferred and refined, it’s time for the most exciting part: carving! Using a small, serrated pumpkin carving tool or an X-Acto knife, you can approach your pumpkin design in two primary ways. Remember to always work slowly and deliberately, especially with detailed areas, to maintain a clean and precise carved pumpkin.
- Cut All the Way Through (Traditional Method): This is the classic jack-o’-lantern carving technique. You cut completely through the pumpkin flesh, creating bold, dramatic cutouts. When lit from within, these areas glow brightly, casting crisp shadows. To prevent tearing, begin carving from the center of your design and work outwards, removing smaller pieces first. Be mindful that cutting all the way through can weaken the pumpkin’s structure, making extremely intricate designs more challenging to maintain without breakage. Always saw gently, using a back-and-forth motion, rather than pushing straight through.
- Chisel or Etching Method: For a more subtle, artistic effect, try chiseling or etching. Instead of cutting entirely through, this technique involves scraping away only the outer layers of the pumpkin flesh, revealing the lighter, inner pulp. This allows light to shine through softly, creating a glowing, translucent effect rather than a full cutout. The chisel method works exceptionally well for highly detailed pumpkin patterns, shading, and adding texture that wouldn’t be possible with full cutouts. While it requires more time and precision, the nuanced results are truly rewarding. Use a linoleum carving tool or a scraping tool from a pumpkin carving kit for this method.
After carving, gently push out any loose pieces of pumpkin. If any pieces get stuck, use the blunt end of a tool or your finger to dislodge them from the inside. Place your chosen light source inside, replace the back panel, and enjoy your beautifully carved pumpkin!
Creative Alternative: Using Stencils to Paint Pumpkins
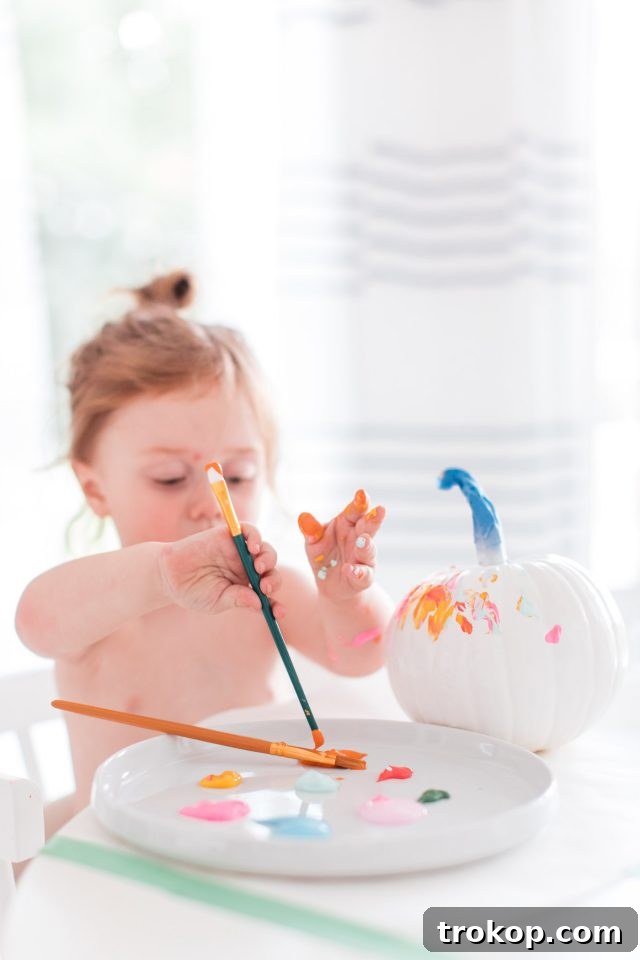
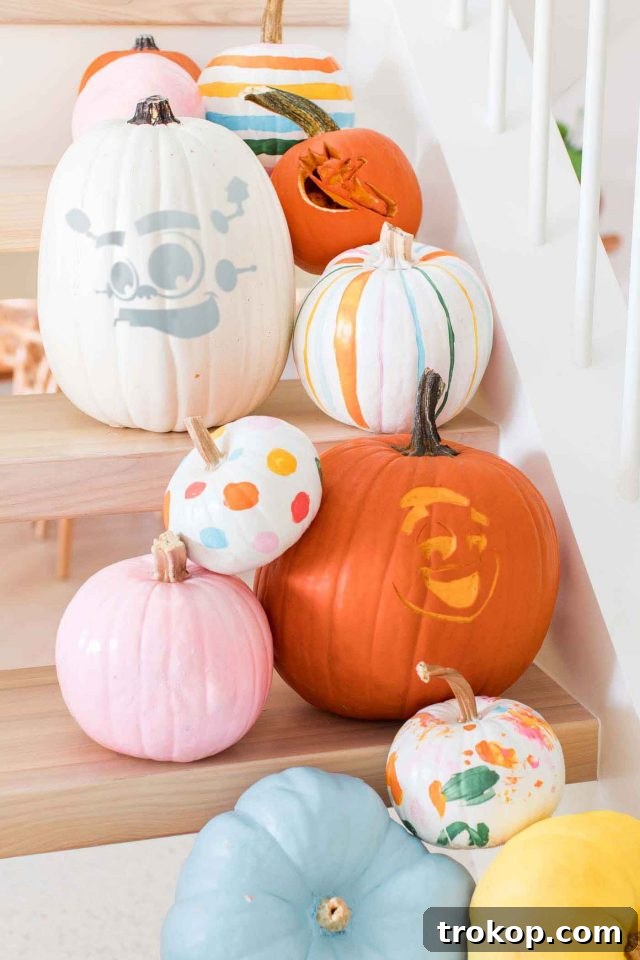
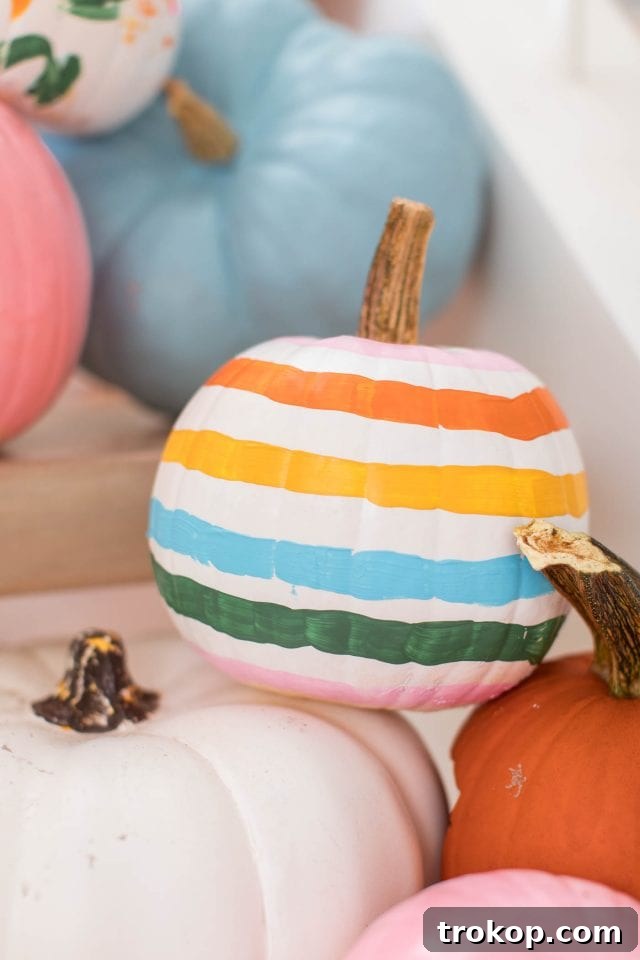
If you have little ones eager to help decorate pumpkins, or if you simply prefer a less messy, longer-lasting approach, using stencils to paint pumpkins is an excellent Halloween decor idea. This method retains all the charm of intricate pumpkin patterns without the need for sharp tools, making it incredibly kid-friendly and safe.
To paint with a stencil, you’ll follow the initial steps of the pumpkin carving process: select and print your stencil, clean your pumpkin surface, and then secure the stencil firmly in place with painter’s tape or temporary adhesive spray. Once the stencil is secure, instead of carving, simply fill in the design with your chosen colors. Acrylic paints work wonderfully, offering vibrant hues and quick drying times. For a more graphic look, you can also use spray paint, being sure to apply it in light, even coats to prevent bleeding under the stencil.
Once the paint is dry, carefully peel off the stencil to reveal your perfectly painted pumpkin design. This technique is not only safer and cleaner but also significantly extends the life of your pumpkin, as the skin remains intact. You can create charming, intricate, or spooky designs that will last throughout the entire fall season. For even more inspiration, explore these other creative pumpkin painting ideas.
Preserving Your Masterpiece: Tips for Long-Lasting Carved Pumpkins
You’ve poured your creativity into carving a spectacular Halloween pumpkin, and naturally, you want your masterpiece to last as long as possible. Here are a few proven tips to help extend the life of your carved pumpkin stencil design, keeping it fresh and vibrant throughout the spooky season:
- Pre-Carving Cleanse with Bleach Solution: Before you even start carving, give your pumpkin a good soak. Prepare a solution of one gallon of water to one teaspoon of bleach. Submerge your pumpkin in this solution for about 15-20 minutes. The bleach helps to kill bacteria and mold spores that cause decay, providing a clean slate for your pumpkin carving. Rinse thoroughly and let it dry before marking your pumpkin stencil.
- Seal with Petroleum Jelly: Once your pumpkin carving is complete, generously rub petroleum jelly (like Vaseline) over all the cut edges and the exposed inner flesh. This creates a barrier that locks in moisture, preventing the pumpkin from drying out and shriveling prematurely. It also acts as a deterrent for curious squirrels and other critters who might otherwise find your pumpkin a tasty snack. Reapply every few days as needed.
- Sprinkle Your Pumpkin with Cayenne Pepper: If local wildlife, particularly squirrels, are a persistent problem, a light dusting of cayenne pepper around and inside your carved pumpkin can be a very effective deterrent. The spice won’t harm them but will certainly discourage them from nibbling on your Halloween decor.
- To Really Make Your Pumpkin Stencil Art Last: Refrigerate It! For maximum longevity, especially if you’re carving your pumpkins a few days before Halloween, wrap your carved pumpkin in a plastic bag (to retain moisture) and store it in the refrigerator. The cool temperature significantly slows down the decomposition process, keeping your pumpkin fresh and firm until it’s time for display.
Beyond the Jack-o’-Lantern: More Spooktacular Halloween Ideas
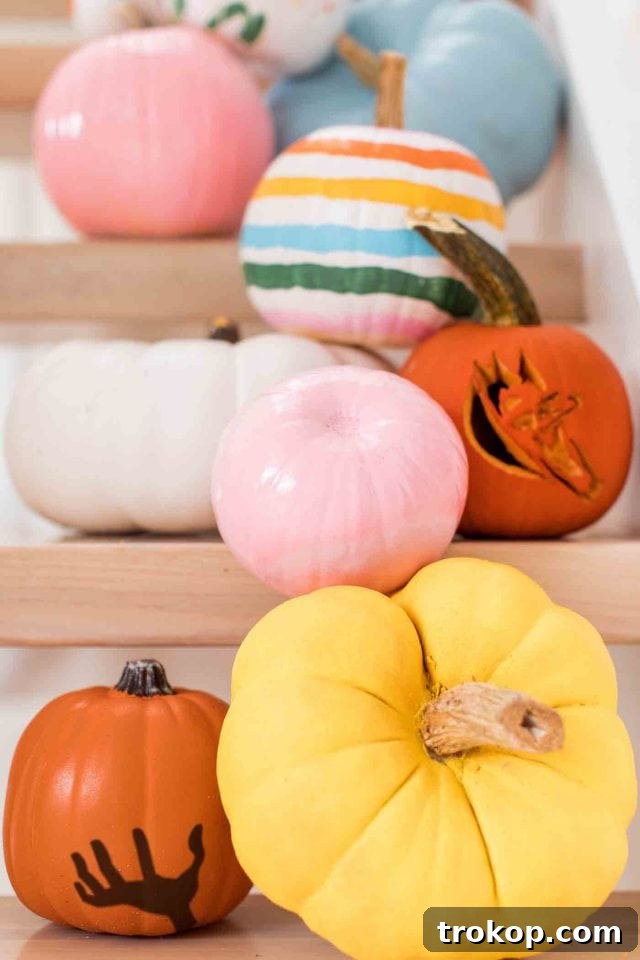
We believe that a free pumpkin stencil paves the way for a truly spectacular pumpkin display, don’t you agree? Whether you’re aiming for classic Halloween front door decor, transforming your yard into a haunted house entrance, or simply embracing your inner “pumpkin lady” like me, carved pumpkins are an indispensable part of the season. The joy of bringing these festive symbols to life is unmatched, creating lasting memories and an enchanting atmosphere for all to enjoy. If you’re searching for more inspiring Halloween pumpkin decor, entertaining ideas, or fun party projects, here are a few of our favorite DIYs to spark your creativity this spooky season:
- DIY Halloween Wigs and Lashes Costumes
- Corpse Reviver Cocktail Recipe
- Simple DIY Sequin Pumpkins
- Easy DIY Pumpkin Decals
- Our Favorite Halloween Costume Ideas
This post has been sponsored by General Mills Cereals, but all opinions are my own and we’re happy to work with them since they’re a platform we use regularly! Sugar & Cloth has chosen to donate 5% of all sponsored campaigns to charity, which you can read more about right here.
50 Best Halloween Food Ideas for a Spooky Party
Discover the best Halloween food ideas with spooky, fun, and…
Continue Reading50 Best Halloween Food Ideas for a Spooky Party
33 Easy DIY Pumpkin Painting Ideas
Create festive and unique decorations with these pumpkin painting ideas…
Continue Reading33 Easy DIY Pumpkin Painting Ideas
45 Alcoholic Desserts to Liven Up Your Next Party
Who says desserts are for kids? Enter the world of…
Continue Reading45 Alcoholic Desserts to Liven Up Your Next Party
Pumpkin Spice White Russian Recipe
Experience the cozy flavors of fall in every sip with…
Continue ReadingPumpkin Spice White Russian Recipe