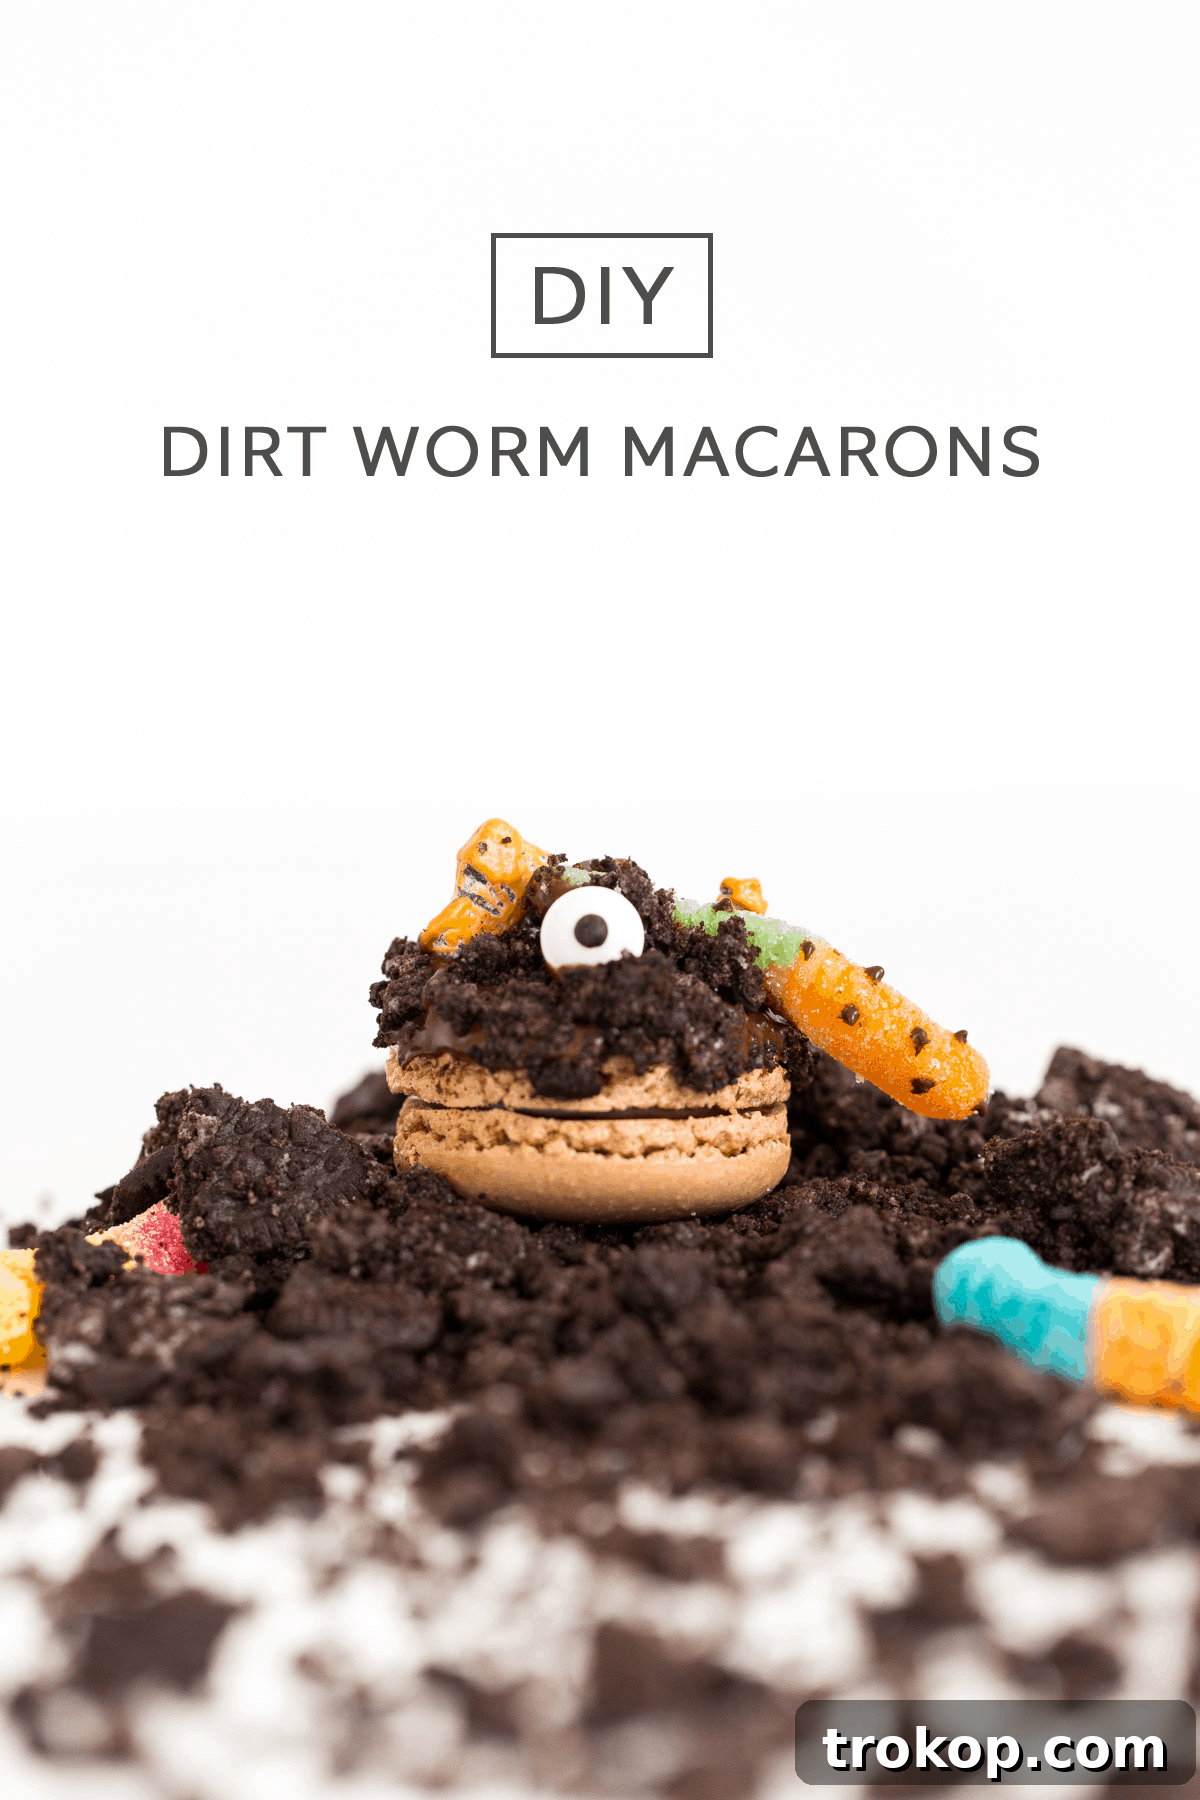
Unleash Your Inner Monster: Crafting Delicious DIY Dirt Worm Macarons
Prepare for a confectionery adventure like no other! We’re diving headfirst into the whimsical world of DIY Dirt Worm Macarons – a treat so captivating, it practically demands the use of every candy and sugar in your pantry. And trust us, you won’t mind a single bit. These delightful little monsters are not just a feast for the eyes but a symphony of chocolatey goodness, perfect for Halloween gatherings, themed parties, or simply a fun baking project with a touch of playful ghoulishness.
After a brief hiatus from our beloved macaron creations, we’re thrilled to be back in the game! And what a comeback it is. This particular project quickly earned the affectionate nickname “attack of the mac” – a fitting title, considering the irresistible monster vibe these macarons naturally adopted and, perhaps more tellingly, our collective inability to resist devouring them. We might have, purely for research purposes, sampled one or two… or twelve. It’s simply impossible to stop at just one of these charmingly spooky sweets.
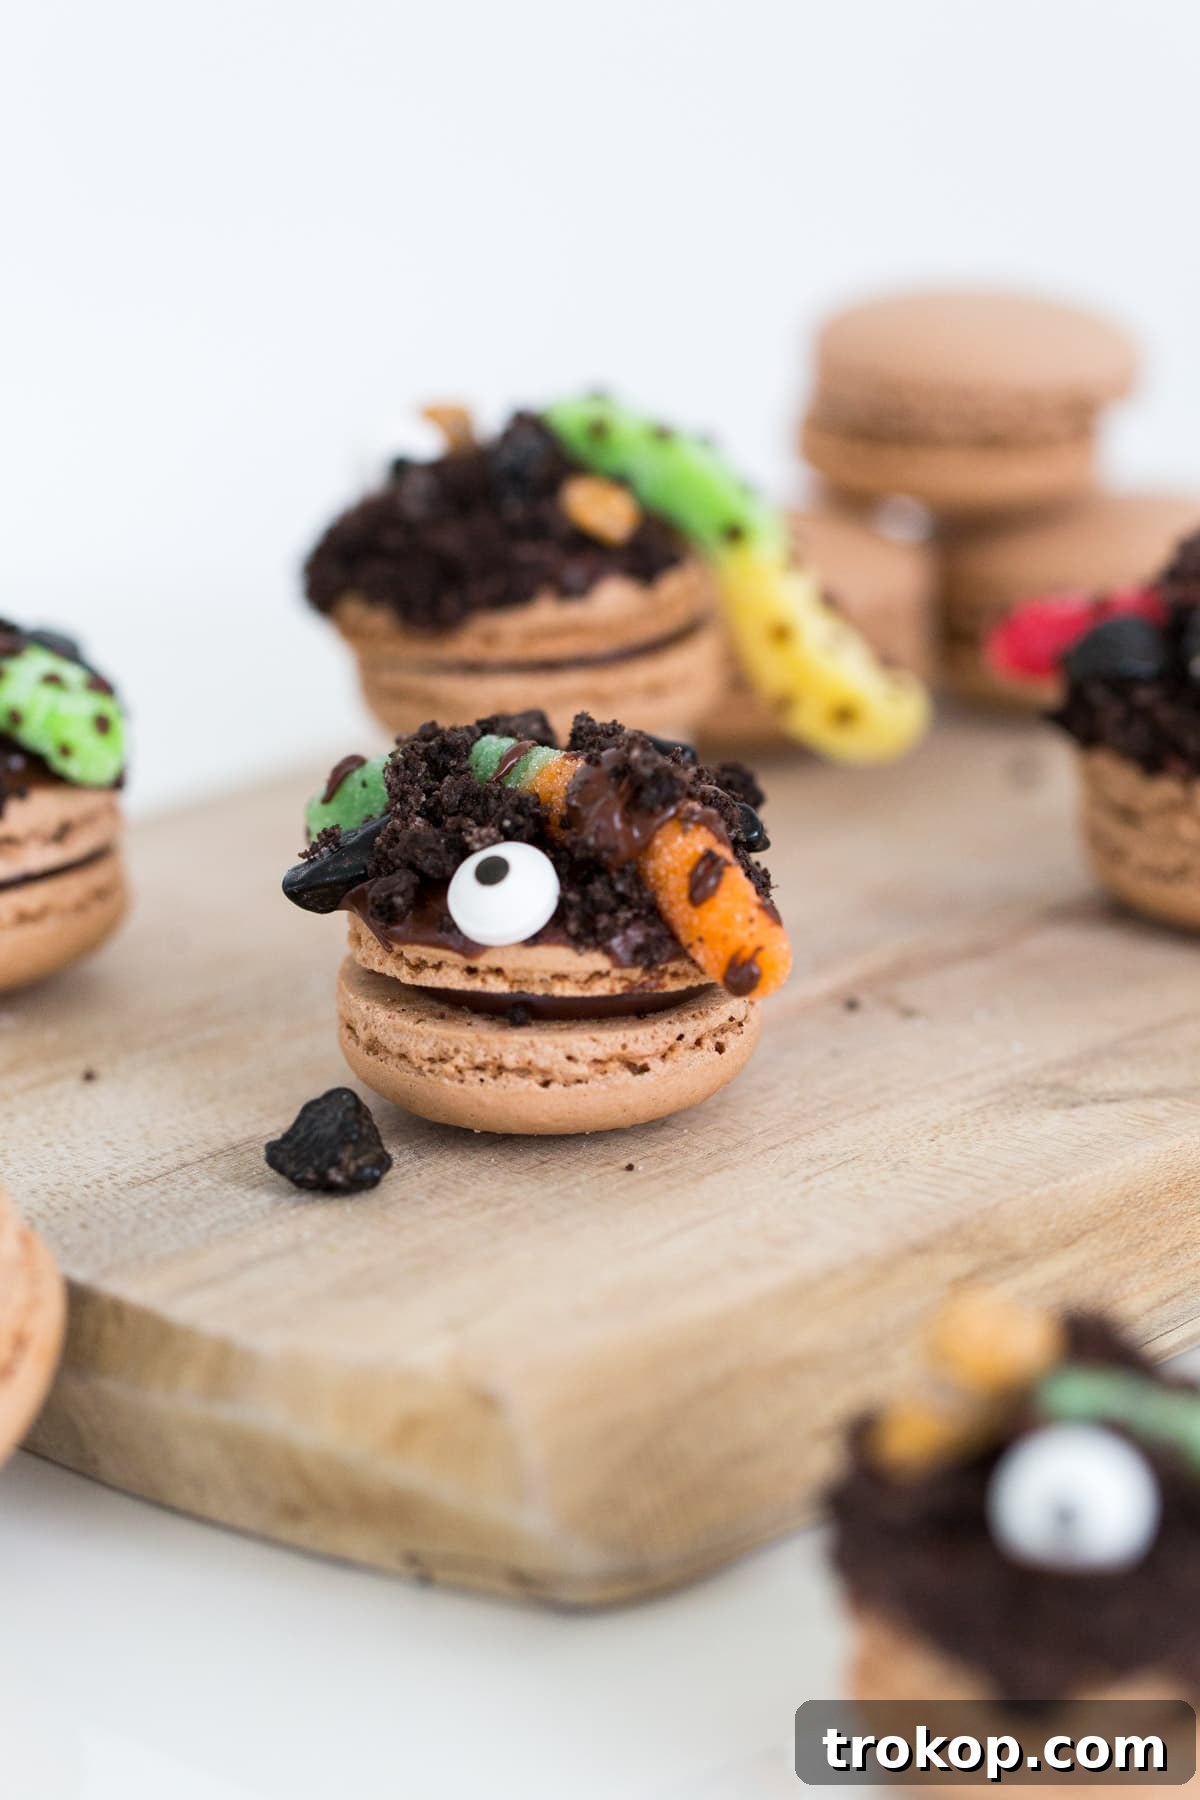
Last year, we celebrated the spooky season with our enchanting candied apple macarons, bringing a crisp, autumnal twist to the classic French pastry. This year, however, we set our sights on something extra special for all the devoted chocolate lovers out there. The classic “dirt and worms” dessert, a nostalgic childhood favorite, served as our muse, inspiring us to create an elevated, gourmet version in macaron form. It’s the perfect blend of sophisticated baking and playful indulgence, sure to delight both children and adults alike.
Crafting these DIY Dirt Worm Macarons truly is a celebration of all things sweet and creative. It encourages you to unleash your inner artist, using a vibrant array of candies and sugars to bring your edible monsters to life. You know that secret stash of edible candy eyes everyone seems to have tucked away somewhere? This is their moment to shine! These little guys are not only incredibly fun to look at but also undeniably delicious, striking the perfect balance between quirky aesthetics and delectable flavor.
To truly capture the essence of the beloved childhood classic, we opted for rich, decadent chocolate macarons as our base. This choice perfectly complements the “dirt” topping and provides a robust flavor foundation for all the sweet decorations. To add an authentic touch of realism and a satisfying textural contrast, we incorporated small candy rocks, mimicking tiny pebbles found in real dirt. The result is a dessert that evokes fond memories while offering a sophisticated macaron experience.
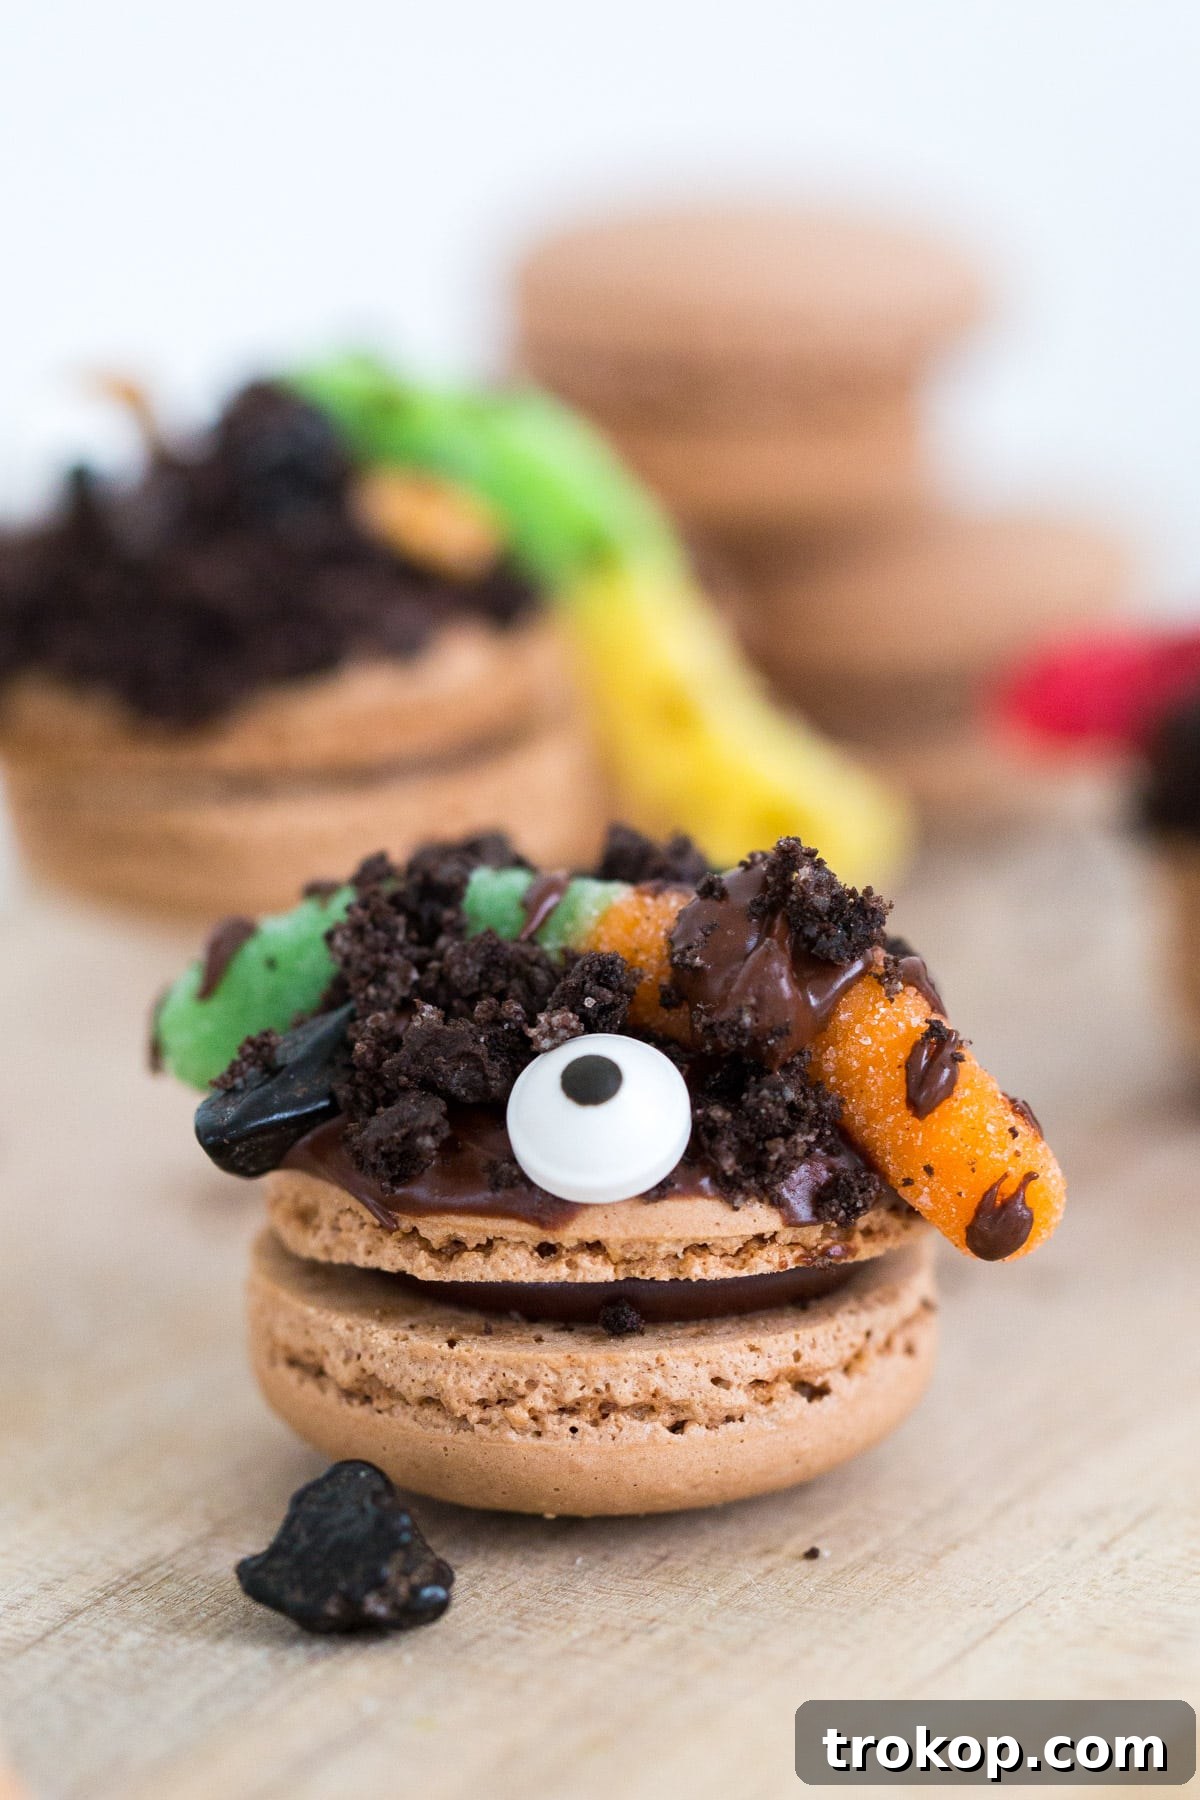
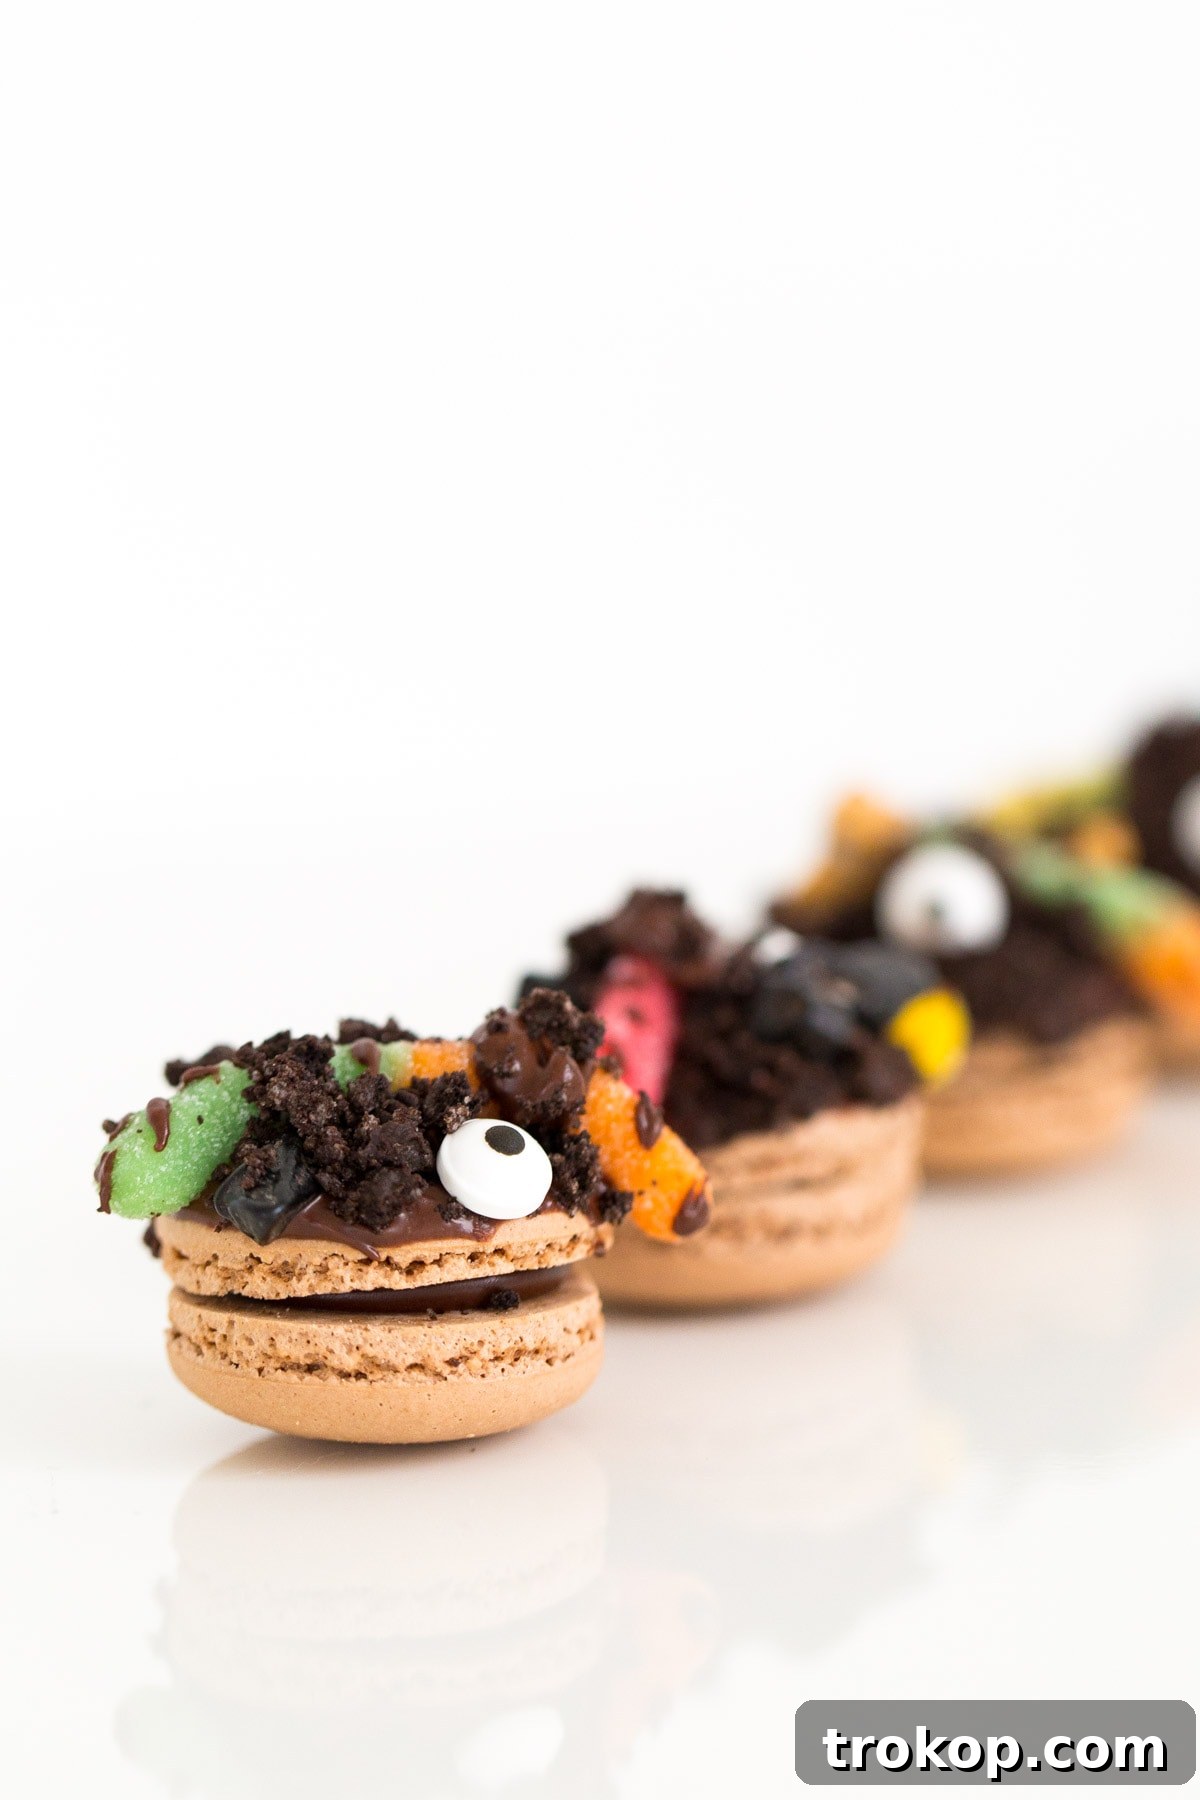
These Dirt Worm Macarons are a testament to how creative and enjoyable baking can be, especially when preparing for festive occasions. They bridge the gap between simple, nostalgic treats and elegant French pastries, making them a unique addition to any dessert table.
Table of Contents
- Ingredients Needed To Make DIY Dirt Worm Macarons
- How To Make DIY Dirt Worm Macarons
- Pro Tips and Creative Variations
- Serving and Storage Suggestions
- Why These Macarons Are a Must-Try
Ingredients Needed To Make DIY Dirt Worm Macarons
Gathering your ingredients is the first exciting step in bringing these adorable (and slightly creepy) macarons to life. The beauty of this recipe lies in its flexibility; while we provide specific suggestions, feel free to substitute or add elements to match your taste and available candy stash.
- Chocolate Macarons: These form the delicious base of your dirt cups. You can choose to purchase high-quality chocolate macarons from a local bakery for convenience, or for an extra sense of accomplishment, bake your own! If you’re up for the challenge, our easy macaron recipe provides a perfect guide to achieving those delicate, chewy shells.
- Melted Chocolate: This acts as the “glue” that binds all your “dirt” and “worm” elements together. Dark chocolate, milk chocolate, or even white chocolate (tinted brown for a different look) can be used. Ensure it’s melted smoothly for easy dipping and decorating.
- Crushed Oreos: The essential ingredient for our “dirt”! Oreos, with their dark cookie and creamy filling, perfectly mimic the appearance and texture of rich soil. Crush them finely or leave some larger chunks for a more rustic look.
- Gummy Worms: The stars of our show! A variety of colors and sizes will add visual interest and a fun, chewy texture. Sour gummy worms can also add an unexpected zing.
- Candy Rocks: These small, colorful candies add an extra layer of realism and a delightful crunch, perfectly simulating tiny pebbles scattered throughout the dirt.
- Candy Eyeballs: Absolutely crucial for transforming your dirt worms into charmingly monstrous creatures! Available in various sizes, these edible eyes instantly bring personality and whimsy to your macarons.
How To Make DIY Dirt Worm Macarons
This project is less about precision and more about playful creativity. I often say this, but truly, there’s no way to mess these up! When it comes to dirt worm macarons, the messier, the better. The organic, unpolished look only adds to their charm and authenticity. So, don’t shy away from a little chocolate smudge or an off-kilter gummy worm – it all contributes to their unique appeal.
- Melt Your Chocolate: Begin by gently melting your chocolate. You can do this in a microwave-safe bowl in 30-second intervals, stirring in between until smooth, or using a double boiler method for a more controlled melt. Ensure the chocolate is fluid enough for dipping but not too hot.
- Prepare Your “Dirt”: Pour your crushed Oreos into a shallow bowl or plate. This will be the “dirt” topping for your macarons. Make sure the bowl is wide enough to comfortably dip your macaron tops.
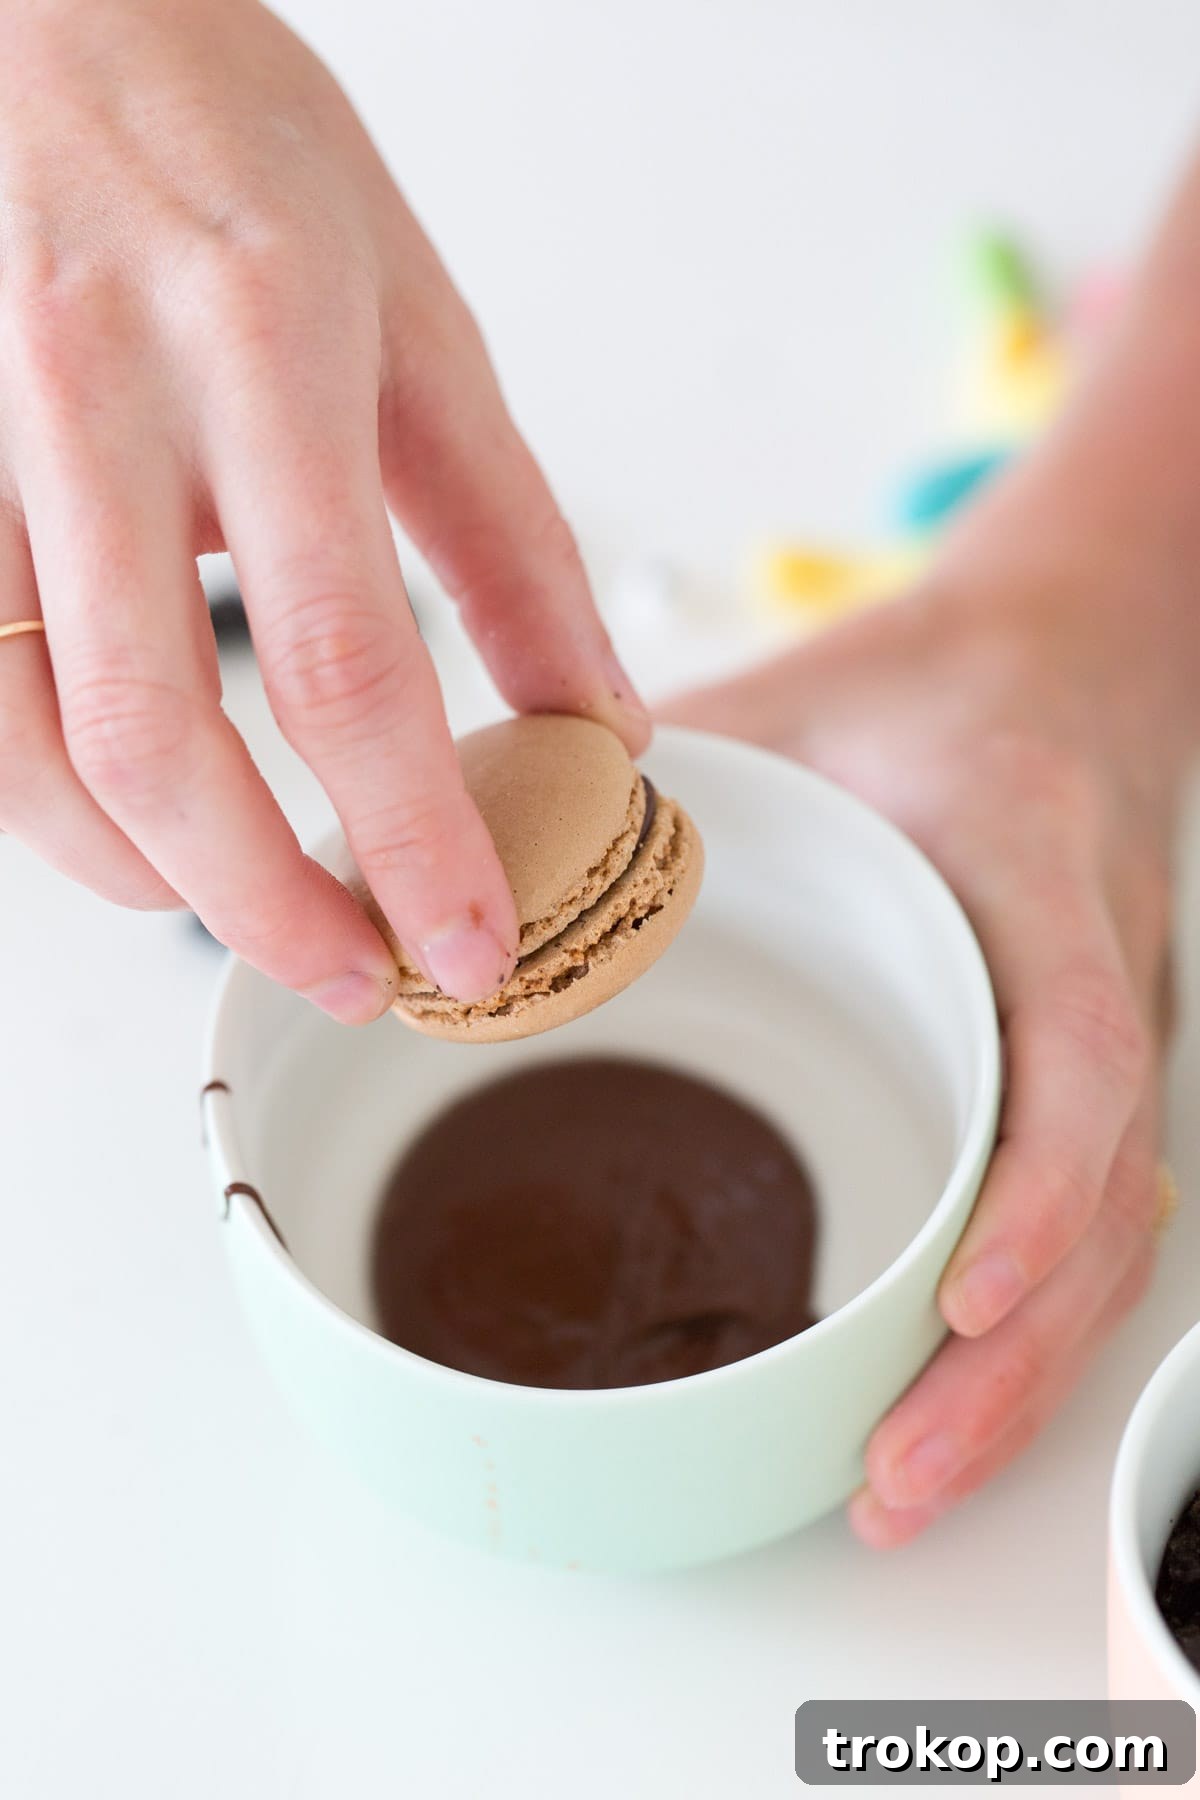
- Dip the Macarons: Take one chocolate macaron at a time. Dip the top half of the macaron into the melted chocolate, allowing any excess to drip off. You want a good, even coating without making it too thick.
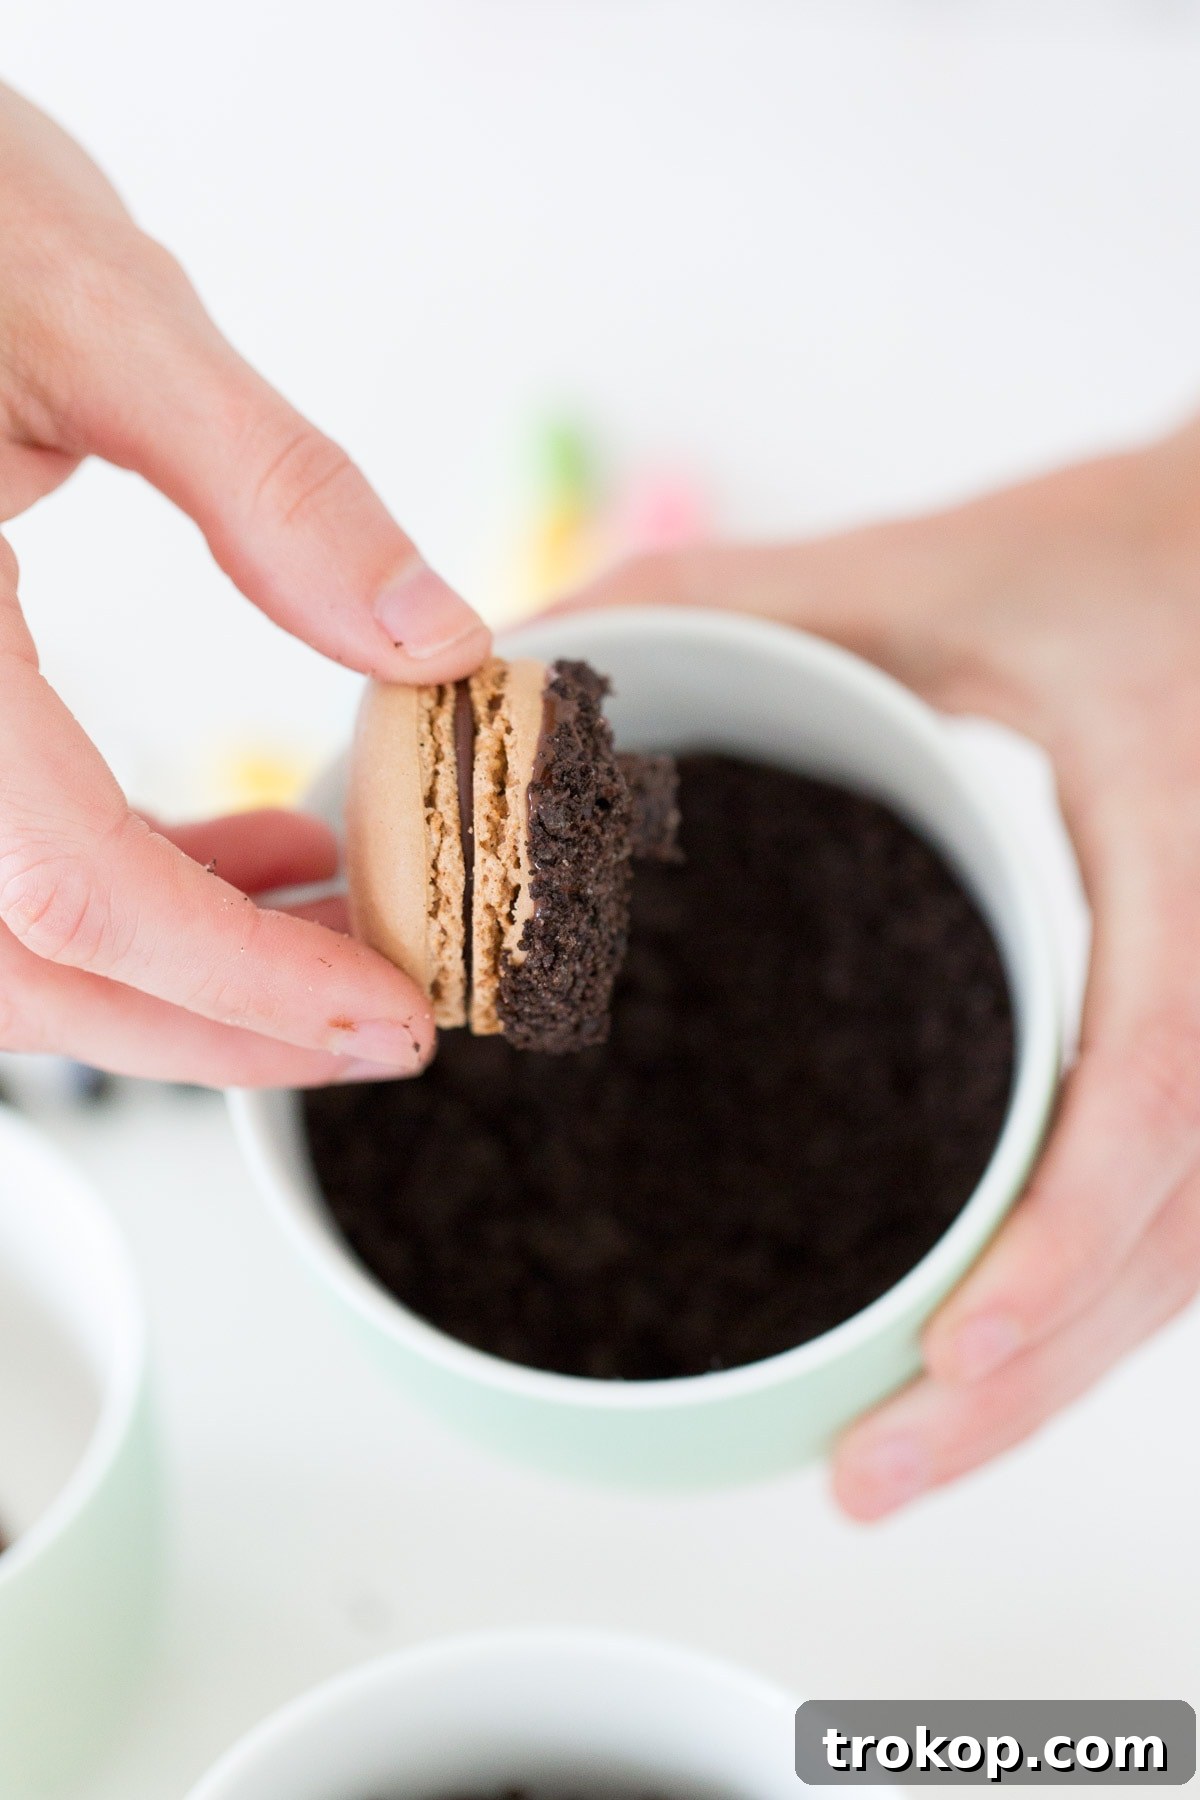
- Create the “Dirt” Topping: Immediately after dipping in chocolate, gently press the chocolate-coated macaron top into the bowl of crushed Oreos. Rotate it slightly to ensure the entire chocolate surface is covered with the “dirt.” Set the macaron aside on a piece of parchment paper or a cooling rack.
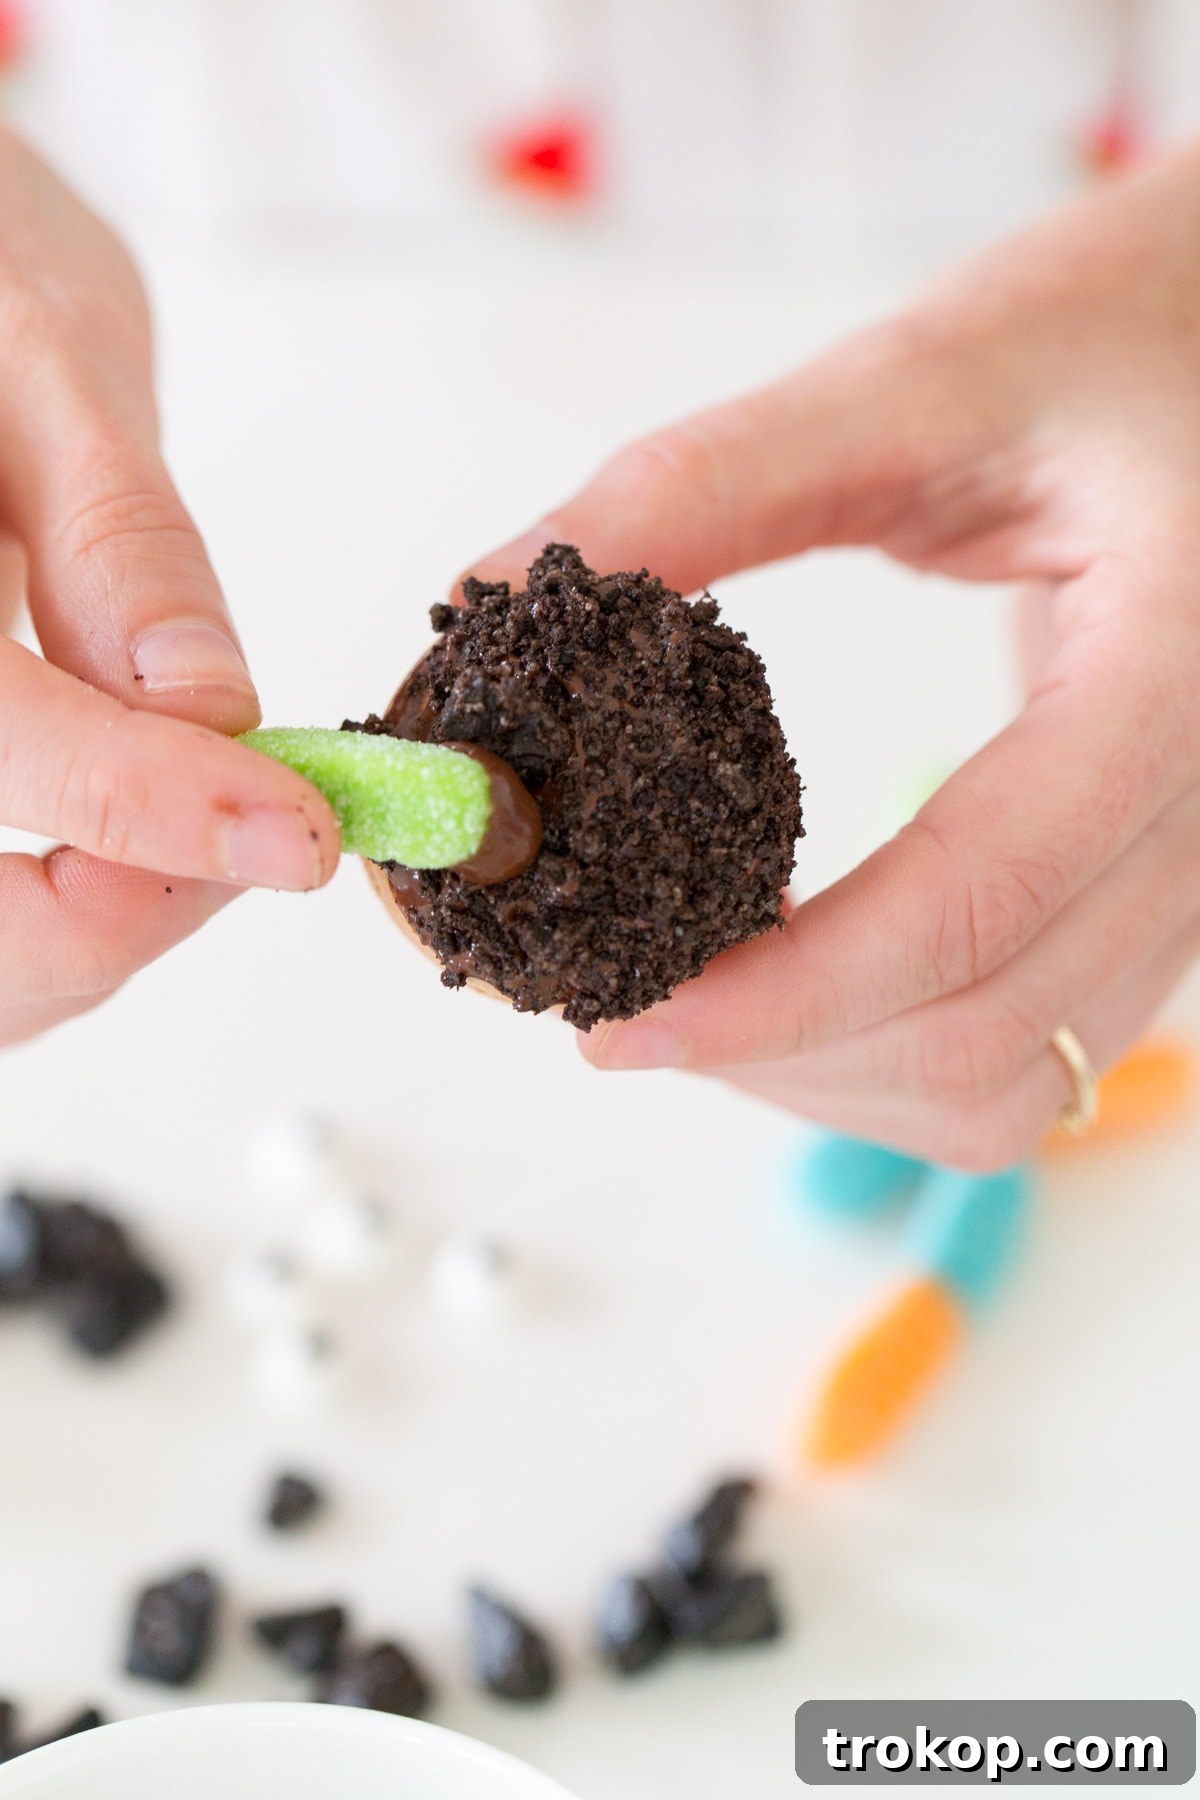
- Attach Gummy Worms and Eyes: While the chocolate is still slightly wet and tacky, it acts as the perfect edible glue. Carefully place a gummy worm (or two!) onto the Oreo-covered macaron, letting it drape naturally. Then, attach a pair of candy eyeballs to give your worm a mischievous or surprised expression.
- Add Candy Rocks: Sprinkle a few candy rocks around the base of the gummy worms and on top of the “dirt” for added texture and visual interest. Press them gently into the still-soft chocolate.
- Embellish for Extra “Gooeyness” (Optional but Recommended): To give your gummy worms a little extra “umph” and make them look authentically gooey, dip the end of a toothpick into the melted chocolate. Use this to create small polka dots or thin stripes on the gummy worms. This simple step adds incredible detail and makes them truly stand out.
- Allow to Set: Let your decorated macarons sit for at least 30 minutes, or until the chocolate has fully set. This will ensure all the decorations are securely attached and the macarons are easy to handle. If you’re in a hurry, you can place them in the refrigerator for 10-15 minutes to speed up the setting process.
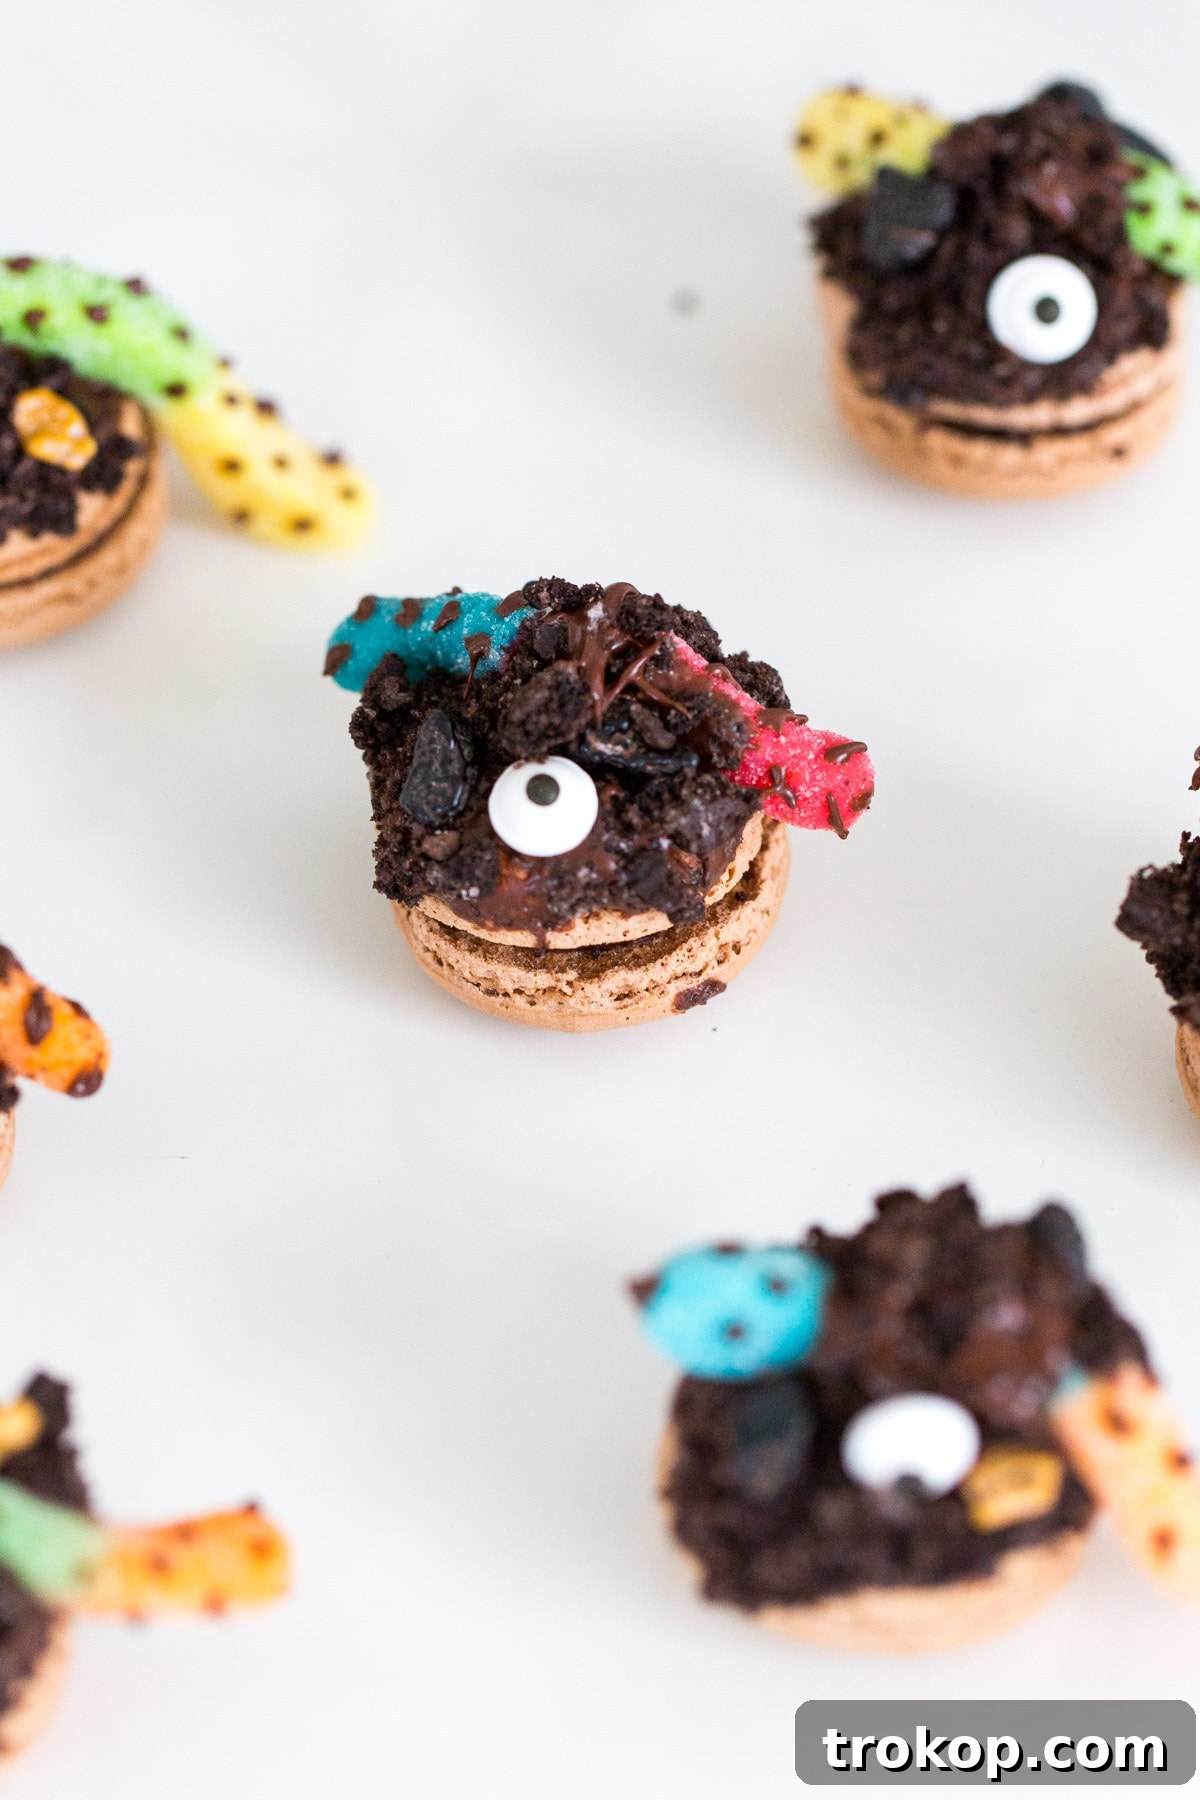
From there, your creativity is the only limit! The beauty of these dirt worm macarons is that each one can be a unique character. Some worms might be peeking out, others might be half-buried, and the candy eyes can be placed at various angles to create different expressions – from goofy to slightly startled. It’s a wonderful opportunity for personalization.
Pro Tips and Creative Variations
Enhance your Dirt Worm Macarons further with these ideas:
- Chocolate Choice: Experiment with different types of chocolate for dipping. A dark chocolate will offer a richer, slightly bitter contrast, while milk chocolate will appeal to those with a sweeter tooth. White chocolate can be dyed green or orange for a different seasonal twist.
- “Dirt” Alternatives: If Oreos aren’t your preference, try crushed chocolate graham crackers, chocolate wafer cookies, or even a mix of cocoa powder and finely crushed shortbread for a lighter “soil.”
- Gummy Creativity: Don’t limit yourself to just gummy worms! Gummy bears, snakes, or even small insect-shaped candies can add to the “creepy-crawly” theme. You could even use edible glitter for a “magical dirt” effect.
- Seasonal Twists: For other holidays, adapt the theme. For spring, use green macarons, green “grass” sprinkles, and tiny candy flowers. For Christmas, use red macarons, white chocolate “snow,” and gingerbread men.
- Flavor Boost: Add a tiny drop of peppermint extract or orange extract to your melted chocolate for an extra flavor dimension that complements the chocolate and candy.
- Presentation: Arrange your finished macarons on a bed of extra crushed Oreos in a serving dish to enhance the “dirt” effect. You can even add a small toy shovel or gardening tools for a whimsical display.
Serving and Storage Suggestions
Once your DIY Dirt Worm Macarons are fully set, they are ready to be devoured! Serve them as a standalone treat, part of a dessert buffet, or as a charming favor at themed parties.
- Serving Temperature: Macarons are best enjoyed at room temperature, as this allows their delicate flavors and textures to shine. If refrigerated, let them sit out for 15-20 minutes before serving.
- Storage: Store your decorated macarons in an airtight container in the refrigerator for up to 3-5 days. The decorations should hold up well, but the gummy worms might become a little firmer when cold. For longer storage, macarons can be frozen for up to one month; however, the decorations might be affected by thawing, so it’s best to decorate them closer to serving time if freezing.
- Transporting: When transporting these delicate treats, ensure they are placed in a single layer in a sturdy container to prevent crushing or damage to the decorations.
Why These Macarons Are a Must-Try
We are absolutely thrilled to be back on the #glossaryofmacs train, and lately, the ideas have been flowing for creating these charming little monsters. The sheer joy of transforming a sophisticated French pastry into a whimsical, kid-friendly treat is truly intoxicating. These DIY Dirt Worm Macarons are more than just a dessert; they’re an experience, a conversation starter, and a delightful way to celebrate creativity in the kitchen. They prove that baking can be both elegant and incredibly fun, breaking down any intimidation factor associated with macarons.
Whether you’re looking for the perfect Halloween treat, a unique party favor, or just a fun weekend baking project, these dirt worm macarons deliver on all fronts. They combine the rich flavor of chocolate with the playful textures of gummy worms and crunchy Oreos, all while sporting the most adorable candy eyes. It’s a recipe that guarantees smiles and perhaps a few delighted shrieks.
So, what about you? Are there any specific macaron DIYs you’re hoping to see from us this holiday season? We’re always eager for new challenges and love hearing your ideas! Share your thoughts and let us inspire your next baking adventure. Happy baking, and enjoy creating these unforgettable dirt worm delights!