

Crafting Elegance: DIY Marble and Gold Serveware for Effortless Entertaining
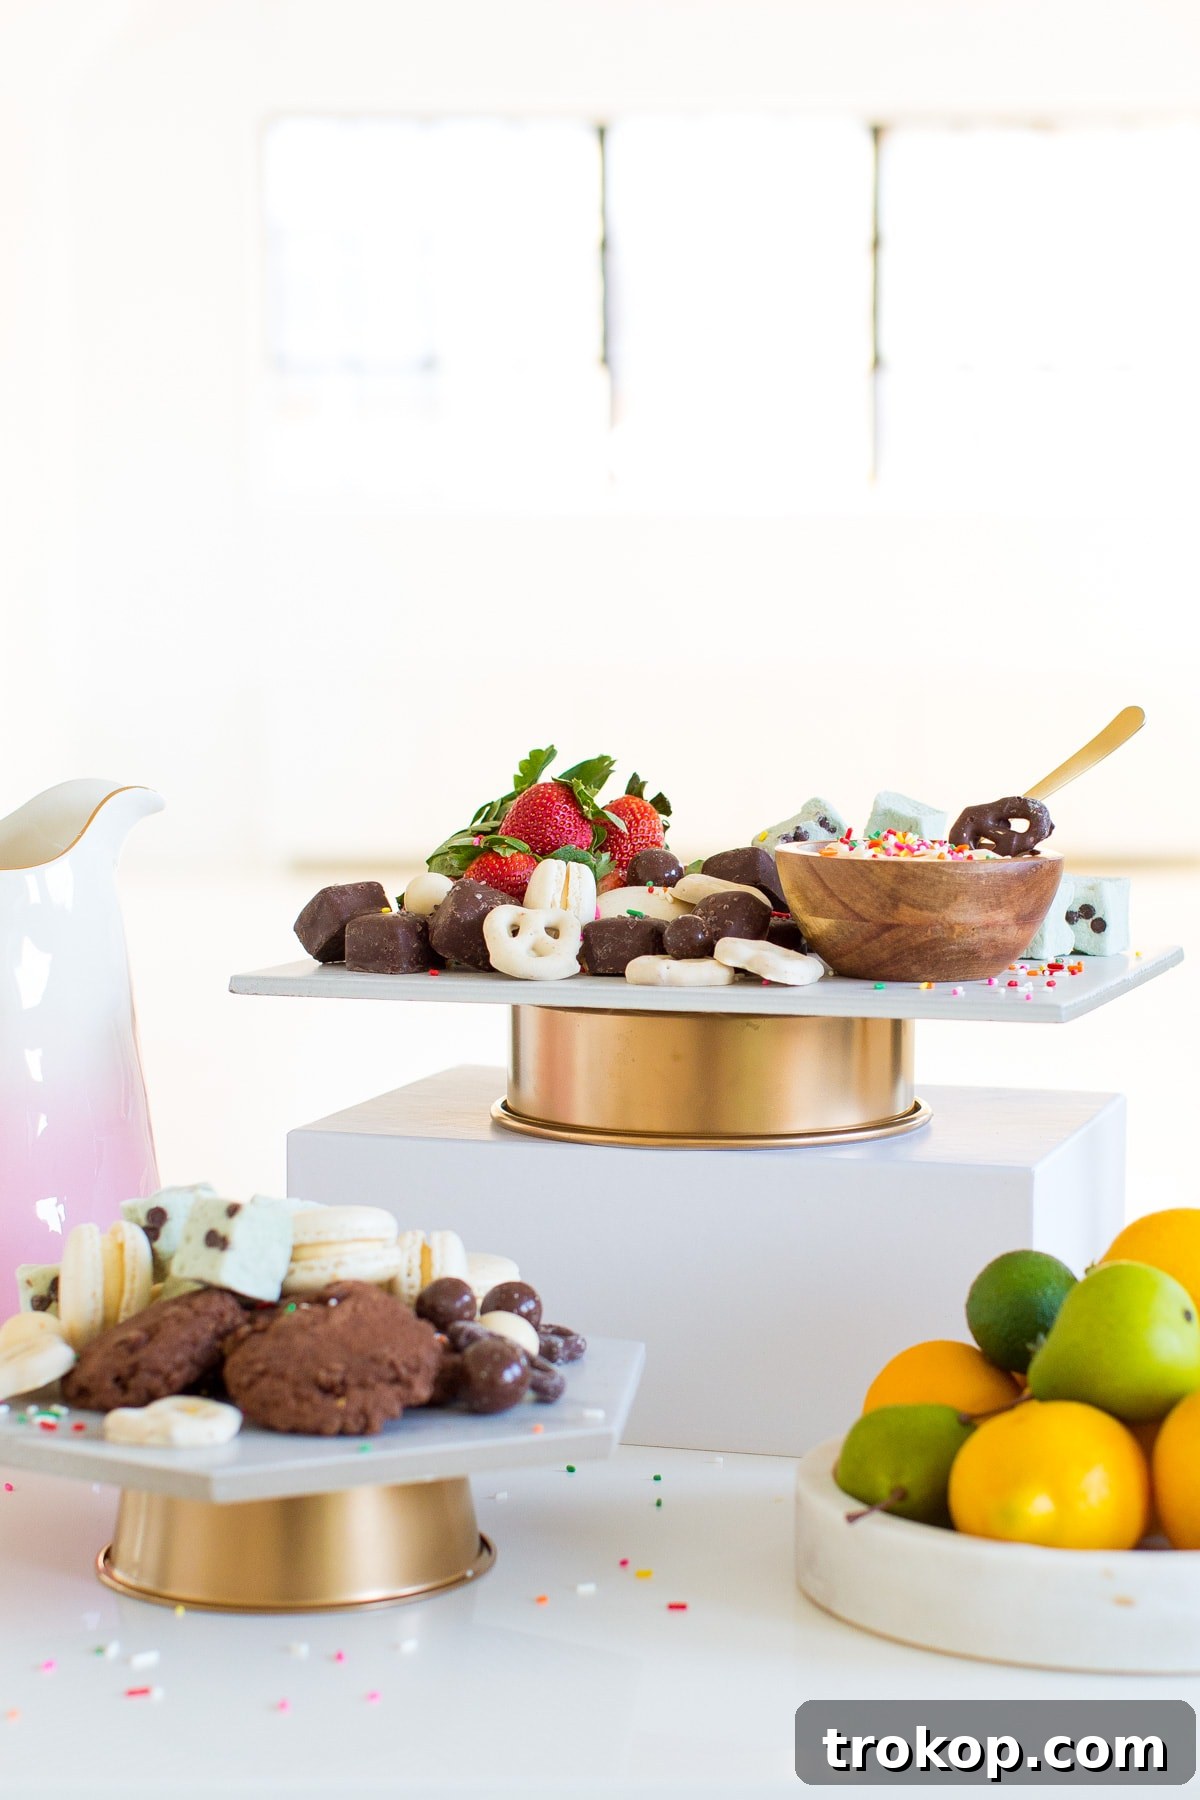
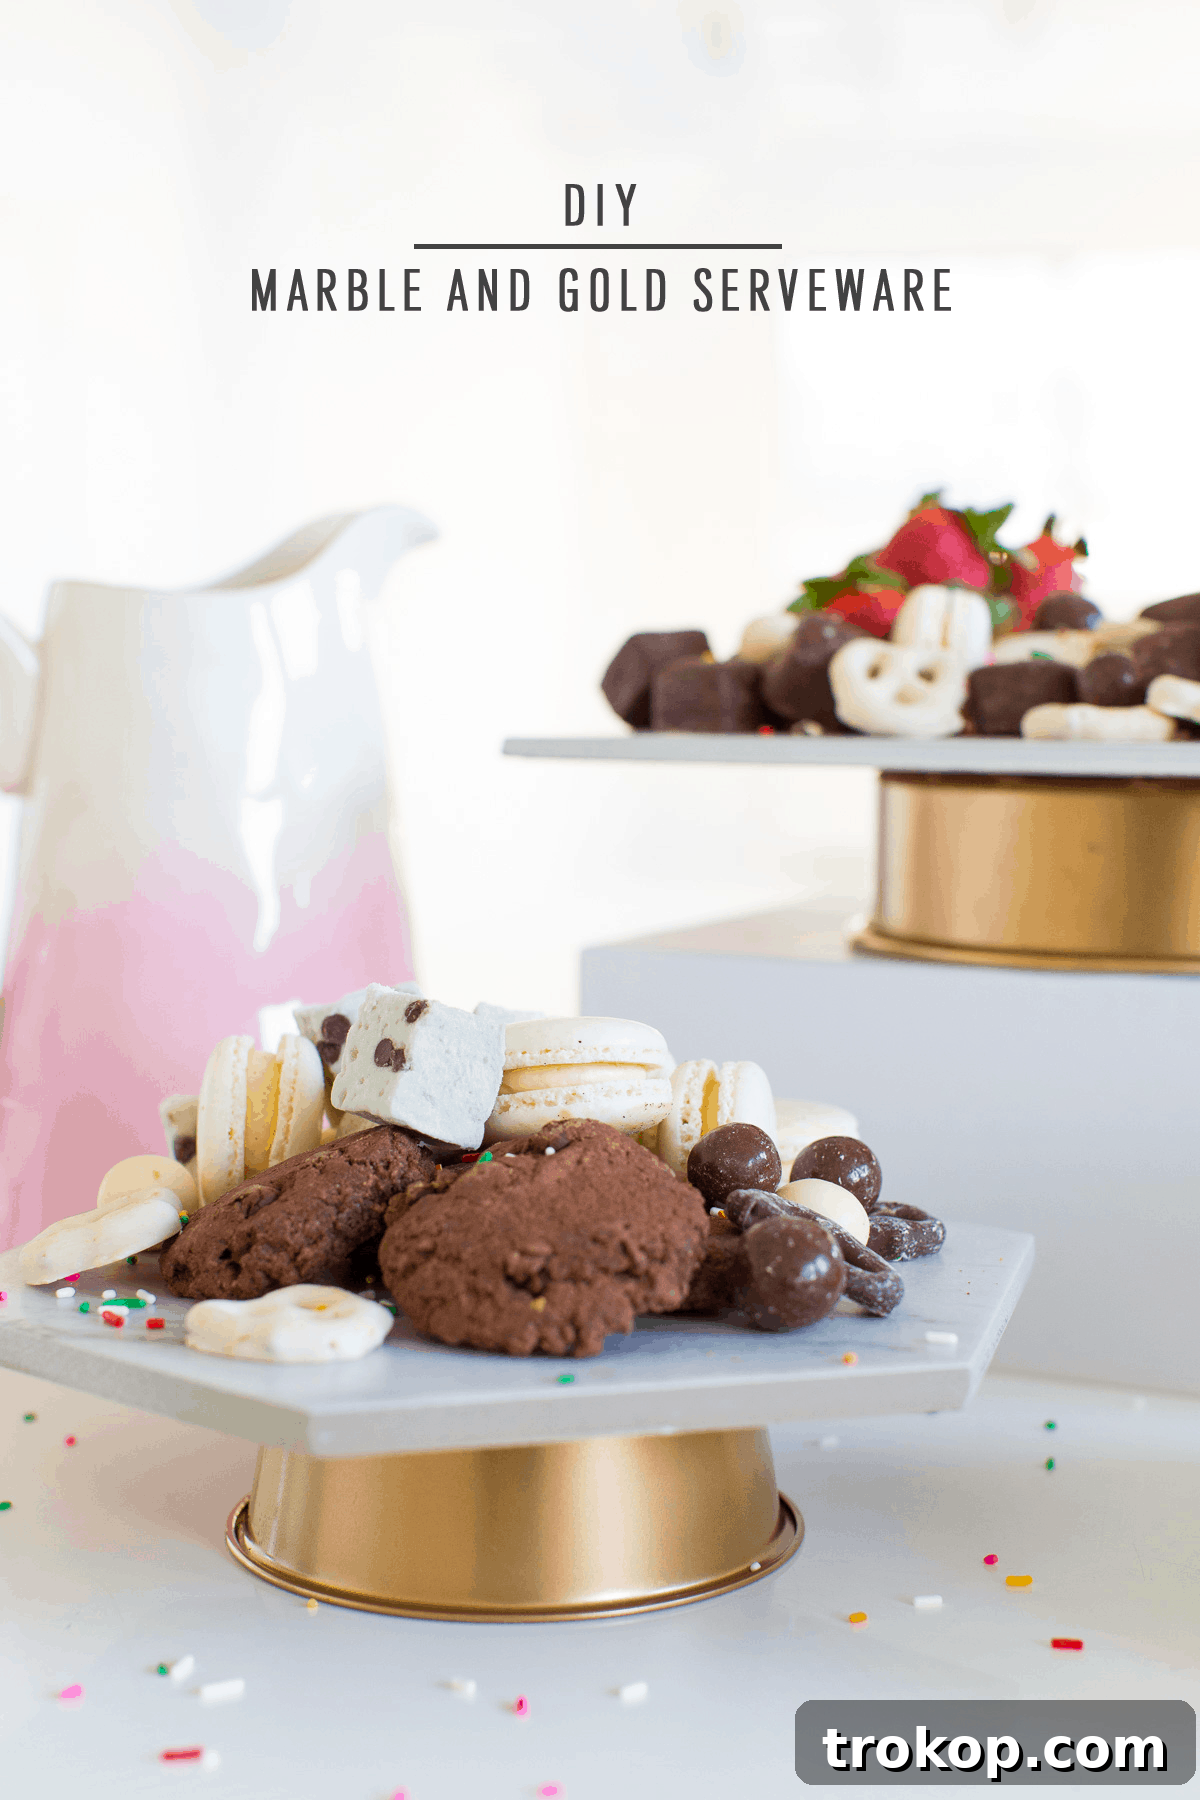
There’s an undeniable charm in hosting, especially when your presentation is as exquisite as your culinary delights. Imagine a beautiful spread of treats, glistening against the sophisticated backdrop of marble and gold. This isn’t just a dream of lavish parties; it’s an achievable reality with our incredibly simple DIY Marble and Gold Serveware project. Forget expensive store-bought stands; we’re transforming ordinary cake pans into stunning, multi-tiered serving pieces that will be the envy of every gathering.
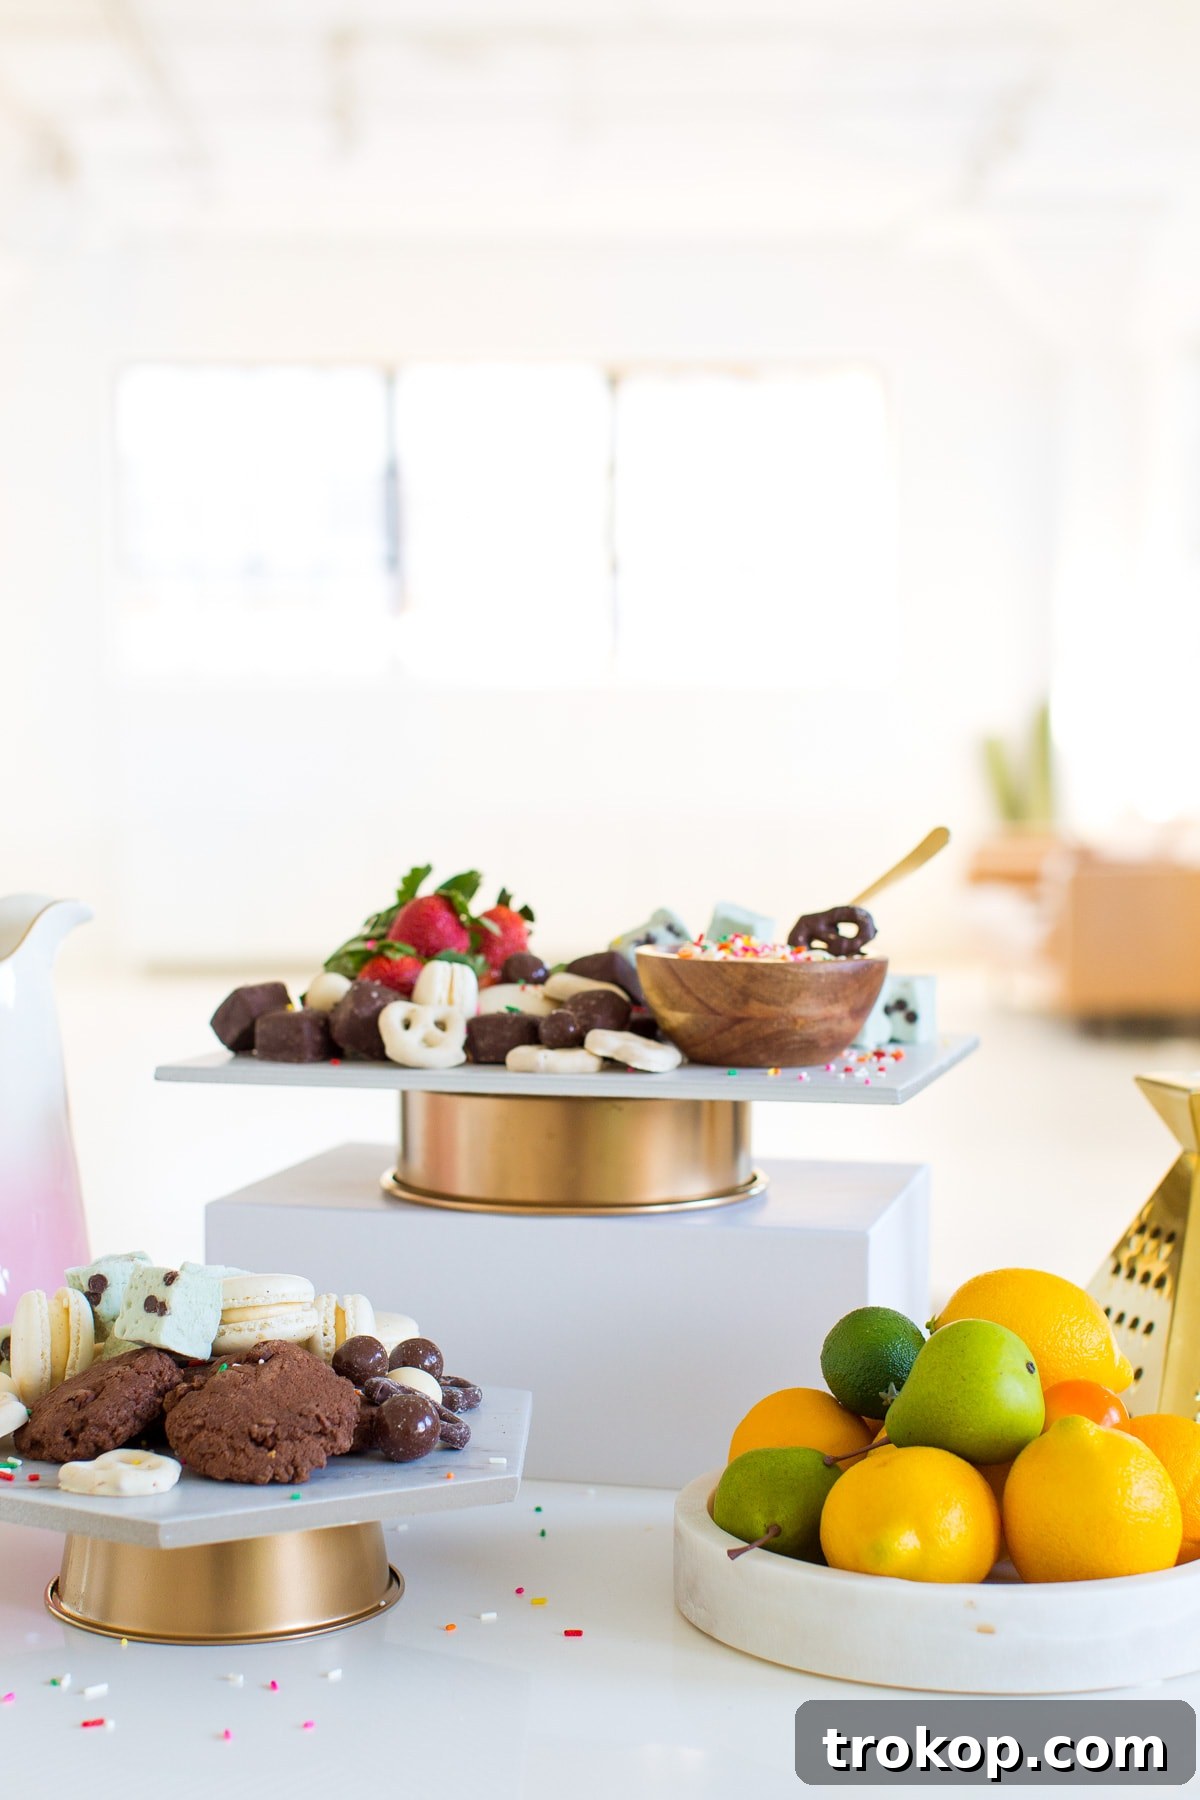
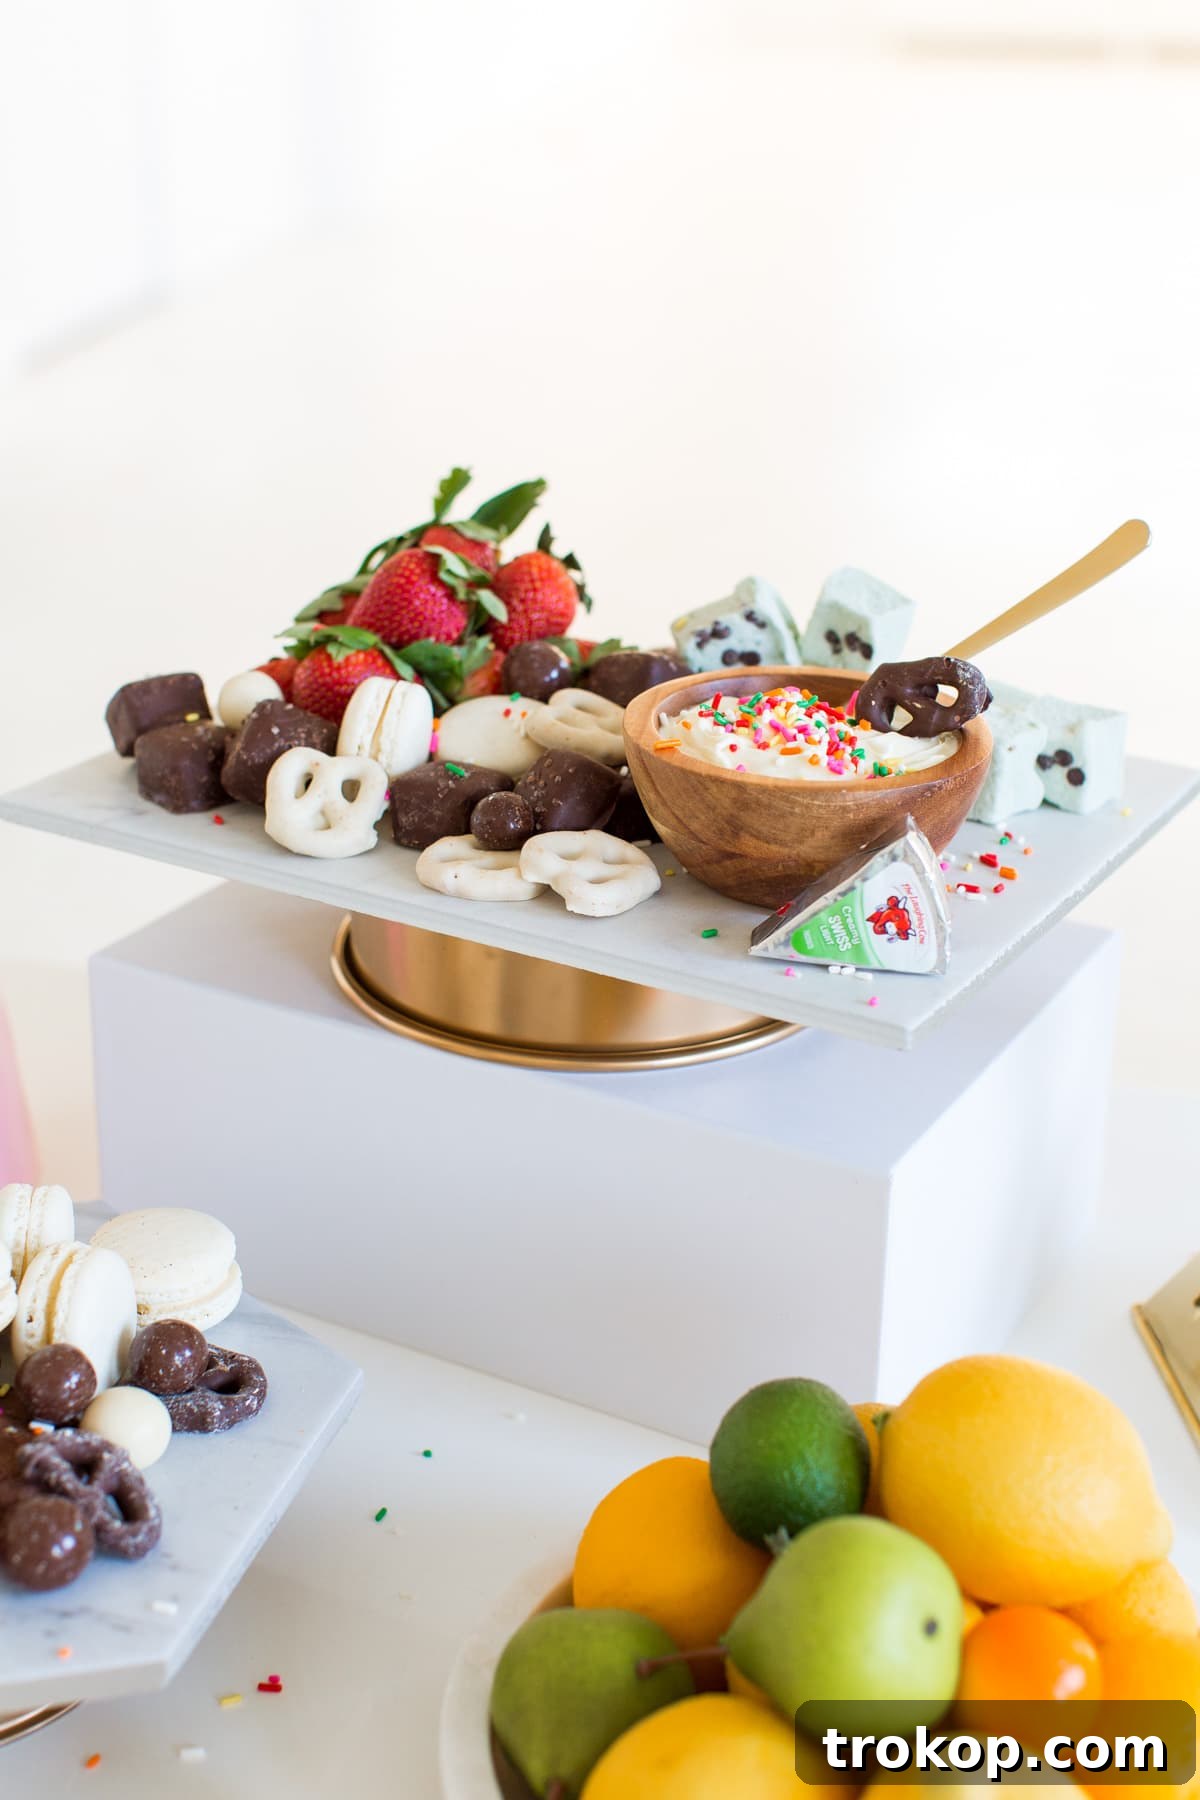
A beautifully curated dessert table or appetizer spread sets a celebratory mood like no other. And when those delightful bites are arranged on bespoke marble and gold stands, it truly elevates the experience. This project isn’t just about creating serveware; it’s about crafting a mood, an aesthetic that whispers luxury without breaking the bank. The best part? This DIY Marble and Gold Serveware is exceptionally easy to make, allowing you to display anything your heart desires with a touch of personalized glamour.
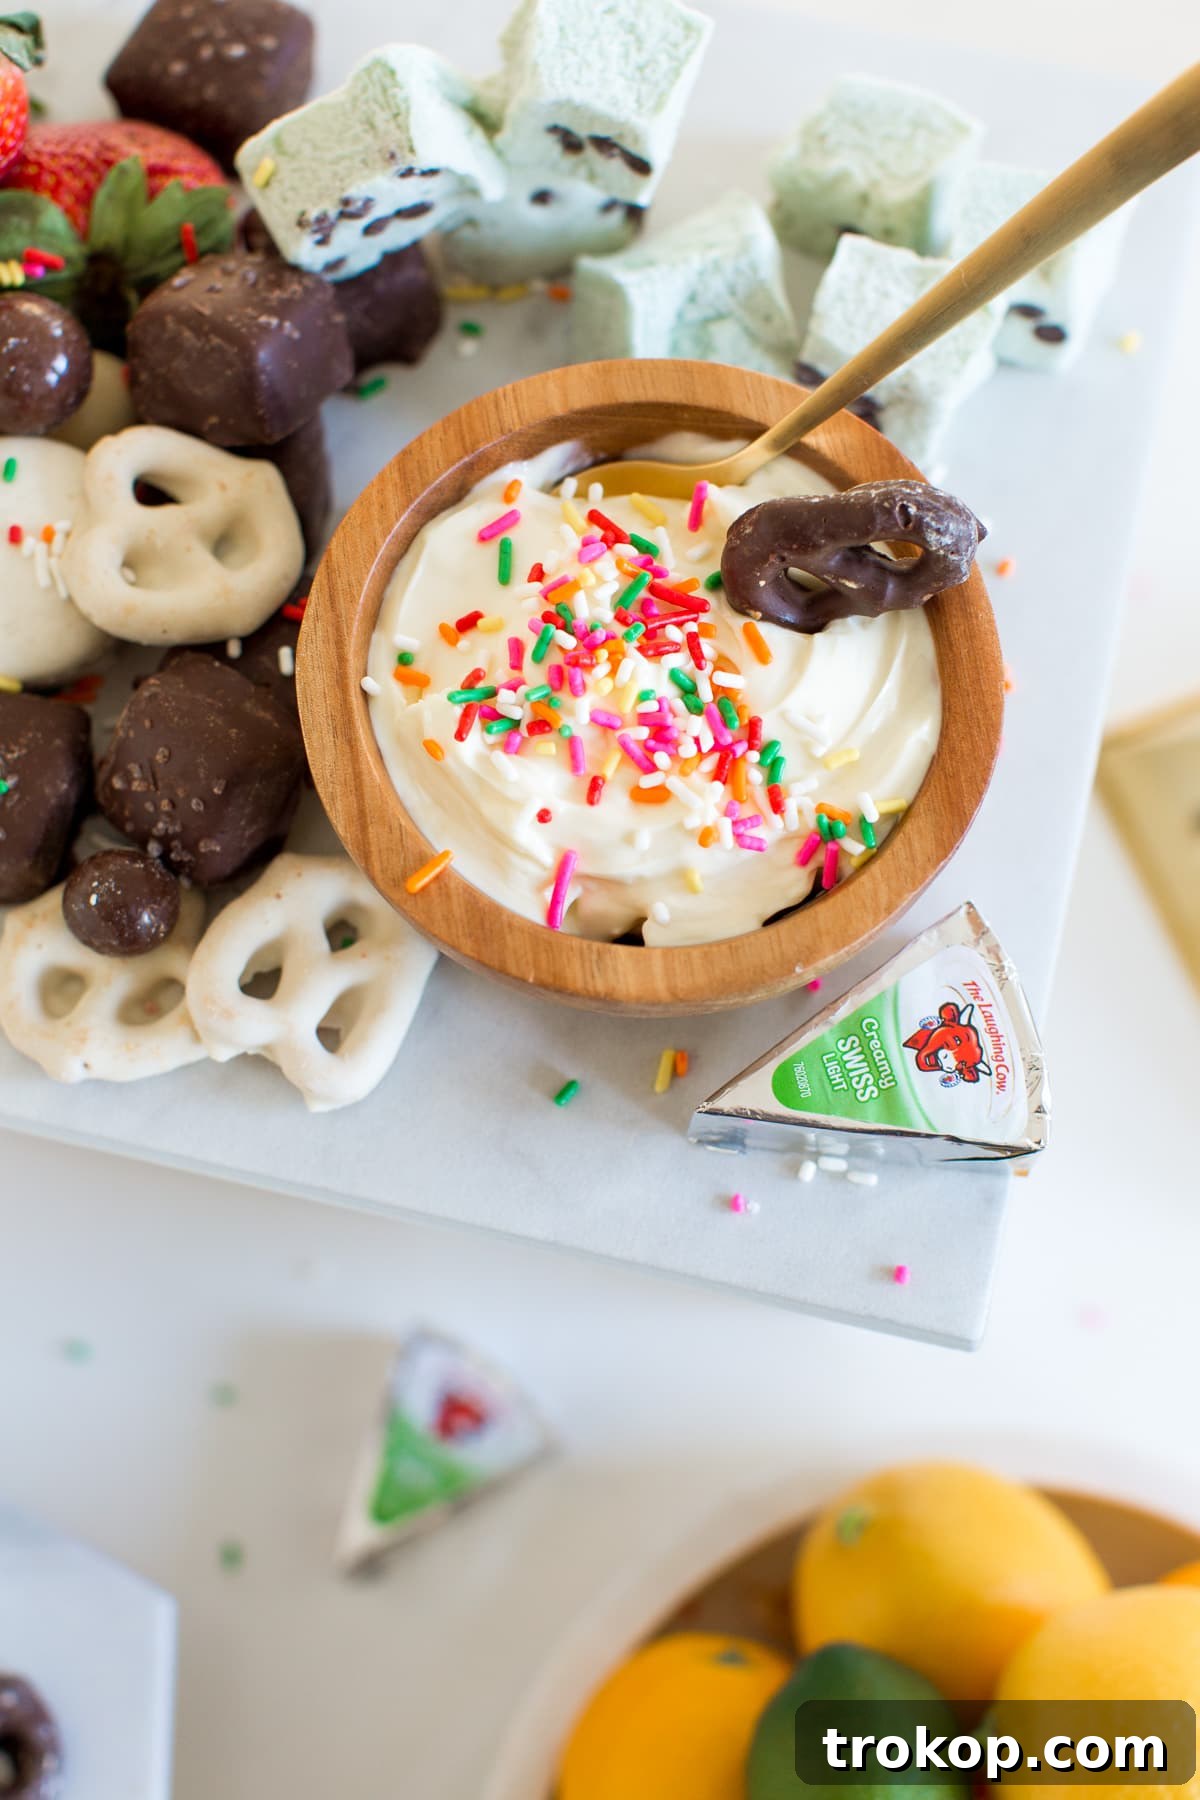
To add a festive touch for the holiday season – or any special occasion – we paired our gorgeous serveware with a delightful dessert cheese dip. Using creamy Light Swiss cheese, this dip offers a perfect balance of sweet and savory, making your culinary contribution as impressive as your handmade decor. But before we dive into the delicious details of the dip, let’s get straight to the magic of crafting your own stunning serving pieces!
One of the most appealing aspects of this project is its affordability and versatility. You can produce an impressive array of serving pieces, in various heights and sizes, for well under $50. This makes it an ideal solution for anyone looking to add high-end aesthetics to their home entertaining without the high-end price tag.
Imagine the compliments at your next brunch, baby shower, birthday party, or even a simple get-together. Your food tables will exude elegance, and your guests will be thoroughly impressed, all thanks to your creativity and a few simple supplies. This project proves that sophistication is well within reach for the savvy DIY enthusiast.
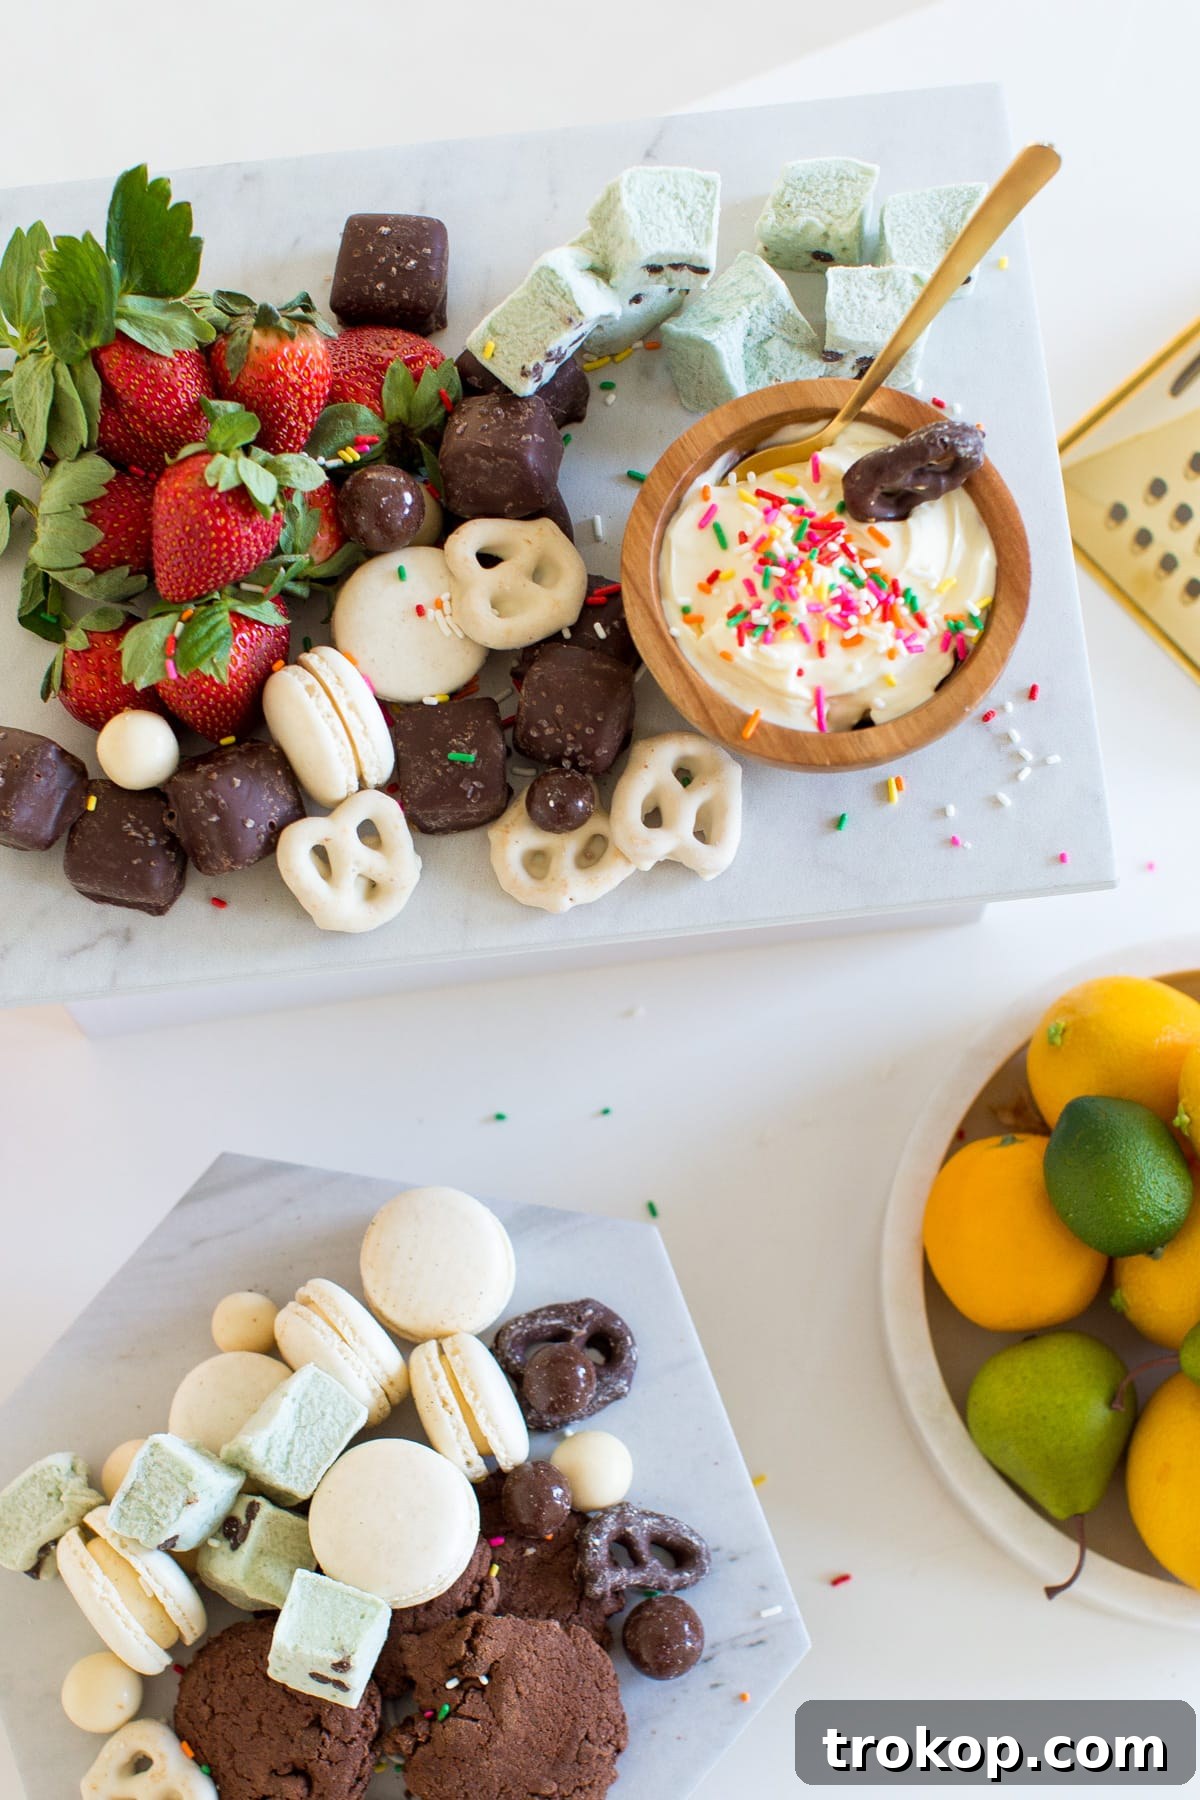
Table of Contents
Essential Materials for Your DIY Marble & Gold Serving Pieces
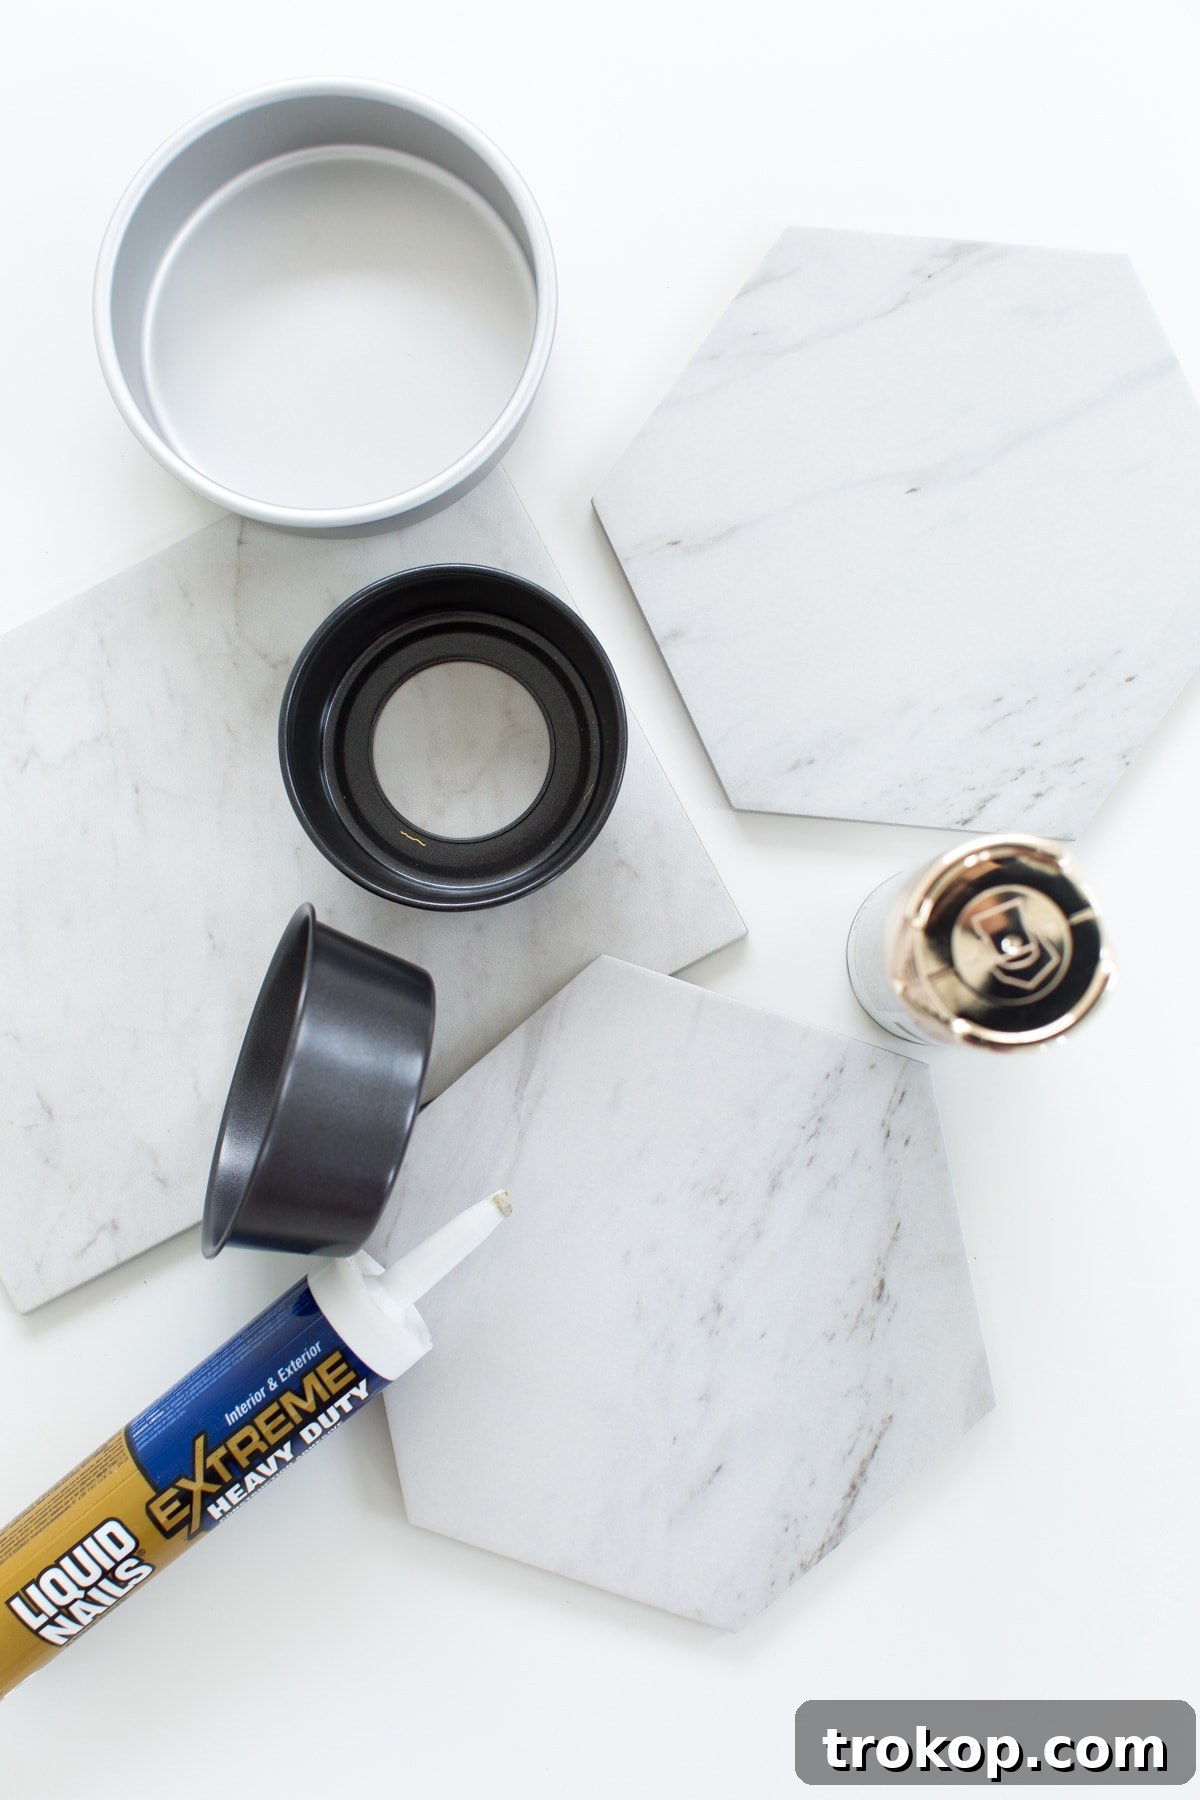
Gathering your materials is the first exciting step in bringing your vision to life. The beauty of this project lies in using readily available and often inexpensive items, proving that luxurious aesthetics don’t require a hefty investment. Here’s what you’ll need to create your stunning marble and gold serveware:
- Marble Hexagon Tile (6-inch): These can often be found at local home improvement stores or specialized tiling shops. Look for genuine marble for an authentic, high-end look. Don’t limit yourself to hexagons; consider other shapes like squares or circles if they better suit your aesthetic.
- Marble Rectangle Tile (size of your choice): Complement your hexagon pieces with rectangular marble slabs for variety. Again, these are available at hardware stores and tile suppliers. Explore different sizes to create dynamic, multi-level displays.
- Liquid Nails (or strong adhesive): A reliable construction adhesive like Liquid Nails is crucial for securely bonding the marble to the metal pans. Ensure it’s suitable for bonding porous materials like stone to metal for a lasting hold.
- Varying Sizes of Inexpensive Cake Pans: This is where the magic happens! Look for metal cake pans, springform pans, or even tart pans at thrift stores, discount retailers, or kitchen supply stores. The key is their diverse sizes and shapes, which will allow you to create varied heights and dimensions for your serveware. Ensure they are clean and free of rust.
- Gold Spray Paint (optional, but recommended): Choose a high-quality metallic gold spray paint for a smooth, even finish. A semi-gloss or gloss finish will give the best shine.
- Protective Gear: Always wear gloves and work in a well-ventilated area when using spray paint and adhesives.
- Cleaning Supplies: Paper towels or an old cloth for cleaning surfaces before painting and gluing.
With these simple materials in hand, you’re well on your way to crafting serveware that looks custom-made and incredibly expensive, but is delightfully budget-friendly.
Step-by-Step Guide: Assembling Your Chic Serveware
Welcome to the beauty of a quick and impactful DIY project! Crafting these elegant marble and gold serving pieces is surprisingly straightforward, taking minimal time but delivering maximum style. Here’s how you can create your own:
Step 1: Prepare Your Cake Pans for a Golden Finish
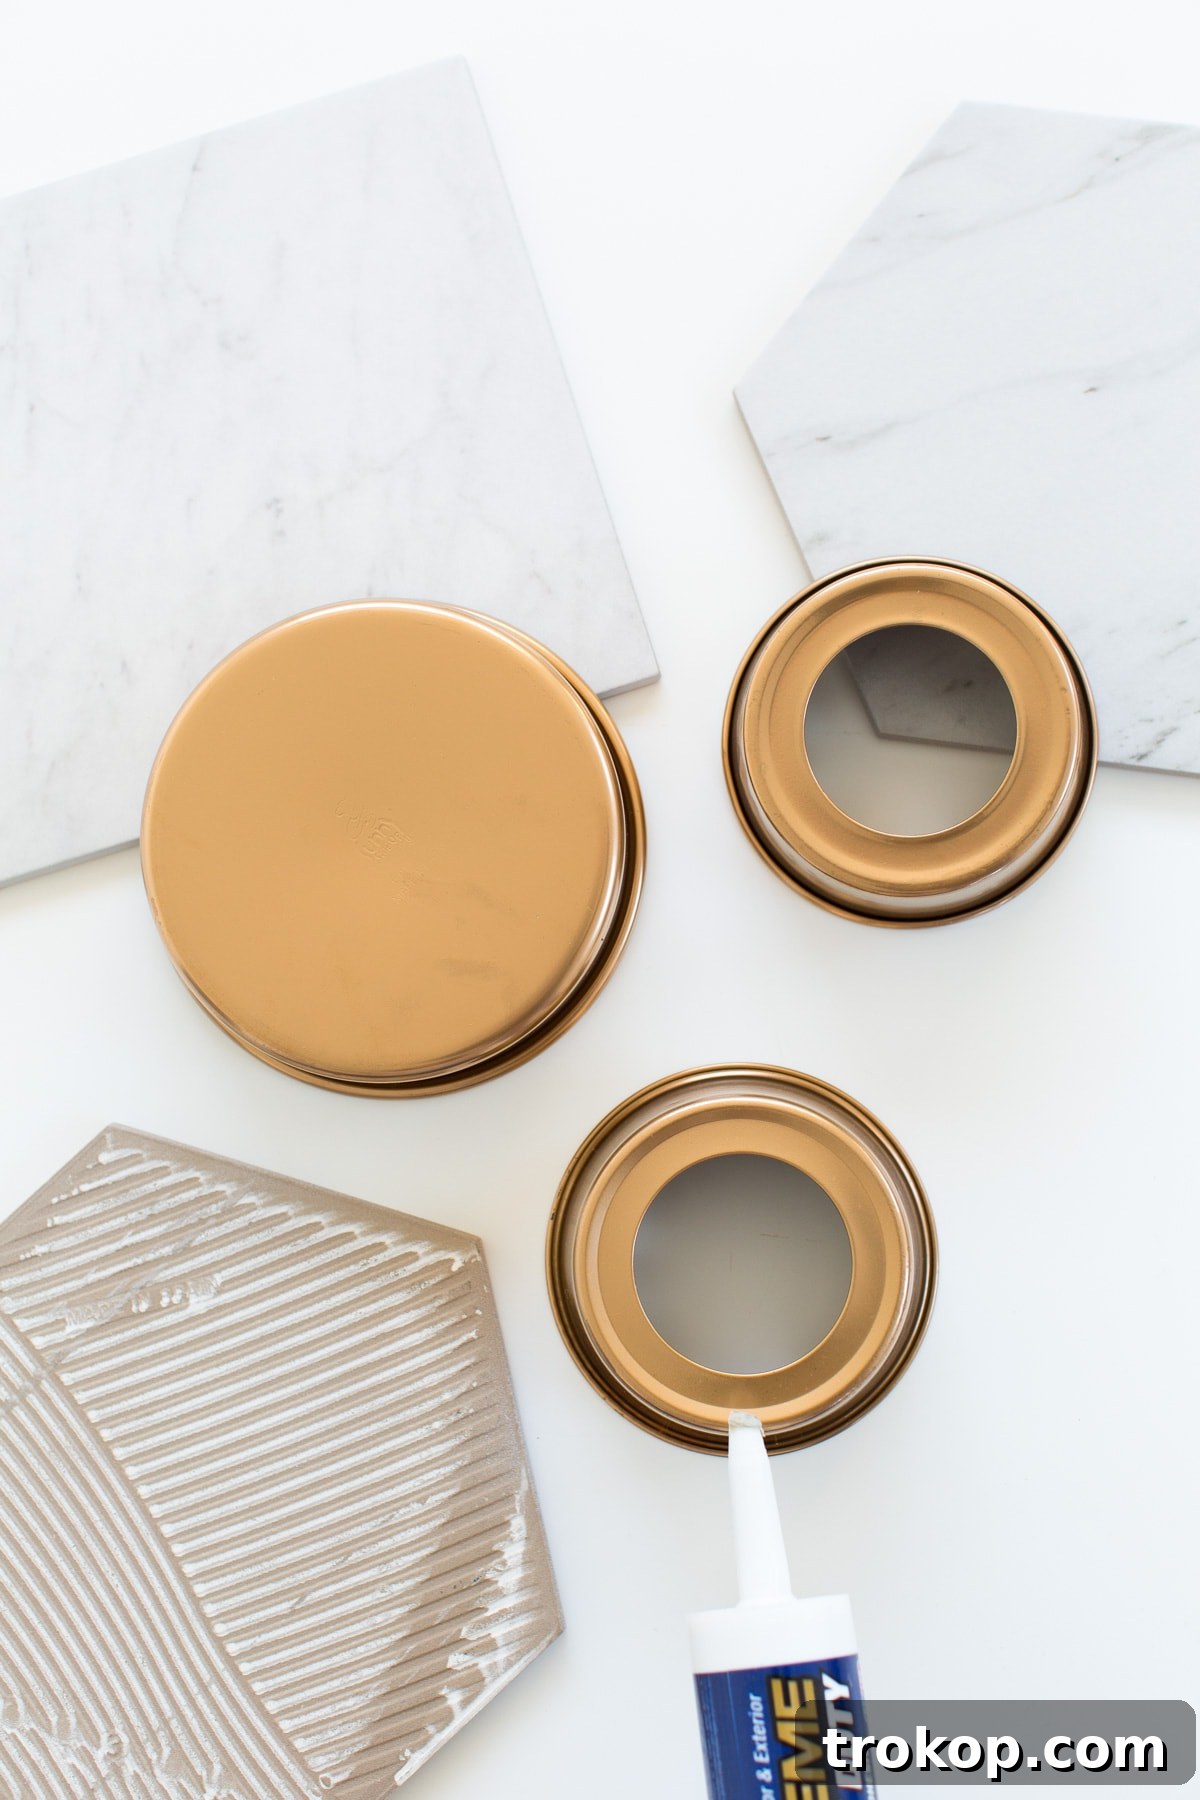
The first step in transforming your humble cake pans into dazzling stands is to give them a luxurious golden makeover. Ensure your cake pans are clean and dry. If they have any greasy residue or rust, clean them thoroughly and let them dry completely. Find a well-ventilated area, preferably outdoors or in a garage with open windows, and lay down newspaper or a drop cloth to protect your workspace. Apply several thin, even coats of gold spray paint to the exterior of the cake pans. Light coats prevent drips and ensure a smooth, professional-looking finish. Allow each coat to dry to the touch before applying the next, typically about 15-20 minutes. Once all coats are applied, let the pans cure completely for several hours, or even overnight, according to the spray paint manufacturer’s instructions. This ensures the paint is durable and won’t scratch easily.
Step 2: Secure the Marble Tops
Once your gold-painted cake pans are fully dry and cured, it’s time to add the elegant marble tops. Take your marble hexagon and rectangle tiles and ensure they are also clean and free of dust. Apply a generous amount of Liquid Nails adhesive to the bottom, unpolished side of each marble piece. Focus the adhesive around the edges and in the center for maximum adhesion. Carefully center each marble shape on top of a gold-painted cake pan, pressing down firmly to ensure good contact. You might need to wiggle it slightly to find the perfect alignment. Once positioned, apply gentle, even pressure for a minute or two. Repeat this process for all your serving pieces, mixing and matching marble shapes with different sized pans to create a dynamic collection.
Step 3: Allow for Complete Curing
After gluing, the most crucial step is patience! Allow the Liquid Nails to set and cure completely. This typically takes 24-48 hours, but always refer to the specific adhesive product’s instructions for the best results. During this time, avoid moving or placing any weight on your newly assembled serveware to ensure a strong, lasting bond. A properly cured adhesive will prevent your marble tops from detaching, ensuring your beautiful creations last through many celebrations.
Step 4: Style and Serve!
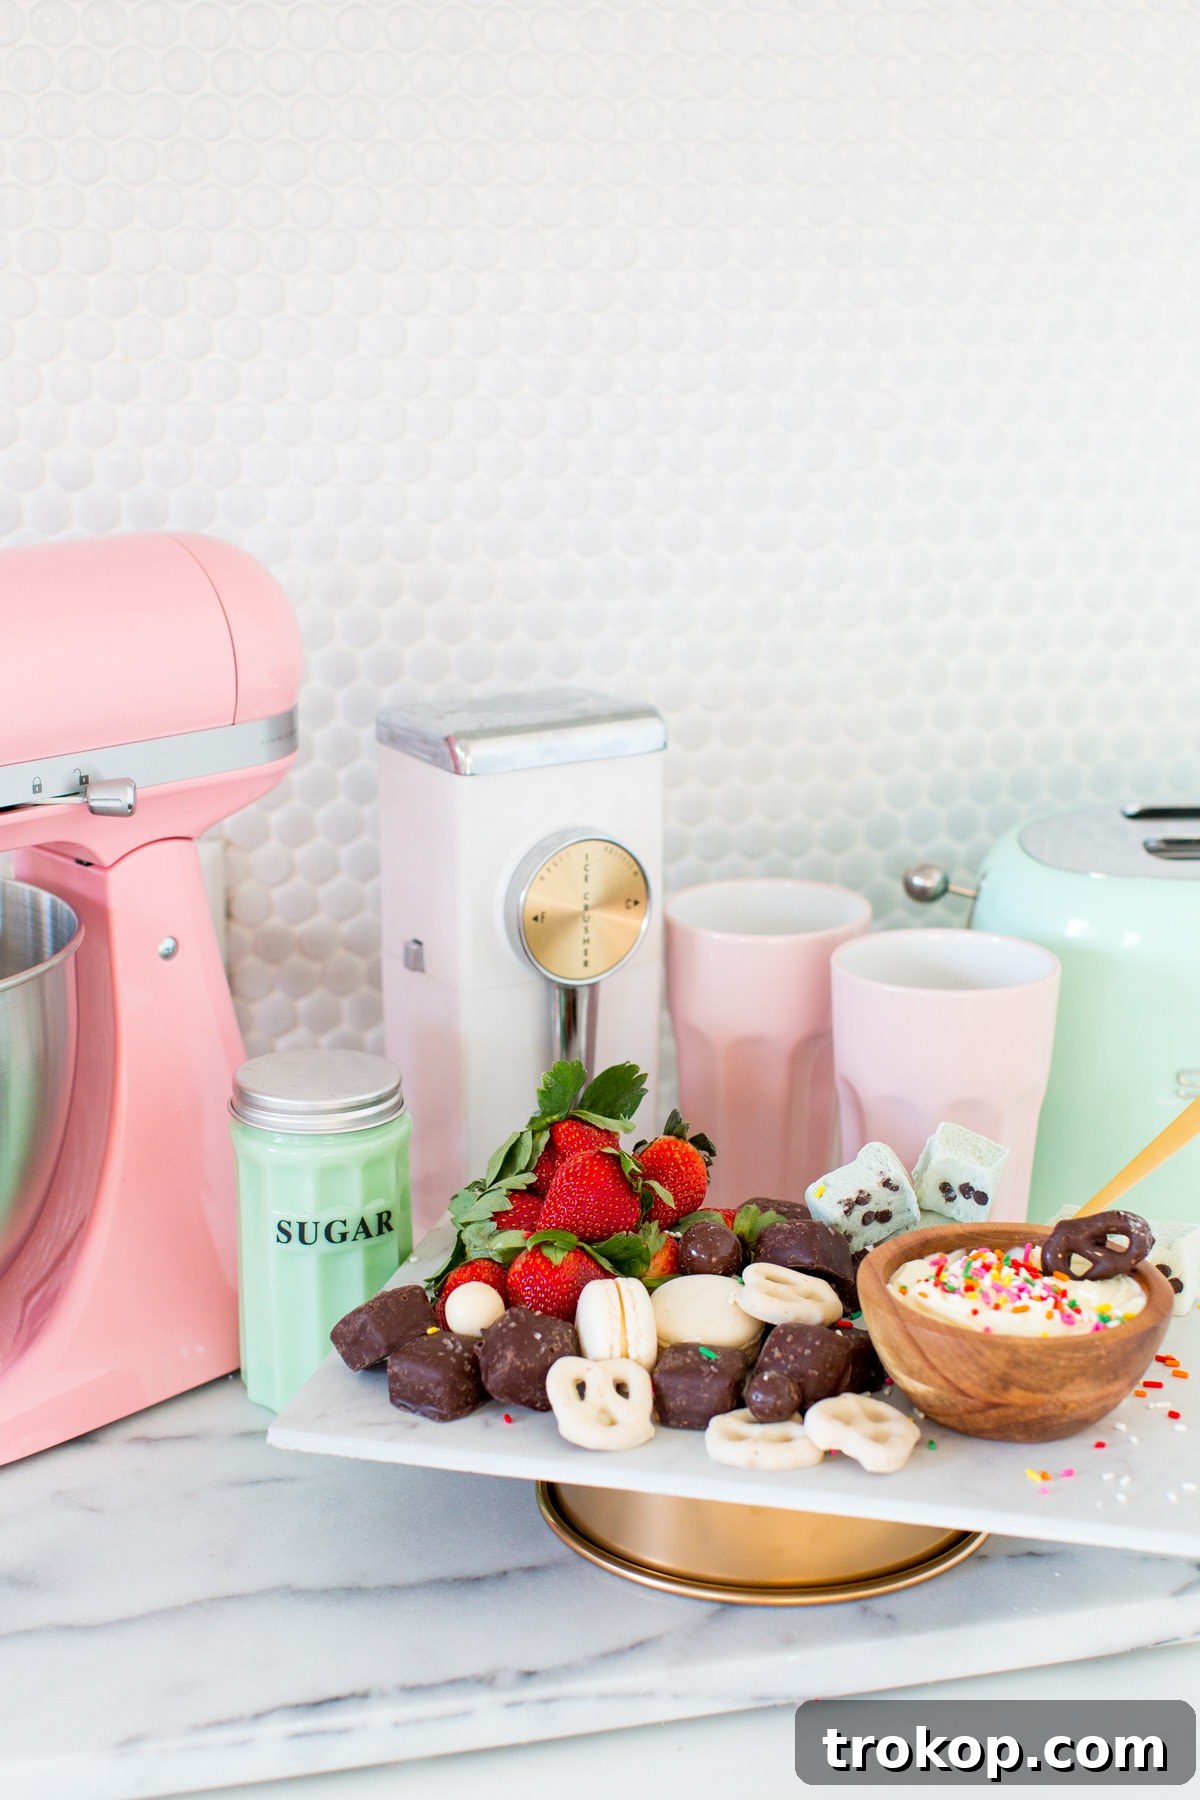
Once your DIY marble and gold serveware is fully cured and ready, the fun begins – styling and serving! Arrange your new pieces on your table, playing with different heights and configurations. Fill them with an assortment of sweet treats, savory appetizers, fresh fruits, or even small decorative items to complement your event’s theme. To inspire your culinary display, we’ve included a quick and easy recipe for a sweetened cheese dip below. It’s the perfect accompaniment to your newly crafted, elegant serving stands!
Elevate Your Presentation: Styling Your New Serveware
Once your beautiful marble and gold serveware pieces are complete, the next step is to unleash your inner stylist! These versatile stands are more than just functional; they are decorative elements that can enhance any tablescape or buffet. Here are some tips for making your new serveware truly shine:
- Mix and Match Heights: Use your varying sizes of cake pans to create visual interest. Place taller stands at the back and shorter ones in the front to give depth to your display. This multi-level arrangement makes your food spread look abundant and professionally styled.
- Themed Decor: While marble and gold are inherently elegant, you can easily adapt them to any theme. For holidays, add festive sprigs of holly or pine. For a romantic setting, delicate rose petals can enhance the look. For a modern vibe, keep it clean and minimalist.
- Color Contrast: The stark white of the marble and the warm gleam of gold provide an excellent canvas for vibrant foods. Brightly colored fruits, richly frosted cupcakes, or colorful macarons will pop beautifully against this elegant backdrop.
- Lighting Matters: Position your serveware where it can catch the light, allowing the gold to shimmer and the marble’s natural patterns to be appreciated. Soft, ambient lighting can create a luxurious atmosphere.
- Beyond Desserts: Don’t limit your serveware to sweets! These stands are perfect for displaying savory appetizers like mini quiches, charcuterie components, or even individual portions of salad for a more formal event.
With these tips, your DIY serveware won’t just hold food; it will become a centerpiece that sparks conversation and admiration.
Delightful Sweet Treat: Light Swiss Cheese Fruit & Dessert Dip
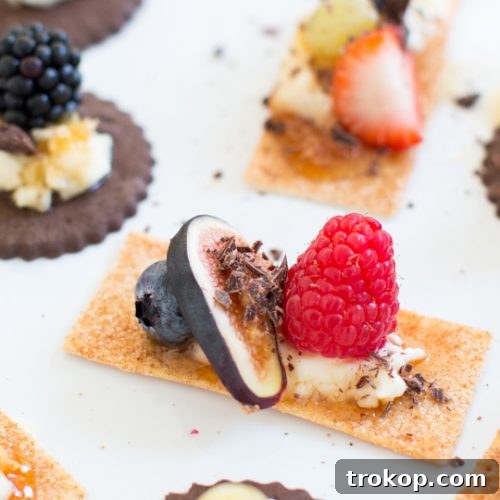
To perfectly complement your new, sophisticated serveware, we’ve included a recipe for an incredibly simple yet surprisingly delicious Light Swiss Cheese Fruit & Dessert Dip. This dip is a fantastic, light option for entertaining, proving that impressive flavors don’t require hours in the kitchen. It’s a delightful blend of creamy cheese and subtle sweetness, perfect for dipping fresh fruits, crackers, and an array of small dessert bites. Its ease of preparation makes it an absolute winner for any host.
Light Swiss Cheese Fruit & Dessert Dip Recipe
The perfect dessert to whip together for entertaining since it’s literally as simple as cheese on crackers, but with an elevated, sweet twist!
Recipe Overview
- Prep Time:
- 10 mins
- Total Time:
- 10 mins
- Course:
- Bites
- Cuisine:
- American
Equipment
- Small bowl
Servings: 6
Ingredients
- 6 wedges The Laughing Cow® Creamy Light Swiss cheese wedges (or more if serving a larger quantity)
- 0.25 cup confectioner’s sugar
- Sprinkles (for garnishing)
- Your choice assortment of fruits and little dessert bites (for dipping, e.g., apple slices, grapes, strawberries, vanilla wafers, graham crackers, mini cookies)
Instructions
- In a small mixing bowl, combine the confectioner’s sugar and The Laughing Cow Creamy Light Swiss cheese wedges.
- Stir vigorously with a spoon or whisk until the mixture is smooth and well combined, forming a creamy dip.
- Transfer the dip to your new marble and gold serveware. Garnish with a generous sprinkle of your favorite colorful sprinkles for a festive touch.
- Serve immediately with your chosen array of sweet light bites and fresh fruits for dipping. Enjoy this simple yet delightful treat!
Nutrition (per serving, estimated)
| Calories | Carbohydrates | Protein | Fat | Saturated Fat | Cholesterol | Sodium | Sugar | Calcium |
|---|---|---|---|---|---|---|---|---|
| 21 kcal | 5 g | 1 g | 1 g | 1 g | 1 mg | 3 mg | 5 g | 10 mg |
KEYWORD: appetizers, cheese, dessert, fruit, sprinkles, sweet dips, entertaining recipes, easy party food

Your Next Celebration Awaits: Craft, Serve, Enjoy!
With these simple steps, you’ve not only created beautiful, custom serveware but also unlocked a world of elegant entertaining possibilities. The beauty of DIY lies in the personal touch, the satisfaction of making something uniquely yours, and the joy of sharing it with others. Whether it’s for the festive holiday season, a special milestone, or just an excuse to gather friends, your new marble and gold serving pieces will undoubtedly impress.
Remember, the best part is that you still have plenty of time to whip these up before any upcoming celebrations. So, grab your supplies, get creative, and prepare to elevate your next gathering with stunning, handmade elegance and a delightful dessert dip!
A big thanks to our friends at The Laughing Cow® for partnering with us on this post! Sugar & Cloth has chosen to donate 5% of all sponsored campaigns to charity, which you can read more about right here.