
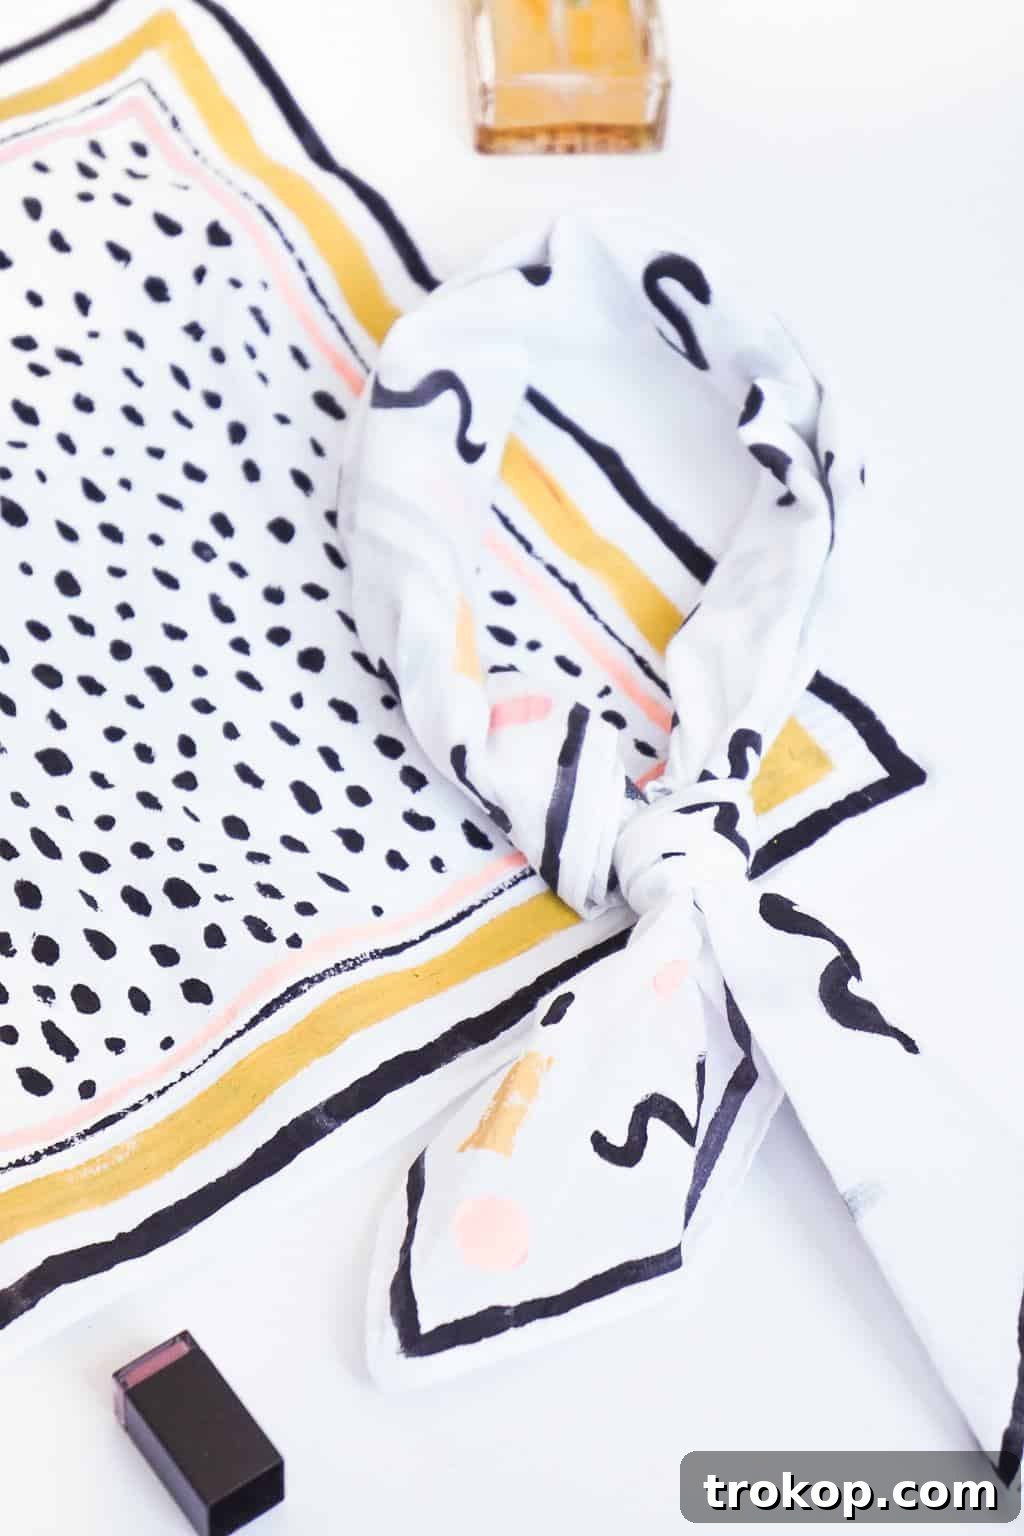
DIY No Sew Neckerchief: A Stylish and Easy Tutorial
Elevate your wardrobe with a touch of flair and personality! This DIY no-sew neckerchief tutorial is perfect for adding a chic and unique accessory to any outfit. Whether you’re a beginner crafter or a seasoned DIY enthusiast, this project is incredibly easy and customizable to suit your individual style.
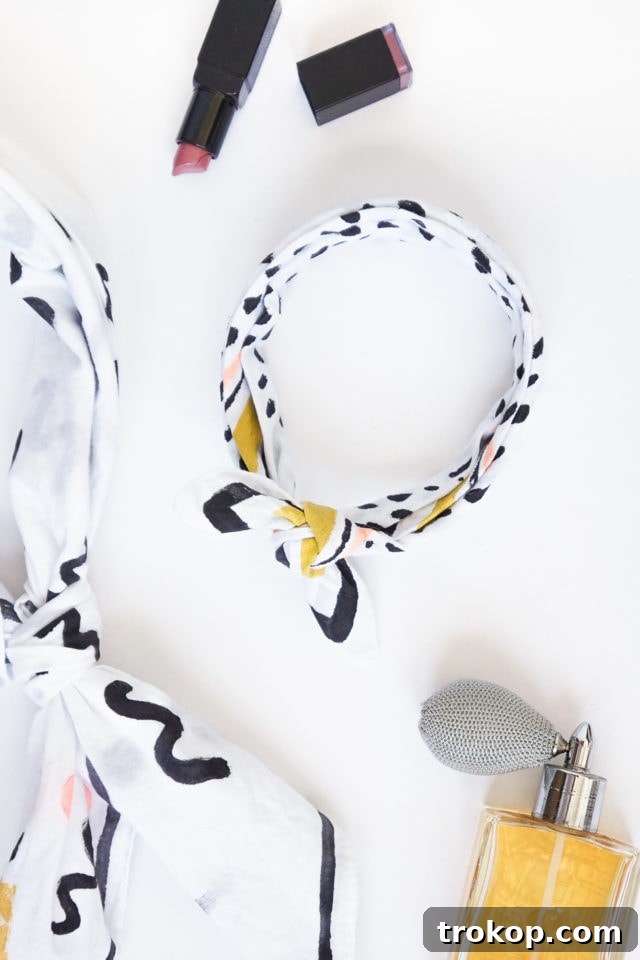
The neckerchief is a timeless accessory that can transform even the most basic ensemble into something special. It’s undeniably chic, often playful, and instantly adds a touch of sophistication. A well-chosen neckerchief demonstrates thoughtfulness and attention to detail, elevating your overall look.
And let’s be honest, “neckerchief” is just a fun word to say! What’s not to love about an accessory that’s both stylish and enjoyable to pronounce?
If you’re like many fashion-conscious individuals looking to refresh your wardrobe with new and exciting accessories, this DIY project is tailor-made for you. Escape the mundane and unleash your creativity by crafting a personalized no-sew neckerchief. It’s a fantastic way to spend a cozy afternoon, especially when the weather outside is less than ideal.
These neckerchiefs are more than just accessories; they’re statement pieces. Their customizable nature allows you to express your individuality and add a unique touch to any outfit, making them a versatile addition to your collection.
While you’re at it, consider exploring other DIY projects to enhance your style. A statement DIY pom-pom scarf, for instance, is perfect for colder weather, providing both warmth and a playful element to your winter wardrobe.
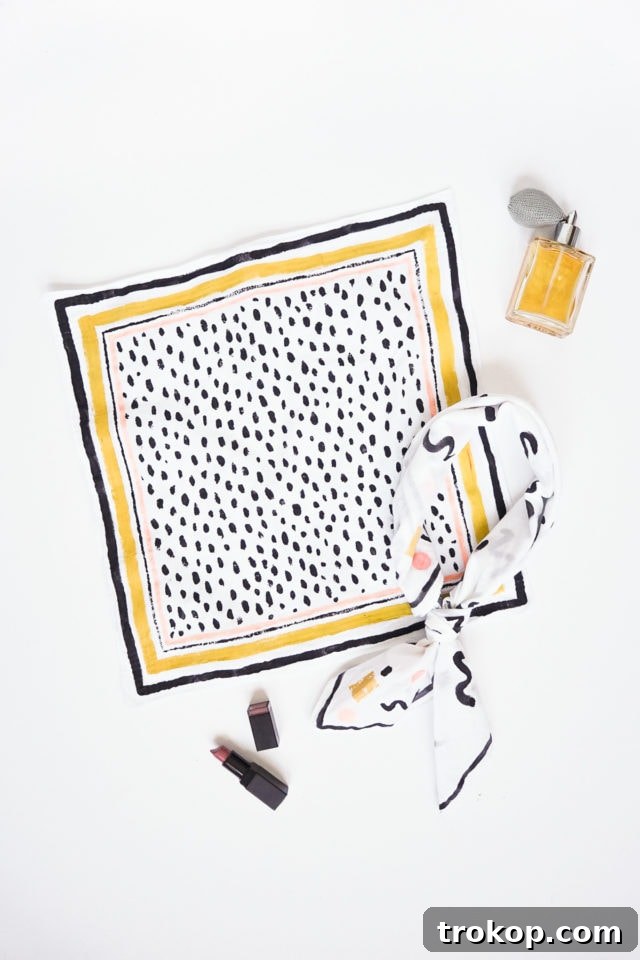
Table of Contents
- Materials and Tools Needed
- How to Make Your No-Sew Neckerchief
- Different Ways to Tie Your Neckerchief
- DIY Costume Ideas
Materials and Tools Needed to Make a Patterned DIY No Sew Neckerchief
Before you begin, gather all the necessary materials and tools. Having everything readily available will streamline the crafting process and ensure a smooth, enjoyable experience.
- Cotton Gauze Neckerchiefs or Handkerchiefs: Opt for a 27” x 27” cotton gauze neckerchief for a looser, more traditional fit, or a 16.5″ x 16.5″ cotton handkerchief for a snugger, more contemporary look.
- Acrylic Fabric Paint: Choose a variety of colors that reflect your personal style and complement your existing wardrobe.
- Fabric Paint Heat Setting Medium: This is crucial for ensuring the paint adheres properly to the fabric and remains vibrant wash after wash.
- Paintbrush and Dish: For mixing and applying the paint. A small dish or palette will help keep your workspace tidy.
- Tape: Painter’s tape or masking tape is ideal for securing the fabric and creating crisp, clean lines in your design.
- Drop Cloth: Protect your work surface from accidental paint spills with a drop cloth or old sheet.
- Design Inspiration: Browse Pinterest boards or magazines for pattern and design ideas. Consider creating your own unique designs for a truly personalized touch.
- Iron: For heat-setting the fabric paint to ensure its durability.
- Clothespins and String: For hanging the neckerchief to dry.
How to Make a Patterned DIY No Sew Neckerchief
Now that you have all your materials, let’s dive into the step-by-step instructions for creating your own unique no-sew neckerchief.
This project works well with neckerchiefs of different sizes. The larger 27” size offers a more relaxed, French foulard style around the neck, while the smaller 16.5” size fits snugly with a single knot. Experiment to find the size that best suits your preferences and styling needs.
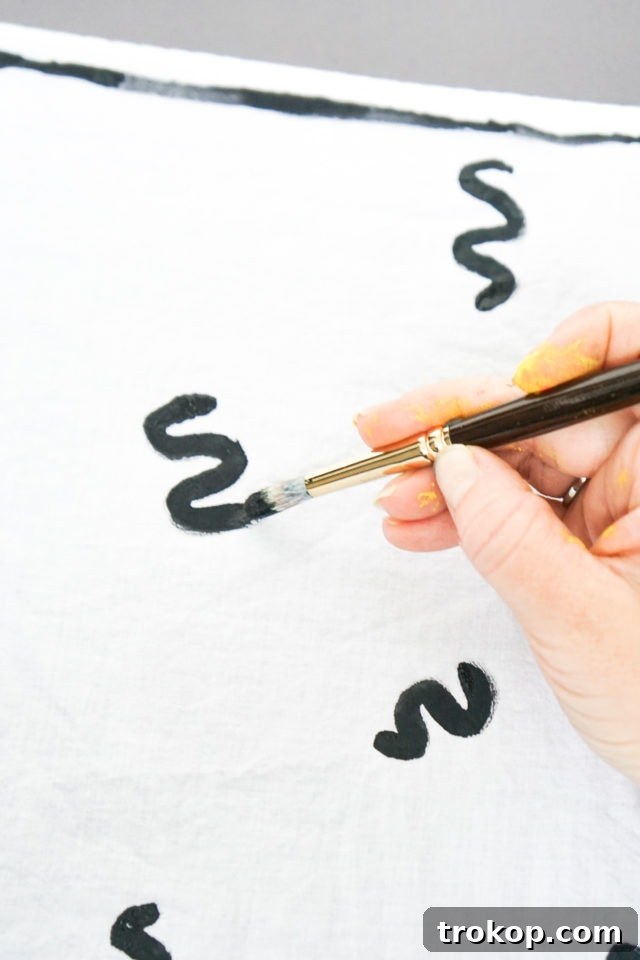
Step 1 — Prepare the Neckerchief: Run the neckerchief through a wash and dry cycle. This will soften the fabric and remove any sizing or finishes that may interfere with the paint adhesion.
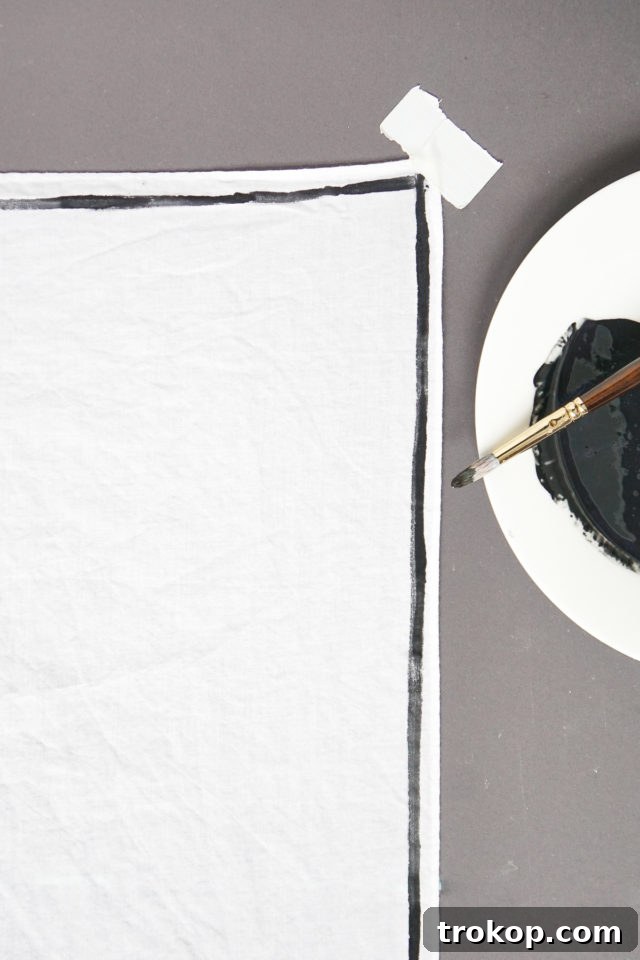
Step 2 — Secure the Fabric: Tape down the four corners of the neckerchief onto your protected work surface. This will keep the fabric taut and prevent it from shifting while you paint, ensuring a clean and precise design.
Step 3 — Design and Pattern: Print off your design inspiration and slide it underneath the neckerchief for easy tracing. Alternatively, unleash your creativity and freehand paint your pattern. If using a handkerchief with a woven line design, use these lines as a guide for creating a neat border.
Step 4 — Painting: Mix the acrylic paint with the fabric paint medium at a 1:1 ratio, or according to the medium’s instructions. This step is crucial for ensuring the paint adheres properly to the fabric and remains flexible. Once mixed, begin painting your design onto the neckerchief, taking your time to create a pattern that reflects your personal style.
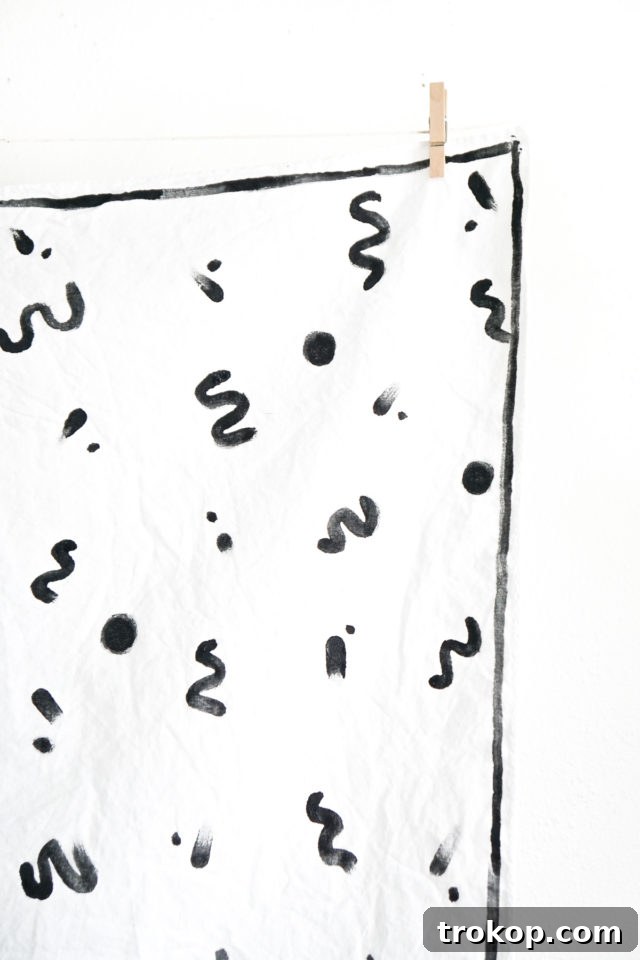
Step 5 — Drying: Once you’ve completed your design, carefully remove the tape and hang the neckerchief to dry. Avoid leaving it to dry on the work surface, as it may stick and become difficult to remove without damaging the paint.
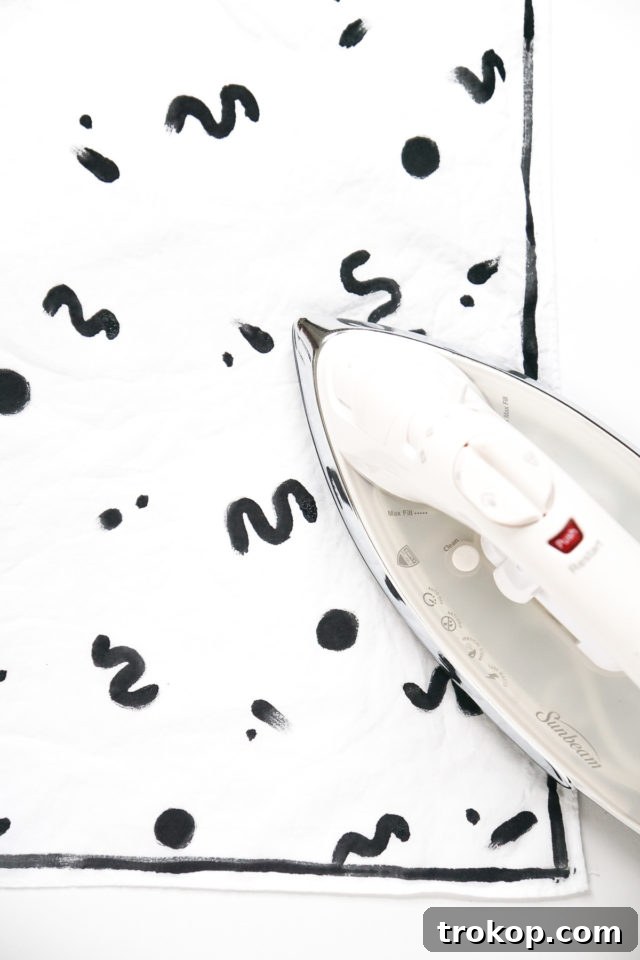
Step 6 — Heat Setting: Once the paint is completely dry, iron the fabric on a medium heat setting for 3-5 minutes. This heat-setting process is essential for permanently bonding the paint to the fabric, ensuring your design remains vibrant and durable wash after wash.
Different Ways to Tie a Neckerchief
Now that your custom-designed neckerchief is complete, it’s time to explore the various ways to style it. The possibilities are endless!
Experiment with different knots, wraps, and folds to create a look that complements your outfit and showcases your personality. From classic neck ties to trendy headband styles, the neckerchief offers a versatile way to express yourself.
Need some inspiration? There are many helpful video tutorials available online demonstrating various neckerchief tying techniques. These tutorials can provide visual guidance and help you discover new and creative ways to wear your DIY accessory.
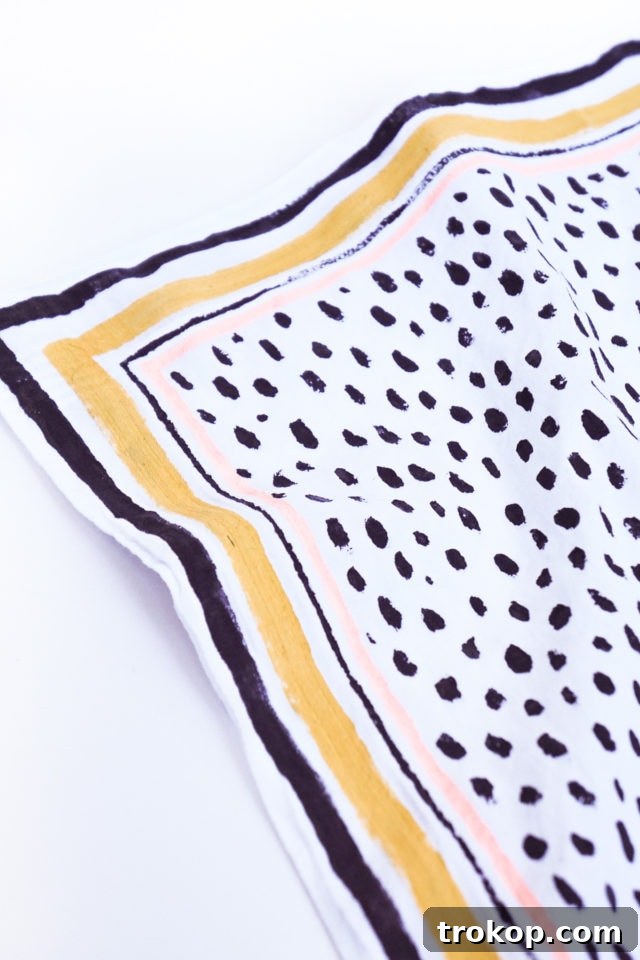
So there you have it – a simple and stylish way to add a touch of personality to your wardrobe. Whether you’re dressing up a basic t-shirt and jeans or adding a finishing touch to a night-out ensemble, a fun neckerchief can make all the difference.
Looking for a thoughtful and personalized gift? This DIY neckerchief is a perfect option for friends and family members. Its handmade nature and customizable design make it a truly unique and cherished present.
If you enjoyed this no-sew project, you might also like creating a polka dot DIY no-sew infinity scarf. Like the neckerchief, this project requires no sewing and offers a fun and easy way to add a touch of style to your wardrobe.
More DIY Costume Accessories Ideas
For more DIY costume accessory ideas like this one, be sure to check out these related projects:
- DIY Clay Letter Keychain
- Office Accessories – Patterned DIY Magnetic Board
- DIY Cooling Neckerchiefs That Snap For Babies
- DIY Halloween Wigs & Lashes Costumes
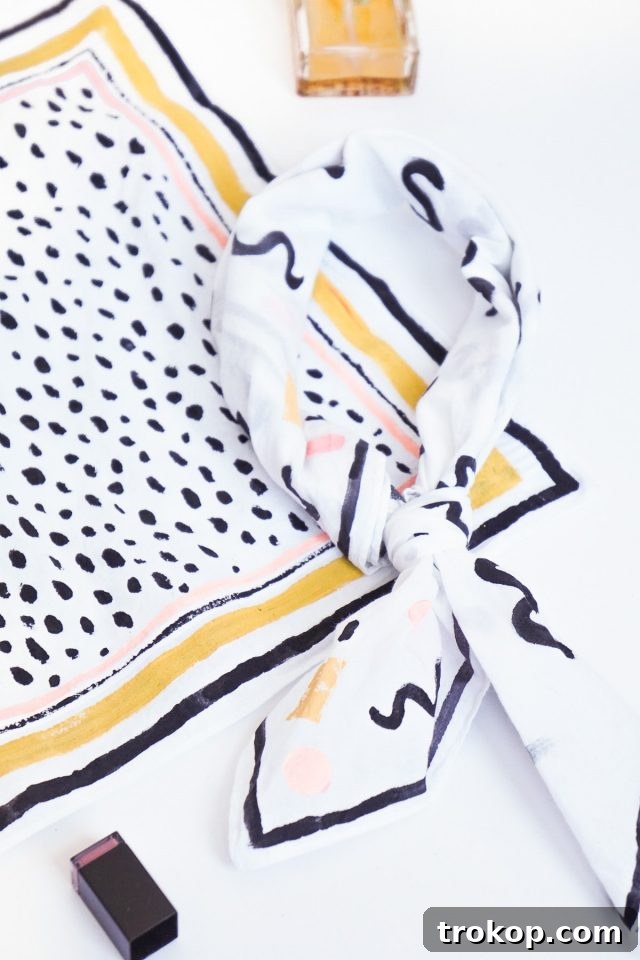
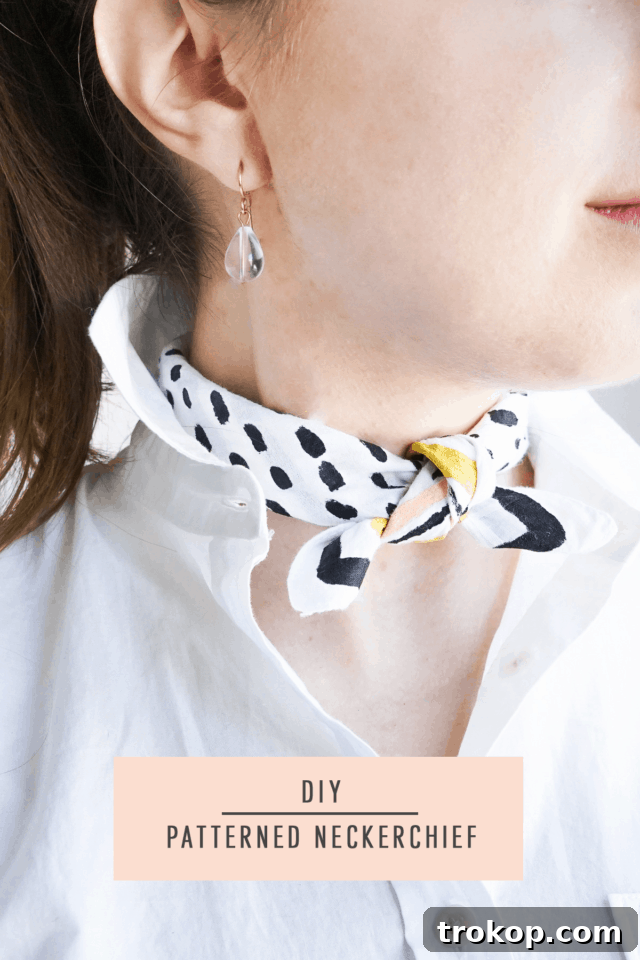
DIY No Sew Neckerchief Recipe
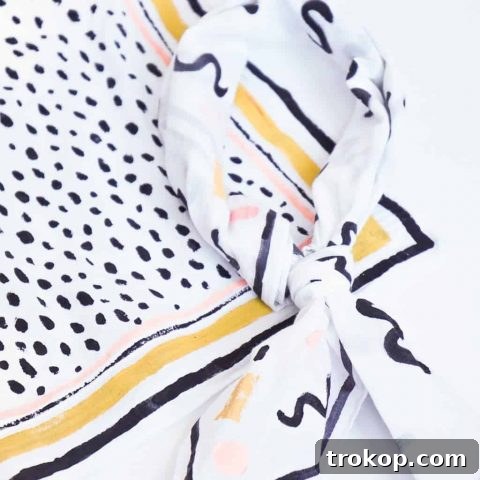
Make a stylish no sew neckerchief with this pattern! Step by step instructions for how to make your own neckerchief.
Details
- Prep Time: 1 hr
- Dry Time: 6 hrs
- Total Time: 7 hrs
- Course: DIY
- Category: Style & Beauty
Equipment
- Iron
- Paintbrush and dish
- Tape
- Drop cloth (or something to protect your work surface)
- Clothespins and string
Materials
- 1 cotton gauze neckerchief (27″x27″ neckerchief or 16.5″ x 16.5″ cotton handkerchief)
- Acrylic fabric paint (in various colors of your choice)
- Fabric paint (in a heat setting medium for clothing)
Instructions
- Run the neckerchief through a wash/dry cycle to soften it up.
- Tape down the neckerchief’s four corners onto your protected work surface to keep it in place as you paint.
- Print off your pattern inspiration and slide it underneath your neckerchief. OR free hand paint your pattern. On the smaller neckerchief, you can use the handkerchief’s woven line design as the guide for the border.
- Mix the acrylic paint with a fabric paint medium at a 1:1 ratio or according to the instructions and begin painting the neckerchief.
- Once you’ve completed your design, remove the tape and hang the neckerchief up to dry. Don’t leave it to dry on the work surface as it may stick and make it difficult to remove.
- Once completely dry, iron the fabric with a medium heat setting for 3-5 minutes.
Cost: $30
Keywords: diy no sew neckerchief

Don’t forget to share your DIY No Sew Neckerchief with us on Instagram using the hashtag #sugarandclothloves. We always love seeing all of your creations! Looking for more interior design inspiration? You can find all of our home decor tutorials and ideas right here!
More Easy DIY’s To Try

DIY Coasters: How to Make Coasters Using Cricut Infusible Ink!
Continue Reading
DIY Rug Hook Pillow
Continue Reading
Colorful DIY Tufted Pillows
Continue Reading
DIY Clay Letter Keychain
Continue Reading
DIY Mini Face Planters
Continue Reading
DIY Mid Century Planters
Continue Reading
DIY Mid Century Modern Planter
Continue Reading
DIY Table Runner Idea: How to Make a Table Runner Iron-On + Download!
Continue Reading
DIY Printable Inspiration Artwork Prints
Continue Reading
DIY Marble Table Top with Gold Accents
Continue Reading