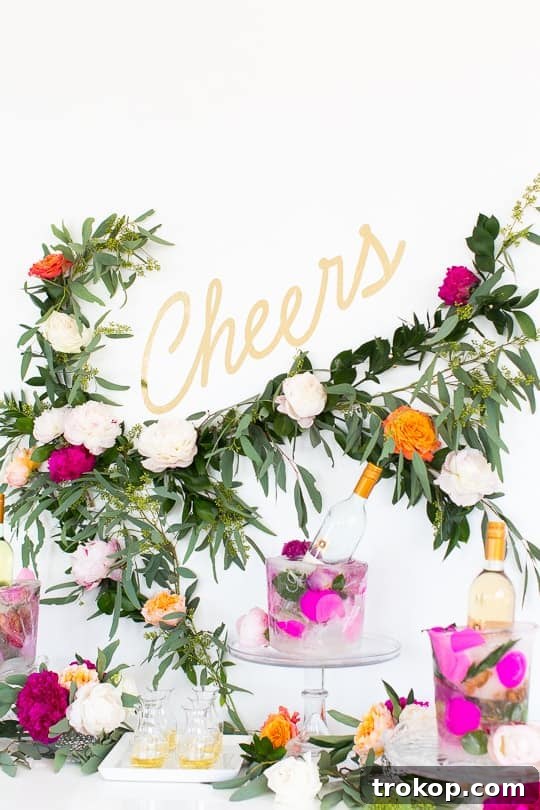
Welcome to a realm where elegance meets simplicity, transforming your ordinary gatherings into extraordinary celebrations. As the festive season approaches, or perhaps for any occasion that calls for a touch of class, we’re thrilled to present an enchanting centerpiece that will undoubtedly captivate your guests: the DIY Frozen Wine Chiller. Forget conventional ice buckets; this handcrafted marvel not only keeps your wine perfectly chilled but also serves as a stunning visual spectacle, blending seamlessly with any decor from casual to sophisticated. Prepare to impress with a creation that is as functional as it is beautiful.
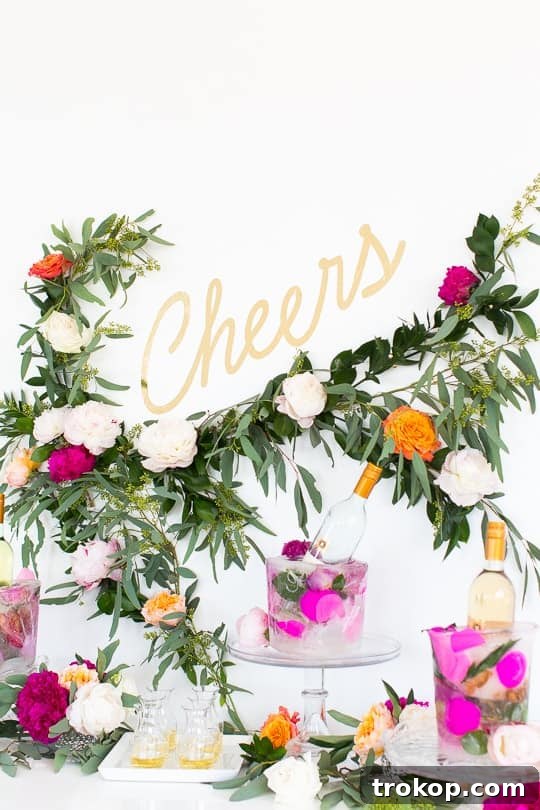
As the year gracefully draws to a close, or as you plan for memorable moments ahead, we reflect on the joy of sharing innovative ideas for entertaining. Our collaboration with Mirassou Winery has inspired us to bring you creative and elegant solutions for hosting, and this DIY Frozen Wine Chiller stands out as our absolute favorite. Its versatility knows no bounds; you can adorn it with seasonal flowers and elements for holiday cheer, or keep it minimalist for a chic summer soiree. This project offers endless customization possibilities, allowing it to adapt to your aesthetic preferences throughout the year.
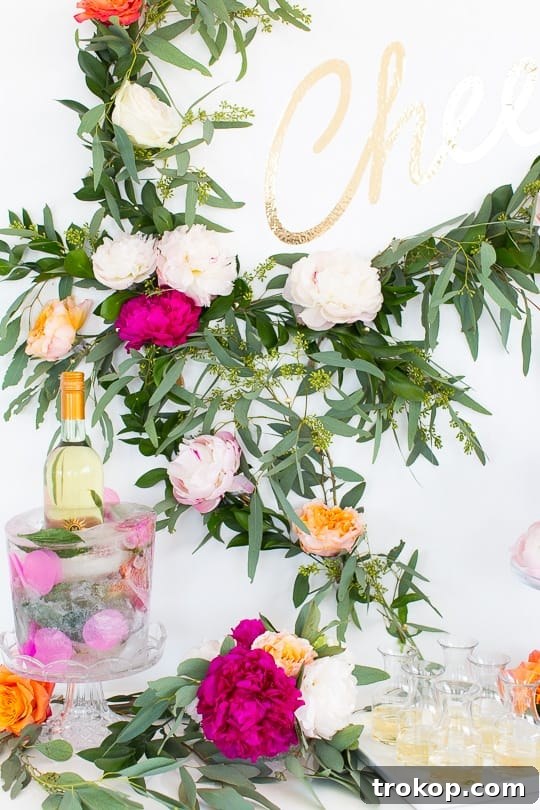
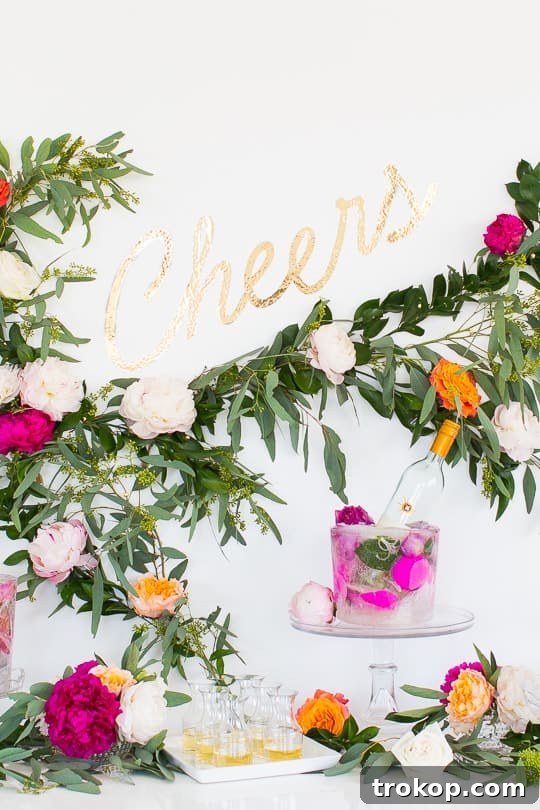
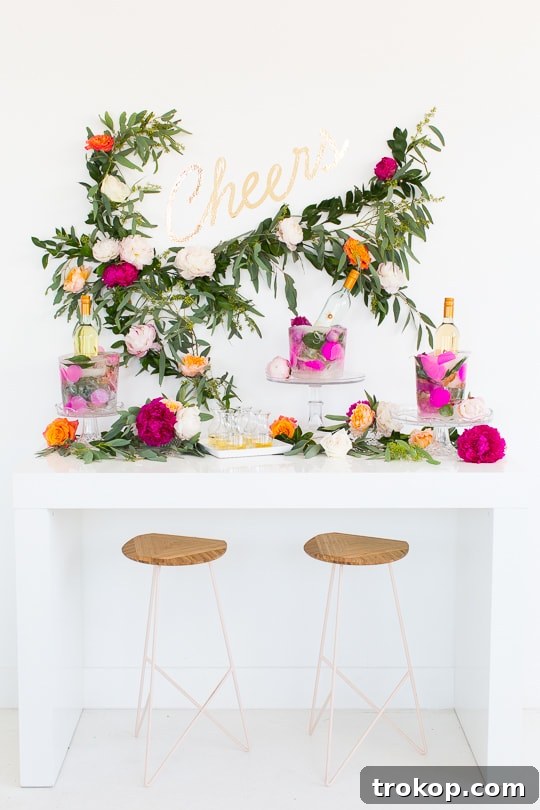
Whether you’re hosting a grand gathering with numerous guests or enjoying a cozy, intimate setting, this frozen wine chiller can be scaled to fit your needs. For larger parties, consider crafting several chillers, each featuring a different beloved wine, creating a stunning display across your serving area. Imagine a vibrant array of frozen artwork, each cradling a bottle of Mirassou’s finest, ready to delight your guests.
For those more intimate evenings, a single, exquisitely designed chiller can take center stage. Pair it with a carefully curated selection of cheeses, fresh fruits, and crackers, or present it alongside a decadent dessert board. The visual impact of this unique wine cooler elevates any spread, making even a simple gathering feel like a grand occasion. It’s more than just a way to keep your wine cool; it’s a conversation starter, a piece of edible art, and a testament to your personal style.
Ready to embark on this exciting DIY journey? Let’s dive into how you can create your very own breathtaking frozen wine chiller, ensuring your beverages are always served with unparalleled style and a frosty flourish.
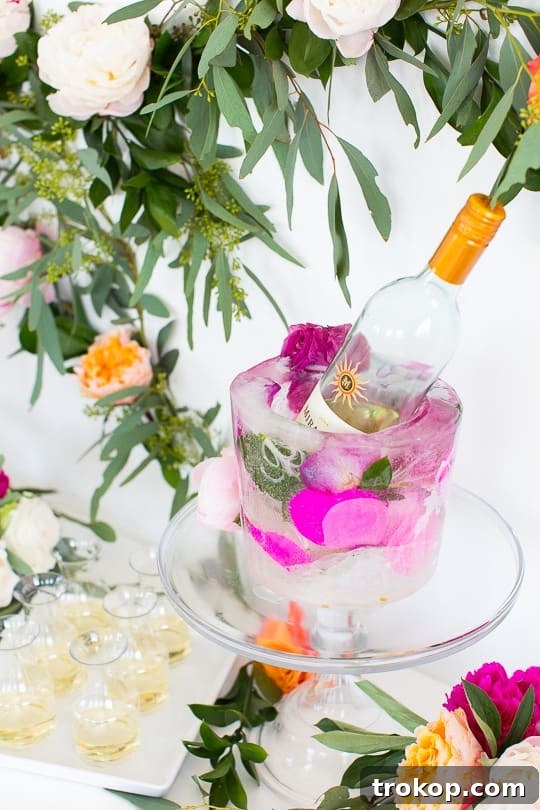
Table of Contents
Toggle
Materials and Tools Needed to Make a DIY Frozen Wine Chiller
Gathering your materials is the first step towards creating this show-stopping piece. You’ll find most of these items are readily available, making this a truly accessible DIY project for anyone looking to add a personalized touch to their entertaining arsenal.
- Outer Ice Bucket or Container: This will be the mold for your frozen chiller. Choose a sturdy plastic or metal bucket, ensuring it’s large enough to comfortably fit a standard wine bottle with about 1-2 inches of space around it for the ice and decorations. Clear buckets can also create an intriguing visual effect as the ice forms.
- Real or Faux Flower Petals and Blooms: This is where your creativity truly shines! Opt for fresh flowers for a natural, vibrant look, or select high-quality faux blooms for reusability and consistent color. Consider flowers like roses, orchids, hydrangeas, or even small sprigs of eucalyptus for a sophisticated touch.
- Inner Container: Select a container that is just slightly larger than a wine bottle, allowing it to fit snugly inside but also providing enough space for the frozen walls of the chiller. A quartz-sized plastic container or even a rinsed plastic water bottle can work perfectly. This will create the hollow center for your wine bottle.
- Water: Plain tap water is fine, but for crystal-clear ice, consider using distilled water or boiling your tap water twice and letting it cool before freezing.
- Weights: You’ll need something heavy to keep the inner container submerged and centered. Frozen ice packs are ideal as they are clean and convenient, but you can also use small rocks, coins in a sealed bag, or even dry beans.
- Wax Paper (Optional but Recommended): This can be helpful for propping up your inner container and keeping it perfectly centered in the freezer, preventing it from shifting as the water freezes.
How to Craft Your DIY Frozen Wine Chiller
Creating this stunning frozen wine cooler is a multi-step process, but each stage is simple and incredibly rewarding. Patience is key, as allowing each layer to freeze completely will ensure a beautiful, robust end product.
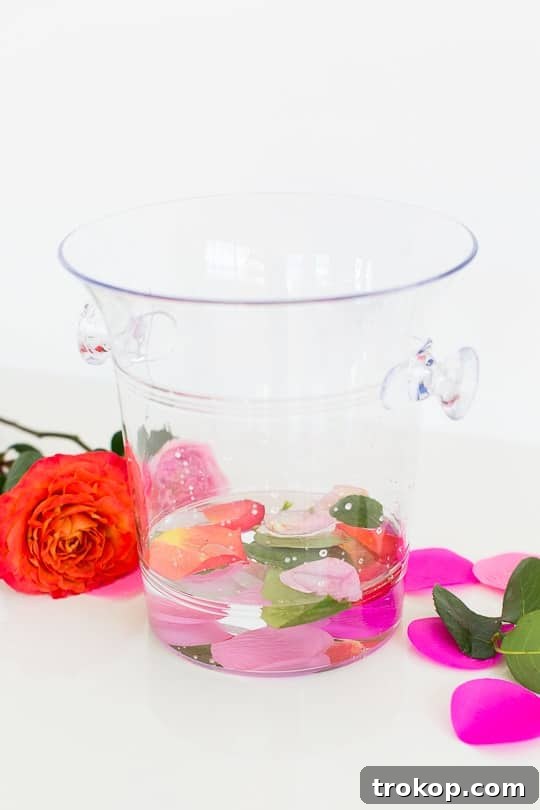
1. Establish the Base Layer: Begin by pouring approximately 2 to 3 inches of water into the bottom of your outer ice bucket. This forms the solid foundation of your chiller. Now, artfully arrange a selection of your chosen flower petals or small blooms onto this water layer. Consider creating a pattern, a random sprinkle, or a centralized design – whatever appeals to your aesthetic vision. Place the bucket carefully in your freezer and allow this initial layer to freeze solid. This foundational layer will prevent your inner container from touching the very bottom of the chiller and provide a stable base for the subsequent layers.
2. Position the Inner Container: Once your base layer is completely frozen, it’s time to introduce the inner container. Fill this smaller container with your chosen weights (such as frozen ice packs or pebbles) to ensure it stays submerged and perfectly centered. Carefully place this weighted inner container directly in the middle of your ice bucket, resting it on the frozen base. The goal is to create a cavity that will perfectly cradle your wine bottle once the chiller is complete.
3. Build the First Wall Layer: With the inner container secured, gently fill the space between the outer ice bucket and the inner container with more flower petals or blooms. Once your decorations are in place, slowly add more water until it reaches about one-third of the way up the side of your outer bucket. This is a crucial step for achieving layered visual interest. If you notice your inner container starting to drift or slide, use small bundles of wax paper, wedged between the inner and outer containers, to keep it firmly in place. Wax paper is excellent for this because it won’t stick to the ice and can be easily peeled off later. While it’s best to avoid the inner container touching the water directly at this stage (to prevent it from freezing solid), don’t panic if it does. Just ensure it remains centered. Return the bucket to the freezer and allow this layer to freeze completely solid before moving on. This often takes several hours, so plan accordingly.
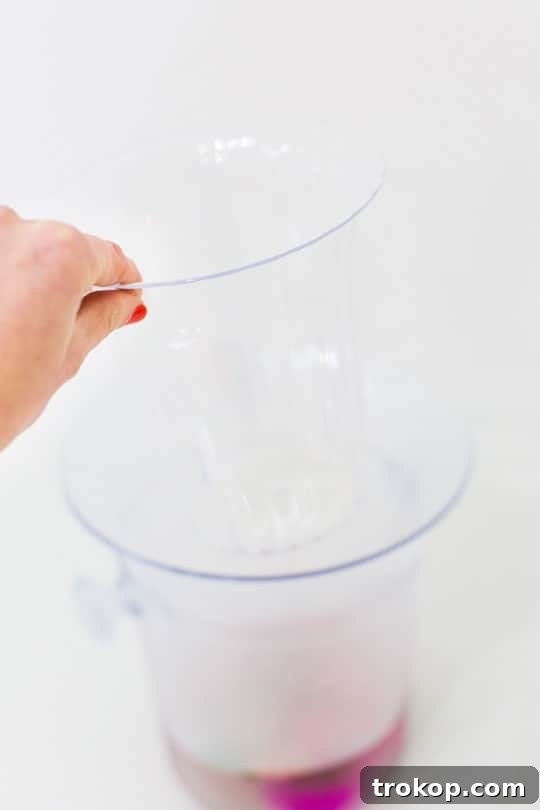
4. Complete the Chiller Walls: For your final layer, add more petals, small fruits like berries or citrus slices, or even fresh herbs to the remaining space. Then, fill the rest of the bucket with water, ensuring all your decorative elements are submerged. Be mindful not to overfill. Carefully place the bucket back into the freezer for its final freeze. For best results, allow it to freeze overnight or for a full 24 hours to ensure the entire structure is completely solid and robust.
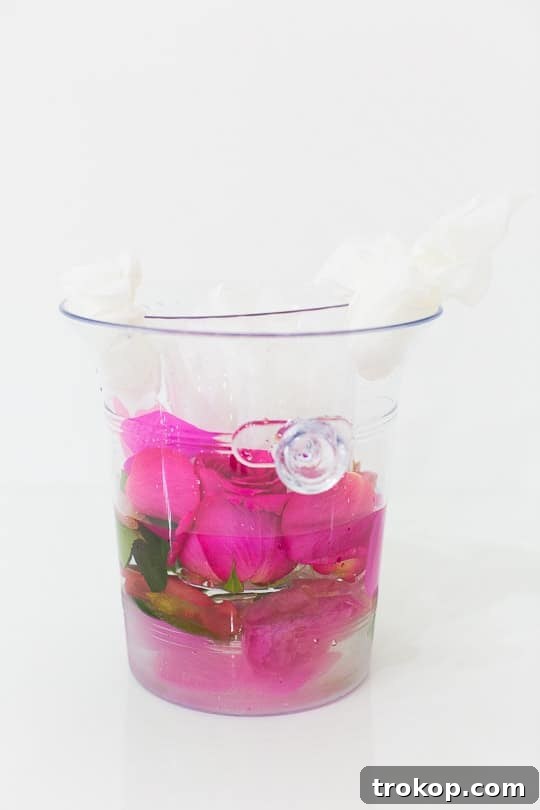
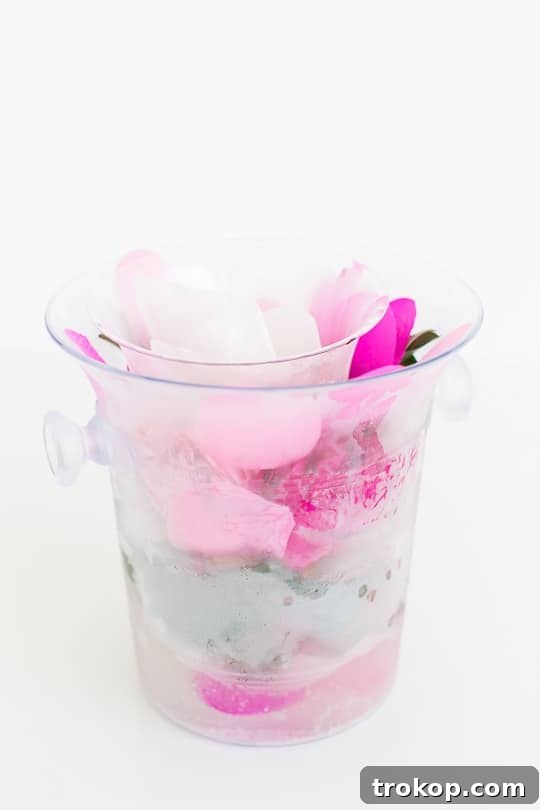
5. Release Your Masterpiece: When you’re ready to showcase your stunning DIY Frozen Wine Chiller, remove it from the freezer. To release it from the outer mold, run the outside of the bucket under warm water for a minute or two. This will gently loosen the ice. The inner container, which holds the weights, should also loosen easily. Carefully slide both the outer bucket and the inner container away from the frozen ice structure. You’ll be left with a spectacular, self-contained ice chiller, perfectly shaped to hold your favorite bottle of wine. Place your chosen wine bottle into the central cavity, and prepare to impress!
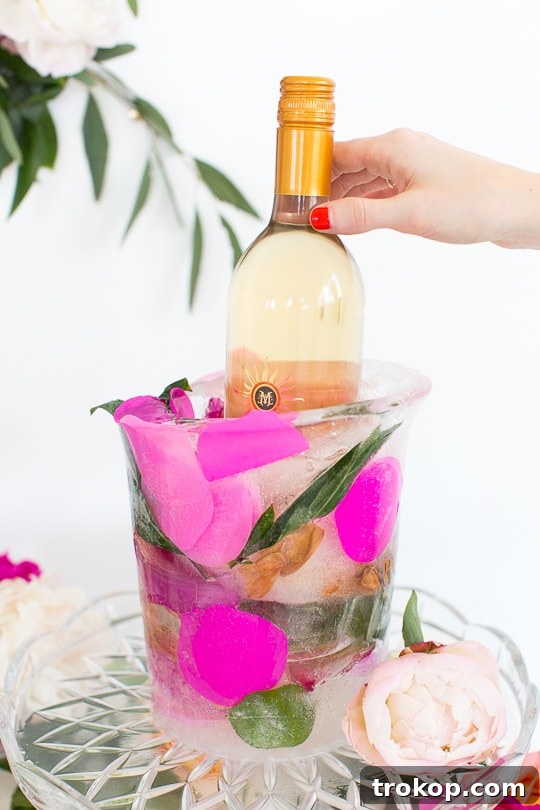
Expert Tips for a Flawless Frozen Wine Chiller
To ensure your DIY Frozen Wine Chiller is nothing short of spectacular, keep these expert tips in mind. A little extra planning can make all the difference in achieving a professional-looking and long-lasting ice sculpture.
- Choose the Right Molds: The size and shape of your outer and inner containers are paramount. The outer bucket should be robust and offer enough space for a thick ice wall (at least an inch or two) around your wine bottle. The inner container should fit comfortably inside the outer one, leaving sufficient space for your decorations and ice.
- Achieve Crystal Clear Ice: For that “wow” factor, use distilled water or pre-boiled tap water that has cooled completely. Boiling water twice removes air bubbles, resulting in clearer ice that highlights your embedded decorations beautifully.
- Creative Embellishments Beyond Flowers: While flowers are elegant, don’t limit your imagination! Experiment with thinly sliced citrus (lemons, limes, oranges), fresh herbs (rosemary, mint), cranberries for a festive touch, or even a few drops of food coloring for a vibrant hue. Edible glitter can also add a magical shimmer.
- Layering for Visual Depth: Don’t just dump all your decorations in at once. Freezing in layers, as described in the steps, allows you to create distinct bands of color and texture. This gives your chiller a more professional and artistic appearance.
- Optimal Freezing Time: While a few hours might make the ice seem solid, a full 12-24 hours in the freezer is ideal. This ensures the ice is completely frozen through, making it more durable and allowing it to chill your wine for longer.
- Perfect Centering is Key: An off-center cavity can make your wine bottle sit awkwardly. Take extra care in Step 2 and 3 to ensure your inner container is perfectly aligned. Wax paper bundles or even tape across the top (securing the inner container to the outer bucket’s rim) can be invaluable aids.
- Presentation Matters: Once unmolded, place your stunning ice chiller on a serving tray or a decorative coaster. As the ice slowly melts, it will release water, and a tray will keep your table clean and dry.
- Make Ahead for Stress-Free Hosting: These chillers can be prepared days or even weeks in advance! Simply store your finished ice chiller in a plastic bag in the freezer until you’re ready to use it. This allows you to focus on other hosting duties on the day of your event.
If you couldn’t already tell, we absolutely adore incorporating natural elements and flowers into our DIY projects. This frozen wine chiller is a testament to that passion! Should you find yourself with extra flowers leftover from this project, don’t let them go to waste. Consider channeling your creativity into other floral-inspired crafts, such as a charming DIY Fresh Flower Love Sign to adorn your walls, or an elegant DIY Floral Embroidery Ring Backdrop, perfect for photo booths or celebratory decor. These projects extend the beauty of fresh blooms beyond just your wine presentation, adding a cohesive and personal touch to your home or event space.
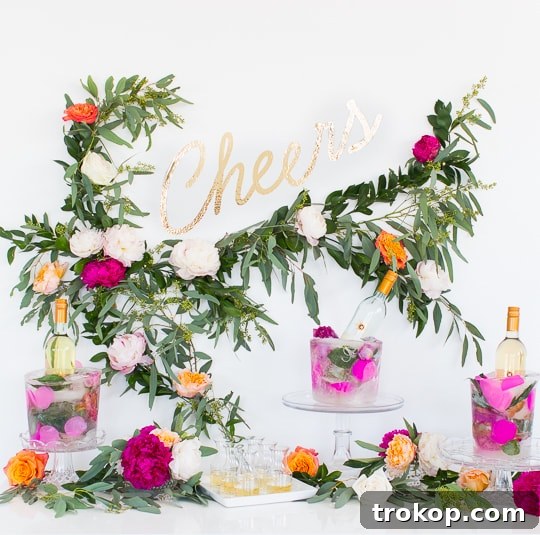
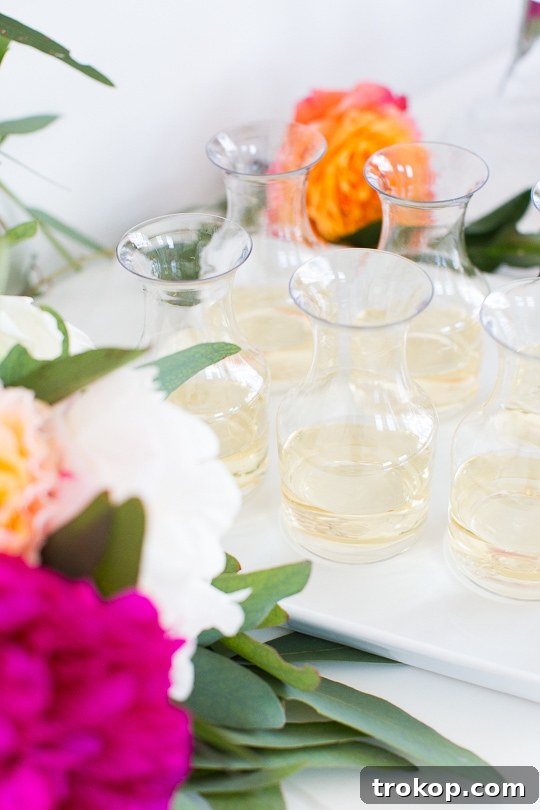
Versatile Uses for Your Frozen Creation
While designed for wine, the beauty of this DIY ice chiller extends far beyond a single use. Its striking appearance and chilling capabilities make it a versatile asset for various occasions and needs. Here are a few ideas to spark your imagination:
- Champagne and Sparkling Wines: Elevate your celebratory toasts by presenting a bottle of champagne or sparkling rosé in a custom-made ice chiller. The elegant display perfectly complements the effervescence of the drink.
- Non-Alcoholic Beverages: Keep sparkling cider, gourmet lemonade, or freshly squeezed juices perfectly cool for all ages to enjoy. This is a fantastic way to make non-alcoholic options feel just as special and visually appealing as their alcoholic counterparts.
- A Unique Floral Vase: Once your frozen chiller has served its purpose and begun to melt, don’t discard it immediately! The remaining ice can still act as a temporary, unconventional vase for a small bouquet of flowers. The melting ice will provide hydration, offering a truly ephemeral and beautiful display.
- Decorative Light Feature: For an unexpected twist, place a battery-operated LED candle or small fairy lights within the cavity of the chiller instead of a bottle. The light will refract through the ice and illuminate your embedded flowers and fruits, creating a magical, glowing centerpiece that casts a soft ambiance on any table. This is particularly stunning for evening events.
- Gift Presentation: Imagine gifting a bottle of exquisite wine or spirits nestled within a personalized, frozen chiller. It’s a thoughtful, handmade touch that transforms a simple gift into an unforgettable experience.
This DIY Frozen Wine Chiller isn’t just a functional item; it’s a statement piece, a work of art that adds a touch of bespoke charm to any event. Its adaptability makes it a continuous source of creative inspiration for all your hosting and decorating endeavors.
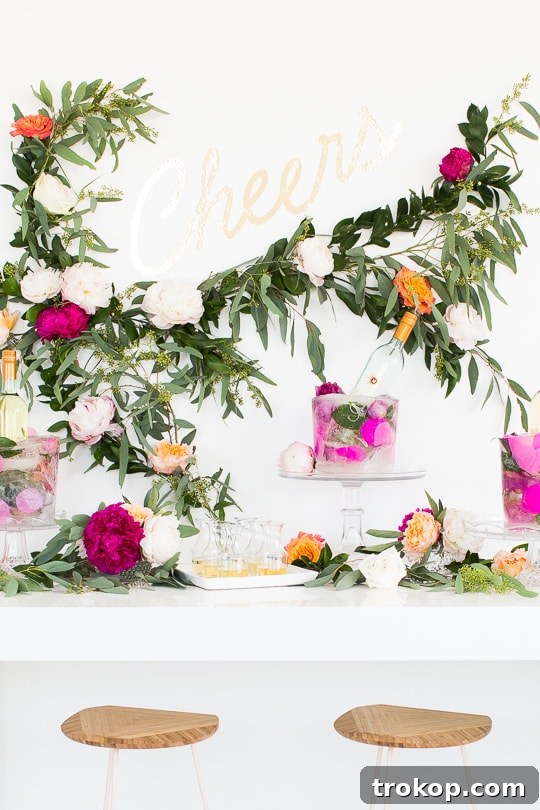
- Our Sweet and Savory Dinner Party + Printables
- Sips For Summer: Rose Wine Slush Recipe
- The Best Mulled Spiced Wine Recipe
- Strawberry & Rose Sorbet Champagne Cocktail Recipe
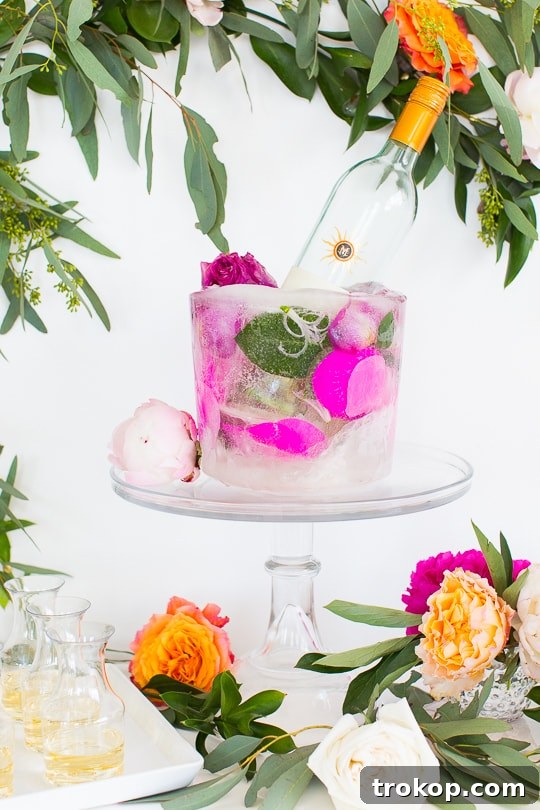
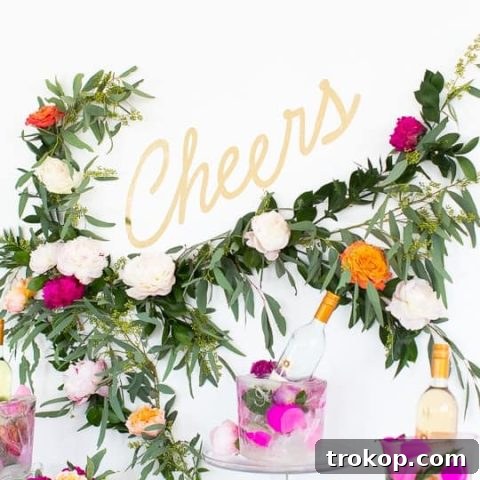
DIY Frozen Wine Chiller: Detailed Recipe
Equipment
-
Weights To fill the clear container. We used frozen ice packs. But you could use any kind of weights.
-
Container Large enough to fit a wine bottle. We used a quartz sized container.
-
Wax paper Optional if needed
Materials
- Ice bucket
- Real or faux flower petals and blooms
- Water for filling the containers
Instructions
-
Fill the bottom of your chosen outer bucket with about 2 to 3 inches of water, then arrange a decorative layer of flower petals or small blooms onto the water. Freeze this layer completely to create a solid base.
-
Fill your smaller, inner container with weights (such as frozen ice packs) and carefully place it in the middle of the outer bucket, resting it on the frozen base layer. This creates the cavity for your wine bottle.
-
Arrange more petals or decorative elements in the space between the outer and inner containers. Slowly fill this gap with water until it’s about 1/3 full. If the inner container shifts, use bundles of wax paper to hold it centered. Freeze this layer entirely.
-
Add more petals, fruits, or herbs as desired, then fill the remaining space with water to the top of the outer bucket. Freeze again until completely solid (ideally overnight or for 24 hours).
-
When ready to use, remove the frozen chiller from the freezer. Run the outside of the outer bucket and the inner container under warm water to loosen the ice, then carefully slide them out. Place your wine bottle in the beautiful frozen chiller.

There you have it – a comprehensive guide to crafting a show-stopping DIY Frozen Wine Chiller. This project isn’t just about functionality; it’s about creating an experience, adding a personal and elegant touch to your entertaining that will be remembered long after the ice has melted. Whether it’s for a festive holiday dinner, a summer garden party, or a cozy evening in, your homemade ice cooler will undoubtedly be the star of the show.
We absolutely love seeing your creative endeavors come to life! Be sure to share your magnificent DIY Frozen Wine Chiller creations with us on Instagram. Don’t forget to use the hashtag #sugarandclothloves so we can admire your artistry and celebrate your unique style. Your inspiration helps fuel our community of DIY enthusiasts!