
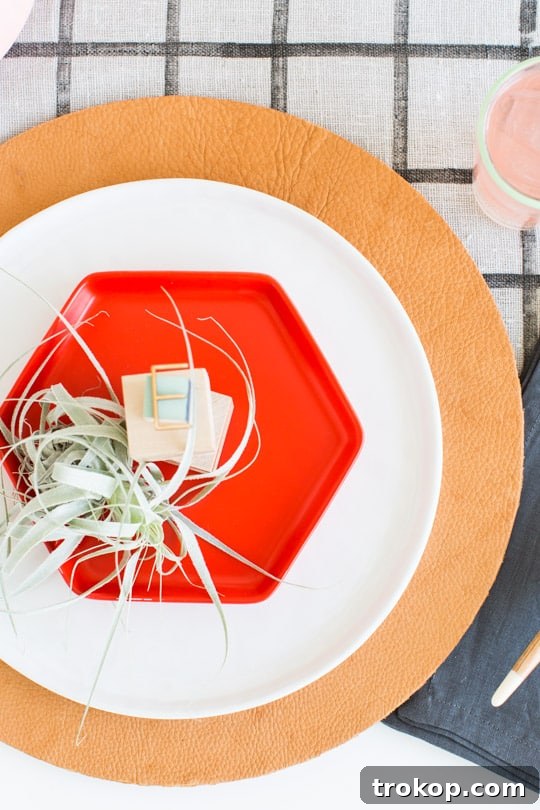
Spring is in full swing, bringing with it the joyous celebration of Easter! While holidays are wonderful, the thought of extensive decorating can often feel overwhelming. This year, let’s embrace a fresh approach to your Easter gathering by focusing on timeless, reusable, and gender-neutral decor that effortlessly elevates your space. We’re excited to share some modern inspiration, featuring delightful DIY projects like sophisticated Leather Charger Placemats and charming Bunny Tail Drink Stirrers, alongside a zesty Grapefruit Lemonade Cocktail to perfectly complement your festive spread. Prepare to infuse your home with handcrafted touches that are both stylish and sustainable, making your Easter celebration memorable and uniquely yours.
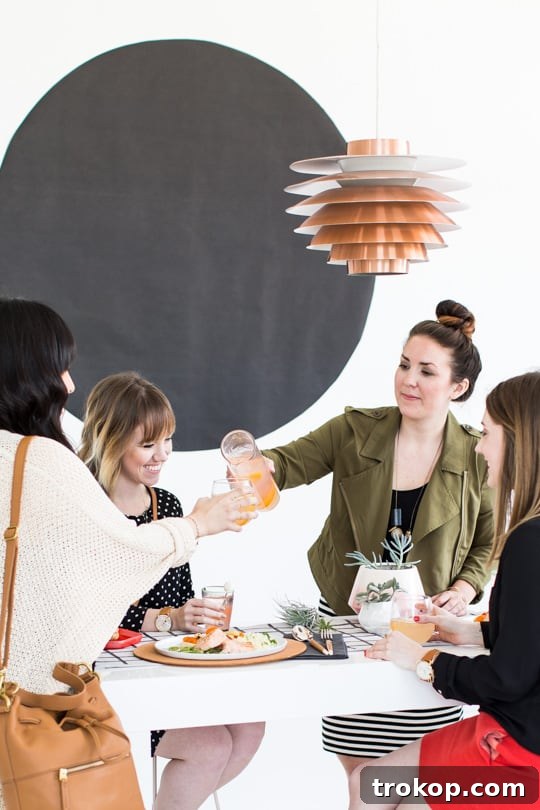
As a huge fan of holidays, I often find myself wanting to create a festive atmosphere without the colossal effort that sometimes accompanies seasonal decorating. The secret lies in crafting small, impactful elements that boast a holiday flair but can also be cherished and reused beyond a single event. This philosophy not only saves time and resources but also allows you to cultivate a truly personalized and modern aesthetic that reflects your unique style.
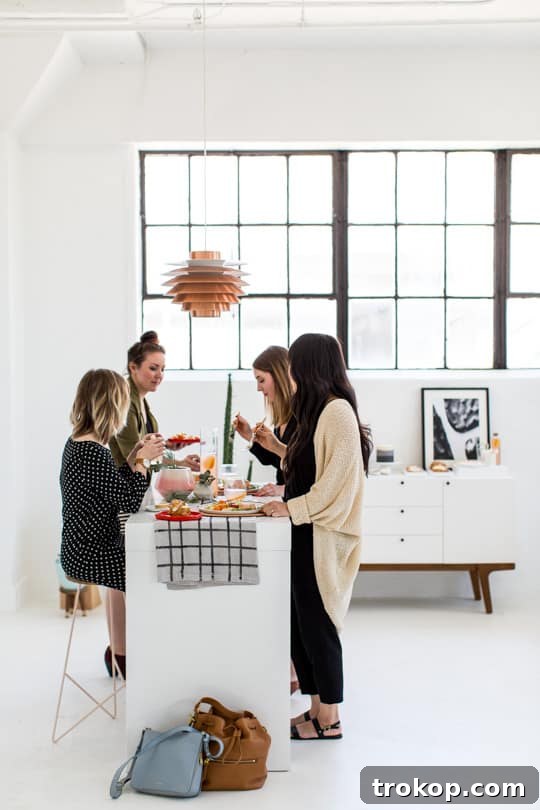
To help you envision a contemporary, welcoming, and gender-neutral ambiance for your upcoming spring get-togethers, I teamed up with Brittni from Papernstitchblog.com. Together, we collaborated with Fossil to showcase our vision for a simple yet stylish Easter gathering. This involved incorporating various handmade elements, with our DIY Leather Charger Placemats taking center stage, alongside innovative decor ideas shared by our talented Houston friends.
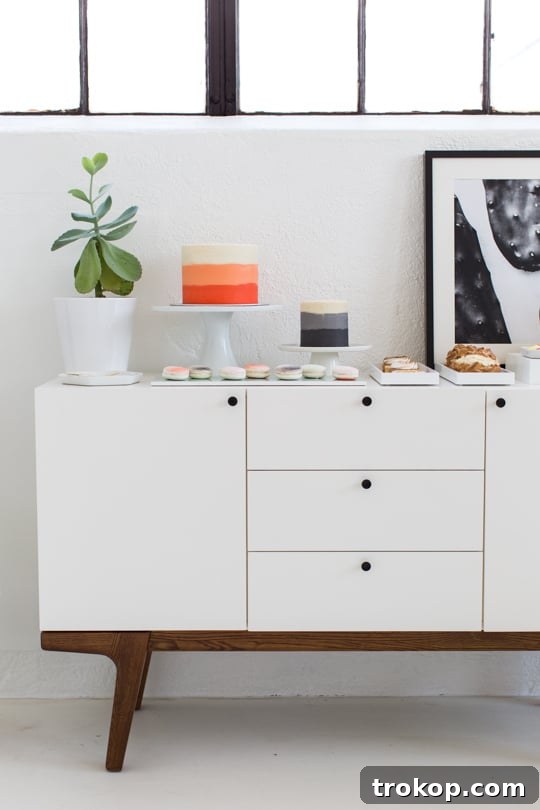
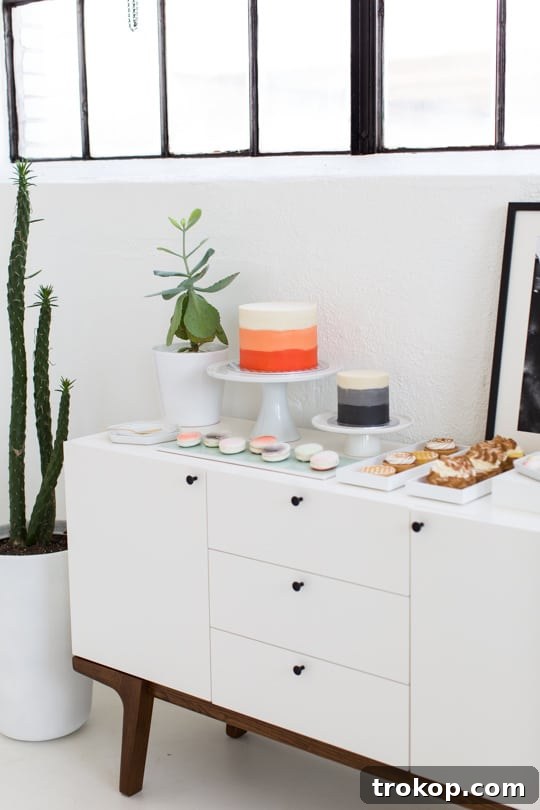
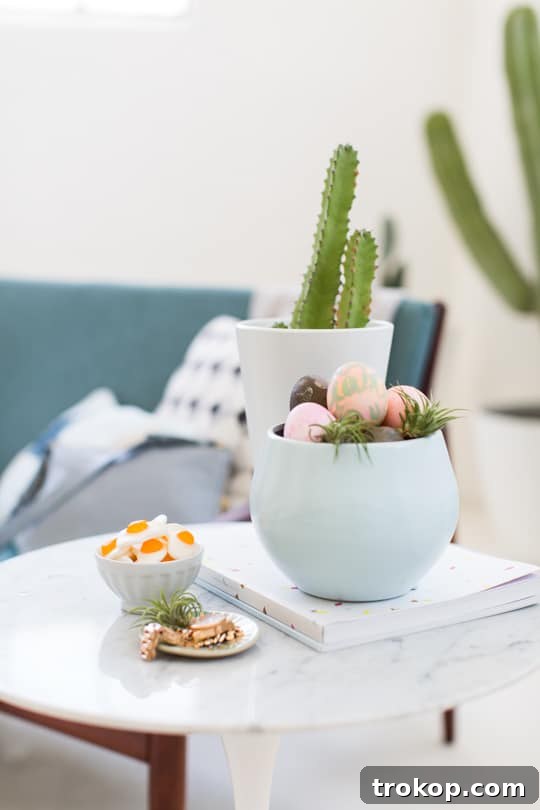
Moving away from overly traditional Easter motifs, we opted for subtle, elegant nods to the holiday. Our table featured beautiful ombre egg macarons, unexpectedly dip-dyed eggs in modern hues as sophisticated accents, minimalist DIY bunny tail drink stirrers for a touch of whimsy, and delicious gummy fried eggs as charming party favors. These thoughtful details ensure a festive feel without being overtly themed, making the decor versatile for any spring occasion.
Whether Easter is your main event or you’re simply looking for fresh entertaining ideas, this guide offers plenty of inspiration. Beyond our signature spiked grapefruit lemonade cocktails and DIY leather chargers, you’ll discover tutorials for DIY grid print table runners and a plethora of other creative goodies designed to make your hosting experience enjoyable and stylish. After all, what’s a creative gathering without a few fabulous DIYs?

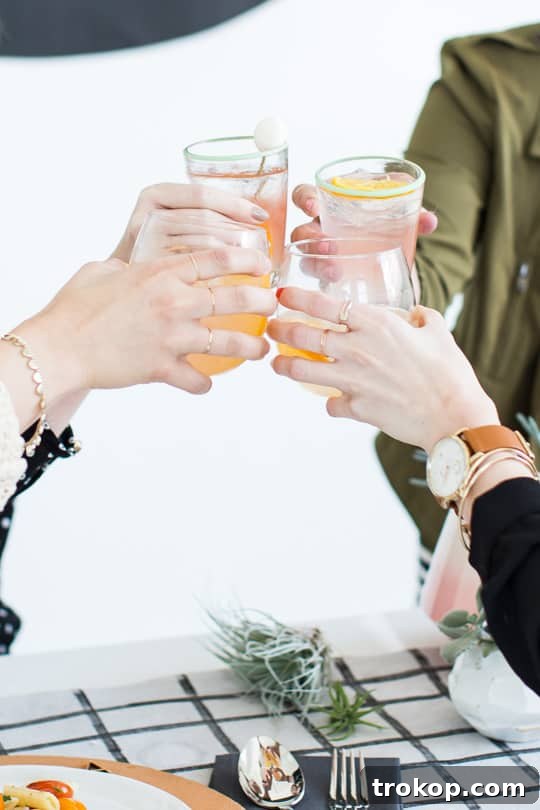
Table of Contents
How to Make a Refreshing Grapefruit Lemonade Cocktail
Elevate your Easter brunch or spring gathering with this incredibly simple yet sophisticated grapefruit lemonade cocktail. Its vibrant citrus notes offer a refreshing kick, making it a perfect companion for a sunny afternoon or a festive meal. This drink is easily customizable and can be prepared in minutes, allowing you more time to enjoy your guests.
Ingredients needed:
- Soda water (for a bubbly finish)
- Your favorite lemonade (freshly squeezed or store-bought premium)
- Grapefruit vodka (or a non-alcoholic grapefruit soda for a mocktail version)
- Ice cubes
- Optional garnishes: Grapefruit slices, lemon wedges, a sprig of mint or rosemary
How to make the grapefruit lemonade cocktail:
Creating this delicious cocktail is as easy as 1-2-3:
- Fill your preferred glass with ice cubes. The more ice, the colder and more refreshing your drink will be!
- Pour in your desired amount of grapefruit vodka (start with 1.5 oz and adjust to taste for an alcoholic version, or omit for a delightful mocktail).
- Add 2 oz of lemonade, followed by 0.5 cups of soda water to top it off.
- Gently stir all the ingredients together to combine.
- Garnish with a fresh slice of grapefruit or a lemon wedge, and a sprig of mint for an extra aromatic touch. Serve immediately and enjoy the crisp, tangy flavors!
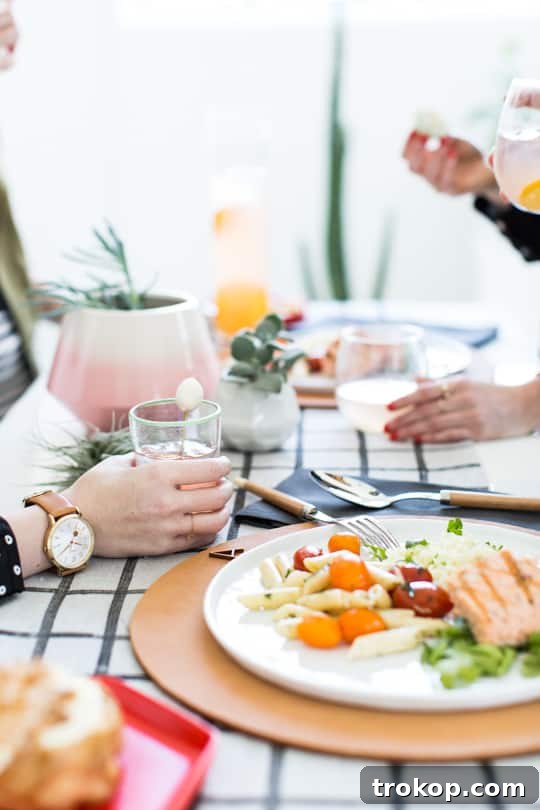
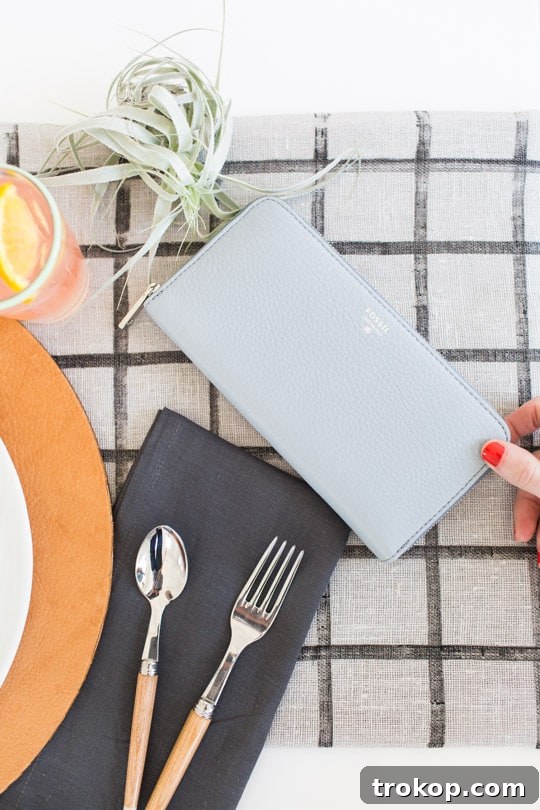
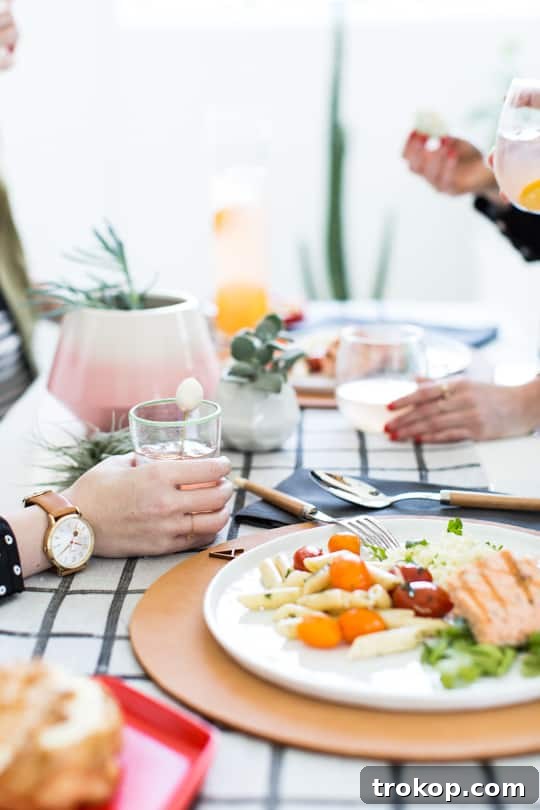
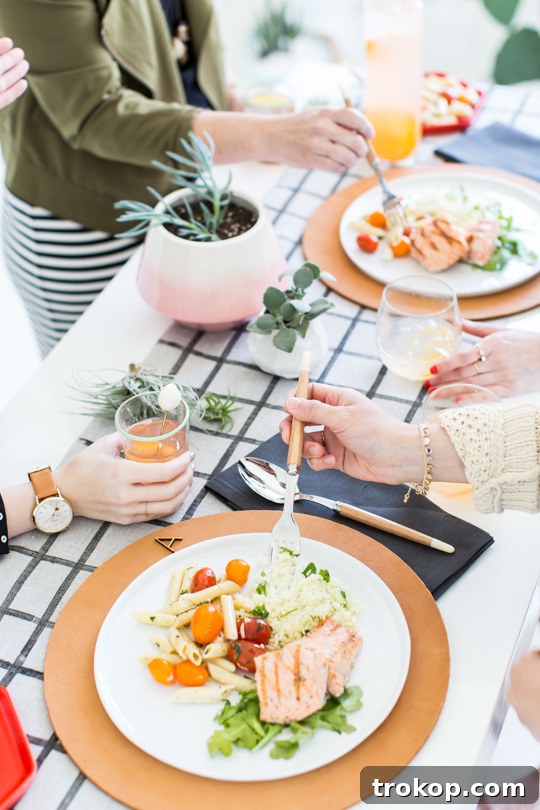
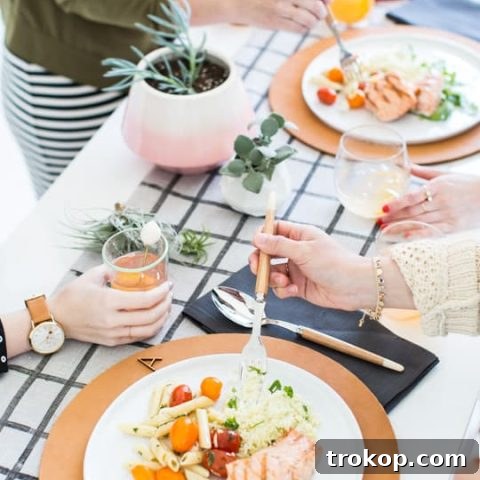
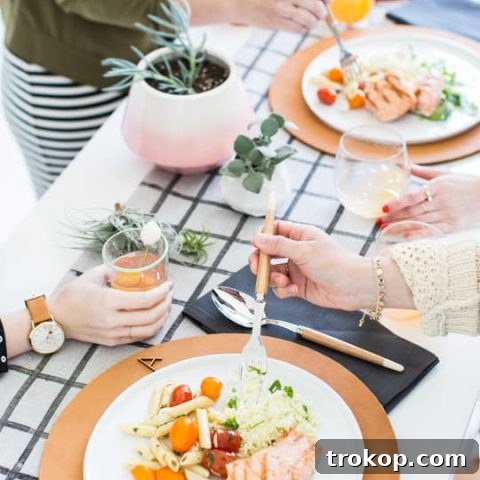
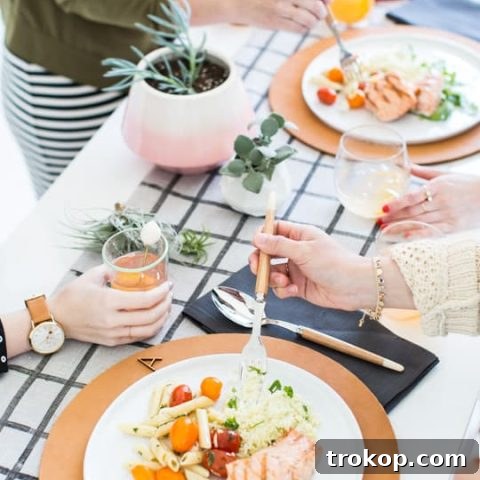
Our goal for the Easter table was to create a layered, sophisticated, and gender-neutral aesthetic that felt both inviting and stylish. Brittni truly outdid herself by crafting an awesome DIY grid print table runner, which perfectly complemented our DIY leather charger placemats and elegant dark linens. This combination added depth and texture to the table, moving beyond traditional pastel palettes to something more contemporary and chic.
And speaking of style, I must confess my complete obsession with the pale blue clutch featured in our gathering – that color is simply divine! It serves as a beautiful accent, demonstrating how even personal accessories can tie into and enhance your overall decor scheme. For those still seeking innovative ideas for table runners, be sure to explore our dedicated post on DIY table runners. It’s brimming with creative concepts that will help you effortlessly spruce up your dining space for any occasion, ensuring your table always looks fresh and inspired.
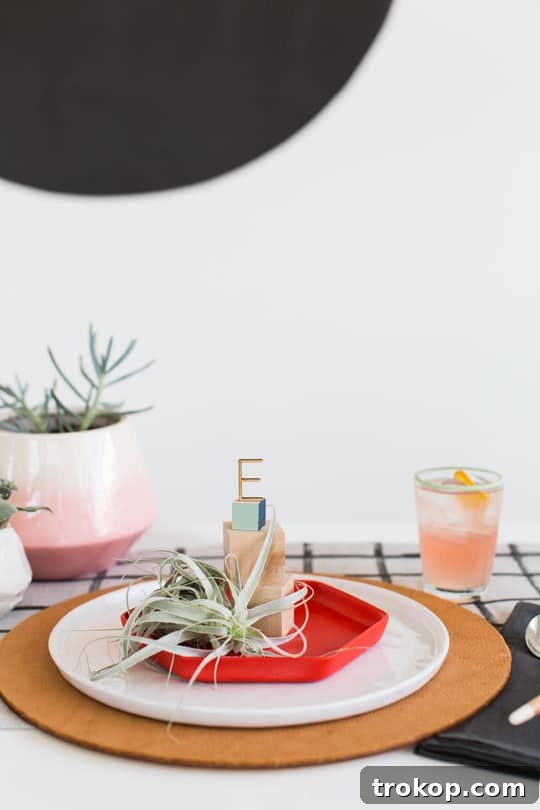
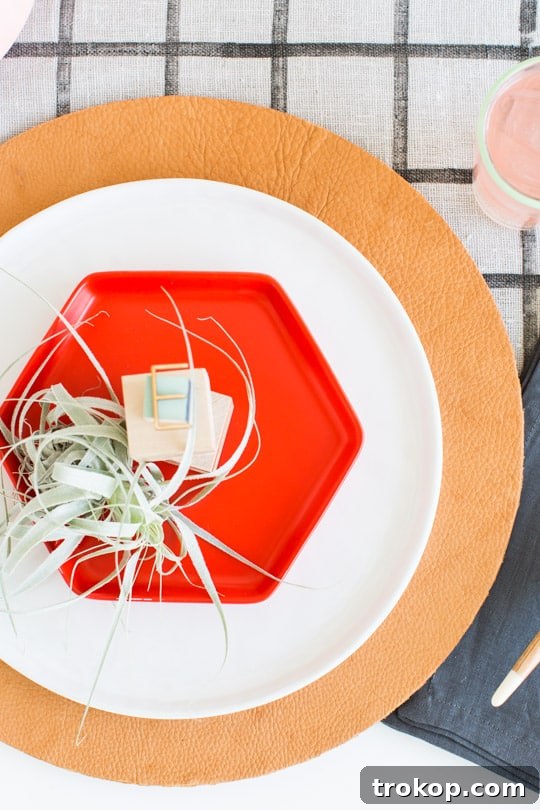
How to Make DIY Leather Charger Placemats for a Modern Table
Add a touch of handcrafted elegance and modern flair to your dining table with these DIY leather charger placemats. These versatile pieces not only protect your table but also serve as a sophisticated foundation for your place settings, suitable for holidays and everyday use. The process is straightforward, allowing you to achieve a high-end look with minimal effort. Leather chargers are durable, easy to clean, and instantly upgrade any tablescape.
Materials and tools needed:
- Leather hide: Opt for softer, more pliable leather, as it will be significantly easier to cut cleanly with standard scissors. Faux leather can also be a great, more affordable alternative.
- Wood rounds: Choose a size that suits your plates, typically 13-14 inches in diameter for charger plates.
- Spray adhesive: A strong, permanent adhesive is key for a lasting bond.
- Sharp Scissors: Essential for precise cutting of the leather.
- Leather beveler (Optional): For those who desire a more refined, finished edge.
Instructions:
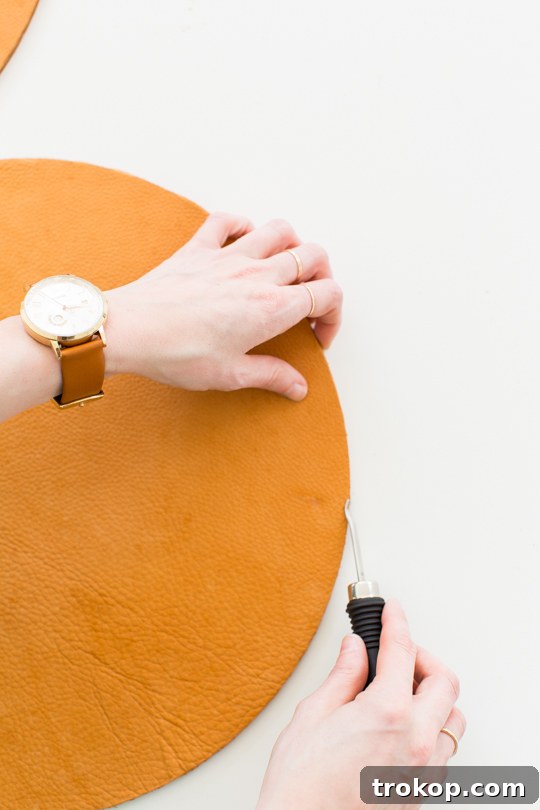
- Prepare the Wood Round: Start by evenly spraying a generous amount of spray adhesive onto one side of the wooden round. Allow the adhesive to sit for a few seconds until it becomes noticeably tacky. This slight drying time ensures a stronger, more secure bond.
- Attach the Leather: Carefully place the tacky side of the wooden round onto the back (suede side) of your chosen leather piece. Once positioned, flip the entire assembly over so the wood is on top, and press down firmly across the entire surface. Use your hands to smooth out any air bubbles or wrinkles, ensuring the leather adheres perfectly to the wood. You want a seamless, flat surface.
- Trim and Finish the Edges: Allow the adhesive to set completely for several minutes, or as per the product instructions, to ensure a strong bond. Once set, use your sharp scissors to carefully trim away any excess leather around the perimeter of the wooden round. For a more professional and polished appearance, you can use a leather beveler to gently round and smooth the edges. Alternatively, for a more natural, rugged, and rustic aesthetic, simply leave the edges raw and untrimmed.
These leather charger placemats are not only beautiful but also incredibly durable and easy to maintain, providing a chic base for all your dining occasions.
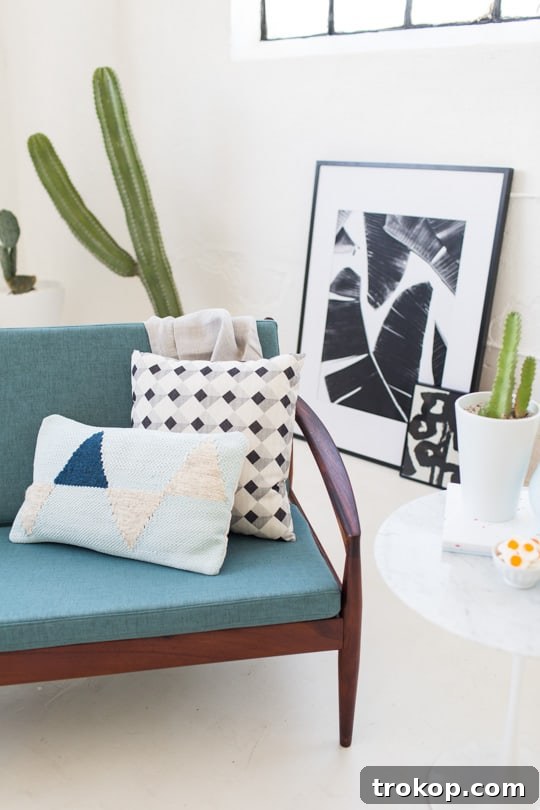
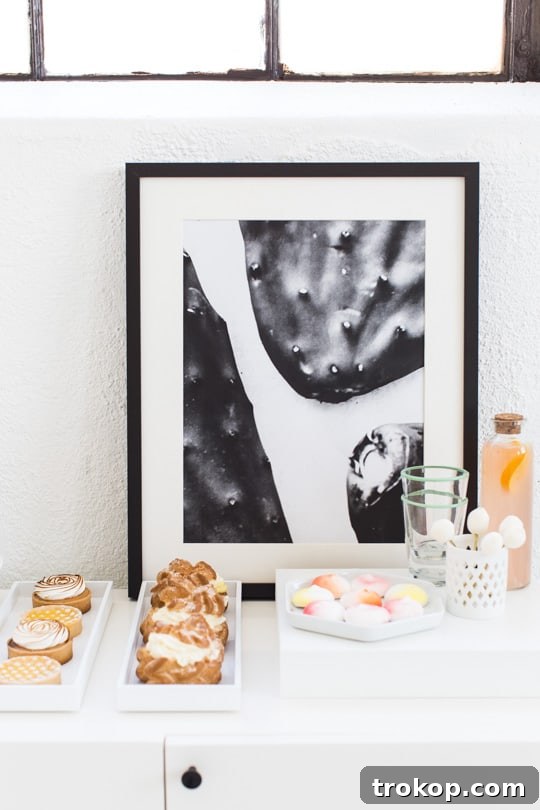
To infuse a unique element of curiosity and natural sophistication into our Easter setup, we crafted a series of DIY botanical prints. These prints were strategically placed to create unraveled yet elegantly sophisticated vignettes around the gathering space. Brittni, with her incredible talent, has not only shared the full tutorial for these prints but also provided a printable download, enabling you to effortlessly create your own botanical artwork and bring a touch of organic beauty to your home.
Creative Easter Dessert Ideas with a Modern Twist
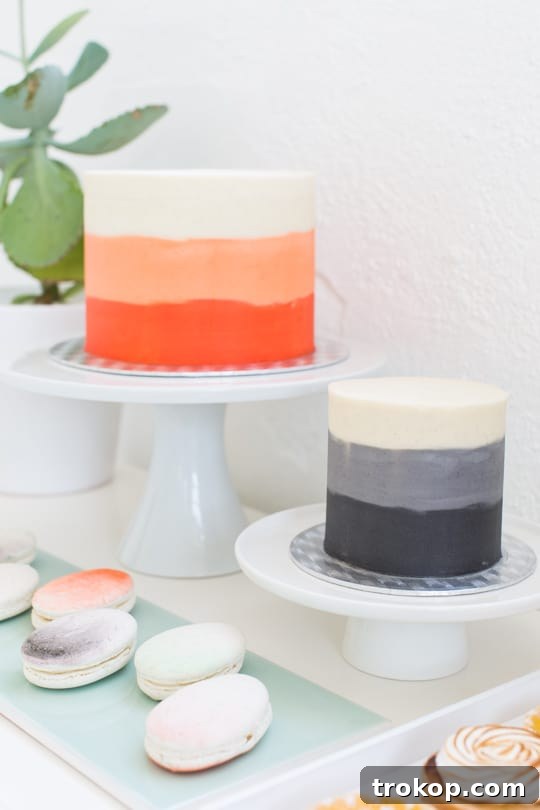
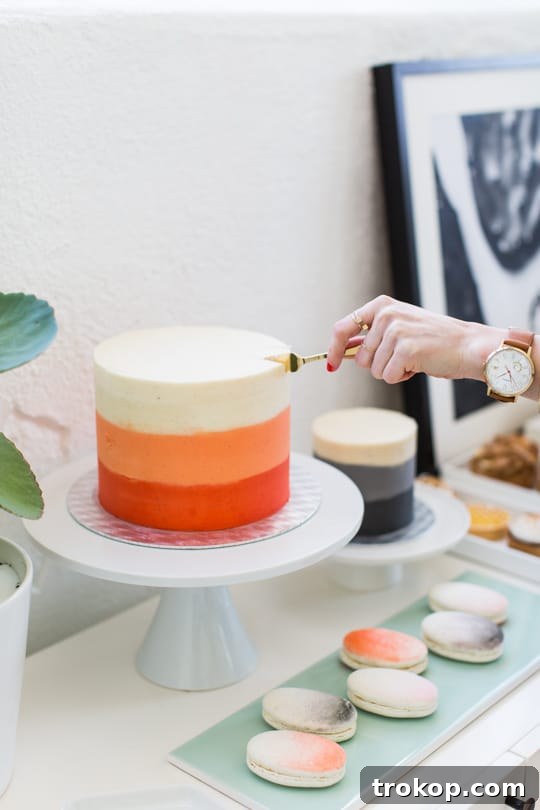
No Easter gathering is complete without delectable desserts, and we took ours to a new level with imaginative and visually stunning treats. Building on the captivating aesthetic of galaxy-dyed Easter eggs, I meticulously painted egg-shaped macarons to match the theme. These delicate pastries featured a subtle ombre effect, blending modern hues of black, red-orange, refreshing mint green, and soft pink, creating a truly unique and artistic dessert display.
For a clever and budget-friendly serving solution, I presented these artful macarons on a rectangular mint green ceramic tile. This simple choice not only added a contemporary pop of color but also demonstrated how everyday items can be repurposed into stylish serving boards. Consider experimenting with other modern dessert ideas like mini lemon tarts, individual berry trifles, or geometric-shaped cookies to complement your modern Easter theme. Presentation is key, so think about using tiered stands, slate boards, or even polished wooden planks to showcase your creations beautifully.
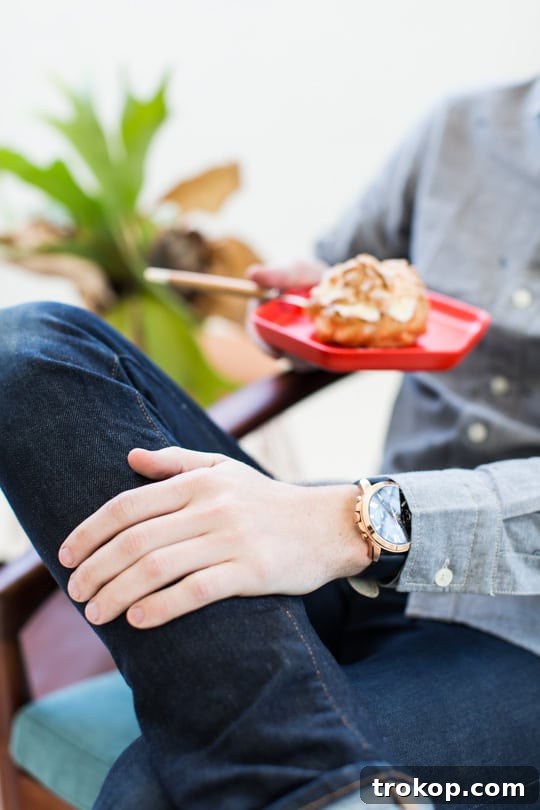
Jared, who often finds himself behind the camera, was thrilled to step into the spotlight and showcase his beloved navy and rose gold watch. His enthusiasm was infectious, and naturally, he requested a close-up shot – you can tell he’s truly in love with it! It’s these personal touches and shared moments that truly make a gathering special. The watches from Fossil integrated seamlessly into our modern aesthetic, proving that functional accessories can also be stylish elements of your overall look.

Charming DIY Bunny Tail Drink Stirrers: A Sweet Easter Touch
For a whimsical and utterly adorable addition to your Easter drinks, these DIY Bunny Tail Drink Stirrers are an absolute must-try. They’re incredibly easy to assemble, require minimal materials, and add a playful, festive touch that your guests will adore. Perfect for cocktails, mocktails, or even hot cocoa, these stirrers are a simple yet effective way to infuse your gathering with Easter cheer.
Materials and tools needed:
- Brass stir sticks (or any sturdy, reusable drink stirrers in your preferred color or material like bamboo or acrylic)
- Round marshmallows (standard size works best to resemble a bunny tail)
How to make DIY Bunny Tail Drink Stirrers:
This DIY couldn’t be simpler!
- Gently push one round marshmallow onto the end of each brass stir stick. Ensure it’s securely placed but not squashed.
- Arrange them in your drinks or place them in a decorative holder for guests to use.
That’s it! These sweet “bunny tails” are a quick and straightforward way to add a delightful, themed nod to Easter, making your drinks even more appealing. For an extra touch, you could even try dipping the marshmallows in colored sprinkles or edible glitter before attaching them.

Now that you have a taste of our modern Easter gathering, we highly recommend visiting Brittni’s blog for even more fantastic DIY inspiration. There, you’ll find comprehensive how-to guides and printable downloads for her amazing DIY botanical prints, the clever DIY grid print table runner, the mesmerizing DIY galaxy Easter eggs, personalized wooden block place cards, and the striking geometric statement wall art. Each project is designed to help you create a cohesive and stylish event.
And to truly make your celebration out of this world, don’t forget to kick things up a notch with our incredible DIY galaxy macarons! They are not only a blast to create but will also add a fun, unique, and visually spectacular touch that will leave your guests utterly amazed. We extend a huge thank you to our wonderful friends — Cara, Christina, Jared, and Alex — for being such fantastic sports, allowing us to style them and indulging in cocktails and cookies even before noon! You guys truly rock!
Sources for Your Simple Easter Gathering
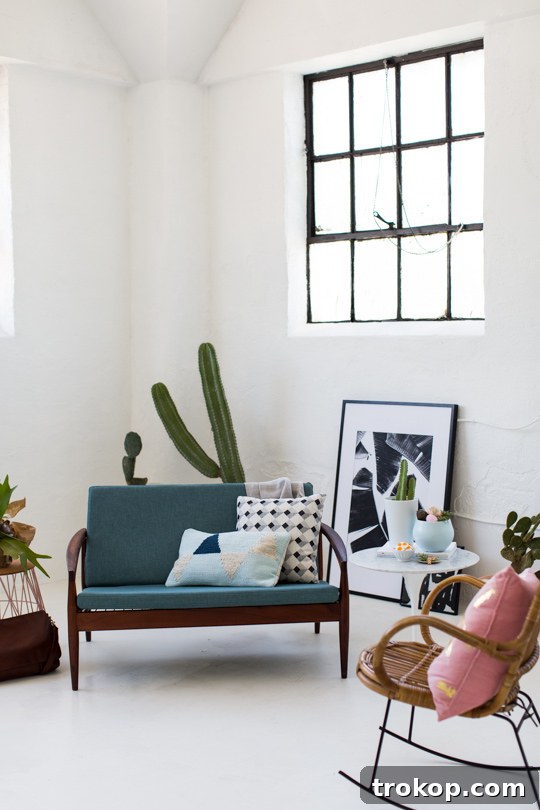
Creating a beautiful and cohesive event is made easier with thoughtfully selected pieces. Here are some of the key elements that contributed to the modern and stylish ambiance of our Easter gathering:
- Small blue sofa and elegant copper pendant light: Sourced from Indre By Design, these pieces added a sophisticated and contemporary touch to the lounge area.
- Rocking woven chair: A unique and comfortable statement piece from Eridu Modern, perfect for adding texture and a relaxed vibe.
- White buffet: This sleek and minimalist buffet from West Elm provided ample serving space and enhanced the clean aesthetic of the room.
- Sofa pillow: A plush and stylish accent from West Elm, adding comfort and a pop of color to the seating arrangement.
- Tall dining table: This contemporary dining table from Wayfair served as the central hub for our festive meal, creating an inviting space for guests.
- Geometric stools and pink wire basket: Modern and functional pieces from All Modern, offering additional seating and decorative storage.
- Tulip side table: A classic yet modern design from Dot & Bo, perfect for holding drinks and small appetizers.
- Ombre cakes and macaron egg shapes: Exquisitely crafted desserts by Tout Suite, these were key to our stylish and delicious dessert spread.
- DIY geometric statement wall art: A striking handcrafted piece that added a personalized and artistic backdrop to the gathering.
Grapefruit Lemonade Cocktail
Cool off with this delicious citrus-infused grapefruit lemonade cocktail, perfect for any spring occasion.
Prep Time: 10 mins
Total Time: 10 mins
Course: Drinks
Cuisine: Cocktails
Equipment
- Cocktail stirrer
Servings: 4
Ingredients
- ½ cup soda water
- 2 oz lemonade
- 1 ½ oz grapefruit vodka
Instructions
- Add the three ingredients over ice, then stir, serve, and drink!
Nutrition
Calories: 52kcal | Carbohydrates: 7g | Protein: 0.03g | Fat: 0.1g | Saturated Fat: 0.003g | Polyunsaturated Fat: 0.01g | Sodium: 7mg | Potassium: 11mg | Fiber: 0.04g | Sugar: 6g | Vitamin C: 2mg | Calcium: 2mg | Iron: 0.02mg
KEYWORD: grapefruit lemonade cocktail

DIY Leather Charger Placemats
Create stylish protection for your table with this easy-to-follow tutorial on how to make DIY Leather Charger Placemats.
Active Time: 20 mins
Total Time: 20 mins
Course: DIY
Category: Kitchen
Equipment
- Spray adhesive
- Scissors
- Leather beveler (optional)
Materials
- 1 leather hide (enough for desired number of chargers)
- 1 wood round (14″ diameter, per charger)
Instructions
- Spray adhesive onto the back of the wooden round and let it sit for a few seconds until tacky.
- Place the tacky side onto the back of your leather piece, then flip it over and press firmly to smooth the leather onto the wood.
- Allow the adhesive to set for several minutes, then trim away the excess leather around the wooden round. For a more polished look, use a leather beveler to clean up the edges. Or, leave the edges raw for a more natural, rustic finish.
Cost: $15 (per charger, approximate)
Keywords: DIY leather charger placemats

DIY Bunny Tail Drink Stirrers
Get ready for spring with these adorable, easy-to-make bunny tail drink stirrers. Perfect for Easter gatherings or just because!
Active Time: 10 mins
Total Time: 10 mins
Course: DIY
Category: DIY
Equipment
- 6 Brass stir sticks (or equivalent)
Materials
- 6 pieces Round marshmallows
Instructions
- Add round marshmallows to the end of brass stir sticks or your favorite colored stirrers for an easy Easter nod.
Cost: $10 (approximate for 6 stirrers)
Keywords: diy bunny tail drink stirrers

We absolutely love seeing your creative endeavors! Don’t forget to share your Easter ideas and DIY projects with us on Instagram using the hashtag #sugarandclothloves. Your creations inspire us all! For more quick, delicious, and easy-to-follow recipes for every occasion, you can find them all right here on our site. Happy crafting and happy hosting!
This delightful post and gathering inspiration were made possible by our wonderful partners at Fossil. We extend our sincere gratitude for their support, which enables us to continue bringing fresh and engaging DIY content directly to your inbox. Thank you for supporting the brands we love!