
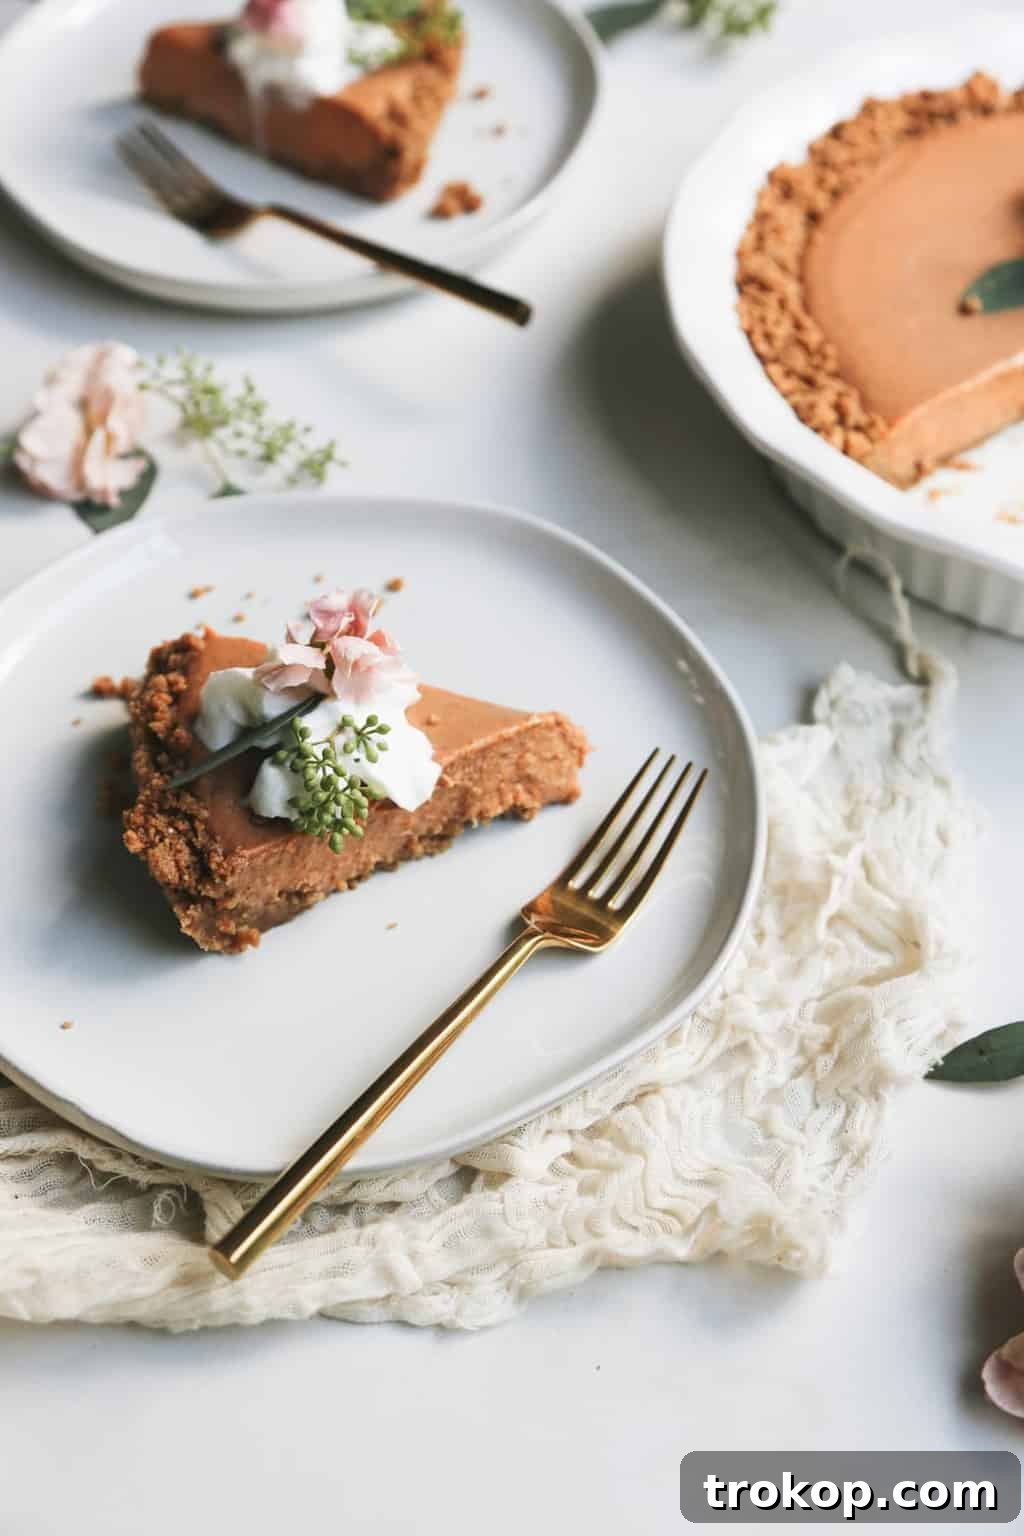
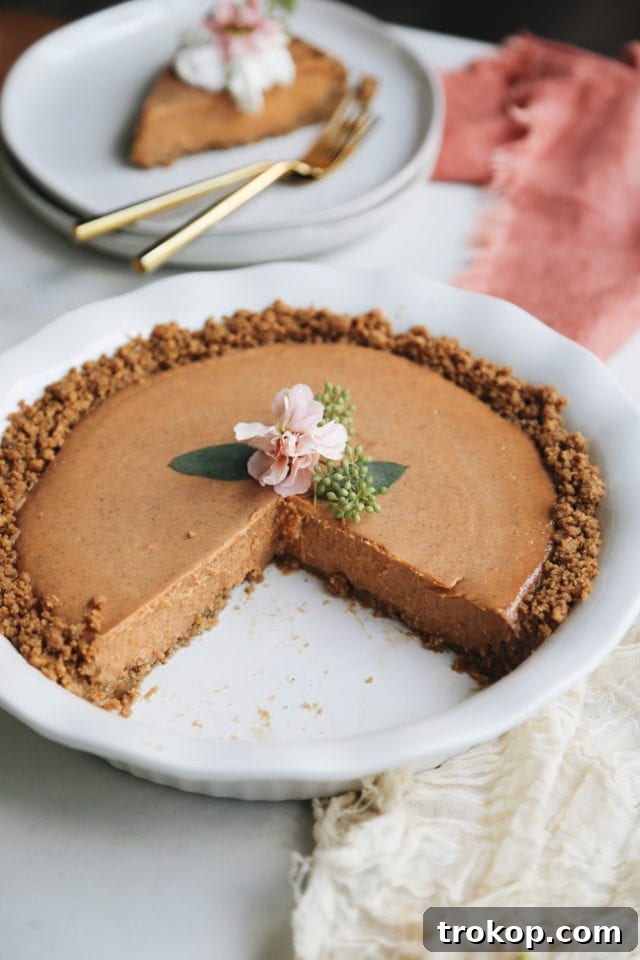
Transform your dessert table with an exquisite twist on a beloved classic: our No-Bake Gingersnap Pumpkin Pie. This recipe marries the comforting, earthy sweetness of traditional pumpkin pie with the fiery, spiced crunch of a gingersnap crust, creating an unforgettable autumnal treat that promises to be the star of any gathering. Forget the fuss of baking; this easy-to-follow, no-bake recipe delivers incredible flavor and a luxurious texture without ever needing to touch your oven.
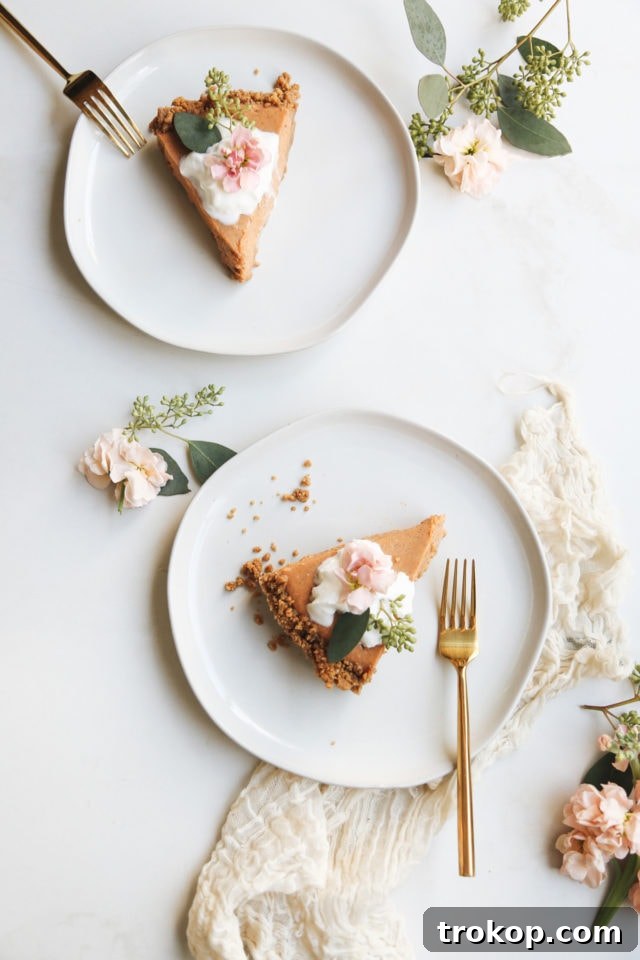
As the holiday season approaches, our schedules become increasingly hectic. That’s why we’ve become ardent champions of effortless yet impressive desserts. This Gingersnap Pumpkin Pie stands out as a top contender among our favorite Thanksgiving food ideas for its minimal prep and maximum flavor. It’s the perfect solution for those who want to serve a spectacular homemade pie without spending hours in the kitchen.
Imagine the smooth, velvety pumpkin filling, perfectly spiced, contrasting with the buttery, crispy, and warmly spiced gingersnap crust. It’s a symphony of textures and flavors that embodies the essence of fall. This dessert isn’t just easy; it’s a dream come true for anyone craving that classic pumpkin pie taste with an exciting, modern twist that’s sure to impress everyone from loyal pumpkin pie enthusiasts to those who typically reach for apple.
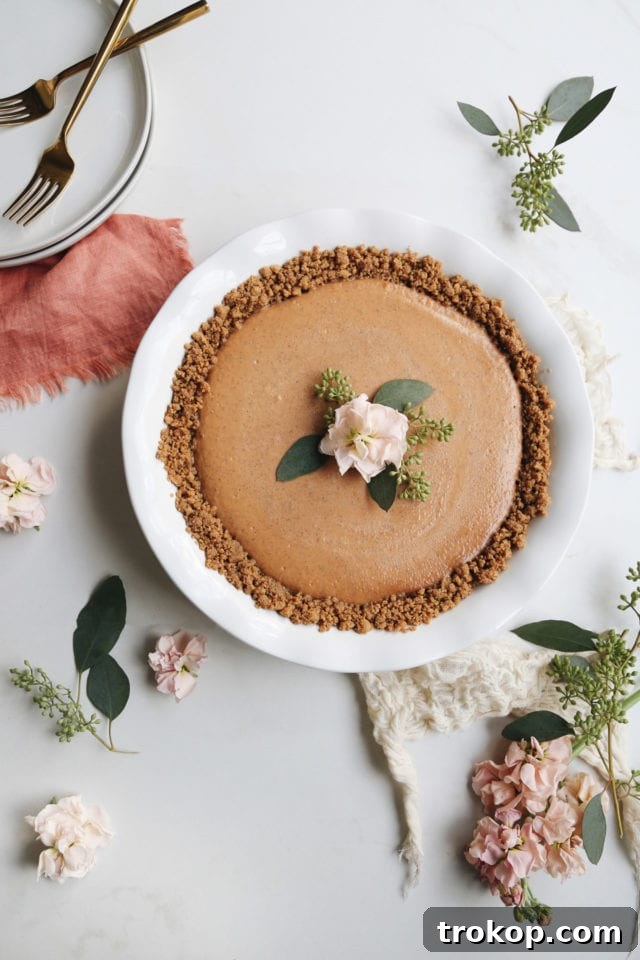
Table of Contents
Why Choose a No-Bake Gingersnap Pumpkin Pie?
In a world full of complex recipes, this no-bake pie offers simplicity without sacrificing gourmet quality. The “no-bake” aspect is particularly appealing during the holidays when oven space is often a hot commodity. You can whip this pie up a day in advance, free up your oven for other dishes, and enjoy a stress-free dessert preparation. It’s also incredibly forgiving, making it perfect for novice bakers and seasoned pros alike.
Moreover, the gingersnap crust isn’t just a convenience; it’s a flavor revelation. The crisp, spicy notes of the cookies enhance the traditional pumpkin flavor, adding a layer of depth and warmth that a plain graham cracker or pastry crust simply can’t match. It’s a modern twist that respects the classic while elevating it to new heights of deliciousness.
The Irresistible Gingersnap Crust
The foundation of this extraordinary pie is its spiced gingersnap crust. While many traditional pumpkin pies feature a standard pastry crust, the gingersnap alternative truly sets this dessert apart. The robust, spicy flavor of gingersnap cookies – infused with ginger, cinnamon, and cloves – creates a perfect harmony with the mellow sweetness of pumpkin. It’s a delightful change that offers an exciting texture and a bold flavor kick with every bite.
Creating this crust is surprisingly simple. You’ll finely crush gingersnap cookies, blend them with brown sugar for added depth, and bind it all together with melted unsalted butter. The result is a fragrant, crumbly mixture that presses easily into your pie pan. Chilling the crust solidifies the butter, ensuring a sturdy, non-soggy base that holds up beautifully to the creamy filling. This step is crucial for achieving that satisfying crunch.
Crafting the Silky Pumpkin Pie Filling
The pumpkin filling for this no-bake pie is where the magic truly happens. It’s designed to be incredibly smooth, rich, and perfectly set, thanks to a carefully balanced combination of ingredients. Unlike traditional baked pumpkin pies that rely on eggs for setting, our recipe uses unflavored gelatin, which provides a wonderfully stable yet creamy consistency without the need for baking. This also contributes to its luxurious, almost mousse-like texture.
The sweetened condensed milk is another star ingredient. It not only provides the ideal sweetness but also contributes significantly to the filling’s thick, creamy texture, eliminating the need for additional sugar and ensuring a consistently smooth mixture. Paired with pure pumpkin puree and a generous dose of pumpkin pie spice, this filling captures all the classic flavors you love, but with an elevated, effortless elegance. The cooking process is quick, simply combining all ingredients over medium heat until the gelatin dissolves and the mixture thickens slightly, then it’s off to the fridge to set into a firm, delectable filling.
Ingredients Needed for Your Gingersnap Pumpkin Pie
Gathering the right ingredients is the first step to creating this delectable no-bake pie. Here’s a breakdown of what you’ll need and why each component is essential:
- Crushed Gingersnap Cookies: These form the backbone of your unique, spiced crust. For the best crumbs, pulse store-bought gingersnap cookies in a food processor until they resemble fine, even crumbs. This ensures a uniform texture and easy pressing.
- Light Brown Sugar: Adds a touch of caramelized sweetness to the gingersnap crust, complementing the cookie’s spice and enhancing its flavor profile.
- Melted Unsalted Butter: The crucial binding agent for the crust. It coats the cookie crumbs, allowing them to be pressed into a firm, coherent base that holds its shape once chilled.
- Unflavored Gelatin: This is what gives our no-bake pumpkin filling its incredible structure and smooth, spoonable texture. It sets the pie without any oven time.
- Water: Used to dissolve the gelatin, ensuring it’s evenly incorporated into the pumpkin mixture for a perfectly set pie.
- Pumpkin Pie Spice: A blend of traditional fall spices like cinnamon, nutmeg, ginger, and cloves, it provides the quintessential warm and aromatic flavor that defines pumpkin pie. Don’t skimp on this for maximum autumnal deliciousness.
- Sweetened Condensed Milk: A key ingredient for the filling’s luxurious creaminess and sweetness. It eliminates the need for granulated sugar, ensuring a smooth texture and rich flavor. Its thickness also aids in the setting process, giving the pie a beautiful, firm consistency in the fridge.
- Pumpkin Puree: The essential base for our pie. It’s important to use 100% pure pumpkin puree, not pumpkin pie filling. Pumpkin puree is simply cooked and mashed pumpkin, free of added sugars or spices, allowing you to control the flavor. Pumpkin pie filling, on the other hand, already contains spices and sweeteners and has a much thicker, pudding-like consistency that wouldn’t work for this recipe’s delicate balance.
How to Make a Gingersnap Crust Pumpkin Pie: Step-by-Step
Creating this delightful no-bake pie is surprisingly straightforward. Follow these simple steps for a dessert that’s as easy to make as it is to enjoy.
To make the gingersnap pie crust
1 — In a medium-sized mixing bowl, combine the finely crushed gingersnap cookie crumbs, light brown sugar, and melted unsalted butter. Stir thoroughly with a spoon or spatula until all the cookie crumbs are evenly moistened and coated by the butter. The mixture should resemble wet sand.
2 — Transfer the crumb mixture into a greased 9-inch pie pan. Using the bottom of a flat glass or your fingers, firmly press the mixture into an even layer across the bottom and up the sides of the pie pan. Ensure it is compact and smooth for a sturdy crust.
3 — Place the prepared gingersnap crust in the refrigerator for at least 1 hour. This chilling time is essential for the butter to solidify, setting the crust firmly and preventing it from crumbling when filled. You want it nice and firm before adding your filling.
To make the pumpkin pie filling:
1 — In a large pot or saucepan, ideally non-stick, set over medium heat, sprinkle the unflavored gelatin over the water. Allow it to bloom for about 30 seconds, then stir continuously until the gelatin is completely dissolved into the water, which should take approximately 1 minute. Ensure there are no lumps.
2 — To the dissolved gelatin mixture, add the pumpkin pie spice, sweetened condensed milk, and pumpkin puree. Continue cooking and stirring constantly for about 5 more minutes. The goal is to heat the mixture gently and allow the flavors to meld, ensuring everything is well combined and slightly warmed through.
3 — Carefully remove the pot from the heat. Pour the warm, creamy pumpkin filling directly into your prepared and chilled gingersnap crust in the pie pan. Gently tap the pan on the counter a few times to release any air bubbles and ensure an even top surface.
4 — Cover the pie snugly with plastic wrap, ensuring the wrap doesn’t touch the filling directly if possible (you can use toothpicks to tent it if needed). Refrigerate for a minimum of 4 hours, but for the best results and a fully set, firm pie, chilling overnight is highly recommended. The pie is ready when the filling is firm, though a slight jiggle in the very center is perfectly normal. Once set, slice and serve this autumnal delight with a dollop of fresh whipped cream or a scoop of creamy vanilla ice cream for an ultimate treat!
Styling Your Desserts for a Picture-Perfect Presentation
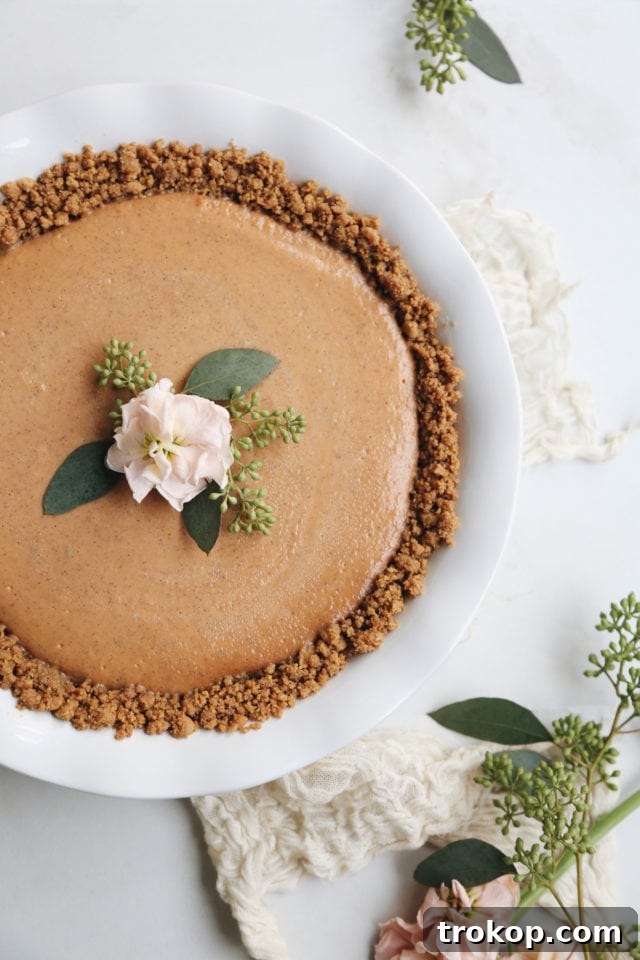
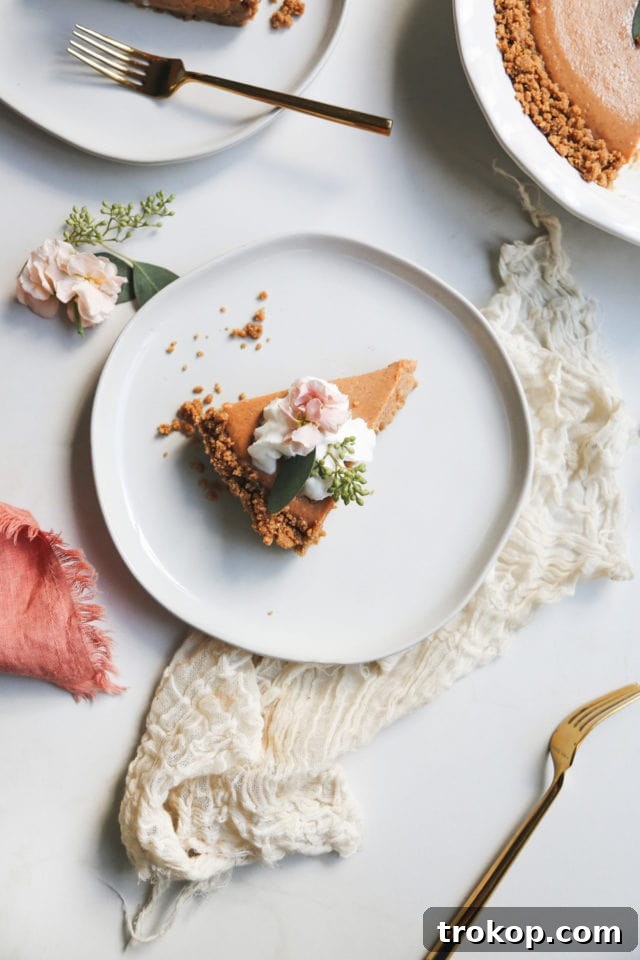
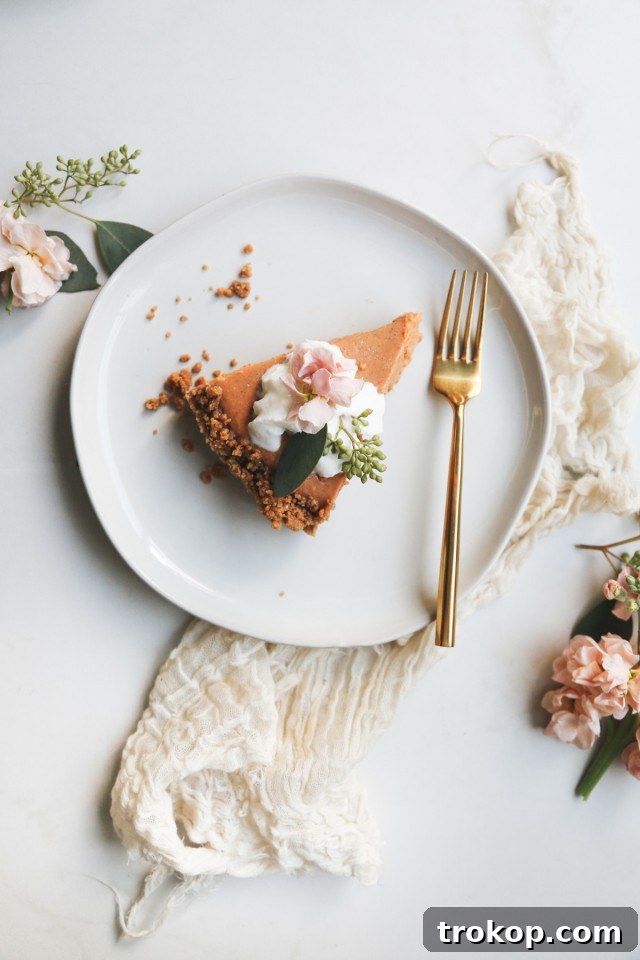
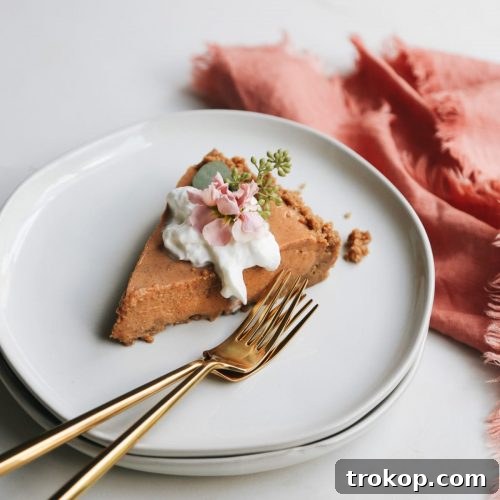
While the taste of our Gingersnap Pumpkin Pie is undeniably exquisite, a beautiful presentation can elevate the entire dessert experience. Typically, pies are enjoyed with classic accompaniments like ice cream or whipped cream, and these are always excellent choices. However, for those who love to add an extra touch of elegance, consider these styling tips to make your pie truly Instagram-worthy:
- Natural Elements: For our photos, we’ve used faux eucalyptus for a rustic, autumnal touch. It’s important to note: NEVER garnish with real eucalyptus as it is poisonous for consumption.
- Edible Decorations: If you desire to decorate with real flowers or foliage, prioritize edible options. We highly recommend using a cake vase or carefully selected edible flowers. There are numerous creative ways to incorporate edible flowers into food presentation. For a festive fall pie, edible fall leaves would be a particularly fitting and charming choice, adding a beautiful pop of color and natural texture.
- Sourcing Edible Flowers: If you’re using fresh edible flowers from your garden, always rinse them gently with cool water and lightly pat them dry with a paper towel. Add them just before serving to ensure they look their freshest. If purchasing from a store, verify that they have not been treated with insecticides or fungicides. Farmer’s markets or specialty organic grocery stores are excellent places to find safe, high-quality edible flowers.
- Spice Dusting: A light dusting of cinnamon, nutmeg, or even a sprinkle of extra gingersnap crumbs over the whipped cream topping adds both visual appeal and an extra layer of flavor.
- Caramel Drizzle: A delicate drizzle of warm caramel sauce across the top of the pie or over individual slices can create an elegant, gourmet finish.
For more inspiration on how to incorporate greenery and floral elements into your desserts, take a look at how we styled our Baileys Tiramisu Crepe Cake, Chai Spice Cake, and Sugar Flower Cake.
Can You Freeze Pumpkin Pie Filling and Leftovers?
Yes, absolutely! This is fantastic news for holiday meal prep or if you simply have leftover filling or even a whole pie you wish to save. Freezing pumpkin pie filling can be a real time-saver. You can prepare a larger batch of filling and store half for a future pie, significantly cutting down on prep time when you need it.
To freeze the leftover filling, simply spoon it into zip-top freezer bags or airtight containers. Ensure you press out as much air as possible from the bags to prevent freezer burn. The filling can be stored in the freezer for up to three months, maintaining its quality and flavor. When you’re ready to use it, transfer the frozen filling to the refrigerator and allow it to thaw for several hours, or even overnight, until it’s soft enough to use. For a quicker thaw, you can submerge the sealed freezer bag in a bowl or tub of lukewarm water. Once thawed, you can pour it into a fresh gingersnap crust and let it set as per the recipe instructions.
For freezing a fully assembled no-bake pie, ensure it is completely set and thoroughly chilled first. Wrap the pie tightly in several layers of plastic wrap, then an additional layer of aluminum foil. This double protection helps prevent freezer burn and keeps unwanted odors from permeating the pie. A whole pie can be frozen for up to one month. When ready to serve, thaw the pie in the refrigerator overnight. While the texture of the gingersnap crust might be slightly softer than freshly made, the filling will remain deliciously creamy and spiced.
More Delightful Pumpkin Desserts to Explore
If you’ve fallen in love with pumpkin flavors or are seeking more Thanksgiving desserts for the upcoming holidays, we have a variety of fantastic pumpkin-themed recipes to satisfy your cravings. From light and airy to rich and decadent, explore some of our other favorites:
- Pumpkin Cream Puffs: Delicate pastry shells filled with a spiced pumpkin cream – a sophisticated twist on a classic.
- Chewy Pumpkin Chocolate Chip Cookies: Soft, spiced pumpkin cookies studded with chocolate chips, perfect for a cozy afternoon treat.
- Keto Pumpkin Cheesecake: A creamy, guilt-free pumpkin cheesecake option that fits a low-carb lifestyle without compromising on flavor.
- Pumpkin Blondies: Chewy, spiced, and incredibly moist bars, a delightful alternative to brownies with all the warmth of pumpkin.
No Bake Gingersnap Pumpkin Pie Recipe
Equipment
-
9-inch Pie pan
-
Medium mixing bowl
-
Large pot
Ingredients
For the gingersnap crust:
- 10 oz gingersnap cookies crushed
- 2 tbsp brown sugar
- 4 oz unsalted butter melted, 1 stick
For the pumpkin pie filling:
- 2 ½ tsp unflavored gelatin
- ¼ cup water
- 3 tsp pumpkin pie spice
- 14 oz sweetened condensed milk
- 16 oz pumpkin puree
Instructions
To make the gingersnap crust:
-
In a medium-sized mixing bowl, add the gingersnap cookie crumbs, brown sugar, and melted butter. Stir to combine, until the crumbs are evenly coated.
-
Press the mixture firmly into the bottom and up the sides of a greased 9-inch pie pan.
-
Place the cookie pie crust in the refrigerator for at least 1 hour until firm and until you’re ready to add the filling.
-
To make the pumpkin pie filling:
-
In a large pot set over medium heat, combine the gelatin and water. Stir until the gelatin is dissolved, about 1 minute.
-
Add the spices, condensed milk, and pumpkin puree and continue cooking and stirring continuously for about 5 more minutes.
-
Remove from the heat and pour the pumpkin filling into the prepared gingersnap crust.
-
Cover with plastic wrap and refrigerate for a minimum of 4 hours (but ideally overnight). Allow the pie to chill and the filling to set. It is okay if the center jiggles slightly.
Nutrition

We absolutely love seeing your culinary creations! Don’t forget to share your No-Bake Gingersnap Pumpkin Pie masterpieces with us on Instagram using the hashtag #sugarandclothloves. We cherish every photo and video you share! For more quick, easy, and delicious recipes that bring joy to your kitchen, you can find them all right here on our site.
23 Festive Thanksgiving Cocktails to Celebrate the Season
Elevate your holiday celebrations with these easy-to-make and incredibly delicious Thanksgiving cocktails. They’re simple to prepare and guaranteed to bring extra cheer to your festive gathering, from classic mixes to creative new sips.
Continue Reading23 Festive Thanksgiving Cocktails to Celebrate the Season
46 Delicious Thanksgiving Dessert Ideas to Sweeten Your Holiday
Sweeten your Thanksgiving with an array of delightful dessert ideas! From classic pies to creative twists, these easy Thanksgiving dessert recipes are perfect for sharing with family and friends, ensuring a memorable and delicious end to your holiday feast.
Continue Reading46 Delicious Thanksgiving Dessert Ideas to Sweeten Your Holiday
33 Easy DIY Pumpkin Painting Ideas
Unleash your creativity and add a personal touch to your autumn decor with these fantastic pumpkin painting ideas. Create festive and unique decorations that will brighten up your home for Halloween and Thanksgiving, perfect for all skill levels.
Continue Reading33 Easy DIY Pumpkin Painting Ideas
Cheesecake Stuffed Apples Recipe
Indulge in a delightful and comforting dessert with our Cheesecake Stuffed Apples. These baked apples are filled with a creamy cheesecake mixture, offering a warm and inviting treat perfect for any fall evening or holiday gathering.
Continue ReadingCheesecake Stuffed Apples Recipe