
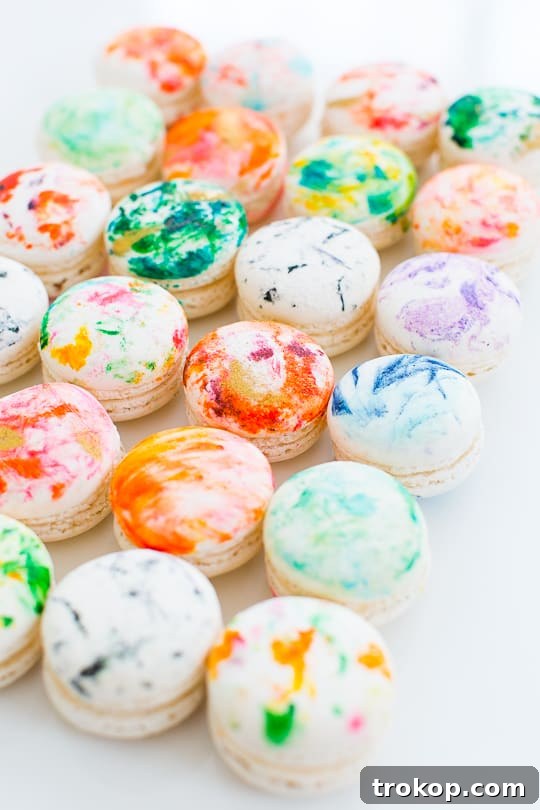
DIY Marbled Macarons: Elevate Your Dessert Game with a Simple Trick
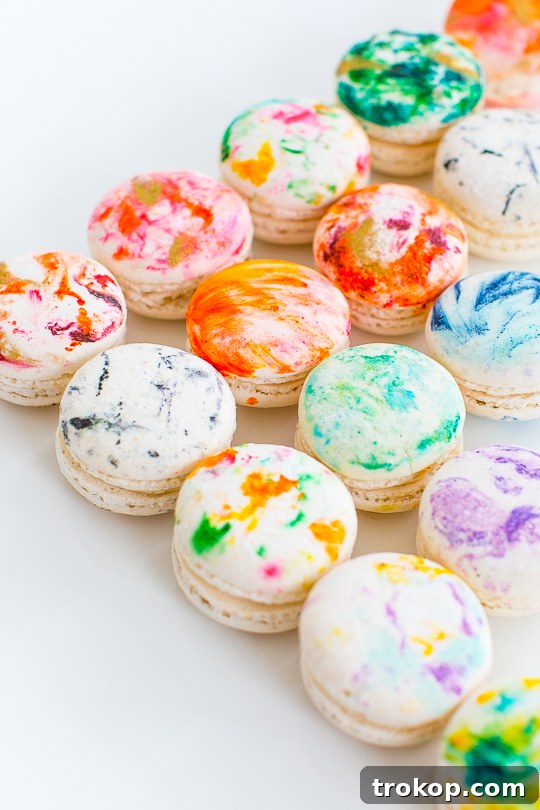
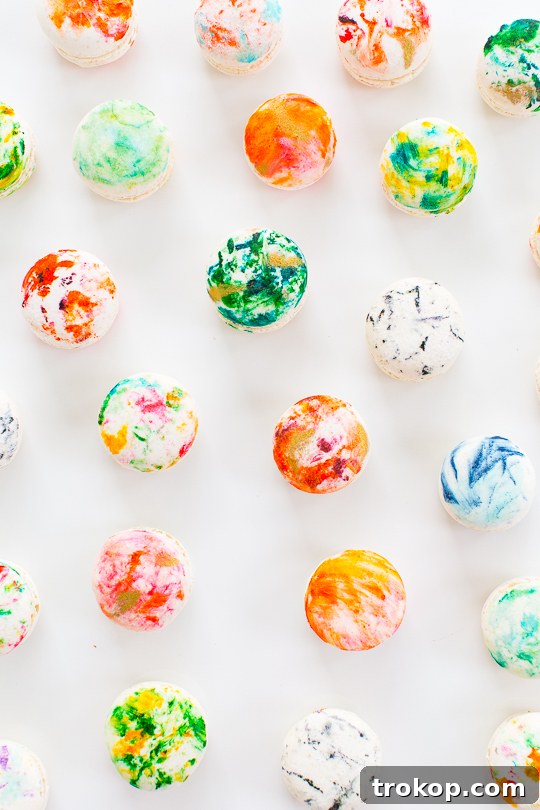
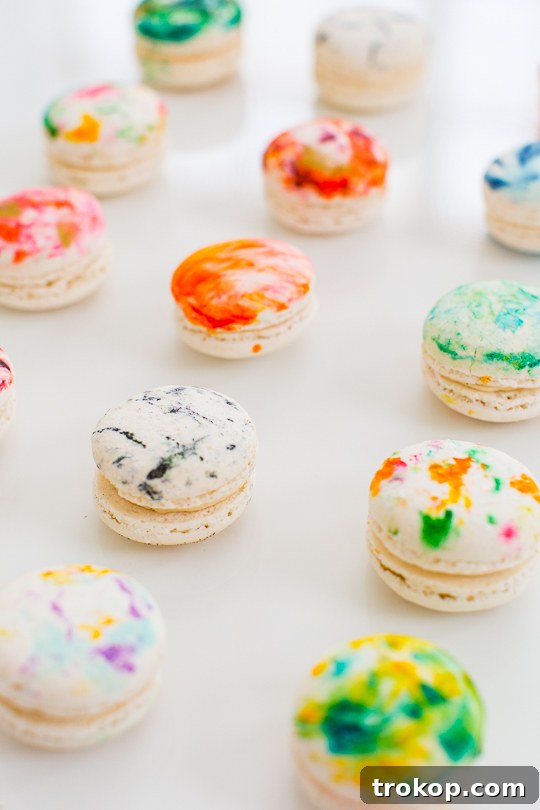
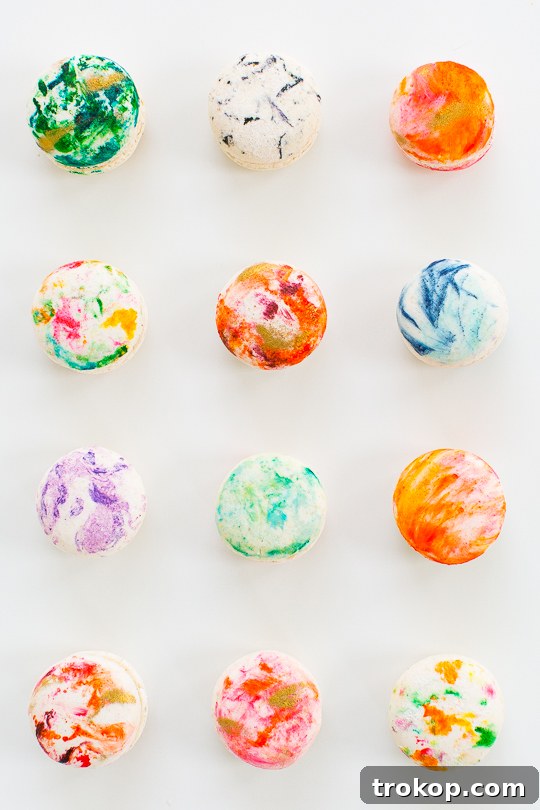
Prepare to be amazed as we unveil a game-changing technique to transform your macarons into stunning, marbled masterpieces! Forget complicated baking methods or muted colors – our secret ingredient, whipped cream, allows for vibrant, artistic designs that are both beautiful and incredibly easy to achieve. Get ready to create gorgeous DIY Marbled Macarons that will impress everyone.
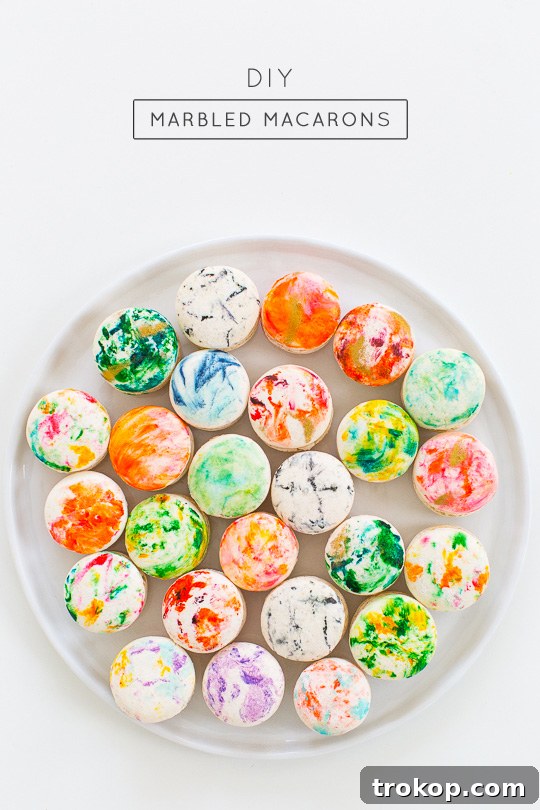
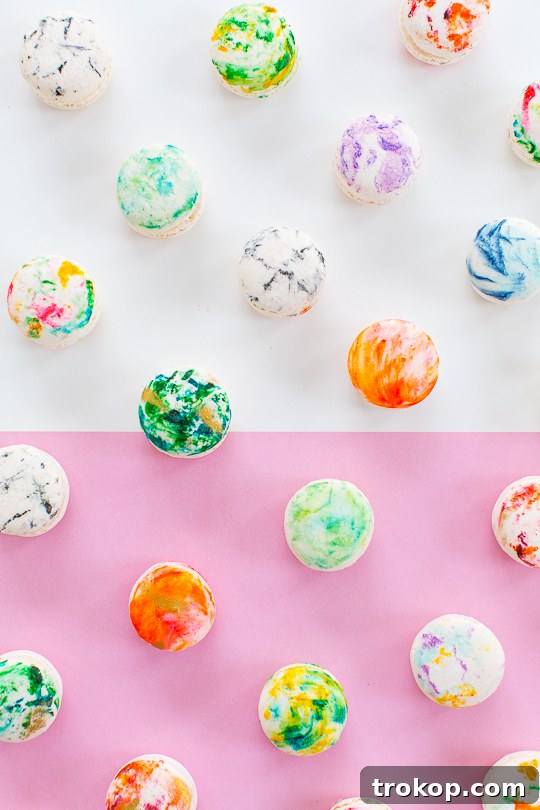
Discovering the Magic of Marbled Macarons
For a long time, the idea of creating beautifully marbled macarons felt like a distant dream. I envisioned macarons with intricate, swirling patterns, but the traditional methods often involve incorporating colors directly into the macaron batter. While effective, this approach can be challenging for home bakers, often leading to less vibrant hues and a complex process that might deter many from even trying. My goal was to find a simpler, more accessible way to achieve that sought-after marbled effect without compromising on visual impact or ease of execution.
That’s when inspiration struck! After stumbling upon a clever shaving cream marbling tutorial, a lightbulb went off. What if we could adapt this non-edible technique into something delicious? The answer was simpler and tastier than I could have imagined: whipped cream! This edible medium proved to be the perfect canvas for our food colors, allowing for stunning, crisp marbled patterns that truly pop. Not only is this method incredibly straightforward, but it also opens up a world of vibrant possibilities that traditional baking methods simply can’t match.
Now, I know what some of you die-hard French macaron purists might be thinking – “Treating precious macarons with such a technique?!” And while I appreciate the dedication to classic pastry, for those of us who prioritize fun, aesthetics, and deliciousness without the added stress, this DIY method is an absolute winner. These marbled macarons don’t just look incredible; they taste just as good as any. So, let’s dive into this exciting project and create some edible art!
Materials and Tools Needed to Make DIY Marbled Macarons
Gathering your materials is the first step to creating these enchanting treats. The beauty of this method lies in its simplicity, requiring only a few readily available items. Here’s what you’ll need:
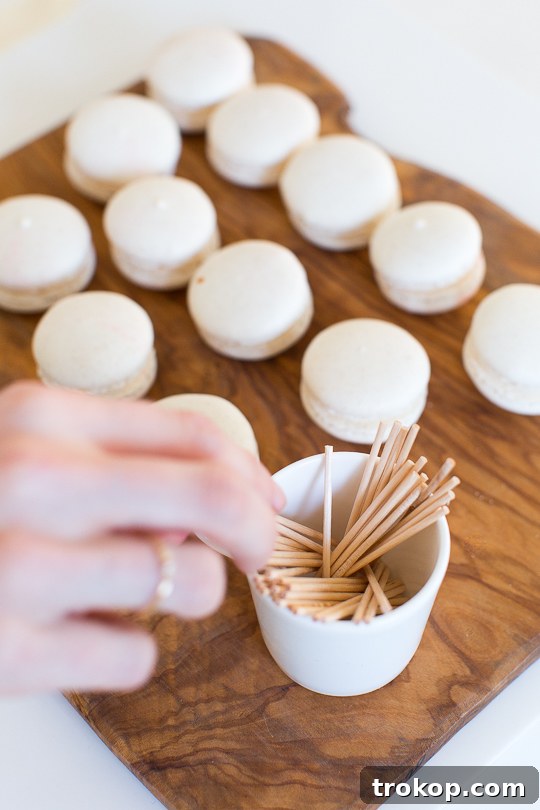
- Almond or Vanilla Macarons: You can choose convenience by using store-bought macarons, which are perfect for a quick project. Alternatively, for those who enjoy baking from scratch, feel free to use your favorite homemade French macarons or Italian macarons. Ensure they are fully cooled and ready for decoration.
- Gel Food Colors: Unlike liquid food coloring, gel food colors are highly concentrated and produce vibrant, intense hues that are crucial for a striking marbled effect. A variety of colors will allow for endless creative combinations. (Shop Gel Food Colors)
- Toothpicks: These are essential for precisely dropping the food coloring onto the whipped cream and gently swirling it to create your desired patterns.
- Un-patterned Paper Towels: Plain paper towels are vital for dabbing off excess whipped cream and color without transferring unwanted patterns or lint onto your delicate macarons.
- Wax Paper: Provides a non-stick, easy-to-clean surface for your marbling station. You can tape it down to keep it stable during the process. (Shop Wax Paper)
- Whipped Cream or Cool Whip: This is our magic ingredient! The smooth, stable texture of whipped cream or Cool Whip acts as the perfect medium for transferring the food coloring onto the macarons.
- Edible Gold Dust (optional): For an extra touch of glamour and sophistication, edible gold dust can be brushed onto your finished marbled macarons. It adds a beautiful shimmer that elevates the entire look. (Shop Edible Gold Dust)
- Small Spatula or Spreader: Useful for spreading a thin, even layer of whipped cream.
- Paper Plates (optional): An alternative to wax paper, especially if you’re working on a smaller batch or prefer disposable surfaces.
How to Make DIY Marbled Macarons: A Step-by-Step Guide
Creating these beautiful marbled macarons is an incredibly fun and rewarding process. Follow these simple steps to achieve stunning results every time:
Step 1: Prepare Your Workspace
Before you begin, ensure your workspace is clean and organized. Lay down a sheet of wax paper on a flat surface and tape down the corners to prevent it from sliding. This creates a stable and non-stick area to work on. If you’re only making a small batch of macarons, using paper plates instead of wax paper can be a convenient alternative for easy cleanup. A well-prepared surface makes the entire process smoother and more enjoyable. And remember our star ingredient for marbling: whipped cream, which works even better than shaving cream for vibrant, edible patterns!
Step 2: Create Your Whipped Cream Canvas
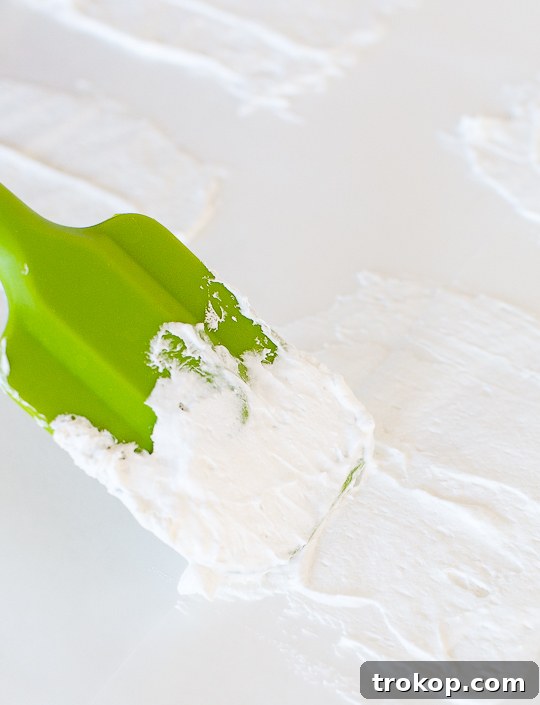
Using a small spatula or spreader, apply a thin, even layer of whipped cream or Cool Whip onto your prepared plate or wax paper. This layer doesn’t need to be very thick, about 1/4 to 1/2 inch is sufficient. The whipped cream will act as the temporary canvas for your food colors, allowing them to float and swirl before being transferred to the macaron shells. Aim for a smooth surface to ensure your marble patterns transfer cleanly.
Step 3: Design Your Marble Pattern
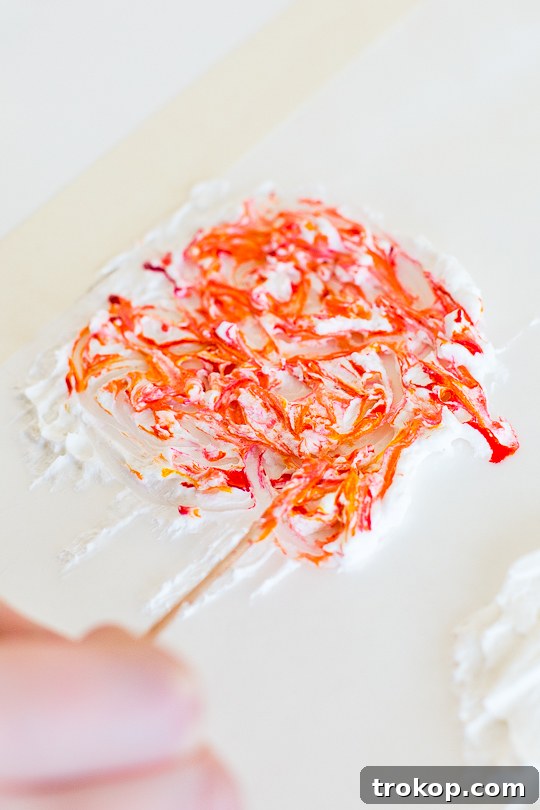
Now comes the fun part – creating your design! Using toothpicks, carefully dab small drops of your chosen gel food colors onto the surface of the whipped cream. You can use one color or several. Once the colors are applied, use a clean toothpick to gently swirl and drag the colors through the whipped cream to create intricate patterns. Experiment with different techniques:
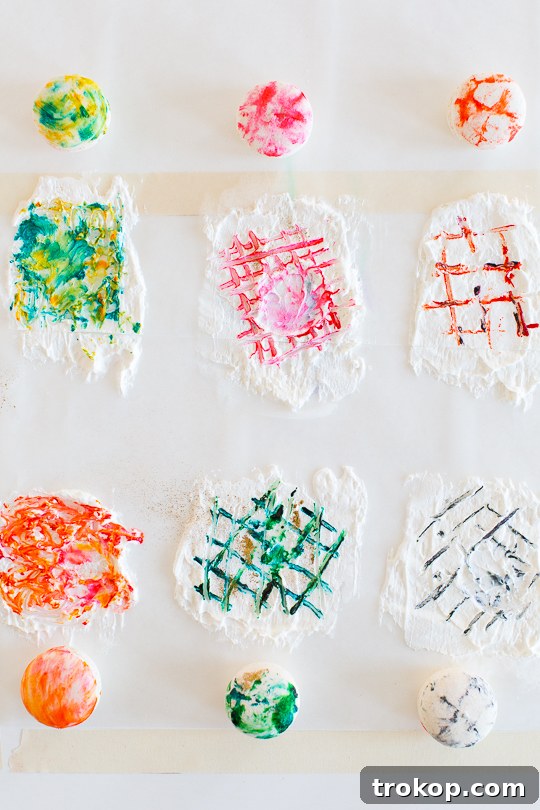
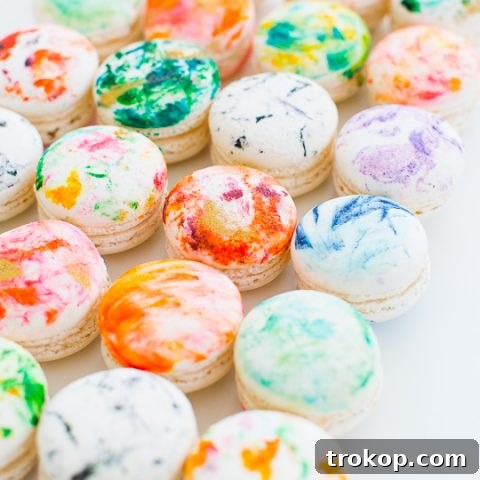
- For a “watercolor-ish” or more covered look: Use a generous amount of food coloring and swirl it more extensively. This will blend the colors and create a softer, more diffused appearance.
- For a distinct marbled effect: Be more sparing with the color and use fewer, more deliberate swirls. This will result in clearer lines and more defined marbling.
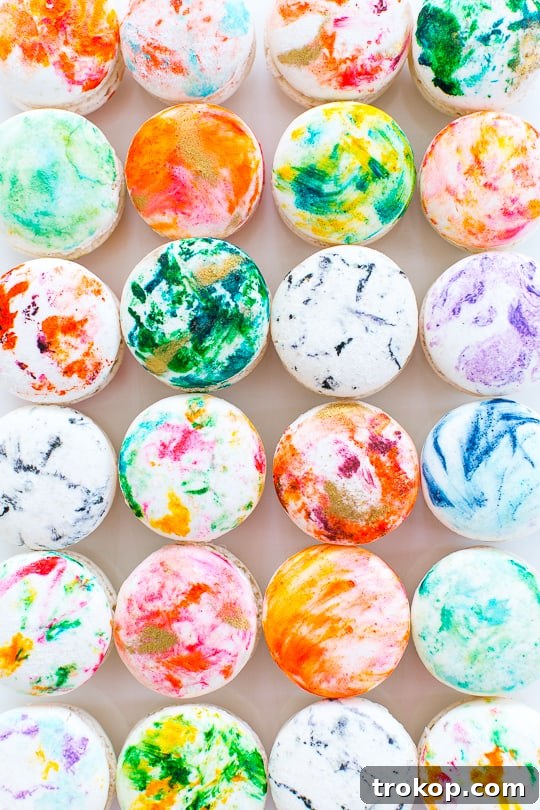
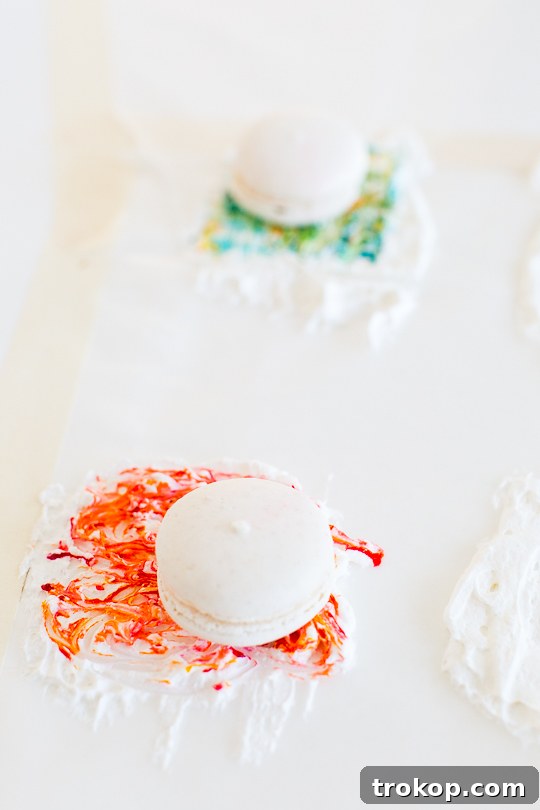
The photo below illustrates some examples of food color patterns that yielded different marbled effects. Don’t be afraid to play around; each design will be unique!
Step 4: Dip Your Macarons
Once your desired color pattern is ready, gently place a macaron shell face-down onto the marbled whipped cream. Apply very light pressure to ensure the surface of the macaron makes full contact with the color design. To ensure the sides also pick up some of the beautiful marbling, very gently roll the macaron slightly in the cream. The key here is to be delicate to avoid disturbing the intricate pattern too much.
Step 5: Let the Color Set
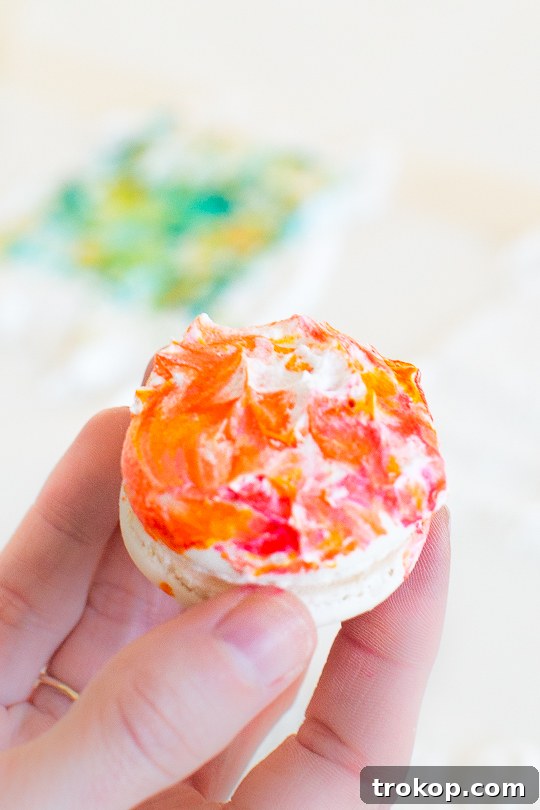
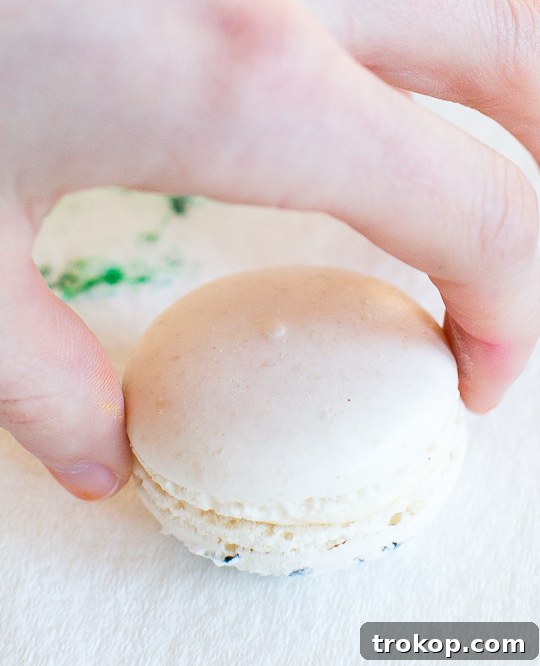
Carefully lift the macaron off the whipped cream. Now, it’s time for a crucial step: wait approximately 30 seconds. This short waiting period allows the food color to properly sink into the macaron cookie, ensuring a vibrant and lasting transfer of the marbled design. Resist the urge to clean it immediately; patience here will pay off with a more defined pattern.
Step 6: Reveal Your Masterpiece
After the color has had time to set, gently dab the excess whipped cream off the macaron onto a clean, un-patterned paper towel. Be careful not to rub vigorously, as this could smudge your design. For a softer, more “brushstroke” effect, you can gently wipe the cream off instead of dabbing. You’ll be left with a beautifully marbled macaron, ready to be admired!
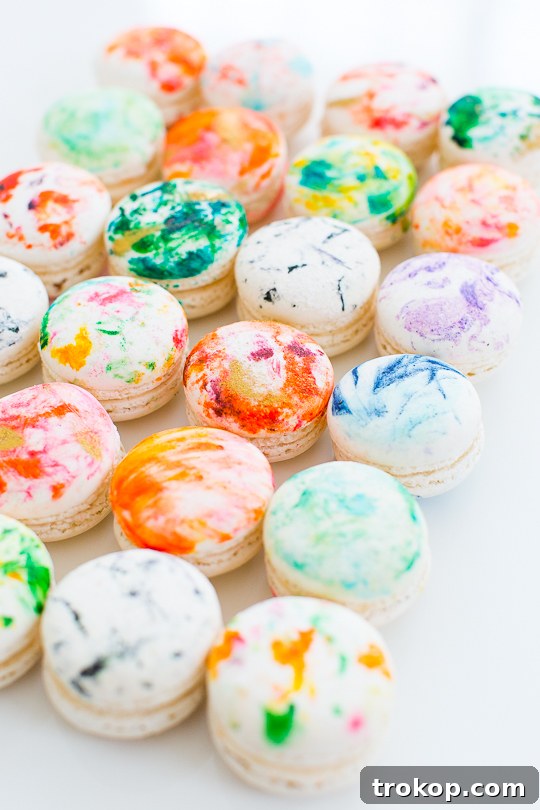
With this technique, you can embark on a creative journey, experimenting with every color combination imaginable! From bold primary colors to soft pastels, the possibilities are endless. We absolutely adored the idea of adding a touch of edible gold dust to the tops of some finished macarons – it adds a luxurious shimmer and an extra layer of elegance, resulting in a truly stunning final product.
Tips for Perfect Marbled Macarons
To ensure your DIY Marbled Macarons turn out perfectly every time, keep these extra tips in mind:
- Macaron Surface: For the best marbling effect, use macarons with a smooth, unblemished surface. This allows the colors to adhere evenly and display the intricate patterns without interruption.
- Whipped Cream Consistency: Ensure your whipped cream or Cool Whip is well chilled and has a firm, spreadable consistency. If it’s too runny, your colors might bleed excessively.
- Gel Food Colors are Key: Always opt for gel food colors over liquid ones. Gels are more concentrated, leading to richer, more vibrant colors and less moisture introduced to the whipped cream, which helps maintain crisp patterns.
- Don’t Over-Swirl: While it’s fun to create patterns, over-swirling the colors can lead to a muddy, indistinct design. A few gentle swirls are often all you need for a beautiful marble effect.
- Work Quickly: Food colors can start to “sink” or spread in the whipped cream over time. Work efficiently once you’ve created your color pattern and dip your macarons relatively quickly.
- Use Fresh Whipped Cream for Each Batch: If you’re making many marbled macarons, you might want to refresh your whipped cream canvas with a new layer after several dips, or when the colors become too mixed.
- Storage: Marbled macarons can be stored in an airtight container at room temperature for a day or two, or refrigerated for up to a week. The colors should remain vibrant.
- Experiment! The true joy of this DIY project is experimenting. Try different color combinations, varying amounts of color, and various swirling techniques to discover your favorite marbled looks.
So, what do you think? Are DIY marbled macarons in your near future? I’m certainly hoping they are! This simple yet effective method makes achieving gourmet-looking desserts accessible to everyone.
More DIY Macarons Inspiration
If you’re eager to explore more creative macaron projects and infuse color and flair into your baking, check out some of our other favorite DIY macaron ideas below:
- Easy Halloween Macarons Dessert – Ghost Macarons Recipe
- DIY Easter Macarons & Paintable Royal Icing Recipe
- DIY Abstract Art Macarons
- DIY Gradient Message Macarons
DIY Marbled Macarons
Beautify your macarons with a simple ingredient!
Print Recipe
Rating: 5 out of 5 stars from 1 vote
Equipment
- Toothpicks
- Wax paper
- Small Spatula or Spreader
- Paper plates (optional)
Materials
- Almond or vanilla macarons (Store-bought or homemade French macarons or Italian macarons)
- Gel food colors
- Whipped cream or Cool Whip
- Edible gold luster dust (optional)
- Un-patterned paper towels
Instructions
- To start, tape down a sheet of wax paper to work on, or use paper plates for a smaller batch. This provides a stable and easy-to-clean surface.
- Use a spatula to smear a thin, even layer of whipped cream or Cool Whip onto your plate or wax paper. This will serve as your edible canvas for marbling.
- Using toothpicks, carefully dab drops of gel food colors onto the whipped cream. Gently swirl the colors to create your desired marbled design. More color and swirling will result in a “watercolor-ish” effect, while less color and delicate swirls will yield distinct marble patterns.
- Once your pattern is ready, gently place a macaron shell face-down onto the colored whipped cream. Very gently roll the macaron slightly to ensure the sides also pick up the marbling.
- Lift the macaron back up and wait about 30 seconds. This allows the food color to properly absorb into the cookie surface for a vibrant, lasting design.
- Gently dab off the excess whipped cream from the macaron onto un-patterned paper towels. For a brushstroke effect, you can carefully wipe the cream off instead of dabbing.
- (Optional) For added sparkle, lightly brush edible gold dust onto the finished marbled macarons.
Cost: $35 (approximate, depending on ingredients)
Keywords: DIY marbled macarons, easy macaron decoration, whipped cream art

We absolutely love seeing your creative endeavors! Be sure to share your marbled macaron creations with #glossaryofmacs on Instagram so we can follow along. You can also explore all of our other exciting macaron creations here for even more inspiration!
Fun DIYs Using Macarons