
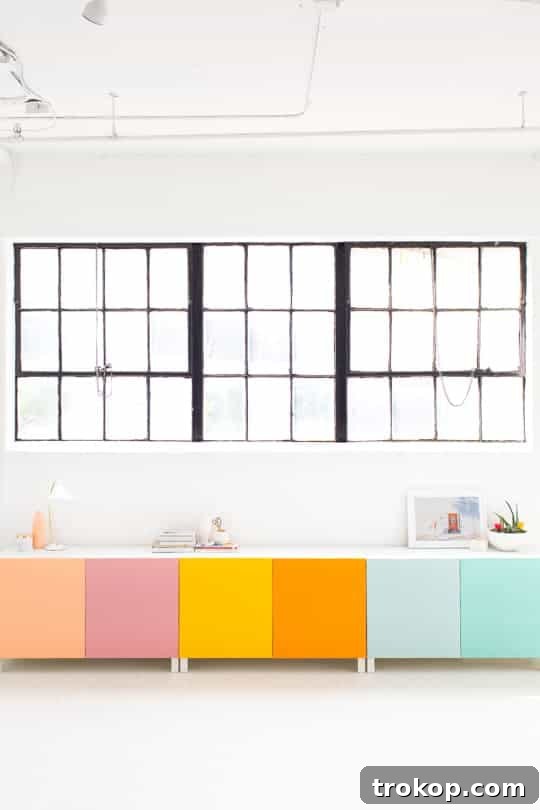
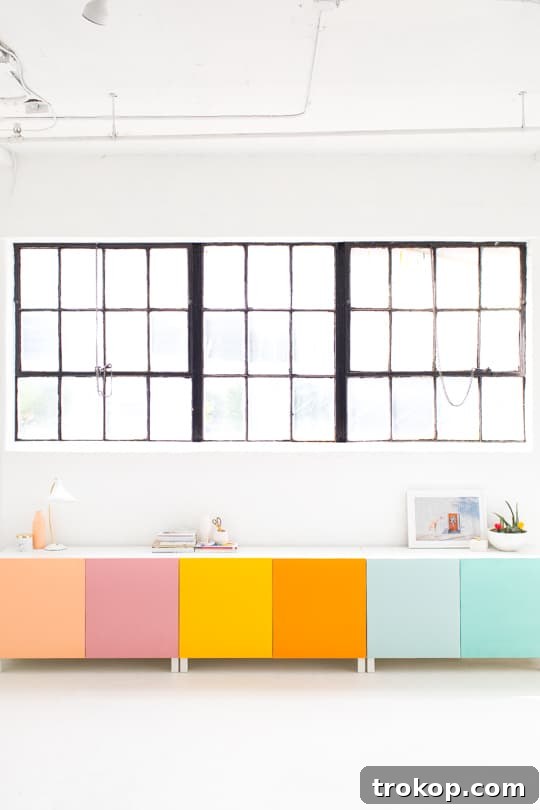
Transform your living space, studio, or craft room with a vibrant and functional DIY Color Block Storage solution! This ingenious IKEA Besta hack allows you to add a dynamic pop of color while expertly organizing and concealing all your arts and crafts supplies, children’s toys, essential tools, and so much more. Say goodbye to clutter and hello to a beautifully curated, organized environment that reflects your unique style.
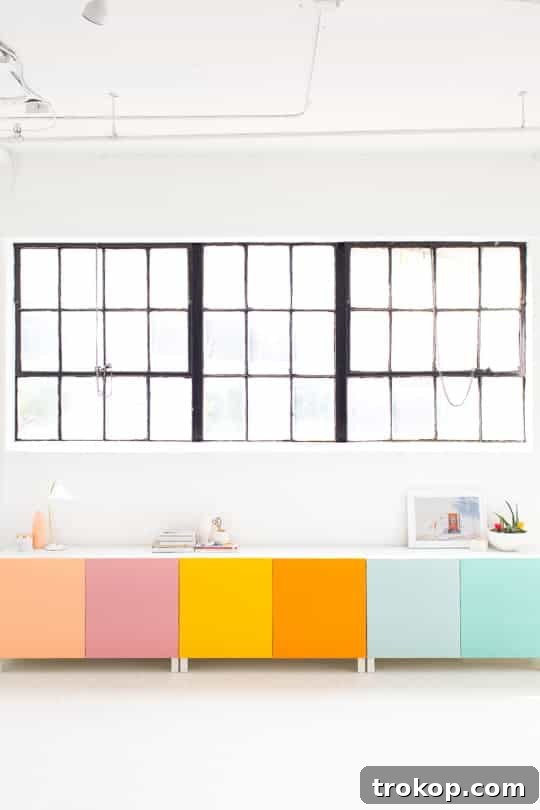
For many creative individuals, the accumulation of props and supplies is an inevitable part of the journey. This delightful DIY Color Block Storage project, a clever IKEA Besta hack, came at the perfect moment for us. Faced with an ever-growing collection of materials, it became clear that our beautiful, bright white studio space, while aesthetically pleasing, desperately needed more concealed storage options. We love the open, airy feel of our studio, but during its initial design, we truly underestimated the transformative power of being able to hide everyday “junk” behind closed doors.
The necessity for more storage ultimately led us to this charming and highly effective DIY color block solution. Initially, the introduction of such bold colors was a bit of a shock, especially since we were accustomed to an almost entirely white palette, with the exception of our studio kitchenette. However, once we realized we could effortlessly tuck away several weeks’ worth of upcoming project materials into these vibrant cabinets, we were officially won over by this straightforward and stylish IKEA Besta hack. This project not only addresses practical storage needs but also injects personality and visual interest into any room.
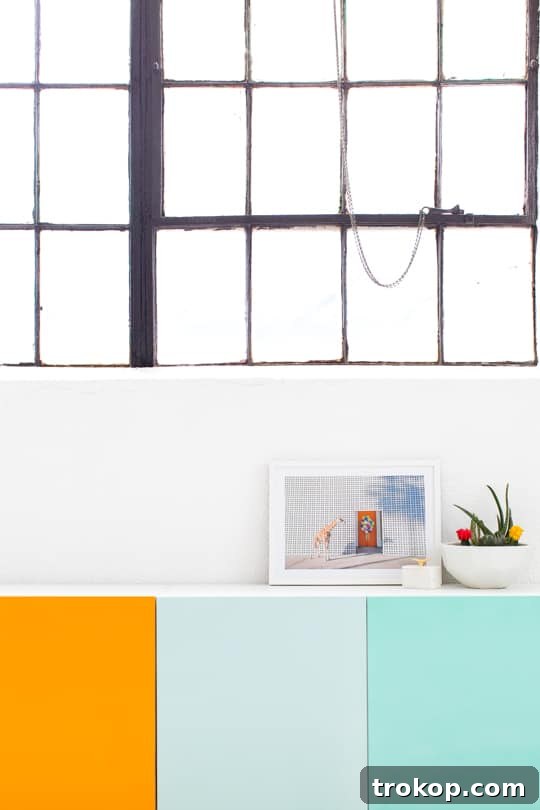
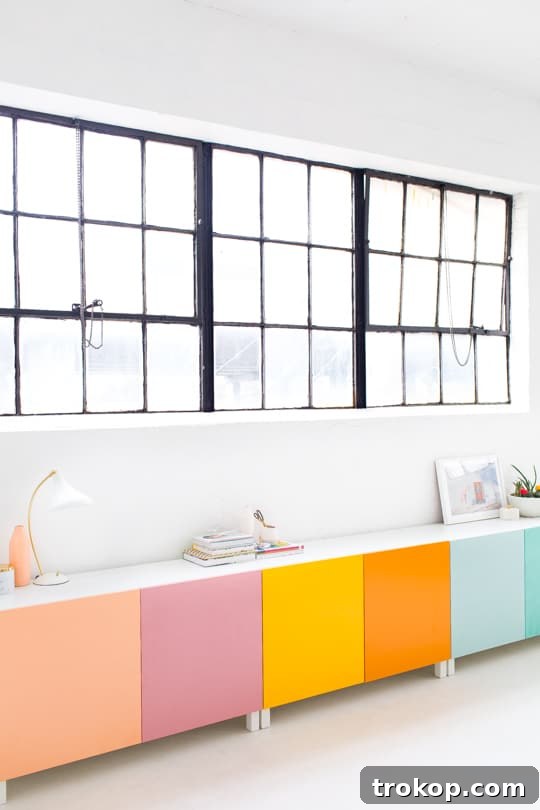
Table of Contents
Materials Needed for Your IKEA Besta Color Block Storage
Gathering the right materials is the first step towards a successful and long-lasting DIY project. For this IKEA Besta color block storage hack, we focus on quality paint and a protective finish to ensure your colorful creation stands the test of time.
- IKEA Besta Cabinets, Hinges, and Legs — The IKEA Besta system is renowned for its versatility and clean lines, making it an ideal canvas for customization. It’s crucial to select Besta doors that are *not* high-gloss, as a matte or low-sheen surface will adhere paint much better. If you prefer, you can certainly adapt this hack to any existing cabinets or other furniture pieces you wish to revitalize.
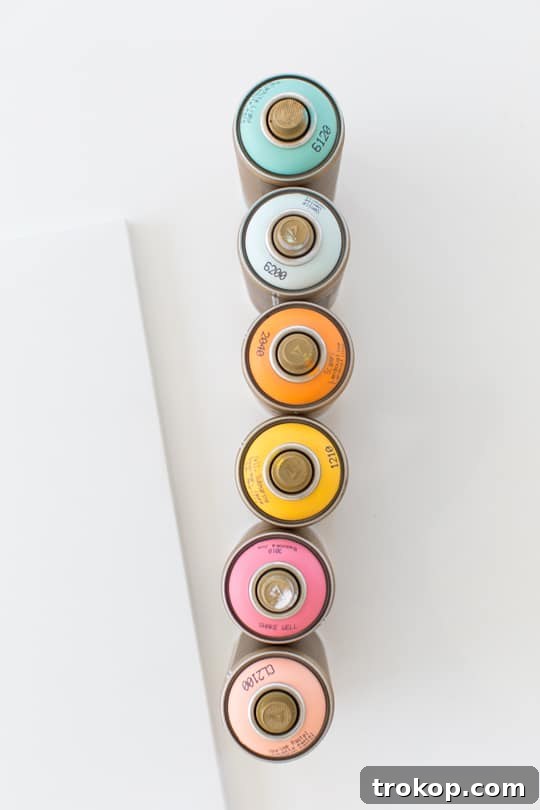
- High-Quality Paint in Your Chosen Colors — The impact of your color block design largely depends on your paint choices. We highly recommend Montana Gold spray paint for its superior coverage, vibrant pigments, and smooth finish. When selecting your palette, consider the existing decor of your space and how these new colors will complement or contrast. Here are the exact colors we used for inspiration:
- Montana Cans Gold Spray Paint in Classic Shrimp Pastel
- Montana Cans Gold Spray Paint in Bazooka Joe
- Montana Cans Gold Spray Paint in Yellow Submarine (MXG-G1210)
- Montana Cans Gold Spray Paint in Scampi
- Montana Cans Gold Spray Paint in Venice
- Montana Cans Gold Spray Paint in Malachite Light (MXG-G612)
- Clear Shellac Finishing Coat — This final protective layer is non-negotiable. A clear shellac not only seals and protects your freshly painted surfaces from scratches and wear but also enhances the vibrancy of the colors and makes the cabinets incredibly easy to clean. Look for a non-yellowing formula to maintain the true hues of your chosen paints.
Spray vs. Brush Painting Cabinets: The Pros of Going Spray
When embarking on a cabinet painting project, especially for an IKEA Besta hack like this, a common question arises: should you spray paint or brush paint? While brush or roller application might seem simpler at first glance, spray painting offers distinct advantages, particularly when aiming for a professional, factory-like finish. Both methods can yield great results, but understanding the benefits of spray paint can help you achieve the aesthetic you desire.
- Achieve a Smooth, Flawless Finish: This is perhaps the most significant advantage of spray painting. It delivers an incredibly even and consistent coat of paint, virtually eliminating brush strokes or roller marks. The result is a sleek, professional-quality finish that looks polished and high-end, perfect for modern color block designs.
- Exceptional Speed and Efficiency: Spray painting covers large surface areas much faster than traditional brushing or rolling. This makes it a highly time-efficient option, especially when dealing with multiple cabinet doors or larger furniture pieces, allowing you to complete your project in less time with superior results.
- Effortless Coverage of Hard-to-Reach Areas: Cabinets often feature intricate details, recessed panels, or tight corners that are challenging to paint evenly with a brush. Spray paint easily reaches into these crevices and intricate designs, ensuring uniform coverage without the hassle of maneuvering a brush or dealing with uneven application.
- Consistent and Uniform Application: With spray painting, you get a highly consistent application without the risk of uneven layers, drips, or paint clumps that can sometimes occur with brush painting. This ensures that each cabinet door has the same depth of color and texture, contributing to a cohesive final look.
- Versatile Range of Finishes and Effects: Spray paints are available in an extensive variety of finishes, including matte, satin, glossy, and even unique effects like metallics or textures. This versatility allows for greater creative freedom to achieve specific aesthetic visions beyond just color.
- Reduced Physical Effort: For projects involving multiple coats or numerous items, spray painting requires considerably less manual effort and physical strain compared to the repetitive motions of brush painting, making the process less tiring and more enjoyable.
While spray painting might require a bit more setup in terms of ventilation and masking, and potentially a slight learning curve for beginners, the benefits are clear. If you are aiming for a polished, professional-grade look for your color block cabinets and have access to a well-ventilated workspace or outdoor area, spray painting is generally the superior choice. However, if budget constraints are a primary concern, or if you prefer working in a more confined space, brush painting can still deliver excellent results with careful technique, patience, and the right type of paint and primer.
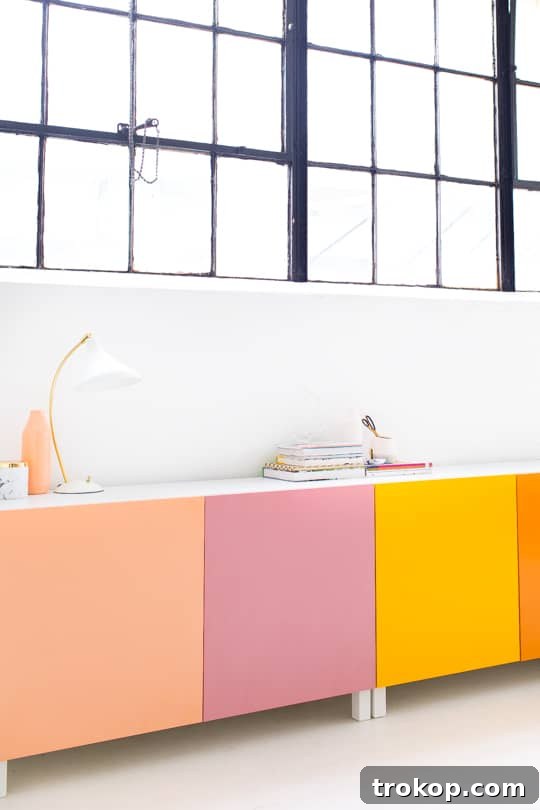
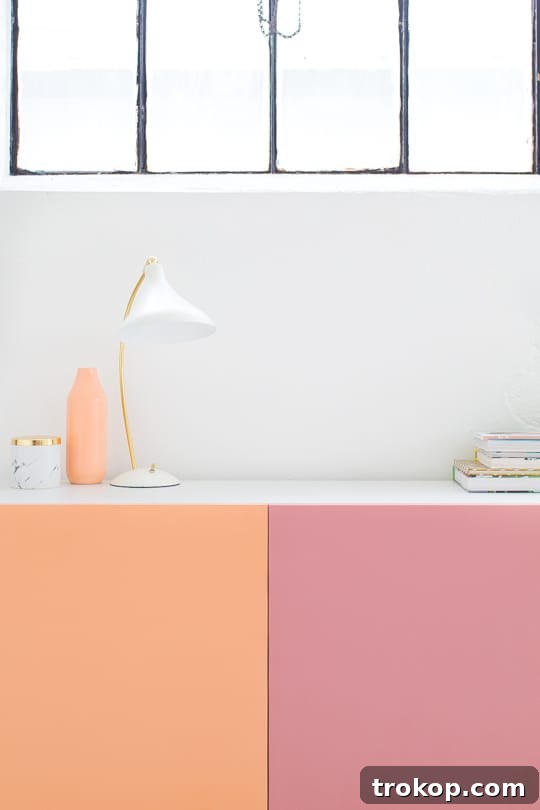
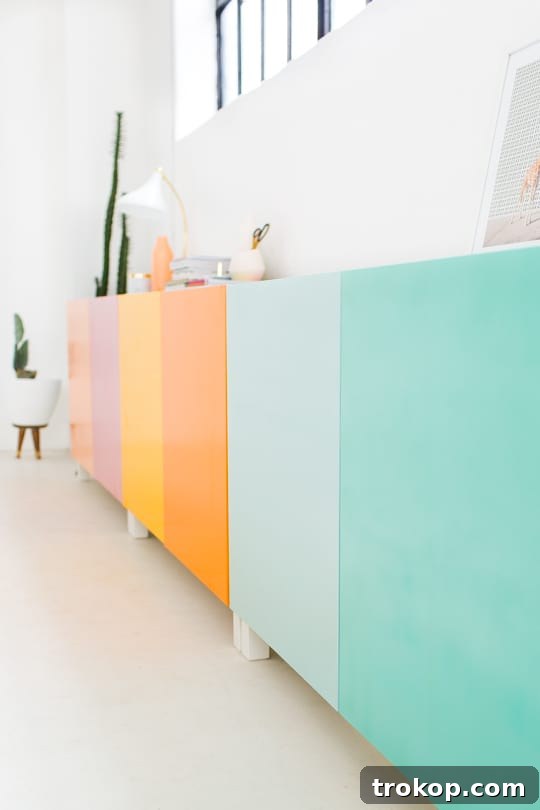
How to Make a DIY Color Block Storage with IKEA Besta Doors
Creating your own customized color block storage using IKEA Besta cabinets is a rewarding project that’s surprisingly simple. If you’re using IKEA Besta cabinets, you’ll be pleased to find that painting the doors is often much easier than tackling the cabinet assembly itself – a great head start for your DIY journey!
Step 1: Prepare Your Surface and Apply Paint
Preparation is key for a durable and beautiful finish. Before you even think about paint, ensure your Besta doors (or chosen cabinet fronts) are thoroughly clean, dry, and free of any dust or grease. A light sanding with fine-grit sandpaper (around 220-grit) can help the paint adhere better, especially if the surface isn’t completely raw. Wipe away any sanding dust with a tack cloth or a damp cloth followed by a dry one. Lay the doors flat in a well-ventilated area, preferably outdoors or in a garage with open windows, on a drop cloth or old newspaper to protect your surroundings.
Now, it’s time for the exciting part: painting! Using your chosen spray paint colors, apply thin, even coats to each door individually. Hold the can approximately 8-10 inches from the surface and use continuous, sweeping motions, overlapping each pass slightly to avoid stripes. We found that it took about 3 coats of spray paint per door to achieve rich, full coverage and vibrant color. The key here is patience: allow each coat to dry completely to the touch before applying the next. Rushing this step can lead to drips, uneven textures, or peeling. Always follow the manufacturer’s recommended drying times, which are typically listed on the spray can.
Step 2: Seal for Long-Lasting Durability
Once all your paint coats are dry and you’re happy with the color, applying a clear shellac topcoat is an absolutely crucial step. These doors will likely see frequent use and potential wear and tear, especially if storing art supplies or children’s toys. The shellac acts as a protective shield, guarding against scratches, chips, and general wear. Beyond protection, it also creates a smooth, wipeable surface that makes cleaning spills and smudges incredibly easy, ensuring your vibrant color block design stays pristine for years to come. Apply the shellac in thin, even coats, much like the paint, allowing adequate drying time between each coat for optimal adhesion and hardness. Two to three coats of shellac are usually sufficient for robust protection.
Step 3: Assemble and Attach Your Custom Doors
After the final coat of shellac has fully dried and cured (this can take 24-48 hours depending on the product and humidity), it’s time to bring your vision to life. Carefully assemble the doors and attach them to the Besta cabinets (or your chosen storage units) following IKEA’s instructions or the guidelines specific to your cabinet system. Handle the newly painted doors with care during assembly to avoid any accidental scrapes or marks. Once the hinges are attached and the doors are mounted, stand back and admire your handiwork.
And just like that, you’re done! Your custom, colorful, and cleverly organized storage is ready to make a bold statement, inject personality into your space, and most importantly, keep all your belongings neatly tucked away and perfectly organized. Enjoy the beauty and functionality of your new DIY color block storage!
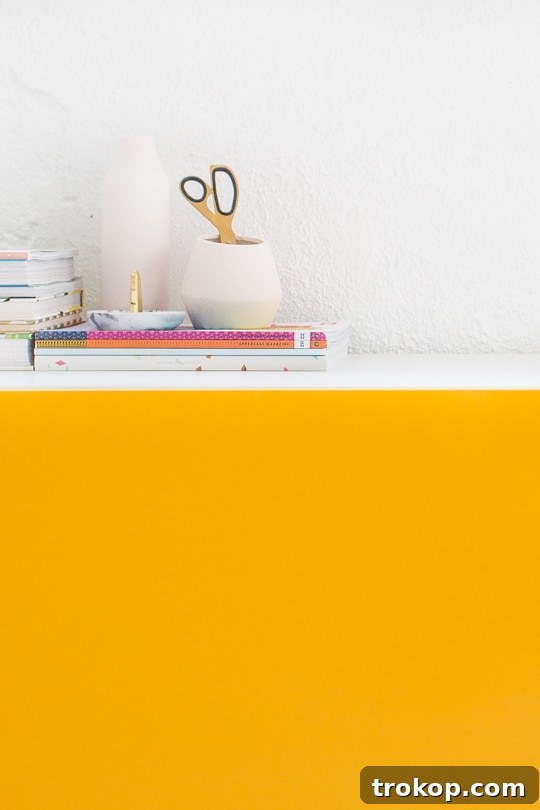
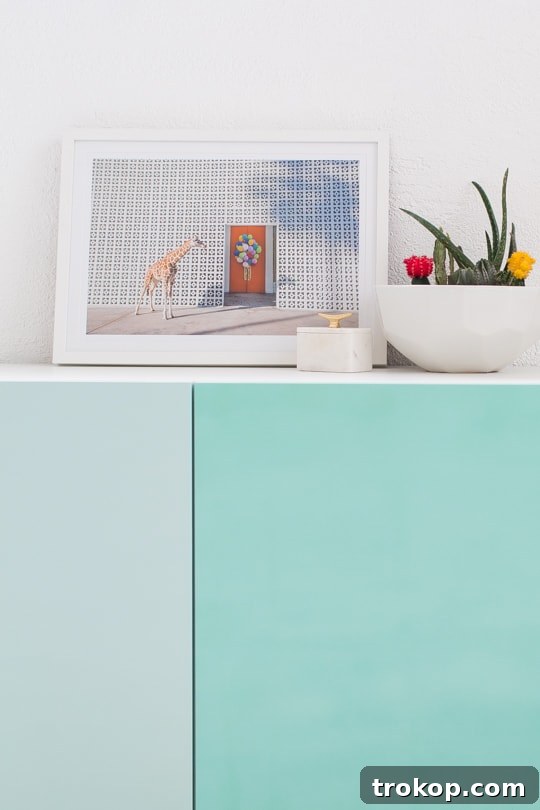
Curated Studio Sources & Decor Elements
Achieving a cohesive and inspiring aesthetic often involves thoughtfully selected decor pieces. Here are some of the key elements that contribute to the overall look and feel of our studio space, complementing the vibrant DIY color block storage:
- Lynnwood Single Task Lamp from Rejuvenation: This elegant and functional task lamp provides focused illumination, perfect for detailed work or highlighting specific areas, blending classic design with modern utility.
- Giraffe print from Gray Malin: Adding a touch of playful sophistication, this captivating print brings a unique artistic flair and a conversation starter to the studio environment.
- IKEA Besta series: Beyond the customized doors, the inherent modularity and versatility of the Besta series form the backbone of our storage and display solutions, allowing for flexible configurations.
- Tabletop accessories from Target: Affordable yet stylish, these accessories are perfect for adding those final personal touches that complete a space, from decorative objects to functional desk organizers.
More Easy & Inspiring Paint Projects for Your Home
If you’ve enjoyed the process of creating your DIY color block storage, you might be inspired to explore more transformative paint projects. We’re always experimenting with color and pattern, and we also love the idea of using muted gradient colors for a more subtle, sophisticated effect. What do you think? Do you have any creative ideas for incorporating color blocking or painted elements into your own space? For even more easy and impactful painting projects, dive into some of our favorite archives below and unleash your inner artist!
- Handmade Easy Wall Painting Ideas: Discover simple yet stunning techniques to transform your walls into works of art, adding character and depth to any room without extensive effort.
- DIY Painted Chair Makeover: Give old chairs a new lease on life with creative paint techniques, turning functional furniture into stylish statement pieces that complement your decor.
- DIY Painted Umbrella with Abstract Shapes: Add a personalized touch to everyday items with this fun project, creating a unique and eye-catching umbrella perfect for rainy days or garden decor.
- Cake Painting Tutorial: Take your baking and decorating skills to the next level with this tutorial on painting frosting, perfect for adding intricate designs and vibrant colors to your cakes.
DIY Ikea Play Kitchen Hacks to Make it One-of-a-Kind
Elevate your child’s imaginative playtime by transforming a basic IKEA Duktig play kitchen into a personalized masterpiece. This guide offers creative hacks to make it truly unique, sparking joy and endless hours of pretend play.
Continue ReadingDIY Ikea Play Kitchen Hacks to Make it One-of-a-Kind
16 Genius Ikea Desk Hacks You Need In Your Life
Maximize your workspace potential with these incredible IKEA desk hacks. From minimalist designs to elaborate multi-functional setups, find inspiration to create a stylish and efficient desk environment that boosts productivity.
Continue Reading16 Genius Ikea Desk Hacks You Need In Your Life
22 Home Office Ideas that Promote Productivity & Creativity
Beyond the typical 9-5, your home office should be a sanctuary of focus and innovation. Explore these 22 inspiring ideas designed to foster an environment where both productivity and creativity can thrive, making your workspace truly exceptional.
Continue Reading22 Home Office Ideas that Promote Productivity & Creativity
15 Entryway Storage Ideas to Tame Your Cluttered Chaos
Transform your entryway from a chaotic zone into an organized, welcoming space. These 15 innovative storage ideas provide practical solutions to manage clutter, offering clever ways to keep everything in its place right at your front door.
Continue Reading15 Entryway Storage Ideas to Tame Your Cluttered Chaos