
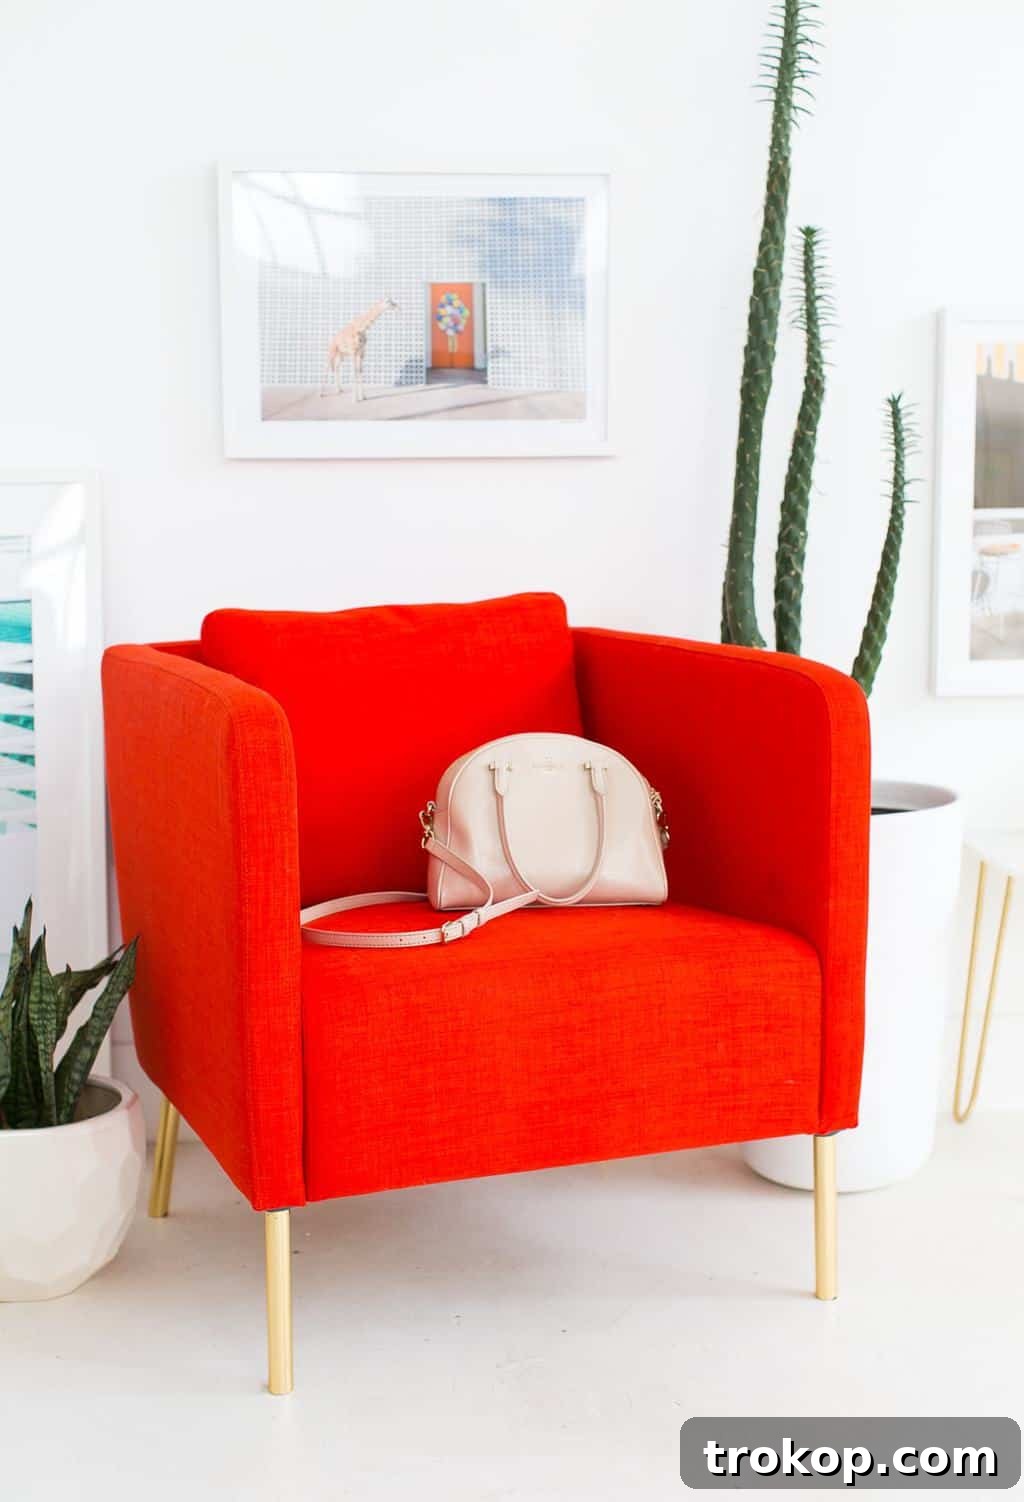
Transform Your Furniture: The Ultimate Guide to DIY Metallic Gold Legs
Ever gazed longingly at high-end furniture featuring sleek, glamorous metallic gold legs, only to recoil at the exorbitant price tag? You’re not alone. In the world of home decor, gold accents undeniably add a touch of luxury and sophistication, yet acquiring pieces with genuine metallic finishes often comes at a premium that can quickly deflate any decor dreams. But what if we told you that achieving that opulent look is not only within your reach but also incredibly simple and budget-friendly? Forget compromising on style or breaking the bank; it’s time to learn how to create your own stunning DIY Metallic Gold Legs that boast a professional, high-sheen finish, making your furniture look far more expensive than it actually is.
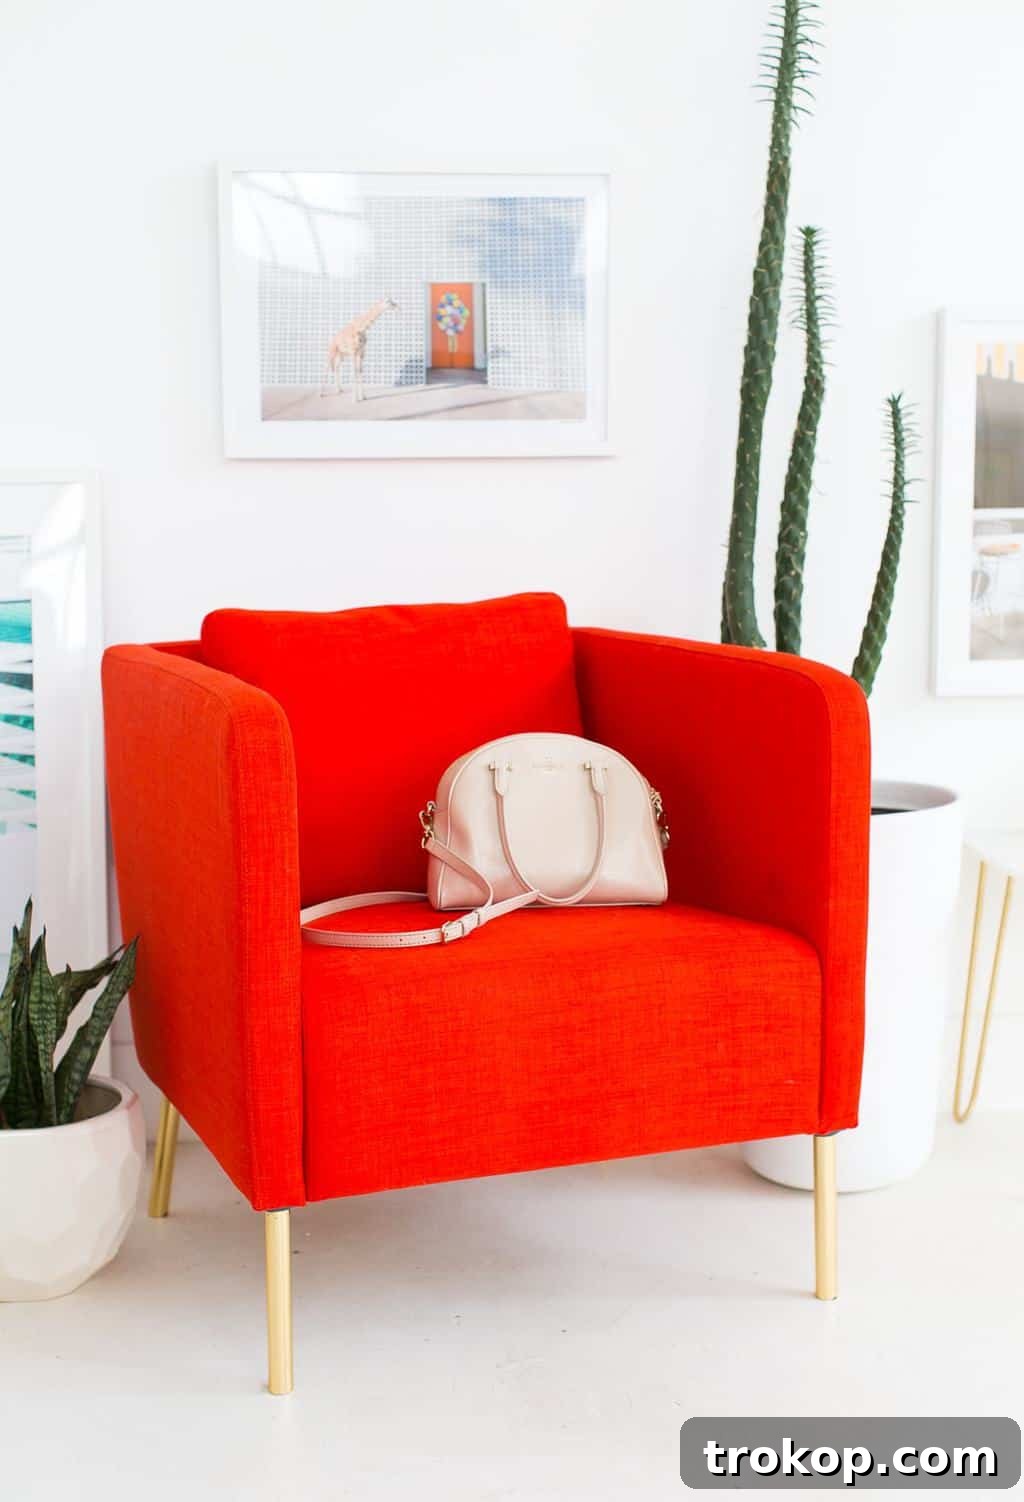
The quest for stylish, affordable home furnishings can often lead to frustrating compromises. One particular design element that frequently stumps even the savviest DIY enthusiasts is the metallic gold leg. Why are these seemingly simple components so outrageously expensive and challenging to find as standalone items? They aren’t cast from pure gold, yet their price tags often suggest otherwise. This common dilemma is precisely what inspired us to develop a groundbreaking solution that offers both the desired aesthetic and unparalleled ease: crafting your own DIY Metallic Gold Legs using specialized adhesive vinyl. This method not only bypasses the steep costs but also delivers a finish far superior to conventional gold spray paint, making your decor truly shine.
While we cherish the versatility of gold spray paint for many craft projects, there are instances where its finish falls short of a true metallic gleam. The subtle sheen, durability, and seamless appearance achieved with high-quality adhesive vinyl simply cannot be replicated by paint alone. This innovative approach is not only surprisingly easy but also incredibly quick, particularly if you’re working with furniture legs that feature straightforward, linear designs. Imagine transforming plain, ordinary legs into dazzling focal points in mere minutes! This guide will walk you through every step of the process, ensuring your furniture makeover is a resounding success.
Why Choose DIY Metallic Gold Legs with Adhesive Vinyl?
The appeal of metallic gold in interior design is undeniable. It evokes a sense of glamour, warmth, and timeless elegance. However, the cost associated with genuinely gold-plated or even properly finished metallic furniture legs can be prohibitive for many. This is where the DIY approach with adhesive vinyl truly shines, offering a multitude of benefits over traditional methods like spray painting or purchasing pre-made expensive components:
- Unmatched Aesthetic Quality: Unlike spray paint, which often leaves a matte or slightly dull finish with visible brushstrokes or overspray, high-quality metallic adhesive vinyl provides a smooth, reflective, and consistently vibrant gold sheen. It mimics the look of brushed metal or polished brass with remarkable accuracy, elevating the perceived value of your furniture.
- Cost-Effectiveness: This is arguably the biggest advantage. A roll of premium metallic adhesive vinyl is significantly more affordable than buying new gold legs or even custom-finishing services. You can achieve a luxurious look for a fraction of the cost, freeing up your budget for other decor elements.
- Superior Durability: Modern adhesive vinyl, especially varieties designed for indoor/outdoor signage (like ORACAL), is incredibly resilient. It’s resistant to scratches, scuffs, and fading, ensuring your gold legs maintain their pristine appearance for years. This durability surpasses many spray paint finishes, which can chip or wear off over time with regular use.
- Ease of Application: While requiring precision, the application process for adhesive vinyl is straightforward and doesn’t demand specialized skills or equipment. There’s no messy overspray, no extensive drying times, and no strong chemical fumes often associated with spray paint. If you can measure and wrap, you can master this DIY project.
- Versatility: This technique isn’t limited to just chair or table legs. You can apply metallic vinyl to a variety of straight-lined surfaces, including dresser handles, shelf brackets, picture frames, or even decorative elements on cabinets. The possibilities for customization are vast.
- Non-Permanent Transformation: Should your style evolve, or if you decide to revert your furniture to its original state, adhesive vinyl can generally be removed without damaging the underlying surface, offering a flexible design solution.
Materials and Tools Needed To Make DIY Metallic Gold Legs
Gathering the right materials and tools is the first crucial step to ensure a smooth and successful DIY project. While the list is concise, selecting quality items will significantly impact the final look and longevity of your metallic gold legs.
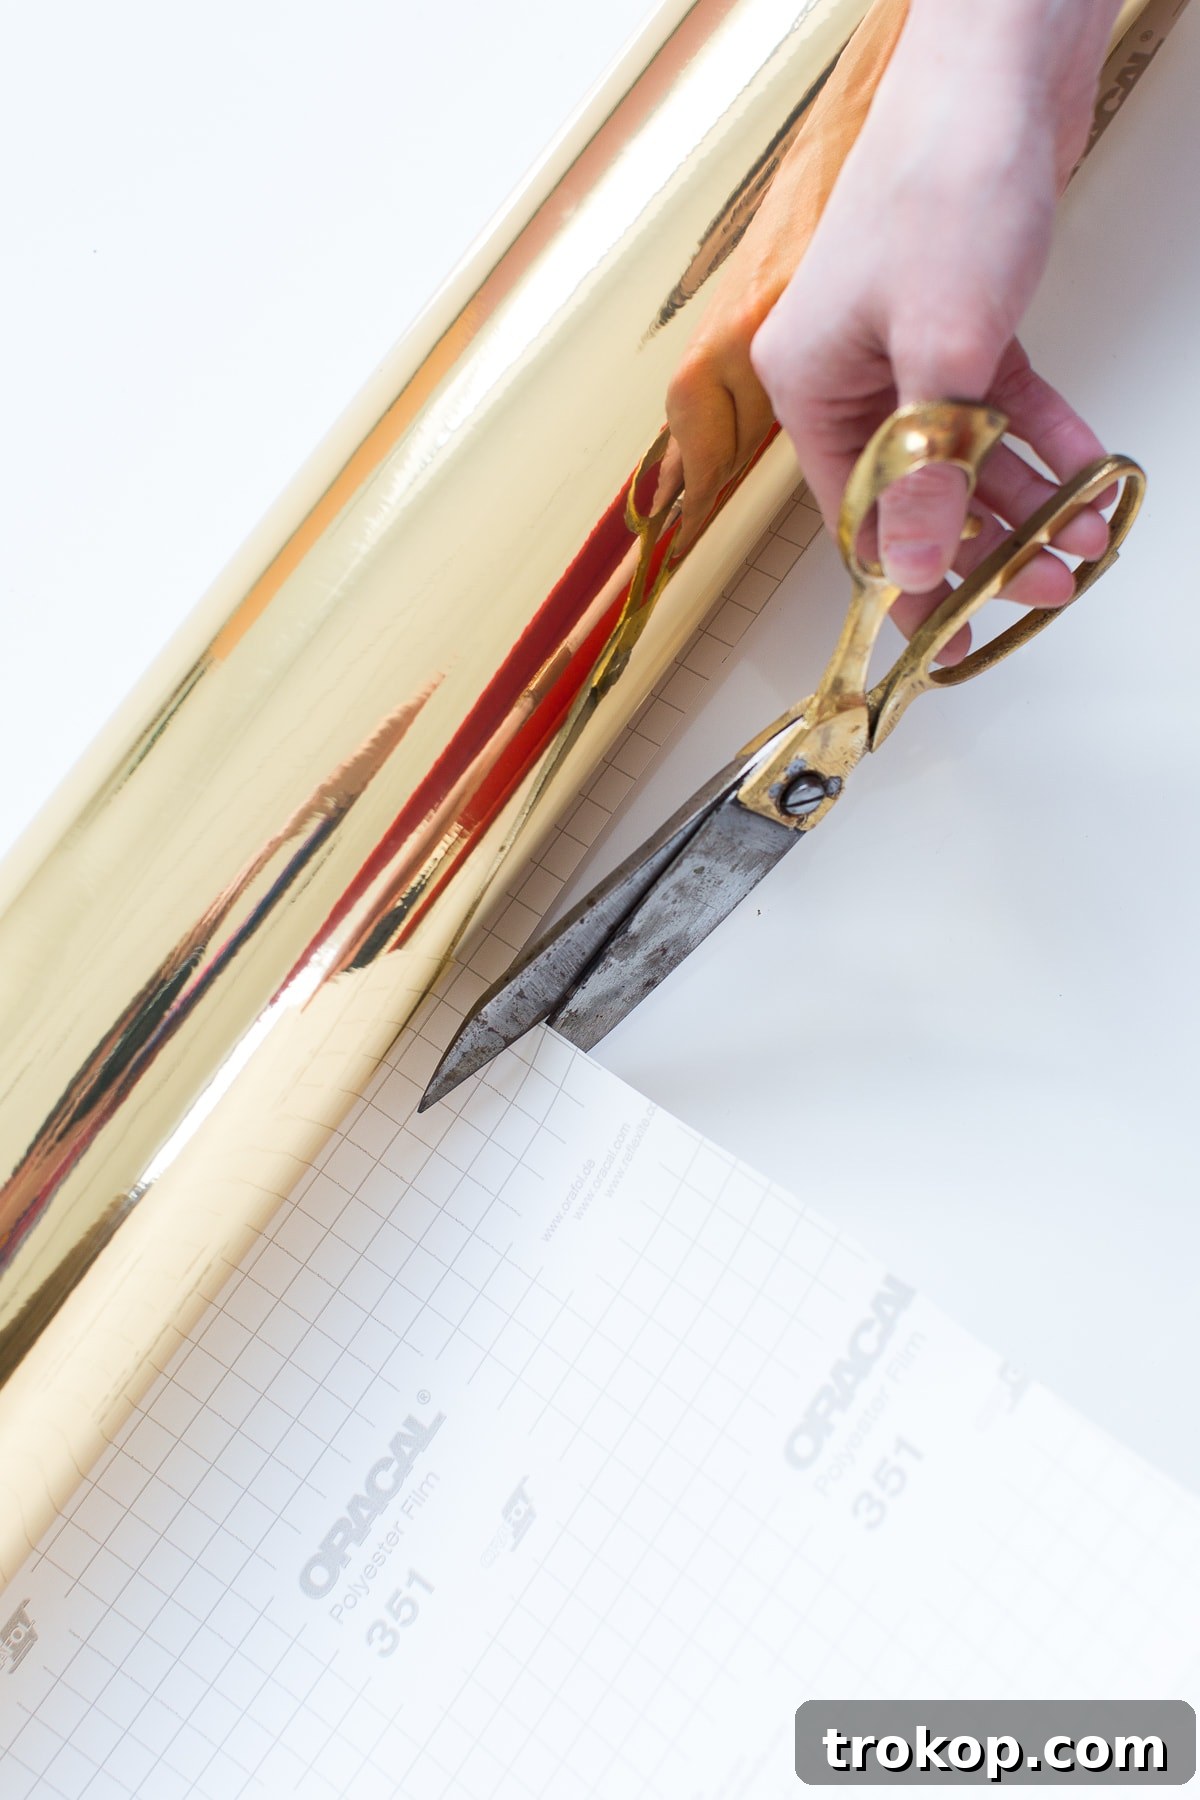
- Metallic Gold Indoor/Outdoor ORACAL Adhesive Vinyl: This is the star of our project. We specifically recommend ORACAL or a similar high-quality, durable adhesive vinyl designed for both indoor and outdoor use. The “indoor/outdoor” designation indicates superior adhesion and resistance to wear and tear. Crucially, look for vinyl that has a grid pattern on its backing paper. This grid will be your best friend for accurate measurements and straight cuts, making the process much easier to manage.
- Sharp Scissors or Craft Knife: For precise cutting of the vinyl, a pair of sharp, clean scissors is essential. Alternatively, a craft knife (like an X-Acto knife) can offer even finer precision, especially when paired with a ruler and cutting mat, for perfectly straight edges.
- Simple Table or Chair Legs of Your Choice: This project works best on legs that have a relatively straight, uniform shape. While it’s possible to apply vinyl to slightly tapered or curved legs, straight lines are ideal for beginners and ensure the most seamless finish. Ensure the legs are clean, dry, and free of any debris before starting.
- Ruler or Tape Measurer: Accuracy is key! A standard ruler or a flexible tape measurer will be needed to precisely determine the length and circumference of your furniture legs.
- Pencil: For marking your measurements clearly on the grid backing of the adhesive vinyl.
- Optional: Squeegee or Credit Card: While not strictly necessary, a squeegee (the kind used for applying window film or car decals) or even an old credit card can be incredibly helpful for smoothing out the vinyl and eliminating air bubbles during application, ensuring a flawless finish.
- Optional: Cutting Mat: If using a craft knife, a self-healing cutting mat will protect your work surface and allow for cleaner, more confident cuts.
- Optional: Rubbing Alcohol and Cloth: For thoroughly cleaning the legs prior to application, ensuring optimal adhesion.
How To Make DIY Metallic Gold Legs: A Step-by-Step Guide
With your materials gathered, you’re ready to embark on this simple yet transformative DIY project. Follow these steps carefully to achieve a stunning, professional-looking metallic gold finish on your furniture legs.
Step 1: Prepare Your Furniture Legs
Before any application, ensure your furniture legs are impeccably clean and dry. Any dust, grease, or grime can interfere with the vinyl’s adhesion and lead to bubbles or peeling. Use a damp cloth to wipe them down, and for a thorough clean, consider using rubbing alcohol, especially if the legs are older or have been handled frequently. Allow them to air dry completely before proceeding.
Step 2: Measure and Mark the Vinyl
This is where precision pays off. Using your ruler or tape measurer, determine the exact length you want the gold vinyl to cover on each leg. Mark this length on the grid backing of your metallic gold adhesive vinyl with a pencil. Next, carefully measure the circumference of the leg. It’s often helpful to wrap a small scrap piece of vinyl around the leg, marking where it overlaps slightly to ensure you have enough material to completely encircle the leg with a neat, seamless join. Add an extra 1/8 to 1/4 inch to your circumference measurement to allow for a slight overlap, which will help create a cleaner, more secure seam.
Step 3: Cut the Vinyl Strips
Using your sharp scissors or craft knife and a ruler, carefully cut the vinyl strips according to your precise measurements. The grid on the backing paper is invaluable here for ensuring perfectly straight cuts. Take your time to make these cuts as neat as possible, as clean edges will contribute significantly to the professional appearance of your finished legs.
Step 4: Apply the Adhesive Vinyl
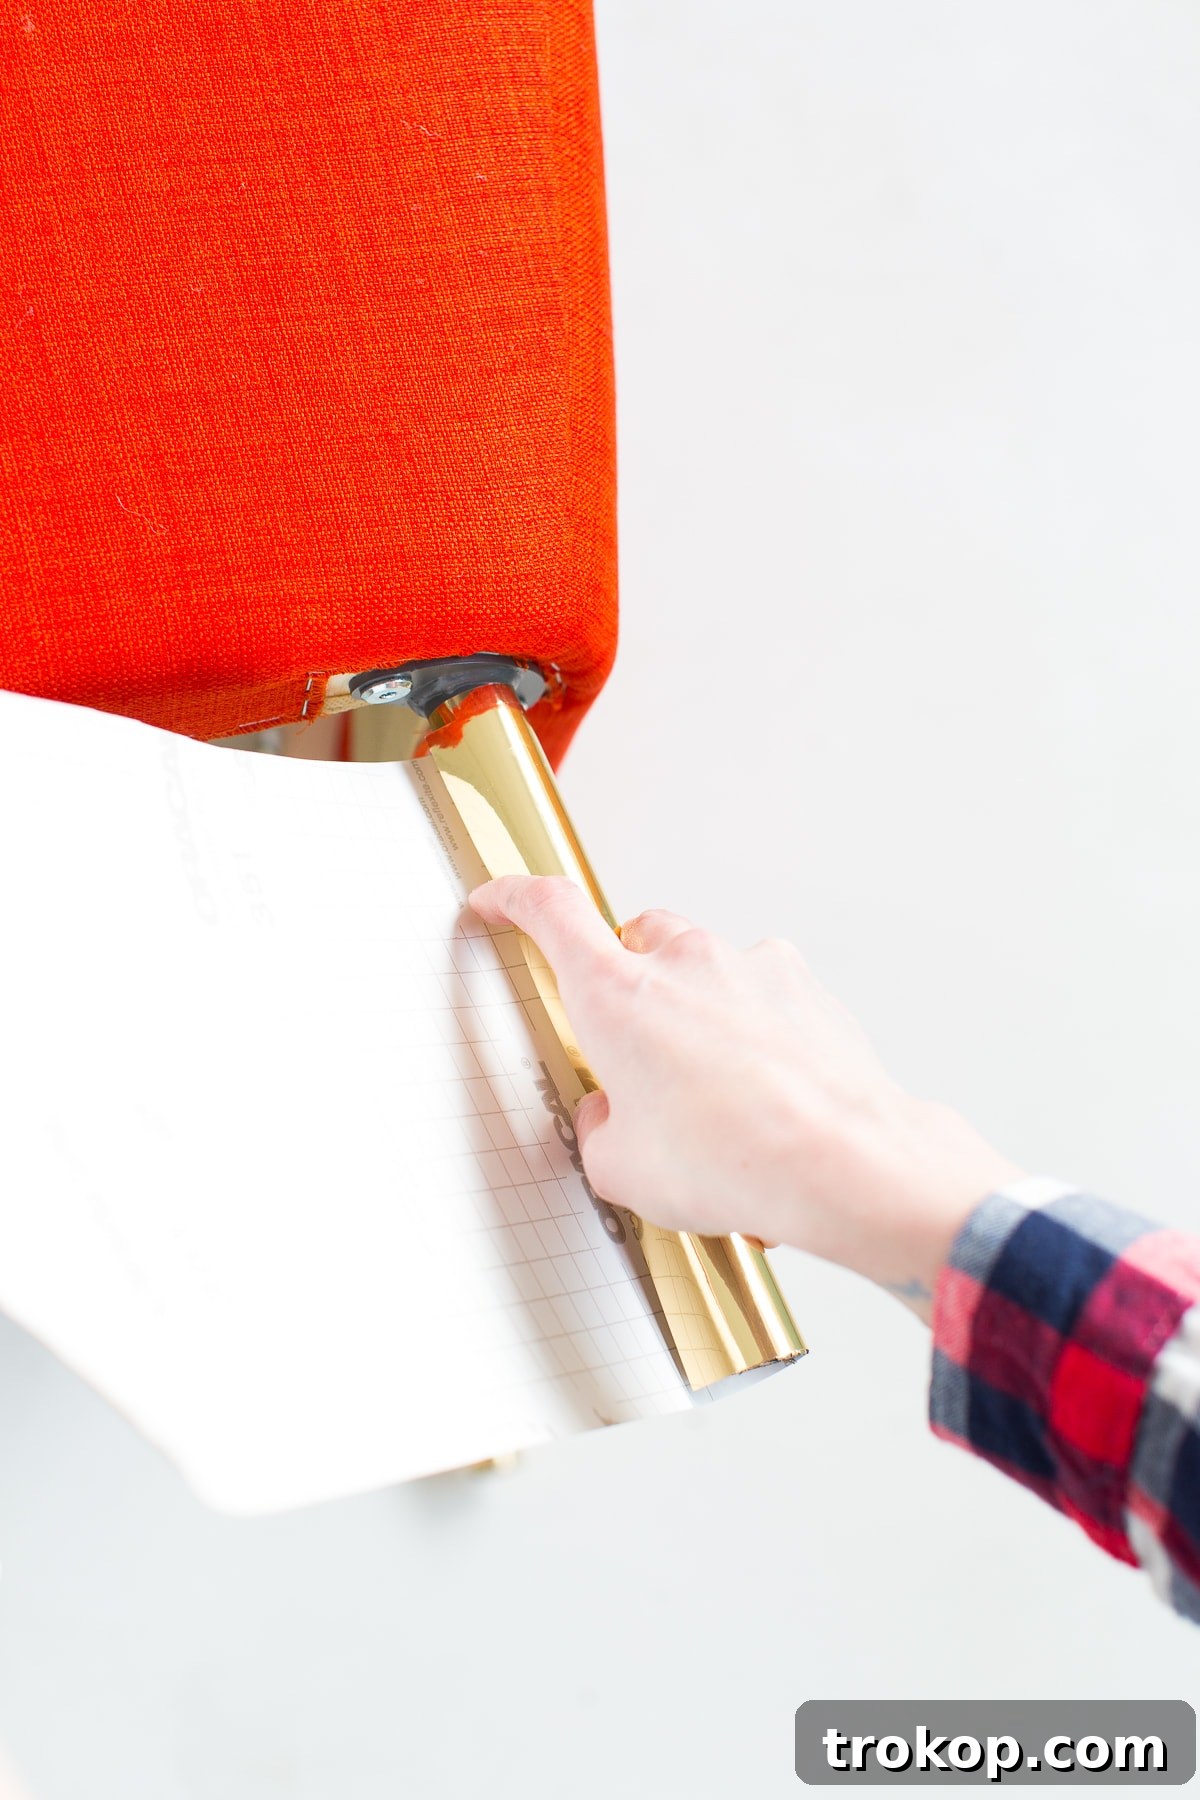
This is the most critical step. Peel a small section of the adhesive backing off one end of your vinyl strip, about an inch or two. Carefully align this exposed adhesive edge with the starting point on your furniture leg. Ensure it’s perfectly straight and aligned before pressing down gently. Once the initial edge is adhered, slowly peel back the rest of the backing paper while simultaneously wrapping the vinyl around the leg. The key here is to work slowly and methodically, applying even pressure as you go. As you wrap, use your fingers, a squeegee, or a credit card to smooth out any air bubbles that may form. Always work from the center outwards, pushing any trapped air towards the edges. Once the vinyl fully encircles the leg and overlaps slightly, ensure the seam is smooth and firm.
Step 5: Smooth Out Bubbles and Finish
Once the entire strip is adhered, go back over the leg with your squeegee or credit card, applying firm pressure to ensure maximum adhesion and to eliminate any lingering air bubbles. Pay special attention to the edges and the seam. The indoor/outdoor vinyl is designed to stick very well once in place, so addressing bubbles as you go or immediately after application is crucial, as they become much harder to remove once the adhesive has fully cured. If you notice any stubborn, tiny bubbles, you can sometimes carefully prick them with a very fine needle and then smooth them out, but prevention during application is always best.
Tips for a Flawless Finish
- Work in a Clean Environment: Dust and pet hair are the enemy of adhesive vinyl. Work in a clean, well-lit area to prevent particles from getting trapped under the vinyl.
- Practice Makes Perfect: If you’re new to working with adhesive vinyl, consider cutting a small test strip and practicing on a spare piece of wood or even the underside of a leg to get a feel for the application process.
- Slow and Steady Wins the Race: Rushing the application will almost certainly lead to bubbles and misalignments. Take your time, peel the backing slowly, and smooth as you go.
- Use a Heat Gun (with caution): For very stubborn bubbles or if you’re attempting to wrap a slightly curved surface, a heat gun (on a low setting) can make the vinyl more pliable and easier to work with. Apply heat briefly and gently, stretching the vinyl only as needed, and immediately smooth it down. Overheating can damage the vinyl.
- Overlap for Durability: A slight overlap of 1/8 to 1/4 inch at the seam provides a stronger bond and reduces the likelihood of the seam lifting over time.
- Keep Your Tools Clean: Ensure your scissors or knife blade is always clean and sharp for crisp, professional cuts.
Maintaining Your Metallic Gold Legs
Once your DIY metallic gold legs are complete, a little care will go a long way in preserving their stunning appearance. The durability of ORACAL vinyl means they’ll stand up well to everyday use, but a few simple maintenance tips can extend their lifespan even further:
- Gentle Cleaning: For routine cleaning, simply wipe down the legs with a soft, damp cloth. Avoid abrasive cleaners, harsh chemicals, or scrub brushes, as these can scratch the vinyl surface or degrade the adhesive.
- Avoid Excessive Moisture: While indoor/outdoor vinyl is water-resistant, it’s best to avoid prolonged exposure to standing water or excessive moisture, especially around the seams.
- Protect from Scratches: If your furniture is in a high-traffic area, consider adding small felt pads to the bottom of the legs to prevent scuffs when moving the piece.
- Address Damage Promptly: If a small section of vinyl gets nicked or starts to lift, you can often patch it with a tiny piece of matching vinyl or re-adhere it with a strong adhesive designed for vinyl, ensuring the problem doesn’t spread.
Creative Applications and Variations
The beauty of this DIY technique extends far beyond simple chair legs. Once you master the basic application, a world of creative possibilities opens up. Consider these ideas to further incorporate the glamour of metallic gold into your home:
- Table Transformation: Just like our original discussion, consider those basic screw-in legs from popular furniture stores. Transforming them with gold vinyl can instantly upgrade an affordable piece into a designer-look item. A large IKEA table, for example, can go from basic to brilliant.
- Dresser Accents: Apply thin strips of gold vinyl to the edges of dresser drawers or along the bottom trim for a subtle yet impactful metallic detail.
- Shelf Brackets: Give plain wooden or metal shelf brackets a golden makeover to create elegant floating shelves.
- Picture Frames and Mirrors: Wrap a dull picture frame or mirror edge with gold vinyl to create a custom, high-end frame that perfectly complements your decor.
- Geometric Patterns: Instead of full wraps, cut vinyl into geometric shapes or thin stripes and apply them to create custom patterns on your furniture.
- Explore Other Metallics: Don’t limit yourself to gold! Adhesive vinyl is available in a wide array of metallic finishes, including silver, rose gold, copper, and even iridescent options. Experiment with different metallics to match your specific interior design palette.
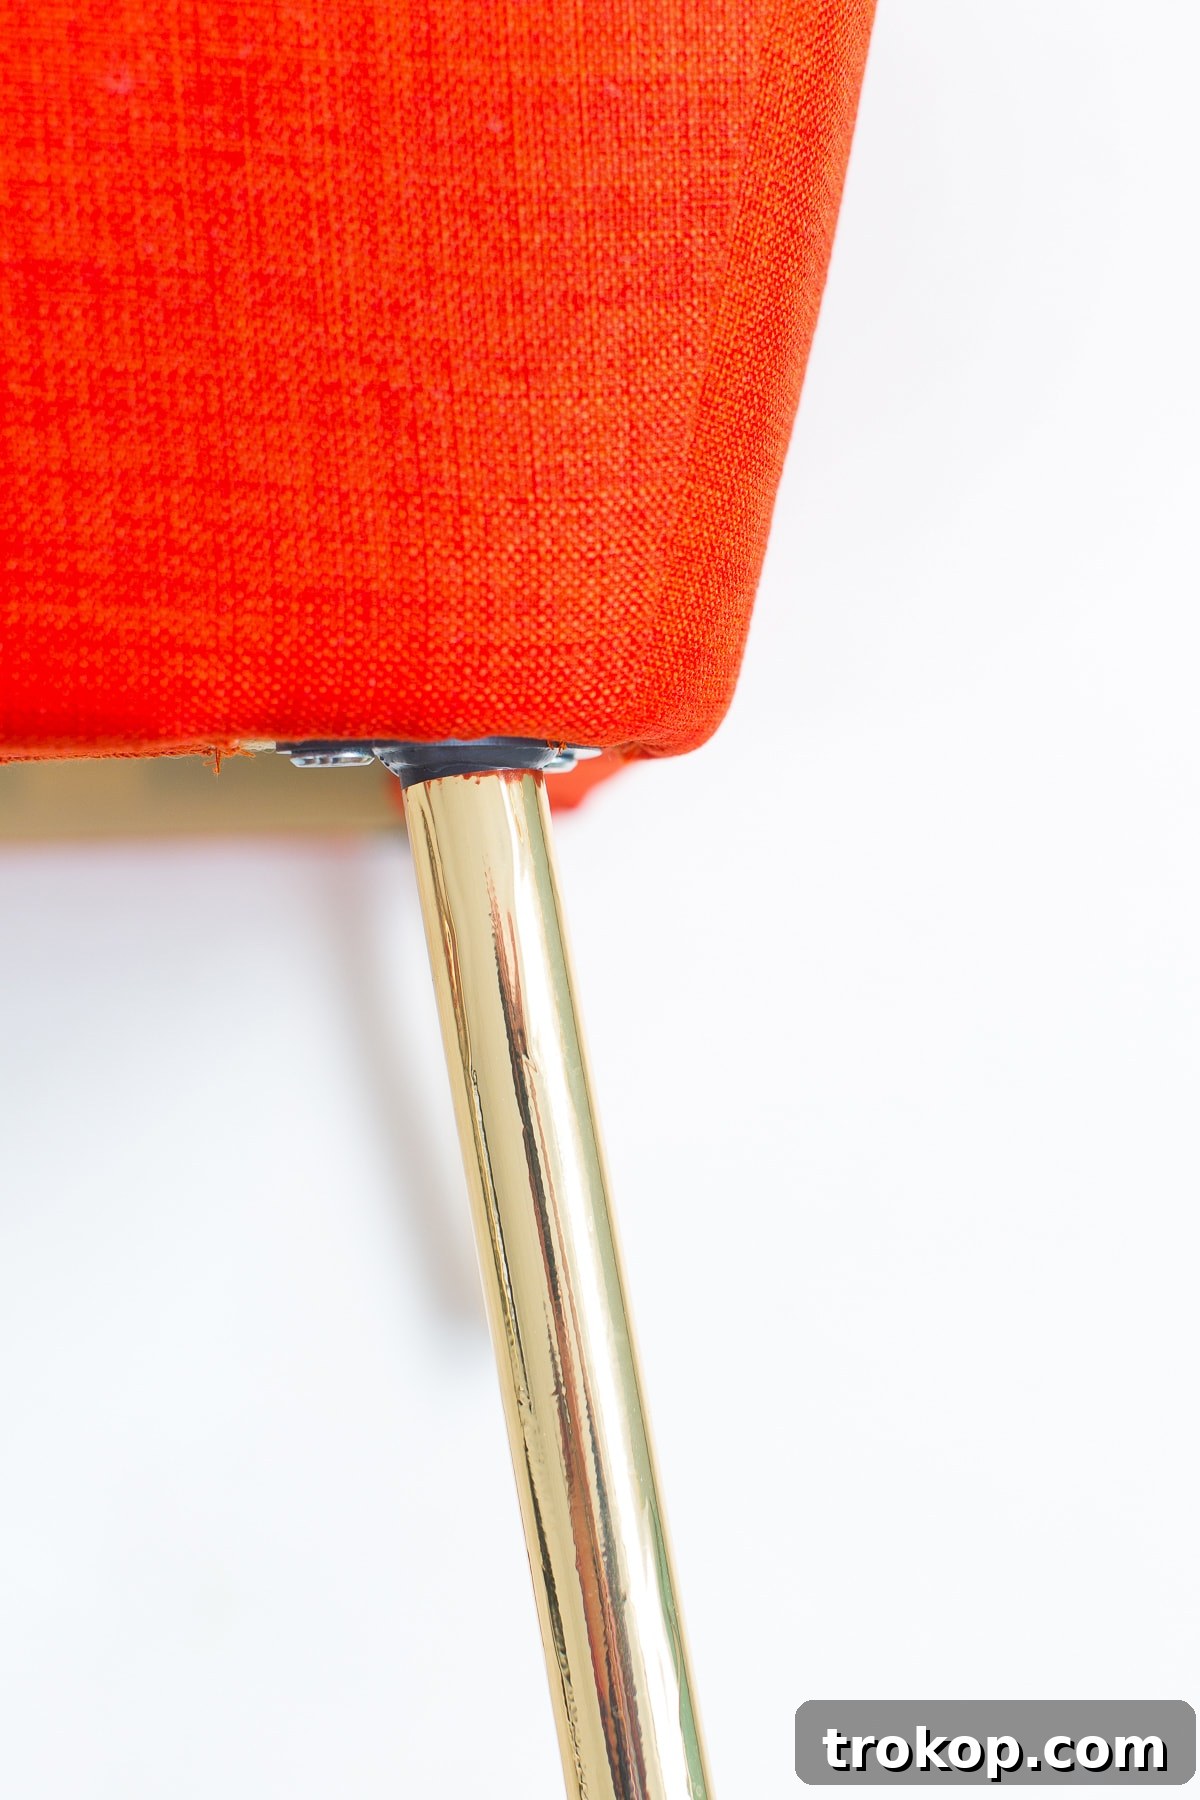
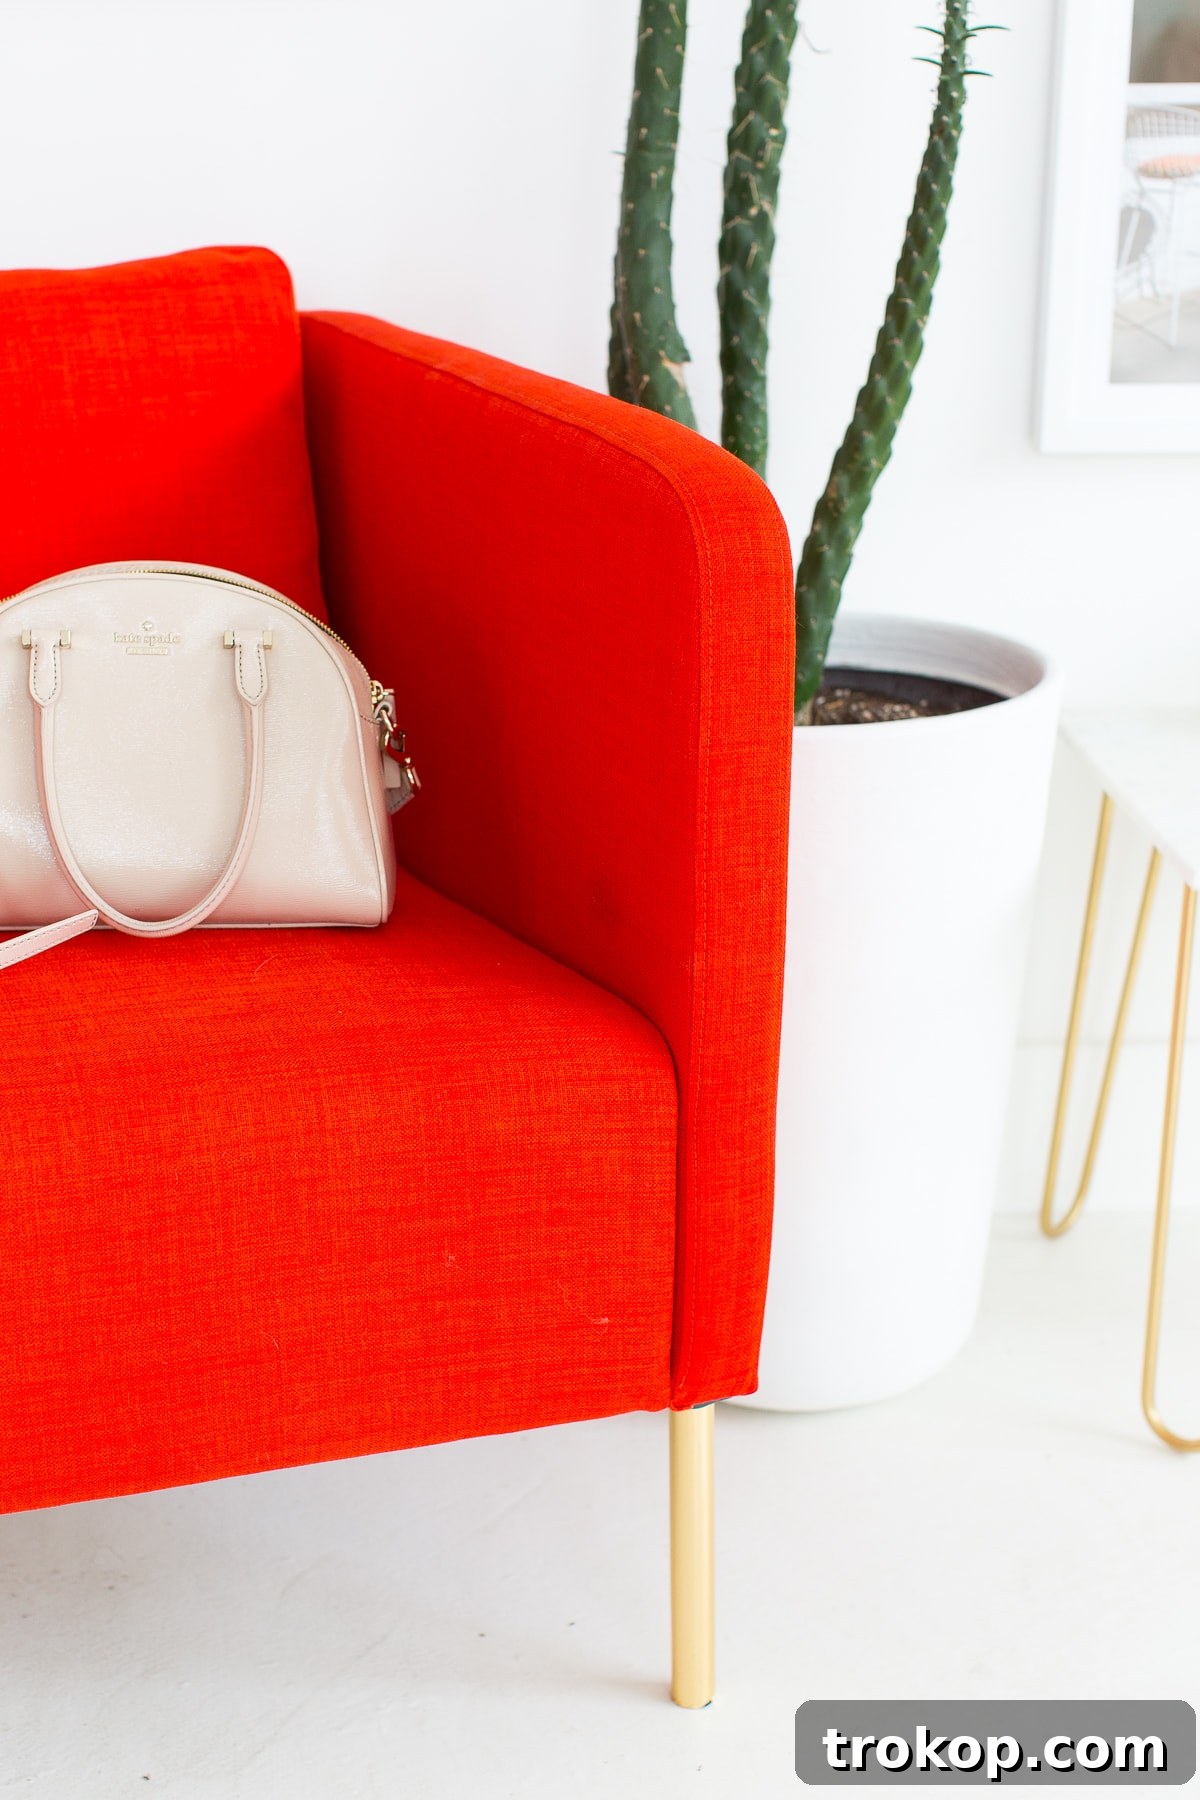
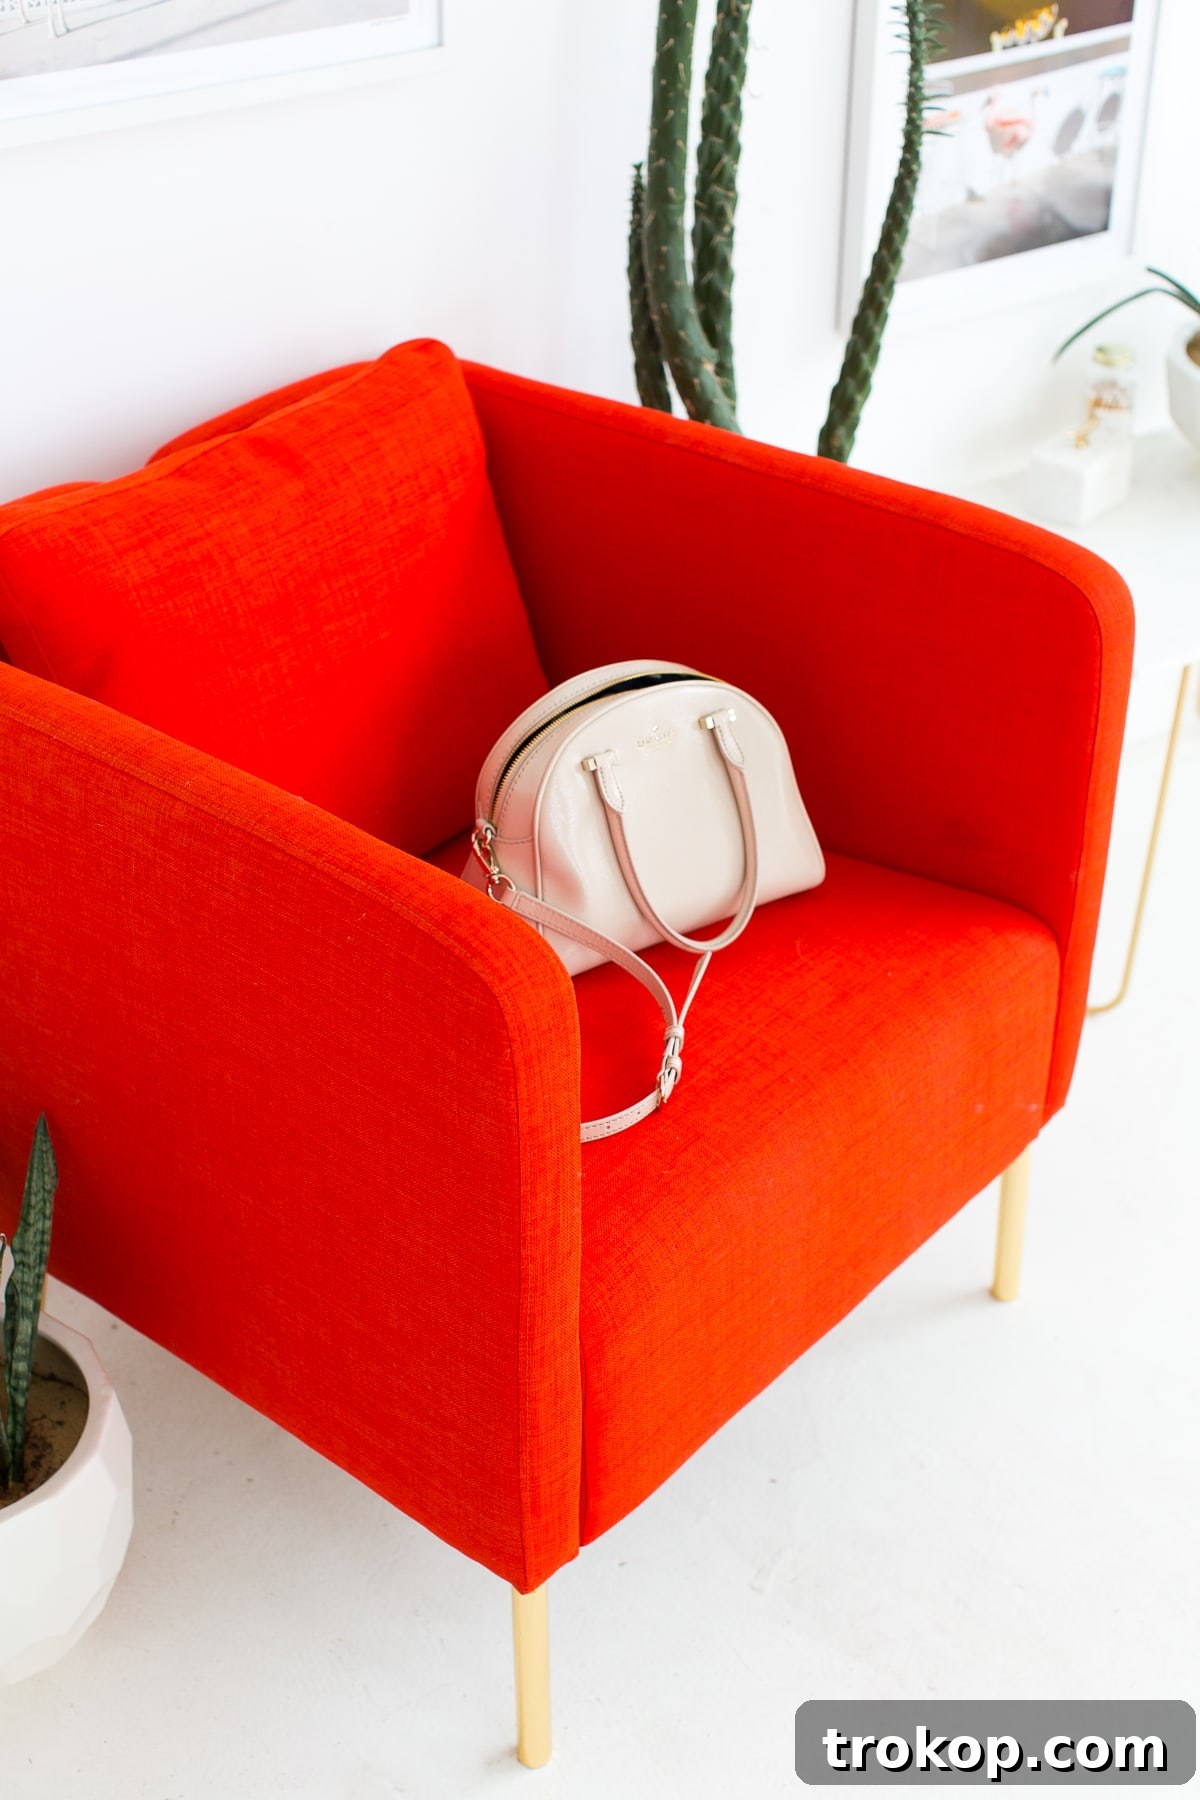
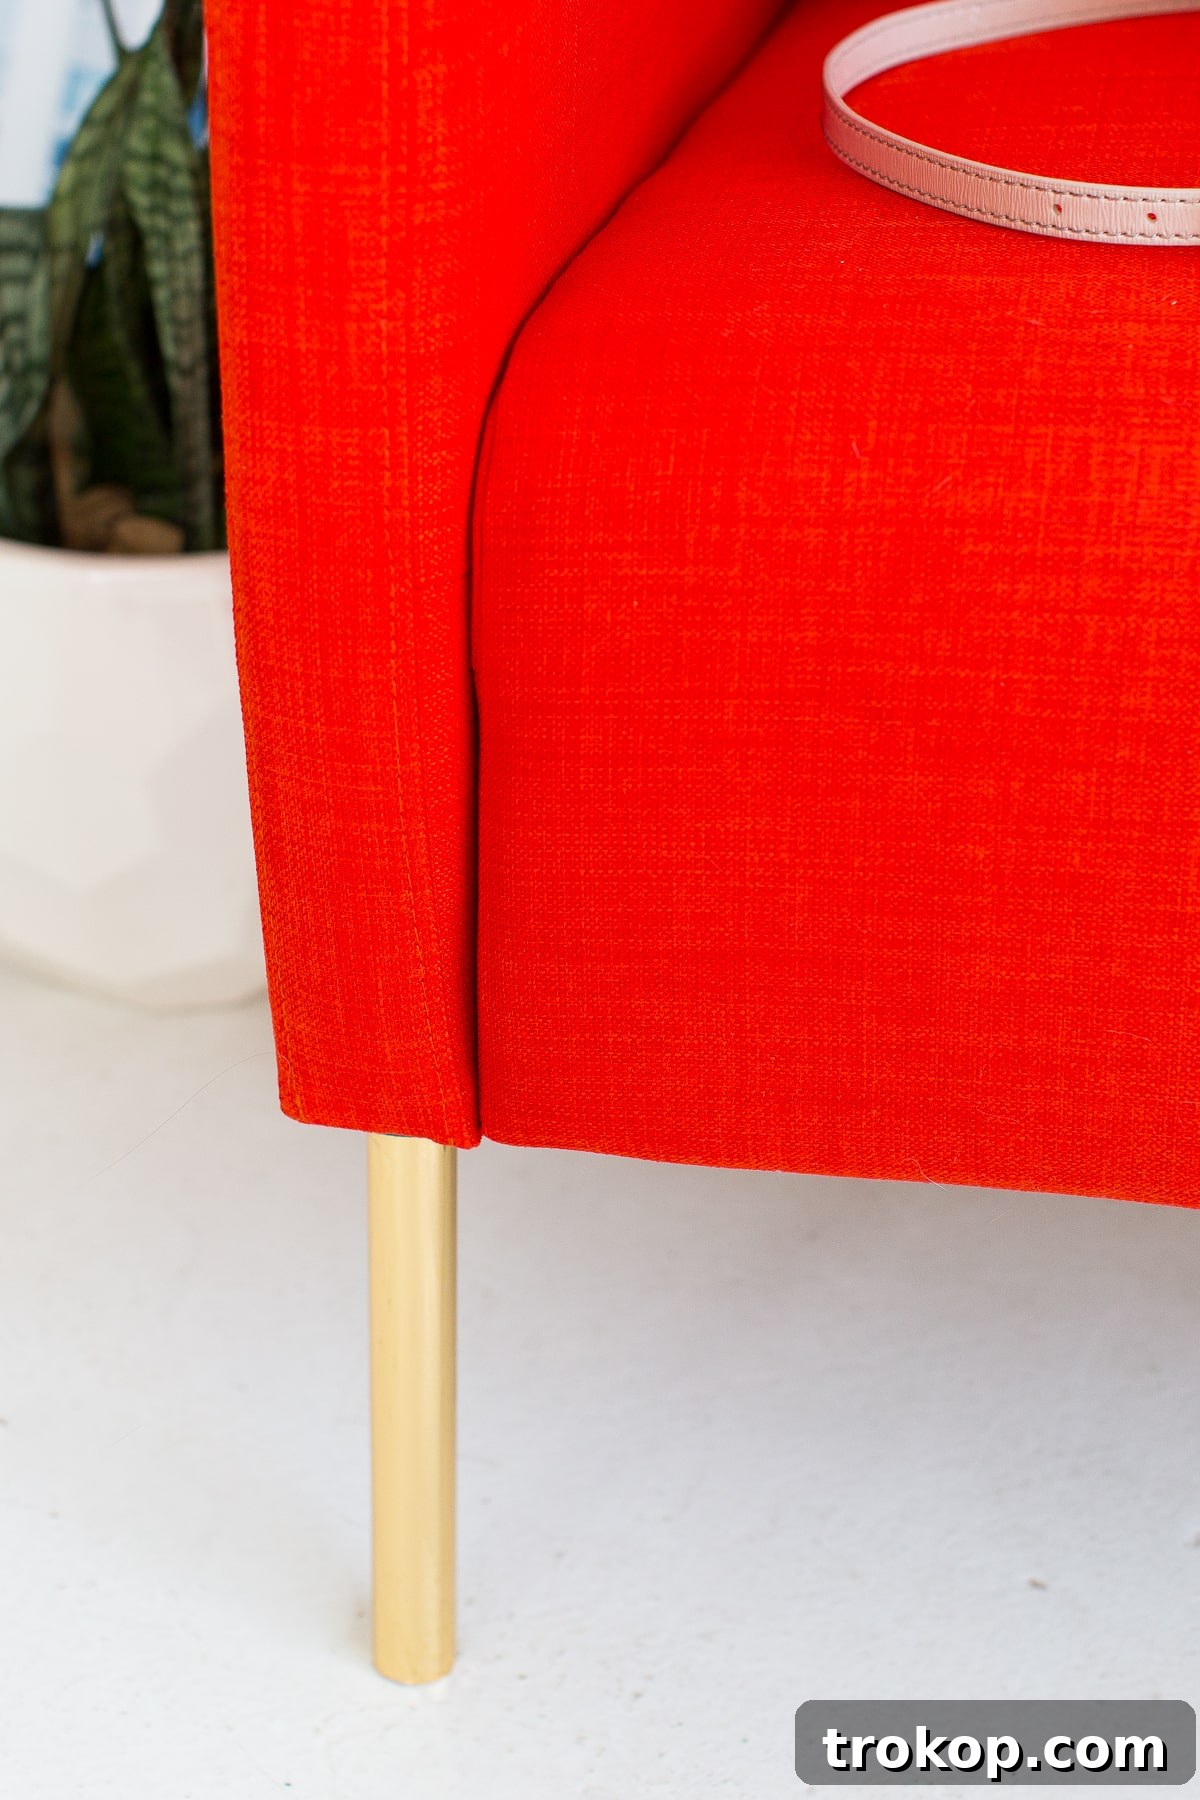
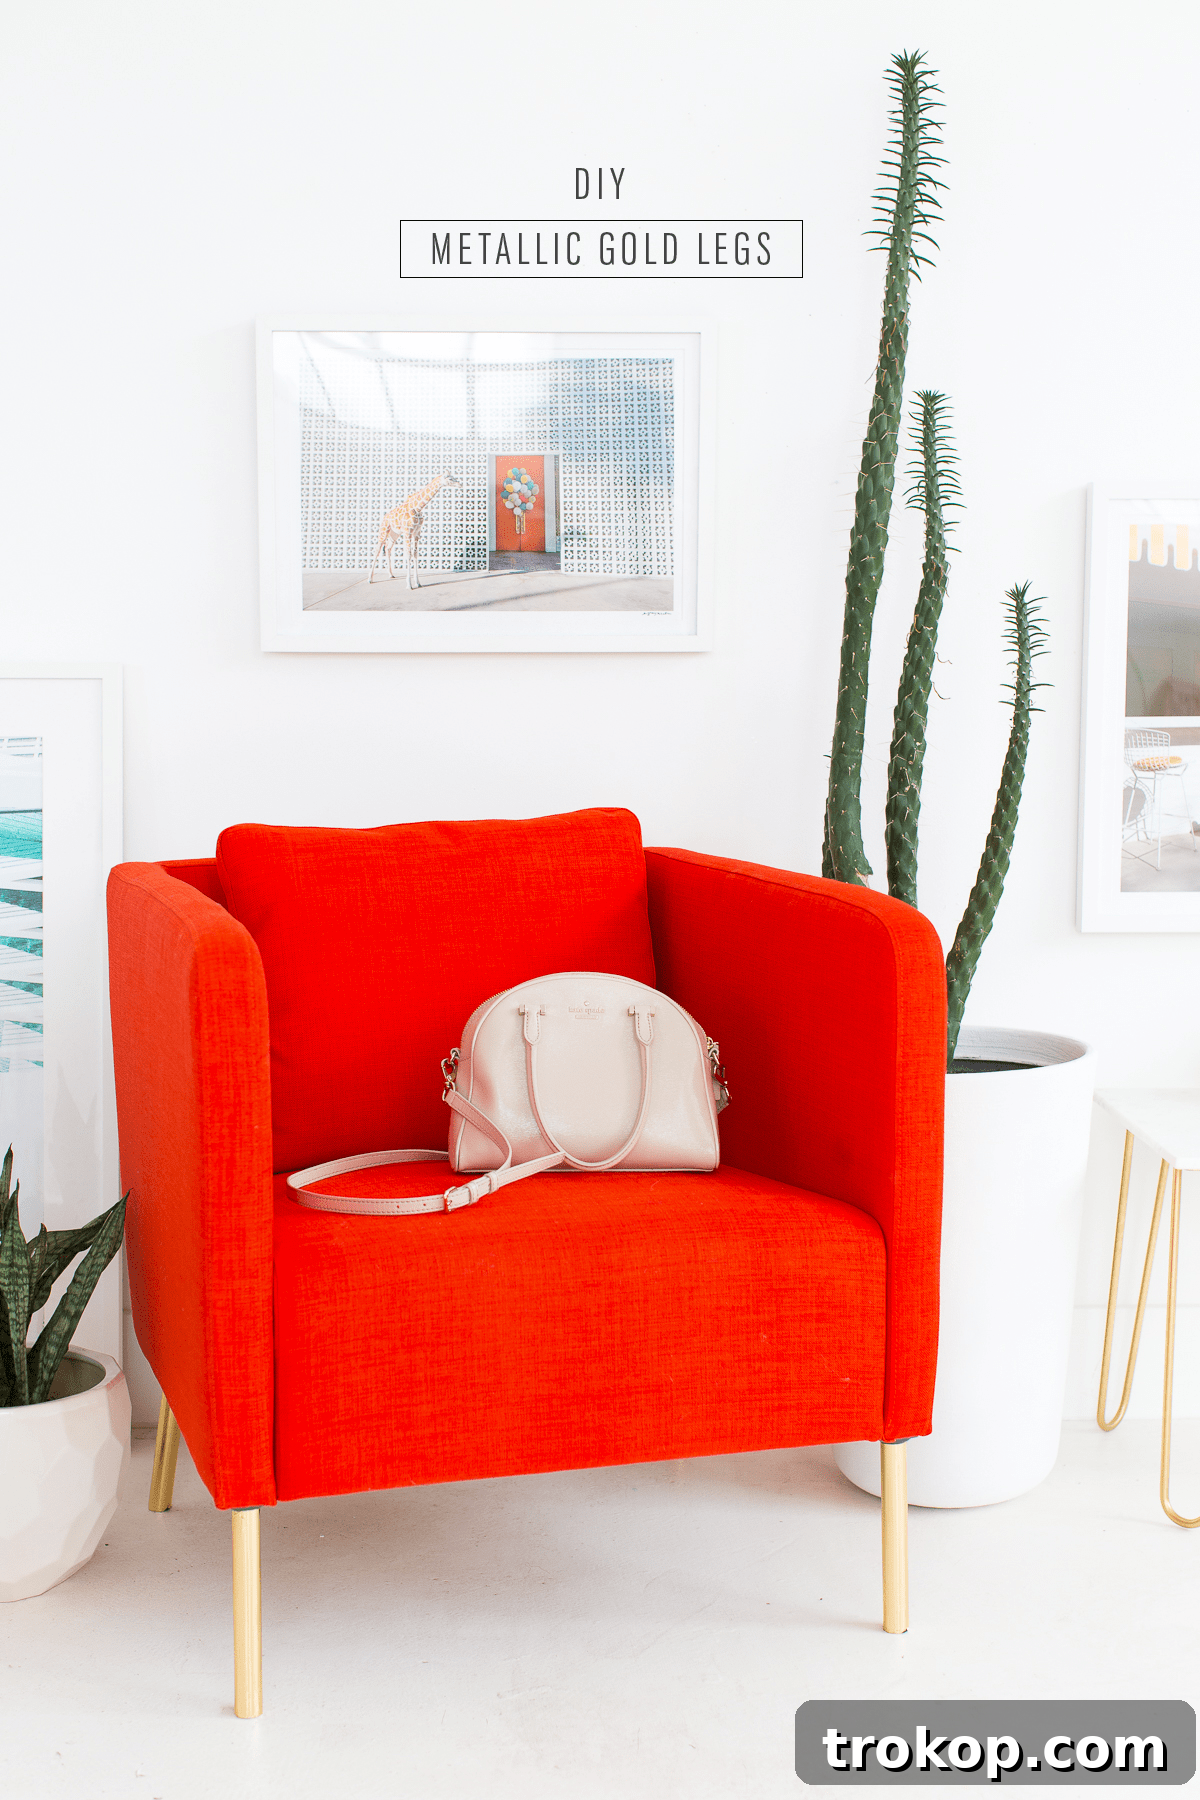
The transformation is truly remarkable, isn’t it? The deep, reflective sheen of metallic gold vinyl creates a far more luxurious and authentic statement than any standard gold spray paint could achieve. It’s an elegant solution to an age-old decor dilemma, allowing you to infuse your space with high-end style without the high-end cost.
Whether you’re looking to update a tired old chair, elevate a plain side table, or simply experiment with stylish accents, this DIY project is a fantastic way to add a touch of glamour to your home. It’s quick, satisfying, and yields results that are sure to impress. So go ahead, unleash your inner designer, and give your furniture the golden touch it deserves!
Don’t forget to share your dazzling home decor projects with us on Instagram using the hashtag #sugarandclothloves. We absolutely love seeing all your creative transformations! For more interior design inspiration and budget-friendly home decor tutorials, be sure to explore our extensive collection right here on our blog!