
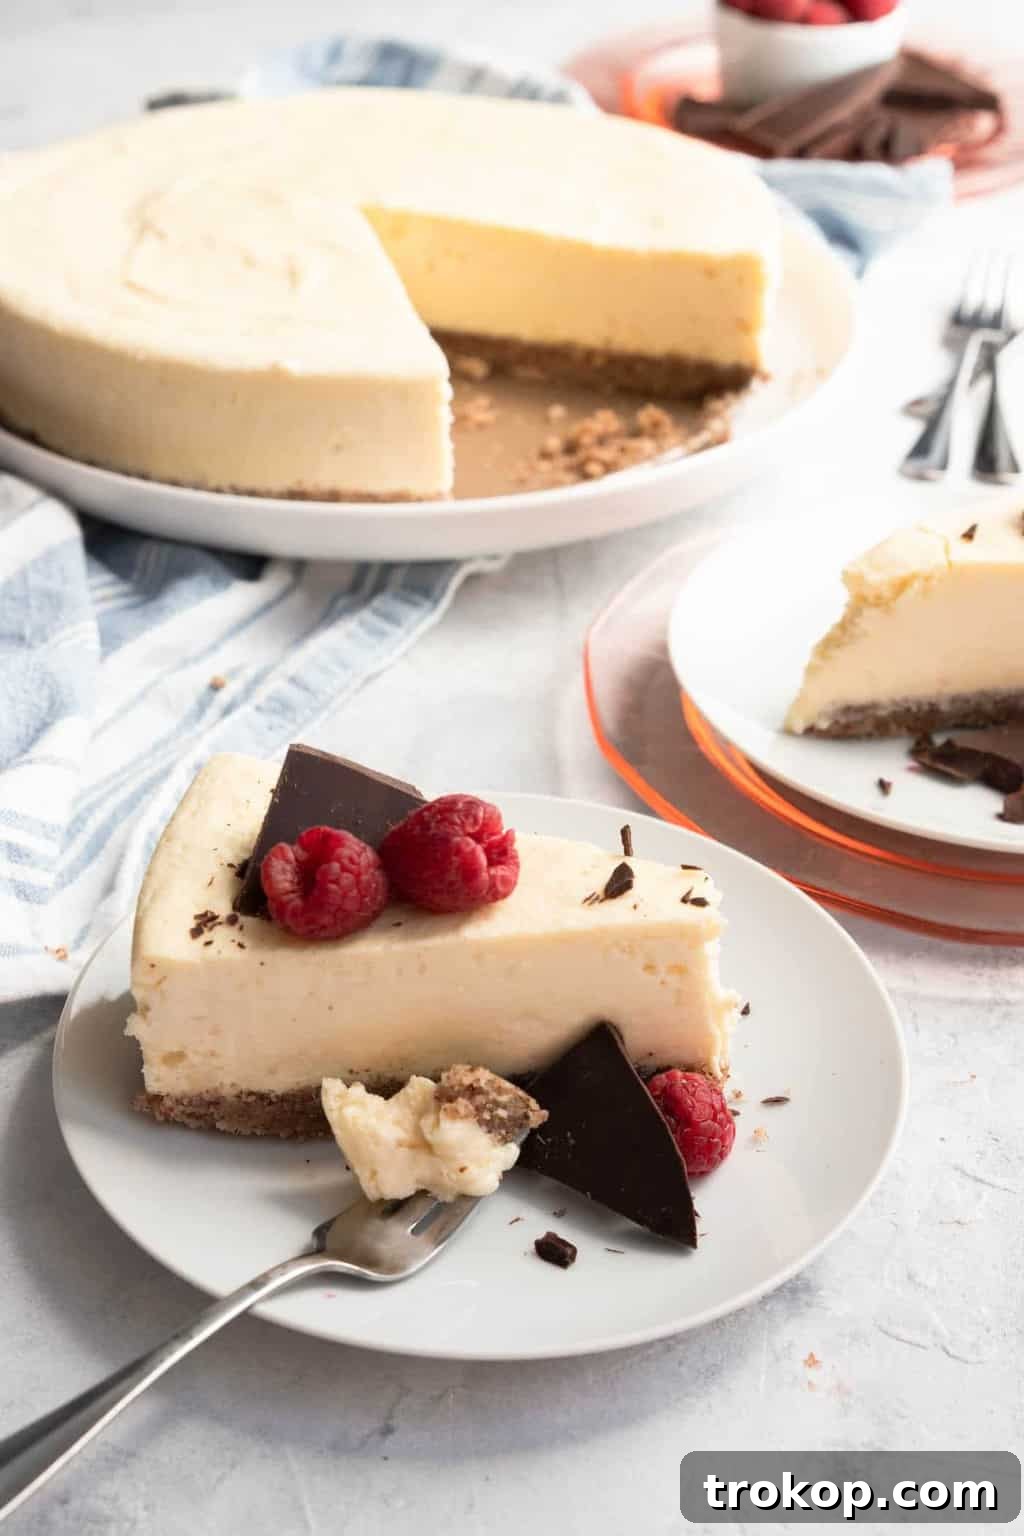
Indulge in the Ultimate Low Carb Keto Cheesecake: A Guilt-Free Dessert Dream
Craving a rich, creamy, and decadent cheesecake without derailing your low-carb lifestyle? Look no further! This exquisite low carb keto cheesecake recipe delivers all the luscious flavor you desire, perfectly sweet and utterly guilt-free. Crafted to be sugar-free and gluten-free, it’s an ideal dessert for anyone following a ketogenic, paleo, or low-carb diet, or simply seeking healthier alternatives to traditional sweets. Prepare to satisfy your sweet tooth while staying perfectly on track with your health goals.
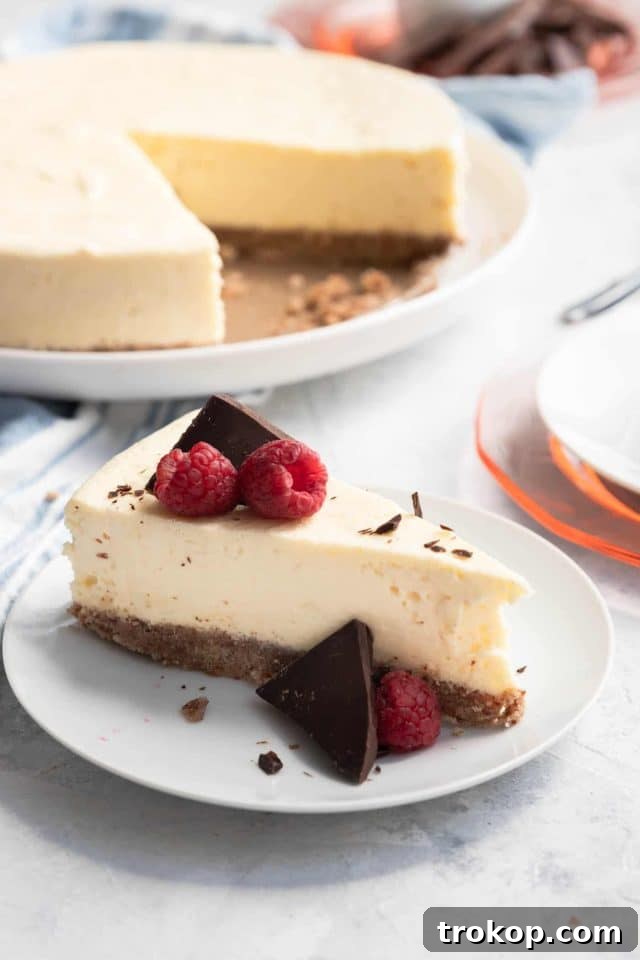
Whether you’re committed to a strict keto or paleo regimen, or simply aiming for healthier dessert options free from refined sugars, this low carb cheesecake is precisely what you’ve been searching for. It’s a dessert that truly transcends expectations, proving that healthy can be incredibly delicious.
I, Rebecca, have proudly served this creamy delight to my children, and they were none the wiser that they were actually enjoying a healthy dessert! This simple recipe utilizes only a few key ingredients and boasts the added benefit of being naturally gluten-free, thanks to its delightful nut-based crust, which beautifully replaces traditional graham crackers. To ensure the best texture and smooth consistency, remember to bring your cream cheese and eggs to room temperature before you begin. Now, let’s dive into creating this masterpiece!
What is the Ketogenic Diet?
The ketogenic diet, commonly known as keto, is a dietary approach focused on very low carbohydrate intake, moderate protein, and high healthy fats. It shares many principles with other low-carb diets like Atkins, but its primary goal is to induce a metabolic state called ketosis. In ketosis, your body efficiently burns fat for energy instead of carbohydrates, leading to a host of potential benefits, including weight loss, improved energy levels, and enhanced mental clarity. By drastically reducing carbs, typically to less than 50 grams per day, and replacing them with fats, your body switches its primary fuel source. This dietary shift not only helps with managing weight but can also support blood sugar control and reduce cravings. For those exploring the versatility of keto, we also have delicious recipes for keto strawberry cheesecake, a festive keto pumpkin cheesecake, a hearty keto breakfast casserole, and even a delightful keto pizza crust.
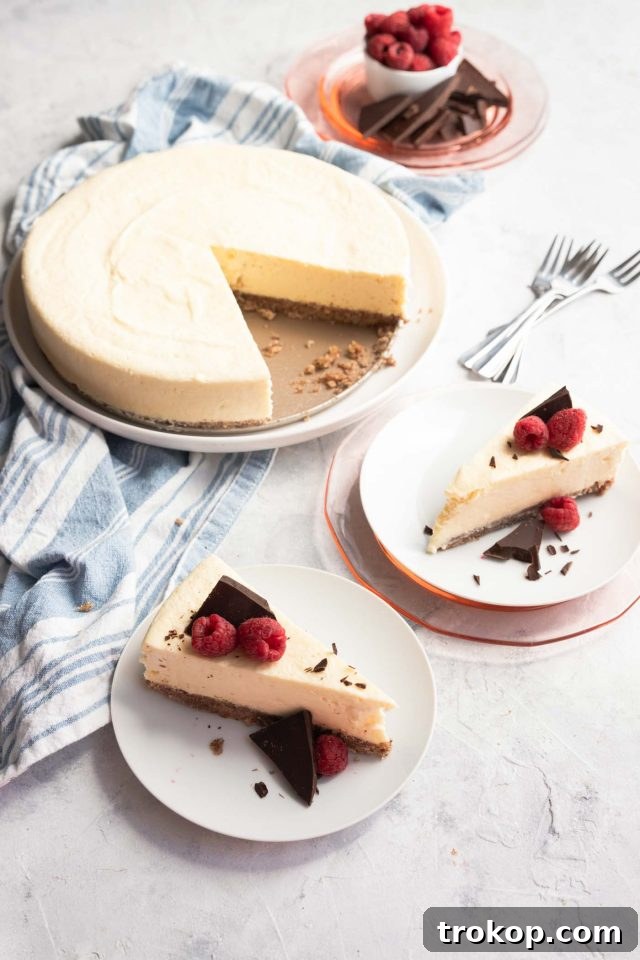
Essential Ingredients for Your Keto Cheesecake
Creating this magnificent low-carb cheesecake requires a selection of simple, yet high-quality ingredients. Each component plays a crucial role in achieving the perfect texture and flavor profile. Here’s what you’ll need:
- Almond flour or pecan flour: These nut flours form the base of our delicious, gluten-free crust, providing a rich, slightly nutty flavor and a satisfying texture.
- Erythritol or your preferred low-carb sweetener: This is key to achieving that perfect sweetness without the added sugars and carbs. We’ll delve deeper into erythritol below.
- Salted butter: Essential for binding the crust ingredients and adding a lovely savory note that complements the sweet cheesecake filling.
- Cream cheese: The heart of any cheesecake! Opt for full-fat cream cheese, softened to room temperature, for the creamiest, silkiest filling. This is non-negotiable for that classic cheesecake experience.
- Large eggs: Eggs provide structure and richness to the cheesecake, helping it set beautifully. Like the cream cheese, ensuring they are at room temperature will aid in smooth incorporation.
- Lemon juice: A touch of fresh lemon juice brightens the flavor of the cheesecake, cutting through the richness and adding a subtle tang that elevates the entire dessert.
- Vanilla extract: Pure vanilla extract is crucial for a classic cheesecake flavor, adding warmth and depth to every bite.
Customizing Your Crust: Flour Alternatives
Don’t have almond or pecan flour readily available? No problem! You can easily create your own nut flour at home using whole or sliced nuts. Simply pulse a couple of cups of your chosen nuts in a food processor or blender until they achieve a fine, sand-like texture. Be mindful not to process them for too long, as you might inadvertently end up with nut butter instead of flour! This homemade method allows for flexibility and ensures you can still enjoy this recipe even if you don’t have specialized flours on hand. For those looking for another excellent carb-free and keto-friendly option, coconut flour is also a fantastic substitute that works wonderfully in a low-carb cheesecake crust. Just remember that coconut flour is highly absorbent, so if you’re substituting, you might need to adjust the liquid content slightly, though for this crust, a direct swap often works well due to the butter content.
Understanding Erythritol: Your Natural Sweetener Choice
When crafting a sugar-free dessert, the choice of sweetener is paramount. For this keto cheesecake, I prefer to avoid artificial sweeteners and instead opt for erythritol. Erythritol is a naturally occurring sugar alcohol found in some fruits and fermented foods. It boasts only about 6% of the calories of sugar and is widely recognized for its excellent digestive tolerance compared to other sugar alcohols. It doesn’t spike blood sugar or insulin levels, making it a perfect choice for ketogenic and diabetic-friendly recipes. There are various types and blends of erythritol available on the market. While I used granulated erythritol for this recipe, a monk fruit and erythritol blend is also a popular choice, offering a slightly different sweetness profile. Regardless of the form, erythritol helps achieve that desirable sweetness without the carbs, allowing you to enjoy this rich dessert guilt-free.
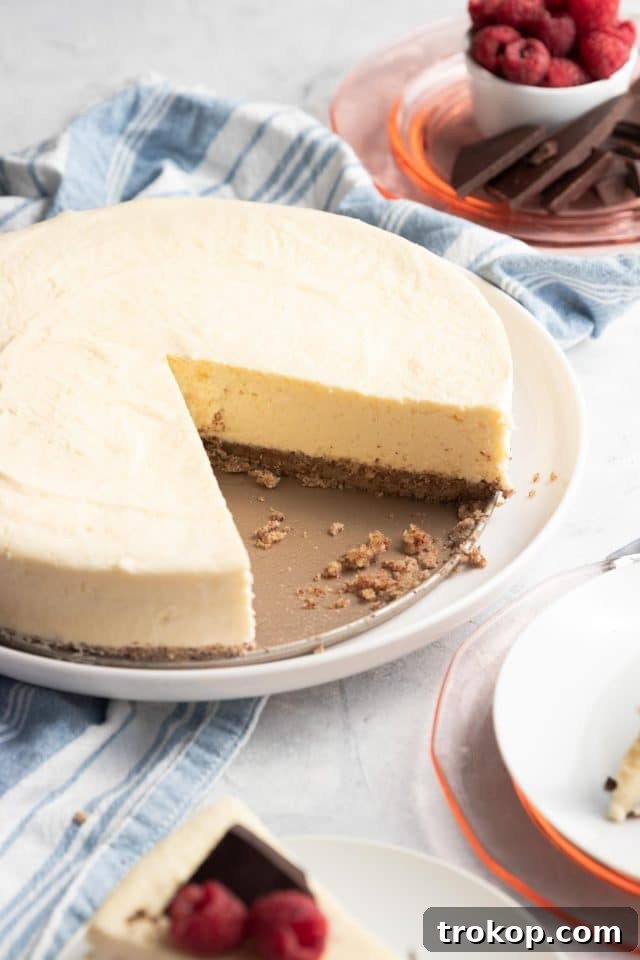
Step-by-Step Guide: Crafting Your Perfect Keto Cheesecake
Making a show-stopping keto cheesecake is simpler than you might think! Follow these detailed steps to ensure a flawless, creamy, and crack-free dessert:
- Prepare Ingredients: Begin by taking your cream cheese and eggs out of the refrigerator, allowing them to come to room temperature. This crucial step ensures they blend smoothly and evenly, preventing lumps in your cheesecake batter.
- Preheat Oven: Preheat your oven to 350°F (175°C) and position an oven rack in the center. This steady temperature is important for the crust.
- Prepare the Crust Mixture: In a medium bowl, melt your salted butter. Stir in your chosen nut flour (almond or pecan) and 3 tablespoons of your low-carb sweetener. Mix thoroughly until all the butter is distributed and the mixture forms a clumpy, yet still crumbly, consistency. It won’t be a solid dough, but rather a loose, textured base.
- Form and Bake Crust: Firmly pat the nut crust mixture into an even layer at the bottom of an 8-inch or 9-inch springform pan. Bake the crust for 10 minutes, then remove it from the oven and set it aside to cool completely while you prepare the filling.
- Whip Cream Cheese: While the crust cools, place the softened cream cheese in a large mixing bowl. Using a hand mixer or a stand mixer with the paddle attachment, beat the cream cheese on medium speed until it is wonderfully smooth and fluffy, with no lumps remaining.
- Sweeten the Filling: Gradually add 1 cup of your low-carb sweetener to the cream cheese, mixing thoroughly until well combined. At this point, taste the mixture. If you prefer a sweeter cheesecake, add another ¼ cup of sweetener and beat on medium speed for an additional 5 minutes. This extended beating time helps dissolve the sweetener completely, preventing any gritty texture in your final cheesecake.
- Incorporate Eggs: Add the large eggs one at a time, beating on low speed after each addition just until combined. Be careful not to overmix at this stage, as too much air can cause cracks during baking.
- Final Flavorings: Gently mix in the fresh lemon juice and vanilla extract until they are thoroughly incorporated into the creamy batter.
- Assemble Cheesecake: Pour the smooth cream cheese mixture over the cooled crust in the springform pan. Use the back of a spoon or a spatula to gently spread it into an even layer.
- Prepare Water Bath: Wrap the entire bottom and sides of your springform pan with heavy-duty aluminum foil, extending at least 3 inches up the sides. This prevents water from seeping into the crust. Place the foil-wrapped cheesecake pan into a larger baking or roasting pan. Disposable aluminum roasting pans work exceptionally well for this and can be reused. This setup creates a water bath, which is crucial for even baking.
- Bake with Water: Carefully place the larger pan with the cheesecake into the preheated oven on the center rack. Now, pour enough hot water into the larger pan to reach 1 to 2 inches up the sides of the foil-wrapped springform pan.
- Bake Cheesecake: Bake for 45 to 60 minutes, or until the edges are set, but the center still has a slight, gentle jiggle when the pan is carefully nudged. This slight movement indicates a perfectly baked, creamy cheesecake.
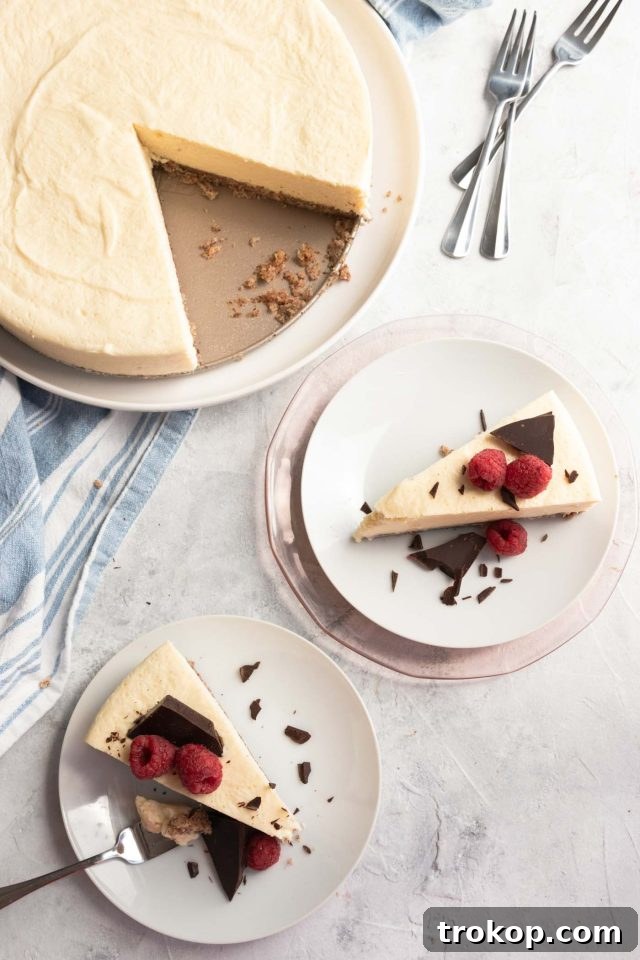
Achieving Perfection: The Art of Cooling Cheesecake
The cooling process is just as vital as the baking itself for a perfectly smooth, crack-free keto cheesecake. Once your cheesecake is baked and displays that desirable slight jiggle in the center, resist the urge to pull it out immediately. Instead, turn off the oven and leave the cheesecake inside with the oven door propped open about an inch for approximately an hour. This gradual decrease in temperature prevents a dramatic thermal shock, which is a common culprit for unsightly cracks on the cheesecake surface. After this hour, remove the cheesecake from the oven and let it cool completely to room temperature on a wire rack. Once it has reached room temperature, cover it loosely with plastic wrap or foil and transfer it to the refrigerator. It needs at least 4 hours to chill thoroughly, but for the absolute best texture and set, cooling the cheesecake overnight is highly recommended. Patience truly pays off with cheesecake!
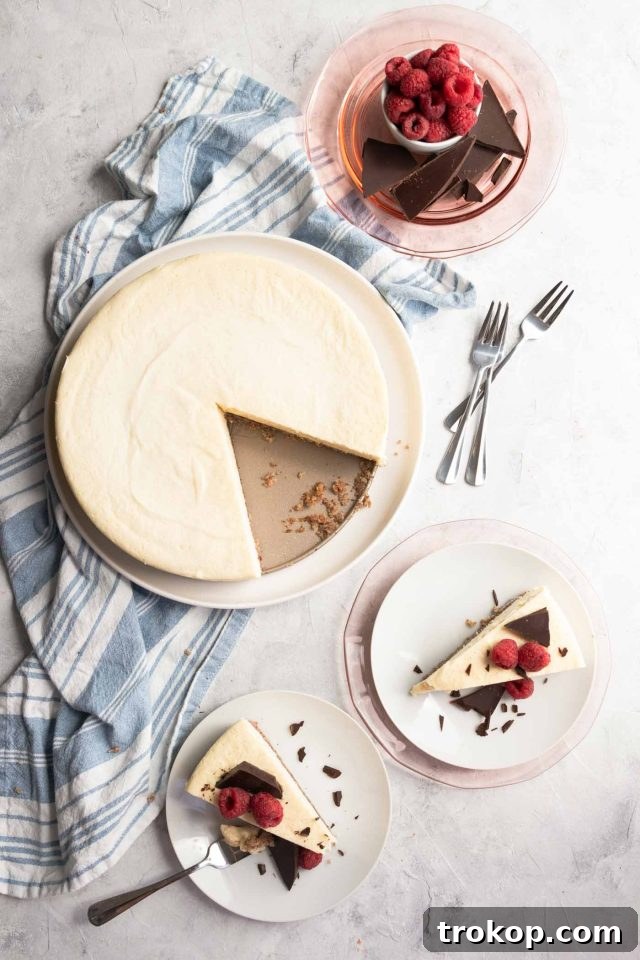
The Water Bath & Cooling Method: Why It Matters
The water bath, or bain-marie, and the extended cooling process might seem like extra steps and a significant time commitment, but they are absolutely critical for achieving a professional-looking and perfectly textured homemade cheesecake. These methods work in tandem to prevent the infamous “Grand Canyon” cracks that often mar the top of cheesecakes. The water bath provides a moist, even heat environment in the oven, preventing the edges from baking too quickly and drying out while the center is still cooking. This gentle, consistent heat helps the cheesecake bake uniformly and prevents the rapid temperature changes that can cause cracking. The gradual cooling process, first in the turned-off oven and then at room temperature, further minimizes temperature shock, allowing the cheesecake to set slowly and evenly. Skipping these steps can lead to a dense, unevenly baked cheesecake with large cracks. Furthermore, proper wrapping and avoiding dryness during cooling are essential; otherwise, the low-carb sweetener on the exposed surface might crystallize, leaving an undesirable gritty layer. Invest the extra time in these steps, and you’ll be rewarded with a smooth, flawless, and irresistible keto cheesecake!
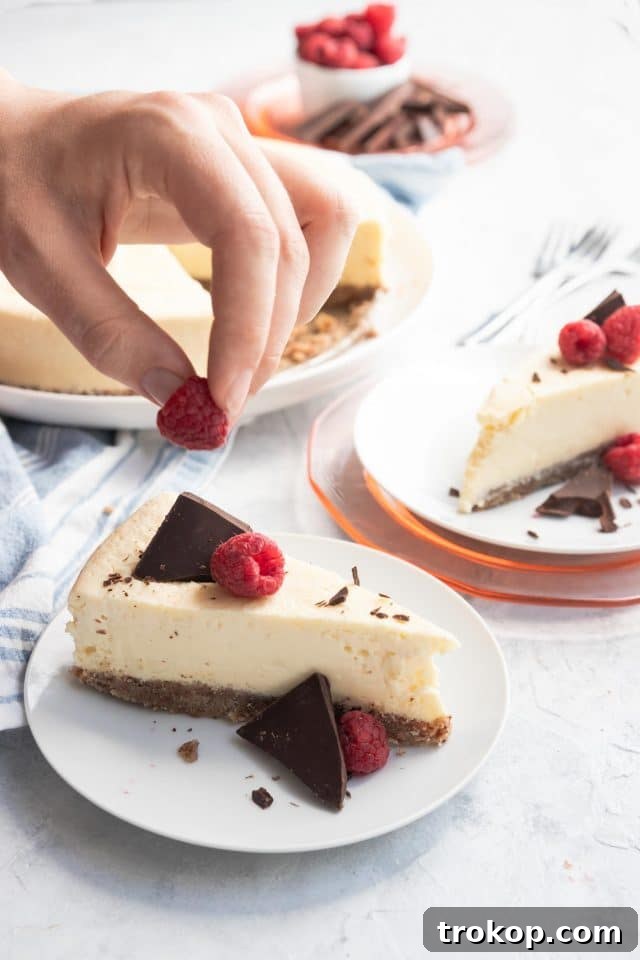
Delightful Toppings for Your Keto Cheesecake
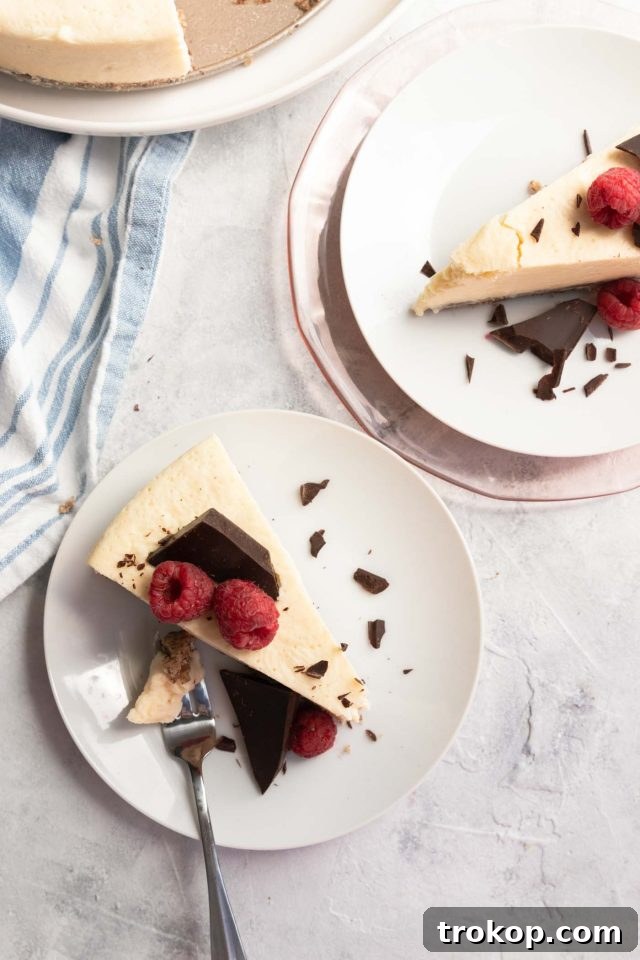
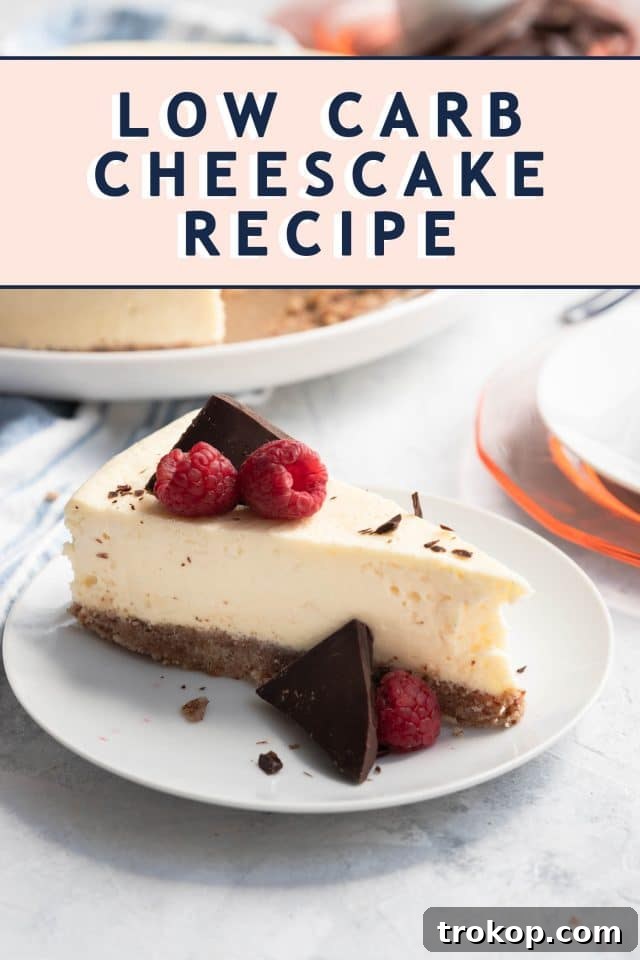
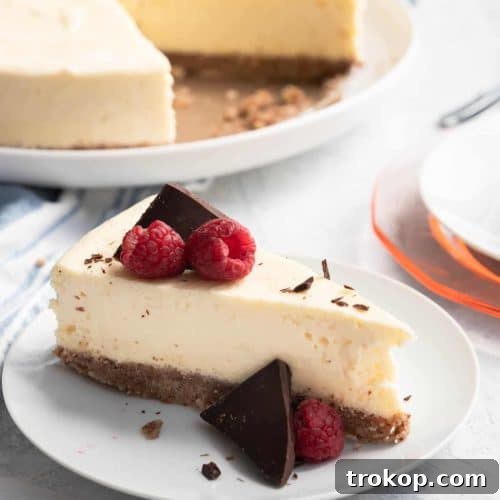
While this keto cheesecake is absolutely divine on its own, adding a topping can elevate it to an even more luxurious dessert experience. The good news is, many delicious options are perfectly keto-friendly! You can serve it simply with a dollop of freshly whipped cream, made from heavy cream and a touch of low-carb sweetener, or with a spoonful of tangy sour cream, both of which are excellent choices for adding a rich counterpoint to the sweetness. For a burst of natural flavor and color, fresh fruits like sliced strawberries, plump raspberries, or vibrant blueberries make fantastic low-carb toppings. Their natural sweetness and slight tartness provide a wonderful contrast to the creamy cheesecake. For the ultimate indulgence, consider melting some high-quality, low-carb dark chocolate to drizzle over your slice, or scatter some sugar-free chocolate shavings. My personal favorite combination for a truly decadent treat involves a generous sprinkle of fresh raspberries paired with a few squares of low-carb chocolate, transforming it into a delightful chocolate raspberry keto cheesecake. Get creative and enjoy customizing your slices!
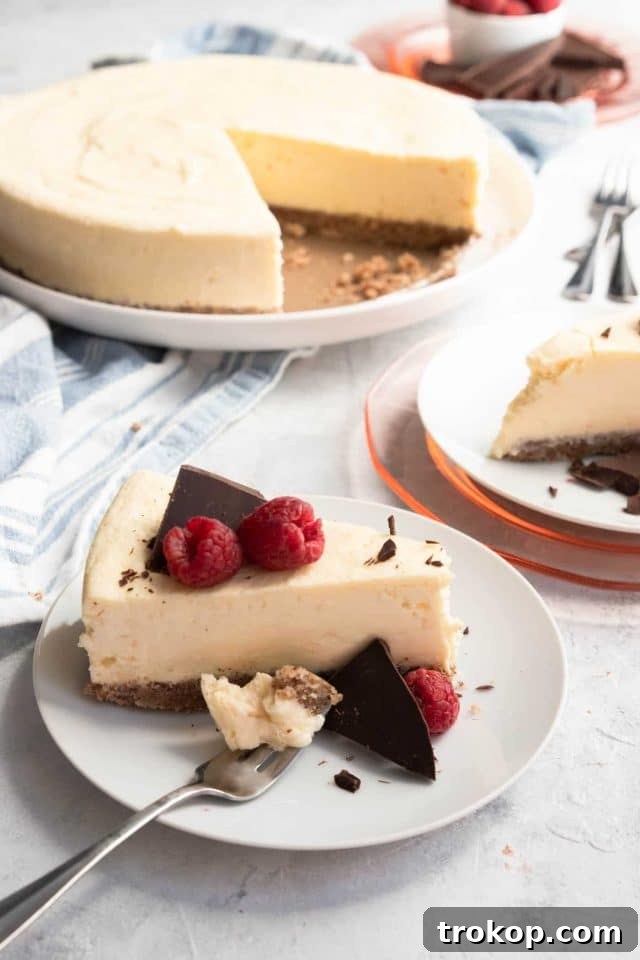
Storing Your Keto Cheesecake for Lasting Freshness
Proper storage is essential to maintain the freshness, texture, and flavor of your delicious keto cheesecake. Once thoroughly chilled and ready to store, ensure the cheesecake is completely covered. You can do this by wrapping the entire springform pan (if you haven’t yet removed the cheesecake) tightly with plastic wrap, followed by a layer of aluminum foil to create an airtight seal. If you’ve already sliced portions, place individual slices in airtight containers. Stored in the refrigerator, this keto cheesecake will remain fresh and delightful for up to one week. This makes it an excellent make-ahead dessert for parties or for enjoying throughout the week. For longer-term storage, cheesecake freezes beautifully. Wrap individual slices or the entire cheesecake (once fully chilled) tightly in several layers of plastic wrap, then an outer layer of aluminum foil. It can be stored in the freezer for up to one month. When ready to enjoy from the freezer, simply transfer it to the refrigerator to thaw overnight for the best results, or let it sit at room temperature for a couple of hours.
Explore More Healthy & Keto-Friendly Recipes
Loved this keto cheesecake recipe and keen on maintaining your net carb count? We’ve got a treasure trove of other healthy and delicious recipes from our archives that are perfect for a balanced lifestyle. From savory meals to delightful snacks, explore these options:
- Zero Carb Cloud Bread: Discover how to make this incredibly light and airy bread alternative, perfect for sandwiches or as a side dish without the carbs.
- Healthy Nut-Free Lunches for Kids: Creative and nutritious lunch ideas that are safe for school and packed with goodness for your little ones.
- 3 Healthy Snacks Under 300 Calories: Quick and easy snack ideas that are both satisfying and waistline-friendly.
- Easy Baked Apple with Spiced Granola and Yogurt: A comforting and wholesome breakfast option, easily adapted to be low-sugar.
- Roasted Garlic White Bean Alfredo: A creamy, flavorful, and healthier take on a classic pasta dish, rich in plant-based protein.
- Whole30 Tropical Popsicles: Refreshing and naturally sweet frozen treats perfect for hot days, made with wholesome ingredients.
- Sweet Potato Nachos: A healthier and equally delicious twist on traditional nachos, using sweet potato slices as the base.
- Gluten-Free Donuts: Enjoy fluffy and delicious donuts without the gluten, a perfect treat for any time of day.
- Best Turkey Chili: A hearty and satisfying chili recipe made with lean turkey, perfect for a comforting meal.
- Whole30 Avocado Chicken Salad: A fresh, flavorful, and compliant chicken salad that’s perfect for wraps or salads.
- Apple Yogurt Salad: A light and refreshing salad combining crisp apples with creamy yogurt.
- Cranberry Orange Salad with a Citrus Vinaigrette: A vibrant salad bursting with tangy and sweet flavors, dressed with a refreshing vinaigrette.
- White Bean and Vegetable Soup: A comforting and wholesome soup packed with nutritious vegetables and protein-rich white beans, easily made in an Instant Pot.
Keto Cheesecake: Low Carb Recipe Details
Equipment
- 8″ or 9″ springform pan
- Large mixing bowl
- Hand or stand mixer
- Spoon or spatula
- Large baking or roast pan
Ingredients
For the crust —
- 2 cup almond or pecan flour (see recipe notes for alternatives)
- 3 tbsp erythritol or low carb sweetener of choice
- 5 tbsp salted butter (melted)
For the cheesecake —
- 32 oz cream cheese (4 blocks of 8 oz. cream cheese, softened)
- 1-1 ¼ cup erythritol or low carb sweetener of choice
- 3 large eggs (at room temperature)
- 1 tbsp fresh lemon juice
- 1 tbsp vanilla extract
Instructions
- Set out all of your ingredients and allow them to come to room temperature. This ensures smooth mixing and a creamy texture.
- Preheat the oven to 350°F (175°C) and place a rack in the center of the oven.
For the crust —
- Melt the salted butter and stir in the nut flour and 3 tablespoons of sweetener. Stir it until you have a clumpy but crumbly mixture.
- Pat the nut crust into an even layer in the bottom of the springform pan.
- Bake the crust for 10 minutes. Then, remove it from the oven and allow it to cool completely.
For the cheesecake —
- While the crust is baking, place the softened cream cheese in a large mixing bowl and beat it with a hand or stand mixer until it is smooth and fluffy.
- Add 1 cup of the low-carb sweetener and stir in thoroughly. Then, taste it to see if you would like it to be sweeter. If so, add another 1/4 cup and beat on medium speed for 5 minutes to help the sweetener to dissolve and not be gritty.
- Add the eggs one at a time and beat after each addition until just combined. Avoid overmixing.
- Once they are thoroughly combined, mix in the lemon juice and vanilla extract.
- Pour the cream cheese mixture over the cooled crust and smooth it with the back of a spoon or spatula.
- Wrap the bottom of your springform pan in heavy-duty foil that comes up the side at least 3 inches, ensuring a tight seal to prevent water leakage.
- Place the cheesecake pan in a larger baking or roasting pan. (Disposable pans work great for this and can be reused!) Place the larger pan, with the cheesecake inside, in the oven on the center rack.
- Carefully pour enough hot water into the larger pan to bring it 1”-2” up the side of the foil-wrapped cheesecake pan.
- Bake the cheesecake for 45-60 minutes, or until the edges are set with only a slight jiggle in the center.
- Do not remove the cheesecake from the oven immediately. Instead, turn off the oven and leave the door ajar (propped open) for about an hour. This gradual cooling prevents cracks.
- After the hour is up, remove the cheesecake from the oven and let it come to room temperature on a wire rack. Once cooled, cover it and place it in the fridge to chill completely. It should set in at least 4 hours, but ideally, leave it in the fridge overnight for the best texture. Serve chilled.
Nutrition
Carbohydrates: 9g |
Protein: 10g |
Fat: 41g |
Saturated Fat: 19g |
Cholesterol: 137mg |
Sodium: 300mg |
Potassium: 120mg |
Fiber: 2g |
Sugar: 3g |
Vitamin A: 1220IU |
Vitamin C: 1mg |
Calcium: 121mg |
Iron: 1mg
Notes
- If you only have whole or sliced nuts on hand, you can easily make your own nut flour! Simply pulse a couple of cups in a food processor or blender until they achieve a fine, sand-like texture. Be careful not to over-process, or you might end up with nut butter!
- The water bath and the precise cooling process are crucial steps that may seem like extra effort, but they are incredibly important for preventing large cracks that often appear in homemade cheesecakes. These methods help ensure a smooth, professional finish. It’s definitely worth the extra time to avoid a “Grand Canyon” sized split in your beautiful cheesecake!
- Make sure to wrap your cheesecake well with plastic wrap and foil once it starts chilling, to prevent it from drying out. If the surface becomes too dry, the low-carb sweetener on the outside might crystallize and leave an undesirable gritty layer on top.

Don’t forget to share your amazing Keto Cheesecake creations with us on Instagram using the hashtag #sugarandclothloves. We absolutely love seeing all the deliciousness you whip up! Looking for more quick and delightful recipes to fit your healthy lifestyle? You can find them all right here!
34 Simple Sheet Pan Recipes
Simplify your meal prep without sacrificing taste by trying out these incredible sheet pan recipes, perfect for busy weeknights and easy cleanup!
Continue Reading34 Simple Sheet Pan Recipes
44 Whole 30 Approved Recipes for the Whole Family
Say goodbye to bland and boring meals and hello to exciting, compliant dishes that everyone at the table will love on your Whole30 journey.
Continue Reading44 Whole 30 Approved Recipes for the Whole Family
How to Poach an Egg & Ways to Serve
Learn the art of perfectly poached eggs with our step-by-step guide and discover three delicious ways to incorporate them into your meals.
Continue ReadingHow to Poach an Egg & Ways to Serve
Nut Free Healthy Lunch Ideas for Kids
Be that fun mom by wowing your kids with these quick, healthy, and completely nut-free lunch ideas that are perfect for school or home.
Continue ReadingNut Free Healthy Lunch Ideas for Kids