
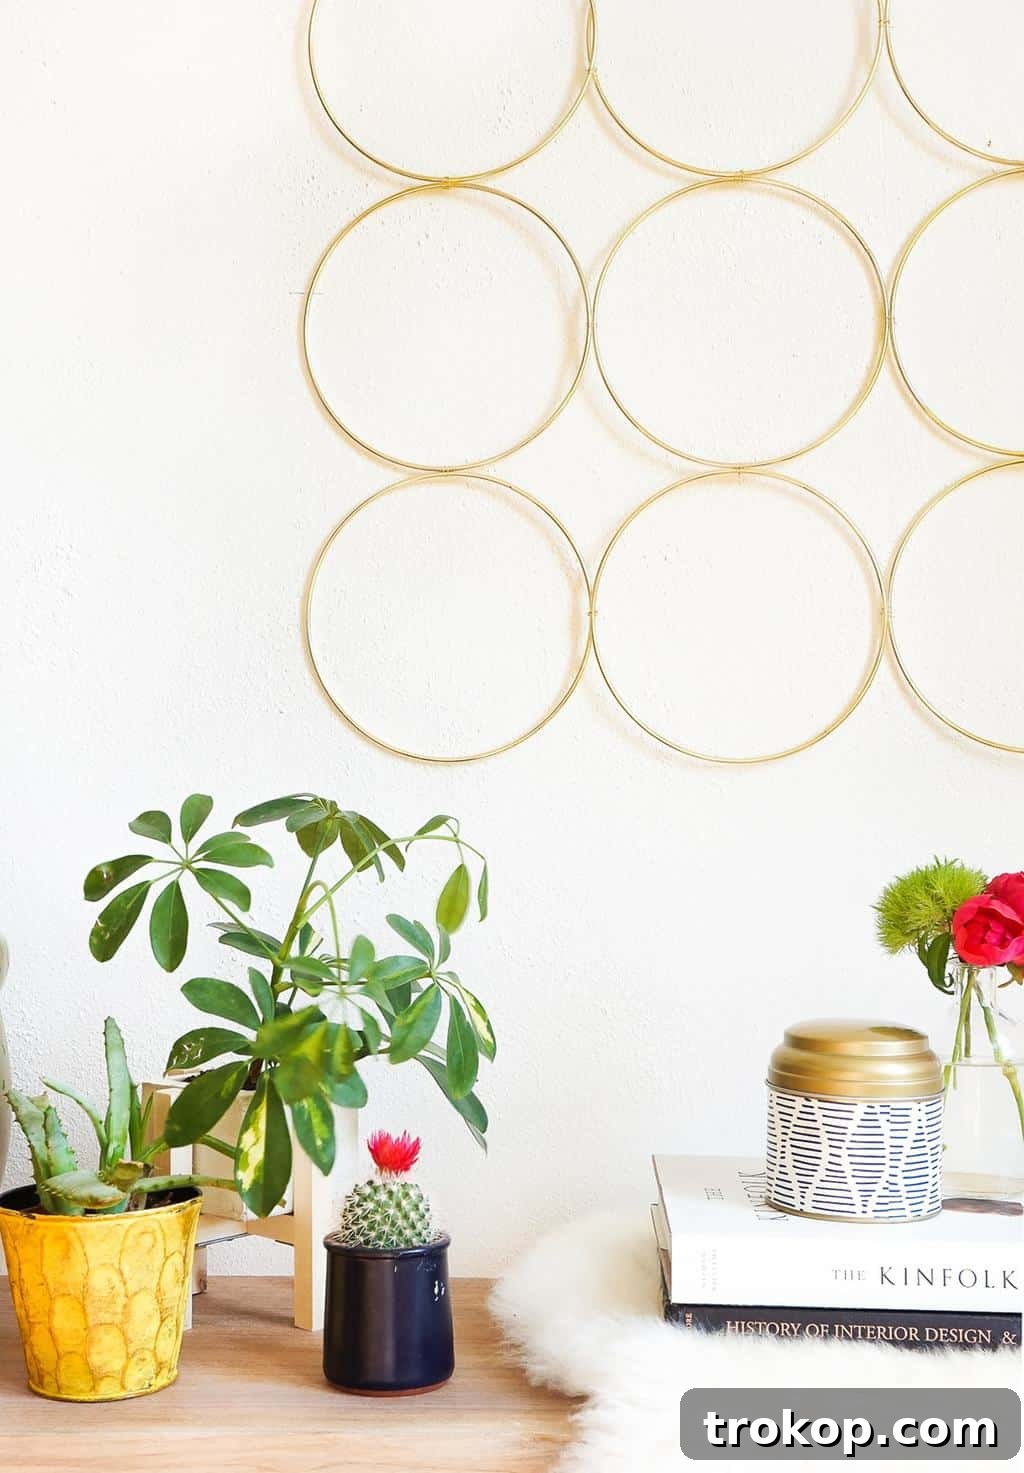
DIY Brass Ring Wall Decor: A Mid-Century Modern Touch with a Modern Feel
Are you looking for a unique and stylish way to refresh your home decor? This DIY Brass Ring Wall Decor project offers an elegant solution, perfectly marrying the bold aesthetic of Mid-Century Modern design with a clean, contemporary sensibility. It’s a surprisingly simple craft that adds a significant visual impact, creating a focal point that feels both sophisticated and inviting. Say goodbye to plain walls and hello to a custom piece of art that reflects your personal style.
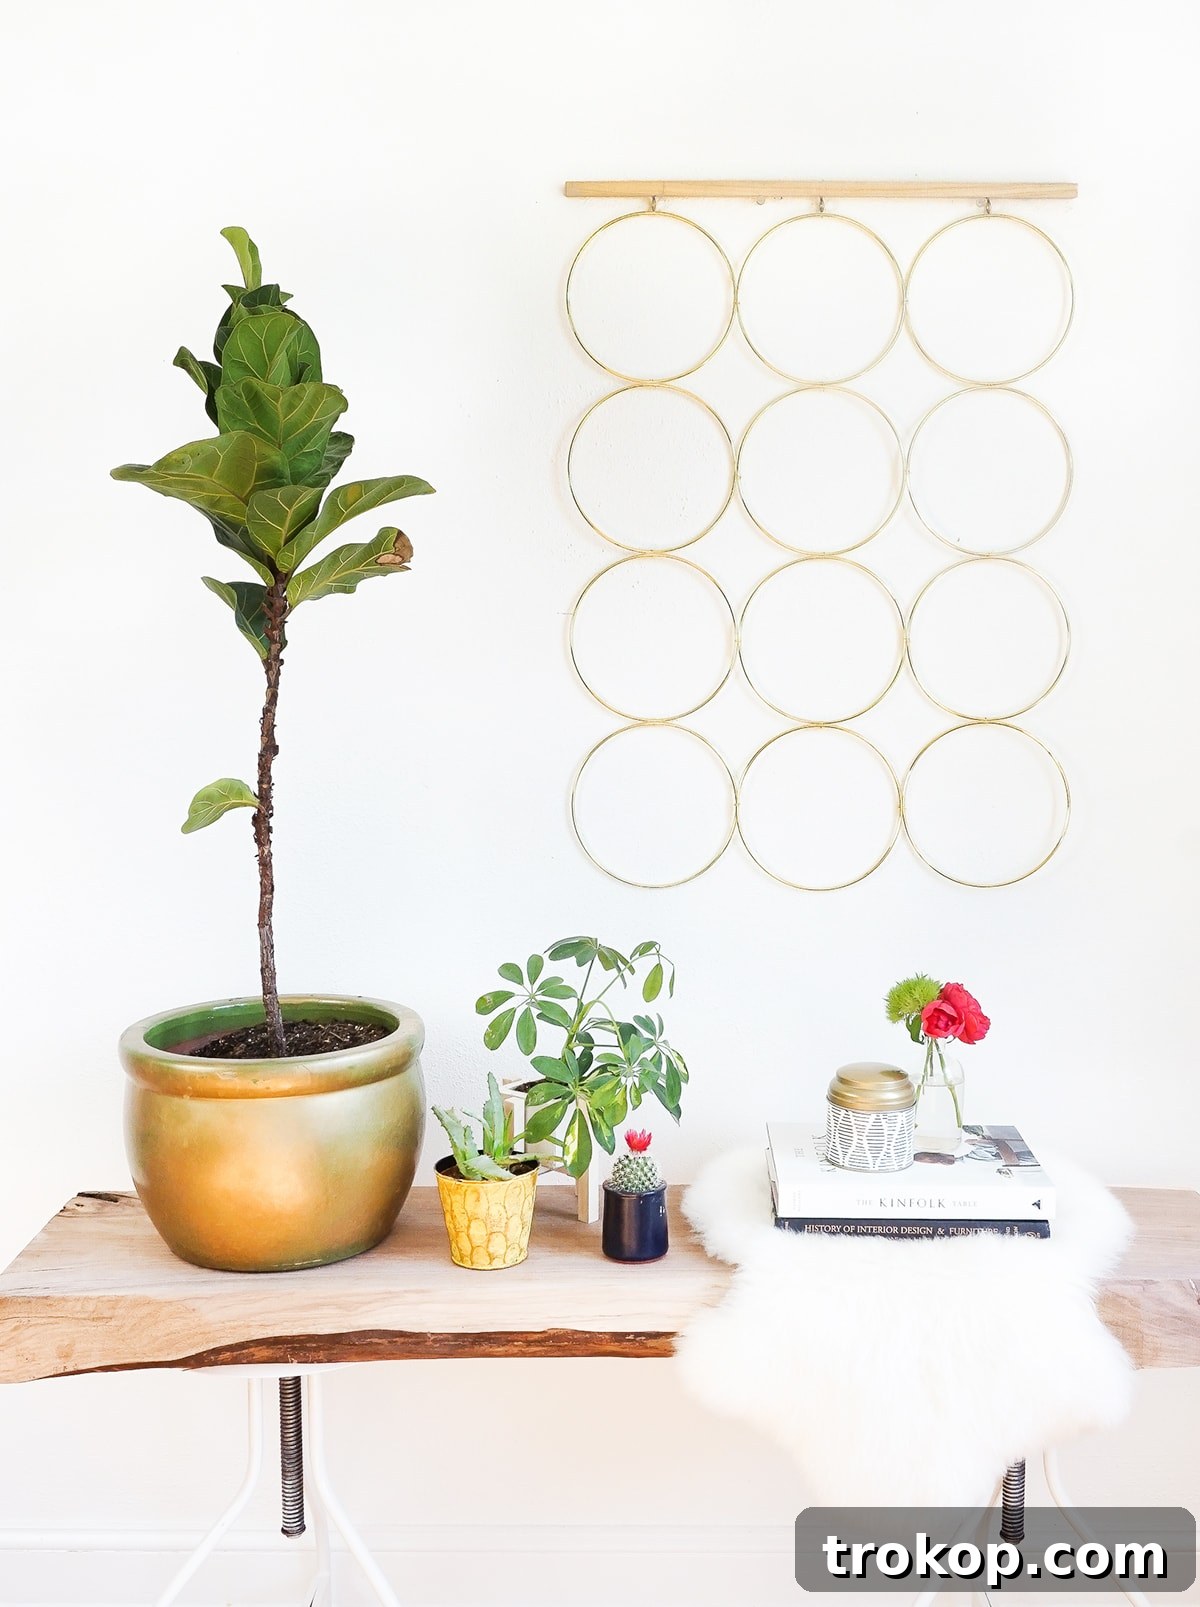
For years, brass macrame rings have been a staple in countless DIY projects, ranging from intricate weavings to stylish concrete trays. Their inherent beauty and versatility make them a favorite among crafters and interior design enthusiasts alike. However, it wasn’t until recently that the true potential of these rings as standalone wall art truly came into focus. The idea of arranging them in a repetitive pattern to create a graphic, eye-catching display was simply too good not to explore.
Inspired by this revelation, we embarked on creating this stunning DIY brass ring wall decor. The magic lies in the repetition; when multiple rings are strategically placed, they form a striking pattern that instantly elevates any space. This design pays homage to the distinctive patterning found in Mid-Century Modern aesthetics, known for its clean lines, organic shapes, and functional elegance, while simultaneously maintaining a light, airy, and thoroughly modern feel. It’s a delicate balance that brings a timeless yet current charm to your interiors.
If your living space is feeling a little lacklustre or in need of a seasonal refresh, consider adorning your walls with this easy-to-make brass masterpiece. Think of it as adding a touch of sophisticated ‘jewelry’ to your home – a subtle sparkle and an intriguing texture that captures attention without overwhelming the room. This project is not just about creating decor; it’s about infusing your home with personality and thoughtful design, all with your own hands.
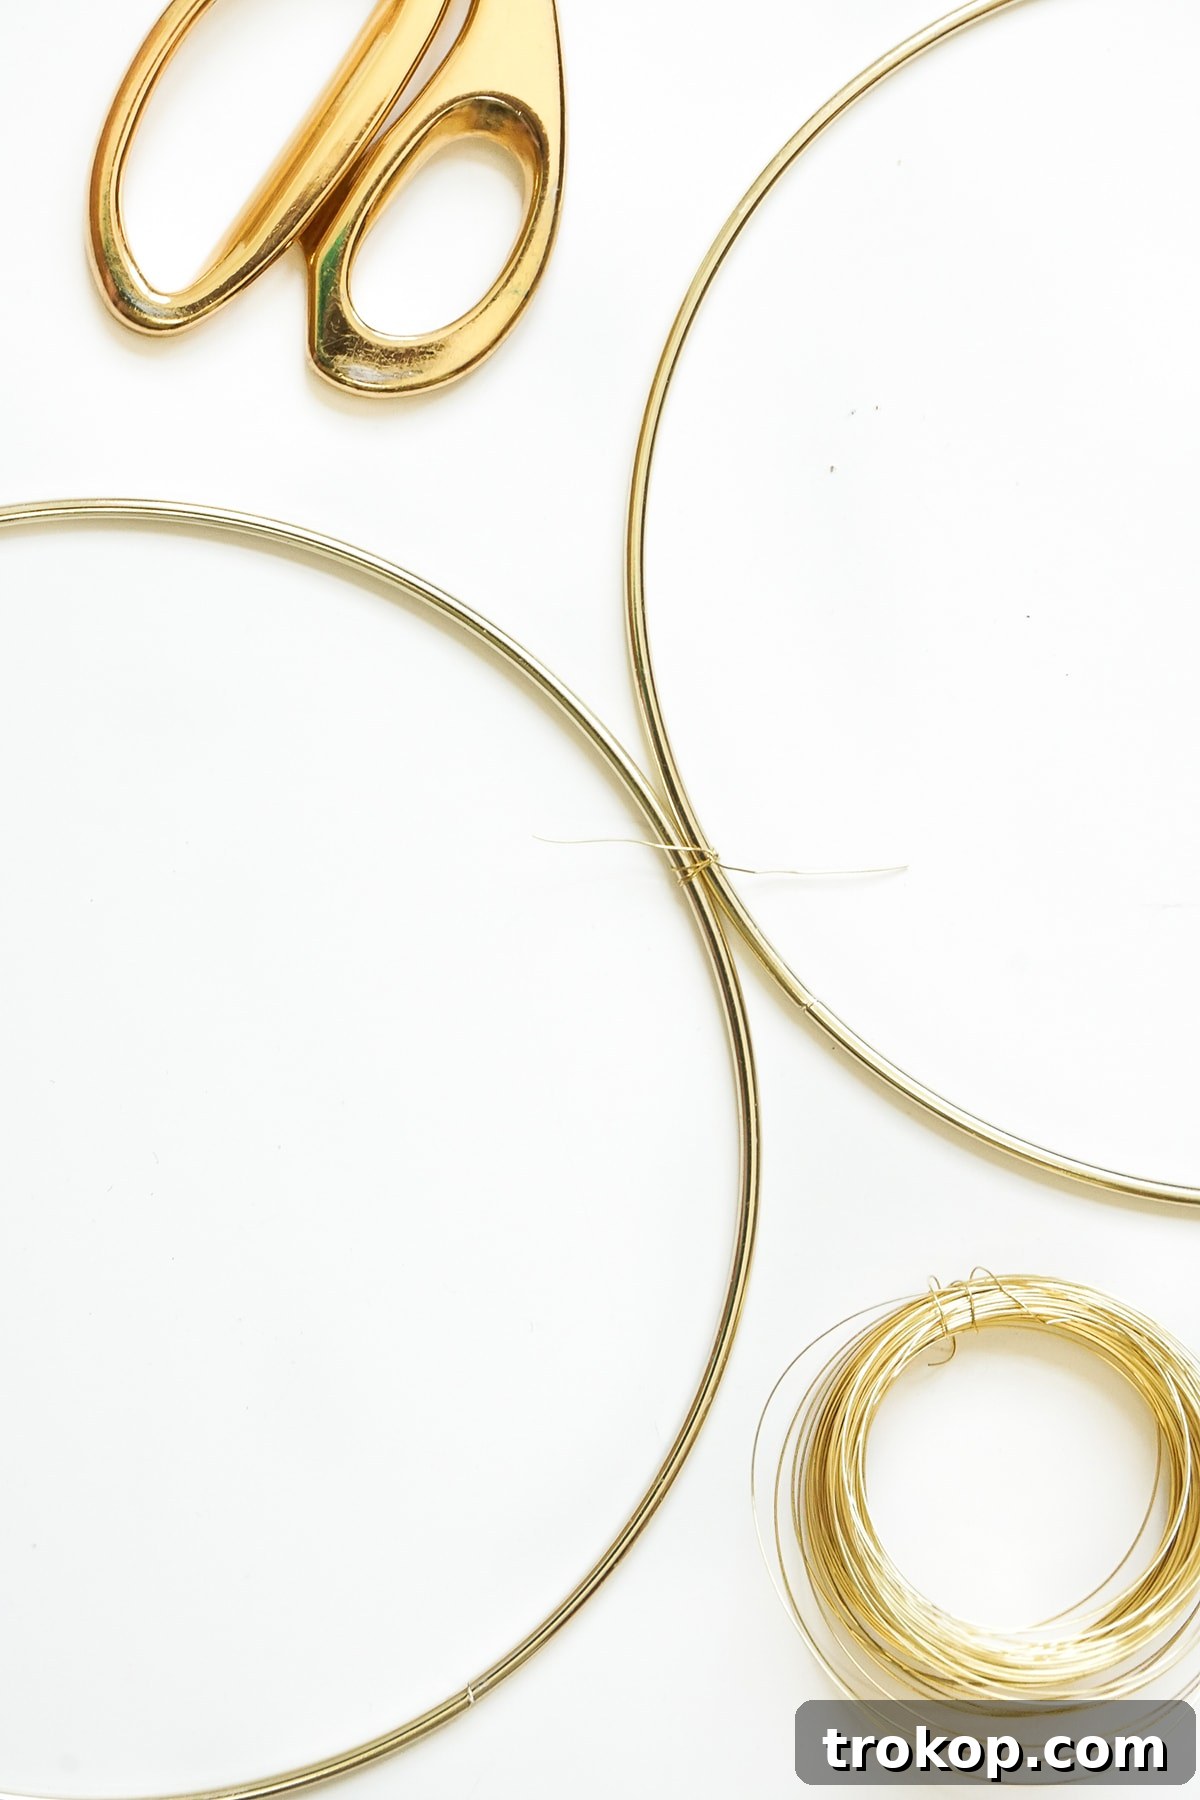
Table of Contents
Materials & Tools Needed for Your DIY Brass Ring Wall Decor
Before diving into the creative process, gathering all your materials and tools is crucial for a smooth and enjoyable DIY experience. This project requires relatively few items, making it accessible even for beginner crafters. Here’s what you’ll need:
- Twelve 8″ Brass Rings: These are the stars of our show. The 8-inch size provides a substantial presence on the wall without being overly bulky. You can find these at craft stores, online, or specialized hardware shops. Ensure they are a consistent size and finish for a cohesive look.
- Gold Floral Wire: Opt for a fine gauge floral wire that matches the brass rings. This wire will be used to securely connect the rings and attach the entire piece to the dowel. Its flexibility makes it easy to work with, while its strength ensures durability.
- Square Wood Dowel: This will serve as the top support for your brass ring display. The length of the dowel should be sufficient to span the width of your interconnected rings with a bit of overhang on each side for balance and aesthetic appeal. A square profile offers a clean, modern look.
- Three Eye Hooks: These small, screw-in hooks will be inserted into the wood dowel to provide attachment points for your brass rings. Make sure they are sturdy enough to support the weight of the rings and ideally match the gold/brass tone.
- Pencil: For precise marking on the wood dowel.
- Ruler or Measuring Tape: Essential for accurate spacing and measurements, ensuring your design is perfectly symmetrical.
- Scissors or Wire Cutters: For trimming the floral wire cleanly. Wire cutters are highly recommended for a professional finish and ease of use.
Having these items ready beforehand will allow you to flow seamlessly from one step to the next, making the crafting process efficient and satisfying.
How To Craft Your DIY Brass Ring Wall Decor
Creating this eye-catching wall decor is simpler than you might imagine. Follow these detailed steps to assemble your stunning brass ring masterpiece:
Step 1: Constructing Your Ring Rows
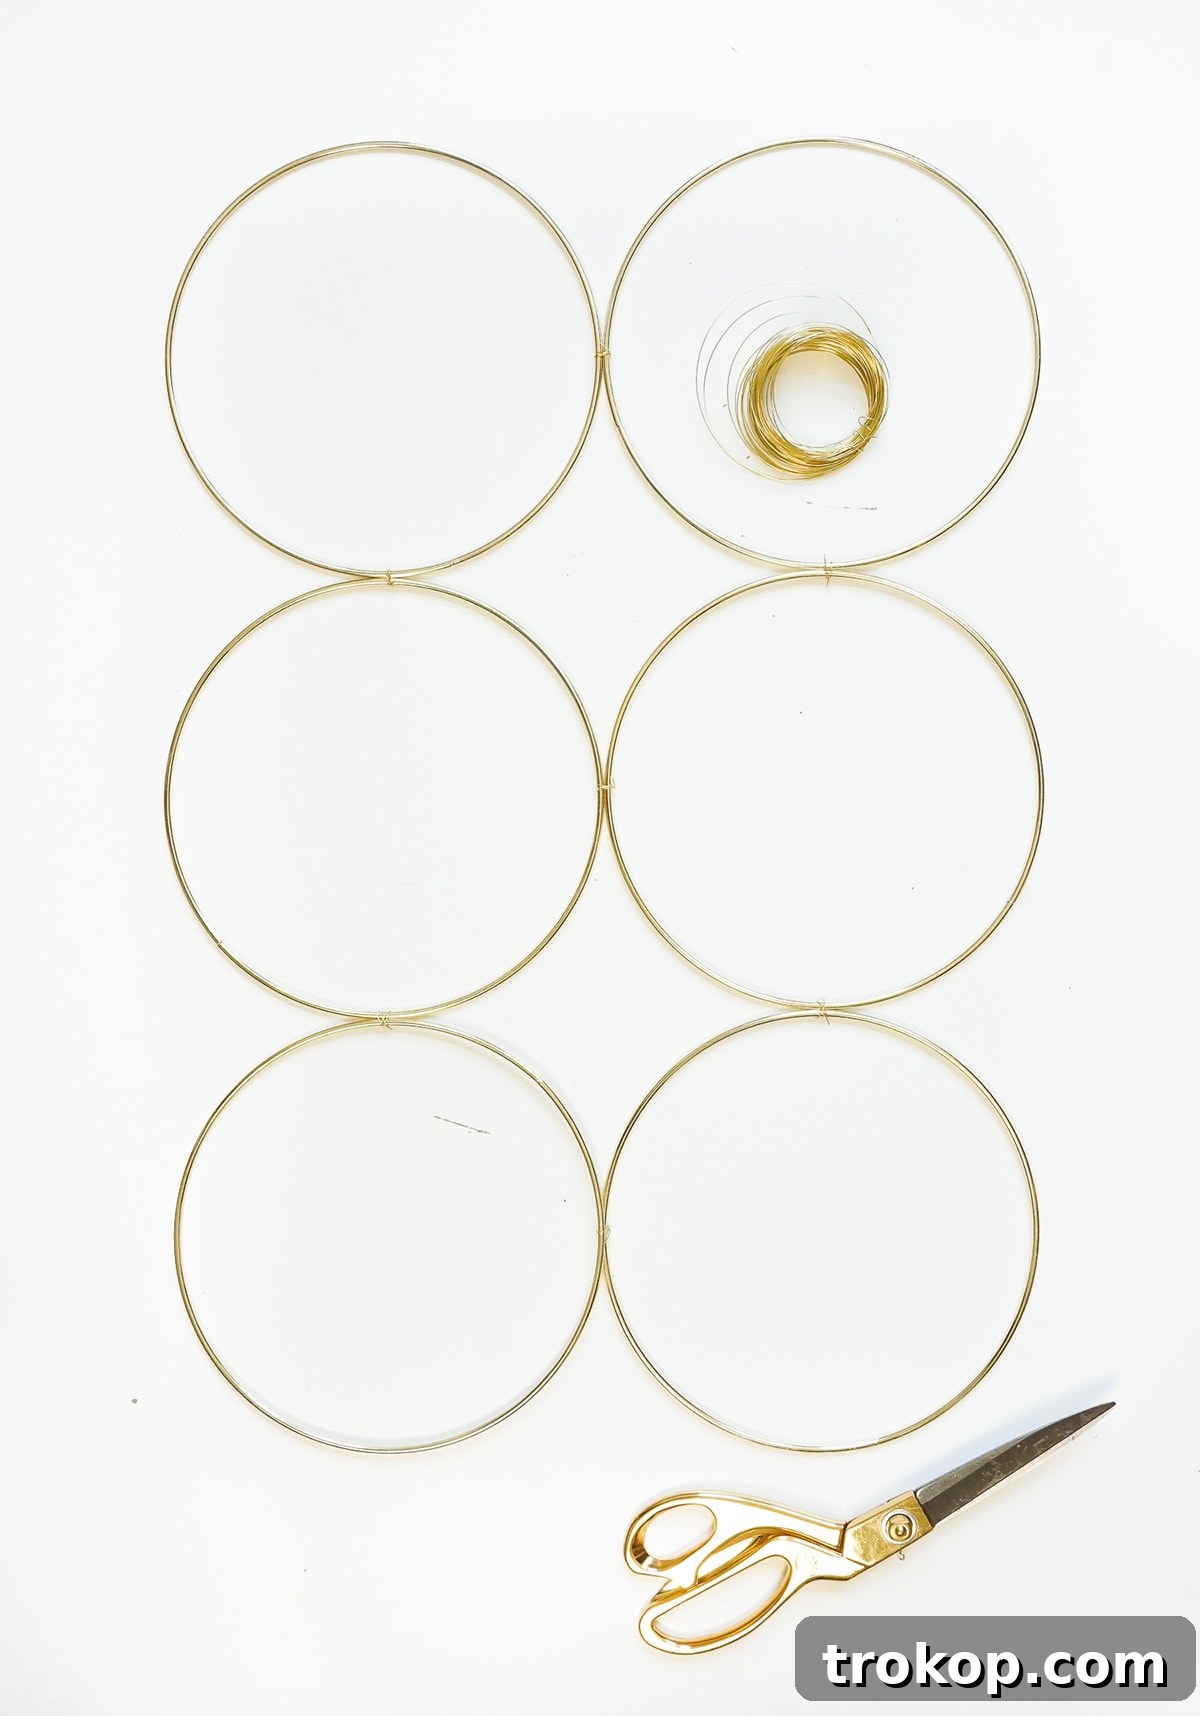
Begin by taking three of your 8-inch brass rings. You will connect these to form a single row. Cut a 4-inch piece of gold floral wire. Place two rings side by side so they are touching. Wrap the floral wire around the point where they meet, twisting the ends firmly to secure them. Trim any excess wire tails with your scissors or wire cutters for a neat finish. Repeat this process to connect the third ring to the second, forming a row of three interconnected rings. You will need a total of four such rows, each consisting of three brass rings.
Step 2: Assembling the Rectangular Grid
Once you have your four rows of three rings each, it’s time to connect them into a larger rectangular grid. Arrange your rows one above the other. Using additional pieces of gold floral wire, connect the adjacent rings in corresponding positions between the rows. For instance, connect the first ring of row 1 to the first ring of row 2, and so on across the width of the structure. Continue this until all four rows are securely connected, resulting in a large rectangular formation that is three rings wide and four rings high. Ensure all connections are tight and the wire ends are neatly tucked away or trimmed.
Step 3: Preparing the Wood Dowel for Hanging
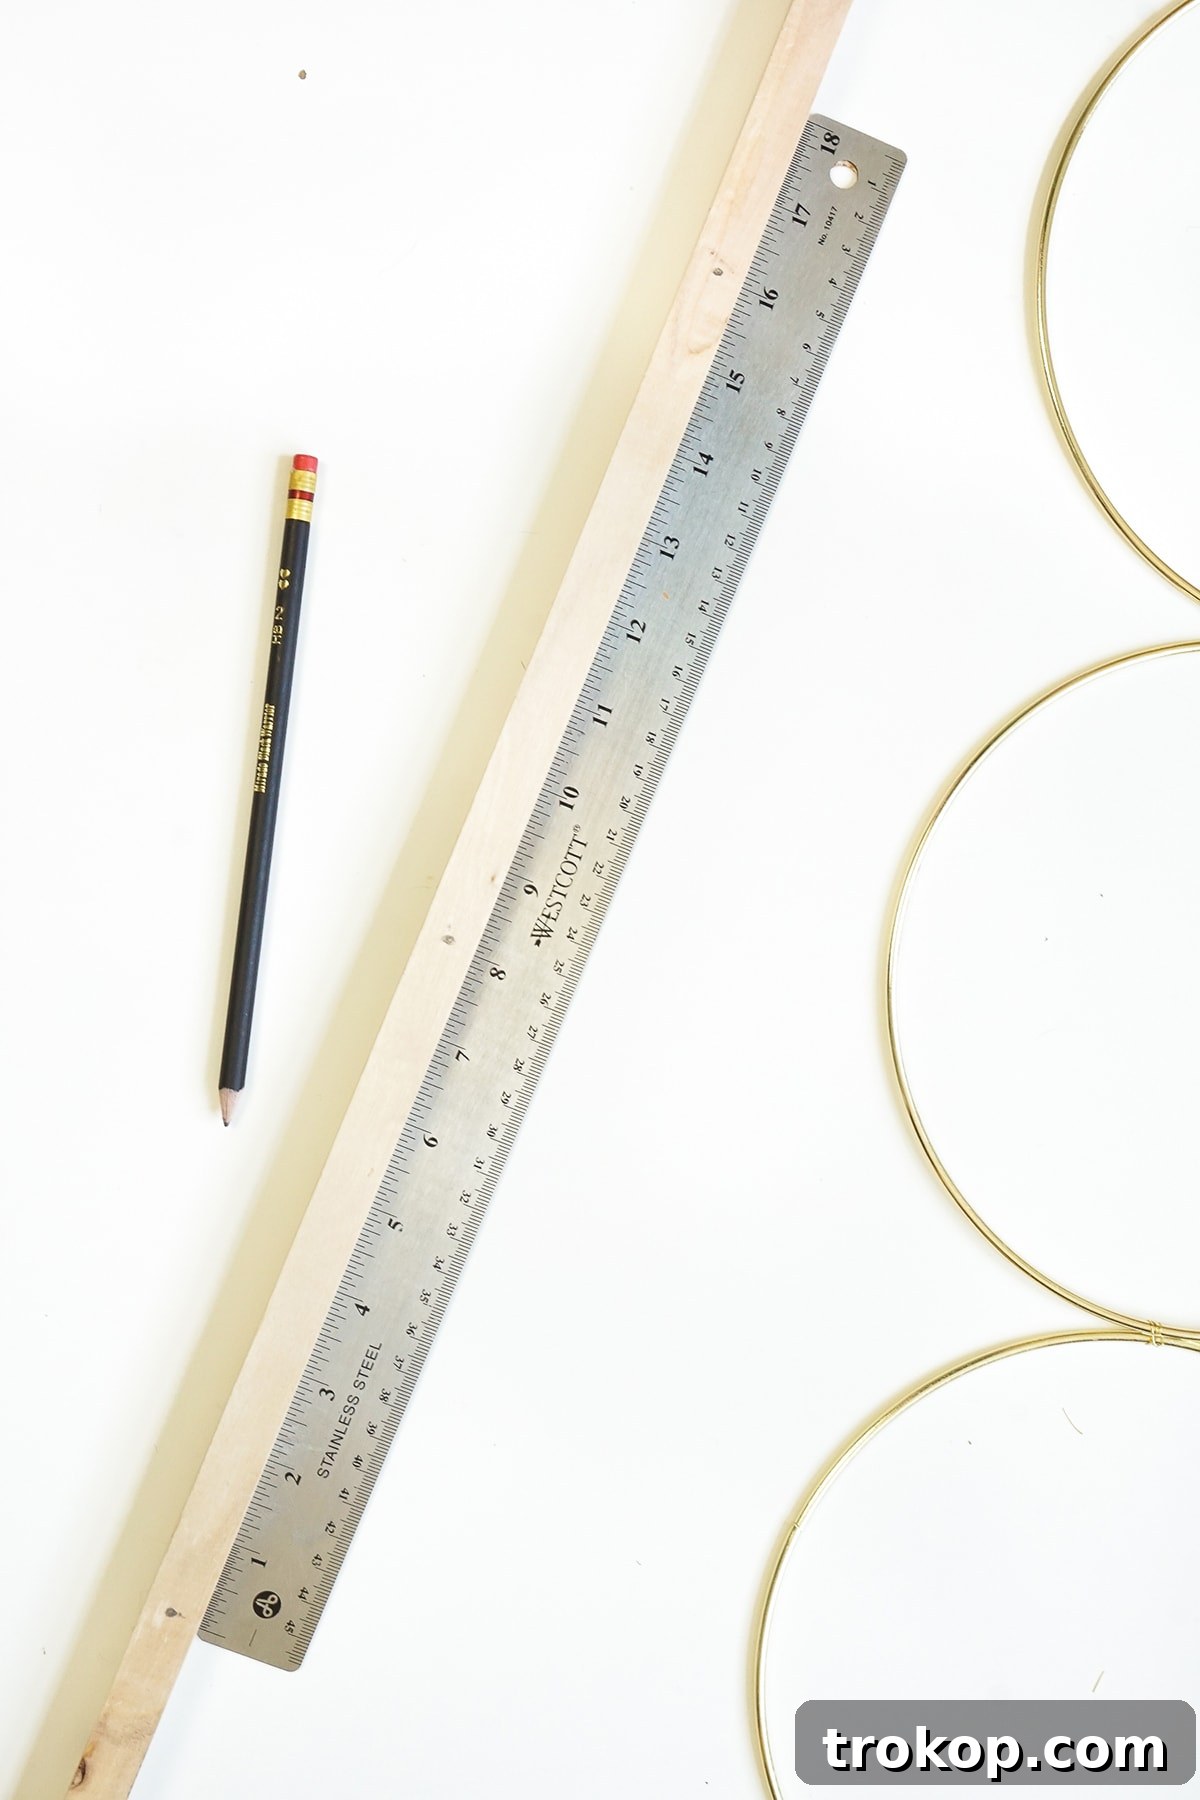
Now, let’s prepare the top support for your brass rings. Take your square wood dowel and your pencil and ruler. Lay your connected brass ring grid flat. Carefully measure the distance between the top-most points where the rings will hang from the dowel. For a balanced look, these points should be approximately 8 inches apart. Mark three precise spots on your wood dowel where the eye hooks will be inserted, ensuring they align perfectly with the top rings of your brass structure.
Step 4: Installing the Eye Hooks
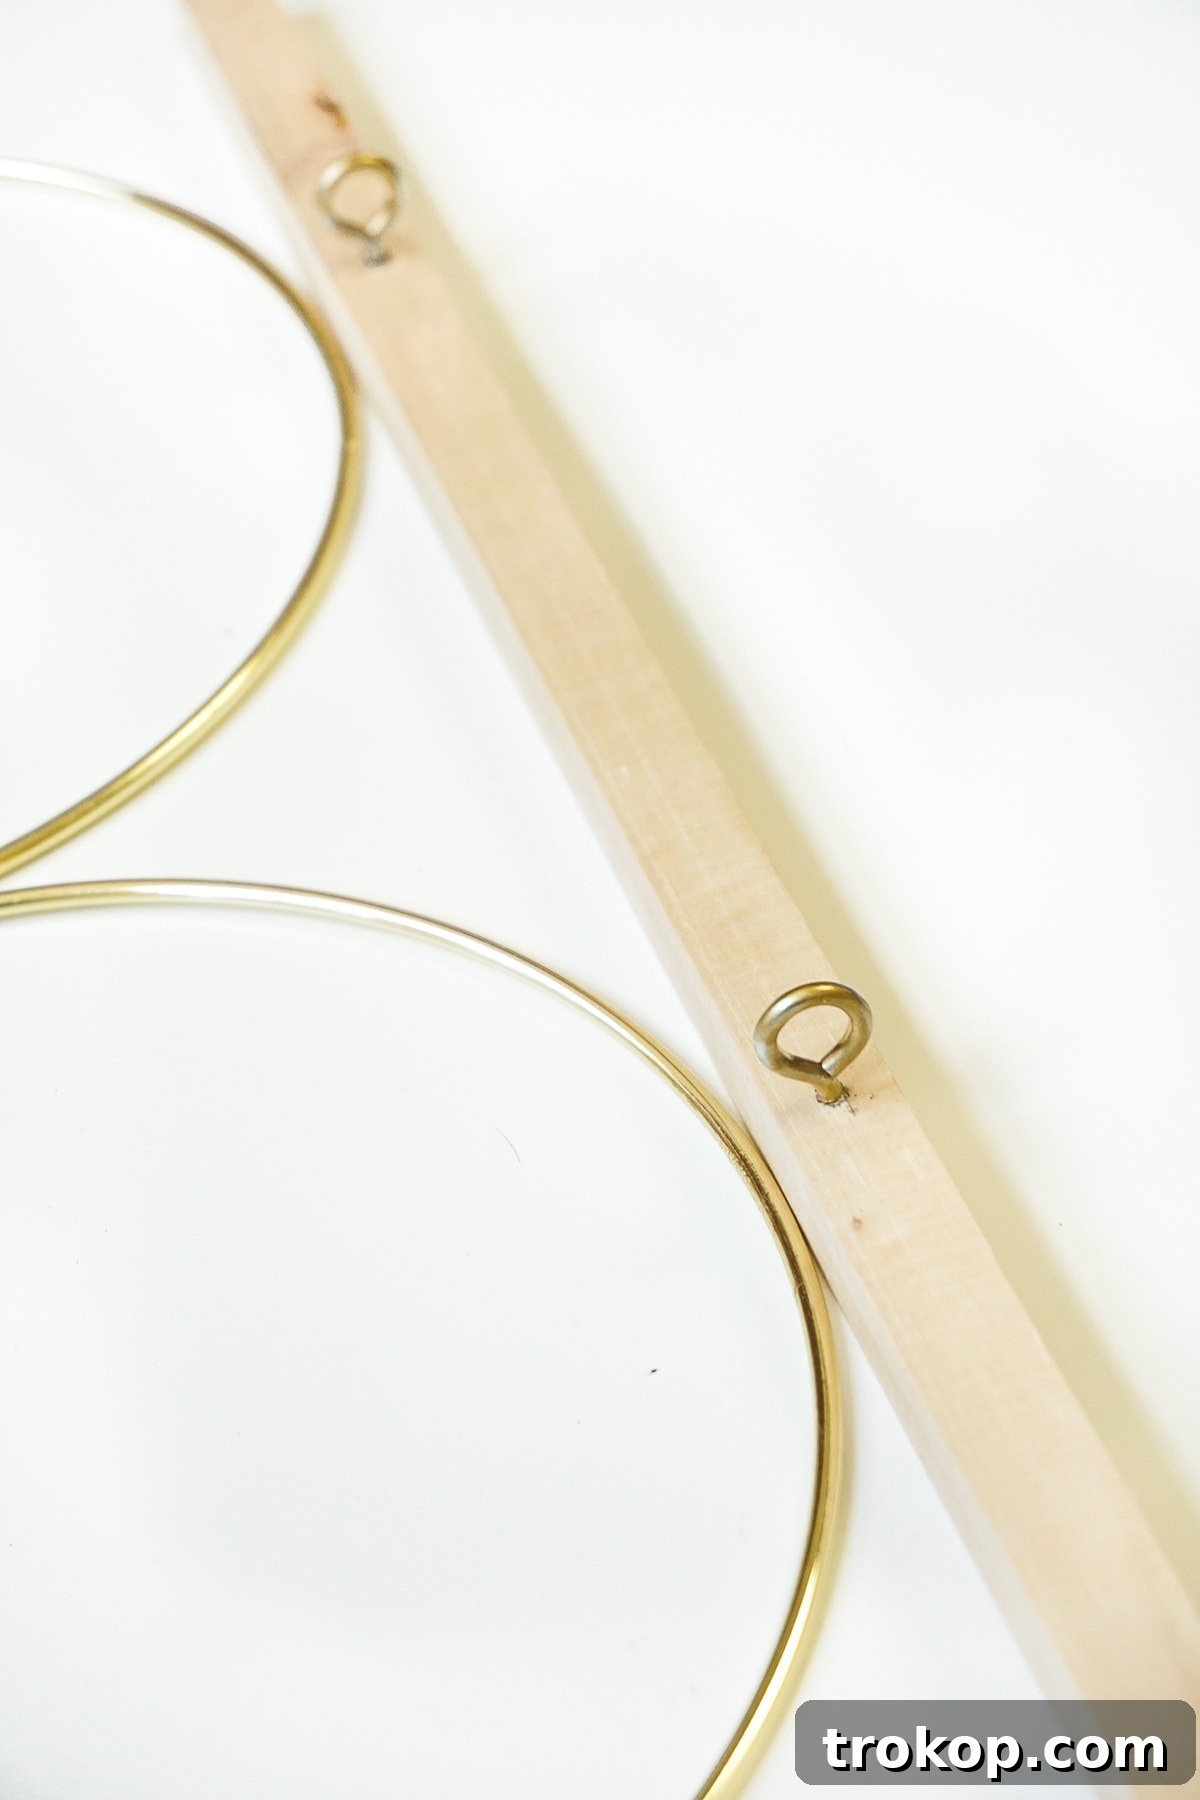
With your marks in place on the wood dowel, it’s time to install the eye hooks. Position the tip of an eye hook over one of your pencil marks. Apply a gentle downward pressure and twist the hook clockwise with your fingers. The sharp tip of the eye hook should easily bite into the wood. Continue twisting until the threaded portion of the hook is fully embedded and the eye loop is facing forward, ready to receive the wire. Repeat for the remaining two eye hooks.
Step 5: Attaching the Rings to the Dowel
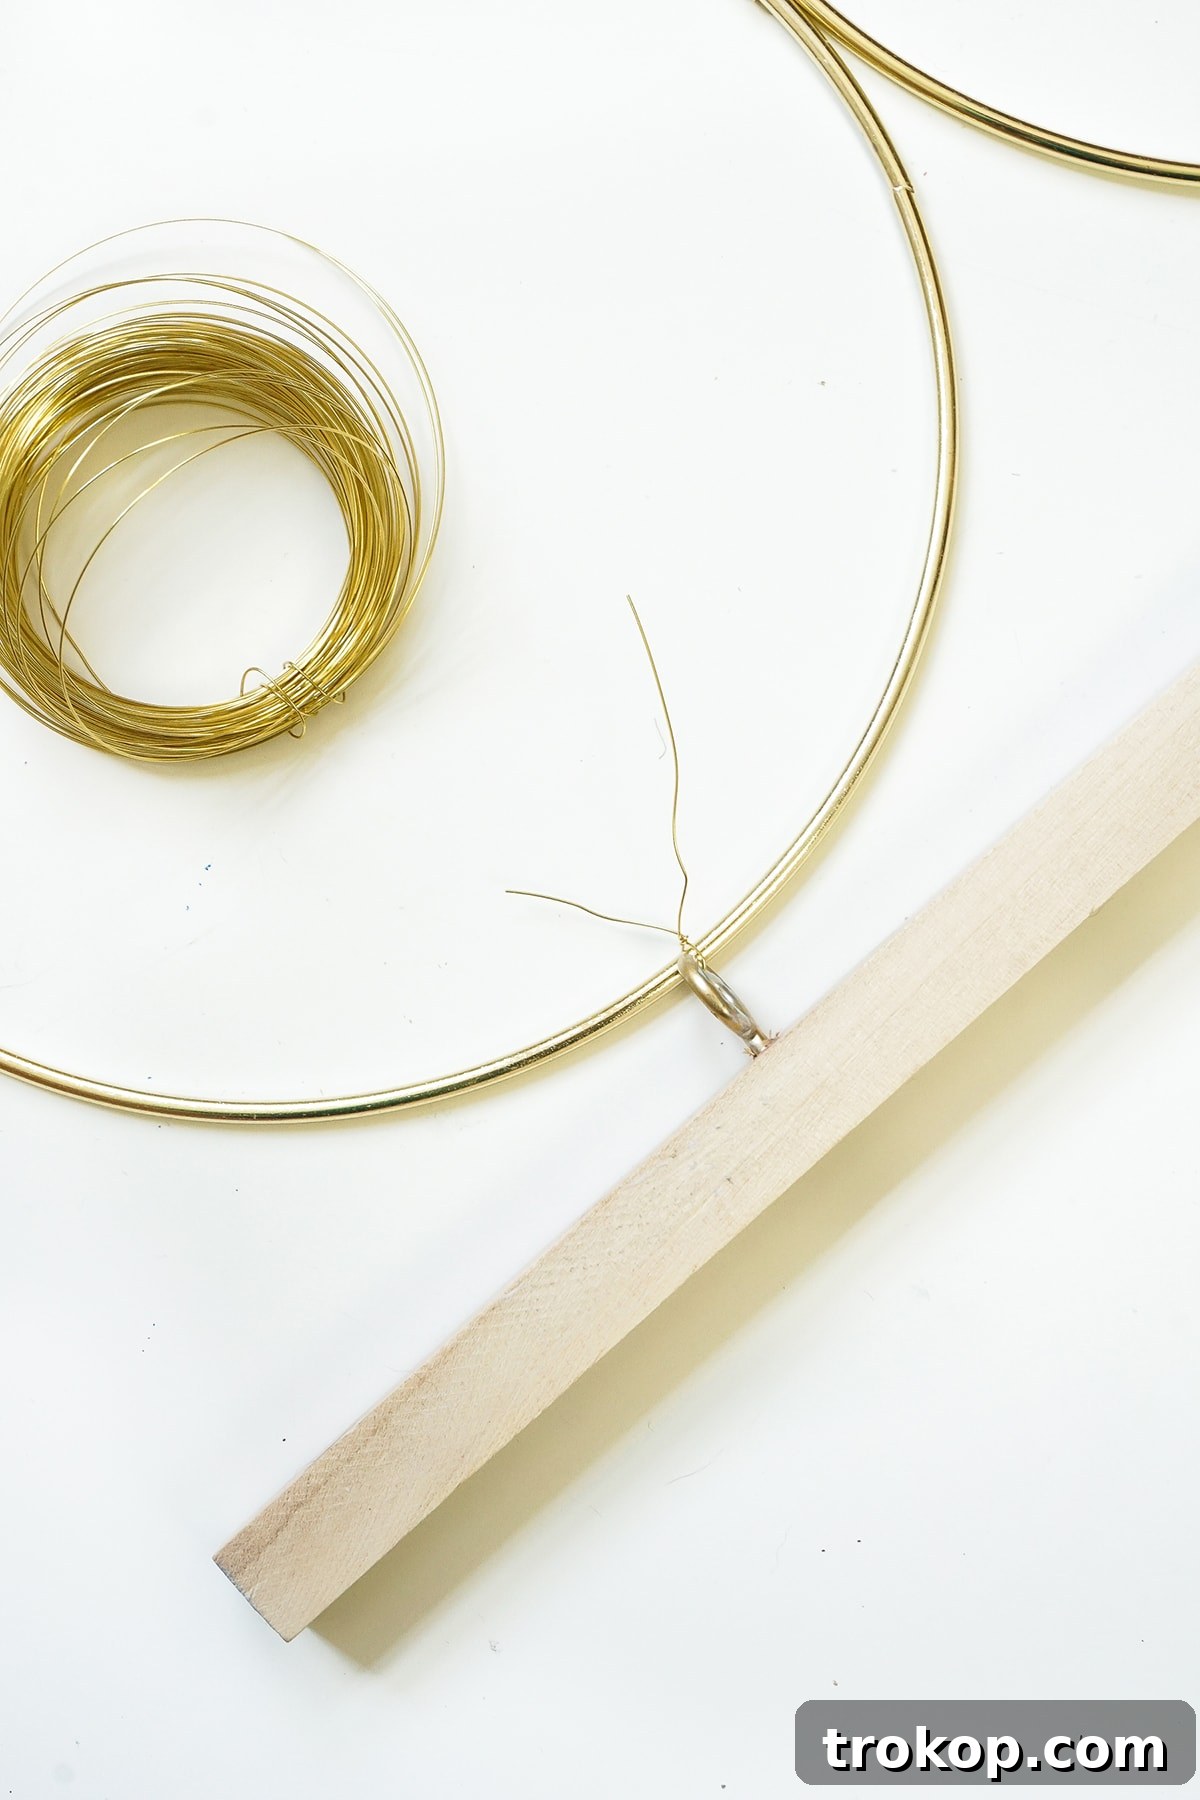
This is where your brass rings meet their support structure. Carefully lift your interconnected brass ring grid. Align the top rings with the eye hooks on the wood dowel. Using more pieces of gold floral wire, securely attach each of the top three rings to its corresponding eye hook. Wrap the wire tightly and trim the ends for a clean, professional finish. Ensure the entire structure hangs evenly and securely from the dowel. Double-check all wire connections for stability.
Step 6: Display Your Masterpiece
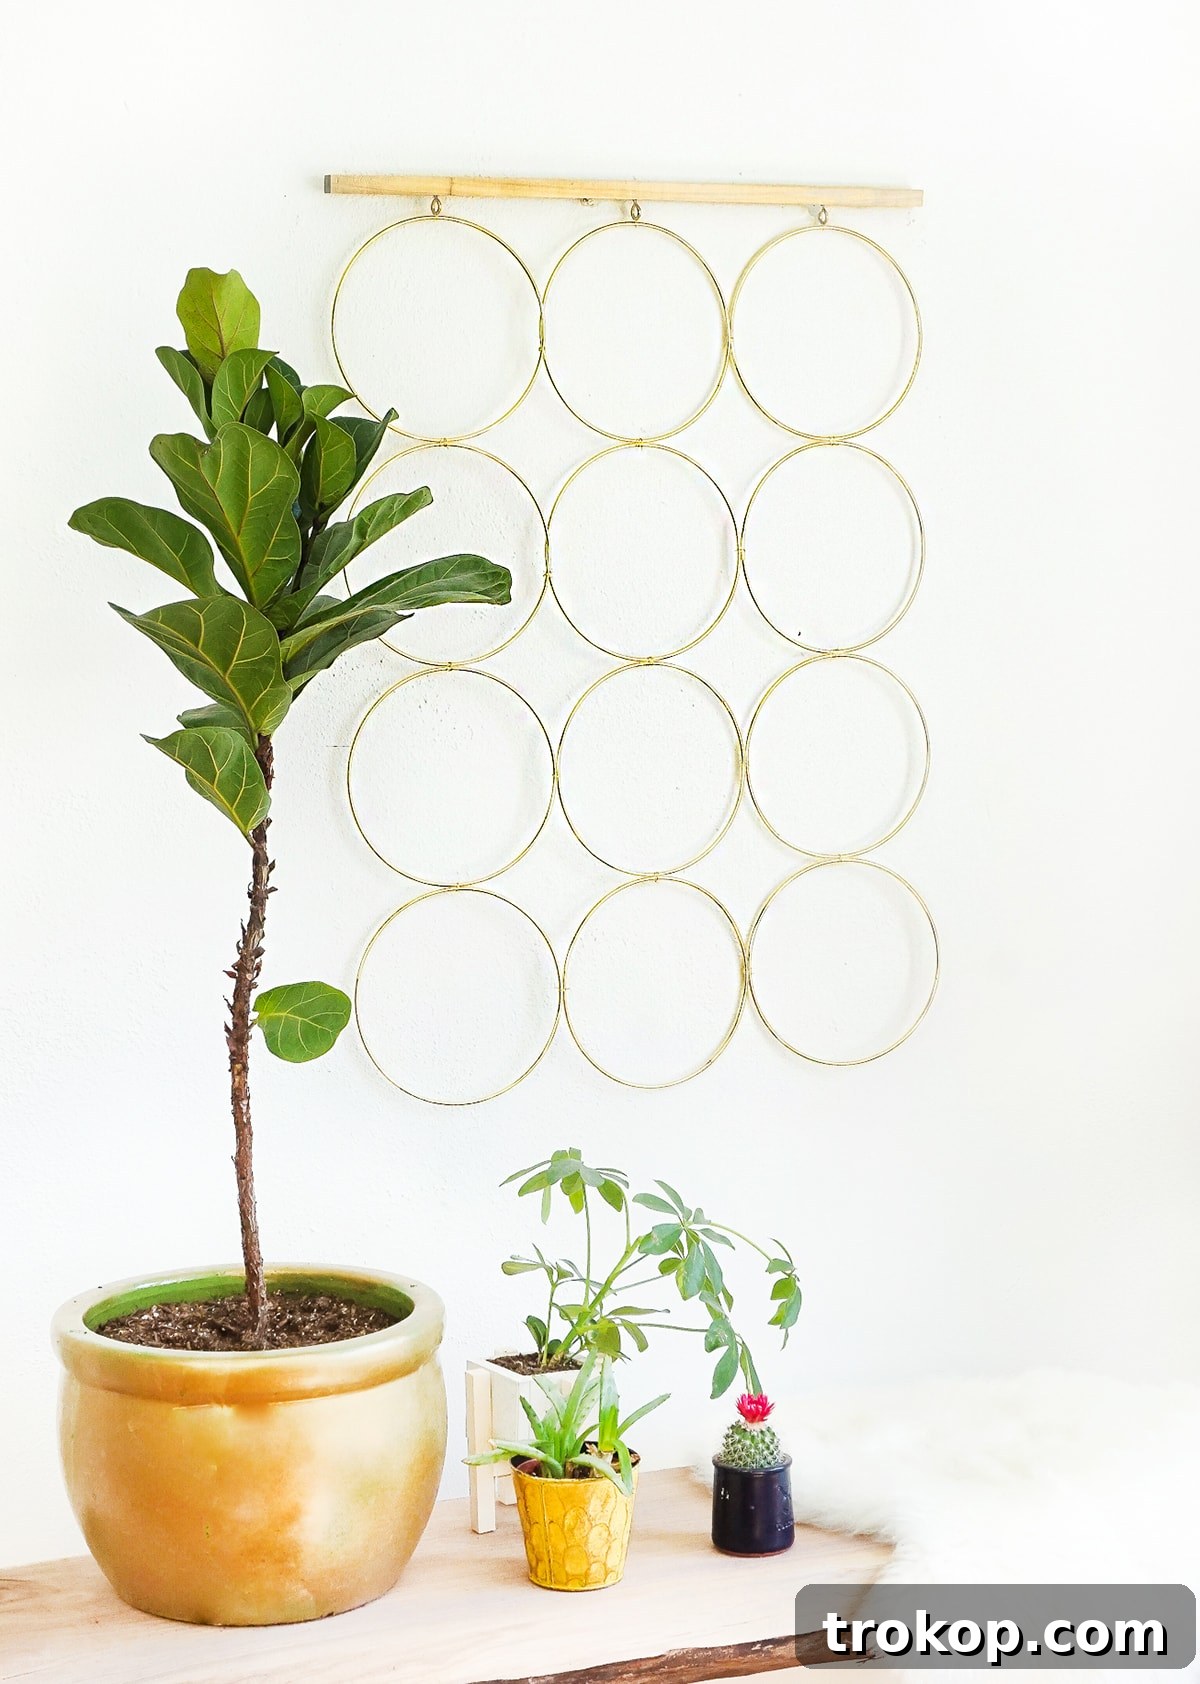
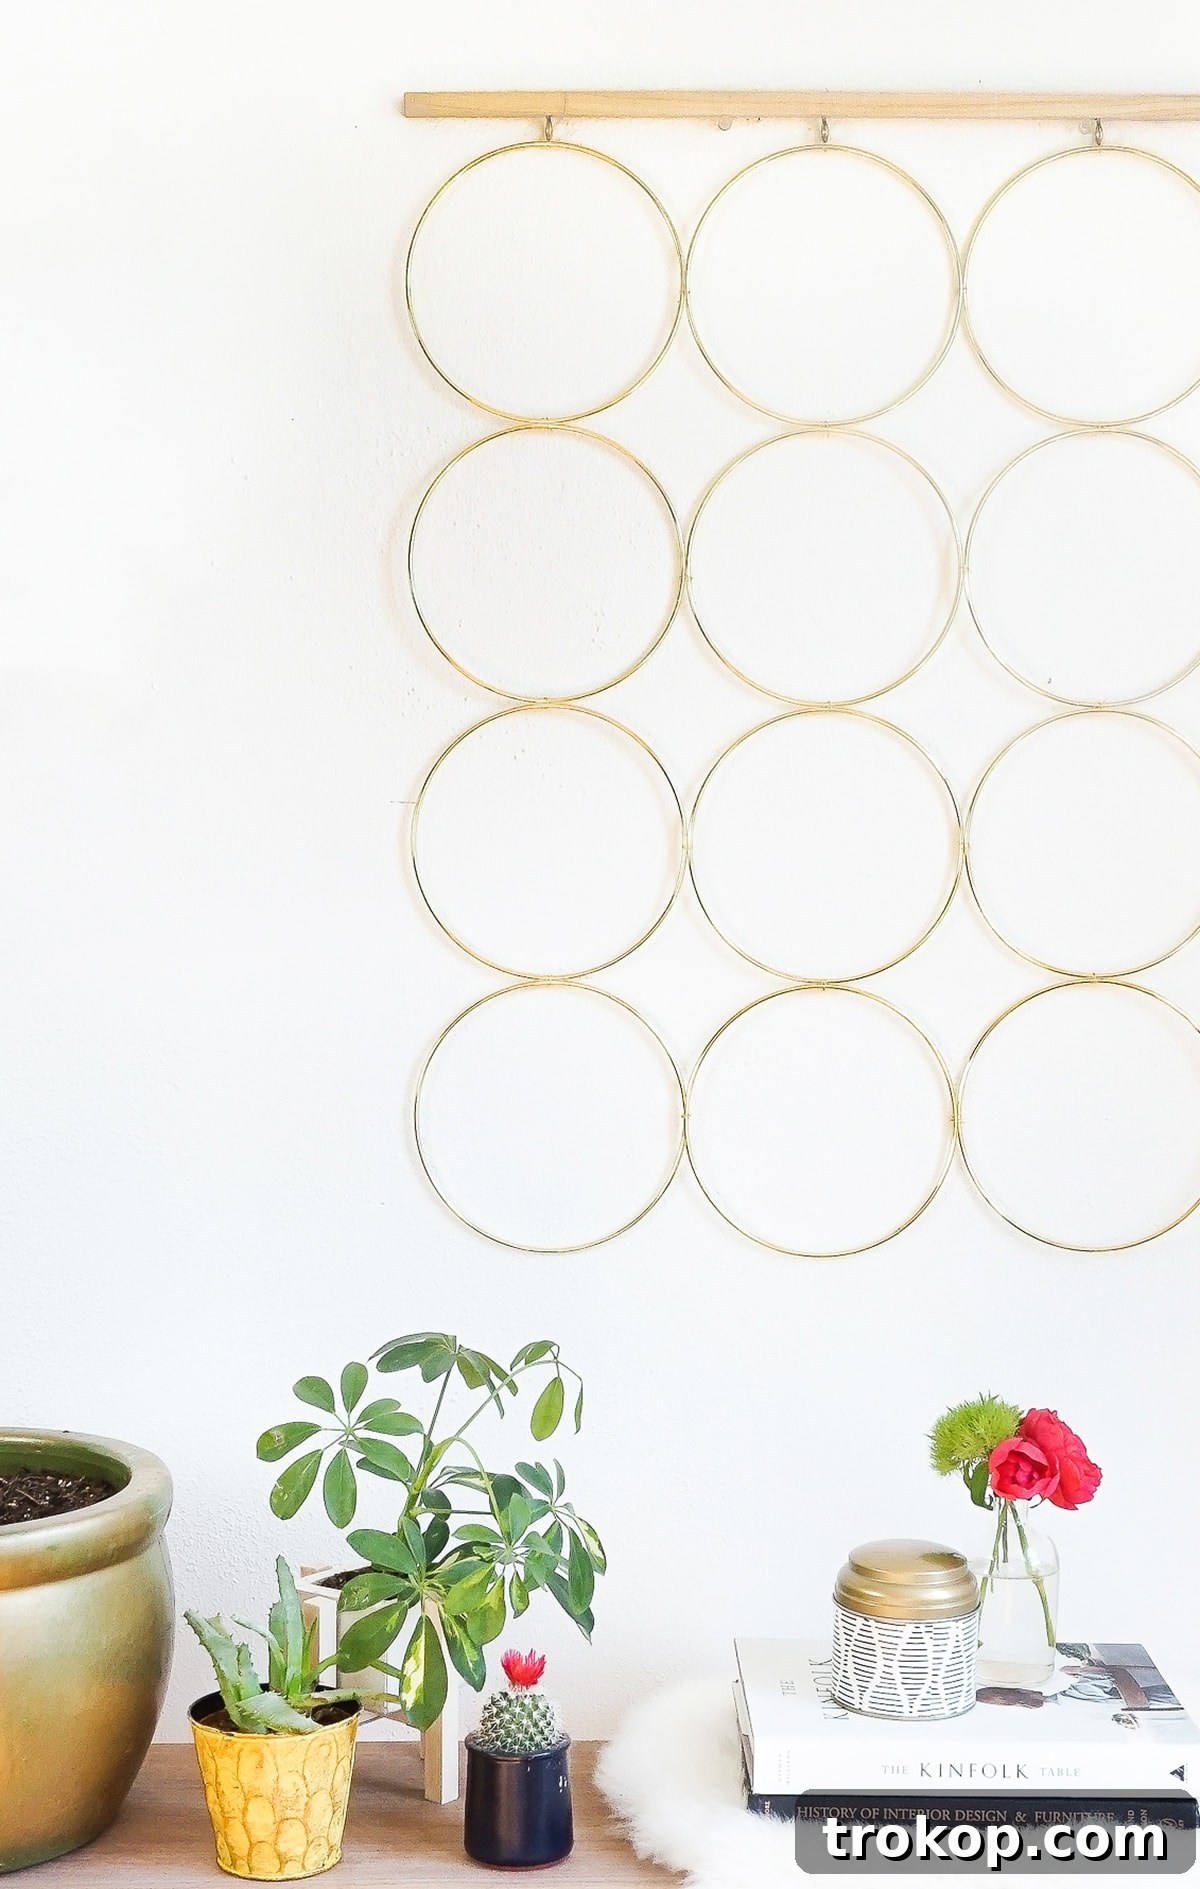
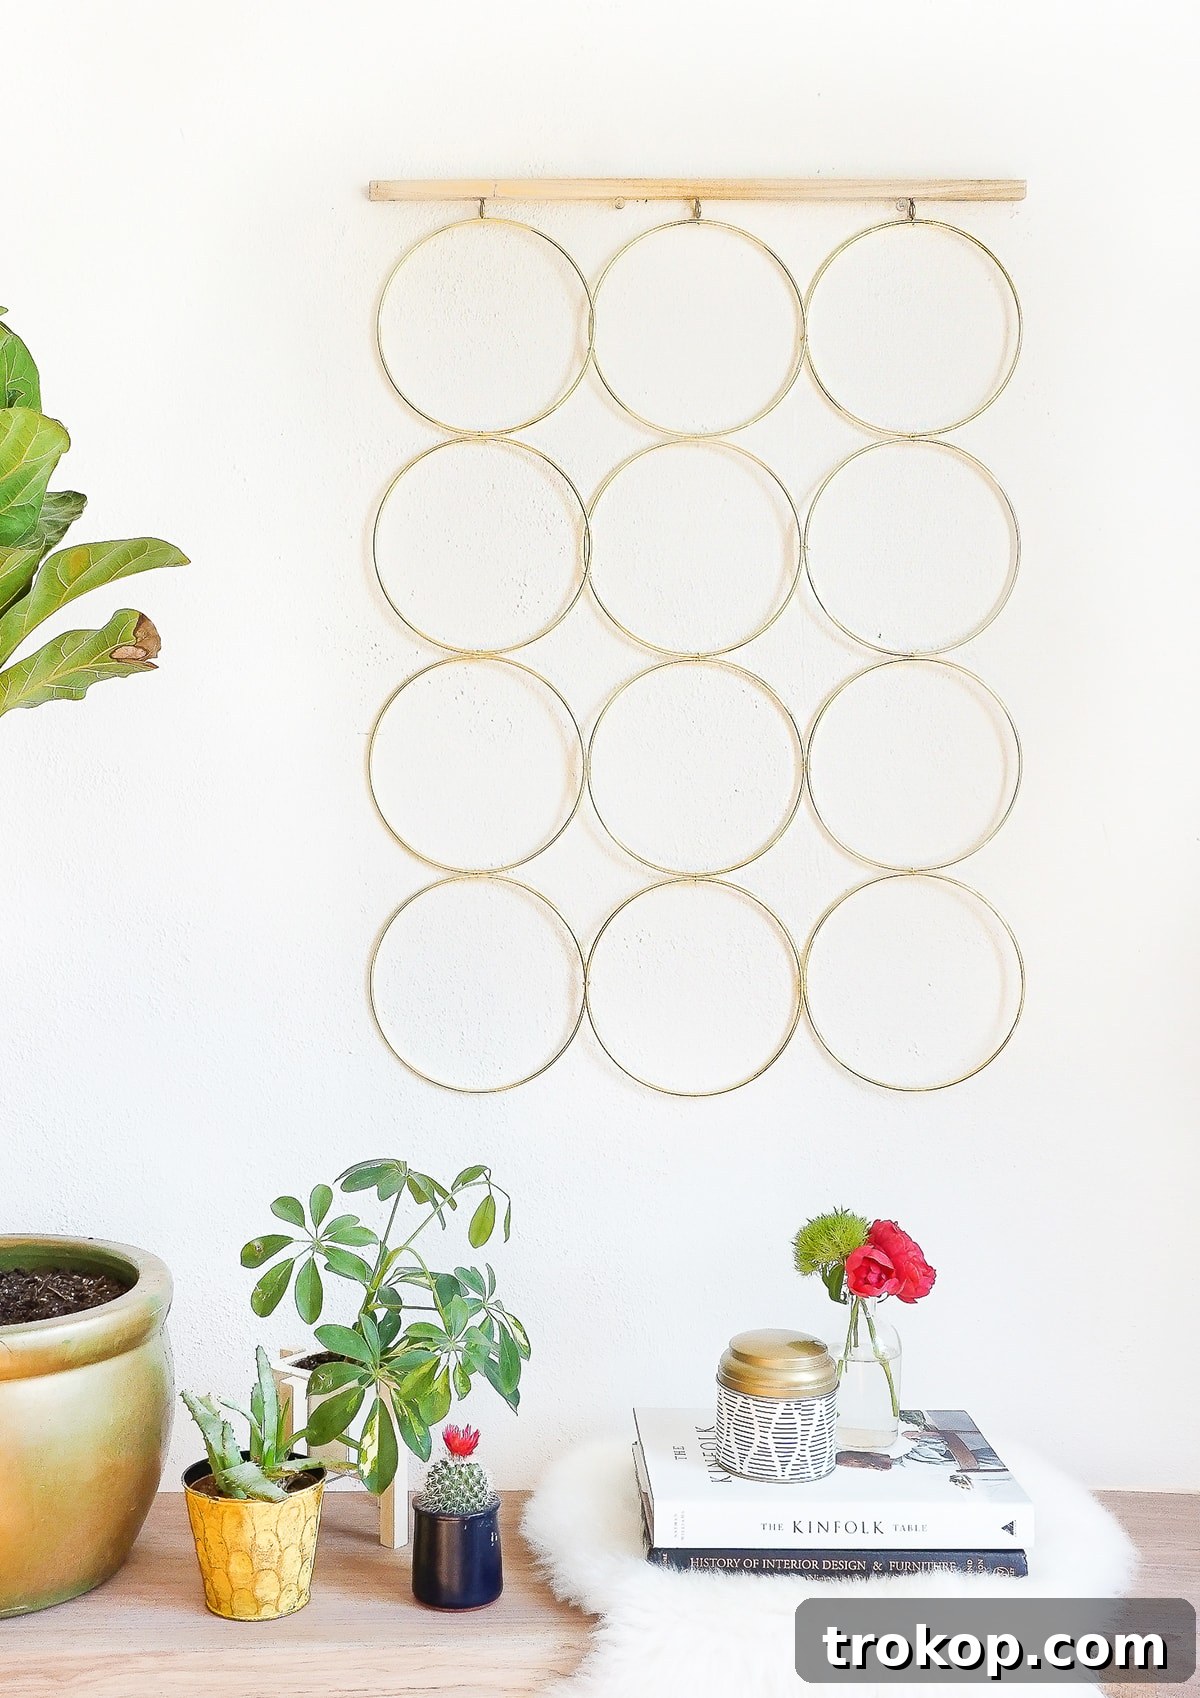
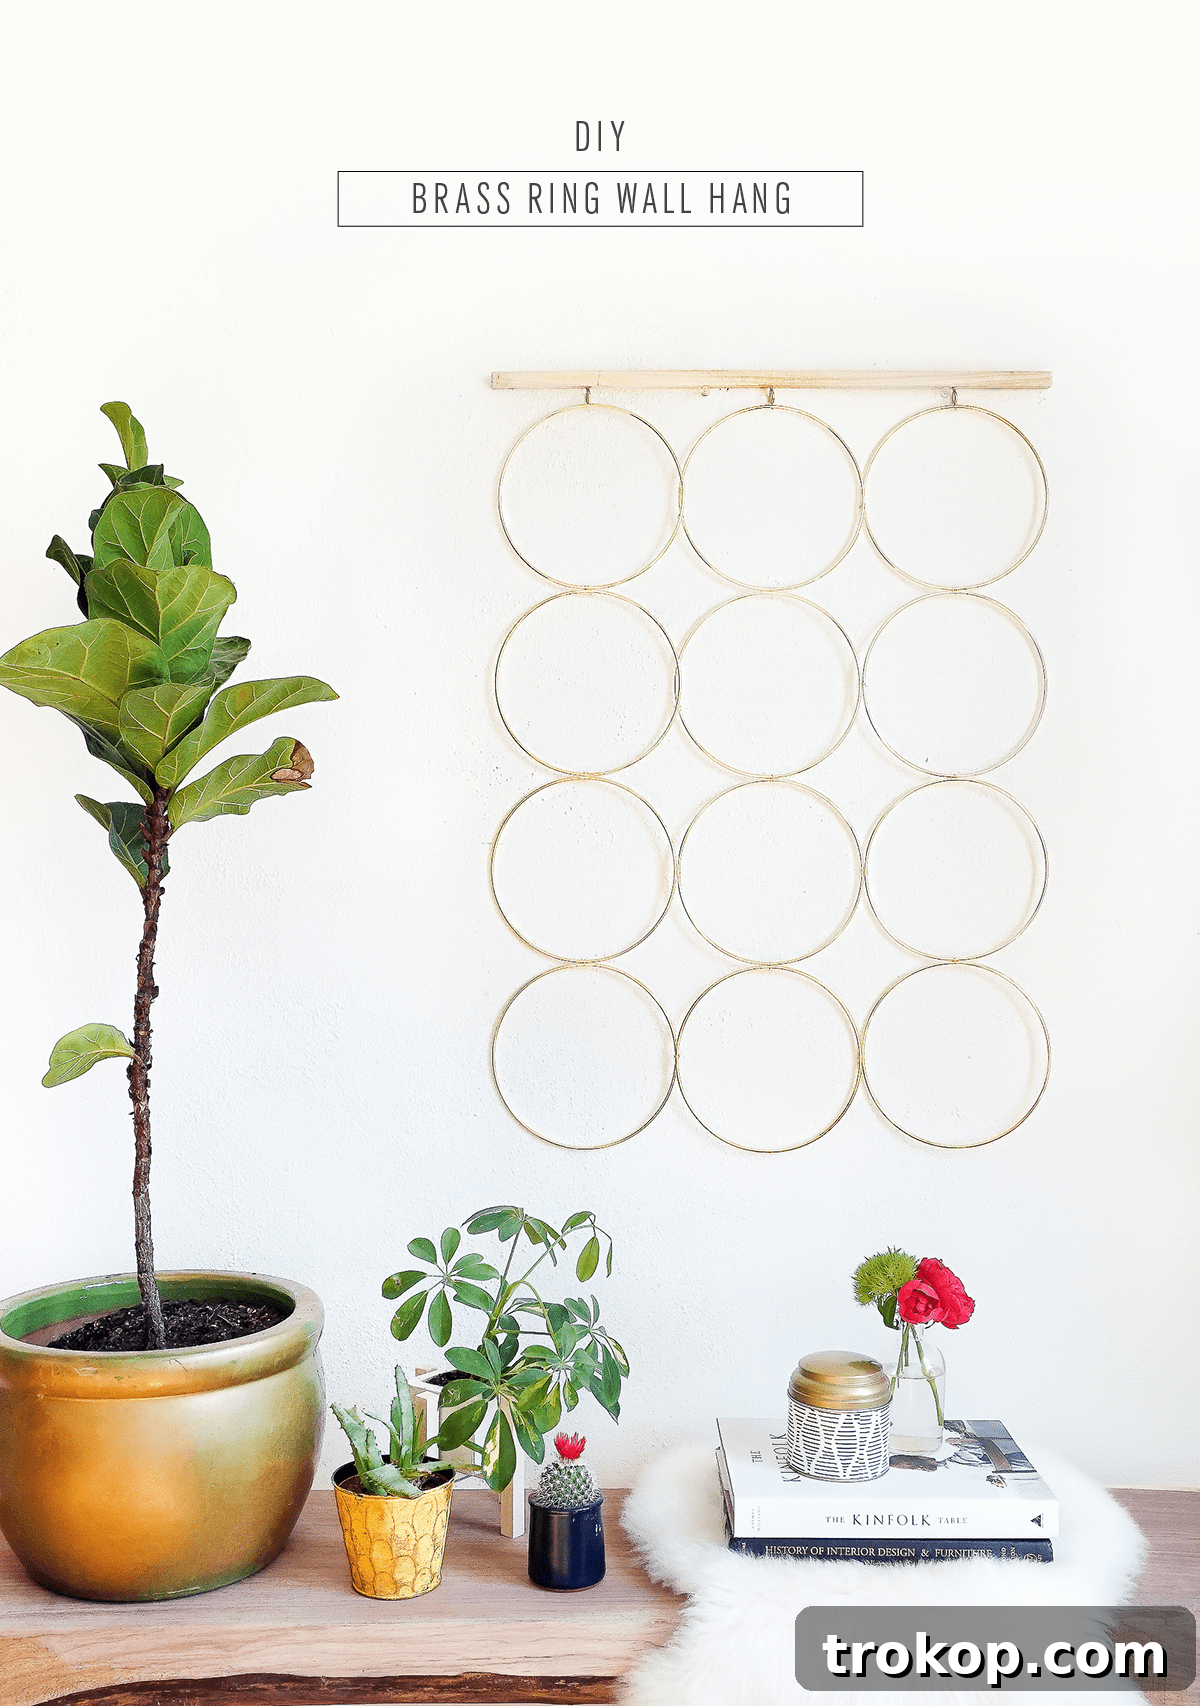
Your DIY Brass Ring Wall Decor is now complete! The final and most satisfying step is to hang it up and admire your handiwork. Choose a prominent spot in your home where it can truly shine and impart its Mid-Century Modern elegance. Whether it’s in your living room, bedroom, entryway, or home office, this unique piece is sure to spark conversation and admiration.
Why Choose Brass for Your Home Decor?
Brass is more than just a material; it’s a design statement. Its rich, warm golden hue brings a sense of luxury and timelessness to any space. Unlike more fleeting trends, brass has a classic appeal that seamlessly integrates into various decor styles, from rustic farmhouse to ultra-modern minimalist. In this DIY project, the brass rings do more than just form a pattern; they introduce a metallic gleam that interacts beautifully with light, adding depth and visual interest to your walls. The material itself provides a tactile quality and a subtle shimmer that synthetic materials simply cannot replicate. Opting for brass means investing in a piece that will not only look stunning today but will continue to charm for years to come, often developing a beautiful patina over time that tells its own story.
Embracing Mid-Century Modern Vibes
The Mid-Century Modern (MCM) movement, spanning from the mid-1940s to the late 1960s, is celebrated for its emphasis on functionality, clean lines, and organic forms. This design philosophy championed simplicity, integrating nature-inspired elements and a futuristic vision. Our brass ring wall decor, with its geometric repetition and metallic sheen, beautifully encapsulates these MCM principles. The bold, graphic patterning is a direct nod to the era’s appreciation for strong visual statements and structured design. Yet, the lightness and openness of the rings prevent it from feeling heavy or dated, allowing it to blend effortlessly into contemporary settings. It’s a tribute to a beloved design era, reinterpreted for today’s homes.
Styling Your New Wall Art
Once your brass ring decor is hung, consider how it complements the surrounding elements. Its versatile design means it can be a standalone statement piece or part of a larger gallery wall. For a cohesive look, pair it with other natural materials like wood, linen, or ceramic. Plants, especially those with strong architectural forms like a Fiddle Leaf Fig or a Snake Plant, will enhance the organic modern feel. The warm tones of the brass will pop against cooler wall colors like deep blues, greens, or grays, or create a harmonious blend with earthy neutrals and creams. Experiment with lighting; a strategically placed spotlight can highlight the metallic sheen and the intriguing shadows cast by the rings, adding another layer of visual interest to your space.
Customization Ideas to Make It Yours
While the classic brass look is undeniably chic, this project offers ample opportunities for personalization. Don’t feel limited to the 8-inch rings; experiment with different sizes or mix them for a more dynamic arrangement. You could even spray paint some of the rings in complementary colors like matte black, white, or a muted sage green for a bolder contemporary twist. Consider adding small, delicate elements like beads, leather tassels, or even a few dried floral sprigs tied with natural twine to the bottom rings for an added touch of bohemian charm. For a more industrial feel, swap the gold floral wire for thin leather cord or a darker metal wire. The possibilities are endless, allowing you to truly make this piece your own and perfectly match your unique home aesthetic.
Care and Maintenance for Brass Decor
One of the beauties of brass is its durability and potential to develop a lovely patina over time. However, if you prefer to maintain its original shine, a simple cleaning routine will suffice. Dust regularly with a soft, dry cloth. For a deeper clean or to remove fingerprints and tarnish, use a specialized brass cleaner or a homemade solution of lemon juice and baking soda. Apply with a soft cloth, rub gently, and then rinse thoroughly with water before drying completely. Avoid abrasive cleaners or harsh chemicals, which can damage the brass finish. With minimal effort, your DIY brass ring wall decor will continue to be a dazzling addition to your home for many years.
Conclusion
This DIY Brass Ring Wall Decor project is more than just a craft; it’s an invitation to infuse your home with personalized style, blending the timeless elegance of Mid-Century Modern design with a refreshing contemporary simplicity. Easy to make, affordable, and profoundly impactful, it’s the perfect way to add a unique piece of “jewelry” to your walls and elevate your living space. We encourage you to gather your materials, embrace your creativity, and embark on this rewarding journey. Once complete, stand back and let the sophisticated vibes flow. What other home items do you like to switch out with the seasons, or what DIY projects have you found most rewarding for a home refresh? Share your ideas and inspiration!