
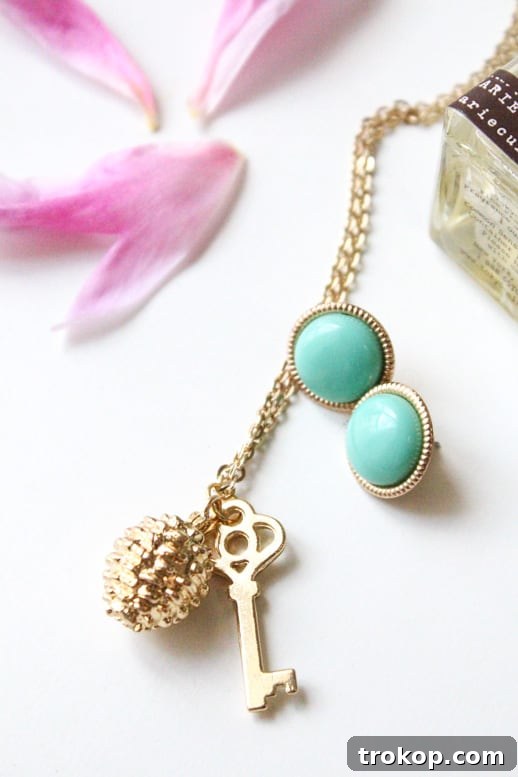
Welcome to the delightful world of DIY jewelry! Crafting your own accessories is not only a fantastic way to express personal style but also a rewarding experience that offers endless creative possibilities. Among the myriad of handmade treasures, the DIY Golden Charm Necklace stands out for its elegant simplicity and timeless appeal. Whether you’re a seasoned crafter or just starting your journey into jewelry making, this project promises a stunning result with minimal effort.
This tutorial will guide you through creating a beautiful golden charm necklace that’s incredibly simple to assemble. We’ll explore why charm necklaces are a fashion staple, delve into the materials needed, provide detailed step-by-step instructions, and inspire you with ideas for personalizing your unique creation. Get ready to add a touch of golden sparkle to your everyday look or craft the perfect personalized gift for a loved one.
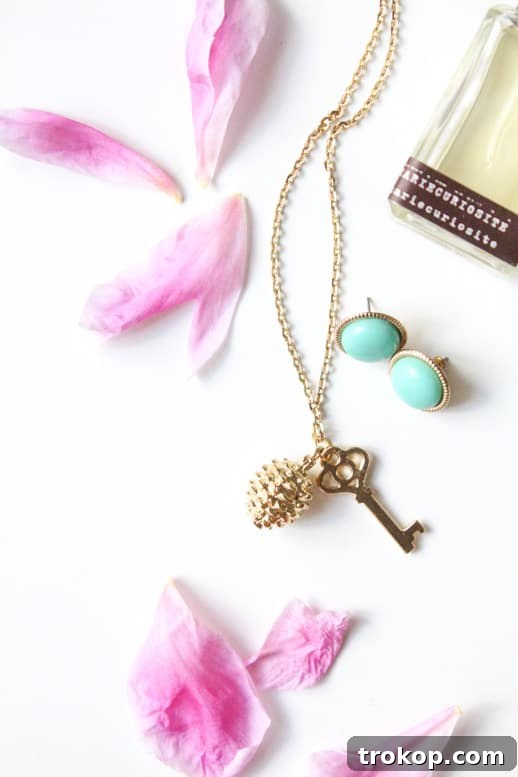
The Enduring Allure of the Golden Charm Necklace
There’s something inherently captivating about a long necklace, especially one adorned with shimmering golden charms. They possess an effortless elegance that instantly elevates any outfit, from a simple t-shirt and jeans to a sophisticated dress. The beauty of a charm necklace lies in its versatility and capacity for storytelling. Each charm can represent a memory, a passion, a dream, or a loved one, transforming a simple accessory into a deeply personal statement piece.
For me, long necklaces have always been a favorite. Their graceful drape adds a relaxed yet chic vibe, making you feel perfectly put-together without appearing overly formal. While I might not be a fashion guru, I certainly know what I love, and the current trend of golden charms and delicate enamels, like those found in the Martha Stewart jewelry line, has completely captured my heart. They offer a sophisticated palette for self-expression, allowing you to curate a collection that truly reflects who you are.
Beyond personal adornment, the components for this DIY Golden Charm Necklace are so versatile that you could easily forgo the long chain and attach them to golden loop rings. Imagine charming drink markers for your next gathering, unique keychains, or even stylish zipper pulls. The possibilities are truly endless when you start with such simple, beautiful elements.
Materials and Tools Needed to Make Your DIY Golden Charm Necklace
One of the most appealing aspects of this project is its simplicity. You don’t need a vast array of specialized equipment to create a stunning piece. With just a few key items, you’ll be well on your way to crafting your personalized golden charm necklace. Here’s what you’ll need:
Essential Materials:
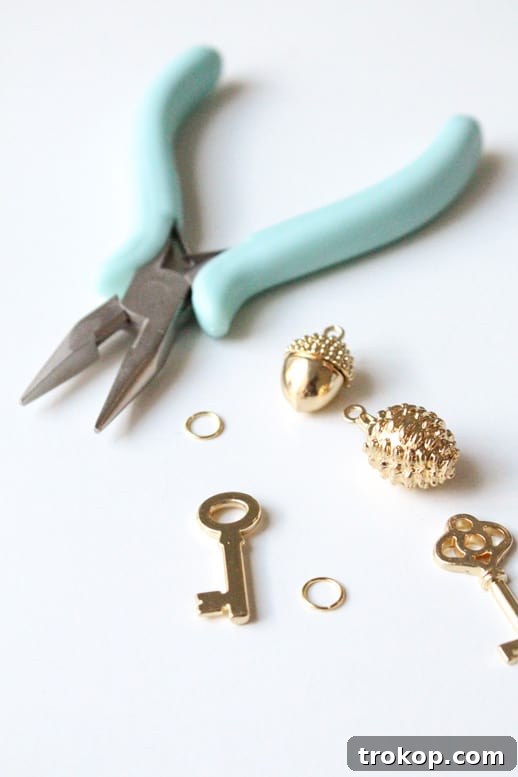
- Golden Charms by Martha Stewart (available at Michael’s or similar craft stores): These charms are known for their quality and elegant designs. Choose a variety that speaks to you, whether it’s celestial bodies, initial letters, whimsical animals, or abstract shapes. Consider charms with different textures or small enamel details to add visual interest.
- Golden Chain Necklace: The foundation of your necklace. You can opt for a pre-made chain in your desired length, or purchase bulk chain and add a clasp yourself. Popular styles include delicate cable chains, elegant rolo chains, or even a classic snake chain. For a long necklace, consider lengths from 24 inches up to 30 or 36 inches, allowing for easy layering and a graceful drape. Ensure the chain material complements your charms – gold-plated, gold-filled, or even solid gold if your budget allows.
- Gold Jump Rings: These are crucial for attaching your charms to the chain. Jump rings come in various sizes and gauges. For delicate charms and chains, opt for smaller, thinner gauge rings (e.g., 5mm or 6mm, 20-22 gauge). Ensure they are sturdy enough to hold your charms securely but malleable enough to open and close with pliers.
Essential Tools:
- Chain Nose Pliers (by Martha Stewart or any jewelry brand): These pliers have thin, tapered jaws that are smooth, making them ideal for gripping small components like jump rings without scratching them. They are essential for opening and closing jump rings cleanly and securely.
- Optional but Recommended: Flat Nose Pliers: While chain nose pliers can often do the job, having a pair of flat nose pliers can be helpful. Their flat jaws provide a broad, firm grip, which can be useful for holding a jump ring steady while you manipulate it with chain nose pliers.
- Optional: Wire Cutters: If you are starting with bulk chain or need to trim any excess wire from your charms, small jewelry wire cutters will be indispensable.
Crafting Your DIY Golden Charm Necklace: A Step-by-Step Guide
Now that you have all your materials and tools gathered, it’s time to bring your beautiful golden charm necklace to life. This process is incredibly straightforward, making it a perfect project for beginners. The key is in the technique of opening and closing jump rings correctly to ensure a secure and professional finish.
Step 1: Prepare Your Workspace and Materials
Clear a well-lit, flat surface. Lay out your golden chain necklace, selected charms, and a handful of gold jump rings. Have your chain nose pliers (and flat nose pliers, if using) within easy reach. This organized approach will make the crafting process much smoother.
Step 2: Selecting and Arranging Your Charms
Before you start attaching anything, decide on the placement of your charms. Do you want them clustered together, evenly spaced along the chain, or perhaps just a single, prominent charm? Experiment with different arrangements by laying them out on your chain. This step helps visualize the final look and prevents having to re-do attachments.
Step 3: Opening a Jump Ring Correctly
This is the most crucial step for a professional-looking and durable necklace. Do NOT pull the jump ring ends apart sideways, as this will distort its circular shape and weaken the metal. Instead:
- Grip one side of the jump ring with your chain nose pliers.
- Grip the other side of the jump ring with your other pair of pliers (flat nose or another pair of chain nose pliers).
- Twist one hand forward and the other hand backward, moving the ends of the jump ring away from each other side-to-side, like twisting a doorknob, rather than pulling them apart. This creates a small gap without deforming the ring’s overall shape.
Step 4: Attaching Your Charm to the Jump Ring
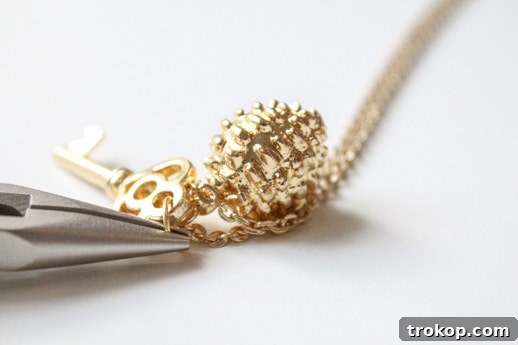
With the jump ring slightly open, carefully slide the loop of your chosen golden charm onto the open jump ring. Ensure the charm is fully seated on the ring.
Step 5: Attaching the Jump Ring (with Charm) to Your Necklace Chain
Now, slide the open jump ring (with the charm attached) onto the link of your golden chain necklace where you want the charm to hang. If you’re adding multiple charms, decide if you want them on the same link or spaced out on different links.
Step 6: Closing the Jump Ring Securely
Once the charm and chain are on the jump ring, reverse the motion from Step 3. Using both pairs of pliers, twist the ends of the jump ring back together until they meet perfectly flush. You should not be able to see or feel any gap. A securely closed jump ring prevents your charm from falling off and ensures the longevity of your necklace.
Step 7: Repeat for Additional Charms
Continue this process for all the charms you wish to add to your necklace. Take your time, and double-check each jump ring closure before moving on to the next. The more charms you add, the more impactful and personalized your DIY golden charm necklace will become!
This necklace is literally as simple as attaching your charms to the jump rings and slipping them onto your necklace chain. Easy to do, but packs a big punch in style and personal expression!
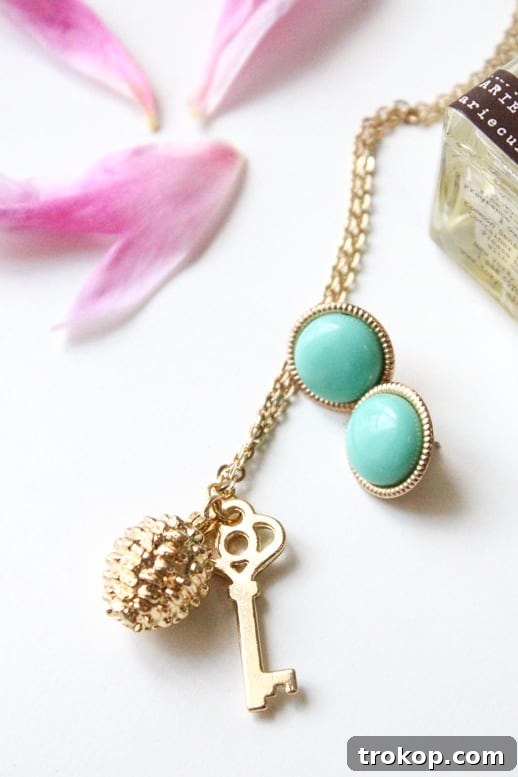
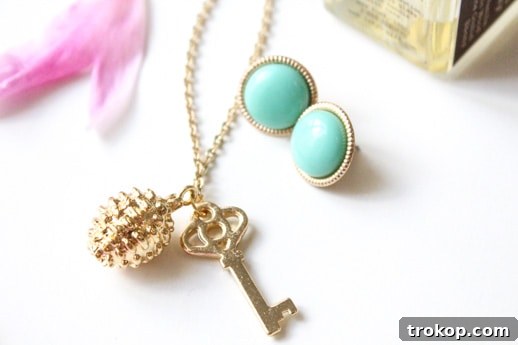
Customizing Your Golden Charm Necklace: Beyond the Basics
The true beauty of DIY jewelry lies in its boundless customization. While the basic golden charm necklace is beautiful in itself, there are many ways to make it truly yours or adapt it for different uses.
Experiment with Charm Combinations
- Themed Necklaces: Create a necklace around a specific theme – a collection of beach-inspired charms (seashells, anchors), astrological signs, or nature elements (leaves, flowers).
- Initial Charms: Add initials of loved ones, your own, or even meaningful words.
- Birthstone Integration: Incorporate small birthstone charms or beads for a personalized touch.
- Enamel and Gemstone Charms: Mix Martha Stewart’s golden charms with those featuring colorful enamel or tiny gemstones for added sparkle and dimension.
Varying Chain Styles and Lengths
- Layering: Create multiple charm necklaces of varying lengths (e.g., 18-inch, 24-inch, 30-inch) to wear together for a trendy layered look.
- Chain Types: Try different chain styles – a delicate satellite chain, a bolder paperclip chain, or a vintage-inspired Figaro chain can completely change the vibe.
- Choker Style: For a more contemporary look, use a shorter chain (14-16 inches) for a charm choker.
Adding Other Embellishments
- Beads: Incorporate small gold beads, pearls, or colored glass beads directly onto the chain, perhaps between charms or near the clasp.
- Tassels: A small silk or metallic tassel can add bohemian flair to your necklace.
Repurposing Your Charms
As mentioned earlier, these lovely golden charms aren’t just for necklaces!
- Drink Charms: Attach them to smaller golden loop rings to adorn wine glasses or cocktail stems, helping guests identify their drinks at a party.
- Keychains: A sturdy split ring and a few charms make for a personalized and stylish keychain.
- Zipper Pulls: Spruce up a plain bag or jacket by adding a charm as a zipper pull.
- Bookmark Tassels: Attach a charm to a decorative tassel to create a unique bookmark.
Care and Maintenance for Your Handmade Golden Charm Necklace
To ensure your DIY Golden Charm Necklace retains its luster and beauty for years to come, proper care is essential. Gold-plated and gold-filled jewelry, in particular, benefits from a little extra attention.
- Avoid Harsh Chemicals: Remove your necklace before swimming in chlorinated water, showering, or applying lotions, perfumes, hairspray, and cleaning products. These substances can tarnish or strip the gold plating.
- Clean Gently: Polish your necklace regularly with a soft, dry jewelry cloth. For a deeper clean, gently wipe with a damp cloth and mild soap, then rinse thoroughly with clean water and dry completely before storing. Avoid abrasive cleaners or brushes.
- Store Properly: Store your necklace in a clean, dry place, ideally in an airtight bag or a jewelry box with a soft lining. This prevents tangling, scratching, and reduces exposure to air and humidity, which can cause tarnishing.
- Handle with Care: While jump rings are secure when properly closed, avoid snagging your necklace on clothing or rough surfaces, as this can pull charms loose or damage the chain.
Troubleshooting Common Issues
Even with the simplest projects, a few issues might arise. Here’s how to address them:
- Loose Jump Ring: If a jump ring feels loose or has a visible gap, use your chain nose pliers to gently twist the ends back together until they are flush. A well-closed jump ring should feel smooth to the touch.
- Tarnished Charms/Chain: If your golden elements start to look dull, a gentle polish with a specialized jewelry cleaning cloth for gold will usually restore their shine. For heavier tarnish on gold-filled or solid gold, a mild jewelry cleaner specifically designed for gold can be used, following the product instructions carefully.
- Chain Kinks: Delicate chains can sometimes kink. Gently separate the tangled links with your fingers. Prevention is key here – store your necklace untangled, perhaps hanging or in a dedicated compartment.
Embrace Your Inner Jeweler!
There you have it – a simple yet elegant DIY Golden Charm Necklace that you can proudly say you made yourself. This project is a wonderful starting point for anyone interested in jewelry making, offering immediate gratification and a beautiful piece to wear or gift. The joy of creating something with your own hands, infusing it with personal meaning, is truly unparalleled.
So, gather your materials, let your creativity guide you, and enjoy the process of crafting a unique accessory that’s as special as you are. Whether you stick to the classic design or venture into personalized variations, your handmade golden charm necklace is sure to be a treasured item. Happy crafting!