
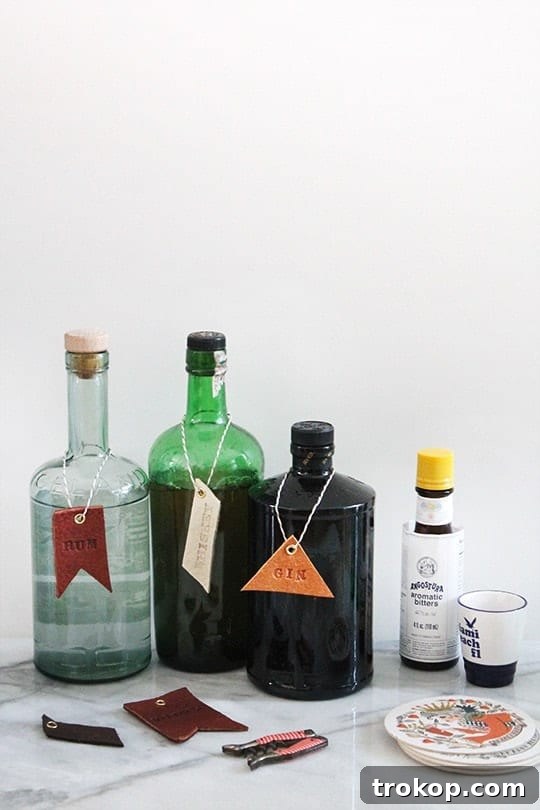
Transform your home bar into a stylish and organized haven with these effortlessly chic DIY Leather Bar and Drink Tags. Whether you’re hosting a lively party, gathering with close friends, or simply enjoying a quiet evening, these personalized tags add a touch of sophistication and practicality to any occasion. They also make thoughtful, handcrafted gifts for the beverage enthusiast in your life, allowing them to elevate their own entertaining game.
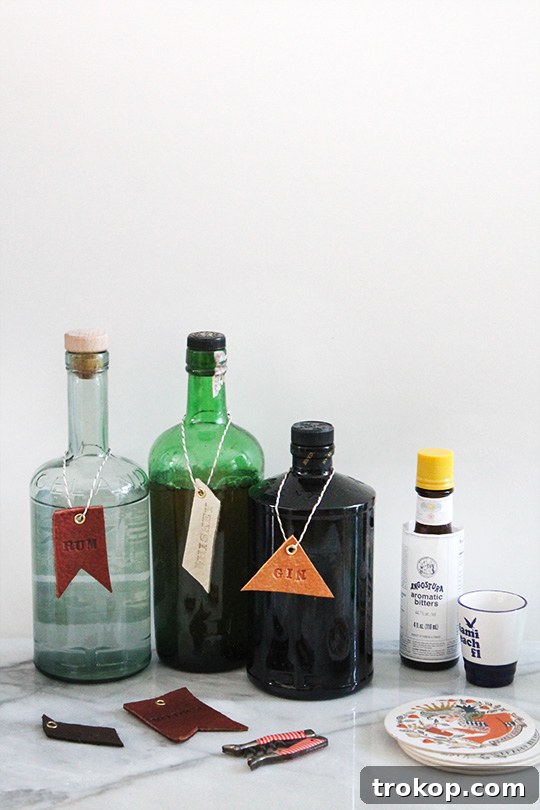
While our popular pom pom leather luggage tags offered a whimsical flair, we’re excited to introduce a different aesthetic that exudes timeless elegance and broader appeal. These DIY Leather Bar and Drink Tags strike a perfect balance between rustic charm and modern sophistication. They’re a fantastic project for anyone looking to add a personalized touch to their decor, and unlike some more “girly” craft projects, these tags are universally appreciated. Their robust and understated design makes them ideal for any season, especially as you prepare for spring and summer gatherings.
For those who appreciate a cohesive look, you might also consider crafting these simple yet refined DIY decanter tags. They complement the leather drink tags beautifully, ensuring every bottle in your collection is not only identifiable but also contributes to a polished bar setup.
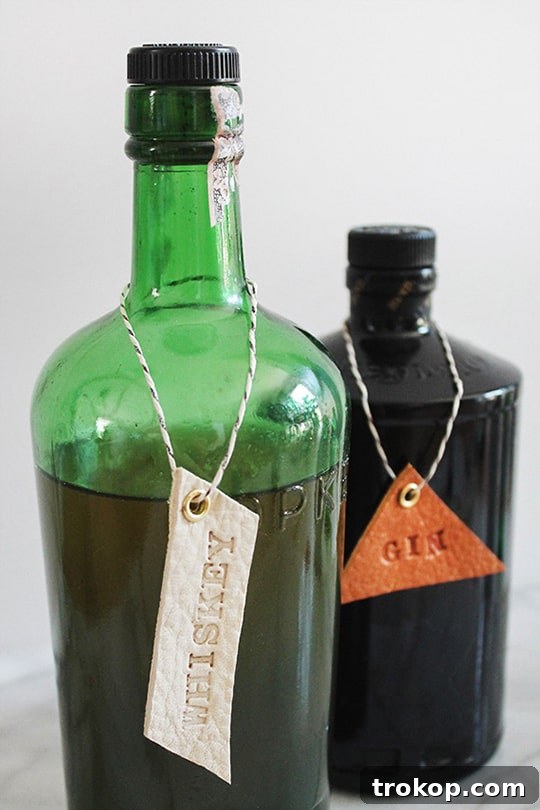
Table of Contents
Essential Materials and Tools for DIY Leather Bar and Drink Tags
Crafting these personalized leather tags is an accessible and rewarding project, requiring only a handful of readily available materials and basic tools. Choosing quality supplies ensures your tags are not only beautiful but also durable enough to withstand countless gatherings and become cherished pieces of your home bar collection.
- Leather Scraps or Sheet: Opt for vegetable-tanned leather for best stamping results, as it holds impressions well. Small scraps are perfect for this project, making it economical and great for using up leftover materials. Consider different leather colors like natural tan, dark brown, or black to match your aesthetic.
- Brass Eyelets and Setter: Eyelets provide a reinforced hole for the twine, preventing tearing and adding a professional finish. Brass offers a classic, elegant touch that complements leather beautifully. Ensure your eyelet setter matches the size of your eyelets.
- Rotary Punch: This tool is essential for creating clean, perfectly sized holes in your leather for the eyelets. It typically comes with multiple hole sizes, allowing for versatility in your projects.
- Leather Stamp Set: An alphabet and number stamp set is crucial for personalizing your tags. Look for sets with clear, easy-to-read fonts. Practice on a scrap piece of leather first to get a feel for the pressure needed.
- Rotary Cutter or Exacto Knife: For precise and straight cuts when shaping your leather tags. A self-healing cutting mat is highly recommended to protect your work surface.
- Mallet: A rawhide mallet or rubber mallet is used to strike the leather stamps, imprinting the letters clearly into the leather. Avoid using a metal hammer, as it can damage your stamps.
- Bakers Twine or Similar Cord: Choose a sturdy yet attractive twine or cord that complements your leather. Hemp, jute, or even thin leather cord can also work well, adding a decorative element while allowing the tags to be easily attached to bottles.
- Small Sponge or Paper Towel: For dampening the leather before stamping, which helps create crisper impressions.
- Hard, Flat Work Surface: A solid, stable surface is essential for stamping to ensure even pressure and clear results. A granite slab or thick piece of wood works great.
How To Make DIY Leather Bar Tags
Crafting your own leather bar and drink tags is a straightforward and enjoyable process. Follow these detailed steps to create personalized and elegant additions to your home bar or thoughtful gifts for friends.
-
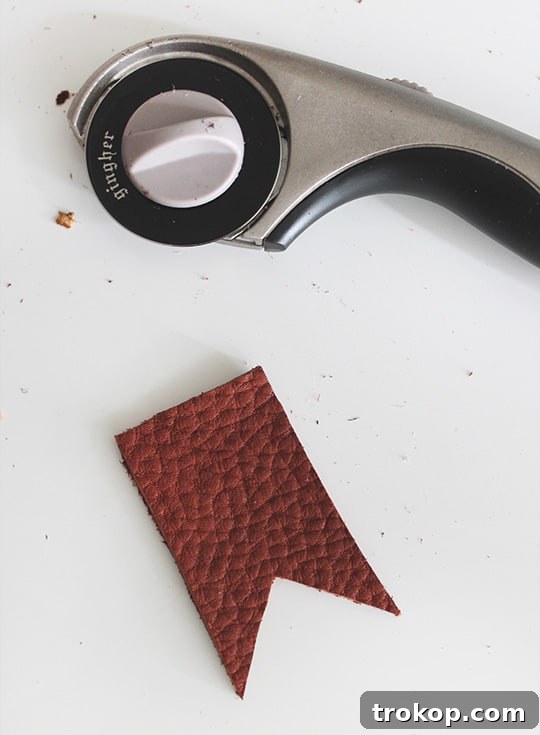
Step 1: Cut Your Desired Shapes. Begin by using your rotary cutter or Exacto knife to carefully cut out the shapes for your tags from the leather scrap. Popular shapes include rectangles, squares, circles, or even more intricate designs. The key is to ensure each piece is wide enough to comfortably accommodate the letters or words you plan to stamp onto it. Measure twice, cut once! For consistency, you can create a template out of cardboard first. Always use a cutting mat and exercise caution with sharp tools.
-
Step 2: Dampen the Leather. Lightly wet down the surface of your leather tag using a damp paper towel or sponge. The leather should be moist, but not soaking wet. This step is crucial because damp leather is more pliable and receptive to stamping, allowing for deeper, clearer, and more permanent impressions. Allow the moisture to penetrate evenly for a minute or two before proceeding.
-
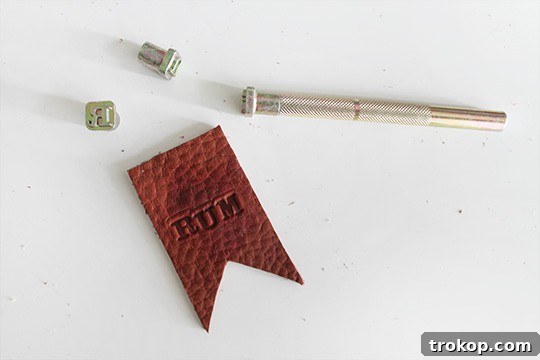
Step 3: Stamp Each Letter. Place your damp leather tag on a safe, hard, and flat work surface (like a granite slab or a sturdy workbench). Carefully position your first leather stamp on the tag where you want the letter to appear. Strike the top of the stamp several times with your mallet using firm, even pressure. This repeated striking ensures a deep and consistent impression. Repeat this process for each letter, carefully aligning them to form your desired words (e.g., “Vodka,” “Whiskey,” “Gin,” “Wine”). Practice on a scrap piece of leather first to perfect your technique and achieve consistent results.
-
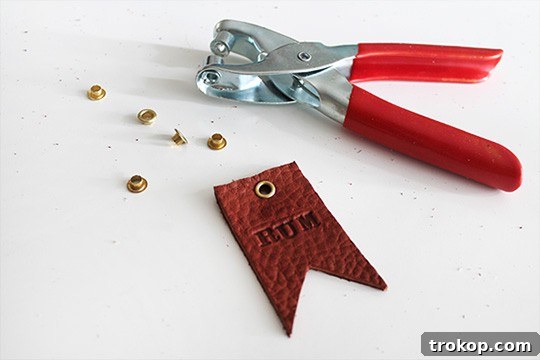
Step 4: Punch a Hole and Insert an Eyelet. Once your stamping is complete and the leather has dried slightly, use your rotary punch to create a clean hole at the top of your tag. Choose a punch size that matches your eyelets perfectly. Insert a brass eyelet into the punched hole. Then, using your eyelet setter and mallet, carefully set the eyelet, securing it firmly in place. This reinforces the hole, preventing the twine from tearing the leather over time and giving your tags a professional, finished look.
-
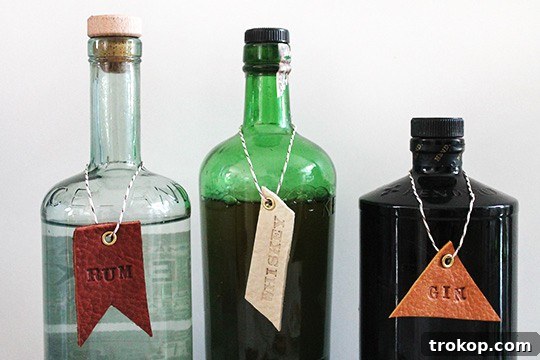
Step 5: Attach Twine and Hang. Finally, cut a piece of your chosen baker’s twine or cord to your desired length. Loop it through the newly set eyelet on your tag. You can tie it in a simple knot, a bow, or a decorative loop, depending on your preference. Now, your beautiful, custom-made leather bar and drink tags are ready to be hung on your favorite bottles, decanters, or pitchers, instantly upgrading your home bar setup!
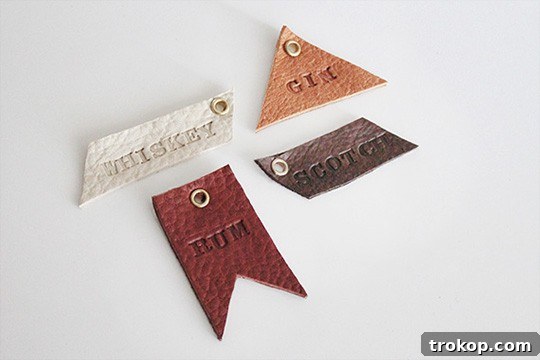
Congratulations, you’ve just created unique and functional leather bar tags! These handmade accents are sure to impress your guests and bring a personalized flair to your next event. Experiment with different leather colors, twine types, and stamped messages to create a truly bespoke collection that reflects your style.
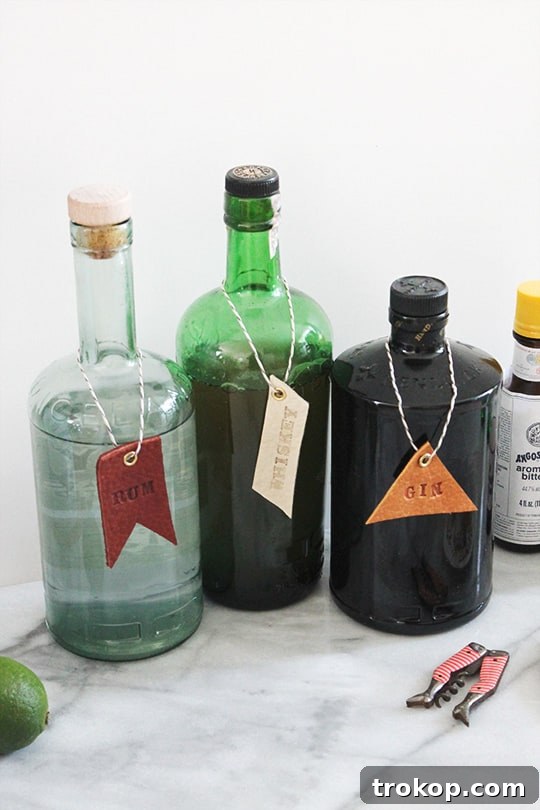
So, gather your party essentials and get ready to impress! With these easy-to-make DIY Leather Bar and Drink Tags, your bar cart will be set up for success and sophistication. These tags are not just practical for organizing your spirits; they make for the perfect stylish addition to any party or gathering, serving as both decoration and a functional way to identify your drinks.
And for those extra special occasions or themed parties, don’t forget to consider a DIY Golden Globes Drink Tag or similar themed markers so no one accidentally grabs the wrong celebratory beverage. The possibilities for personalization are endless!
Now that your bar is perfectly labeled and looking fantastic, all that’s left is the fun part: coming up with creative drinks for each of your newly tagged bottles. Good luck crafting delicious concoctions, and cheers to your stylish new bar setup!
More DIY Bar Accessories To Try
Elevate your entertaining space further with these inspiring DIY bar accessories that perfectly complement your new leather tags:
- DIY Ikea Bar Cart: Transform a simple IKEA piece into a chic and functional bar cart to display your bottles and glassware with pride.
- Retro DIY Portable Bar: Create a unique, movable bar that’s perfect for indoor or outdoor parties, allowing you to serve drinks wherever the festivities take you.
- Mid Century DIY Straw Drink Stirrers: Add a playful yet elegant touch to your cocktails with these handmade stirrers, inspired by a classic design era.
- DIY Clay Decanter: Craft your own unique decanters from clay, offering a rustic or minimalist vessel for your finest spirits, perfectly paired with your leather tags.
- DIY Decanter Tags: Specifically designed for decanters, these tags offer a refined way to identify the contents of your bottles, ensuring a sophisticated and organized presentation.
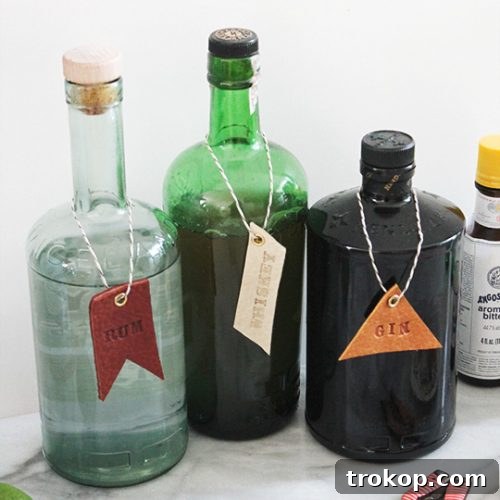
DIY Leather Bar And Drink Tags: Project Overview
Label your decanters and bottles with easy-to-make, personalized leather tags for your at-home bar. A perfect blend of style and function, these tags can be kept or gifted.
25 mins
DIY
Bar
Equipment
- Rotary cutter or X-acto knife
- Sponge
- Rotary punch
- Mallet
Materials
- Leather scrap
- Brass eyelets and setter
- Leather stamp set
- Bakers twine
Instructions
- Cut out your desired shapes from the leather. Ensure they are wide enough for your letters.
- Dampen your tag evenly with a moist paper towel or sponge.
- Using a safe, hard surface underneath, stamp each letter by striking it several times with your mallet for a clear impression.
- Punch a hole in the top of your tag, then insert and set an eyelet for durability.
- Cut a piece of twine, loop it through the eyelet, and hang it on your bottles or decanters.
Notes
Once you acquire the necessary tools, this project becomes very inexpensive, especially when making multiple tags. It’s a fantastic way to create custom gifts or personalize your entire bar collection!
$3 (per tag, assuming tools are acquired)
diy leather bar tags, custom drink markers, home bar accessories

We absolutely love seeing your creative endeavors! Don’t forget to share your DIY leather bar and drink tags with us on Instagram using the hashtag #sugarandclothloves. Your unique creations inspire us and our community. Looking for even more interior design inspiration, crafting guides, or entertaining tips? You can find all our home decor tutorials, styling ideas, and entertaining recipes right here on our blog!
Decor and Recipe Ideas for the Perfect Host
How To Make Your Own Party DIY Frozen Wine Chiller
Continue Reading
How To Make A DIY Fresh Flower Love Sign
Continue Reading
Chocolate Fruit Cheese Cup Recipe
Continue Reading
5 Minute Hors d’Oeuvres with Potato Chips Recipe
Continue Reading
DIY Floral Embroidery Ring Backdrop
Continue Reading
DIY Sequin Marquee Heart
Continue Reading