
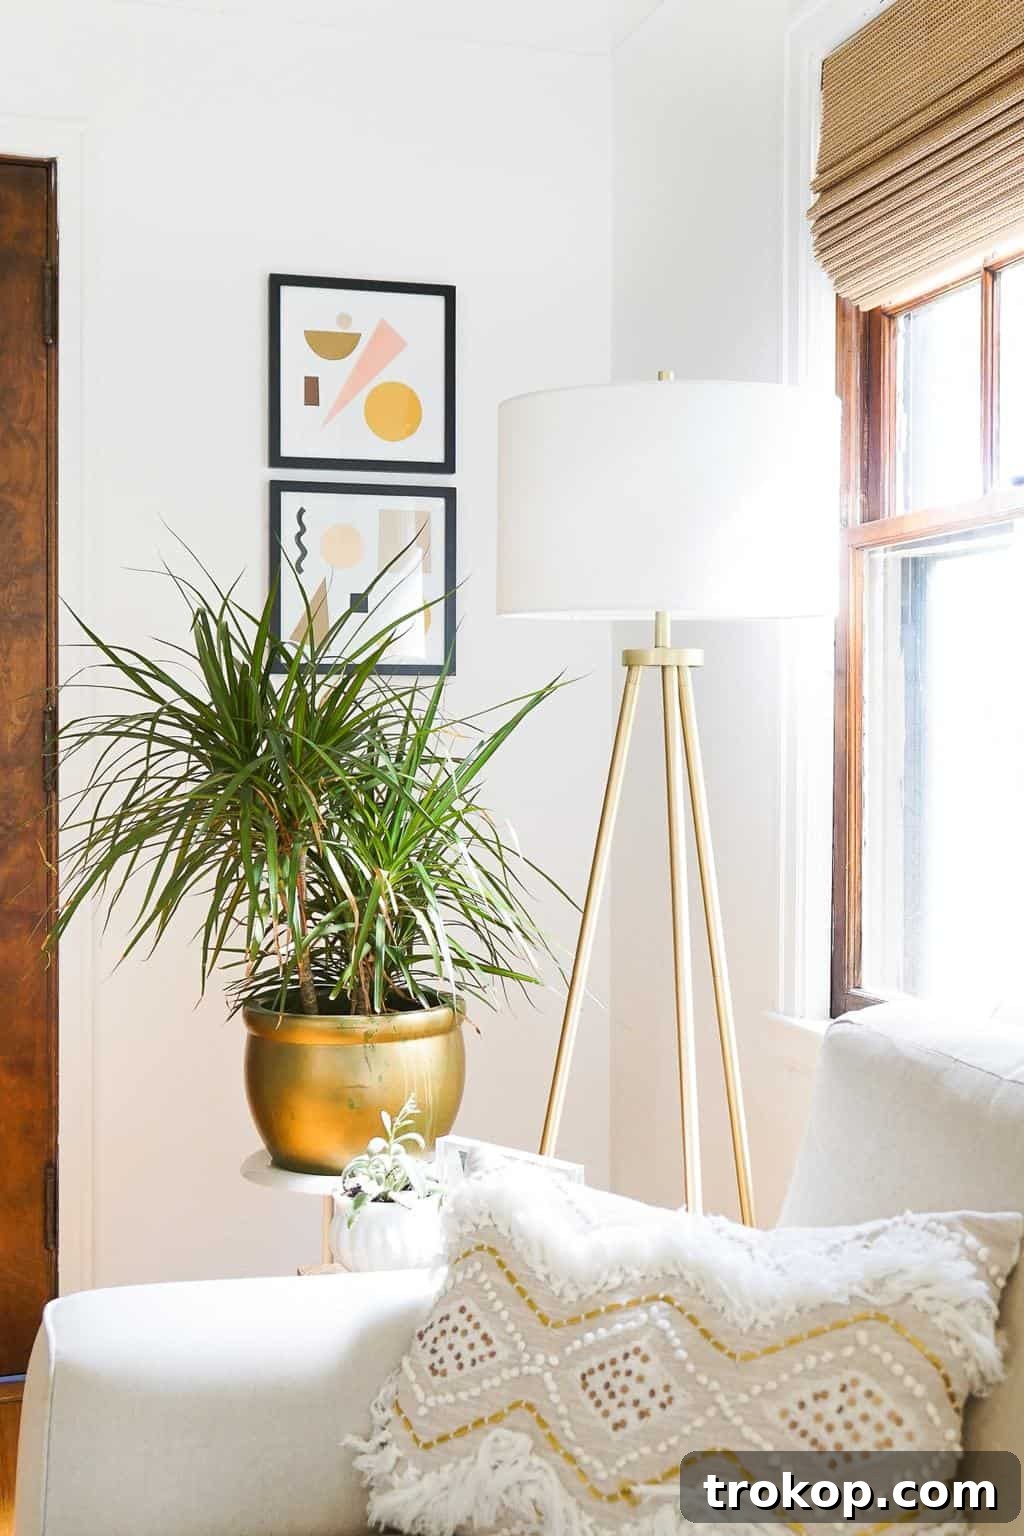
Transform Your Space with Modern DIY Paper Shapes Wall Art
Are you staring at a blank wall, dreaming of a refreshing, modern touch for your home but hesitant about the cost or complexity of traditional art? Look no further! This innovative DIY Paper Shapes Wall Art project offers the perfect solution, blending contemporary aesthetics with an incredibly budget-friendly and easy-to-execute approach. It’s more than just a craft; it’s an opportunity to infuse your personal style into your living space, creating stunning focal points that speak volumes without breaking the bank. Say goodbye to forgotten corners and hello to vibrant, personalized design!
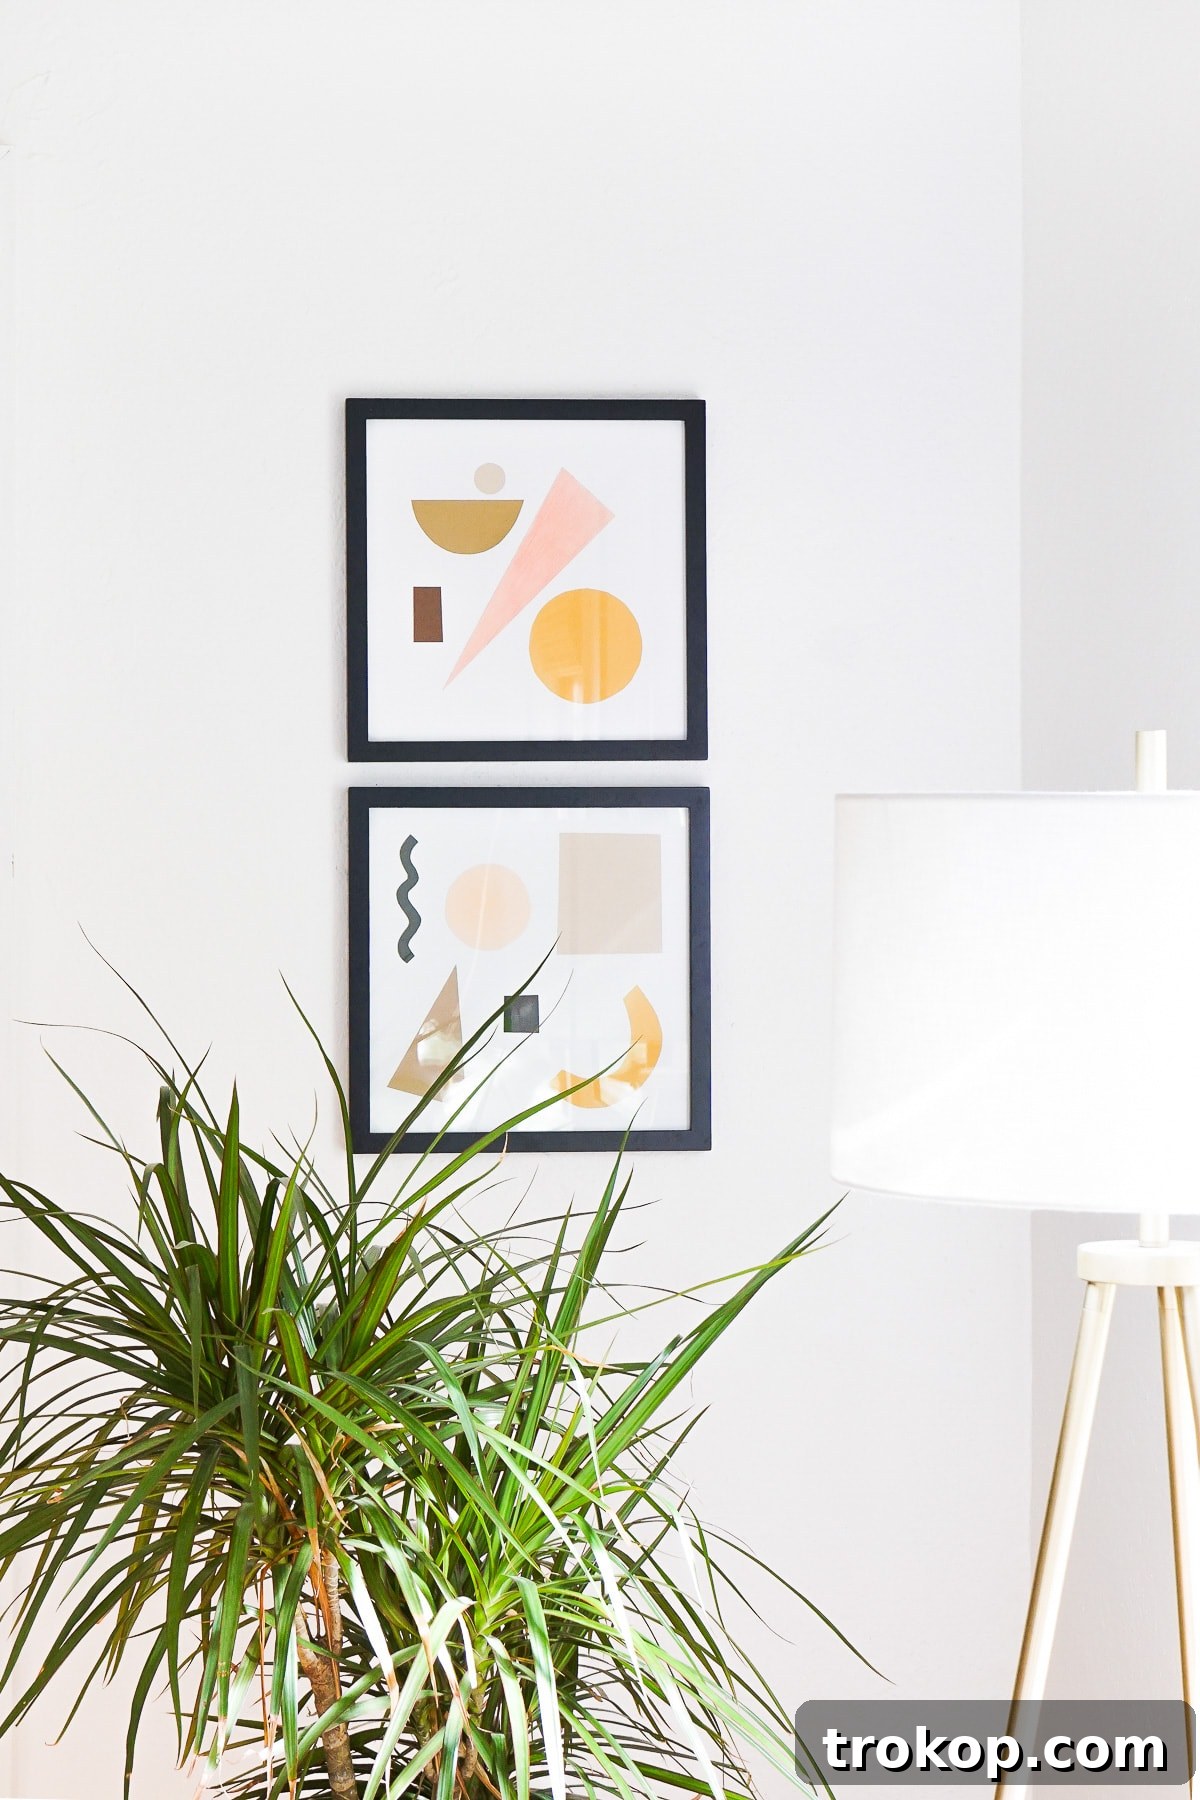
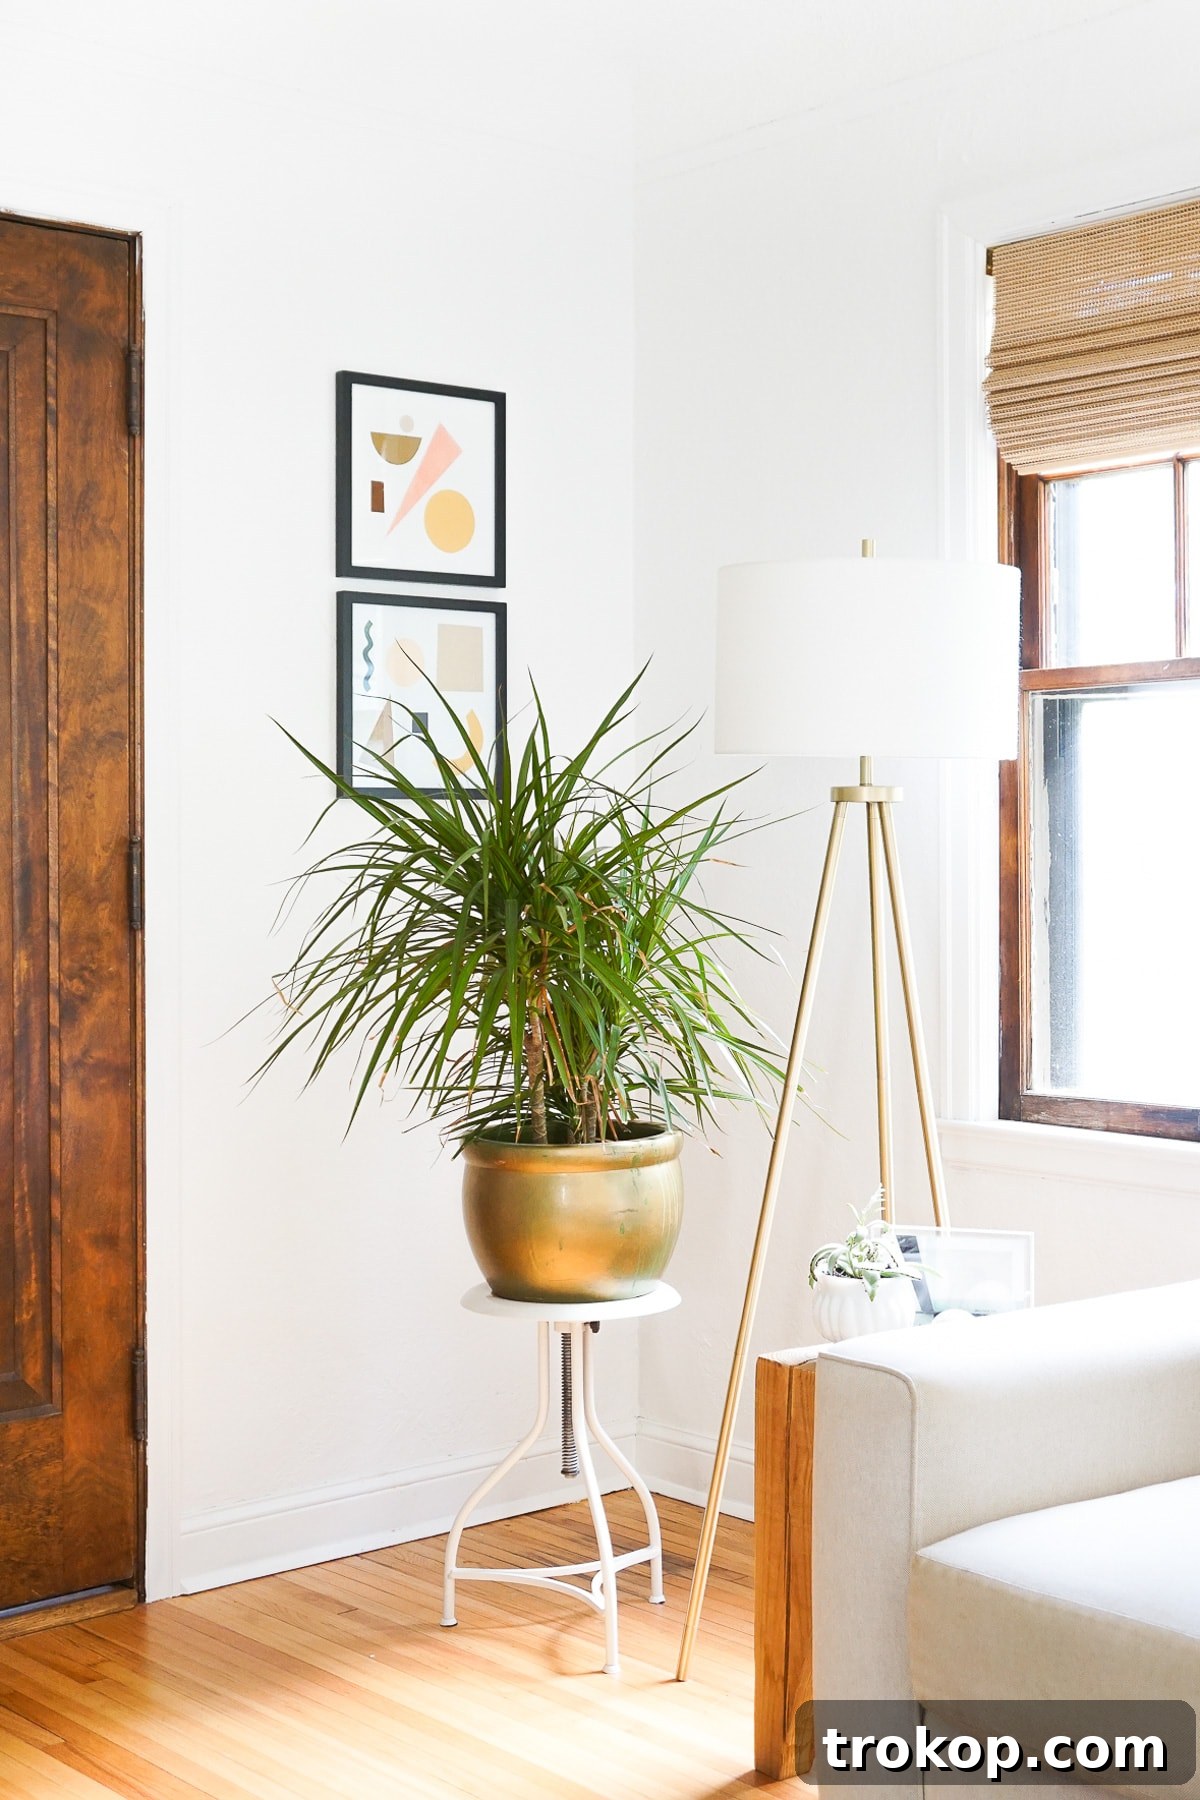
Every home has that one spot—a hallway nook, a forgotten living room wall, or a bedroom alcove—that simply yearns for some artistic attention. For many of us, these spaces remain bare for far too long, victims of either budget constraints or a sheer inability to decide on the “perfect” piece. I, like many, found myself in this very predicament. For years, a particular corner of my living room remained conspicuously empty. The thought of finding something suitable, stylish, and within my budget felt like an insurmountable challenge.
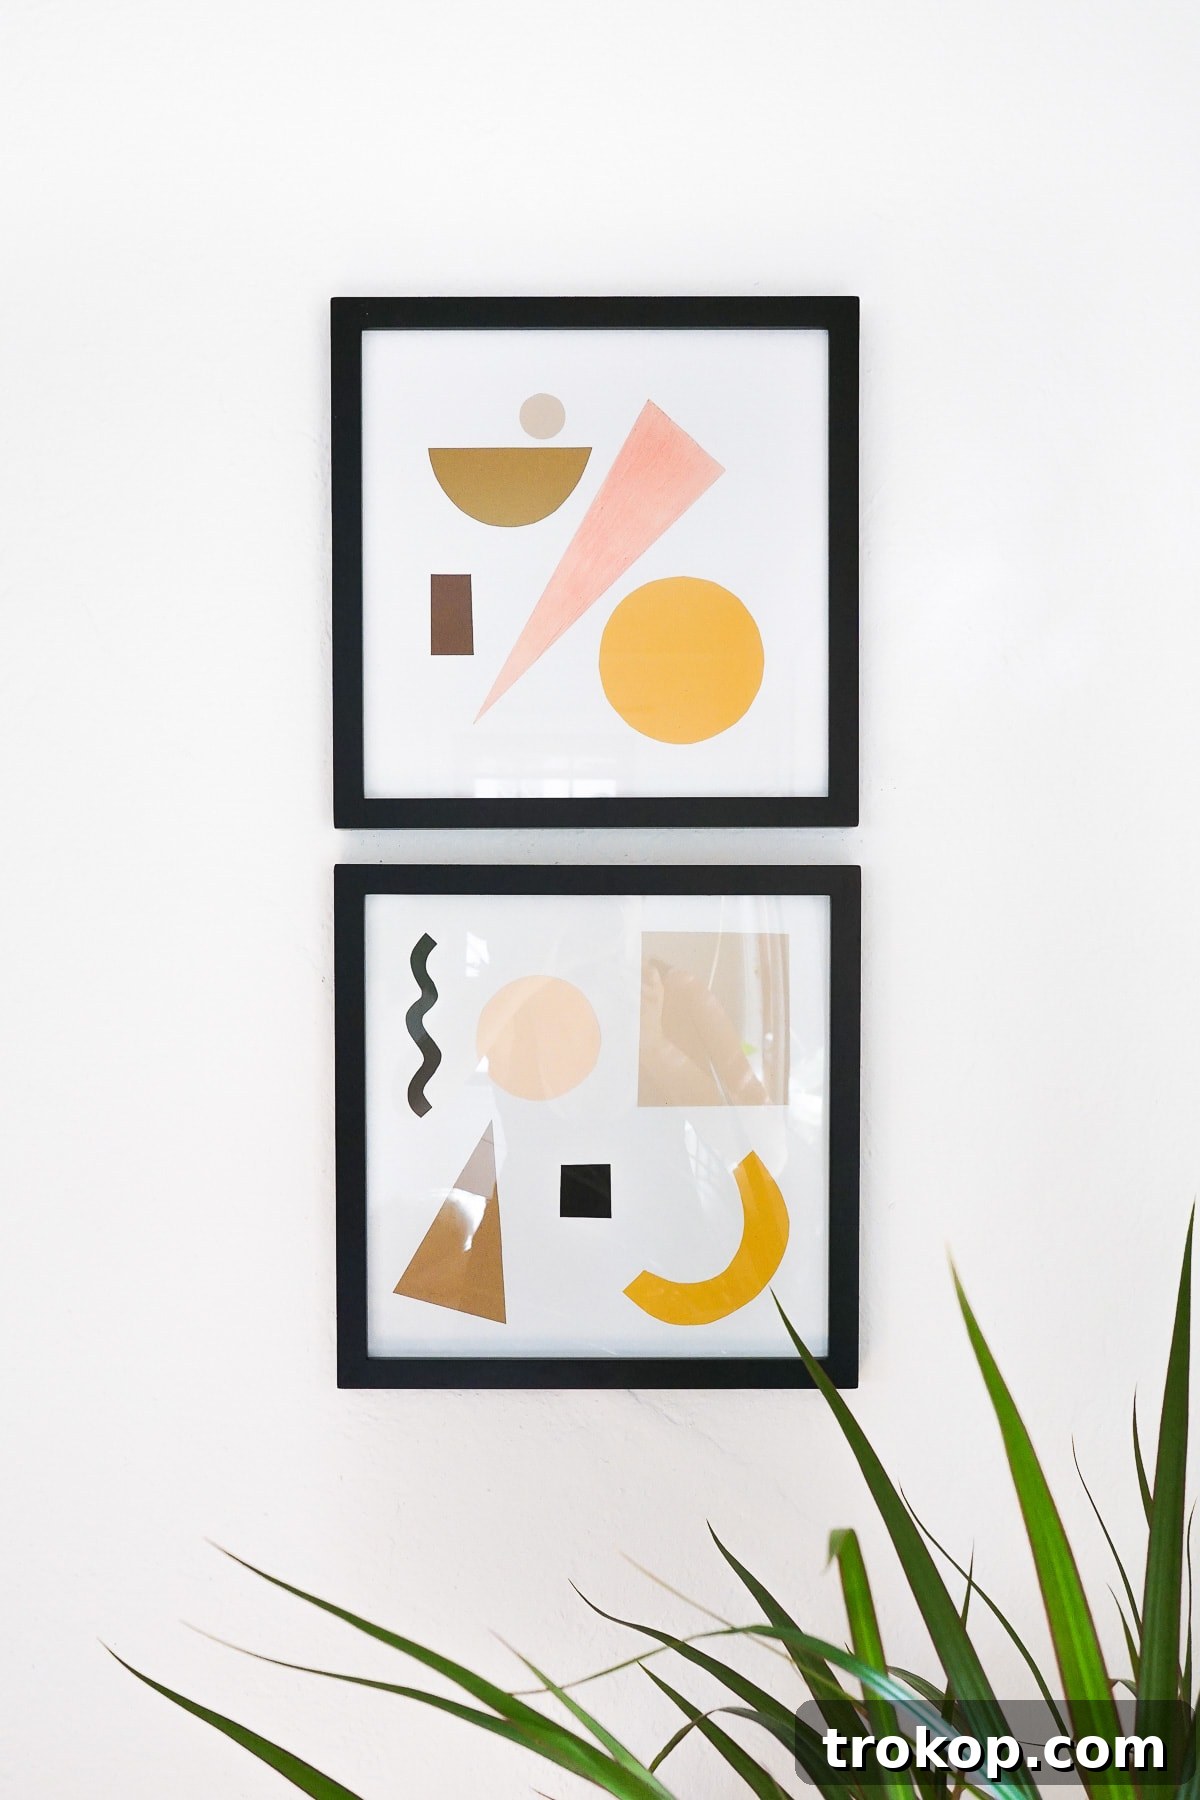
However, the beauty of DIY lies in its power to transform frustration into creative triumph. One afternoon, driven by an impulse to finally address this naked space, I pulled out some colored construction paper and began experimenting. What emerged was a delightful collection of modern, lighthearted collage art that not only filled the void but also added a unique charm to the room. The best part? These abstract paper art pieces were surprisingly simple to create, proving that you don’t need to be an experienced artist or spend a fortune to achieve sophisticated home decor.
If you’re seeking an inexpensive yet impactful way to refresh your home decor, or simply looking for an engaging craft project, then this DIY Paper Shapes Wall Art is your ultimate guide. It’s a fantastic journey into personal expression, offering endless possibilities for customization and a genuinely rewarding creative experience.
Essential Materials & Tools for Your DIY Paper Shapes Wall Art
Gathering your materials is the first exciting step in bringing your abstract paper wall art to life. The beauty of this project lies in its simplicity and the accessibility of its components. Most items can be found at your local craft store, stationery shop, or even around your home, making it a truly budget-friendly endeavor.
- 12” x 12” White Cardstock or Construction Paper: This will serve as the canvas for your paper shapes. White offers a clean, neutral background that makes your colored shapes pop. Cardstock is recommended for its durability and stiffness, which prevents buckling.
- Variety of Colored Paper: Let your imagination run wild! Choose construction paper, scrapbook paper, or even patterned paper in a palette that complements your existing home decor. Experiment with different textures and weights for added visual interest.
- Pencil: For sketching designs, tracing shapes, and making light marks before cutting.
- Artist Tac Dry Adhesive: This is a game-changer for clean, mess-free application. It turns your paper shapes into instant stickers, ensuring a smooth finish without the wrinkles often associated with liquid glues.
- Scissors: A sharp pair of craft scissors is essential for precise cutting. For more intricate shapes or a cleaner edge, consider a craft knife (and a cutting mat) as an alternative.
- 12”x 12” Picture Frames: Frames elevate your paper art, giving it a polished and professional look. Opt for frames that complement your chosen aesthetic—sleek black or white for a modern vibe, or natural wood for a warmer, Scandinavian feel.
Planning Your Geometric Masterpiece: Sketching and Design
Before you dive into cutting, taking a moment to plan your composition can significantly enhance the final outcome of your DIY paper shapes wall art. Think of this as your creative warm-up. A quick sketch, even a rough one, allows you to visualize the arrangement of shapes, experiment with sizes, and decide on a preliminary color scheme. This foresight can save time and materials, ensuring you’re happy with the design before committing to adhesive.
Consider the principles of good design: balance, contrast, and focal point. Do you want a symmetrical arrangement, or a more dynamic, asymmetrical balance? How will the colors interact? Sketching helps you explore these ideas. You can use graph paper for precision or simply doodle freehand to capture a more organic feel. Don’t be afraid to try several different layouts!
Step-by-Step Guide to Creating Your Paper Shapes Wall Art
1. Cut Out a Variety of Shapes
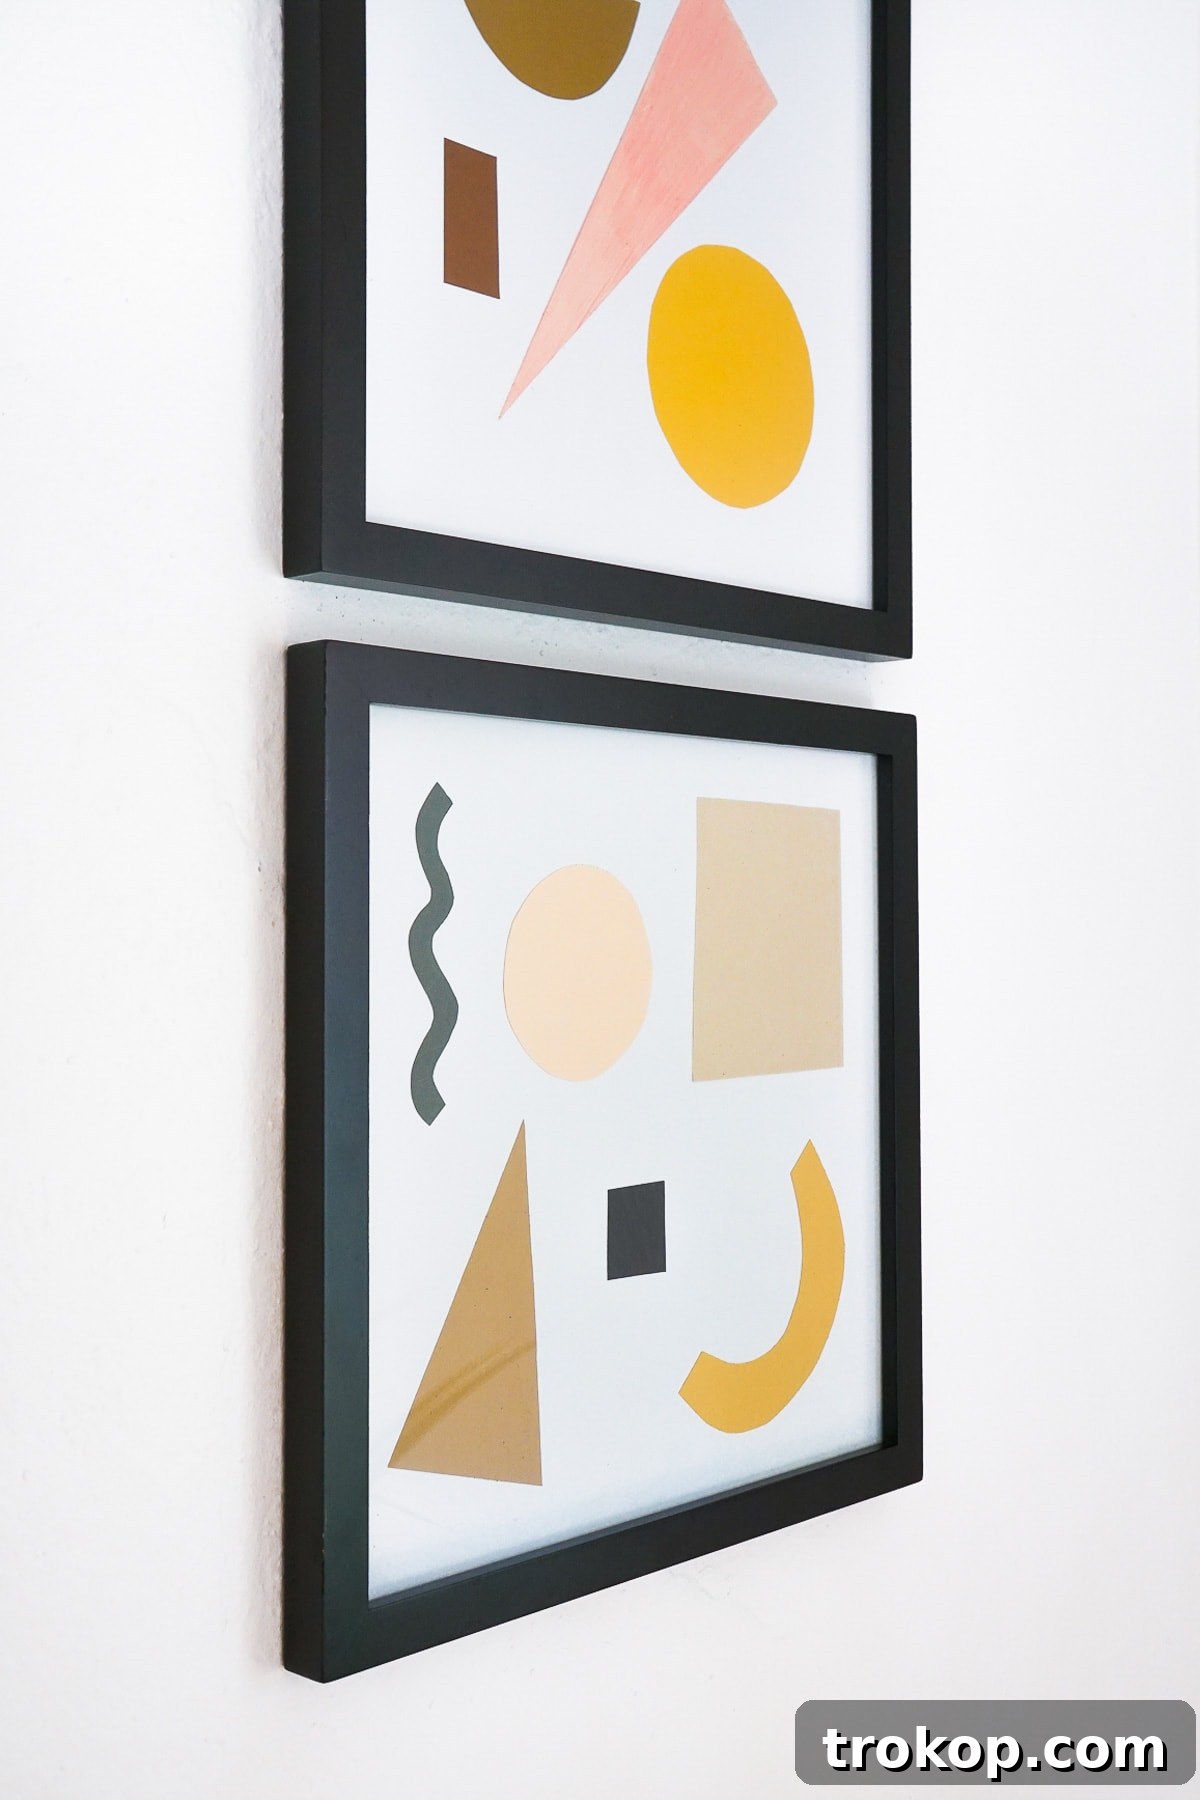
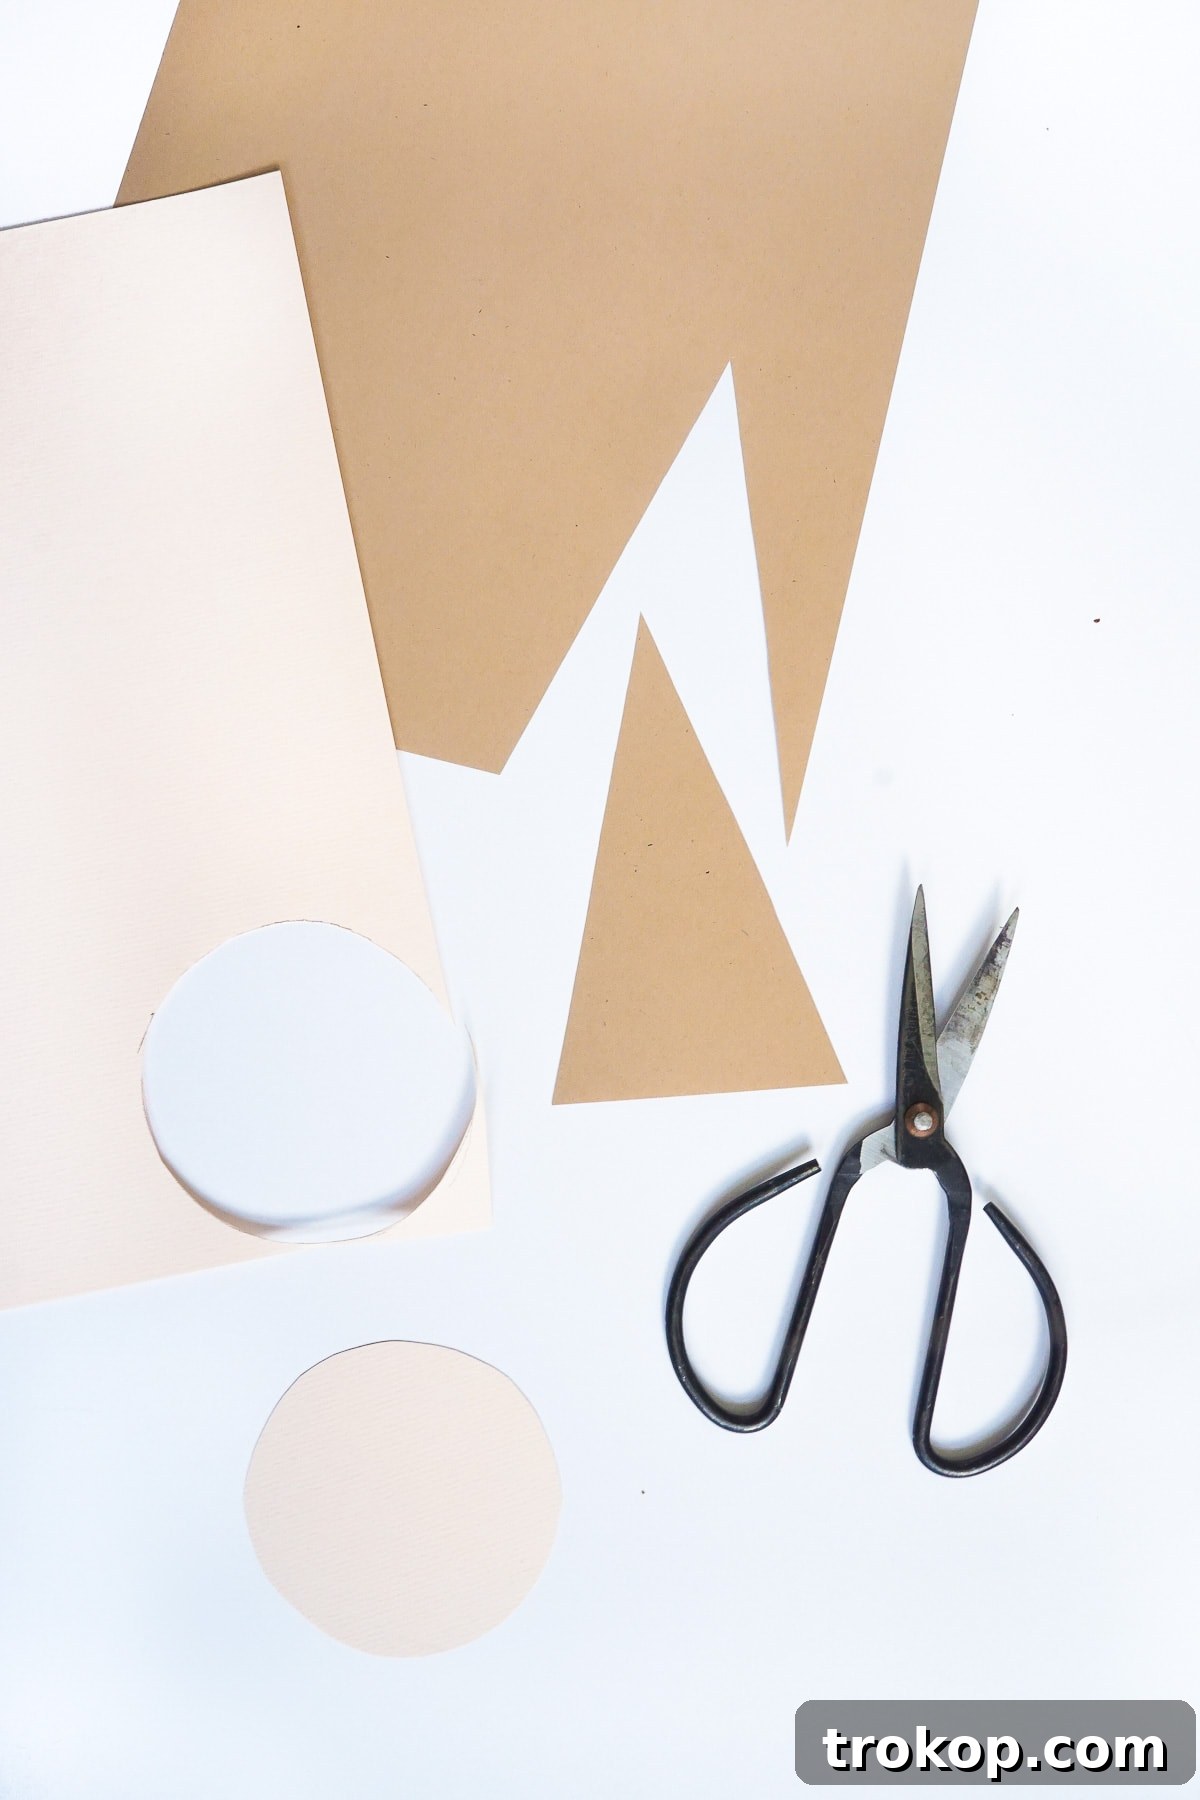
Once your design concept is clear, it’s time to bring it to life by cutting your colored paper. This is where the true artistic fun begins! Experiment with a wide array of geometric and organic shapes: perfect circles, sharp squares, elegant crescents, striking triangles, and intriguing polygons. Varying the sizes of your shapes adds depth and visual interest to your composition. For instance, you might use a circular-bottomed vase or a drinking glass to trace perfect circles, while other shapes can be drawn and cut freehand. Embracing the slight imperfections of freehand cutting can add a touch of charming whimsy and unique character to your modern abstract pieces, making them truly one-of-a-kind.
Think about how different shapes convey different moods: circles often evoke softness and unity, squares represent stability, and triangles can imply direction or energy. Playing with these elements will enhance the overall feel of your art.
2. Apply Dry Adhesive to Your Shapes
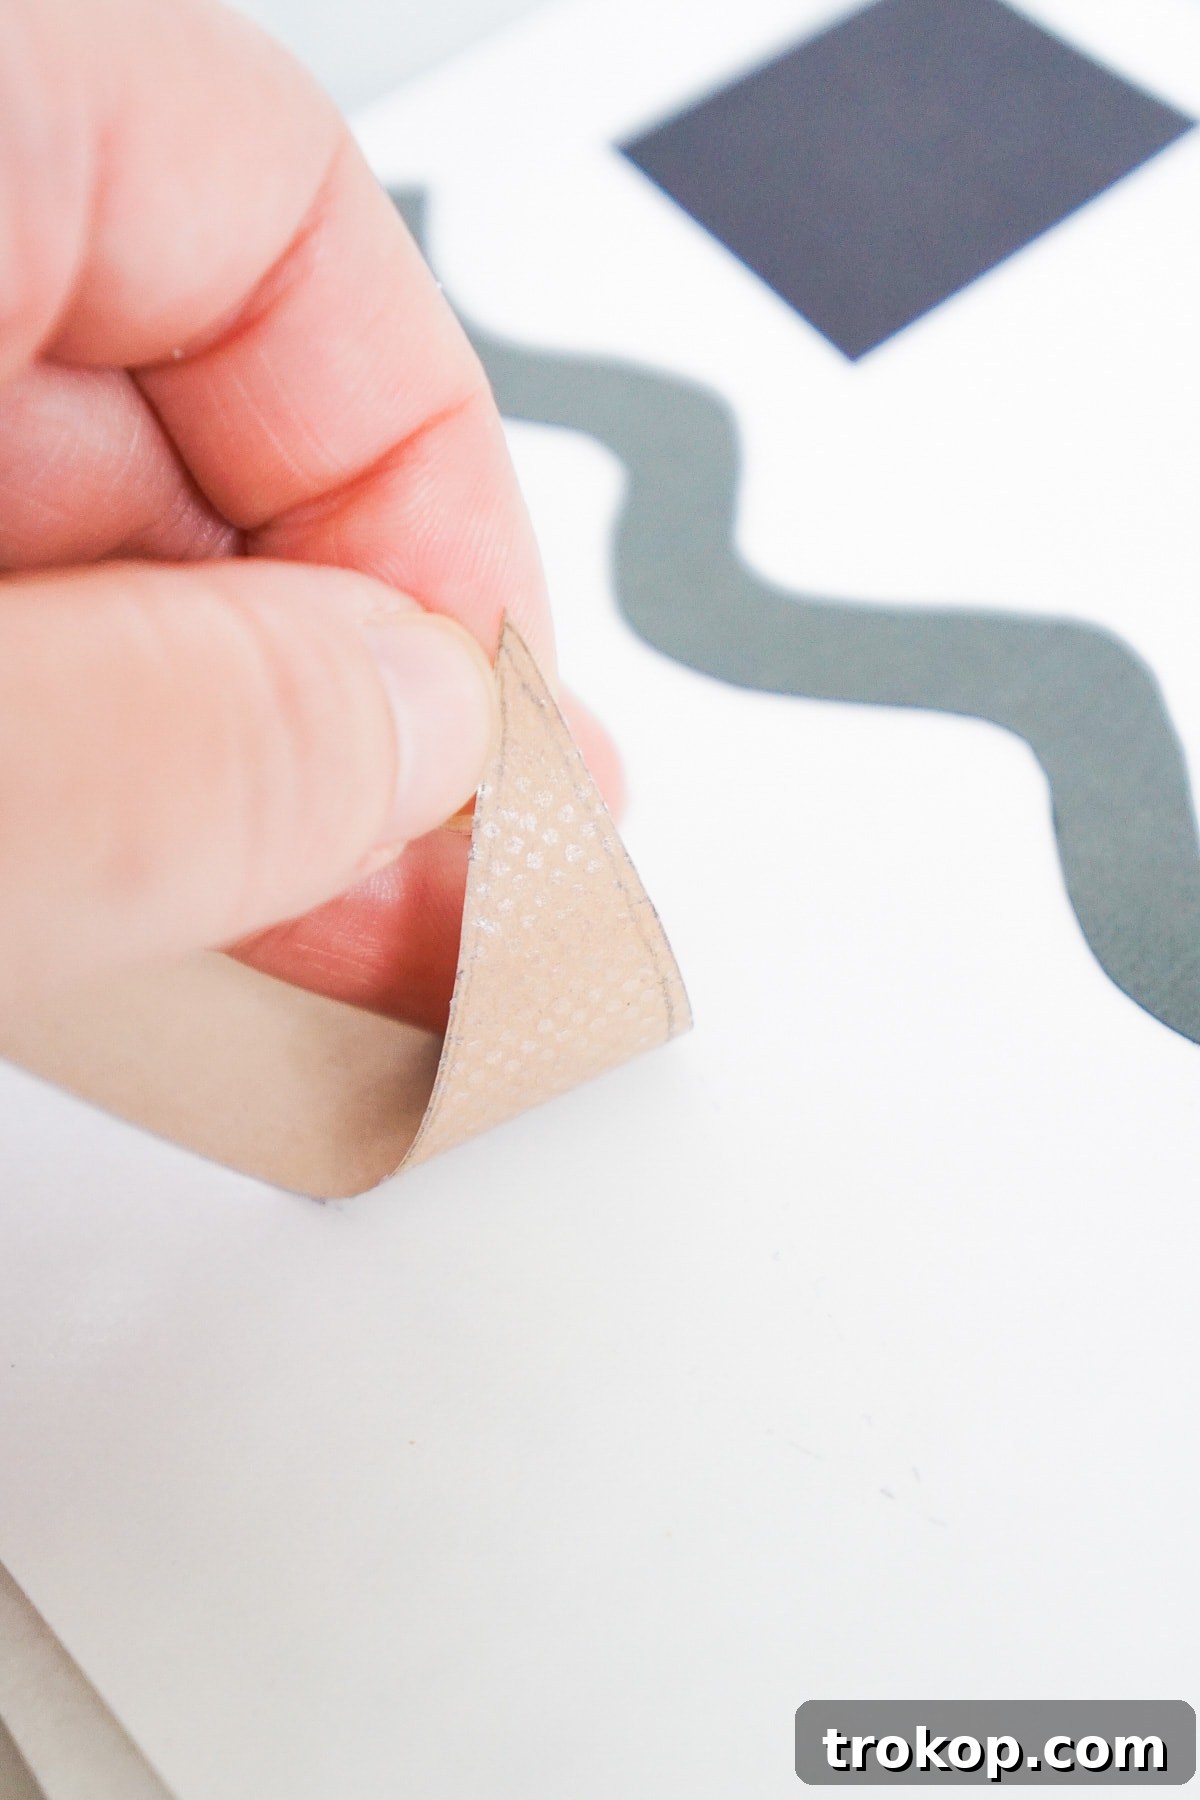
This step is crucial for achieving a professional, clean finish. Unroll or peel back the film on your Artist Tac dry adhesive sheet. Carefully lay each cut paper shape onto the sticky surface of the adhesive. Press down gently but firmly to ensure the adhesive fully transfers to the back of the paper. Then, peel the shape off the sheet. You’ll find that the adhesive has now created a clean, even sticker on the back of your paper shape, ready for application. This method eliminates the mess and potential for bumps or wrinkles often associated with liquid glues, ensuring your modern wall art looks impeccably smooth.
3. Arrange and Adhere Shapes onto Cardstock
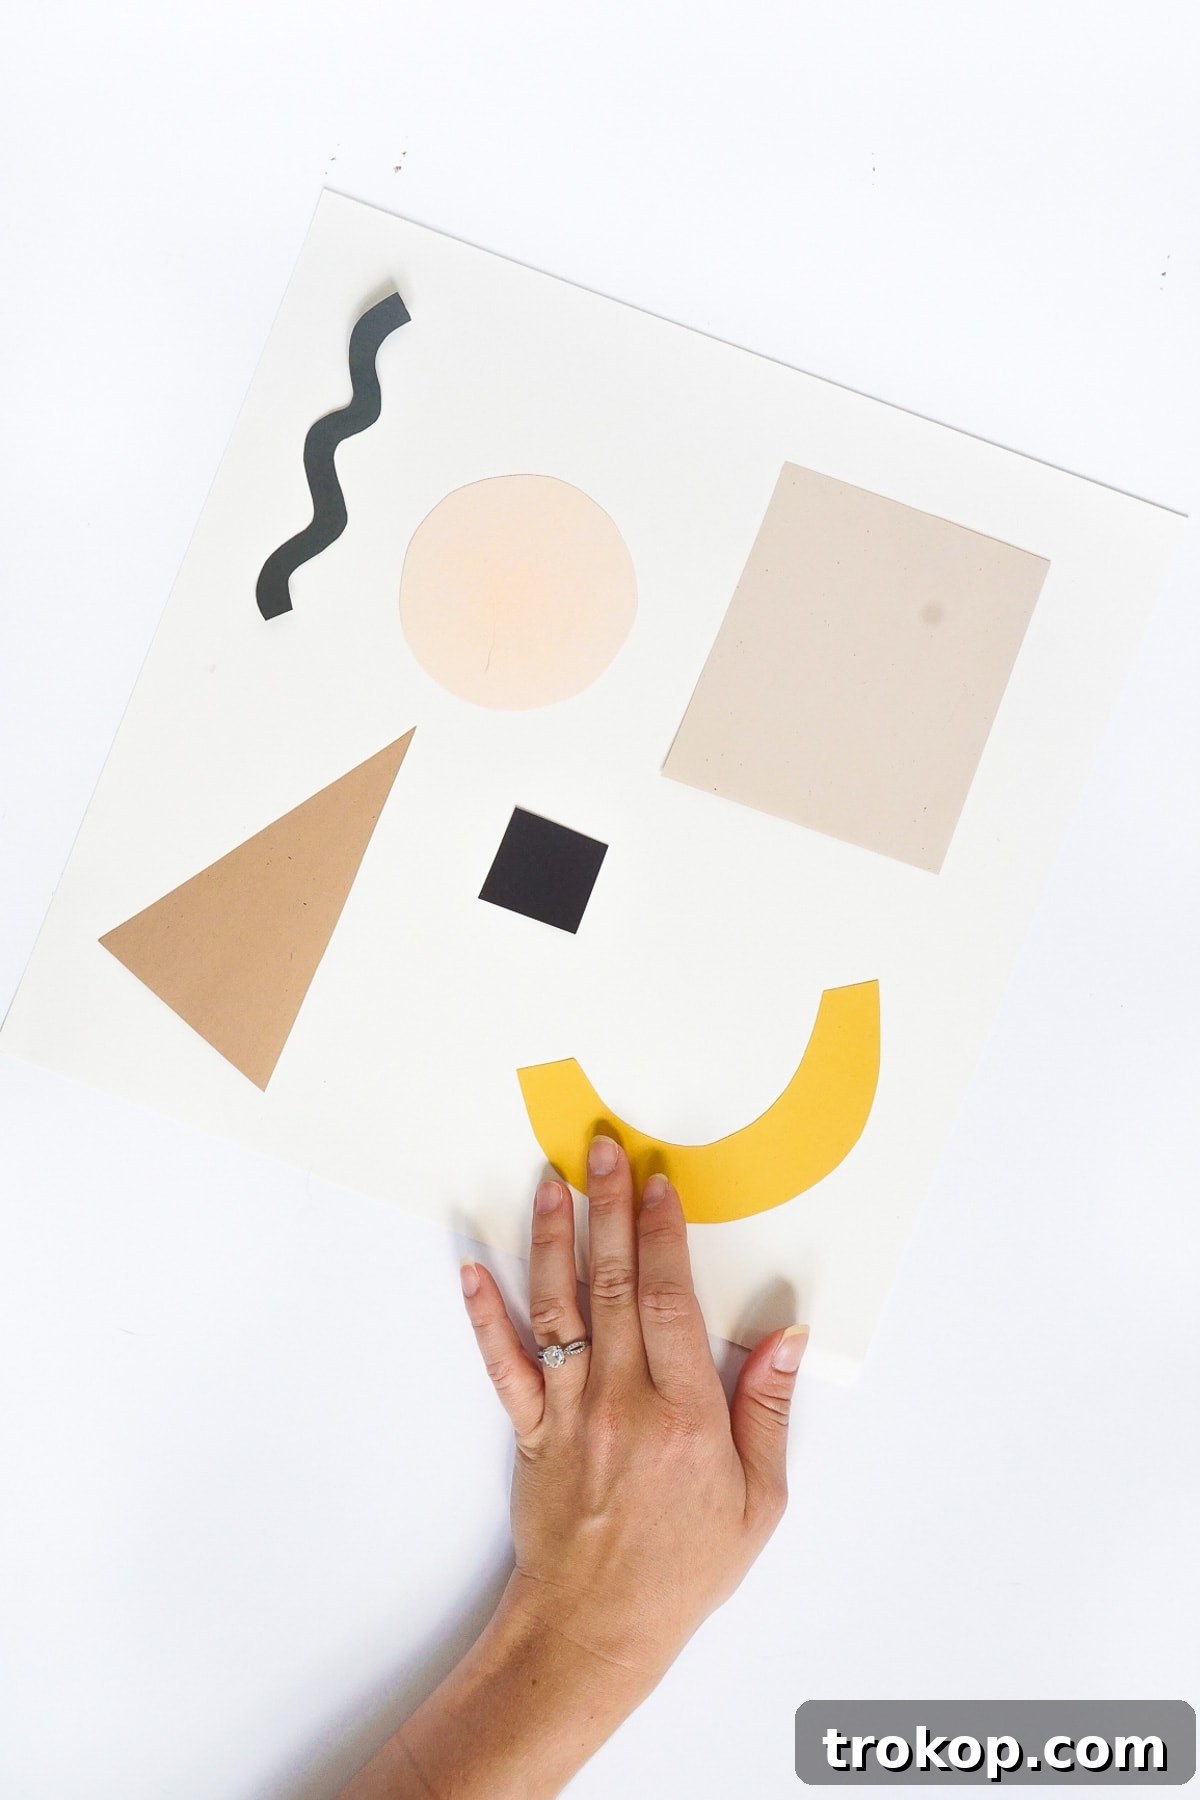
Now for the exciting assembly! Take your 12”x12” white cardstock base. Before permanently sticking anything down, lightly arrange your adhesive-backed paper shapes on the cardstock. This allows you to experiment with different layouts, overlapping elements, and adjusting spacing until you achieve the perfect composition that matches your vision. Once you’re satisfied with the arrangement, peel off the backing of each shape (if it’s not already removed) and press it firmly onto the cardstock. Ensure all edges are securely adhered to prevent lifting over time. Pay attention to negative space – the white areas around and between your shapes – as this is just as important as the shapes themselves in creating a balanced and compelling piece of abstract art.
4. Frame and Display Your New Masterpiece
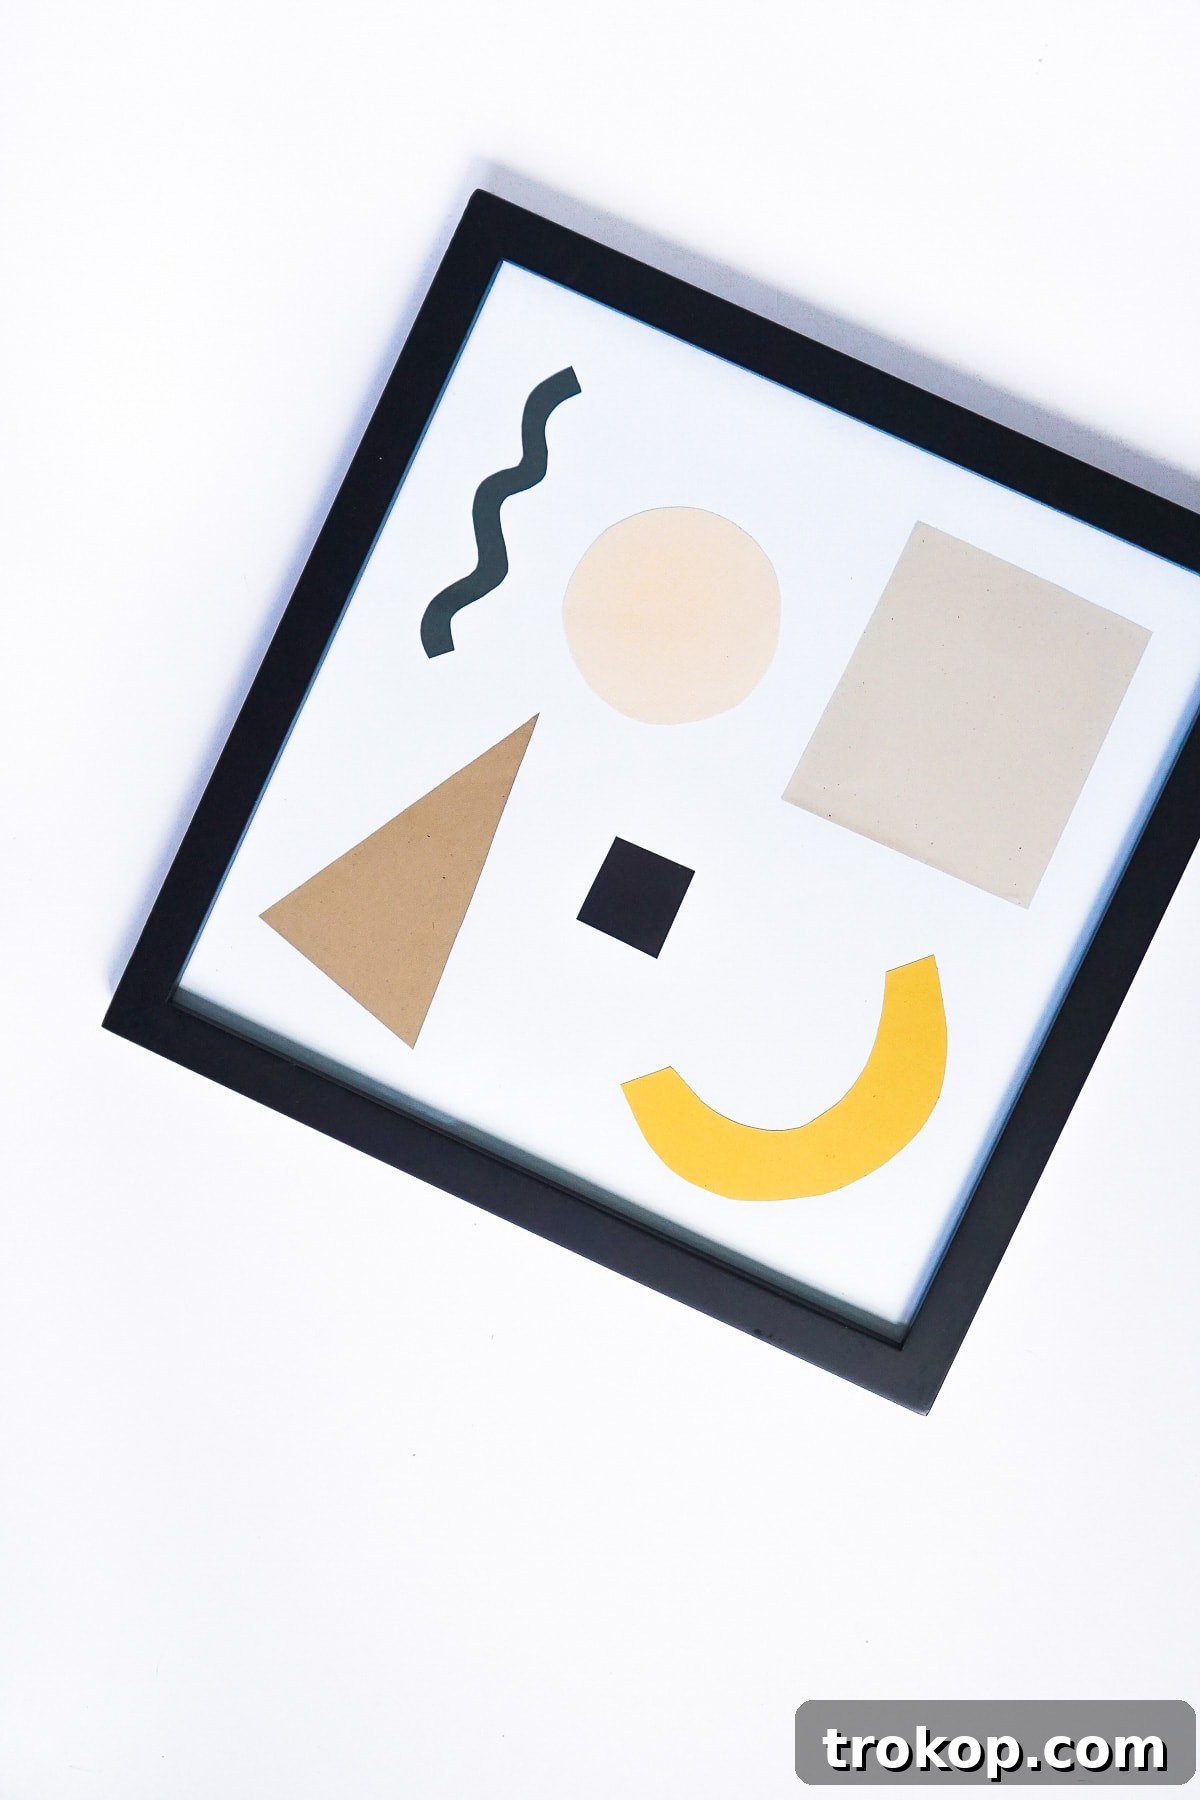
With your paper collage complete, the final step is to pop your custom wall art into its chosen frame. A well-selected frame can significantly enhance the perceived value and aesthetic appeal of your DIY project. Once framed, it’s time to hang up and proudly display your new masterpiece! Consider creating a series of these paper shape artworks to form a cohesive gallery wall, or use a single framed piece as a standalone statement. Ensure your frames are level and evenly spaced if you’re hanging multiple pieces for a polished look. Step back and enjoy the incredible transformation your handmade art brings to your space.
Customization and Creative Inspiration
One of the most exciting aspects of DIY paper shapes wall art is its boundless potential for customization. While I opted for a palette of warmer tones to complement my interior, the possibilities are truly endless. You can select colors that perfectly match your existing decor, or choose contrasting hues to create a vibrant pop. Imagine a serene monochromatic scheme for a minimalist bedroom, or a burst of bright, playful colors for a child’s room or creative studio.
Consider experimenting with different paper types beyond standard construction paper—think metallic cardstock for a touch of glamour, textured paper for tactile interest, or even recycled magazine cutouts for an eco-friendly, eclectic vibe. The beauty is that you can endlessly adapt this project to suit any interior design style, from Scandinavian chic to bohemian eclectic, industrial modern, or classic farmhouse. This adaptability makes it an ideal project for anyone looking to add personalized, budget-friendly home decor that truly reflects their unique taste.
The Joy of Transforming Your Space
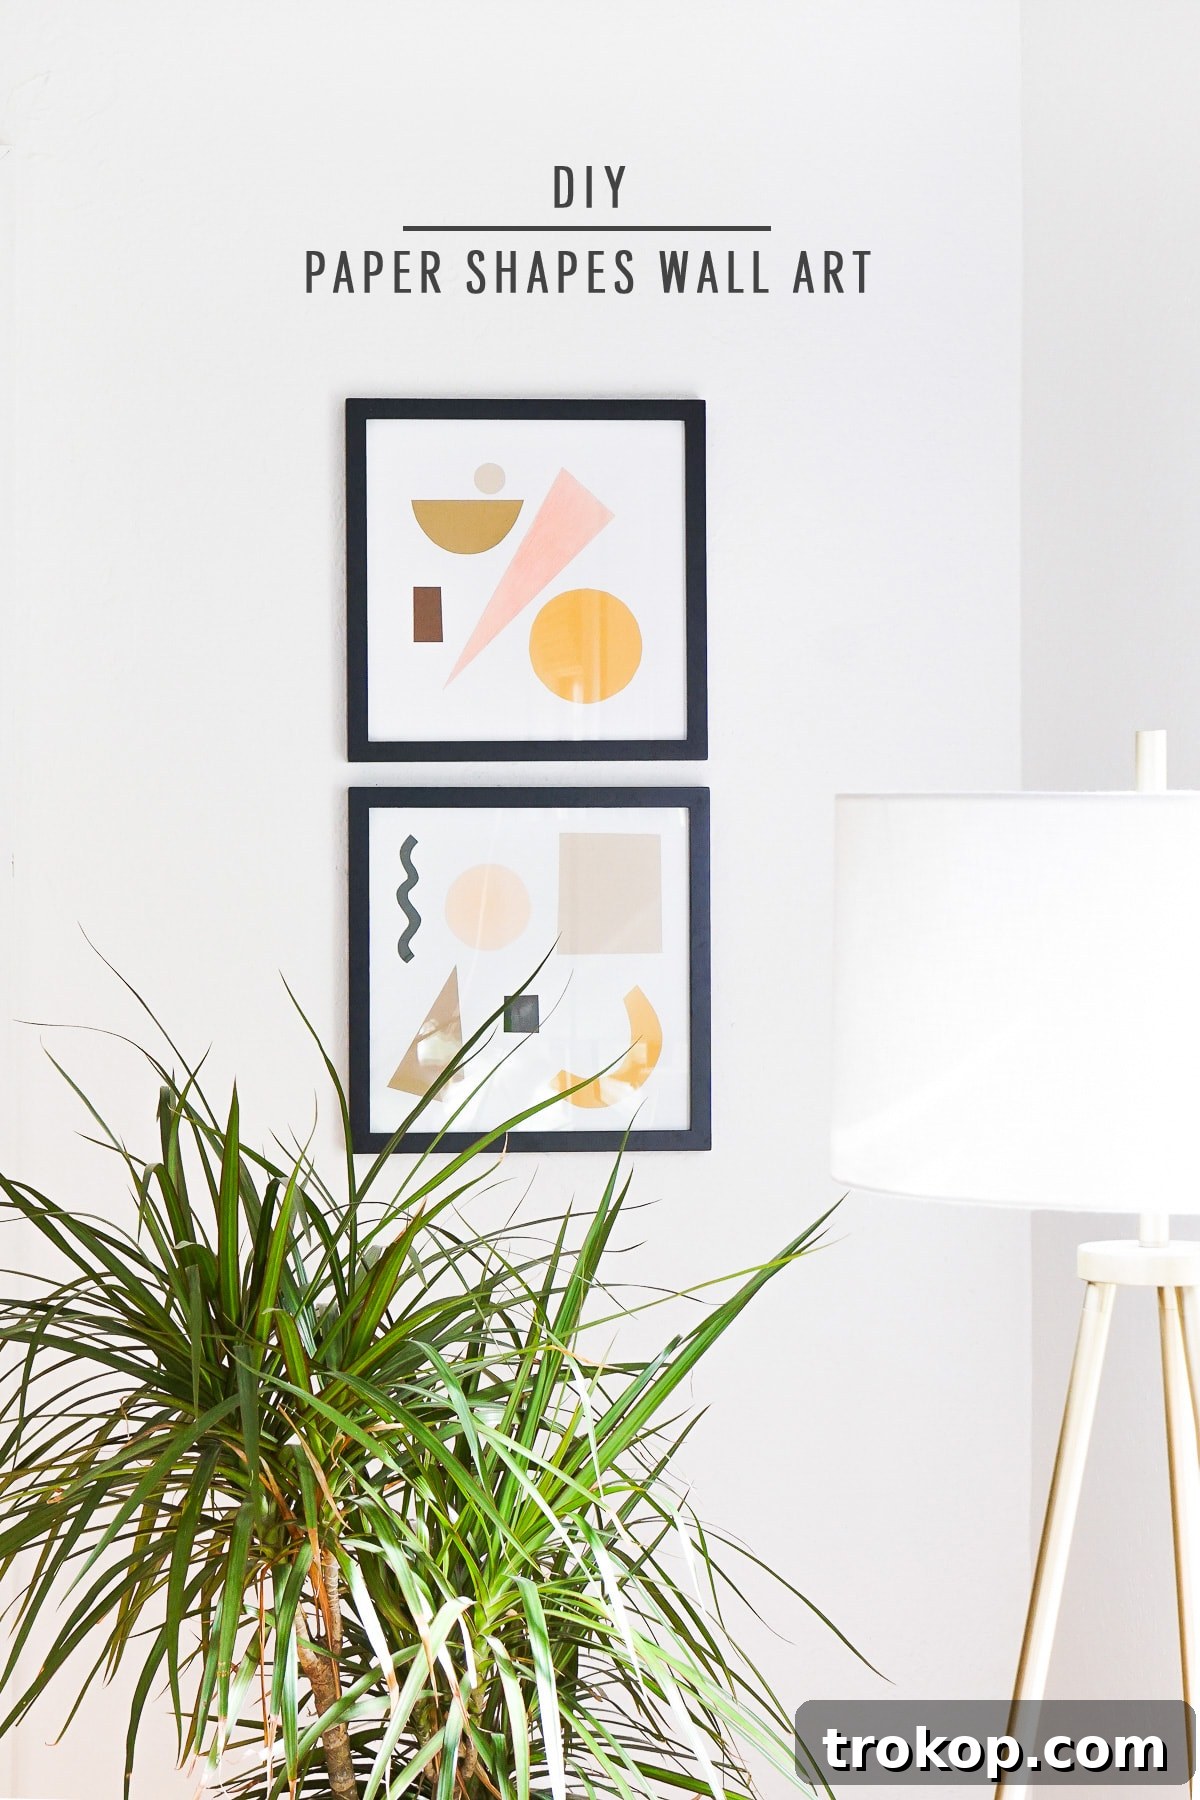
There’s immense satisfaction in transforming a previously overlooked, blank space into a captivating focal point with your own two hands. I’m absolutely thrilled to have traded that forlorn, empty wall for a dynamic display of fun, custom wall art. The enduring appeal of making your own DIY Paper Shapes Wall Art extends far beyond just one piece. The true beauty lies in its versatility: you can go wild and create all sorts of different styles, color combinations, and compositions to address all your blank wall needs throughout your home. From a serene bedroom to a bustling home office, or a playful nursery, this project offers an endless source of creative expression and practical home improvement.
It’s a total win-win: you get personalized, stylish decor at a fraction of the cost, and the profound joy of having created something beautiful yourself. So why wait? Unleash your inner artist and start designing your own unique paper wall art today!
Need even more paper wall art inspiration to fuel your creative fire? We’ve got you covered with this equally eye-catching and inspiring DIY Paper Wall Art project – dive in and discover more ways to transform your walls with paper!