
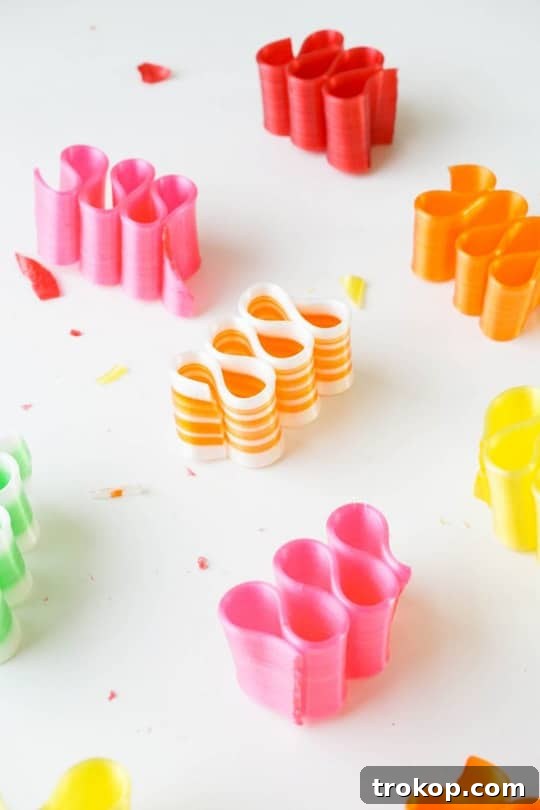
DIY Watercolor Candy Ribbon Place Card Holders: A Sweet Touch for Your Table
Transform your table settings into a whimsical wonderland with these enchanting DIY Watercolor Candy Ribbon Place Card Holders. Perfectly blending nostalgic charm with artistic flair, this project offers a delightful way to personalize your dining experience for any special occasion, especially during the festive season. Say goodbye to mundane place cards and welcome a touch of handmade elegance and edible beauty that will surely captivate your guests.
While classic holiday traditions hold a special place in our hearts, there’s an undeniable joy in discovering fresh and interesting ways to enhance our seasonal celebrations. Whether it’s experimenting with new recipes, updating decor, or finding innovative wrapping ideas, infusing creativity keeps things exciting and memorable. This year, my latest obsession is the beautiful, old-fashioned ribbon candy! Its vibrant hues and delicate waves have truly inspired me, prompting the question: “Where have you been all my life, ribbon candy?!”
The temptation to sprinkle this sweet confection everywhere, like glittering pixie dust, is strong. However, I always remind myself that often, less is more. The true magic lies in thoughtfully incorporating unique elements to create a refined yet joyful atmosphere. Just like our DIY Candied Valentine’s Day Card, which was both fun and deliciously appealing, these ribbon candy place card holders strike the perfect balance.
This inspiration culminated in the creation of these stunning DIY Watercolor Candy Ribbon Place Card Holders. They are incredibly simple to assemble, taking mere minutes, yet promise to leave a lasting impression on your guests, adding a festive “wow” factor to any holiday gathering or celebratory meal. And if you’re looking to further brighten your space, these DIY Candle Holder Ideas offer a wonderful way to introduce bursts of color and delightful scents.
Materials Needed to Make DIY Candy Ribbon Christmas Place Card Holders
Gathering your supplies is the first exciting step in any creative project. For these charming place card holders, you’ll need just a few accessible items, many of which you might already have on hand. Quality materials will ensure your final product is both beautiful and durable enough to withstand a bustling dinner party.
- Watercolor Paints: Choose a palette that complements your existing decor or seasonal theme.
- Small round paint brush: A size No. 3 brush is ideal for delicate lettering and intricate details.
- Paint palette or plate: Essential for mixing colors and diluting paints.
- Cup of water: For rinsing brushes and achieving desired paint translucency.
- White 2″ x 3.5″ paper cards: Standard business card size works perfectly for place cards. Opt for a slightly heavier cardstock for a premium feel.
- Practice paper: Optional, but highly recommended, especially if you’re new to hand lettering.
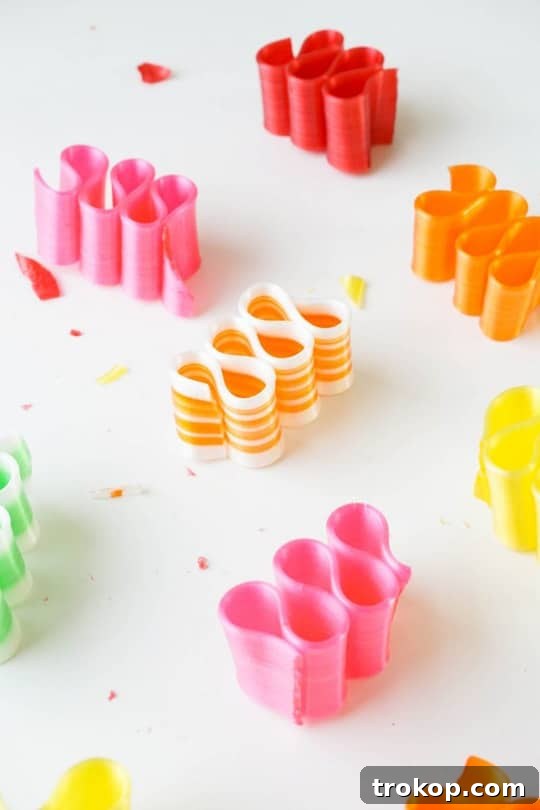
- Ribbon Candy: The star of the show! Select colorful pieces that will add a festive pop to your table.
How to Make DIY Candy Ribbon Christmas Place Card Holders
Crafting these beautiful place card holders is a straightforward process that yields impressive results. Follow these simple steps to create personalized, eye-catching additions to your table decor. The key is to allow ample drying time for the watercolor lettering, ensuring a pristine finish before adding the candy element.
Step-by-Step Instructions:
Step 1 – Prepare Your Place Cards with Hand Lettering
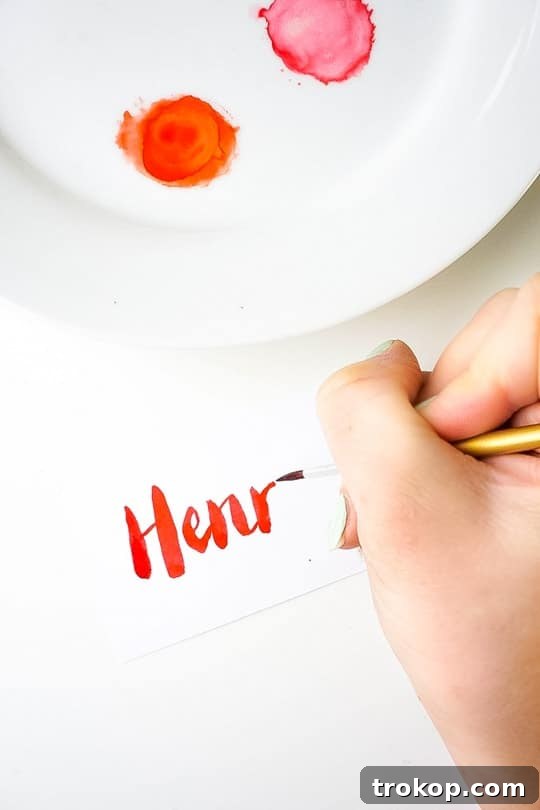
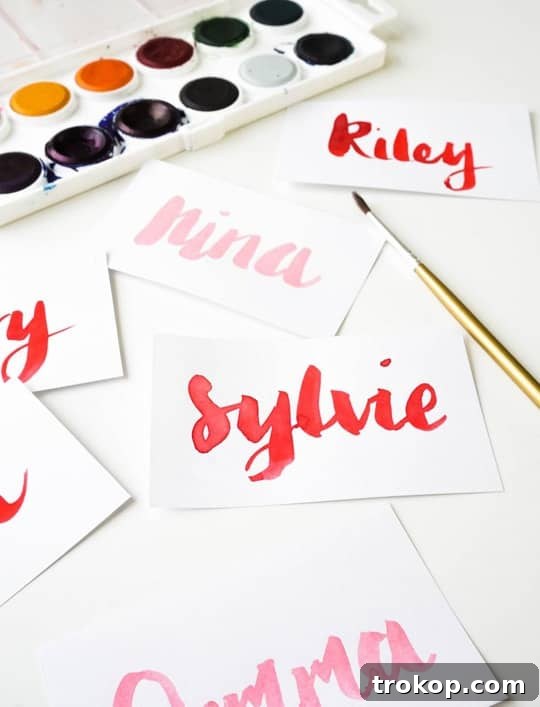
Begin by hand-lettering the names of your guests onto the white paper cards using your small round paint brush. This allows the watercolor paint sufficient time to dry completely before you incorporate the delicate ribbon candy. For an elegant and classic look, employ a calligraphy-inspired lettering style: apply gentle pressure for thin, graceful upward strokes, and increase pressure for thicker, more pronounced downward strokes. This contrast adds depth and character to each name.
If you’re new to the art of hand lettering, don’t fret! It’s a skill that becomes easier with practice. Before committing to your final cards, take a few moments to practice on a separate sheet of paper. Focus on mastering both the thick downward and thin upward strokes. Also, practice writing out each guest’s name to familiarize yourself with the flow and spacing. You’ll be surprised how quickly you gain confidence, and I promise, the process is far less intimidating than it might appear!
Step 2 – Activate Your Watercolors
Next, prepare your watercolor paints. Dip your brush into clean water, then gently swirl it into the chosen watercolor pan to activate the pigment. You might wish to mix several colors on your paint palette or plate to create custom hues that perfectly match your vision. Continue mixing in water until you achieve your desired level of translucency – from a vibrant, opaque wash to a soft, ethereal tint. The beauty of watercolors lies in their versatility, allowing you to control the intensity of the color.
Step 3 – Apply Watercolor Lettering to Place Cards
Once you’re comfortable with your strokes and color mixing, move to your actual white place cards. For added guidance, especially if you’re still developing your hand-lettering confidence, you can lightly sketch out the names in pencil first. This provides a helpful guide for spacing and alignment as you begin the watercolor brush lettering process. Carefully trace over your pencil outlines with the watercolor paint, paying attention to the thick and thin strokes previously practiced.
Allow the place cards to dry completely. This step is crucial to prevent smudging and ensure crisp lines. Once dry, if any pencil lines are still visible, gently erase them. Be very careful not to rub over the watercolor itself, as this could damage the paint or smudge the delicate lettering. A soft eraser is best for this task.
Step 4 – Prepare the Ribbon Candy Pieces
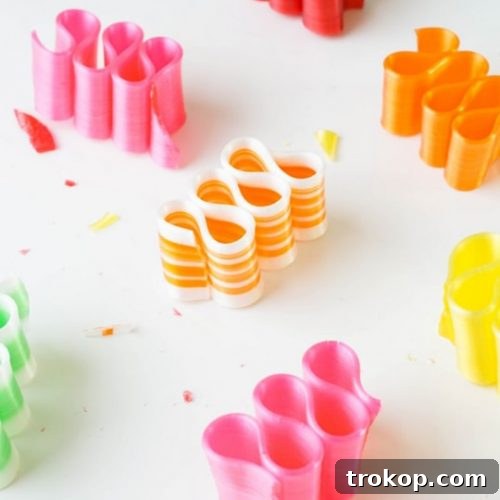
Carefully break each piece of ribbon candy in half. When broken correctly, each half should ideally feature three distinct loops or “humps” at its top. These humps are essential for securely holding the place cards later on. Handle the ribbon candy with care as it can be fragile and prone to breaking irregularly.
Step 5 – Assemble Your Place Card Holders
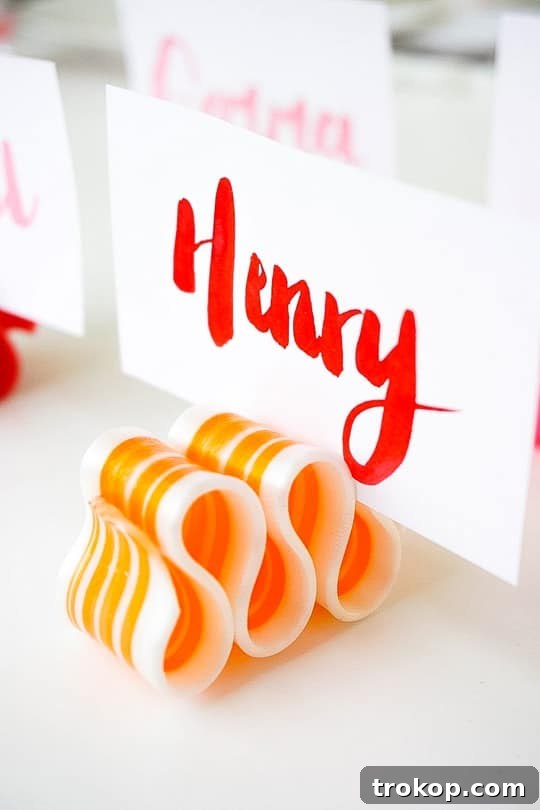
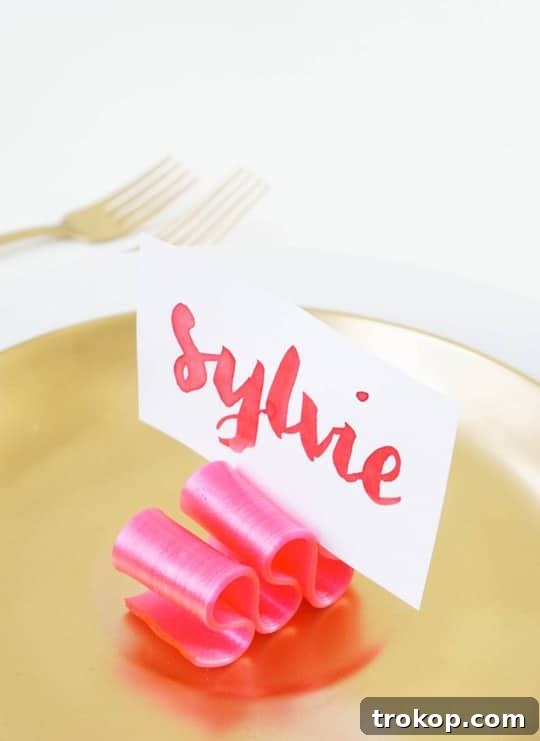
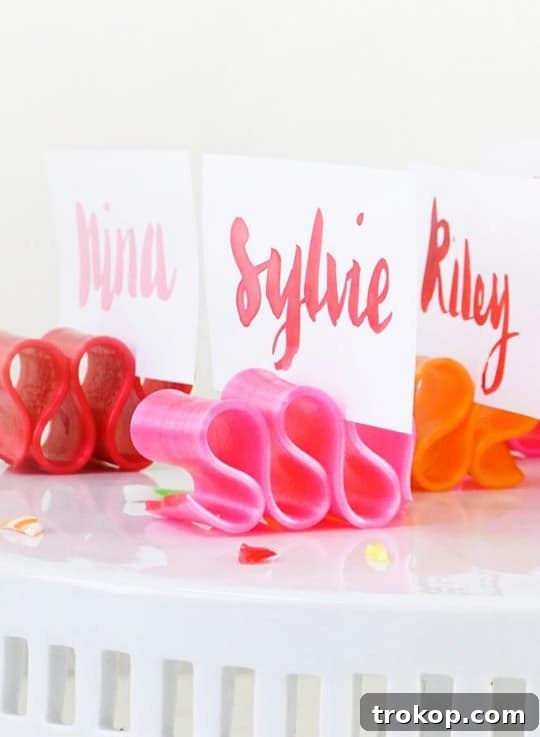
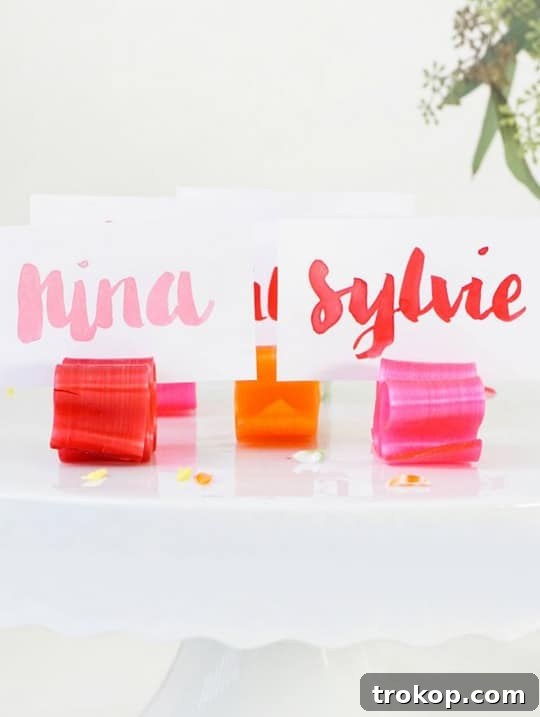
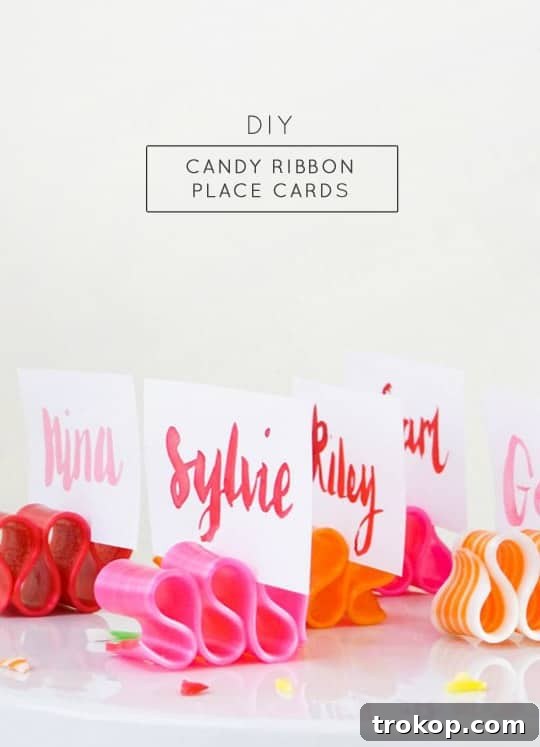
Finally, assemble your place card holders. Gently slide the watercolor-lettered name cards onto the prepared ribbon candy pieces. Position each card neatly in between the second and third “humps” of the candy. The delicate folds of the ribbon candy will naturally cradle the card, holding it upright and stable.
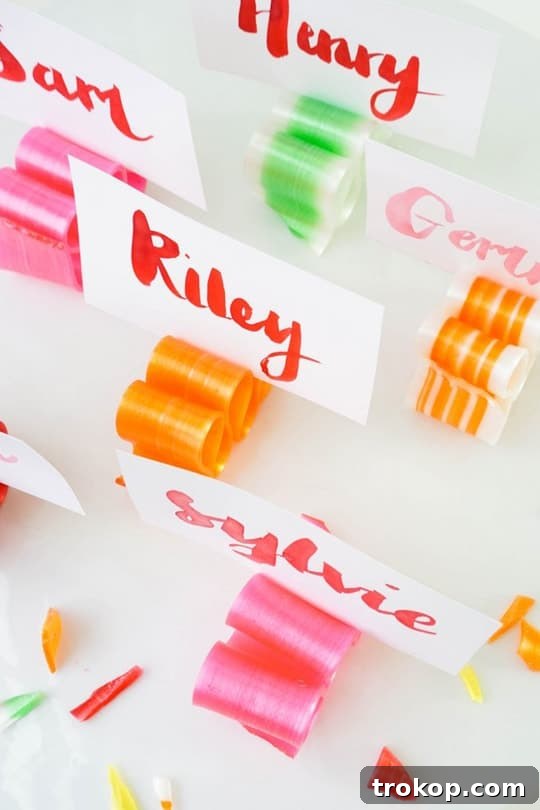
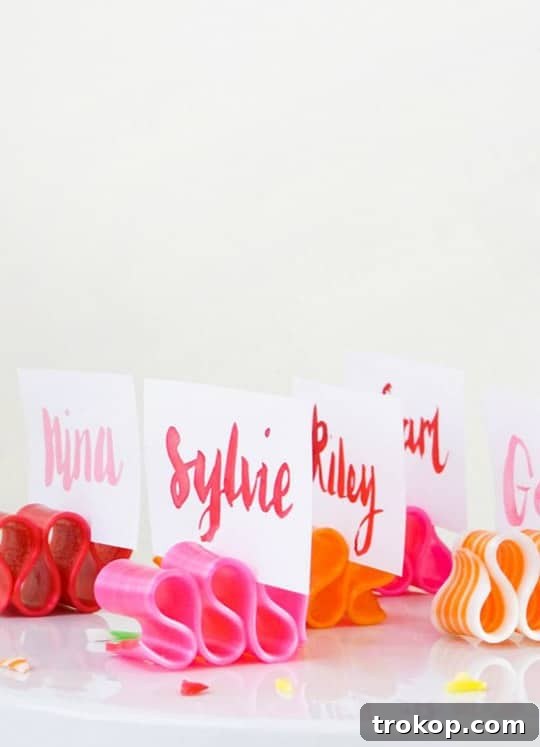
Once assembled, these charming place card holders can be placed at each guest’s seat, or arranged artfully on a sideboard or cake stand, allowing guests to choose their own spot upon arrival. Not only are these holders visually appealing and functional for guiding guests, but they also serve as a delightful, nostalgic treat, offering a sweet surprise that ties back to cherished traditions.
Easy Ideas for DIY Name Card Holders
Here at Sugar & Cloth, we’re seasoned pros when it comes to creating memorable table settings, and that means we’re constantly dreaming up new and imaginative place card holder ideas! The possibilities are truly limitless when it comes to crafting your own unique versions or cleverly repurposing everyday items to serve as name card holders, much like we’ve done with these charming ribbon candy holders.
DIY place card holders allow for unparalleled personalization, ensuring your event feels truly unique and reflects your individual style. They are often more cost-effective than store-bought options and add a special handmade touch that guests genuinely appreciate. From elegant and sophisticated to whimsical and fun, there’s a DIY option for every theme and season. Here are a few of our past favorite projects that offer inspiration:
- Faceted Easter Egg Place Card Holders: Perfect for spring celebrations, these geometric egg holders add a modern, artistic touch.
- Clay DIY Geometric Place Card Holders: Versatile and customizable, these clay holders can be molded into any shape and painted to match your decor.
- DIY Mini Mountain Photo Holders: Easily repurposed, these adorable holders can double as small photo displays for a personal touch.
- DIY Candy Ribbon Place Card Holders: Our very own sweet and nostalgic project, ideal for adding a festive and edible element.
- Simple Pumpkin Leaf Place Card Holders: A fantastic option for fall gatherings, bringing natural elements to your table.
- DIY Colorblock Easter Table Name Cards: A bright and cheerful design perfect for Easter brunch or any spring festivity.
Fair warning: some of these projects are “oldies but goodies” from our archives! It’s quite remarkable to reflect on how many years I’ve been blogging and how much photography styles and methods have evolved. What once felt cutting-edge now looks charmingly vintage!
DIY Watercolor Candy Ribbon Place Card Holders
Learn how to make a sweet place card holder using watercolors and candy ribbons. This simple project adds a unique and personalized touch to any table setting, perfect for holidays or special dinners. The combination of delicate hand-lettering and the vibrant, nostalgic charm of ribbon candy creates a memorable decorative element.
Active Time: 40 minutes
Drying Time: 10 minutes
Total Time: 50 minutes
Course: DIY
Category: Entertaining Decor
Equipment
- Watercolor Paints
- Small round paint brush
- Paint palette or plate
Materials
- White 2″ x 3.5″ paper cards
- Practice paper — Optional
- Ribbon Candy
- Cup of water
Instructions
-
With a brush, letter the names of your guests on the place cards so that they’ll have time to dry before it’s time to top the ribbon candy.
The lettering style I’m using here is this: Use heavy lines for downward strokes (apply more pressure on the brush). Use thin lines for upward strokes (apply less pressure on the brush).
If you’re new to hand lettering, take a moment to practice both thick downward and thin upward strokes on a separate sheet of paper, as well as the names of the folks you’ll be writing out.
-
Wet your brush with water and swirl in the color of your choice to activate the paint. If you’d like, swirl a few colors together on your paint palette, creating a new color, all the while mixing in water until you reach the translucency of your liking.
-
Then move to your white place cards for the real thing! If it’s helpful, lightly write out the names in pencil first, so you’ll have a spacing guide as you begin brush lettering.
Allow place cards to dry, and if need be, erase any visible pencil lines, but don’t erase over the watercolor!
-
Break the ribbon candy pieces in half, so there are three loops or “humps” at the top of each piece.
-
Place the name cards atop the ribbon candy pieces in between the 2nd and 3rd “humps.”
Cost: $10
Keywords: diy watercolor candy ribbon place card holders

We absolutely love seeing your creative endeavors! Don’t forget to share your DIY Candy Ribbon Place Cards with us on Instagram using the hashtag #sugarandclothloves. Your unique interpretations and beautiful table settings inspire our entire community! For those seeking further inspiration to refresh their living spaces, you can find a wealth of our home decor tutorials and innovative ideas right here on our blog.