
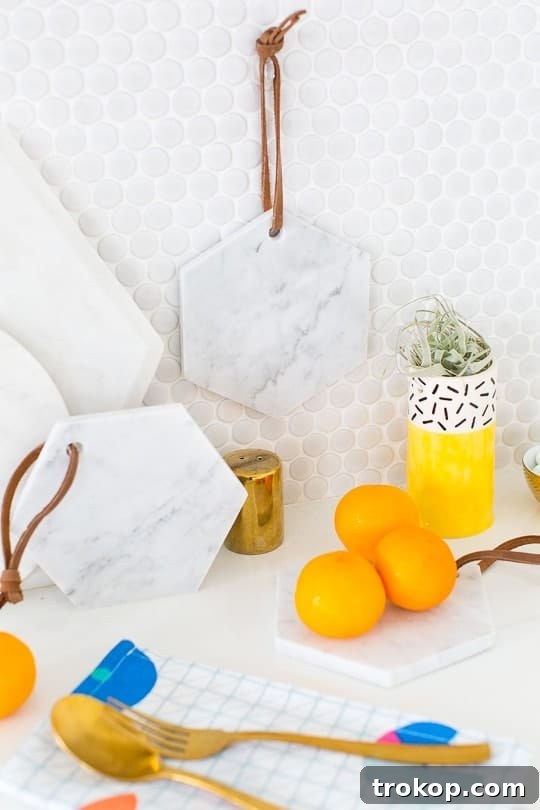
DIY Hanging Marble Serving Board: Elevate Your Home Decor and Gifting Game
In the realm of DIY projects, there are few materials as captivating and versatile as marble. Its inherent elegance, cool touch, and timeless appeal make it a perennial favorite for interior designers and craft enthusiasts alike. My personal fascination with hexagonal marble tiles has led to a delightful series of creations, from charming DIY marble clocks to sophisticated gilded marble serving boards. Yet, despite these endeavors, a stash of these gorgeous marble hexagons remained, patiently awaiting their next transformation.
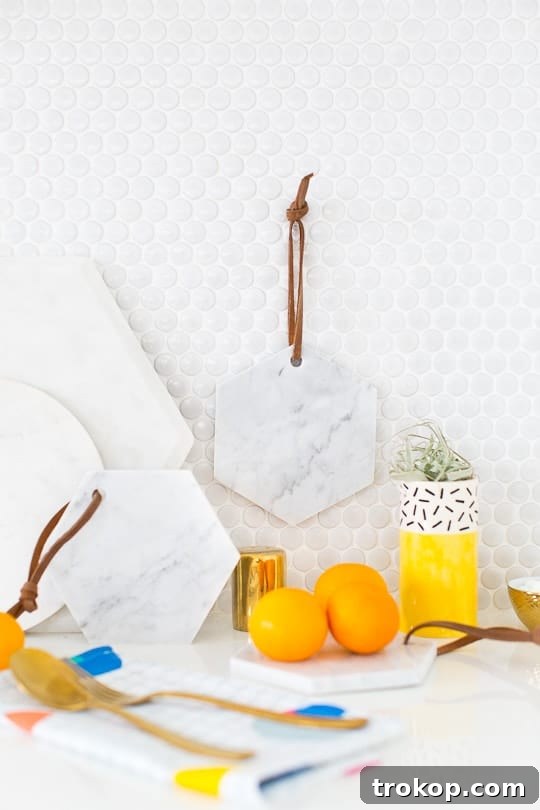
This enduring collection of marble, far from being a mere decorative hoard, inspired me to embark on yet another exciting project: the DIY Hanging Marble Serving Board. This latest iteration transforms a simple tile into a stunning, functional piece that promises to add a touch of modern sophistication to any setting. Imagine serving delectable appetizers on a board that literally floats in mid-air, or using it as a chic display for cherished items. The possibilities are as endless as your imagination!
What makes this project truly exceptional isn’t just its aesthetic appeal, but its incredible affordability. We’re talking about creating a high-end looking item for less than $5 each. This price point makes them not only a fantastic personal indulgence but also the perfect candidate for thoughtful, handmade gifts. Forget the mass-produced trinkets; these custom marble boards are guaranteed to impress, showing a level of care and craftsmanship that store-bought items simply cannot match.
Whether you’re looking to elevate your own entertaining style, or searching for a unique and budget-friendly gift that feels luxurious, this DIY hanging marble serving board is your answer. It’s a simple project with a huge impact, combining elegant materials with a modern, minimalist design. Let’s dive into how you can create these beautiful pieces, transforming ordinary tiles into extraordinary statements.
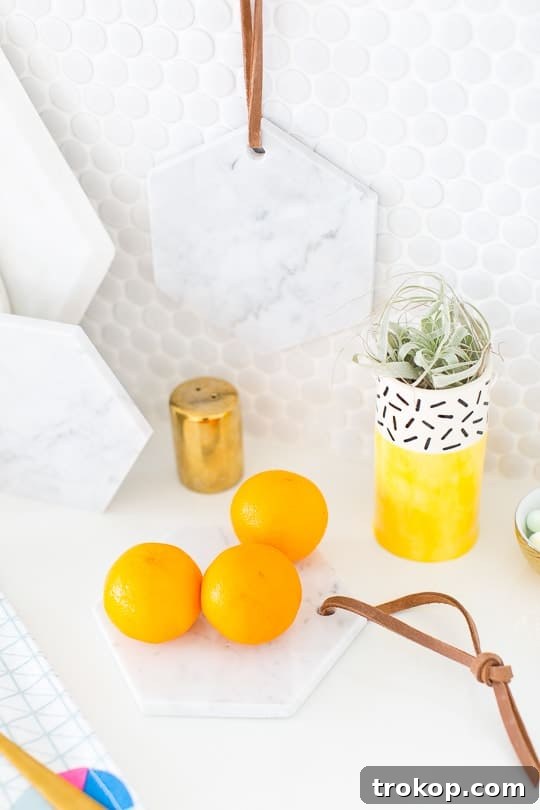

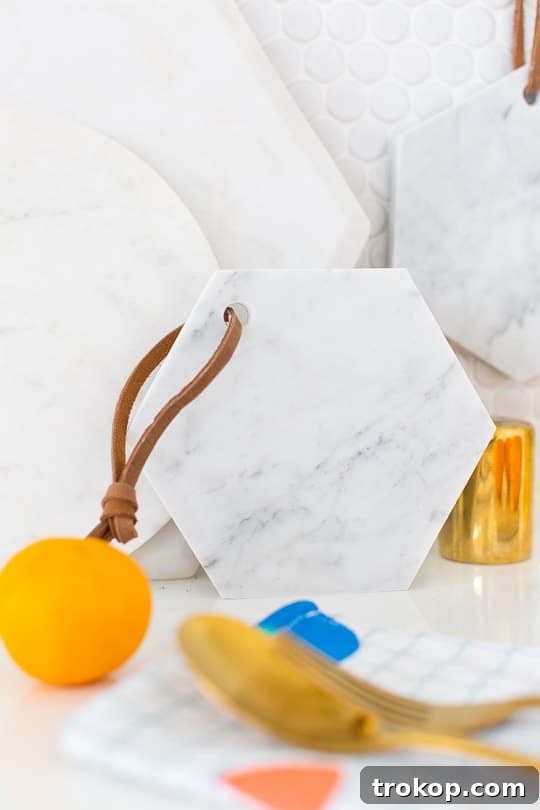
Materials And Tools Needed To Make A DIY Hanging Marble Serving Board
Before you begin, gather all your materials and tools. Having everything organized will make the crafting process smooth and enjoyable. This project relies on a few specific items to ensure both the beauty and durability of your finished hanging marble serving board.
- Marble Tile: For this project, we opted for Carrara white marble tiles, specifically 6 inches from point to point, with a 3/8-inch thickness and a polished finish. Carrara marble is renowned for its classic white appearance with distinctive grey veining, offering a sophisticated look. While you can find bulk options online, your local hardware store or tile shop is often the best place to source individual tile samples, which are perfect for a single board and can be incredibly budget-friendly. When selecting your tiles, look for smooth, chip-free edges and consistent thickness.
- Leather Ribbon: A durable and aesthetically pleasing choice, leather ribbon adds a rustic yet refined touch. Consider the width and color that best complements your marble and desired aesthetic. Alternatives like macrame cord, strong twine, or even a thin metallic chain could also work, offering different stylistic outcomes. Ensure it’s strong enough to support the marble’s weight.
- Drill: Any standard electric drill will suffice. Ensure it’s fully charged or has access to power.
- Regular Drill Bit: Used for creating an initial pilot indentation on the tape. While the ultimate drilling will be done with a specialized bit, a regular bit can sometimes help to gently start the process on the protective tape layer.
- 5/16-inch Ceramic Drill Bit: This is a crucial tool for drilling through marble without cracking. For the best results when working with natural stone like marble, a diamond-tipped core drill bit is highly recommended. These bits are designed to cut cleanly through hard materials and will significantly reduce the risk of chipping or breaking your tile. The 5/16-inch size is ideal for threading most standard leather ribbons or cords.
- Painter’s Tape: This invaluable item protects the marble surface, preventing chipping around the drill hole and providing a stable surface for the drill bit to start. Choose a high-quality tape that adheres well but removes cleanly.
- Water Squirt Bottle: Essential for cooling the drill bit and the marble during drilling. Drilling through stone generates significant heat, which can damage your drill bit and potentially crack the marble. Constant lubrication and cooling are key to a successful, clean cut.
- Paper Towel: For dabbing away excess water and ceramic dust, keeping your workspace tidy and ensuring better visibility.
- Safety Glasses and Gloves: Always prioritize safety when working with power tools and hard materials. Safety glasses protect your eyes from flying debris, and gloves can improve grip and protect your hands.
How To Make A DIY Hanging Marble Serving Board
Crafting your own hanging marble serving board is a surprisingly straightforward process, provided you approach it with patience and the right technique. The key step involves drilling through the marble, which can seem daunting but is easily managed with the proper tools and a little care. Follow these detailed steps to create your elegant and functional board:
Step 1: Prepare Your Workspace and Mark the Drill Point
First, set up a stable and clear workspace. Protect your work surface with an old towel or mat. Lay your marble tile flat. For a hexagon tile, finding the exact center is crucial for aesthetic balance. You can do this by gently drawing light pencil lines from opposite points (vertices) across the tile; where they intersect is your center point. Alternatively, measure and mark the center accurately.
Step 2: Apply Painter’s Tape for Protection
To prevent the marble from chipping and to provide a stable guide for your drill bit, apply painter’s tape generously across the surface of the tile where you intend to drill. Place at least two layers of tape, crossing over your marked center point. Press it down firmly to ensure good adhesion.
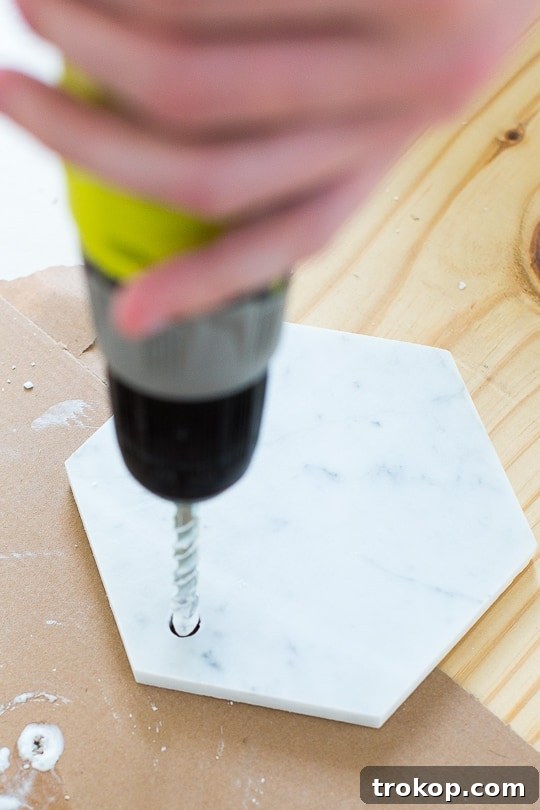
Step 3: Begin Drilling with Precision and Care
This is the most critical step. Attach your 5/16-inch ceramic or, preferably, diamond-tipped drill bit to your drill. While the original guide mentions starting with a regular drill bit, for marble, it is generally safer and more effective to go straight to your specialized ceramic/diamond bit. Starting at an angle and slowly straightening the drill as it bites into the tape can help create a guide groove without the bit “walking” across the smooth marble surface.
Once you’ve established a stable starting point, switch to drilling perpendicularly to the tile. Use a slow to medium drill speed – high speeds generate excessive heat and can damage the marble. Apply light, steady pressure. Crucially, as you drill, constantly squirt water onto the drill point using your water bottle. This serves two vital purposes: it cools the drill bit and the marble, preventing overheating and potential cracking, and it helps to wash away the marble dust, keeping the cutting edge clear.
Continue drilling with a “pecking” motion – periodically lifting the drill slightly to allow water to flow into the hole and clear debris. This will become a bit messy, so use paper towels to dab away excess water and marble slurry. Be patient; drilling through marble takes time. Do not rush or apply excessive force, as this is when chipping or cracking is most likely to occur.
Step 4: Clean the Tile and Thread the Ribbon
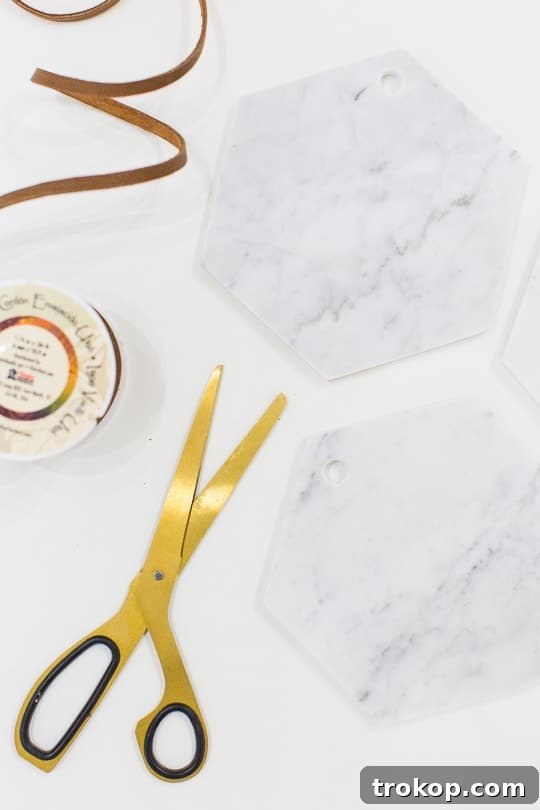
Once your hole is drilled completely through the marble, carefully remove the painter’s tape. Wipe down the marble tile with a damp paper towel to remove any remaining dust or water. Inspect the hole for smoothness; if there are any tiny rough edges, you can gently smooth them with very fine-grit sandpaper or a diamond file, though a properly drilled hole should be quite clean.
Now, take your leather ribbon. Thread one end of the ribbon through the newly drilled hole from the top surface of the marble. Pull a significant length of ribbon through, enough to form the hanging loop and secure a knot.
Step 5: Secure the Ribbon with a Knot
Bring the two ends of the leather ribbon together above the tile, forming a loop. Decide on your desired hanging length. Once satisfied, tie a secure knot to join the two ends of the ribbon, effectively creating a hanging loop. A simple overhand knot or a double knot works well for security. Ensure the knot is tight and positioned neatly, ideally tucked just above the marble if you prefer a clean look. Trim any excess ribbon, leaving a small tail for security. If your ribbon tends to fray, you can gently melt the ends with a lighter for a sealed finish, but be extremely cautious.
And just like that, your DIY Hanging Marble Serving Board is complete! It’s truly as easy as preparing, drilling, and knotting. This simple process transforms a basic tile into a sophisticated piece of decor or a practical serving accessory.
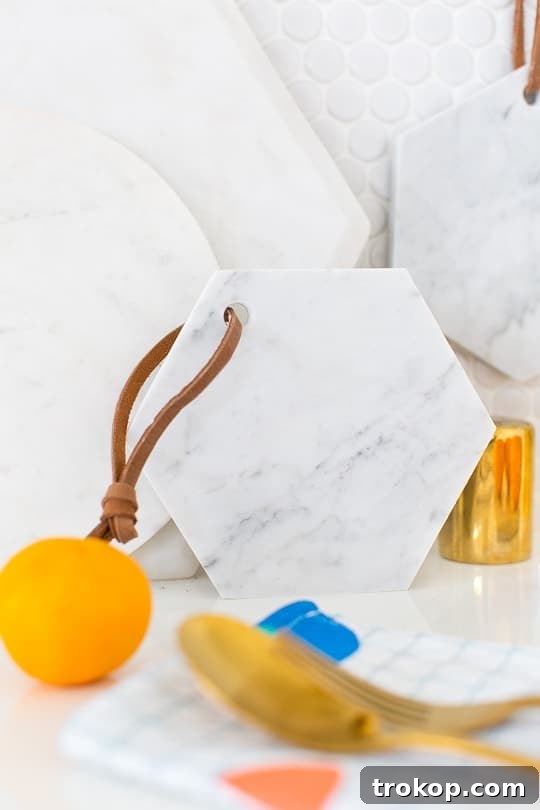
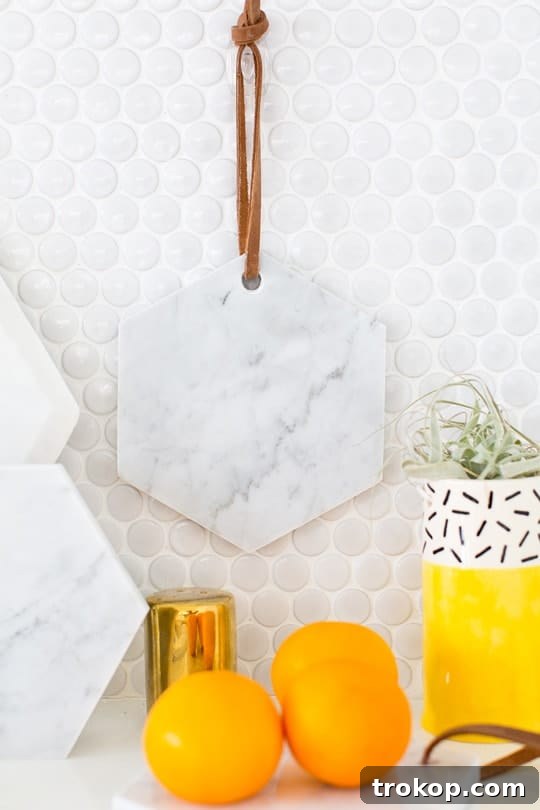
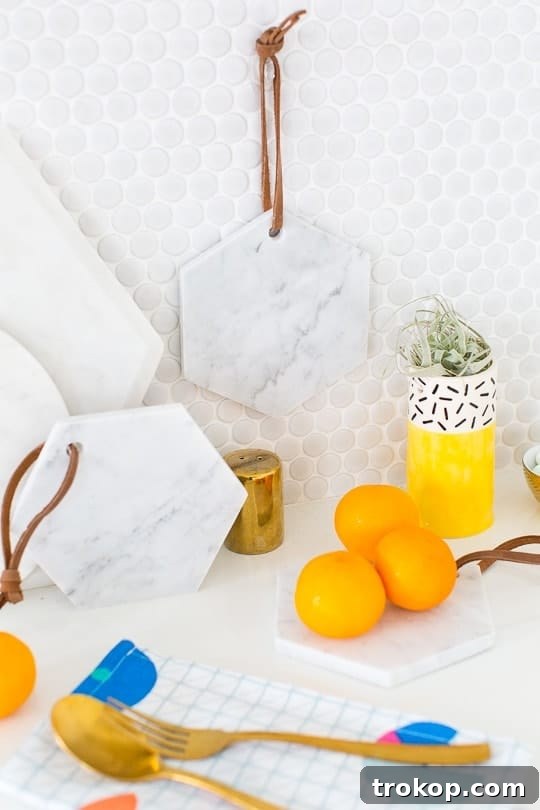
Creative Ways to Use Your Hanging Marble Board
Once you’ve crafted your beautiful DIY hanging marble serving board, you’ll discover its incredible versatility. It’s much more than just a serving platter; it’s a piece that can enhance various aspects of your home and gifting endeavors.
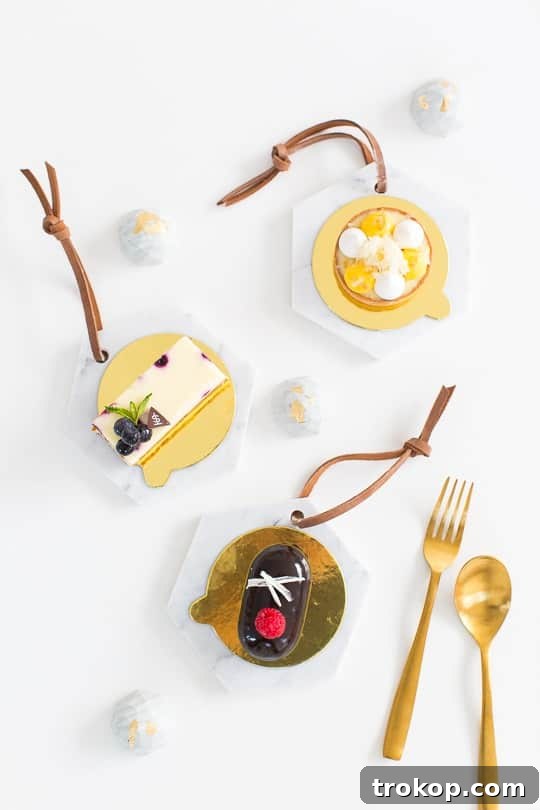
- Elegant Serving Platter: The primary use, of course, is serving. These boards are perfect for presenting appetizers, gourmet cheeses, charcuterie, bite-sized desserts, or fresh fruit. The cool surface of the marble helps keep certain foods fresh, making it ideal for entertaining. Just ensure your marble is food-safe and consider sealing it if you plan for extensive food contact.
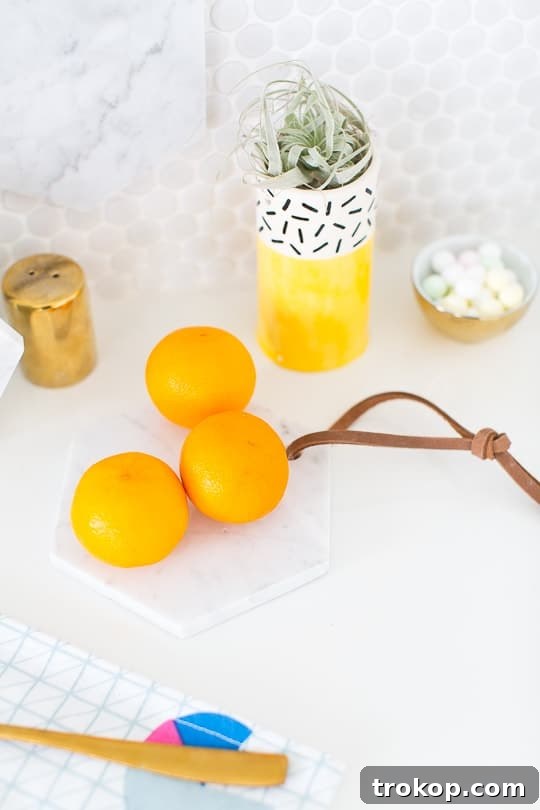
- Chic Home Decor: Hang your marble board as a minimalist piece of wall art. Its natural patterns and clean lines make a sophisticated statement. You can also use it as a base for small decorative items, creating an elevated display for candles, succulents in small pots, or treasured trinkets.
- Jewelry Organizer: Hang it near your vanity or dresser and drape necklaces or bracelets over the ribbon. The cool marble surface can also serve as a stylish spot for rings and earrings.
- Entryway Catch-All: Place it by your door to stylishly hold keys, mail, or other small essentials as you enter or leave your home.
- Unique Gifting Option: As mentioned, these boards make exceptional gifts. Package one with a gourmet cheese knife, a small pot of herbs, or a selection of artisanal chocolates for a truly thoughtful present. They’re perfect for housewarmings, weddings, birthdays, or as a sophisticated hostess gift.
Maintenance and Care for Your Marble Board
To ensure your DIY hanging marble serving board remains beautiful and functional for years to come, proper care is essential. Marble, while durable, is a porous natural stone that requires specific attention.
- Cleaning: After use, especially with food, wipe the marble surface with a soft, damp cloth and a mild, pH-neutral soap. Avoid abrasive cleaners, harsh chemicals, or acidic substances (like vinegar or lemon juice), as these can etch and dull the marble’s polished finish. Rinse thoroughly with clean water and dry immediately with a soft cloth to prevent water spots.
- Sealing (Optional but Recommended): For boards used frequently for serving food, consider applying a food-safe marble sealer. Sealing helps to protect the marble from stains and makes it less porous, extending its lifespan and making cleaning easier. Follow the manufacturer’s instructions for application and reapplication.
- Protect from Scratches: While marble is hard, it can still scratch. Avoid cutting directly on the board with sharp knives. If using it as a decorative base, consider adding small felt pads to the bottom of any items placed on it to prevent scratches.
- Handle with Care: Remember that marble is heavy and can chip or break if dropped. Always handle your hanging board with care, especially when moving or cleaning it.
Troubleshooting Common Drilling Issues
Even with careful planning, sometimes things don’t go exactly as expected when drilling marble. Here are some common issues and how to troubleshoot them:
- Marble Chipping Around the Hole: This often happens due to a lack of painter’s tape, insufficient water cooling, too much pressure, or using the wrong type of drill bit (not diamond-tipped). Ensure you use multiple layers of tape, keep the area continuously wet, apply gentle pressure, and always use a diamond-tipped bit designed for stone.
- Drill Bit Overheating: If your drill bit gets excessively hot, it means you’re not using enough water or drilling too fast. Always maintain a steady stream of water on the drill site and use a slower drill speed. An overheated bit will dull quickly and become ineffective.
- Hole Not Perfectly Centered: A common issue if the drill bit “walks” at the start. Use the painter’s tape to help guide the bit, and try starting the drill at a slight angle until it bites, then slowly straightening it. Marking clearly and double-checking your initial placement is key.
- Drilling is Too Slow/Not Progressing: This could be due to a dull drill bit, insufficient pressure, or not enough water to clear the debris. Ensure your diamond bit is in good condition, apply consistent but gentle pressure, and maintain constant water flow. A “pecking” motion helps clear dust and allows fresh water to cool the bit.
So, what do you think? This project isn’t about reinventing the wheel, but rather about taking a readily available, elegant material and transforming it into something truly special. The ease of creation, combined with the incredibly low cost and high visual impact, makes these DIY Hanging Marble Serving Boards a resounding success. They offer a luxurious feel without the hefty price tag, providing both practical utility and sophisticated aesthetic appeal.
Whether adorning your own kitchen, gracing a special occasion, or presented as a heartfelt gift, these boards are sure to garner compliments and admiration. They’re a testament to the fact that beautiful, designer-quality items can indeed be crafted with your own hands, proving that elegance doesn’t always have to come at a premium. So grab your marble tiles and get ready to add a touch of handcrafted luxury to your life!