
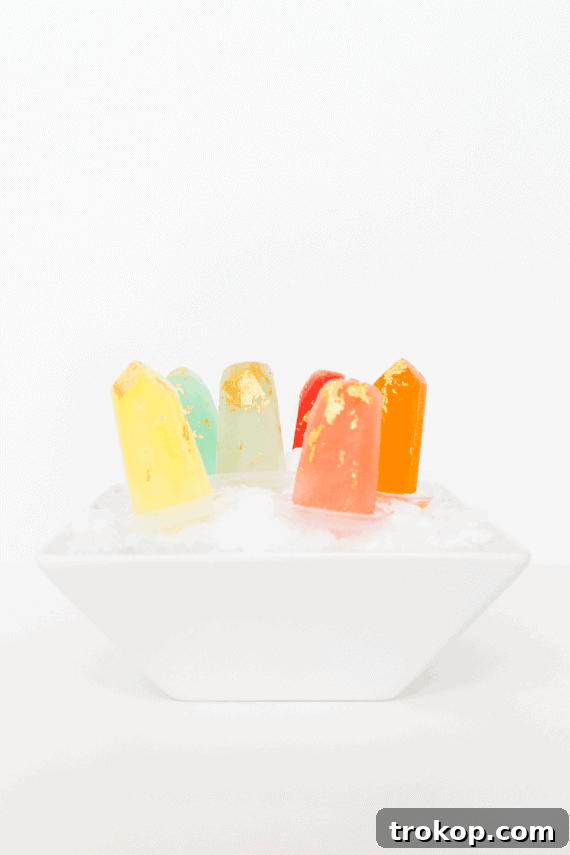
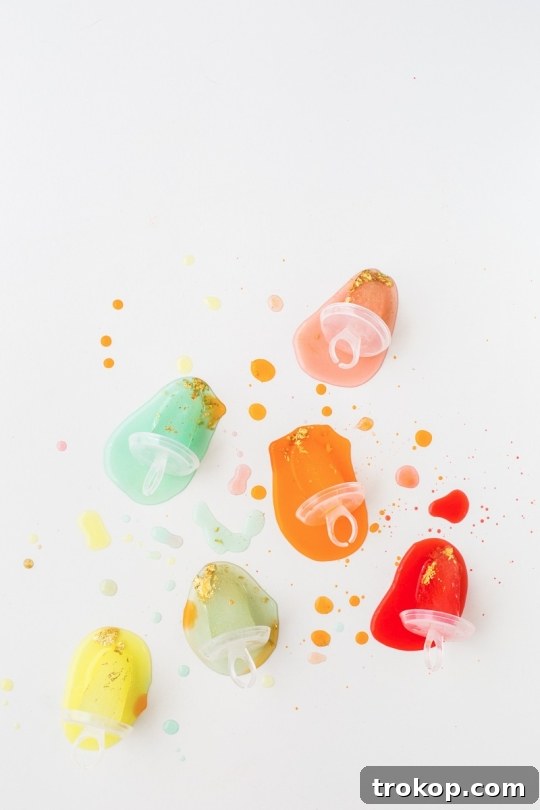
Step into a world of culinary enchantment with our guide to crafting mesmerizing Gilded Gemstone Popsicles. These visually stunning and exquisitely delicious frozen treats, adorned with shimmering edible gold, are designed to transform any occasion into a magical celebration. Whether you’re hosting a lavish gathering, planning a chic summer party, or simply seeking a unique way to elevate your everyday indulgences, these gemstone-inspired popsicles promise to captivate and delight.
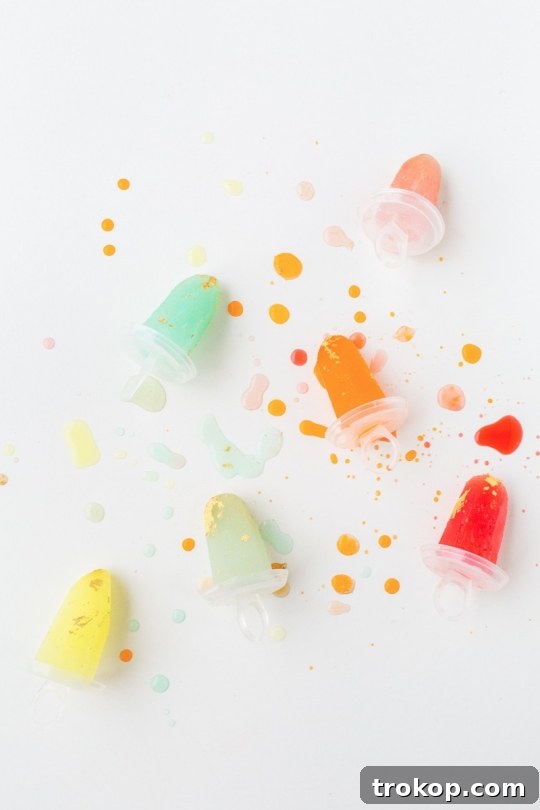
Unleash your inner artisan and infuse a touch of opulence into your frozen desserts. Our comprehensive recipe makes it surprisingly easy to create these Instagram-worthy masterpieces. Far from being a complex culinary endeavor, this project is more akin to a clever craft hack, primarily utilizing simple ingredients like lemonade or Kool-Aid for the base. The real magic, however, lies in the dazzling embellishment of edible gold, turning ordinary popsicles into extraordinary jewels. Each bite offers a refreshing burst of flavor, while the glittering facade ensures an unforgettable visual experience.
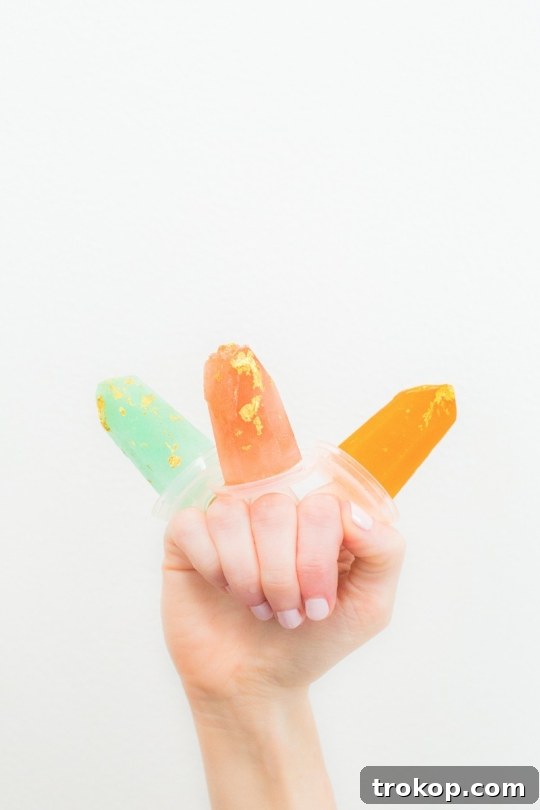
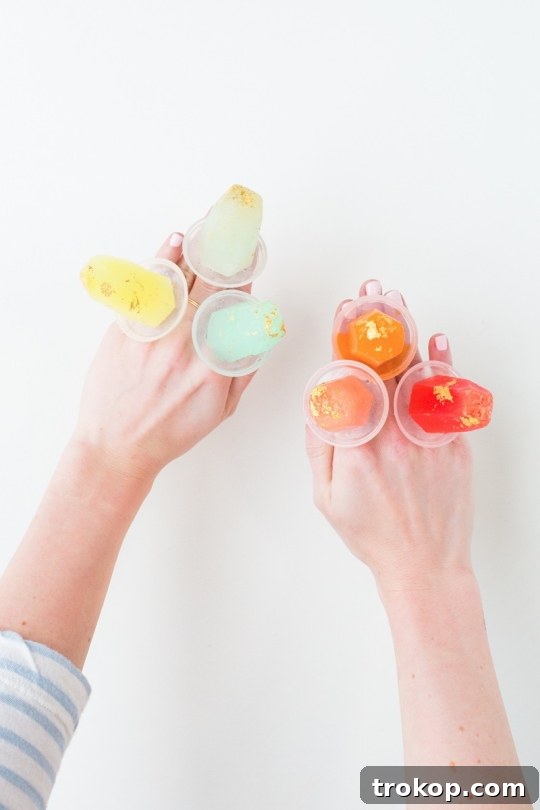
Get ready to impress your guests and elevate your summertime treats to an unprecedented level of elegance and charm. These aren’t just popsicles; they’re tiny treasures, some even designed in a playful ring pop style, adding an extra layer of fun and sophistication. Follow our detailed instructions to craft these unique delights that will undoubtedly leave everyone in awe and asking for your secret.
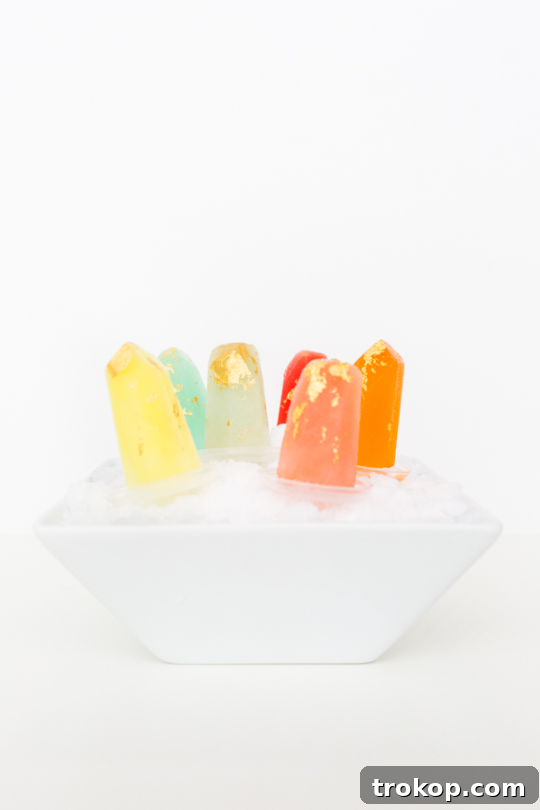
Table of Contents
Materials and Tools Needed
Crafting your own Gilded Gemstone Popsicles requires a few specific items to achieve that perfect, dazzling finish. Here’s everything you’ll need to embark on this sparkling culinary adventure:
- Gemstone Popsicle Ring Molds: Essential for achieving the iconic gemstone shape. While the exact molds we used may vary in availability, similar jewel ring ice pop molds are readily available. For a larger, more traditional popsicle size, consider these gemstone popsicle molds or elegant diamond-shaped molds designed for sticks.
- Popsicle Base: The foundation of your treat. You can opt for simplicity with pre-made lemonade, vibrant Kool-Aid mixes, your favorite fruit juices, or even your own elaborate homemade popsicle recipe. For our creations, we often combine frozen lemonade (with a splash of food coloring for depth) and various Kool-Aid flavors.
- Edible Gold Leaf: The star ingredient for the “gilded” effect. Be sure to purchase genuine edible gold leaf, typically 23-karat, specifically labeled for food use. This delicate material is key to creating a truly luxurious look.
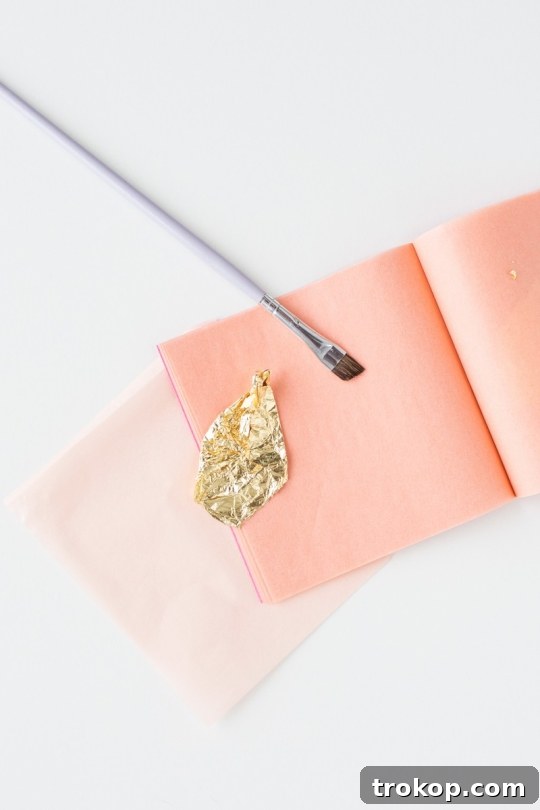
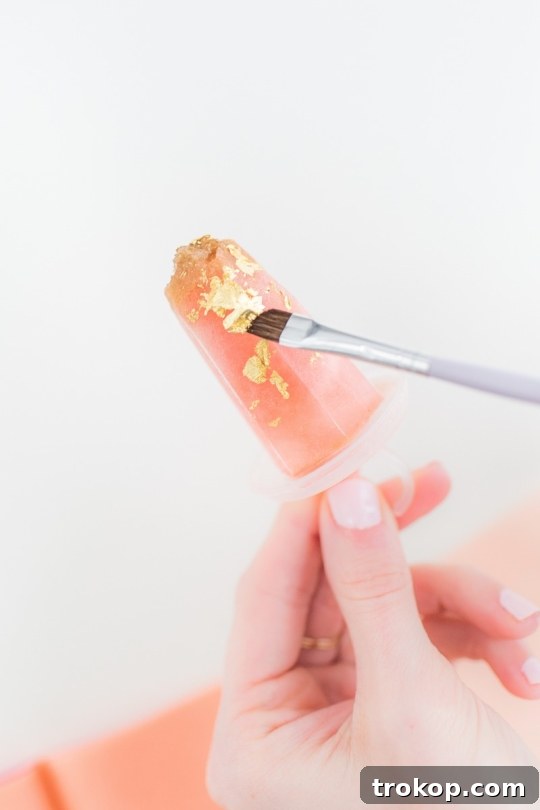
- Dedicated Food Brush or Tweezers: These specialized tools are crucial for the precise and careful application of edible gold. Using a brush with fine bristles or a pair of food-safe tweezers will help you handle the delicate gold leaf without tearing or damaging it.
- Optional: Food Coloring: To enhance the gemstone effect, a few drops of food coloring can transform clear liquids into vibrant, jewel-toned hues. Experiment with different colors to create a diverse array of “gemstones.”
- Optional: Edible Gold Glitter or Luster Dust: For an added touch of sparkle and shimmer. Gold glitter can be sprinkled into the juice before freezing or dusted onto the finished popsicles for an extra dazzling finish.
What is Edible Gold?
The concept of eating gold might sound extravagant, but it’s a time-honored tradition in high-end cuisine and confectionery. So, what exactly is edible gold, and is it safe to consume? Yes, the gold you see adorning these popsicles is indeed real, and specifically designed for culinary applications.
Genuine Edible Gold Leaf
Edible gold typically comes in the form of edible gold leaf, flakes, or dust. The gold we recommend and used for these popsicles is genuine 23-karat gold. It’s a food additive that is biologically inert, meaning it passes through your digestive system without being absorbed, metabolized, or having any nutritional value or negative effects on your body when ingested in small quantities. This makes it a perfectly safe, albeit luxurious, decorative element for food.
Distinguishing Edible from Craft Gold
It’s absolutely crucial to ensure that any gold product you use for food is explicitly labeled as “edible” or “food-safe.” There are many gold leaf sheets sold for purely craft or artistic purposes that are not intended for consumption and may contain other metals or contaminants. Always double-check the product description and certifications before purchasing for your culinary projects.
Handling Edible Gold Leaf
Edible gold leaf is incredibly delicate and notoriously thin, making it susceptible to tearing and wrinkling. Patience and proper tools are key to successful application. A fine, thin brush or a pair of food-dedicated tweezers are your best friends here. Avoid touching the gold leaf directly with your fingers, as the natural oils can cause it to stick or degrade.
To ensure the gold leaf adheres smoothly and beautifully, it helps to lightly dampen the surface of your popsicle (or any food item) first. You can achieve this with a dedicated food brush lightly dipped in water or a tiny amount of simple syrup. This creates a slightly tacky surface, allowing the delicate gold to bond better. Remember, a little goes a long way; even small pieces of gold leaf can make a significant impact.
Beyond Popsicles: Other Uses for Edible Gold
Once you acquire edible gold, you’ll discover its versatility in elevating various dishes and drinks. We’ve used it in numerous other glamorous projects:
- Champagne Jello Shots: Adding a sophisticated sparkle to a classic party favorite.
- Edible Gold Macarons: Transforming delicate French pastries into glittering confections.
- Flower Pot Cake: Gilded accents can bring an unexpected touch of luxury to baked goods.
- Drinks and Cocktails: A sprinkle of gold flakes can make any beverage feel like a special occasion drink.
Experimenting with edible gold is a fantastic way to add a unique, opulent touch to your culinary creations, making them truly unforgettable.
How to Make Homemade Popsicles
Making delicious homemade popsicles is a simple and rewarding process, especially when you plan to adorn them with edible gold. Here’s a detailed guide to creating the perfect frozen base for your gilded masterpieces:
Step-by-Step Popsicle Creation
- Prepare Your Juice Base: Start with your chosen liquid. For vibrant, jewel-toned popsicles, consider adding 1-2 drops of food coloring to your juice. We love using a mix of lemonade and various Kool-Aid flavors to get a range of colors. For an extra touch of internal sparkle, you can sprinkle a small amount of edible gold flakes or dust directly into the juice before pouring. Be mindful that while this adds shimmer, it can sometimes slightly weaken the popsicle’s structure, potentially making it melt a little quicker.
- Pour into Molds: Carefully pour your prepared juice mixture into the gemstone popsicle molds. Ensure you don’t overfill them, leaving a little room for expansion as the liquid freezes.
- Insert Popsicle Sticks: Gently insert popsicle sticks into each mold. For the best results, ensure they are centered and stand upright. Many molds come with a top cover that helps hold the sticks in place. If your molds don’t have this feature, you can use aluminum foil with a small slit to secure the sticks.
- Freeze Thoroughly: Place the filled molds in the freezer on a flat, stable surface. Allow them to freeze completely, which typically takes 4-6 hours. For optimal firmness and ease of handling, we often recommend freezing them overnight. A fully frozen popsicle is less likely to break when removed from the mold and provides a stable surface for gold application.
- Demold with Care: Once the popsicles are thoroughly frozen, gently remove them from the molds. If you encounter any resistance, quickly run the molds under warm water for a few seconds. This helps to loosen the edges without melting the entire popsicle. Avoid prolonged exposure to warm water, as this can affect the shape and texture.
This basic method provides a versatile foundation. If you’re feeling more adventurous and want to explore other flavors, try making creamy Peaches and Cream Popsicles or refreshing Whole 30 Tropical Popsicles. The possibilities are endless for creating delicious and custom frozen treats!
Tips & How to Add Gold to Your Popsicles
Applying edible gold to your gemstone popsicles is the crowning glory of this project. It requires a delicate touch and a few insider tips to achieve that perfect, glamorous finish. Here’s how to do it like a pro:
Prepping Your Popsicle for Gold Application
- Create a Damp Surface: Edible gold adheres best to a slightly tacky or damp surface. After removing your popsicles from the molds, let them thaw slightly at room temperature for a minute or two. This will create a minuscule layer of moisture on the surface, which is ideal for gold adhesion. Alternatively, lightly moisten your dedicated food brush or tweezers with a tiny bit of water or simple syrup before picking up the gold.
Applying Edible Gold Leaf, Flakes, or Dust
- For Gold Leaf: Using a food-safe brush or tweezers, carefully pick up a piece of edible gold leaf. Its extreme lightness means it can easily float away with the slightest breath, so work in a draft-free area. Gently place the gold leaf onto the slightly melted or damp surface of the popsicle. It will immediately begin to adhere. You can use your brush to gently smooth it out or encourage it to conform to the popsicle’s shape.
- For Gold Flakes: If you’re using gold flakes, simply and delicately sprinkle them directly onto the popsicles. You can aim for a concentrated cluster or a more scattered, ethereal effect.
- For Gold Dust: For a soft, shimmering glow, dip a clean, food-safe brush into the edible gold dust. Gently tap or brush the dust onto the popsicles. This method is excellent for highlighting specific areas or adding an all-over sparkle without the bold statement of gold leaf.
Customizing Your Gilded Design
- Embrace Creative Freedom: This is where your artistic vision comes to life! Decide on your desired aesthetic. Do you want to highlight the geometric edges of your gemstone popsicles with a thin line of gold leaf? Perhaps a scattered, starry effect with flakes across the entire surface? Or a soft, luxurious sheen achieved with gold dust? You can cover specific areas, create intricate patterns, or go for a minimalist touch. The beauty of edible gold is its versatility for customization.
Final Freezing and Storage
- Re-freeze to Set: Once you’ve applied the desired amount of gold, it’s crucial to return the popsicles to the freezer immediately. This will help the gold set firmly and prevent the popsicles from melting further. Ensure they are fully solid again before serving.
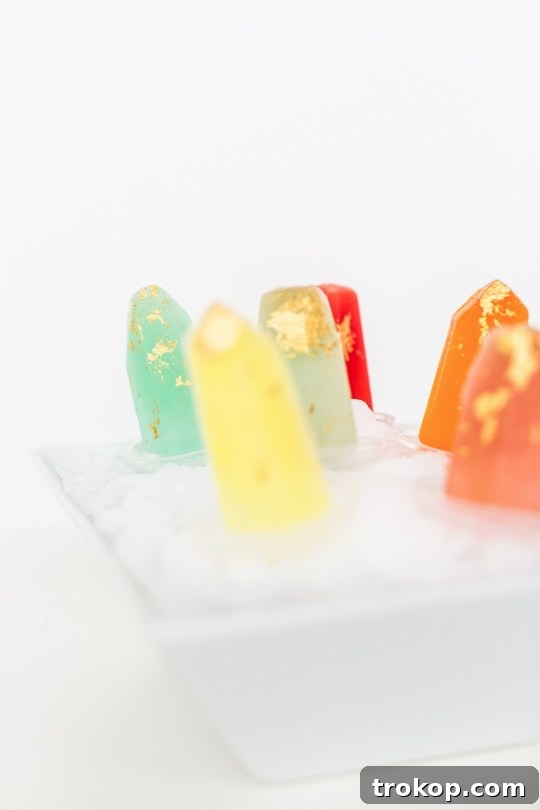
- Proper Storage: When returning them to the freezer, avoid laying the gilded popsicles flat on their sides, as this can cause the gold to stick to surfaces or get damaged. The best way to preserve their shape and delicate adornment is to place them back into their molds or store them upright in a bowl filled with crushed ice. This method protects the delicate gold and keeps them perfectly presented for serving.
With these tips, your Gilded Gemstone Popsicles will not only taste incredible but look like precious jewels, ready to dazzle your guests!
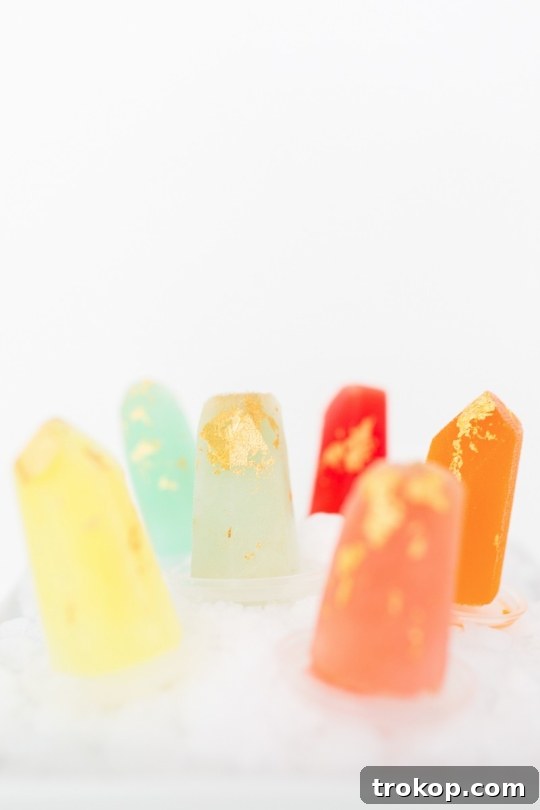
Different Ways to Serve Your Popsicles
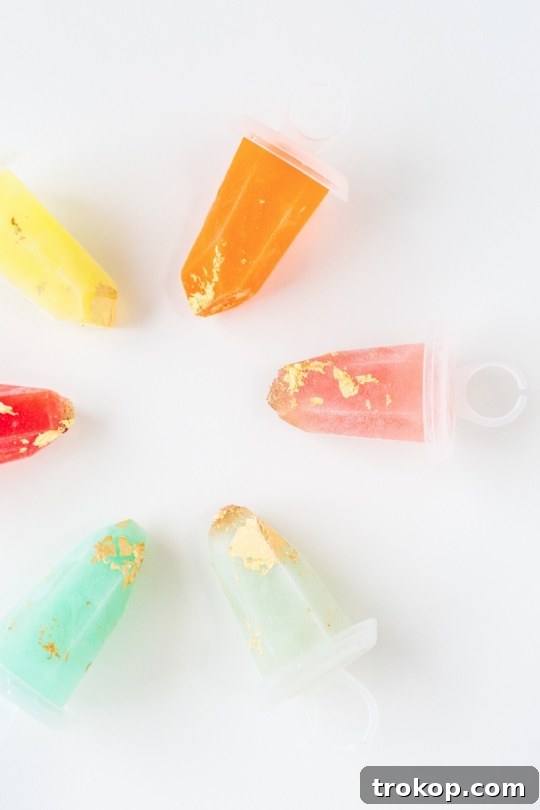
Presenting your Gilded Gemstone Popsicles is just as important as making them. These aren’t just any frozen treats; they are edible works of art, and their presentation should reflect their exquisite nature. While serving immediately after taking them from the freezer is always ideal for any frozen dessert, these beauties were truly designed for special occasions and parties.
Lessons Learned: Avoiding “Popsicle Casualties”
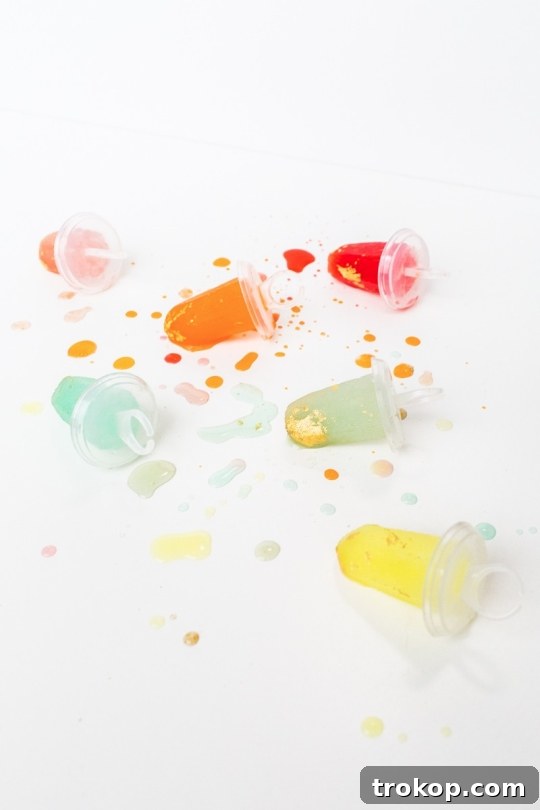
We’ve all experienced the heartbreak of a melting, misshapen popsicle, especially when serving delicate creations at a party. We learned the hard way that simply laying these intricate gemstone popsicles out can lead to a few “casualties.” Their delicate nature, especially with the edible gold, means careful handling and thoughtful presentation are key to maintaining their stunning appearance.
The Crushed Ice Advantage
Our greatest discovery for serving these gilded gems, particularly at gatherings, was the humble bed of ice. While traditionally reserved for oysters or cocktails, crushed ice provides a perfect, protective, and visually appealing display for popsicles. It keeps them perfectly chilled, slows down melting, and helps them maintain their pristine shape, showcasing the shimmering gold to its best advantage.
Forget the plastic wrap or basic trays. A large, elegant bowl or platter filled with a generous layer of crushed ice creates a luxurious base that keeps your popsicles firm and gleaming. This method not only looks sophisticated but also serves a practical purpose, extending the serving time and reducing the risk of a melty mess. If, despite your best efforts, you do have a “popsicle casualty” that loses its perfect shape, the crushed ice can also cleverly hide minor imperfections while keeping the other popsicles looking flawless. Since this is a delicate DIY project, we always recommend making a few extra to ensure you have plenty of perfect pieces for your display.
Encourage your guests to admire their beauty before indulging. A beautiful presentation truly enhances the entire experience of enjoying these luxurious Gilded Gemstone Popsicles.
More Fun Ways to Use Edible Gold
Once you’ve mastered the art of working with edible gold and witnessed its transformative power on your gemstone popsicles, you’ll likely want to explore even more creative applications in your kitchen. Edible gold isn’t limited to just desserts; it can add a touch of glamour to a wide range of culinary and decorative projects. Here are a few more inspiring ways to incorporate this luxurious ingredient:
- DIY Gold Lipstick Glasses: For a truly unique party trick or a sophisticated touch, use edible gold to create “lipstick marks” on your cocktail glasses. It’s a whimsical and elegant detail that guests will adore.
- Champagne Jello Shots: Elevate the classic jello shot by adding delicate gold flakes or a layer of gold leaf. This instantly transforms a fun party favor into a shimmering, adult-friendly treat perfect for New Year’s Eve or a glamorous brunch.
- Flower Pot Cake: When decorating cakes, edible gold can be used for intricate details, elegant borders, or even a full gilded layer. Imagine a flower pot cake with golden soil accents or shimmering petals.
- Edible Chocolate Messages: Use edible gold dust mixed with a tiny bit of clear alcohol (like vodka or lemon extract) to create a paint. With a fine brush, you can write messages, draw patterns, or add accents to chocolate treats, making them personalized and luxurious.
- Gourmet Coffee or Hot Chocolate: A tiny sprinkle of edible gold flakes on top of a whipped cream dollop or directly into your coffee can turn a simple beverage into a luxurious experience, perfect for special mornings or cozy evenings.
- Decorating Truffles and Bonbons: Handmade chocolates are already a treat, but adding a touch of gold leaf or a dusting of gold luster dust elevates them to professional patisserie quality, making them ideal gifts or dessert table centerpieces.
- Fruit Tarts and Pastries: Garnish fruit tarts with delicate pieces of gold leaf on fresh berries or citrus slices for a stunning visual contrast. It adds an unexpected sparkle to classic baked goods.
The possibilities are vast, limited only by your imagination. Edible gold is a fantastic tool for adding a wow-factor to almost any dish, turning the ordinary into the extraordinary.
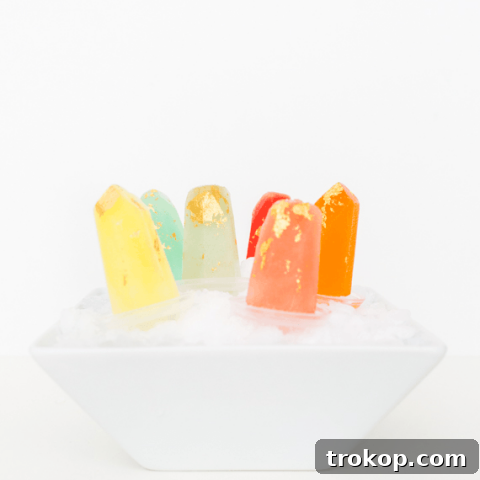
Gilded Gemstone Popsicle Recipe
Get ready to take your summertime treats to a whole new level of elegance and enchantment with these exquisite edible gold popsicles.
Equipment
-
Gemstone popsicle mold
-
Food safe paintbrush or tweezers
Ingredients
- Juice for your popsicle
- 1 edible gold leaf
- Food coloring optional
- Edible gold luster dust optional
Instructions
To make your popsicle:
-
Optional: Add 1-2 drops of food coloring for vibrant colors. Sprinkle edible gold flakes or dust into the molds for some shimmer and texture.
-
Pour the juice into the gemstone popsicle molds.
-
Insert popsicle sticks into the molds, ensuring they are centered and stand upright.
-
Place the molds in the freezer and allow the popsicles to freeze completely. This typically takes 4-6 hours or overnight.
-
Once fully frozen, gently remove the popsicles from the molds. If needed, run the molds briefly under warm water to loosen the popsicles. Let the popsicles thaw slightly to create a damp surface. This will help the gold adhere more easily. Or lightly wet your brush or tweezers.
To add the edible gold:
-
Pick up a piece of gold leaf with a food-safe brush or tweezers. Gently place it onto the slightly melted surface of the popsicle. Choose whether you want to highlight the edges, create a scattered effect, or cover specific areas with gold. This allows for customization and creativity.
-
If using gold flakes, delicately sprinkle them onto the popsicles. If using gold dust, dip a food-safe brush into the dust and gently apply it to the popsicles.
-
Once you’ve added the desired amount of gold, return the popsicles to the freezer until they are fully solid again.
Nutrition
Notes

40 Delicious Easter Desserts to Sweeten Your Celebration
Get inspired by these festive and easy-to-make Easter desserts that…Continue Reading40 Delicious Easter Desserts to Sweeten Your Celebration
Moscow Mule Float Recipe
Beat the heat with a refreshing twist on a classic! This…Continue ReadingMoscow Mule Float Recipe
Strawberry Rose Sorbet Champagne Float Recipe
Treat yourself to an exquisite dessert-drink hybrid with our Strawberry…Continue ReadingStrawberry Rose Sorbet Champagne Float Recipe
45 Alcoholic Desserts to Liven Up Your Next Party
Who says desserts are for kids? Enter the world of…Continue Reading45 Alcoholic Desserts to Liven Up Your Next Party