
Every pet owner knows the joy and companionship a furry friend brings into their lives. They deserve a cozy, comforting spot to call their own, and what better way to show your love than with a handmade, no-sew pet pillow? This project is not just incredibly simple and budget-friendly, but it also allows you to infuse your love directly into a practical gift for your beloved companion. Imagine them curled up, dreaming sweet dreams on a cushion crafted with your own hands!
Looking for a creative and impactful way to pamper your pet without overspending? Our no-sew DIY pet pillow is the perfect solution, whether you call it purr-fect or pawsome! This ingenious project requires only a few readily available materials, transforming into a snug haven for your dog or cat in under an hour. It’s an ideal project for beginners, requiring no sewing machine or advanced crafting skills. Beyond the ease of creation, it also offers a fantastic opportunity to upcycle any leftover fleece fabric you might have, turning scraps into something truly special and functional. These handmade pillows also make for thoughtful pet gifts for friends and family.
The inspiration for these delightful pet pillows came from a heartwarming initiative. We recently hosted a charity workshop where participants crafted these no-sew pet pillows specifically to donate to BARC Houston, our local animal shelter, for an upcoming pet adoption event. The experience of seeing these cute, soft pillows being passed out to the shelter animals truly melted our hearts. It was a tangible way to provide comfort and a sense of belonging to pets awaiting their forever homes, reminding us all of the profound impact simple acts of kindness can have.
We absolutely cherish hosting our community in our vibrant studio, but the joy is amplified tenfold when it’s for a noble cause. That’s why we were utterly thrilled by the overwhelming reception to our charity workshop, organized in partnership with State Farm®. The event was such a success that RSVPs sold out within hours of going live! It underscored a powerful message: people are eager to give back and make a difference in their community when given the right opportunity.
For those who might have missed the initial announcement, this workshop was completely free to attend, designed entirely around the spirit of generosity and communal crafting. Such a special event deserved to be captured, so naturally, we documented every heartwarming moment on video. You can relive the inspiring atmosphere and see the creative process unfold right here!
Of course, no DIY workshop at our studio is truly complete without a generous spread of delicious sweets and savory bites, refreshing cocktails, and plenty of opportunities for fun photo ops. We believe that fostering a festive and engaging environment enhances the creative process and encourages connections. We’re excited to share all the delightful details and behind-the-scenes moments from that wonderful day.
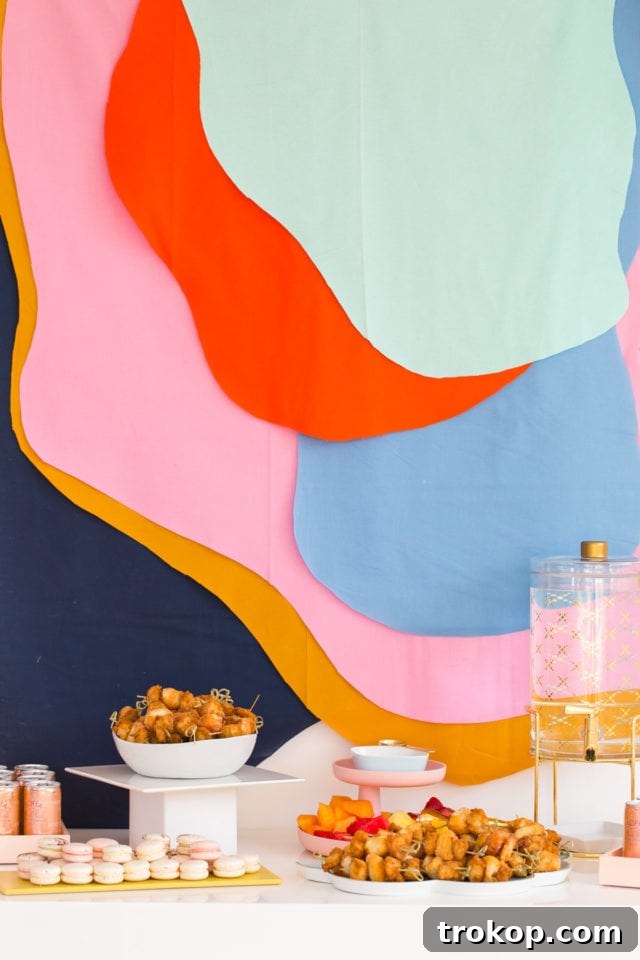
Table of Contents
Our Charity Workshop Decor
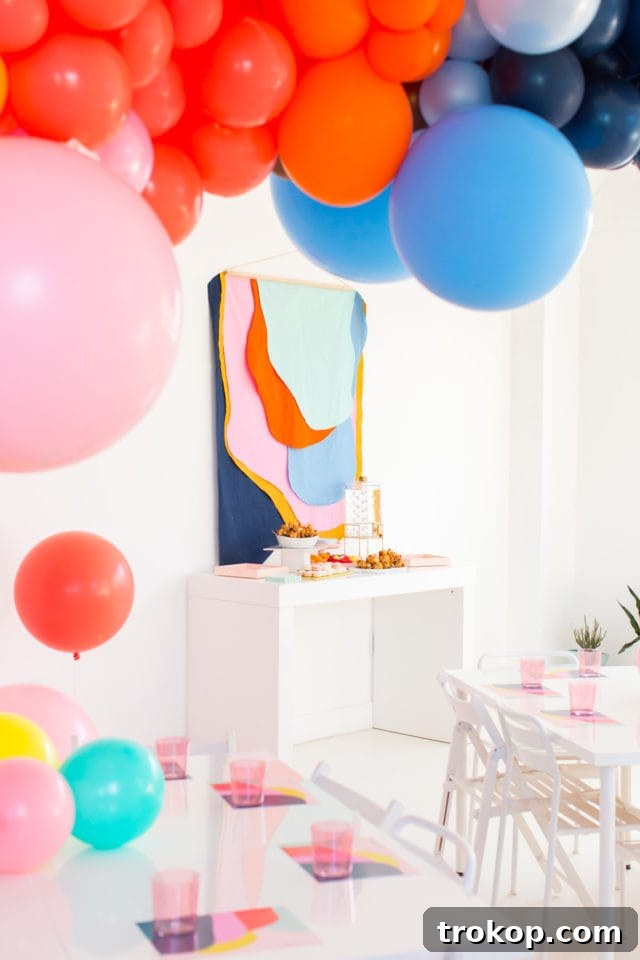
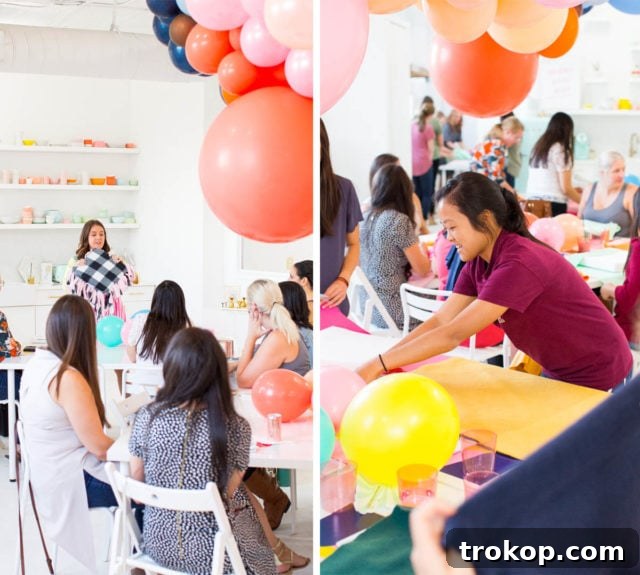
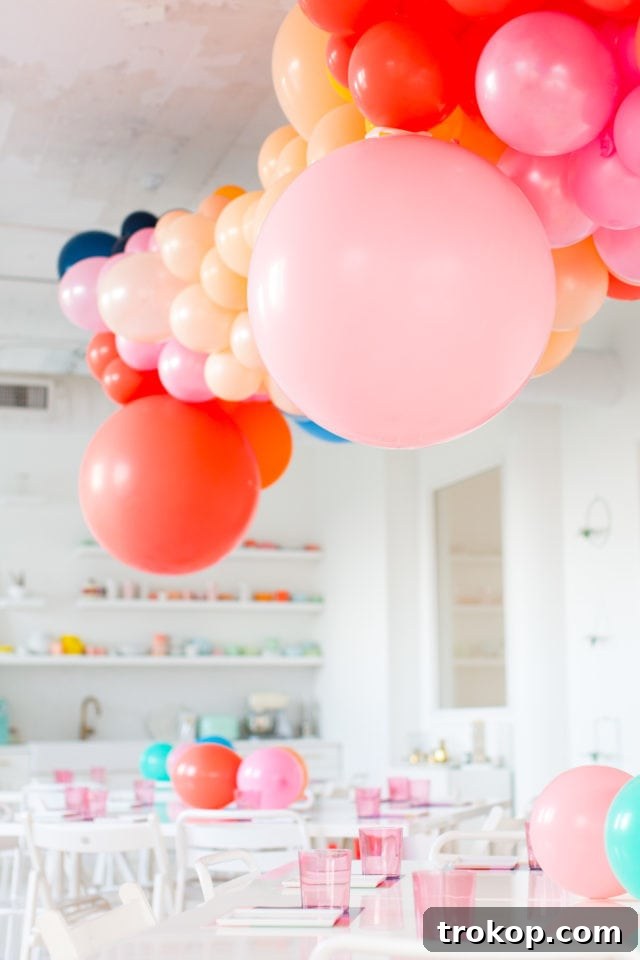
Creating an inspiring and festive atmosphere is key to any successful workshop, especially one focused on giving back. Our studio was transformed into a colorful haven, setting the perfect stage for creativity and community spirit. Do you recognize this vibrant DIY fabric wall hanging that we showcased earlier in the week? We’re still convinced it’s one of our most successful impromptu DIY backdrops to date!
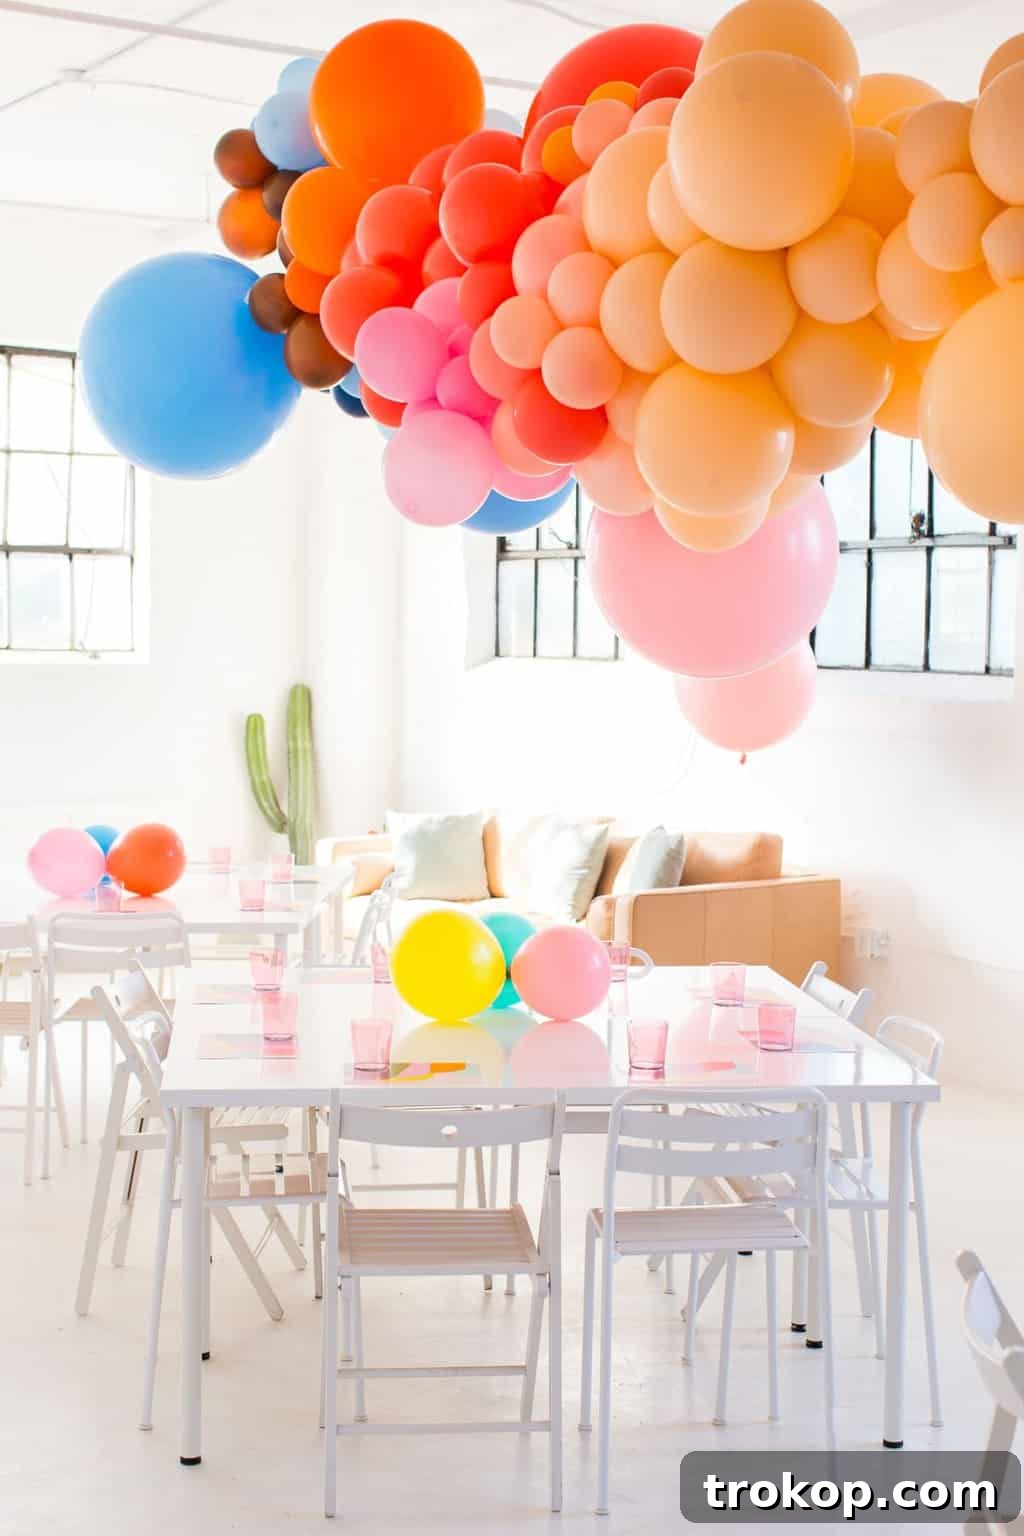
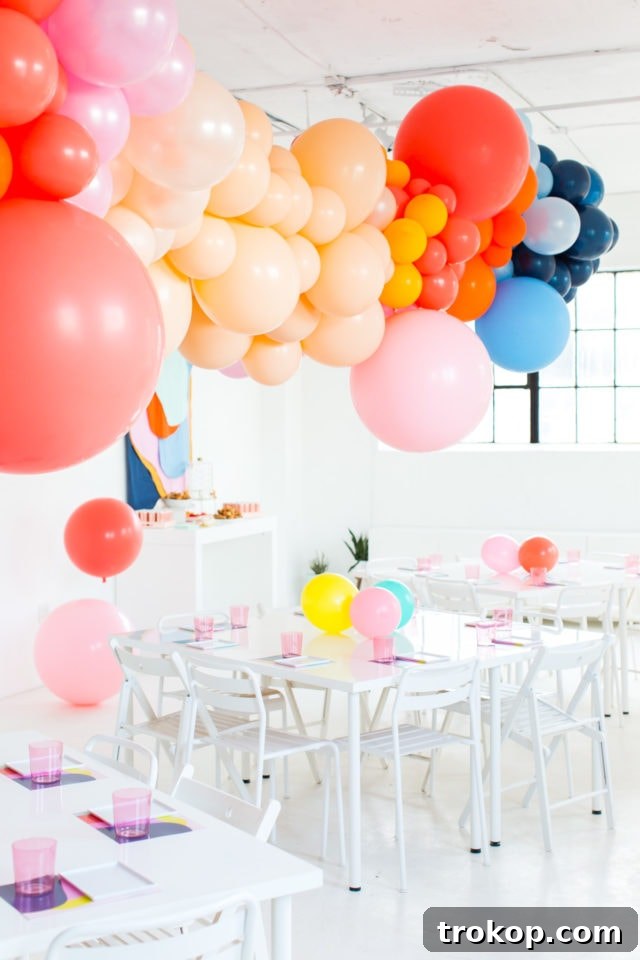
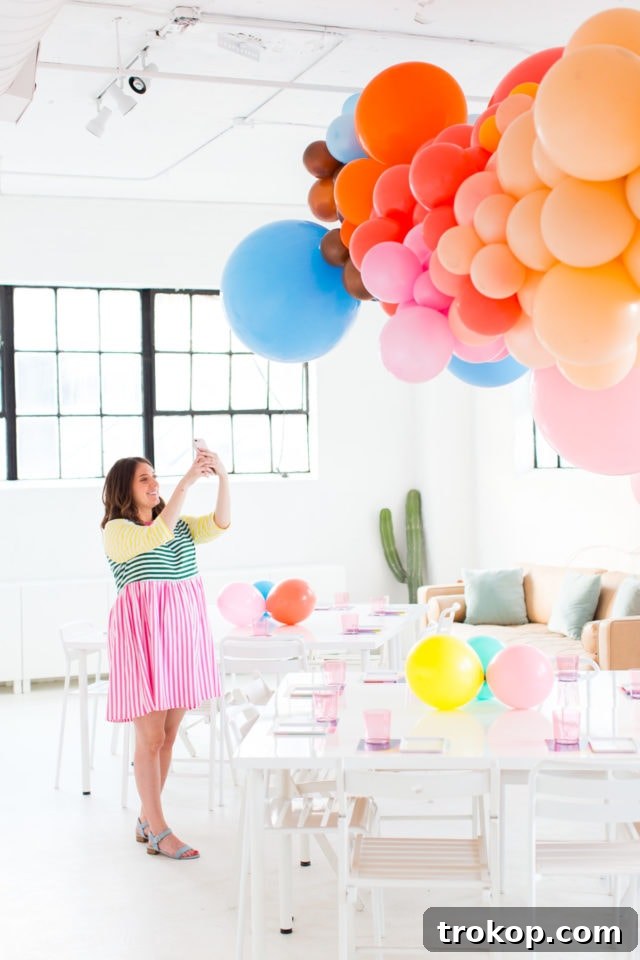
To further amplify the celebratory mood and add a fun, eye-catching element, we commissioned the installation of a giant, whimsical balloon garland. Its cascading colors and playful shapes perfectly complemented the energetic buzz of the workshop, inviting participants to relax, connect, and unleash their inner crafters for a wonderful cause. The decor not only made for great photo opportunities but also ensured everyone felt uplifted and engaged throughout the event.
How To Make A No-Sew DIY Pet Pillow
Now, let’s bring the spirit of our charity workshop right into your home! Recreating these wonderful no-sew pet pillows is incredibly rewarding, and you’ll be amazed at how quickly you can craft a soft, comfortable bed for your pet. This guide provides all the steps you need to make a durable and cozy pillow that your furry friend will adore. It’s perfect for gifting, donating, or simply adding a touch of homemade comfort to your pet’s favorite napping spot.
Materials and Tools Needed
Gathering your supplies is the first step towards a successful DIY project. For this no-sew pet pillow, you’ll need just a few basic items, most of which you might already have around the house or can easily acquire.
- Fleece Fabric or Heavy Fabric: You’ll need enough fabric to cut two squares, each measuring at least 22 inches by 22 inches. Fleece is highly recommended for its softness, warmth, and resistance to fraying, making it ideal for a no-sew project. Consider using different colored or patterned fleece fabrics to create a fun, playful, and visually appealing design that matches your home decor or your pet’s personality. Thicker fabrics like denim or canvas can also work, but fleece is generally the easiest to knot. You can find a great selection of fleece fabric options here.
- Foam Padding or Pillow Stuffing: This will form the core of your pet’s pillow, providing comfort and support. Cut your foam padding to a size slightly smaller than your fleece squares – approximately 12 inches by 12 inches is a good starting point for a 22×22 inch pillow. Alternatively, you can use generous amounts of standard pillow stuffing for a softer, more pliable bed. The choice depends on your pet’s preference for firmness. Quality foam padding can be found here.
- Sharp Scissors: A good pair of sharp fabric scissors is crucial for clean, precise cuts, especially when creating the fringe. Dull scissors can make the job frustrating and result in uneven edges. Invest in a reliable pair of scissors for all your crafting needs.
Instructions for Your DIY Pet Pillow
Follow these simple steps, and you’ll have a delightful, handmade pet pillow in no time!
- Prepare Your Fabric Squares: Begin by laying out your chosen fleece fabric. Carefully cut two identical squares, each measuring at least 22 inches by 22 inches. This size is versatile for most small to medium-sized pets. Feel free to adjust these dimensions based on your pet’s size and preferred sleeping area; larger pets will require larger squares (e.g., 30×30 inches or more). Precision in this step ensures a well-proportioned finished pillow.
- Cut the Foam Padding: Take your foam padding and cut it to a size that is noticeably smaller than your fleece squares. For example, if your fleece squares are 22×22 inches, aim for a foam piece around 12×12 inches. This smaller foam core allows for ample fringe around the edges for knotting, which will gather the fabric around the insert. If using pillow stuffing, you won’t need to pre-cut it; you’ll simply fill the pillow later.
- Assemble the Layers: Lay one of your fleece squares flat on a clean work surface. Carefully center the cut foam padding on top of this fleece square. Then, place the second fleece square directly on top, aligning all edges as precisely as possible. The foam should be sandwiched neatly between the two fabric layers.
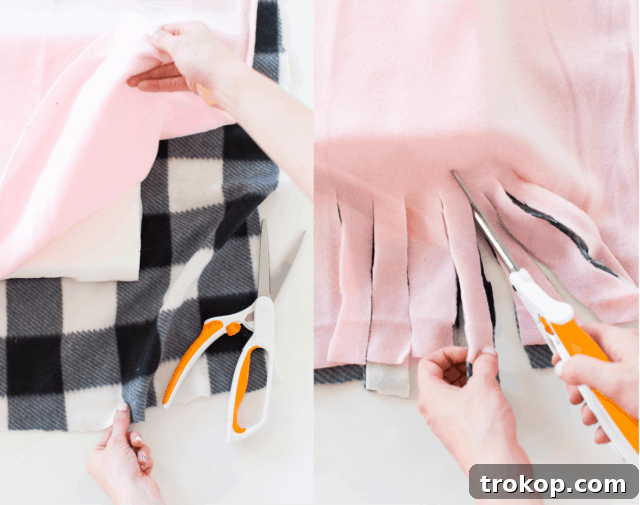
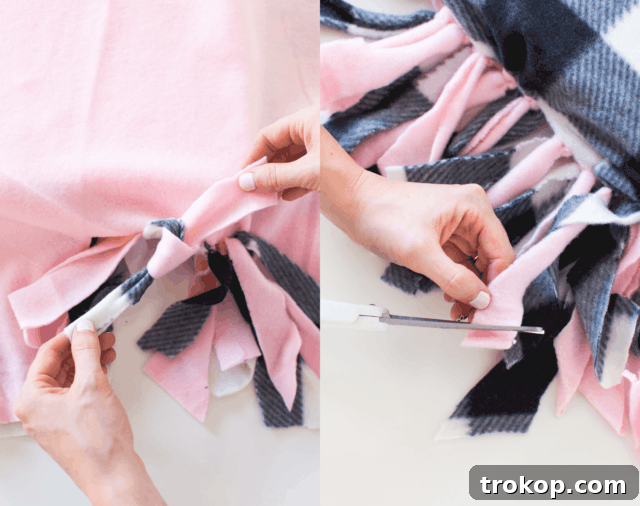
- Create the Fringe: This is where the “no-sew” magic happens! Using your sharp scissors, meticulously cut 1-inch wide fringe slits all around the perimeter of the stacked fleece layers. It’s important to cut through both layers of fabric simultaneously to ensure consistency. Stop each cut approximately 2-3 inches from the corner of the inner foam padding (or where the foam would be if using stuffing). This uncut margin around the foam is crucial as it creates the central pocket for the pillow and provides the fabric base for tying. Ensure your cuts are even and extend deep enough towards the center to allow for good knotting.
- Tie the Knots: Starting at any point along the edge, take one fringe strip from the top layer and the corresponding fringe strip directly opposite it from the bottom layer. Tie these two fringes together in a strong, secure double knot. Pull the knot tightly, ensuring it cinches the fabric snugly against the foam square (or stuffing). Continue this process all the way around the entire perimeter of the fleece. This series of knots will progressively cinch the center, drawing the fabric inward and effectively forming the pillow shape. Work methodically to ensure each knot is firm and consistent.
- Refine and Finish: Once every fringe pair has been tied, gently pull on the knots once more to tighten them and further define the pillow’s shape. You have control over the pillow’s firmness at this stage – tighter knots mean a firmer pillow. Inspect the edges for any excessively long or uneven fringed ends, and trim them neatly for a polished, professional look. Your no-sew pet pillow is now complete and ready for its first recipient!
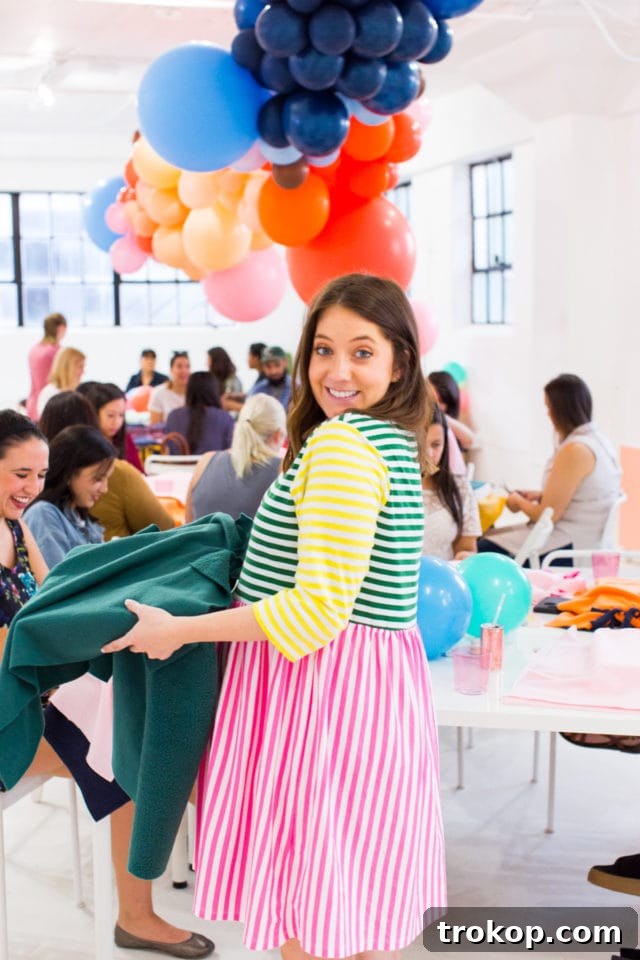
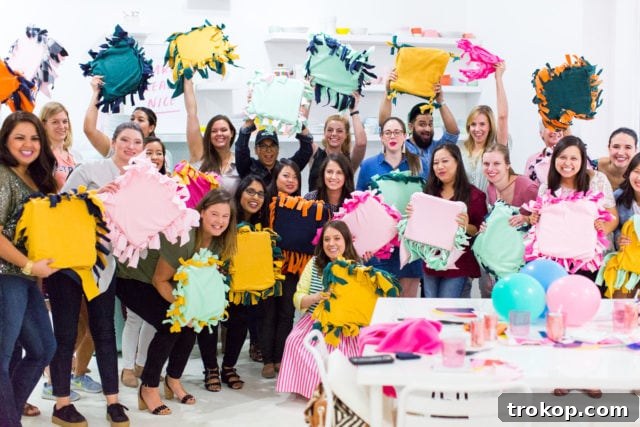
Through our dedicated efforts at the workshop, we managed to create and donate an astounding total of over 70 pet pillows to the BARC animal shelter! This incredible feat was made possible by the enthusiastic participation of many kind-hearted individuals who dedicated their time and creativity to the cause. Here are some of the pretty faces that helped make this heartwarming initiative a resounding success.
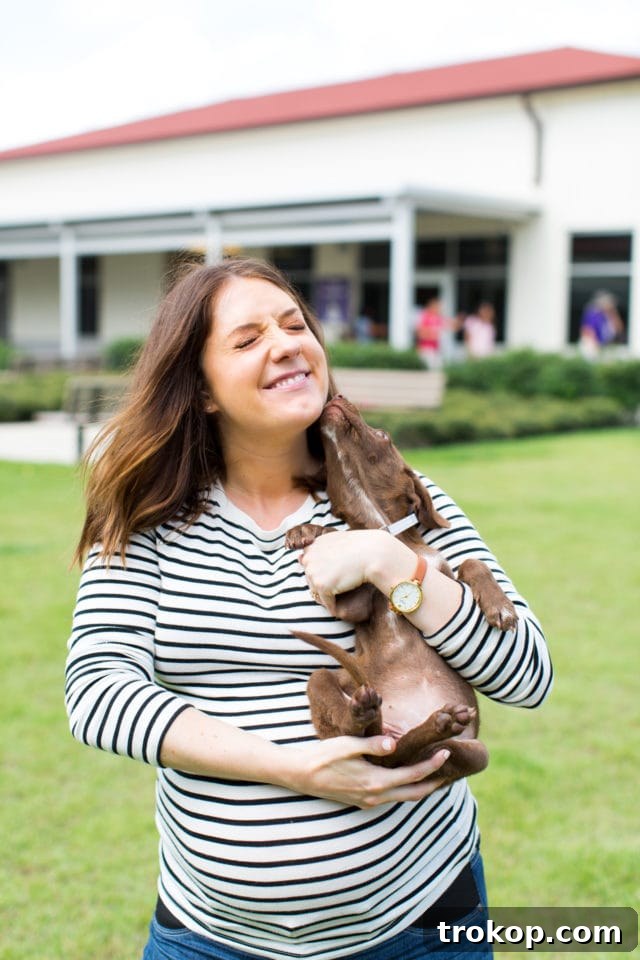
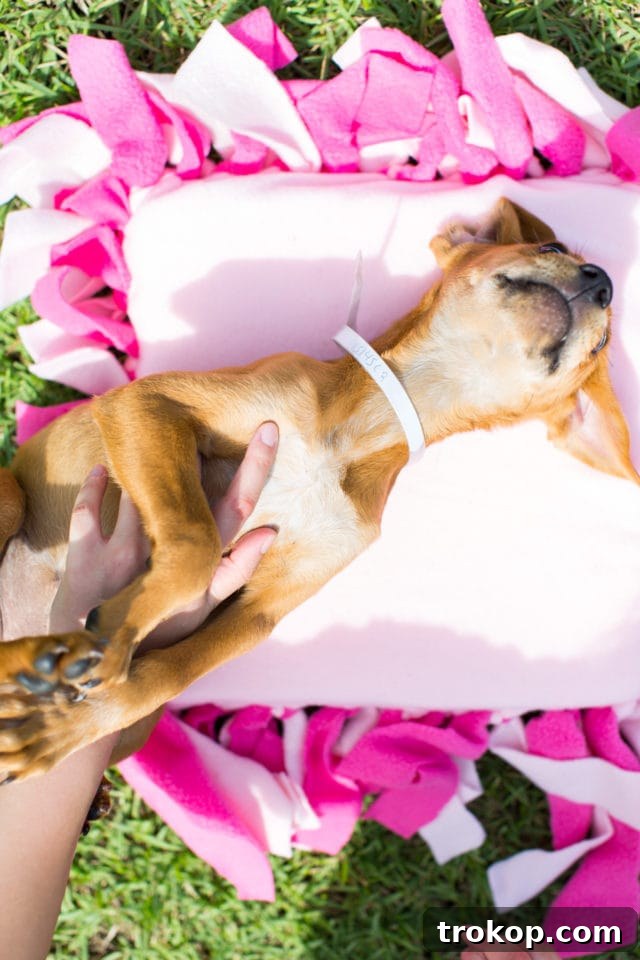
The true reward came during the adoption event that same weekend, where we witnessed the sheer delight on the faces of the puppies who received these soft, handmade pillows. Their immediate comfort and playful interactions with their new cushions were incredibly heartwarming. It was a powerful reminder of how a simple, cozy item can make a world of difference to an animal in need, providing them with a sense of security and a warm spot to rest while they awaited their forever families.
DIY Pet Pillow Summary
Here’s a quick overview of the DIY Pet Pillow project for easy reference:
Prep Time: 45 mins
Total Time: 45 mins
- Course: DIY
- Category: Pets
Equipment
- Scissors
Materials
- Fleece fabric or heavy fabric of your choice
- Foam padding or pillow stuffing
Instructions
- Cut 2 squares from your fleece fabric, each measuring at least 22″ x 22″. Adjust size based on your pet’s needs.
- Cut your foam padding to a size slightly smaller than your fleece squares (around 12″ x 12″).
- Lay the cut foam padding centered between the two fleece pieces.
- Carefully cut 1-inch wide fringe slits around all 4 sides of the fleece, stopping about 2-3 inches from the corner.
- Take 1 fringe from the outer edge and another fringe directly opposite it. Tie these 2 fringes together in a strong double knot, tightly against the foam square. Repeat this process around the perimeter to form the pillow shape.
- Once all fringes are knotted, gently pull the knots to tighten the center and create a defined pillow shape. Adjust tightness for firmness. Trim any excess fringed ends.
Cost: $20 (estimated)
Keywords: diy pet pillow, no-sew dog bed, homemade pet cushion
Join Us in Making a Difference: Future Charity Workshops
The success and heartwarming moments from our no-sew pet pillow workshop have further fueled our passion for community engagement and giving back. We are eagerly anticipating hosting more free, charity-based workshops in our studio very soon! It’s a truly wonderful experience to bring people together for a common good, fostering creativity and kindness simultaneously.
We are immensely grateful for the opportunity to collaborate with State Farm to transform our ideas into impactful events that benefit our community. Their commitment to helping “life go right” perfectly aligns with our mission to make a positive difference. Your input is invaluable to us, so please don’t hesitate to share any requests or ideas you have for themes for our future giving-back workshops. We love hearing from you, learning about causes that resonate, and, most importantly, getting the chance to meet you in person at these inspiring events!
Whether it’s crafting for a cause, designing gifts for local charities, or any other community-focused project, your suggestions help us shape events that truly matter. Let’s continue to explore creative ways to support those in need and strengthen our community bonds. We look forward to creating more memorable experiences together.
This post has been sponsored by State Farm – Here to help life go right.® Turn caring into doing and find volunteer opportunities in your neighborhood atNeighborhoodofGood.com. Sugar & Cloth has chosen to donate 5% of all sponsored campaigns to charity, which you can read more about right here.