Unlock the secret to crafting the ultimate breakfast experience with our comprehensive, step-by-step guide on **how to poach an egg**. From achieving that coveted perfectly runny yolk to exploring diverse and delectable serving suggestions, this article will transform you into a poaching pro. Say goodbye to intimidating kitchen experiments and hello to consistently tender whites and luscious yolks, ready to elevate any meal.
Poached eggs are far more than just a breakfast staple; they are a culinary cornerstone, celebrated for their delicate texture and rich flavor. Their versatility allows them to grace a multitude of dishes, from the classic elegance of Eggs Benedict to the vibrant simplicity of healthy avocado toast. However, many home cooks find the art of poaching an egg somewhat daunting, often believing it requires complex techniques or specialized equipment. The truth is, while it demands a touch of precision, it’s remarkably accessible once you understand the core principles.
Forget the fear of kitchen mishaps! This guide is designed to demystify the egg poaching process. We’ll walk you through simple yet incredibly effective methods to poach an egg in water, ensuring every attempt yields that irresistible combination of a perfectly set, tender white and a gloriously runny, golden yolk. Prepare to impress yourself and your guests as we dive into the delightful world of poaching eggs like a seasoned chef.
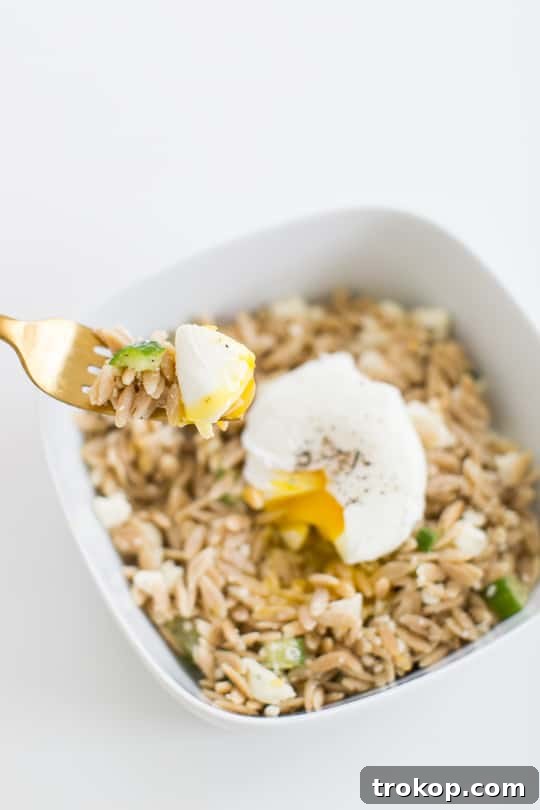
Table of Contents
What Are Poached Eggs?
Before we delve into the cooking process, let’s establish a clear understanding of what a poached egg truly is. A poached egg is a fresh egg that has been gently cooked in simmering water without its shell. This delicate cooking method yields a unique result: the egg white becomes firm yet tender, elegantly encasing a luscious, soft, and perfectly runny yolk. Unlike fried or scrambled eggs, poaching doesn’t require any added fats or oils, making it a healthier option that highlights the pure, unadulterated flavor and rich texture of the egg itself. The creamy yolk, when pierced, cascades over your dish, adding an unparalleled richness and a touch of gourmet sophistication.
Why Master the Art of Poaching?
Beyond their exquisite taste and texture, poached eggs offer numerous benefits that make them a worthwhile addition to your culinary repertoire. Firstly, they are incredibly versatile. As you’ll discover, they can transform a simple piece of toast into a gourmet experience or add a protein boost to salads and grain bowls. Secondly, poaching is a remarkably healthy cooking method. By using only water and a touch of vinegar, you avoid the need for butter or oil, making them a lean and nutritious choice packed with essential proteins, vitamins, and minerals.
Moreover, mastering the art of poaching elevates your cooking skills. It’s a technique that demonstrates precision and care, allowing you to create restaurant-quality dishes in your own home. The visual appeal of a perfectly poached egg, with its pristine white and vibrant yolk, is unmatched. It’s a simple pleasure that feels luxurious and satisfying, suitable for any meal of the day – from a quick weekday breakfast to an elegant weekend brunch. Embracing the poached egg means embracing a healthier, more versatile, and undeniably delicious way to enjoy one of nature’s most perfect foods.
Essential Ingredients and Tools Needed
Achieving poached egg perfection begins with selecting the right ingredients and ensuring you have the necessary tools at hand. You don’t need a fancy gadget, just a few basics and an understanding of their role:
- One Fresh Egg (or more!): The single most crucial ingredient. The fresher your egg, the better the results will be. Fresh eggs have thicker whites that hold their shape beautifully in the water, leading to a compact and elegant poached egg. Older eggs tend to have thinner, more watery whites that spread out into wispy strands when introduced to hot water. If possible, opt for eggs within a week of their packing date.
- Water: The medium for cooking. Tap water is perfectly fine. The quantity doesn’t need to be exact, but enough to fully submerge the egg without touching the bottom of the pan.
- White Wine Vinegar or White Vinegar: Adding a splash of vinegar to the simmering water is a game-changer. Vinegar helps the egg whites coagulate (set) faster and more firmly, preventing them from spreading too much in the water. Don’t worry, the small amount used will not impart any noticeable vinegary taste to your delicate egg. It’s an optional but highly recommended aid for consistent results.
- Medium-Sized Saucepan: A pan with a wide enough base to allow the egg to cook without crowding, and deep enough to hold a few inches of water. A non-stick surface is not strictly necessary as the egg will not stick to the pan itself.
- Slotted Spoon: Essential for carefully retrieving the cooked poached egg from the water and allowing any excess water to drain away before serving.
- Small Bowl or Ramekin (Optional but Recommended): For cracking the egg into before gently sliding it into the poaching water. This allows for easier handling and ensures no shell fragments accidentally enter the pan.
The Science Behind a Perfect Poached Egg
Understanding a little bit of science can significantly improve your poaching success. The magic of a perfectly poached egg lies in careful control of temperature and the egg’s freshness. Egg whites are primarily made of protein and water. When heated, these proteins unravel and link together, a process called coagulation, which causes the egg white to set. The goal is to set the white gently around the yolk, keeping it compact.
**Water Temperature:** The ideal temperature for poaching water is a gentle simmer, typically between 180-200°F (82-93°C), or around 260°F as specified in the recipe. Boiling water is too aggressive; it can break apart the delicate egg white and cause it to cook unevenly. A gentle simmer allows for slow, even cooking, resulting in a tender white. You’re looking for small bubbles forming on the bottom of the pan, not a rolling boil.
**The Role of Vinegar:** Adding vinegar lowers the pH of the water, which in turn speeds up the coagulation of the egg white proteins. This means the whites set faster and more firmly upon hitting the water, preventing them from dispersing into wispy strands. While not strictly necessary for fresh eggs, it acts as an excellent insurance policy for consistently neat poached eggs, especially if your eggs aren’t farm-fresh.
**Freshness is Key:** As mentioned, fresh eggs have a thicker, more viscous albumin (egg white) that holds its shape better. As an egg ages, the protein structure of the white begins to break down, becoming thinner and more watery. This is why older eggs tend to create more “strands” in the poaching water. Always use the freshest eggs you can find for the best results.
How to Poach an Egg: Step-by-Step Guide
With your ingredients and tools ready, let’s embark on the journey to poaching perfection. Follow these precise steps for consistently exquisite results:
-
Prepare Your Poaching Water: Fill a medium-sized saucepan with approximately 2-3 inches of water. Place the saucepan on your stovetop over medium heat. Your aim is a gentle simmer, not a rolling boil. Look for small, consistent bubbles forming at the bottom of the pan, but the surface should remain relatively still. The ideal temperature is around 180-200°F (82-93°C), though the recipe specifies around 260°F, which is a bit higher but still below a vigorous boil. Add 1-2 tablespoons of white wine vinegar (or regular white vinegar) to the water. This vital step helps the egg white coalesce beautifully.
-
Create a Gentle Whirlpool: Using a spoon, gently stir the simmering water in a circular motion to create a slow, swirling whirlpool in the center of the pan. This motion is not just for show; the gentle swirl helps the egg white wrap itself neatly around the yolk as it cooks, resulting in a more compact and aesthetically pleasing poached egg. Maintain this gentle movement.
-
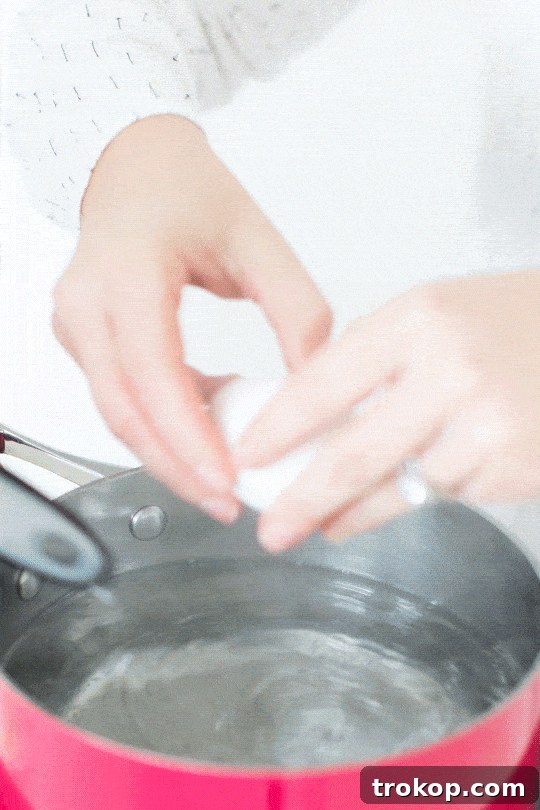
Introduce the Egg: Carefully crack your egg into a small ramekin or a small bowl. This allows you to inspect the egg for any shell fragments and ensures a clean, controlled entry into the hot water. Gently and quickly slide the egg from the ramekin directly into the center of the whirlpool. Continue to gently swirl the water for about 30 seconds to help the whites set around the yolk. This initial motion is crucial for achieving that classic, perfectly round shape.
-
Cook to Perfection: Allow the egg to cook for approximately 3-4 minutes. This timing typically yields a firm, fully cooked white and a delightful, runny yolk, which is often considered the hallmark of a perfect poached egg. If you prefer a slightly firmer yolk, you can extend the cooking time by another minute or two. Keep an eye on the whites; they should be opaque and set, while the yolk, though hidden, should still feel slightly jiggly when the pan is gently nudged.
-
Retrieve and Drain: Using a slotted spoon, carefully lift the poached egg from the hot water. Hold it over the saucepan for a few seconds to allow any excess water to drain away through the slots. This prevents your dish from becoming watery.
Finally, transfer your beautifully poached egg directly onto your prepared dish or entree. Season it immediately with a pinch of salt and freshly cracked black pepper to enhance its natural flavors. Serve immediately and enjoy the creamy, rich goodness!
Tips and Tricks for Poaching Perfection
Even with a clear guide, a few extra tips and troubleshooting advice can make all the difference in achieving consistently perfect poached eggs.
Ideal Poaching Time for Your Preference
The cooking time for a poached egg is largely a matter of personal preference, specifically how firm you like your yolk. As a general guideline:
- For a very runny, liquid yolk: Cook for about 2.5 to 3 minutes.
- For a classic runny yolk with set whites: Cook for 3 to 4 minutes. This is the most popular consistency.
- For a slightly firmer, jammy yolk: Cook for 4 to 5 minutes. The yolk will still be soft and creamy but less liquid.
- For a fully set, hard yolk: Cook for 5 to 6 minutes. While technically still poached, this loses some of the unique creamy texture that makes poached eggs so beloved.
Remember, cooking times can vary slightly based on the size of your egg and the exact temperature of your simmering water, so don’t be afraid to experiment to find your ideal doneness.
Cracking Eggs Like a Pro
The act of cracking and introducing the egg into the water can be a source of anxiety. If you’re concerned about a messy crack, broken yolks, or unwanted eggshell fragments in your pan, here are some proven methods:
- The Ramekin Method: This is arguably the easiest and most effective way for beginners. Crack the egg into a small ramekin or a shallow bowl first. This allows you to check for any shell pieces and ensures the egg remains intact. Then, gently lower the ramekin until its edge is just touching the simmering water, and carefully slide the egg out. This controlled entry minimizes splashing and helps maintain the egg’s shape.
- The Fine Mesh Strainer Method: Some chefs advocate cracking the egg into a fine mesh strainer or sieve placed over a bowl for about 30 seconds. This allows the very thin, watery outer part of the egg white to drain away, leaving only the thicker, more desirable white and the yolk. The result is an incredibly compact and clean poached egg with virtually no wispy bits. After draining, transfer the egg to a ramekin and then slide it into the water as described above. While this adds an extra step and tool, it’s excellent for presentation-perfect eggs.
With practice, you’ll find that a gentle, confident crack directly into the water (or a ramekin) is all you need. The key is to be swift and steady.
Can You Prepare Poached Eggs in Advance?
Yes, you can absolutely prepare poached eggs ahead of time, which makes hosting brunch or meal prepping much easier! Here’s how:
- Poach the eggs as directed in the recipe, ensuring they are cooked to your desired firmness.
- Immediately after poaching, transfer the eggs using a slotted spoon into a bowl of ice water (an ice bath). This stops the cooking process and quickly chills the eggs.
- Once thoroughly chilled (after a few minutes), remove the eggs from the ice bath and store them submerged in cold water in an airtight container in the refrigerator for up to 2-3 days.
To Reheat: When you’re ready to serve, bring a pot of water to a gentle simmer (again, not a rolling boil). Carefully place the chilled poached eggs into the simmering water and reheat for 60-90 seconds, or until they are warmed through. Use a slotted spoon to retrieve, drain, and serve immediately. While fresh is always best, this method yields excellent results for convenience.
Troubleshooting Common Poaching Problems
- Wispy Whites: This is often due to older eggs (thinner whites) or water that is too hot (a rolling boil). Ensure you’re using fresh eggs and maintain a gentle simmer. Vinegar is also your best friend here, as it helps the whites coagulate quickly.
- Broken Yolk: A broken yolk usually happens if the egg is dropped too forcefully into the water or if the egg itself was already compromised. Cracking into a ramekin first and gently sliding it in helps immensely.
- Egg Sticking to the Bottom: This can occur if the pan isn’t perfectly clean, if the water isn’t deep enough, or if the egg is left undisturbed for too long. A gentle stir after adding the egg can prevent it from settling and sticking.
- Overcooked Egg: If your yolk isn’t runny, you’ve likely cooked it too long or the water was too hot. Adjust your cooking time and ensure a gentle simmer. Practice will help you nail the timing.
Versatile Ways to Serve Poached Eggs
Poached eggs are not just for breakfast; they’re a fantastic source of protein that can seamlessly integrate into any meal of the day. Their delicate texture and rich, runny yolk add a luxurious touch to countless dishes. Here are some incredibly delicious and popular ways to enjoy your perfectly poached eggs:
-
Eggs Benedict:
The quintessential poached egg dish! Serve two perfectly poached eggs on toasted English muffin halves, topped with Canadian bacon or ham, and generously drizzled with a rich, creamy hollandaise sauce. It’s a brunch classic for a reason.
-
Avocado Toast:
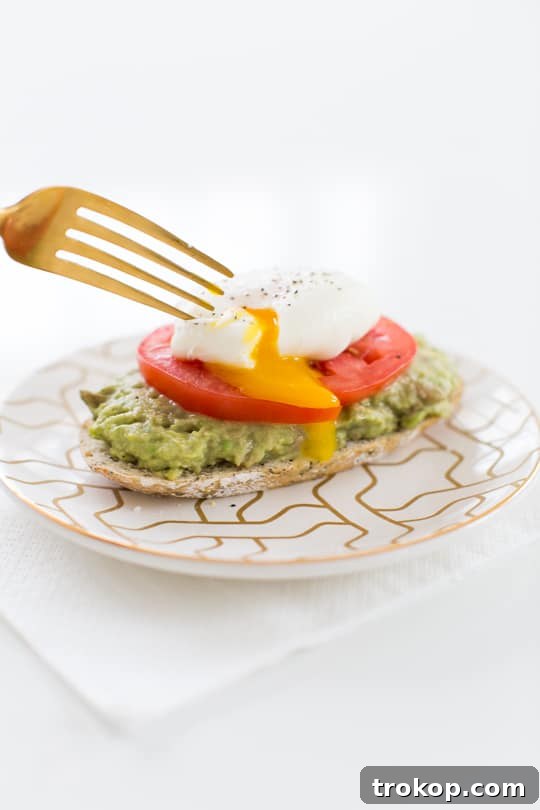
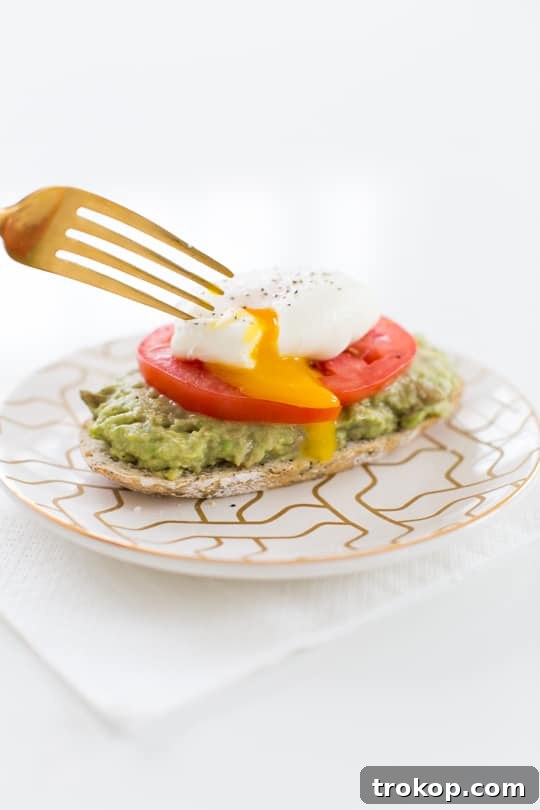
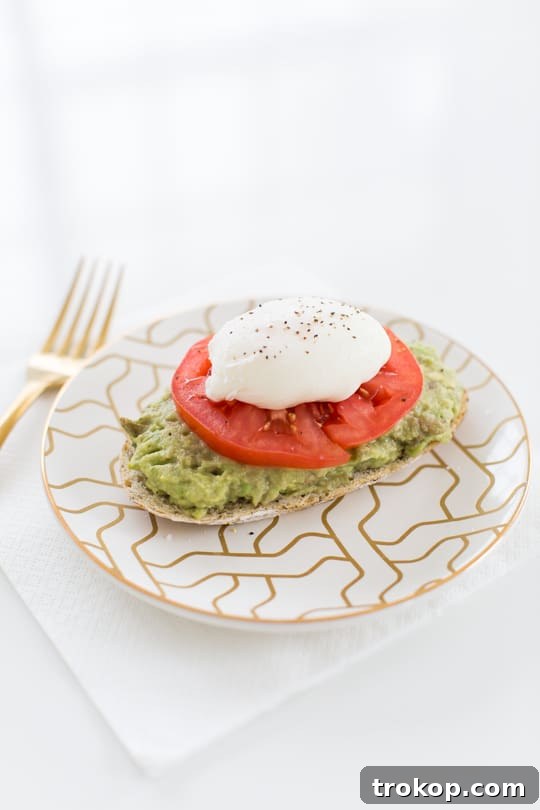
Elevate your everyday avocado toast. Spread creamy, mashed avocado on toasted bread, then delicately place a poached egg on top. Finish with a sprinkle of flaky sea salt, black pepper, and optional red pepper flakes or crumbled feta for an extra kick.
-
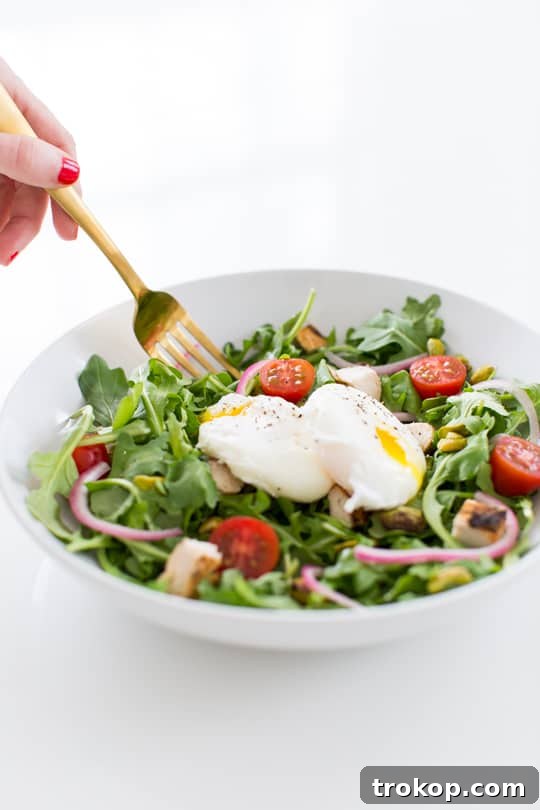
Salads:
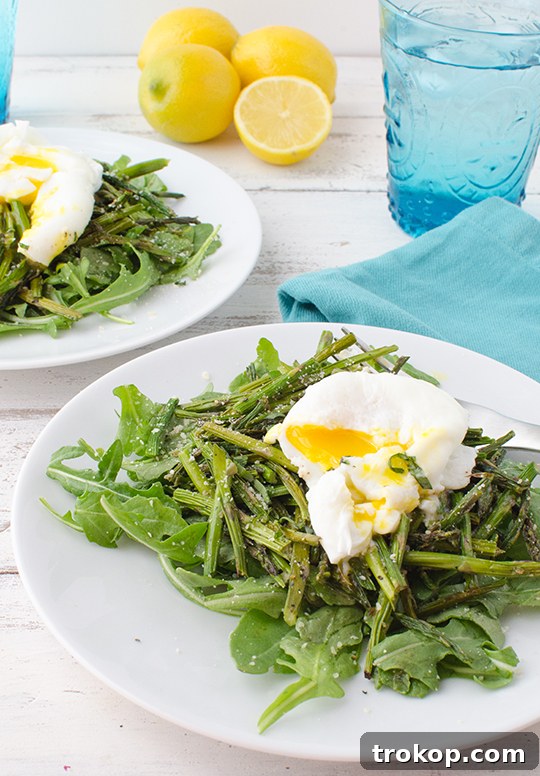
Transform a simple salad into a hearty and satisfying meal. A warm, runny poached egg offers a creamy dressing-like element that blends beautifully with fresh greens, roasted vegetables, and grains. Try it with a warm asparagus and poached egg salad for a light yet fulfilling lunch.
-
Eggs Florentine:
A delightful vegetarian alternative to Eggs Benedict. This dish features poached eggs nestled on a bed of sautéed spinach (often creamed) atop an English muffin, all smothered in hollandaise sauce.
-
Grain Bowls:
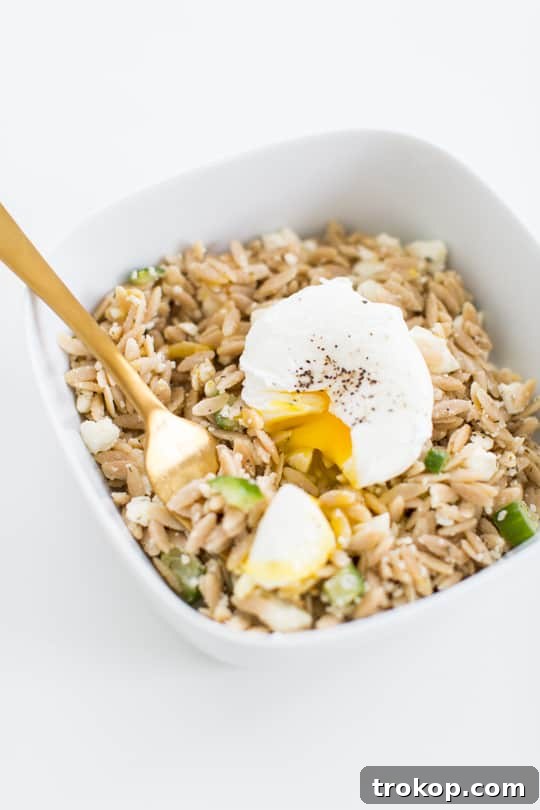
Add a protein powerhouse to your favorite healthy grain bowls. Place a poached egg atop a nourishing base of cooked quinoa, farro, or brown rice, along with an assortment of fresh or roasted vegetables, herbs, and a light dressing. The yolk acts as a natural sauce.
-
Ramen or Noodle Soup:
Enhance the richness and texture of your ramen or noodle soup. Gently float a poached egg into a bowl of hot broth with noodles and your preferred toppings. The runny yolk will mix with the broth, creating an even more savory and comforting experience.
-
Sandwiches and Wraps:
For a gourmet twist on lunch, incorporate a poached egg into your sandwiches or wraps. The soft texture and creamy yolk add an incredible layer of flavor and moisture, making for a truly satisfying bite.
-
Egg and Smoked Salmon Bagel:
A match made in brunch heaven. Layer a toasted bagel with cream cheese, slices of smoked salmon, capers, and then crown it with a perfectly poached egg.
-
Quiche:
While quiche typically uses eggs within the custard, a poached egg can be used as a stunning garnish on top of a slice, adding an extra layer of richness and visual appeal, especially for individual quiches or tartlets.
Explore More Delicious Egg Recipes
Congratulations! With patience and consistent practice, you’ll undoubtedly become adept at poaching eggs, mastering an impressive culinary skill that will broaden your cooking horizons. There’s no need to settle for mundane eggs when you can effortlessly create a restaurant-quality poached egg experience right in your own kitchen.
Now that you’ve honed your poached egg technique, why not explore other fantastic recipes that pair beautifully with this versatile staple or feature eggs in equally delicious ways? Expand your culinary repertoire with some of our favorite egg-friendly dishes and beyond:
- Asparagus & Poached Egg Salad: A light, fresh, and protein-packed meal.
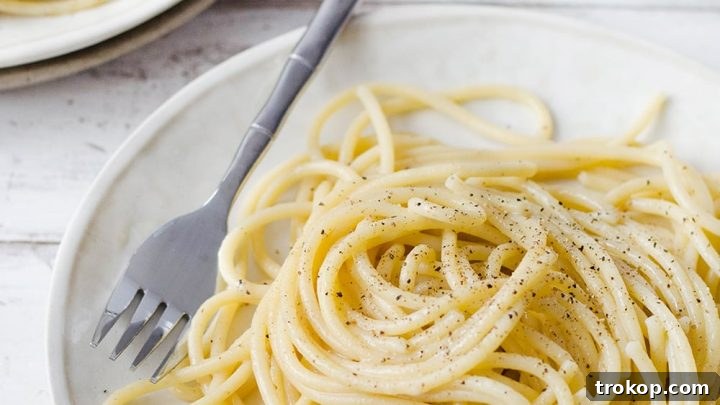
- Cacio e Pepe Pasta: Imagine a perfectly poached egg draped over this creamy, peppery pasta – pure indulgence!
- Insta-worthy Toast Combos: Discover creative and visually appealing toast toppings, many of which are enhanced by a poached egg.
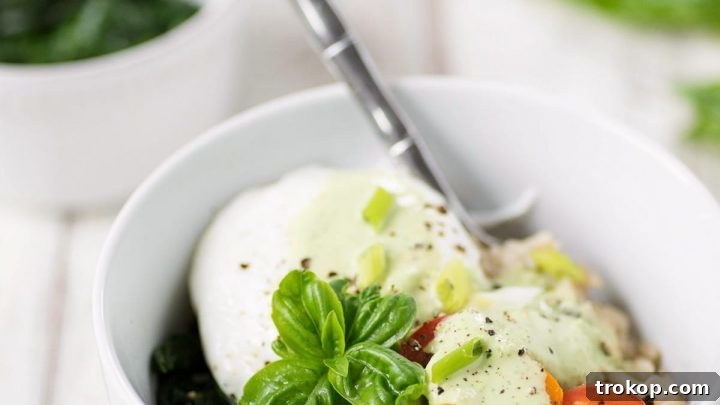
- Savory Oatmeal Breakfast Bowl: A unique and satisfying way to start your day, often topped with an egg.
- Roasted Garlic White Bean Alfredo: A hearty and flavorful dish that can be complemented by a poached egg for extra richness.

Perfect Poached Eggs Recipe
10 mins
Breakfast
Eggs
Equipment
-
Medium saucepan
-
Slotted spoon
1
Ingredients
- 1 egg
- 1-2 cup water
- 1-2 tbsp vinegar
Instructions
-
Fill a medium-sized saucepan with about 2-3 inches of water. Place it on the stove over medium heat. Bring to a gentle simmer (around 180-200°F or as specified, approx 260°F), ensuring it’s hot but not boiling. Add a splash (1-2 tablespoons) of vinegar to your water.
-
Use a spoon to create a gentle whirlpool in the center by stirring gently in a circular motion. This swirl helps the egg white wrap around the yolk more effectively than in still water.
-
Quickly crack the egg into a small ramekin, then gently slide it into the center of the poaching water. Continue to gently swirl the water for about 30 seconds, allowing the motion to envelop and shape the egg.
-
Cook the egg for about 3-4 minutes, or until the egg whites are fully set and opaque, but the yolk remains deliciously runny inside.
-
Using a slotted spoon, carefully lift the poached egg from the water. Allow any excess water to drain off through the spoon’s slots before serving.
Nutrition
Carbohydrates: 1g |
Protein: 6g |
Fat: 4g |
Saturated Fat: 1g |
Cholesterol: 164mg |
Sodium: 75mg |
Potassium: 61mg |
Sugar: 1g |
Vitamin A: 238IU |
Calcium: 25mg |
Iron: 1mg
66kcal
how to poach an egg