
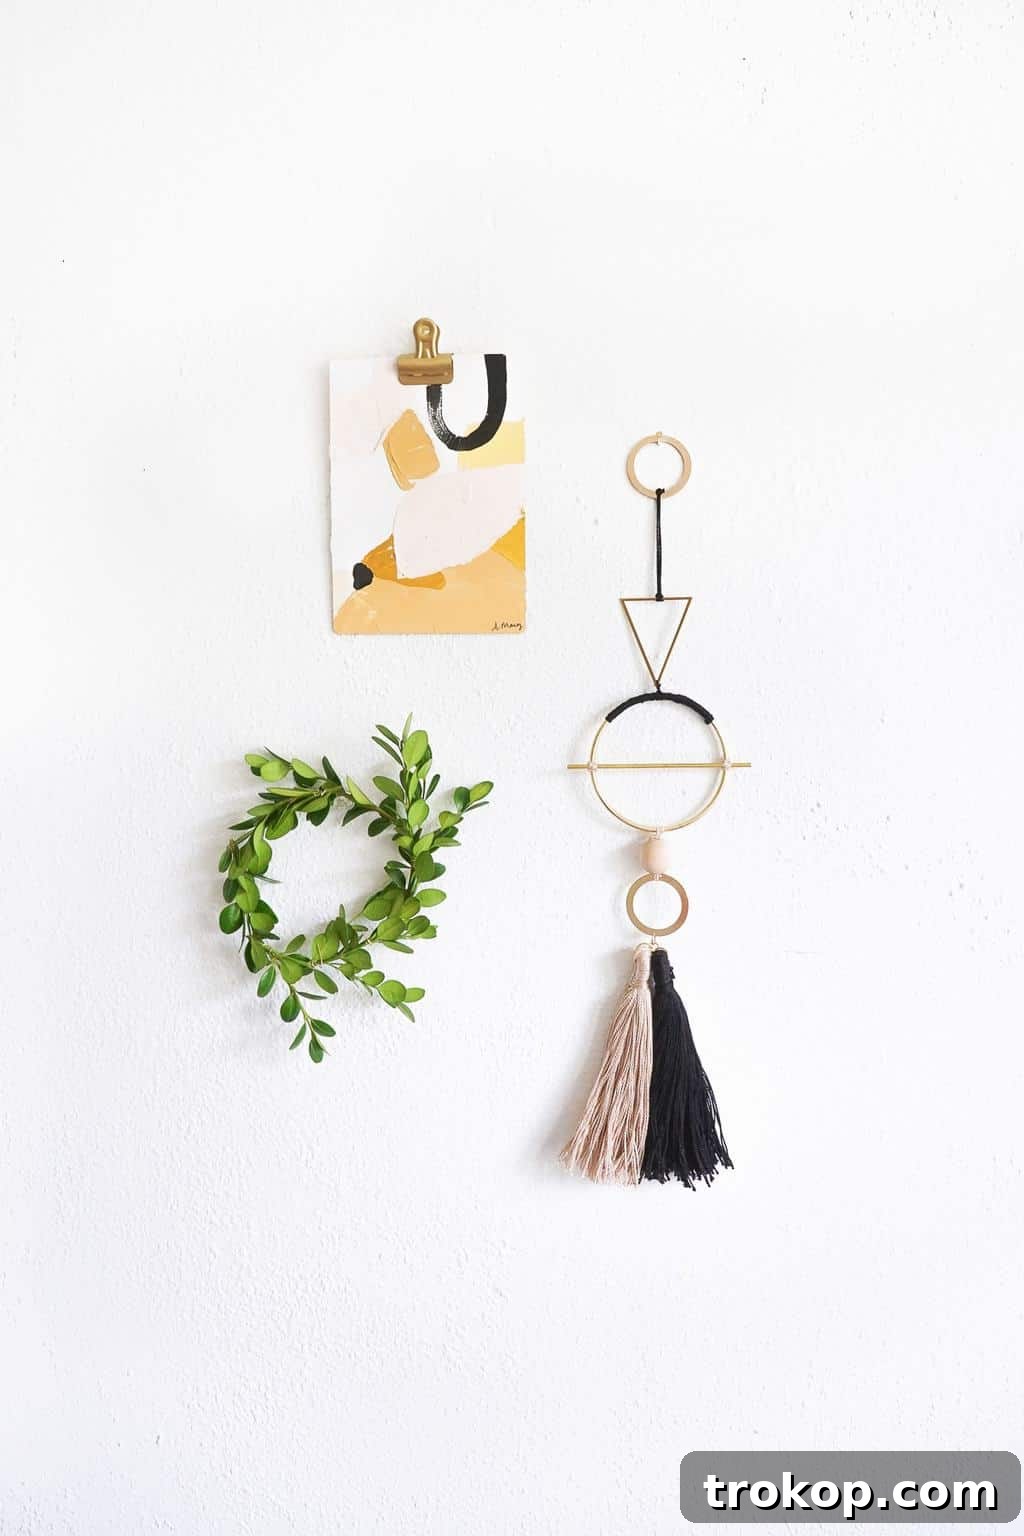
DIY Geometric Metal Wall Art: Crafting Modern Elegance for Your Home
Are you searching for a quick and impactful DIY project to elevate your home’s aesthetic? Look no further than this stunning geometric metal wall hang. Whether your goal is to infuse your living space with a touch of modern durability or to simply add a chic style statement, this project offers an elegant solution. It’s a craft that promises a significant visual impact without demanding extensive time or advanced skills.
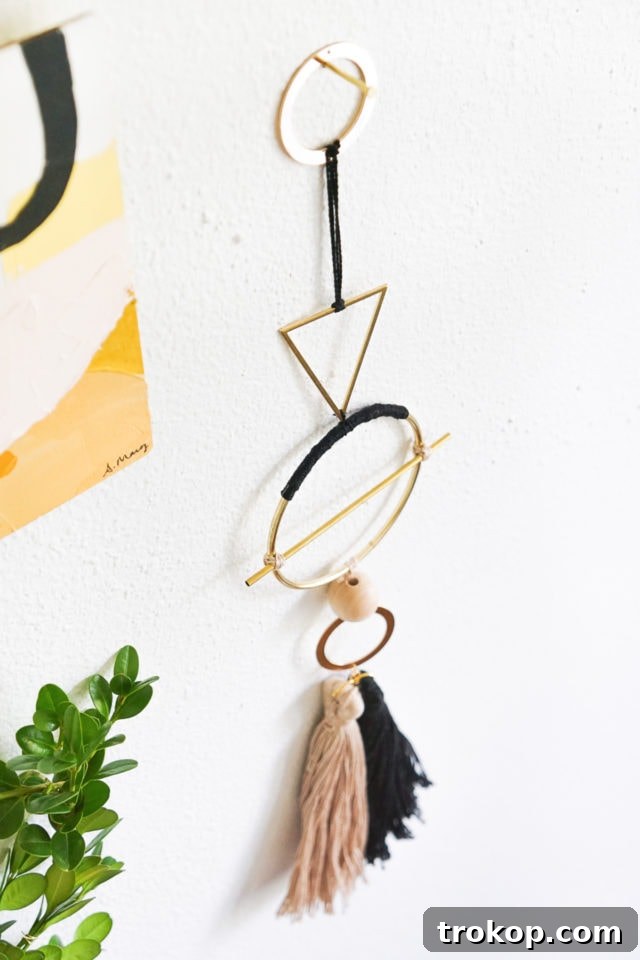
The geometric wall hang trend has captivated interior design enthusiasts, evolving into a myriad of creative forms. From intricate weavings and elaborate macramé pieces to abstract sculptures, designers are constantly finding innovative, free-form ways to add visual interest and texture to otherwise plain walls. This popular trend emphasizes clean lines, striking shapes, and often, a beautiful blend of diverse materials.
Inspired by this exciting movement, many, including myself (Erin!), are drawn to wall hangs that masterfully mix and match various elements. Imagine the luxurious gleam of brass combined with the soft textures of textiles, the natural warmth of fibers, or the rustic charm of wood. The interplay of these different materials creates a multi-dimensional piece that feels both sophisticated and inviting. This particular DIY Geometric Metal Wall Hang embodies this spirit perfectly. It’s as simple as artfully stringing together different shapes, transforming into a captivating “jewelry” piece for any room, adding a subtle sparkle and focal point.
Having previously explored the elegance of brass rings in our DIY Brass Ring Wall Hang and the delicate beauty of our DIY Flower Wall Hang, we were eager to revisit the versatility of rings in a fresh, new design. The appeal of their smooth, circular forms and their ability to anchor a composition is undeniable. This tutorial leverages that very charm, guiding you through an easy-to-follow process that promises a rewarding outcome. I’m genuinely thrilled to share this project, as it’s one of those crafts that truly makes a difference in a space!
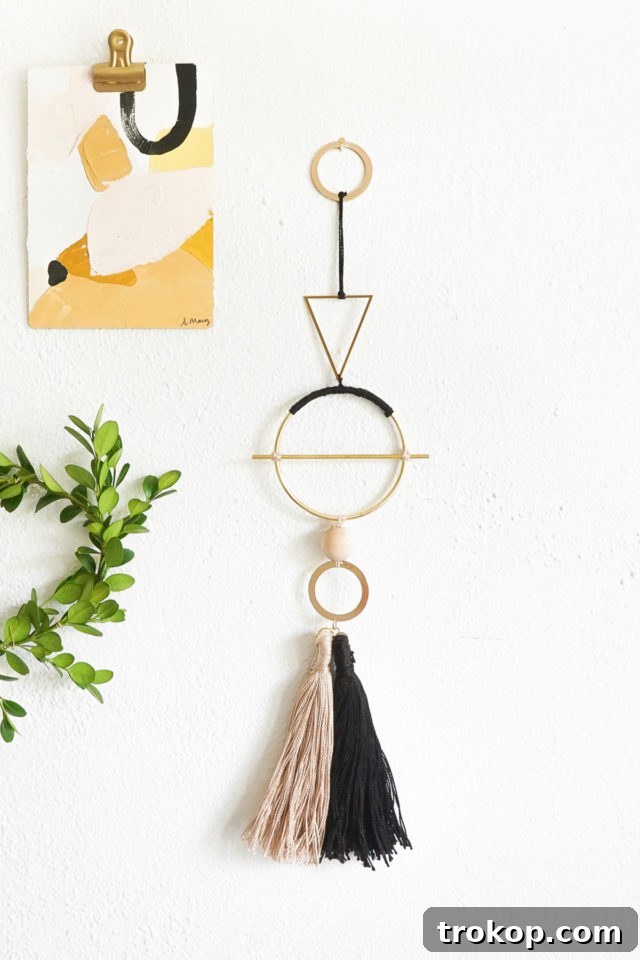
Materials and Tools Needed to Make a DIY Geometric Metal Wall Hang
Gathering your materials is the first exciting step in any DIY adventure. For this geometric metal wall hang, you’ll find most items easily at your local craft store or online. We’ve selected brass elements for their timeless appeal and elegant shine, but feel free to explore other metallic finishes if they better suit your decor style.
- Gold brass hoop (approx. 3″ diameter) — This will serve as the central anchor for your design, so choose one that feels sturdy and visually appealing.
- 2 Gold brass circles (approx. 1-3/8” diameter) — These smaller circles will complement the main hoop and connect the lower elements. Available at many craft retailers like JoAnn Fabrics.
- 4 Jump rings (approx. 1/2” diameter) — Essential for securely linking different components. Ensure they are strong enough to hold your decorative elements.
- Gold triangle — A striking geometric accent that adds a modern edge. An inverted triangle offers unique visual balance.
- Gold 4” gold bar — This straight bar provides structural interest within the main hoop.
- 1 Natural wood bead — Adds a touch of organic texture and warmth, contrasting beautifully with the metal.
- Cotton flossing in two complementary colors — Choose colors that harmonize with your metals and overall room palette. This will be used for wrapping and connecting.
- 2 Tassels — These provide a soft, flowing finish at the bottom of your wall hang, adding movement and a bohemian touch.
- Pliers (jewelry or needle-nose) — Crucial for opening and closing jump rings with precision and ease.
- Scissors — For trimming flossing and any other soft materials.
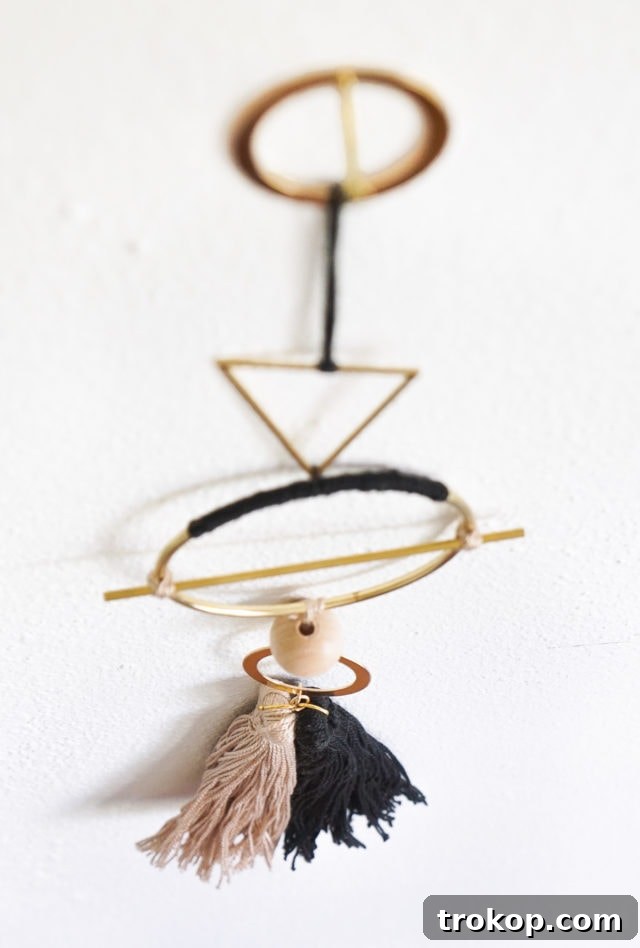
How to Make a DIY Geometric Metal Wall Hang
Let’s dive into the creation process! This tutorial breaks down the project into simple, manageable steps, ensuring that even crafting novices can achieve a professional-looking result. Take your time with each step, paying attention to the details to ensure your wall hang is sturdy and beautiful.
Step 1 – Prepare the Main Hoop with Flossing
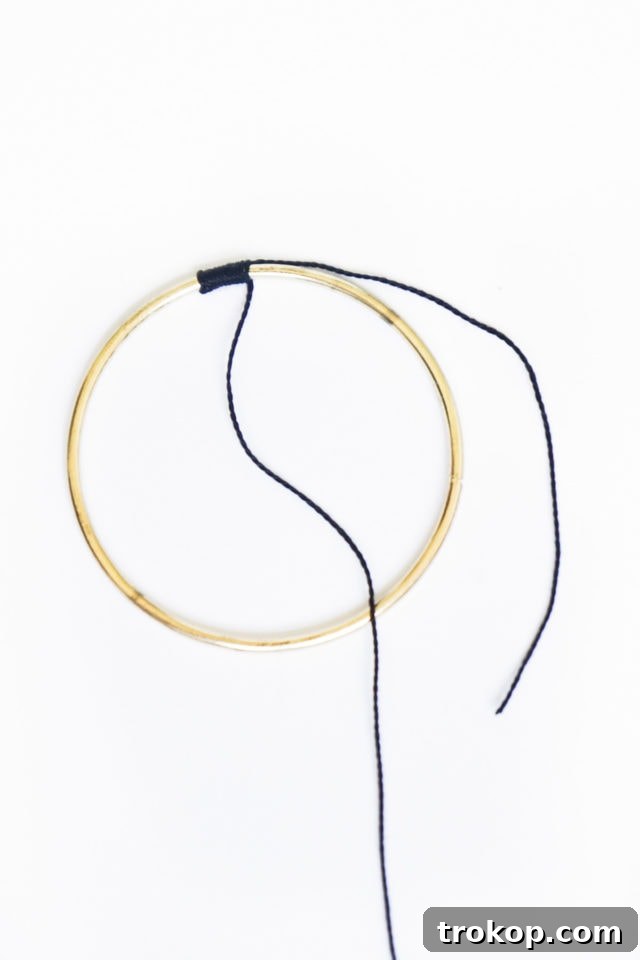
Begin by taking your 3” gold brass hoop. Select one of your cotton flossing colors. Leave a generous 5-inch tail of flossing and secure one end of the flossing to the hoop with a firm knot. Now, carefully wrap the flossing tightly around a 3-inch section of the hoop, making sure to also wrap over the tail you left at the beginning. This embeds the tail, creating a clean finish. Once you’ve completed your 3-inch wrapped section, take the loose end of the flossing and double knot it securely to the remaining tail. Trim any excess flossing close to the knot for a neat appearance. This wrapped section adds a lovely textural contrast to the smooth metal.
Step 2 – Attach the Gold Bar to the Main Hoop
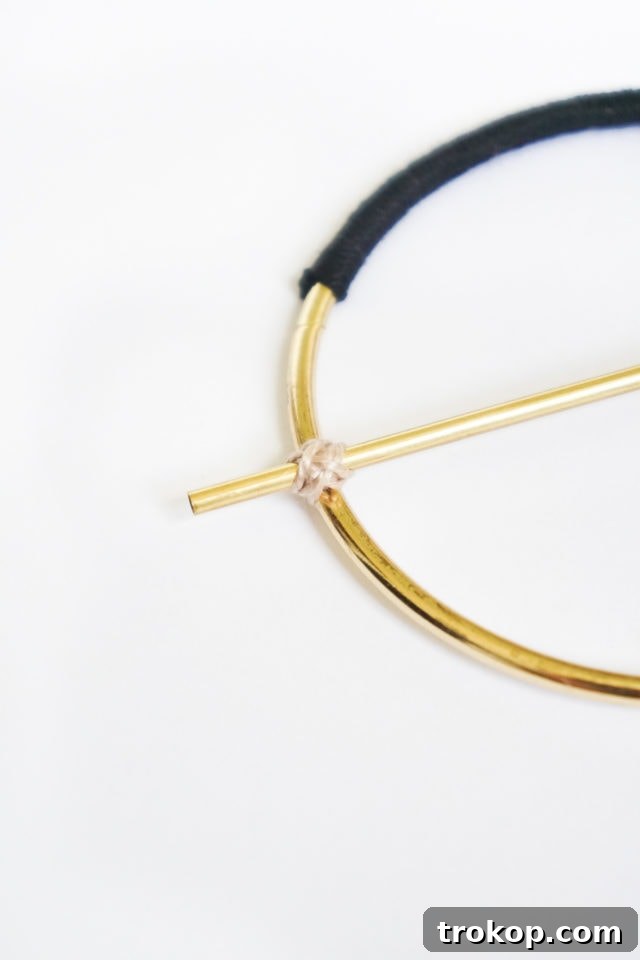
Take your 4” gold bar and position it horizontally across the diameter of the wrapped 3” hoop. Using your second color of cotton flossing (or the same, if preferred), attach the bar to the hoop. Start by tying a secure knot around both the hoop and one end of the bar. Similar to Step 1, leave a short tail of flossing to be wrapped over. Continue wrapping the flossing around the hoop and the bar in an ‘X’ pattern. This cross-wrap technique not only secures the bar firmly but also adds another layer of visual interest with its geometric pattern.
Step 3 – Secure the Gold Bar and Set Aside
Once you’ve wrapped one end of the bar in the ‘X’ pattern, tie off the flossing with a strong double knot. Repeat the entire wrapping process for the other end of the gold bar, ensuring it’s equally secure and aesthetically pleasing. After both ends are firmly attached, trim any excess flossing. Set this completed hoop assembly aside; it will form the impressive centerpiece of your wall hang.
Step 4 – Assemble the Tassel Base
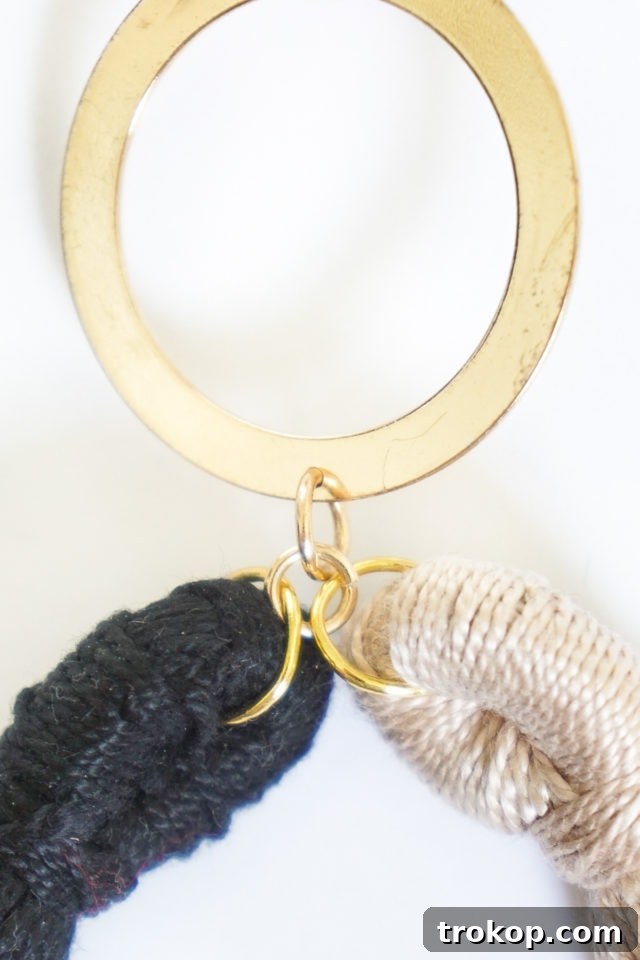
With the main hoop prepared, it’s time to work on the bottom section of your wall hanging. Begin by taking your pliers. Use them to carefully open a jump ring and attach it to the loop of one tassel. Repeat this for the second tassel, so each has its own jump ring. Next, use a third jump ring to join these two tassel-attached jump rings together. Finally, attach this combined tassel unit to a fourth jump ring, which will then connect to one of your 1-3/8” gold brass circles. Ensure all jump rings are securely closed to prevent any pieces from falling off.
Step 5 – Prepare Flossing for the Wood Bead
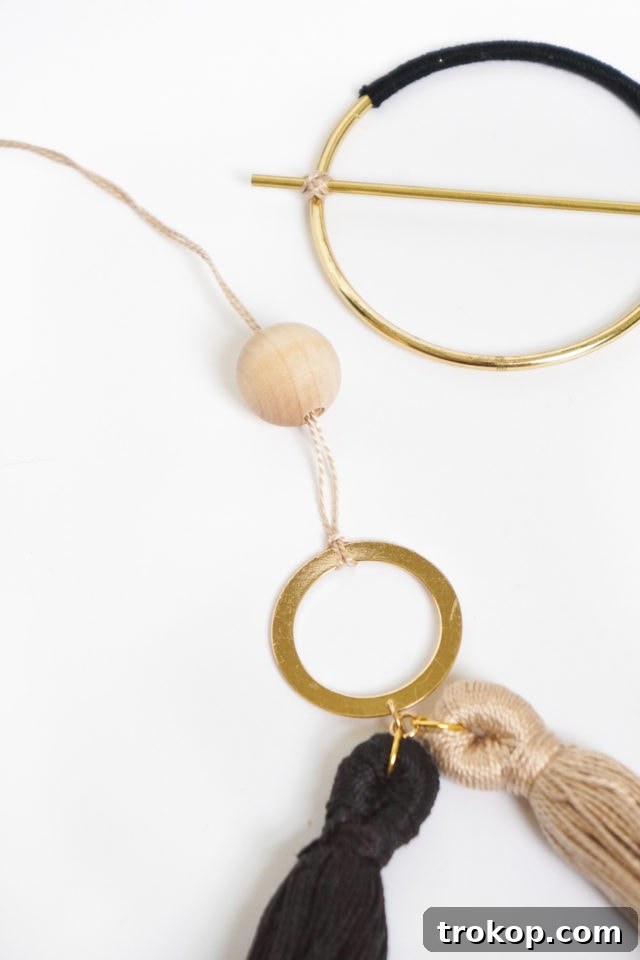
Cut a 6-inch piece of your chosen cotton flossing. Fold this piece precisely in half, creating a loop at one end. Take the folded flossing and wrap the looped end around the top edge of the 1-3/8” circle (the one now adorned with tassels). Pull the two loose ends of the flossing through the loop you created and pull it tight. This simple larks head knot will securely attach the flossing to the circle, providing a strong base for the next element.
Step 6 – Integrate the Wood Bead
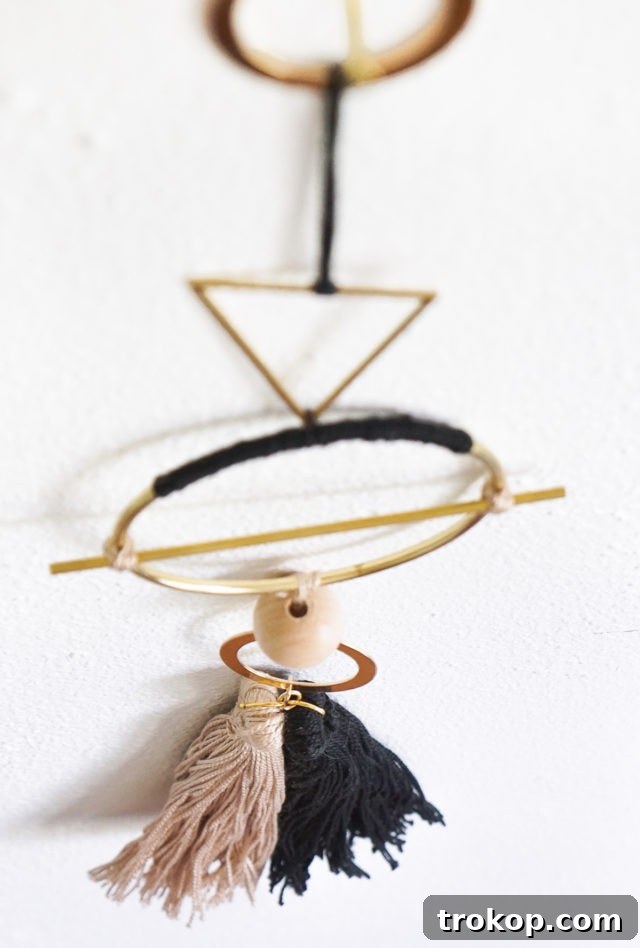
Now, carefully thread the two loose ends of the flossing through the natural wood bead. Position the bead snugly against the 1-3/8” circle. Take the flossing ends and secure them to the bottom edge of the prepared 3” gold brass hoop (your centerpiece from Steps 1-3). Use a strong double knot to ensure the bead and smaller circle are firmly attached to the main hoop. Trim any excess flossing, leaving a tidy finish. This creates a beautiful transition and adds a pleasing weight to the bottom half of the design.
Step 7 – Attach the Inverted Triangle
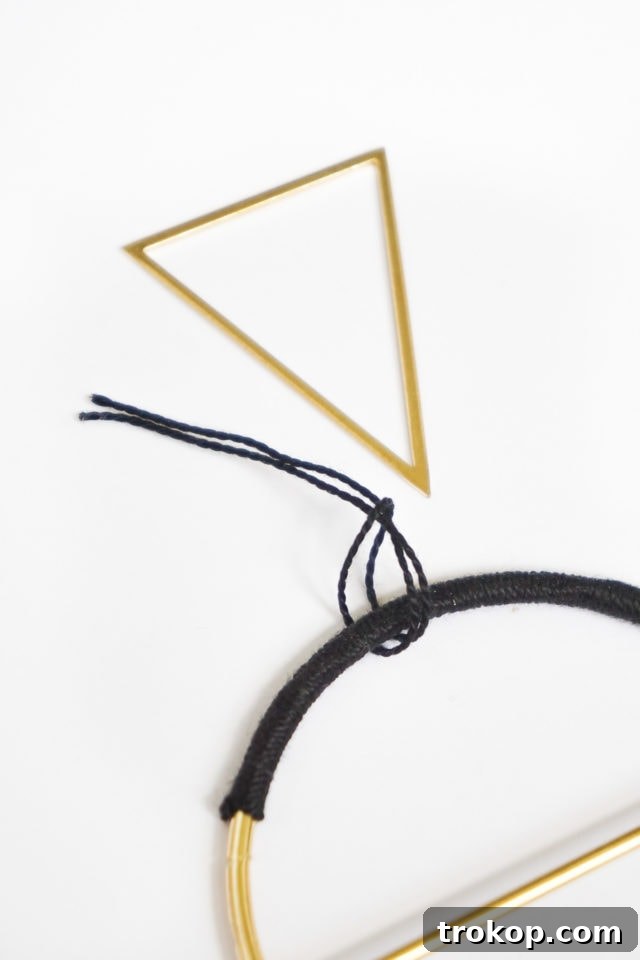
Next, we will add the gold triangle to the top of your 3” gold brass hoop. Use the same loop tie technique as in Step 5: cut a piece of flossing, fold it in half, wrap the loop around the top of the 3” hoop, and pull the ends through. Pull this tight to secure. Then, take the loose ends of the flossing and double knot them firmly around the top point of your inverted gold triangle. The inverted orientation of the triangle adds a dynamic and unexpected twist to the geometry. Trim any excess flossing tails close to the knot for a clean finish.
Step 8 – Final Connection: The Top Circle
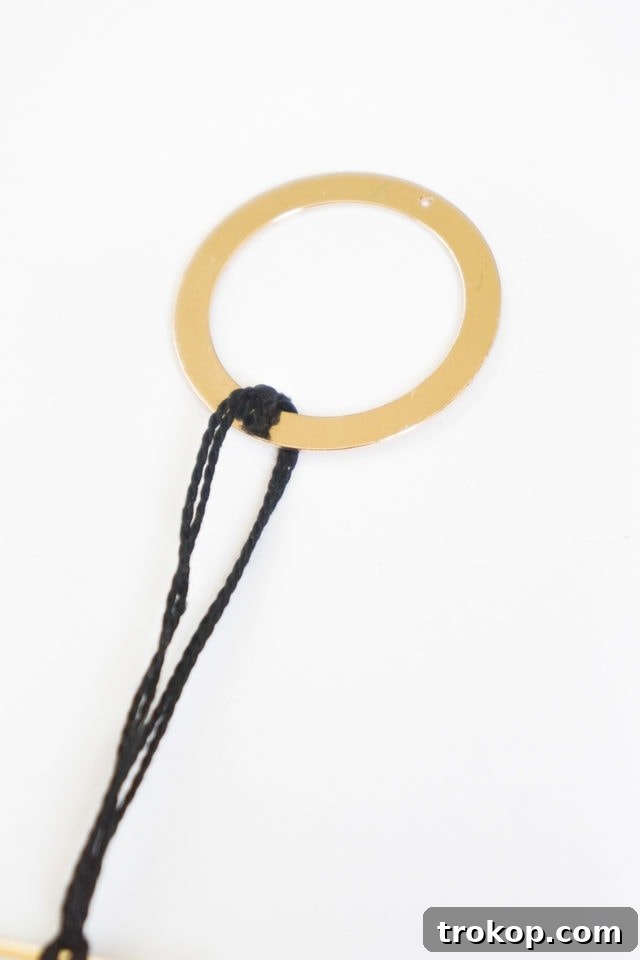
For the final connection, cut another piece of flossing, roughly 10 inches long. Fold this flossing in half. Wrap the looped end around the middle of the horizontal edge of the gold triangle. Pull the loose ends through the loop and pull tightly, securing it to the triangle. Allow about 3 inches of flossing to hang before you double knot it onto the second 1-3/8” gold brass circle. This deliberate spacing ensures a pleasing visual flow and balance for the entire wall hang. Once this connection is complete and secure, trim any remaining flossing tails, making sure your knots are neat and barely visible.
Congratulations! Your DIY Geometric Metal Wall Hang is now complete. It’s time to find the perfect spot to display your creation and proudly show off your curated collection of favorite metals and textiles. This piece isn’t just a decoration; it’s a testament to your creativity and a unique accent that reflects your personal style. Hang it in your living room, bedroom, or even a home office to instantly transform the ambiance.
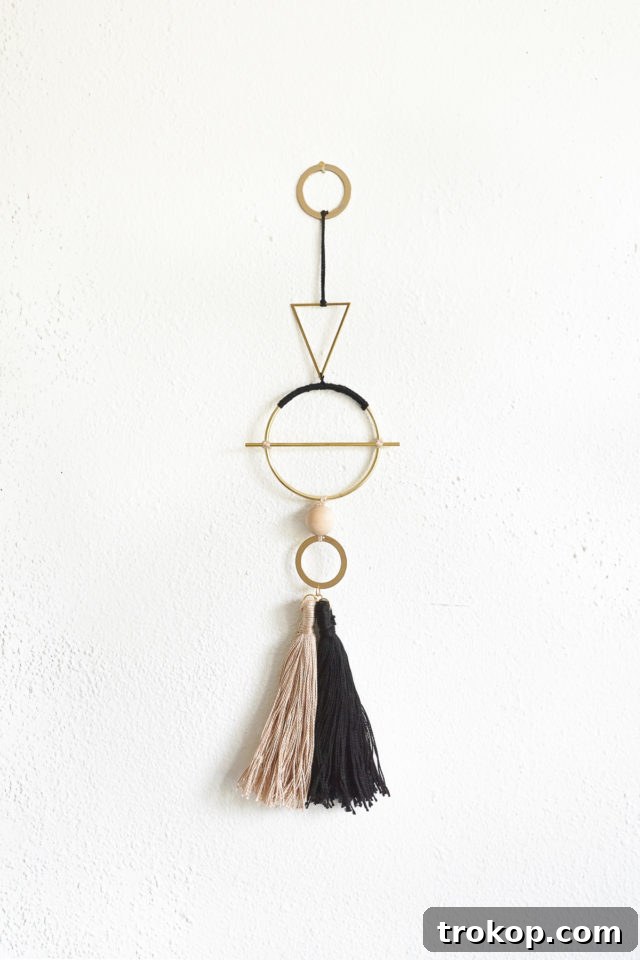
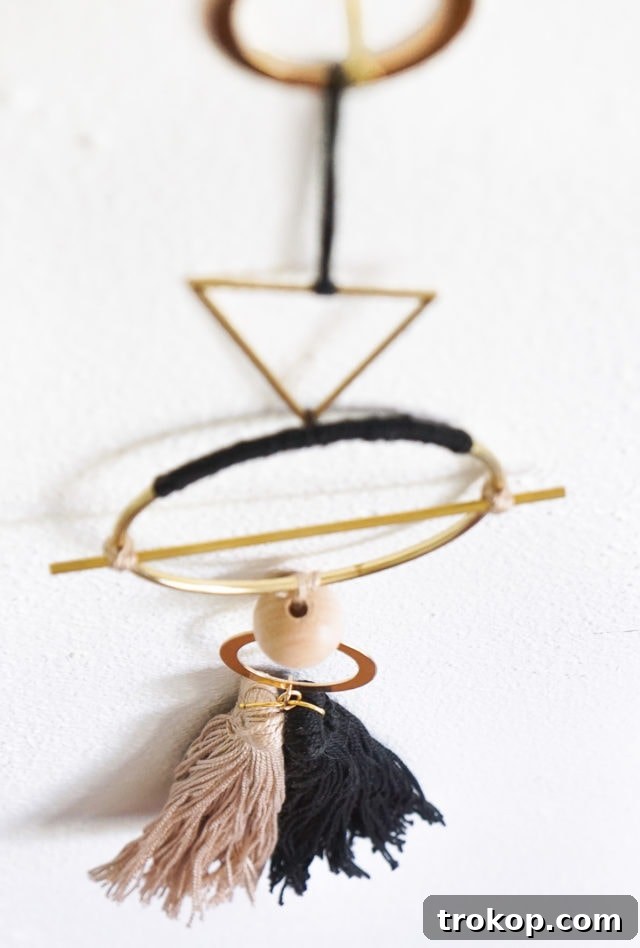
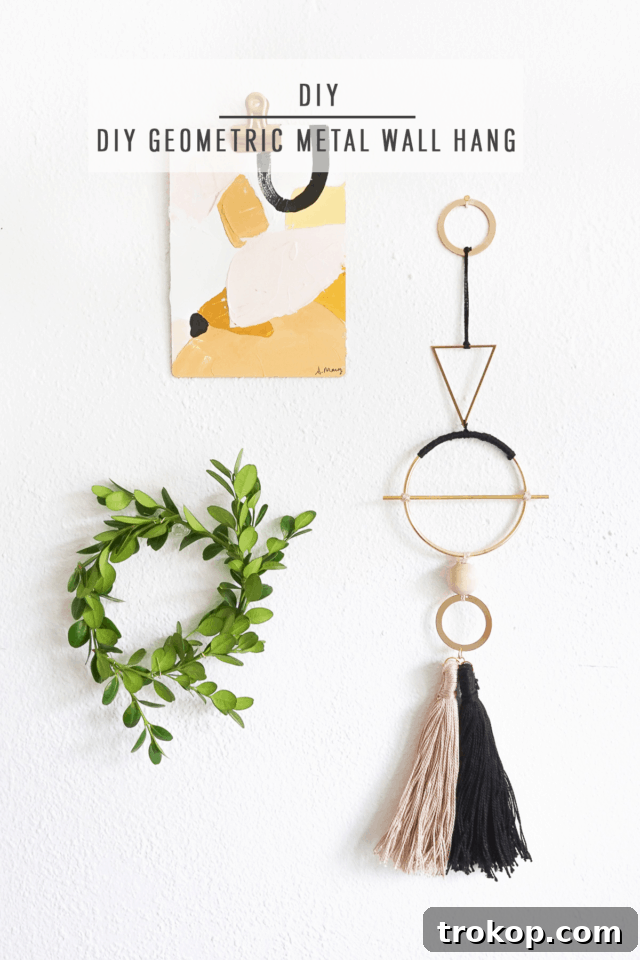
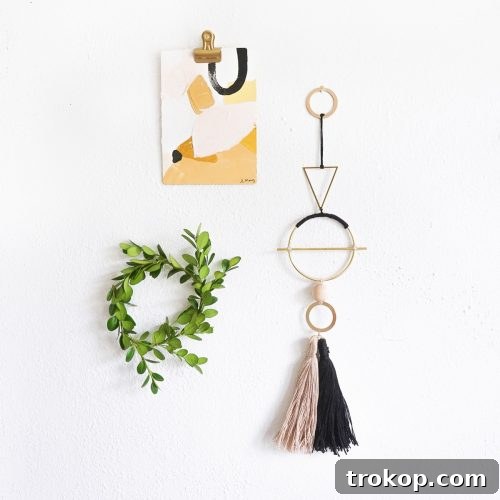
I absolutely adore the instant modern aesthetic this wall hang brings to any room. Its clean lines and mixed materials provide a sophisticated yet approachable vibe that complements a wide range of interior styles, from minimalist to bohemian chic. And what I love even more is how incredibly easy it is to achieve this high-end look yourself. This is undoubtedly a home decor trend that I can fully endorse and encourage everyone to try!
If you’re looking for more ways to incorporate unique textures and metallic accents, be sure to check out this super cute DIY Fringed Mirror Wall Hanging. It’s especially perfect for adding a touch of fall coziness, combining metallic gold with a generous dose of fringe texture for captivating visual interest. Or, if your walls are craving more modern decor, I also whipped up this equally charming DIY Minimalist Floral Wall Hang! The possibilities for personalizing your space with handmade art are truly endless.
What do you think of this geometric design? What materials would you love to incorporate into your own wall art projects? Share your thoughts and ideas in the comments below!
For even more inspiring DIY projects like these, explore our extensive archive of related posts:
- Office Accessories: Hexagonal DIY Desktop Organizer – Keep your workspace tidy with a stylish, handmade organizer.
- Easy DIY Gold Wreath And Garland – Add a touch of shimmer and festive charm to any season.
- DIY Gold Leaf Photo Backdrop – Create a glamorous setting for photos or special occasions.
- DIY Striking Matchstick Holder For Your Candle Collection – A chic and practical accessory for your favorite candles.
DIY Geometric Metal Wall Hang: Project Summary
5 out of 5 stars (1 vote)
This easy-to-build geometric metal wall hang is a fantastic addition to any room. Its modern design and customizable elements allow you to create a unique piece that perfectly suits your home decor style.
Equipment
- Pliers
- Scissors
Materials
- 1 gold brass hoop (3″ diameter, for the centerpiece)
- 2 gold brass circles (1-3/8” diameter)
- 4 jump rings (1/2” diameter)
- 1 gold triangle
- 1 gold 4” gold bar
- 1 natural wood bead
- 2 tassels
- Cotton flossing in two colors
Instructions
- Begin by wrapping a portion of the 3” gold hoop with cotton flossing. Leave a 5” tail of flossing and tie a knot onto the hoop. Continue wrapping the flossing around both the hoop and the tail until you’ve completed a 3” run of wrap. Finish off the wrap by double knotting the loose end to the tail and trimming off the excess.
- Lay the gold bar across the diameter of the hoop and attach with flossing. Begin with a knot around both the hoop and the bar at one end. Leave a tail as you did with the wrap in the previous step. Then continue wrapping in an X pattern around both sides of the bar.
- Tie off the flossing with a double knot and repeat with the other end of the bar. Set the hoop aside.
- Now that the hoop details are done, begin assembling the wall hanging beginning at the bottom. Use pliers to attach a jump ring to each of the tassels and join them together with a third jump ring. Attach to a fourth jump ring and attach onto one 1-3/8” circle.
- Cut a 6” long piece of flossing, fold it in half, wrap it around the top of the 1-3/8” circle, pull the ends through the loop and pull tight.
- Thread the flossing through the wood bead and double knot it to the bottom of the prepared 3” circle. Trim excess flossing.
- Attach the inverted triangle to the top of the 3” circle in the sample loop tie as in the previous step. (Fold a piece of flossing in half. Wrap it around the top of the 3” circle and pull the ends through the loop and pull tight.) Double knot the ends around the triangle point, and trim the excess tails.
- Lastly, cut another piece of flossing roughly 10” long. Fold the flossing in half and wrap it around the middle of the horizontal triangle edge. Pull the ends through the loop and pull tight. Leave about 3” of flossing before double knotting it onto the 2nd 1-3/8” circle. Once that is complete, then trim the flossing tails.

Don’t forget to share your amazing DIY Geometric Wall Hang with us on Instagram using the hashtag #sugarandclothloves. We absolutely love seeing all of your creative interpretations and personal touches! Looking for even more interior design inspiration and hands-on projects? You can find all of our home decor tutorials and ideas right here on the blog!
More DIY Recommendations For You!
Ikea Bar Cart DIY Stylish Ideas
DIY Canvas Art: How To Make Your Own Canvas Print
Homemade Reed Diffuser – Natural Ways To Make Your Home Smell Amazing!
DIY Coaster Ideas – Geometric Fun Design For Your Coaster!
Ikea Hack – DIY Wooden Headboard Using Stikwood
DIY Distressed Wooden Shelves