
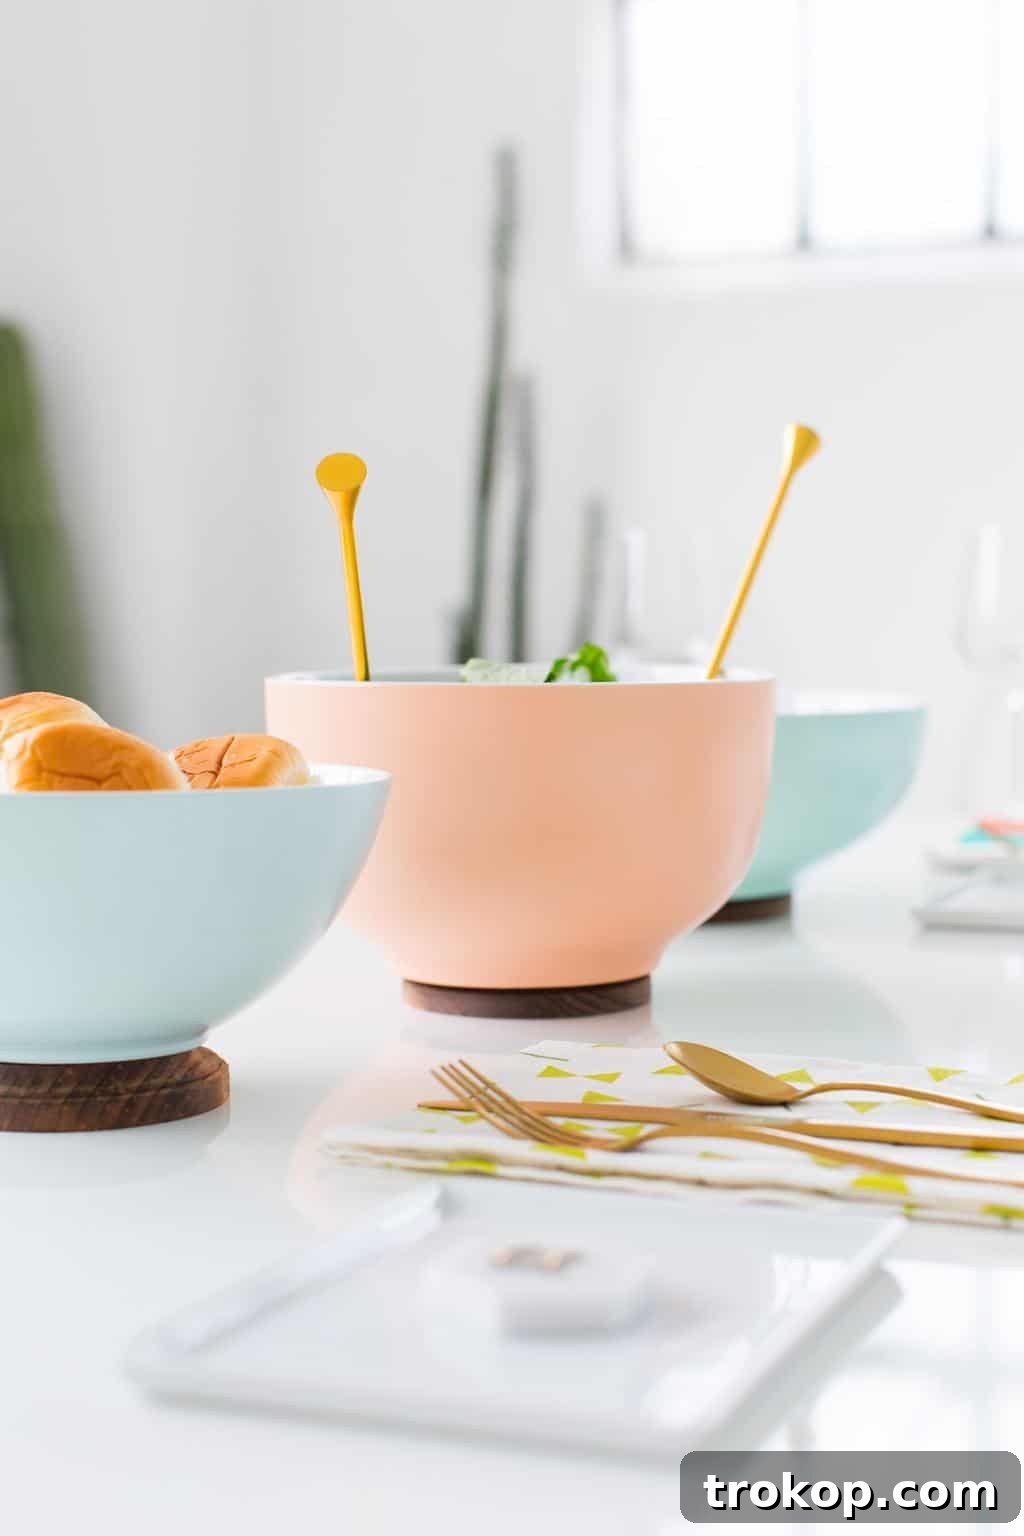
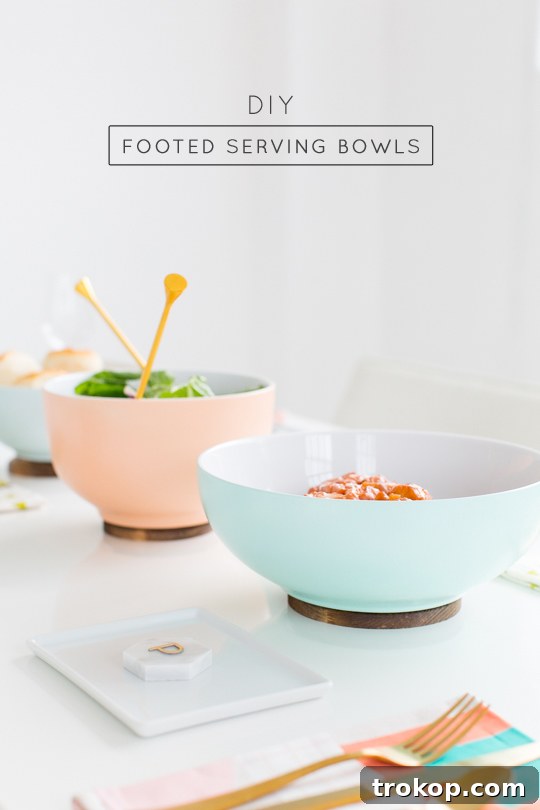
Whether you’re hosting a grand Thanksgiving feast, a festive Christmas dinner, or simply enjoying a casual meal with friends, a beautifully styled table can transform any occasion. These DIY footed serving bowls offer an elegant touch that will undoubtedly elevate your tabletop game, making your culinary creations shine.
Achieving Elegance on a Budget: The Power of DIY Decor
When it comes to holiday preparations and entertaining, I’m always eager to pull out all the stops for a truly styled and memorable table. However, the budget often presents a challenge. It’s a common dilemma: do you invest in beautiful serveware or prioritize thoughtful gifts for loved ones? For many, the choice is clear – presents often win out. But what if you didn’t have to choose?
The good news is that creating a sophisticated and inviting dining experience doesn’t require an unlimited budget. DIY projects offer a fantastic solution, allowing you to craft stunning decorative pieces and functional serveware that look far more expensive than they truly are. Not only do these handmade items save money, but they also infuse your home with a unique, personal touch that store-bought items can’t replicate. Imagine the satisfaction of guests admiring your beautifully presented dishes, unaware that your elegant footed bowls were a simple, affordable craft!
If you’re particularly budget-conscious, these DIY Footed Display Bowls offer another excellent option, perfect for showcasing your favorite desserts or decorative elements. For those looking to add a bit more flair, DIY pattern bowls can bring vibrant life and personality to your dinner parties.
Today, we’re thrilled to share another fantastic entertaining how-to, brought to you in partnership with Mirassou Winery. This collaboration ensures that you won’t have to compromise between generous gifting and a show-stopping table setting. This season, let no tabletop be neglected! These DIY footed serving bowls are not only quick to make but also incredibly budget-friendly, proving that style and savings can go hand-in-hand.
What Makes Footed Serving Bowls So Special?
Footed serving bowls aren’t just practical; they are a design statement. The elevated base adds a sense of grandeur and sophistication to any dish, transforming even the simplest salad into a culinary masterpiece. This height creates visual interest, making your table setting more dynamic and appealing. They are perfect for serving everything from hearty pasta dishes and vibrant salads to an array of fresh fruits, breads, or delightful desserts. Their versatility means they can be used for everyday meals or special occasions, instantly upgrading your presentation.
Beyond their aesthetic appeal, footed bowls also serve a practical purpose. The elevation can help protect your tablecloths from heat or moisture, and it makes dishes more accessible to guests around the table. They’re also ideal for creating multi-level displays, adding depth and dimension to your buffet or dessert bar.
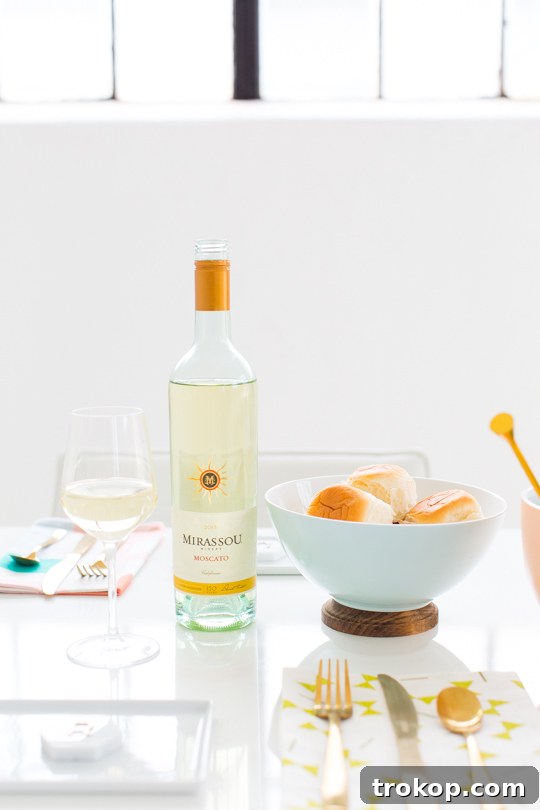
Table of Contents
Materials Needed To Make DIY Footed Serving Bowls
You’ll be delighted to know that you only need five basic materials to craft these beauties, and chances are you might already have most of them around your house or can easily find them at any craft or hardware store. This keeps the project accessible and truly budget-friendly!
- Wooden Plaque: Choose a sturdy wooden plaque that will serve as the base (the “foot”) for your bowl. Look for one that is the same size or slightly larger than the base of your chosen bowl. Different shapes (round, square) can offer varied aesthetics. You can find these at craft stores in various sizes. Here’s an example of a wooden plaque.
- Flat Bottom Bowl: The star of the show! Select bowls with a flat bottom for easy adhesion to the wooden plaque. These can be ceramic, glass, or even sturdy plastic bowls, depending on your desired look and use. Consider bowls with different diameters for a varied set.
- Wood Stain: A wood stain in the color of your choice will give your wooden plaque a refined, finished look. From deep walnuts to light oaks or even painted colors, the stain allows for significant customization to match your decor. I personally used this rich color for a classic finish.
- Foam Brush: Essential for applying the wood stain smoothly and evenly without leaving brush marks. Foam brushes are inexpensive and disposable, making cleanup a breeze.
- Permanent Craft Adhesive: A strong, permanent adhesive is crucial for securely bonding the bowl to the wooden plaque. E-6000 glue is highly recommended for its industrial strength and versatility across various materials. Permanent craft adhesive like this will ensure your bowls are durable.
How To Make A DIY Footed Serving Bowl
Crafting these elegant footed serving bowls is surprisingly straightforward. Follow these simple steps to add a touch of handmade sophistication to your dining experience:
Step 1: Stain the Wooden Plaque
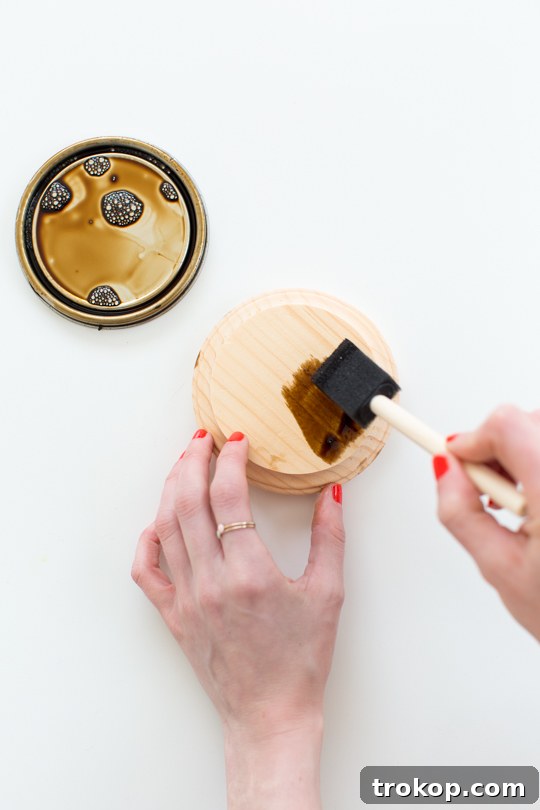
Begin by preparing your wooden plaque. Using your foam brush, apply an even coat of wood stain to the entire surface of the plaque. Ensure you cover all sides for a consistent finish. If you desire a darker shade, you can apply a second coat after the first has dried to the touch. Allow the stained plaque to dry completely according to the stain manufacturer’s instructions. This usually takes several hours, but patience here ensures a beautiful, non-sticky finish. A well-stained base will provide the perfect foundation for your elevated bowl.
Step 2: Adhere the Bowl to the Plaque
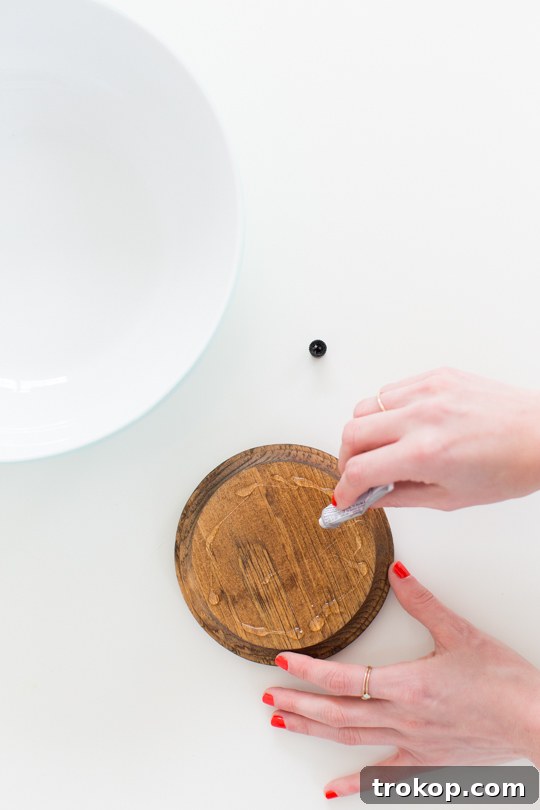
Once the wooden plaque is thoroughly dry, it’s time to assemble your footed bowl. Apply a generous amount of E-6000 permanent craft adhesive to the center of the wooden plaque where the base of your bowl will rest. Carefully center your flat-bottomed bowl onto the glued area of the plaque. To ensure a strong and lasting bond, place something heavy, like a stack of books or a heavy can, on top of the bowl. This constant pressure while the glue cures is critical for preventing separation.
Step 3: Allow for Complete Curing and Final Touches
The most crucial step is allowing ample time for the adhesive to cure completely. It’s recommended to wait a full 24-48 hours before handling your newly assembled serving bowl. This ensures maximum strength and durability for your handmade piece. Once fully cured, your elegant DIY footed serving bowl is ready to grace your table! Remember to always handwash your new serving bowls to protect the adhesive bond and the finish of the wood. Avoid dishwashers or prolonged soaking, as this can weaken the glue over time.
Customizing Your Footed Serving Bowls
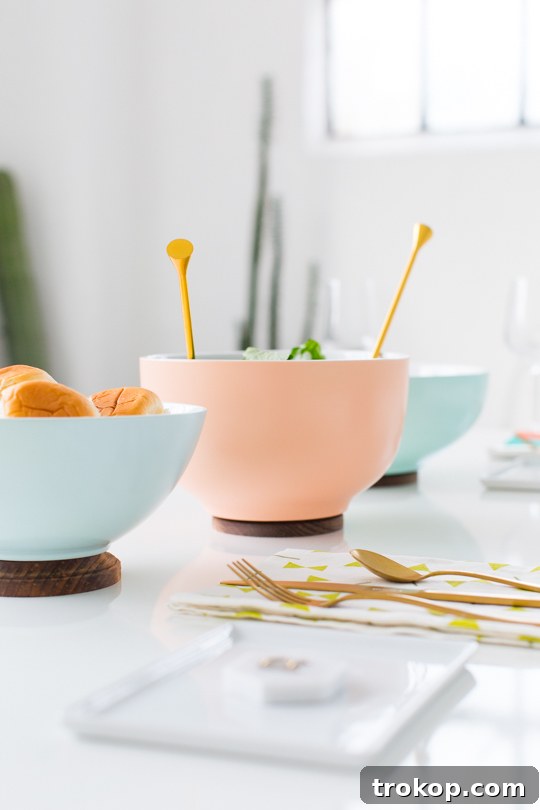
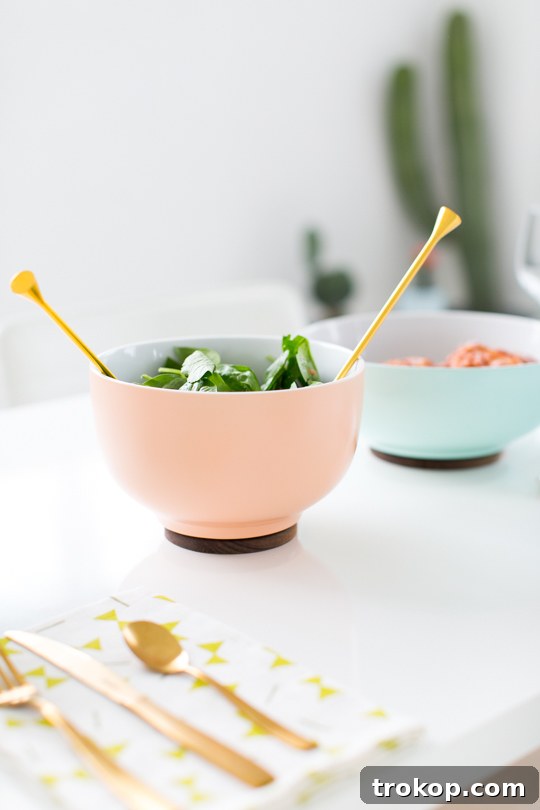
The beauty of DIY lies in endless customization! While I managed to stop myself at three, you can truly go wild with different colors, shapes, and sizes to create a collection that perfectly suits your style and needs. My only advice: be mindful of your storage options when it comes to serveware!
- Color and Finish: Experiment with different wood stains – from light natural tones to rich dark hues. You could also paint the wooden plaques in vibrant colors, metallics, or even pastels to match specific themes or seasons. Consider using chalk paint for a rustic look or a high-gloss finish for modern elegance.
- Bowl Variety: Don’t limit yourself to uniform bowls. Mix and match different materials like clear glass for a minimalist look, colorful ceramic for a pop of joy, or even textured metal bowls for an industrial feel. Vary the diameters and depths of the bowls to create a dynamic set.
- Decorative Accents: After staining or painting, you can add further embellishments. Stencils, hand-painted designs, or even decoupage with pretty papers can transform the wooden base. For a special touch, consider adding a thin strip of decorative trim or ribbon around the join line.
- Themed Sets: Create themed sets for specific holidays or occasions. For Christmas, use red bowls with green-stained bases. For a summer party, try bright blue or yellow bowls with a whitewashed base.
Entertaining with DIY Elegance
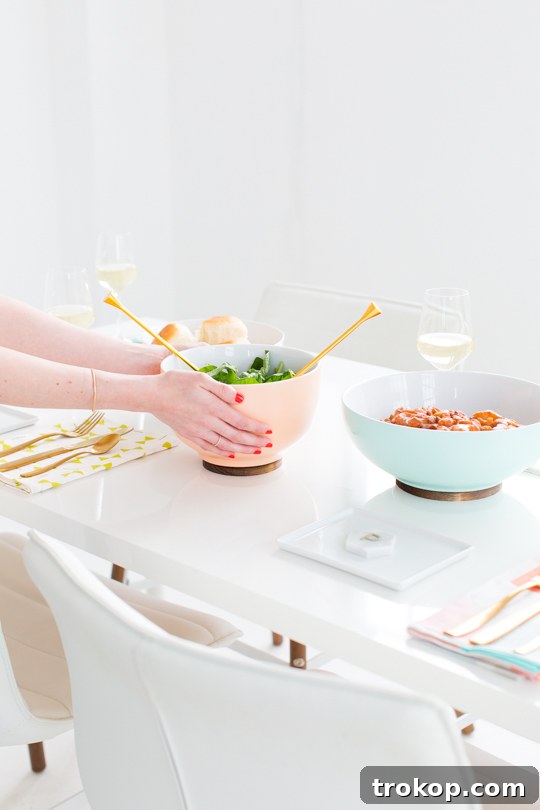
These footed bowls aren’t just pretty; they are incredibly versatile and make for the perfect match to your new favorite recipes and your next wine pairing. The elevated design creates an impressive display, making every meal feel like a special occasion.
Imagine serving a vibrant mixed greens salad or a creamy pasta dish in one of these elevated beauties. They instantly draw the eye and make your food presentation professional. I’m currently loving this wilted greens with Pinot Noir pears recipe, which would look absolutely stunning in a dark-stained footed bowl, perfectly complementing the rich colors of the dish and the wine. Another favorite, a refreshing shrimp & citrus salad, would pop beautifully against a lighter wood base.
And for those cooler months, this healthy Winter Panzanella Salad, brimming with hearty croutons, roasted squash, sprouts, jeweled cranberries, and creamy feta, finds its perfect home in an elegant footed bowl, making it a centerpiece on your winter table.
You can never go wrong having a bottle of fine wine to share, and your favorite statement bowls and dishes on hand, am I right?! These DIY footed bowls are a testament to thoughtful hosting, combining personal effort with practical elegance. They not only serve your delicious meals but also enhance the overall ambiance of your gathering, making guests feel truly special.
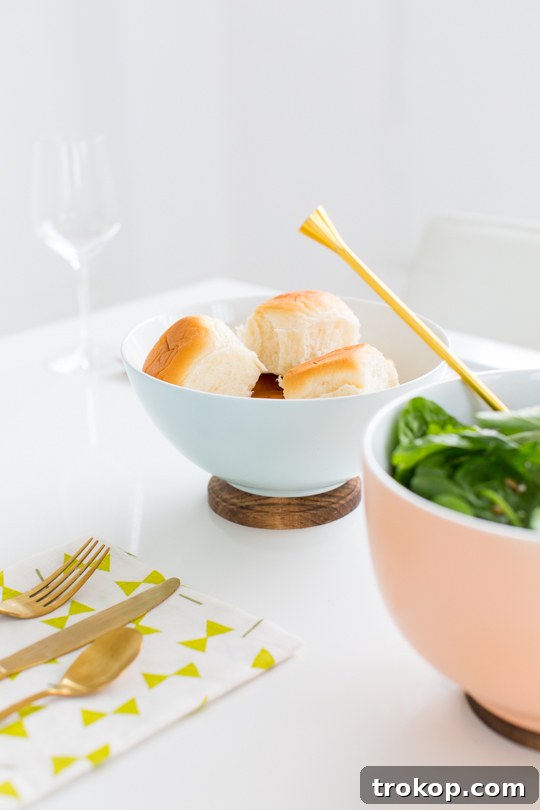
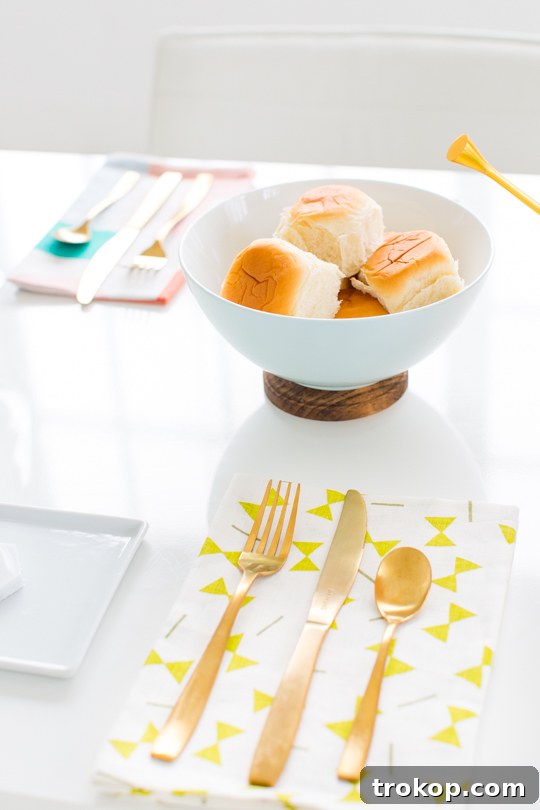
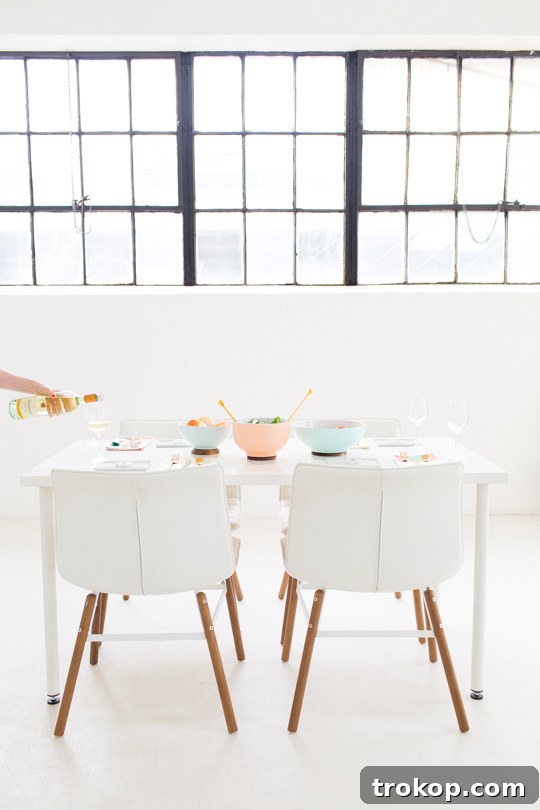
Pretty simple, wouldn’t you agree? How many of you are inspired to create these beautiful bowls for your upcoming holidays and get-togethers? Just don’t forget the perfect wine pairing to complete your spread!
This post is made possible by Mirassou Winery. We extend our sincere thanks for supporting the brands we love, which help us bring you bigger, better DIY projects and even sweeter treats directly to your inbox! Learn more about Mirassou on Facebook!
More DIY Projects and Ideas to Spark Your Creativity
If you’ve enjoyed crafting these elegant serving bowls, you’ll love exploring these other creative DIY projects to further personalize your home and celebrations.
- DIY Printable Fruit Wall Art
- How to Make DIY Paper Flower Cake Topper
- DIY Fresh Flower Cake Topper
- How to Make DIY Wooden Polaroid Displays (+ Video Tutorial)
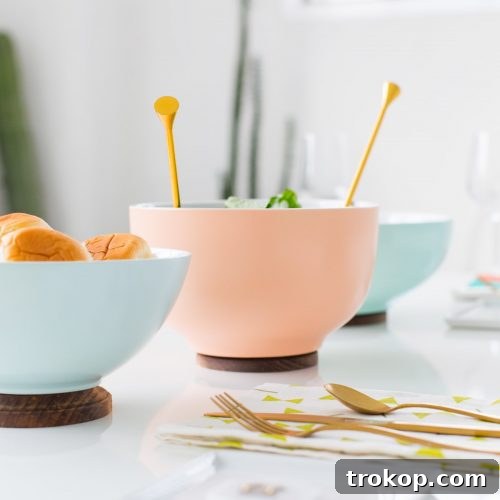
DIY Footed Serving Bowls Project Summary
30 mins
2 days
2 d
30 mins
DIY
Entertaining Decor
Equipment
-
Foam brush
-
Permanent craft adhesive (e.g., E-6000)
Materials
- Wooden plaque
- Flat bottom bowl
- Wood stain I used this color
Instructions
-
Stain the wooden plaque that’s the same size (or slightly larger) as your bowls, and let it dry completely.
-
Once dry, use E-6000 glue to adhere the bowl and the wooden plaque together. Place something heavy on top to apply pressure while the glue dries.
-
Wait 24-48 hours for the glue to set completely. Always handwash your new serving bowls once they’re complete.

Don’t forget to share your DIY Footed Serving Bowls with us on Instagram using the hashtag #sugarandclothloves. We absolutely love seeing all of your wonderful creations and how you bring your unique style to life! Looking for even more interior design inspiration, innovative crafts, and creative ideas for your home? You can find all of our home decor tutorials and styling ideas right here on our blog. Let your creativity flourish and transform your living space with personalized touches that truly reflect you.
More Holiday Entertaining Ideas
Free Printable: Easy Christmas Scavenger Hunt Game
Hot Chocolate Drink – Candy Cane Affogato Recipe

Poolside Christmas Decor With Santa

Christmas Decor: DIY Santa Footprints
DIY Santa Milk And Cookies Idea
The Best Christmas Cookie Ice Cream Shots Recipe