
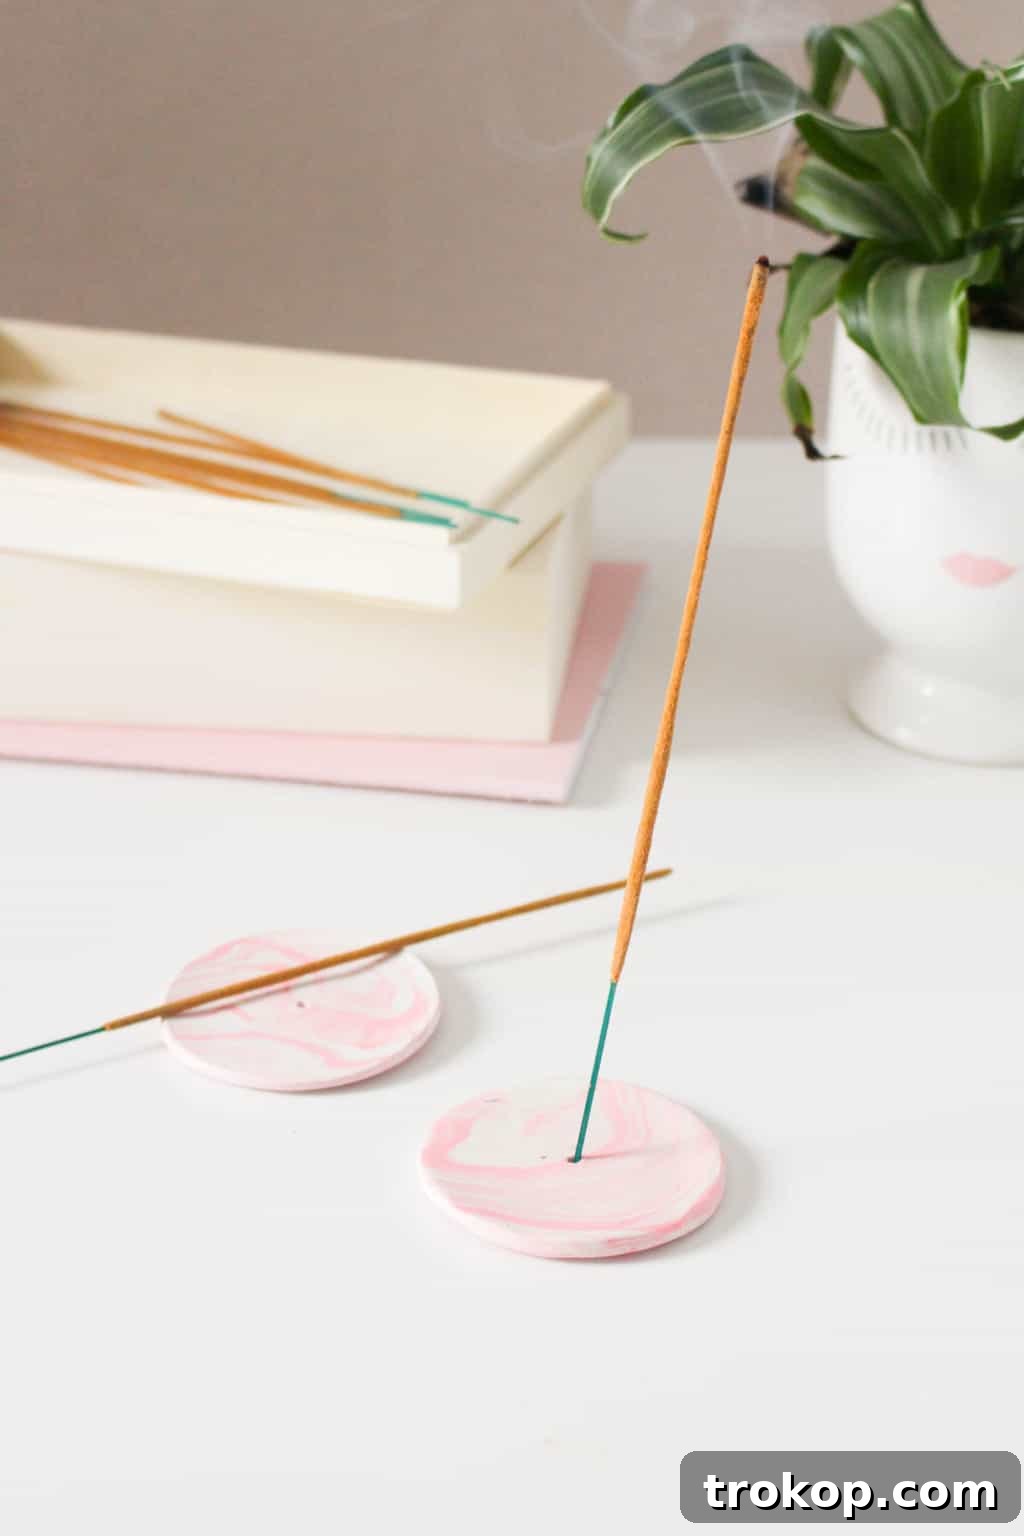
Transform your living space into a serene sanctuary with a touch of handmade charm! This comprehensive guide will show you how to create a beautiful and functional DIY Incense Holder using polymer clay. Whether you're aiming for a tranquil ambiance, a quick home refresh, or a delightful aroma, a personalized incense holder is the perfect addition. Our easy-to-follow tutorial focuses on crafting a unique marbled design, making it a simple yet rewarding project for beginners and seasoned crafters alike.
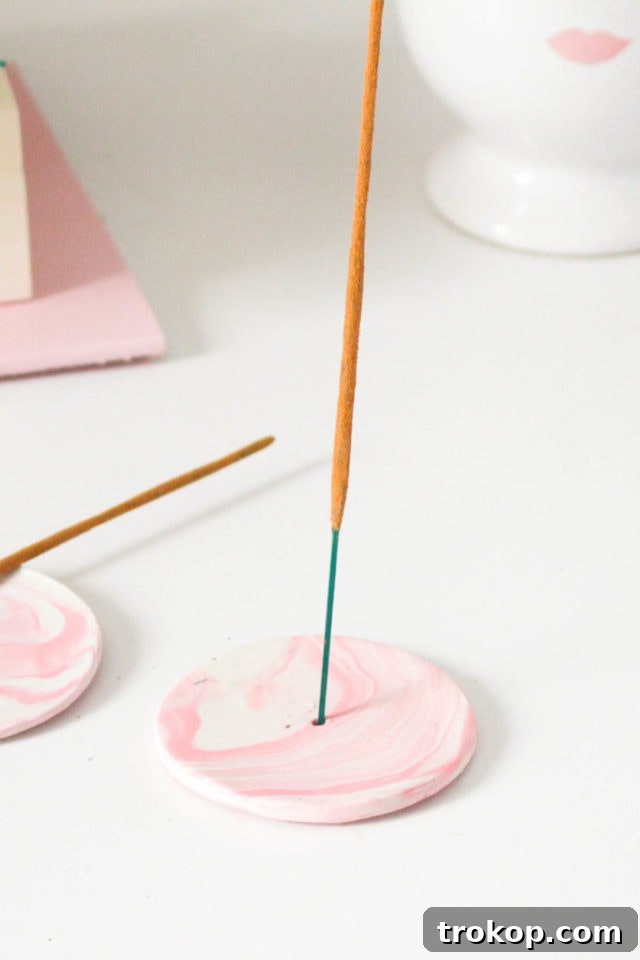
In our constant quest to make our homes more inviting and inspiring – a concept often described by the Danish word "hygge" – we're always seeking simple solutions. When the weather outside makes opening windows less appealing, burning incense offers a fantastic way to refresh your indoor environment. It's an effortless method to introduce natural, earthy scents and effectively clear out any stale or musky odors, all without the inconvenience of a cold draft.
To elegantly display your favorite incense sticks, we highly recommend crafting this stunning Marbled DIY Incense Holder from versatile polymer clay. This project not only provides a practical item for your home but also allows for immense creative expression. Our detailed instructions will guide you through each step, ensuring you create a one-of-a-kind holder that perfectly complements your home décor and reflects your unique aesthetic. This is an ideal project for anyone new to crafting, offering a delightful opportunity to infuse your daily incense ritual with a truly personal, handmade touch. Plus, the timeless beauty of a pink marble design is always a crowd-pleaser and adds a sophisticated flair.
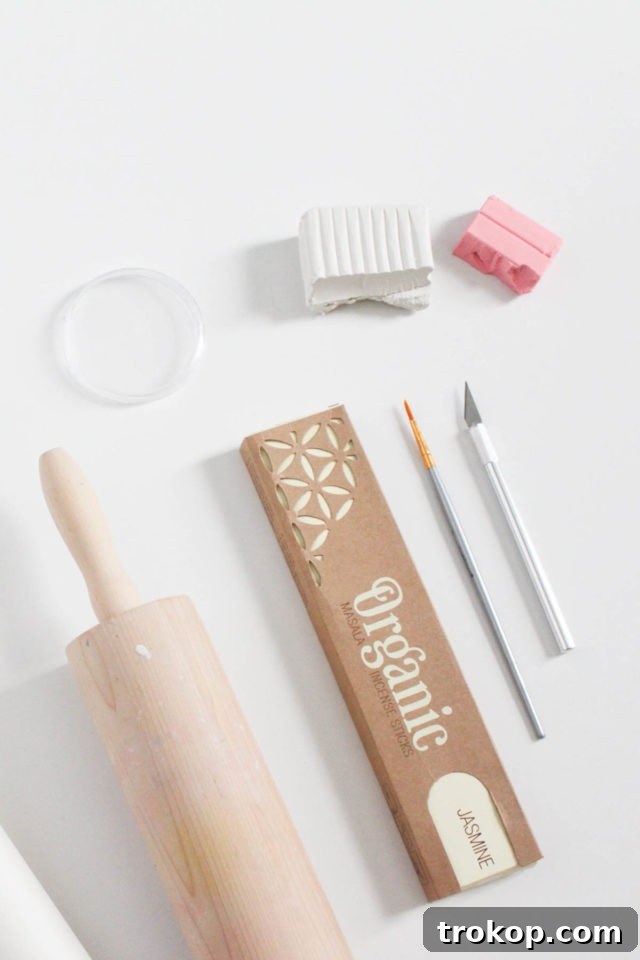
Table of Contents
Materials and Tools Needed
Gathering your supplies before you begin is key to a smooth crafting experience. For this polymer clay incense holder project, you'll need a few common items, many of which you might already have around your home. The beauty of polymer clay is its accessibility and ease of use, making it perfect for various DIY endeavors.
- Polymer Clay: This is the star of our project! For an attractive marbled effect, select two or more contrasting colors. We opted for a lovely rose pink and classic white to create a soft, elegant marble. You’ll need at least a quarter block of each color. Polymer clay is incredibly versatile and user-friendly, allowing for endless creative possibilities. Any leftover clay can be repurposed for other charming crafts like decorative clay sculptures, trendy speckled keychains, or mini photo holders, expanding your crafting repertoire.
- Rolling Pin: Essential for flattening your clay evenly. A small rolling pin designed for crafts works best, but a clean kitchen rolling pin or even a smooth, cylindrical bottle can work in a pinch. The goal is a consistent thickness across your clay piece.
- Parchment Paper: This will serve as a non-stick surface for working with your clay and for baking. It prevents the clay from sticking to your work surface or baking sheet and makes cleanup much easier.
- Circle Cookie Cutter or Lid: Choose a size that provides a stable base for your incense stick and allows enough space for ash collection. A cookie cutter offers clean, precise edges, but a lid from a jar or container can also be effectively used as a template.
- X-acto Knife or Craft Blade: Useful for trimming excess clay and refining the edges of your incense holder. Handle with care, as these blades are very sharp.
- Poking Tool: A simple tool like the blunt end of a paintbrush, a toothpick, or a thin skewer is perfect for creating the hole where your incense stick will sit. Ensure the tool's diameter is appropriate for your incense sticks.
While your finished incense holders will look fantastic without any additional sealant, you might consider applying a polymer varnish if you desire extra shine or protection. Remember, if you choose to seal your piece, always use a varnish specifically designed for polymer clay to prevent the clay from becoming sticky over time, which can happen with incompatible sealers.
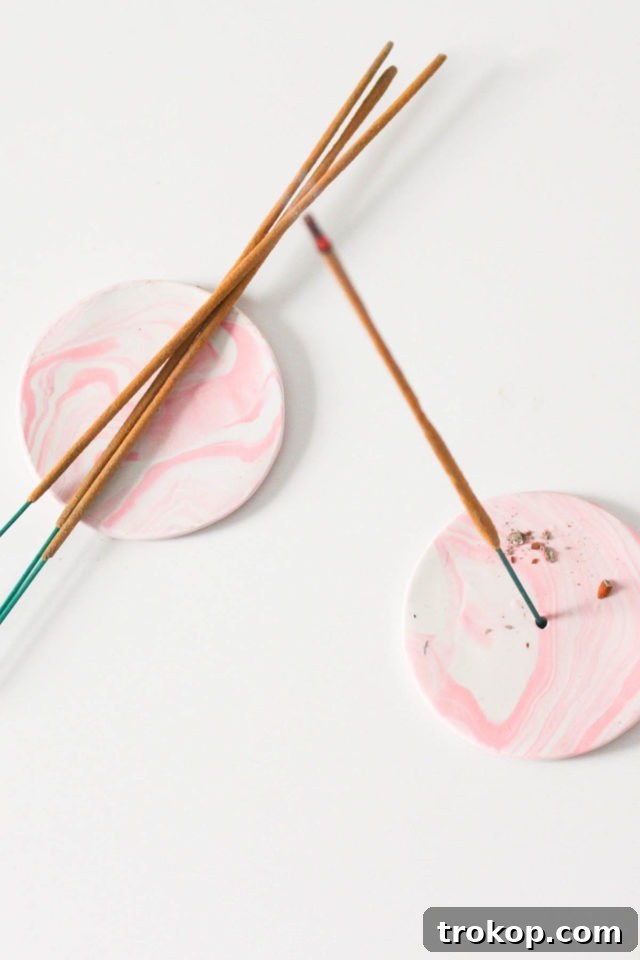
How to Make a Marbled DIY Incense Holder
Creating your own marbled polymer clay incense holder is a straightforward and enjoyable process. Follow these steps carefully to achieve a beautiful, functional piece that adds a personal touch to your home ambiance.
- Prepare Your Clay for Marbling:
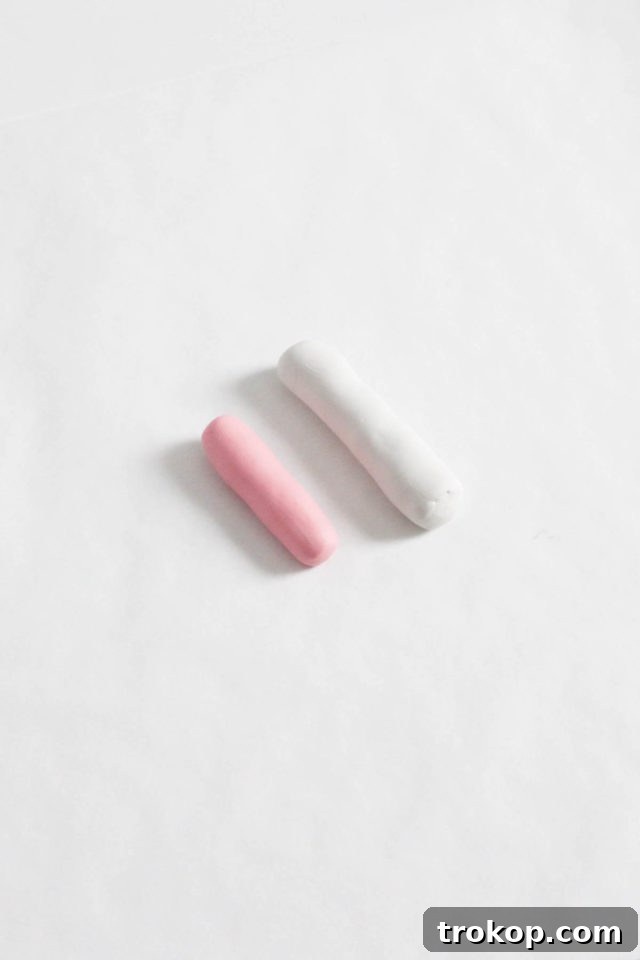
Begin on a clean, smooth work surface, ideally covered with parchment paper. Take each block of polymer clay and divide it into roughly equal portions. The number of portions and their size will influence the intensity and pattern of your marbling. For a more defined marble, use fewer, larger pieces; for a finer, more intricate pattern, use smaller pieces. Now, it's time to condition your clay. Gently warm each portion in your hands, kneading and rolling it until it becomes soft, pliable, and easy to work with. This step is crucial for preventing cracks and ensuring an even texture. Once conditioned, roll each color of clay into separate cylinder or rope-like shapes, about 4-6 inches long.
- Combine and Twist the Colors:
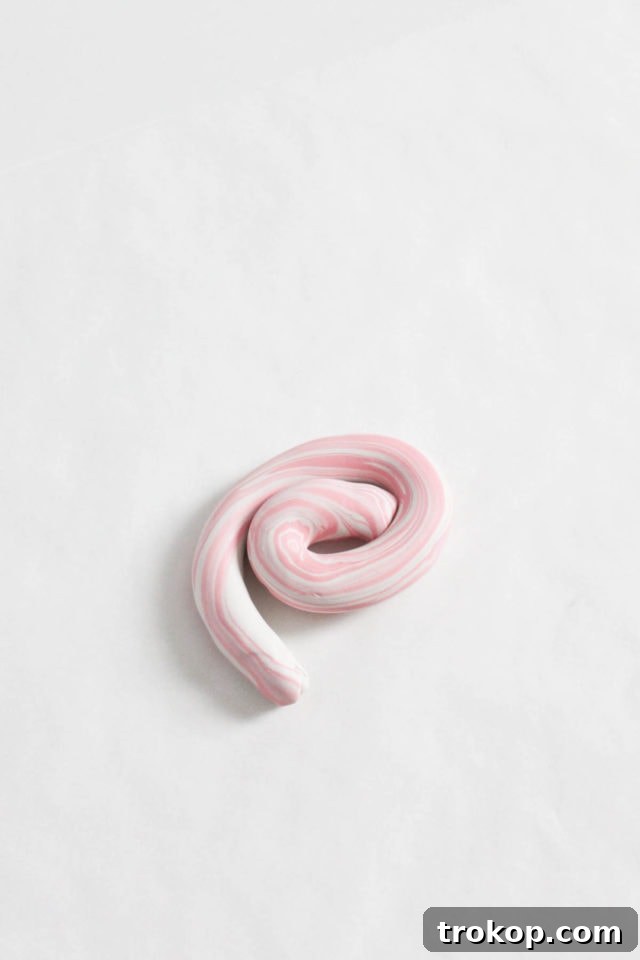
Take your conditioned clay ropes and gently press them together side-by-side. Then, carefully roll them together into one longer, multi-colored rope. As you roll, the colors will begin to intertwine. For a more pronounced marbled effect, you can gently twist the combined rope a few times, then fold it in half and twist again. Repeat this twisting and folding process two or three times. Be careful not to overmix, as this can cause the colors to blend too much and lose their distinct marbled lines, resulting in a muddy appearance.
- Form the Swirl:
Once you’re happy with the marbling pattern in your clay rope, gently coil and swirl the layered clay into a circular shape. Start from one end and roll it inwards, creating a spiral or a concentric circle pattern. This will be the base form of your incense holder, so aim for a neat and relatively flat spiral.
- Roll Out the Marbled Clay:
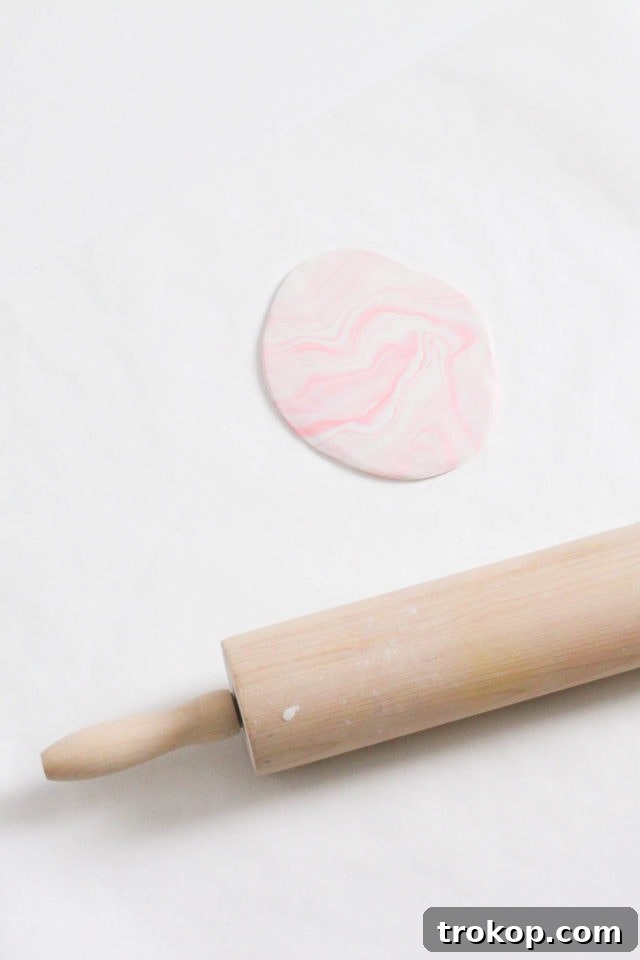
Place your swirled clay on a piece of parchment paper. Using your rolling pin, carefully roll out the clay, applying even pressure across the entire surface. Roll from the center outwards, turning the clay occasionally to ensure an even thickness and to maintain the circular shape. The ideal thickness for your incense holder is approximately 1/4 inch (about 6mm). This thickness provides sufficient stability for the incense stick and durability for the holder, preventing it from being too fragile.
- Shape the Holder Base:
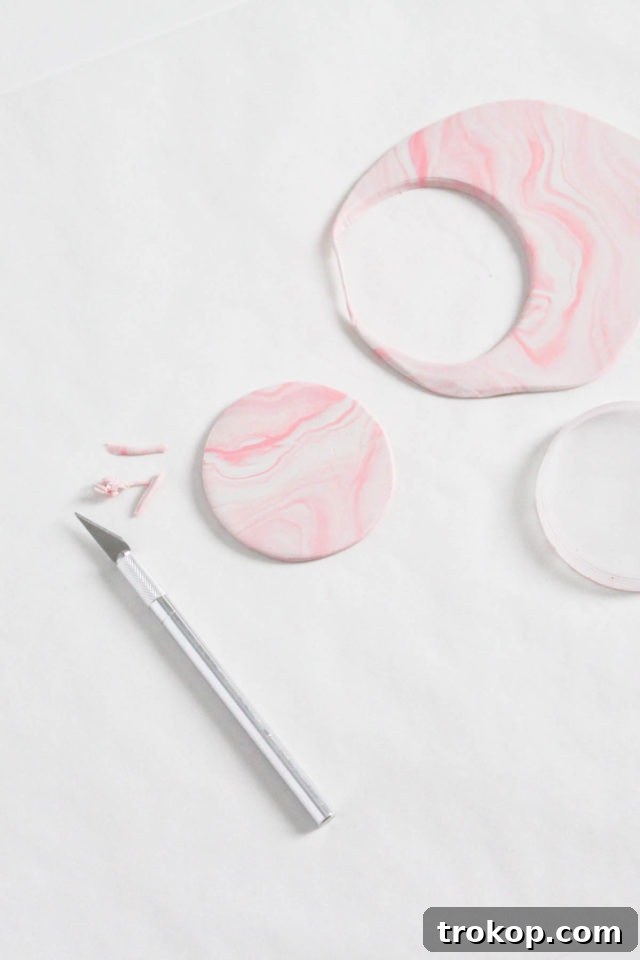
Once your marbled clay is rolled to the desired thickness, use your chosen circle cookie cutter or lid to stamp out a perfect circle. Press firmly to ensure a clean cut. Carefully remove any excess clay from around the edges, which can be reused for other small projects or combined for a new marbled piece. Gently smooth the edges of your clay circle with your fingertips to remove any roughness or imperfections. To create a shallow bowl-like shape that effectively catches falling ash, carefully pull the outer edges of the clay circle upwards slightly with your fingers, forming a gentle curve.
- Create the Incense Stick Hole:
Using your poking tool (e.g., a toothpick, the blunt end of a paintbrush, or a thin skewer), carefully create a small hole in the center of your clay circle. Make sure the hole is deep enough and wide enough to securely hold your incense stick upright without it wobbling. It's a good idea to test the hole with an actual incense stick to ensure a snug fit before baking. This step is critical for the functionality of your holder.
- Bake and Cure Your Incense Holder:
Once shaped, carefully transfer your polymer clay incense holder to a baking sheet lined with fresh parchment paper. It’s important to support the holder evenly to prevent distortion during baking. Refer to the specific baking instructions provided on your polymer clay packaging, as temperatures and baking times can vary between brands. Typically, polymer clay bakes at a low temperature (around 200-275°F or 93-135°C) for a short period. For our project, we baked ours in the oven at 200°F (93°C) for approximately 6 minutes, which is a surprisingly quick curing time! Once baked and cured, allow your incense holder to cool completely before handling. Once cool, your beautifully marbled DIY incense holder is ready to use, bringing warmth and fragrance to your home.
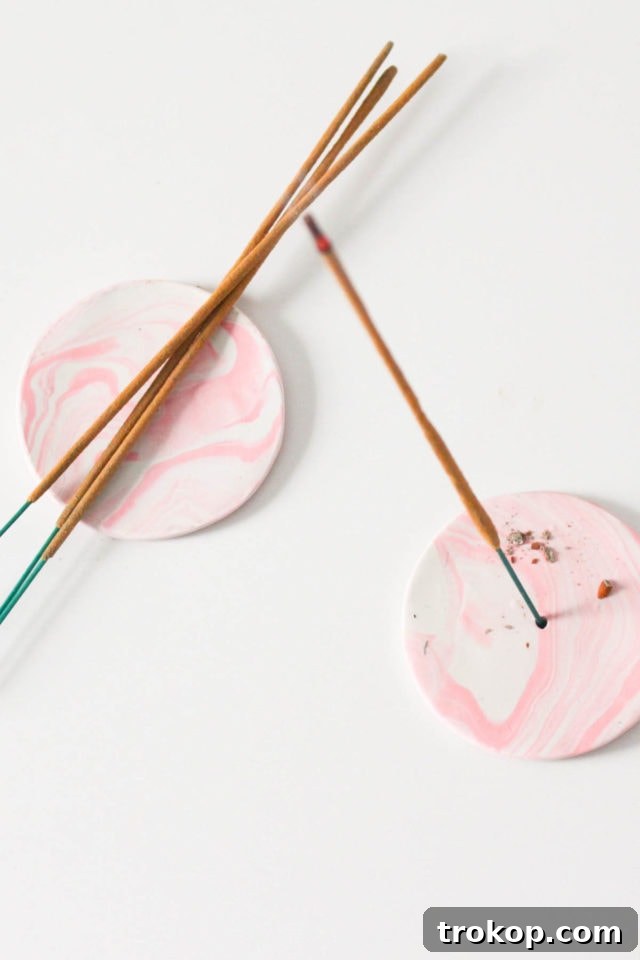
Tutorial Notes and Advanced Tips
To enhance your crafting experience and ensure the best possible results for your polymer clay incense holder, consider these additional notes and expert tips:
- Color Experimentation: Don't limit yourself to just two colors. Experiment with different color combinations and even varying shades of the same color to create truly unique and captivating marbled effects. Consider incorporating metallics for a subtle shimmer or translucent clay for depth. The possibilities are endless, allowing each holder to be a bespoke art piece.
- Dealing with Sticky Clay: Polymer clay can sometimes become overly soft and sticky, especially in warm environments or with extensive handling. If your clay starts to feel unmanageable, simply pop it into the refrigerator for a few minutes. This will firm it up, making it much easier to work with. Avoid freezing, as extreme cold can make it brittle.
- Proper Clay Conditioning: Conditioning is a vital first step for polymer clay. Clay straight out of the package can be stiff and crumbly. To make it pliable and easy to sculpt, gently warm it in your hands for several minutes. You can also use a pasta machine on its widest setting (if you have one for crafting) or a hairdryer on a low, cool setting for a quicker warm-up. Proper conditioning removes air bubbles and ensures your finished piece is durable and less prone to breakage.
- Mastering the Marbling Technique: The key to beautiful marbling is knowing when to stop. Swirl or fold the clay layers just enough to achieve a pleasing, distinct marbled pattern. Overworking the clay will cause the colors to blend too thoroughly, resulting in a less defined, often muddy or uniform color rather than a striking marble effect. Less is often more when it comes to marbling.
- Adding Shine and Protection (Optional): For those who desire a glossy finish or extra protection against wear, consider applying a coat of clear varnish after baking and cooling. It's crucial to use a varnish specifically formulated for polymer clay. General-purpose varnishes or sealers can react with polymer clay over time, causing it to become tacky or degrade. A polymer clay-safe varnish will protect your creation and give it a professional sheen.
- Safe Incense Extinguishing: Always prioritize safety when burning incense. While an incense stick will eventually burn down, knowing how to safely extinguish it is important. Water is the most effective and safest method. A small spray bottle or a bowl of water nearby will do the trick. You can also use a wet cloth; simply place it firmly over the glowing ember of the incense stick and press down to ensure all embers are completely extinguished before walking away. Never leave burning incense unattended.
- Preventing Ash Mess: To ensure your incense holder effectively catches all ash, consider making the "bowl" portion slightly wider and deeper than initially planned. This provides a larger catchment area and minimizes the risk of ash spilling onto your furniture.
- Curing in the Oven: Always follow the manufacturer's instructions for baking polymer clay regarding temperature and time. Baking at too high a temperature can cause scorching or cracking, while too low a temperature might result in an uncured, brittle piece. An oven thermometer can help you maintain an accurate temperature.
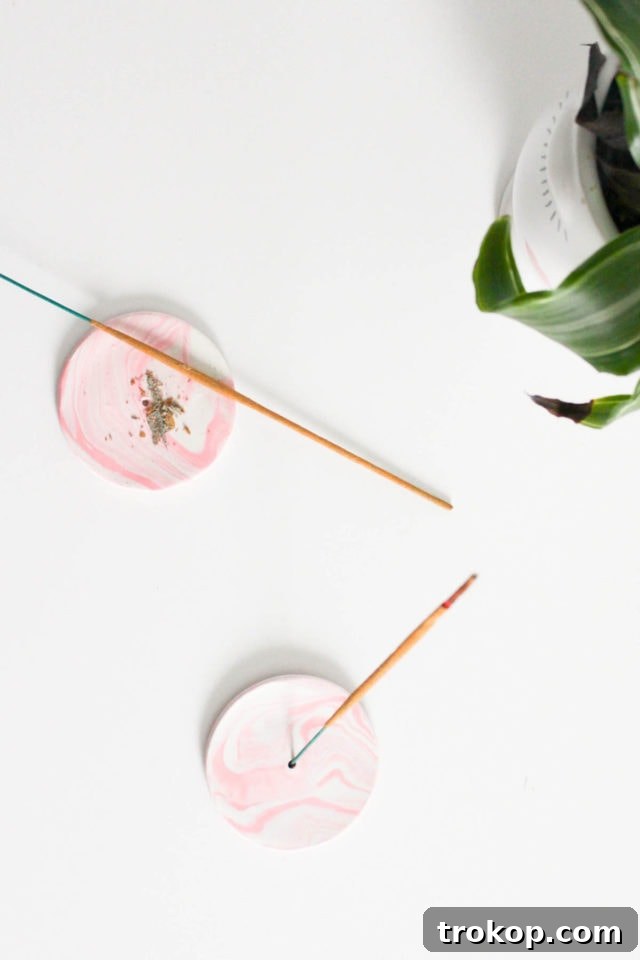
More Apothecary and Aromatherapy DIY’s
Are you looking for even more creative and effortless ways to freshen up your home and infuse it with delightful aromas? Your search ends here! If you enjoyed crafting your DIY Incense Stick Holder, you’ll love exploring some of our other favorite apothecary and aromatherapy projects designed to bring peace and pleasant scents into your living space. Dive into these simple DIY ideas to continue your journey of creative home enhancement:
- Homemade Candles Using Essential Oils: Learn to craft custom scented candles that fill your home with natural fragrances.
- Balloon Dipped DIY Citronella Candle: Create stylish and effective citronella candles perfect for outdoor gatherings.
- Organic Citrus Sugar Scrub: Pamper yourself with a rejuvenating and natural body scrub.
- Homemade Reed Diffuser: Discover how to make your own elegant reed diffusers for continuous, subtle home fragrance.
- Cinnamon Coffee Sugar Scrub: Enjoy the invigorating scents and exfoliating benefits of this unique scrub.
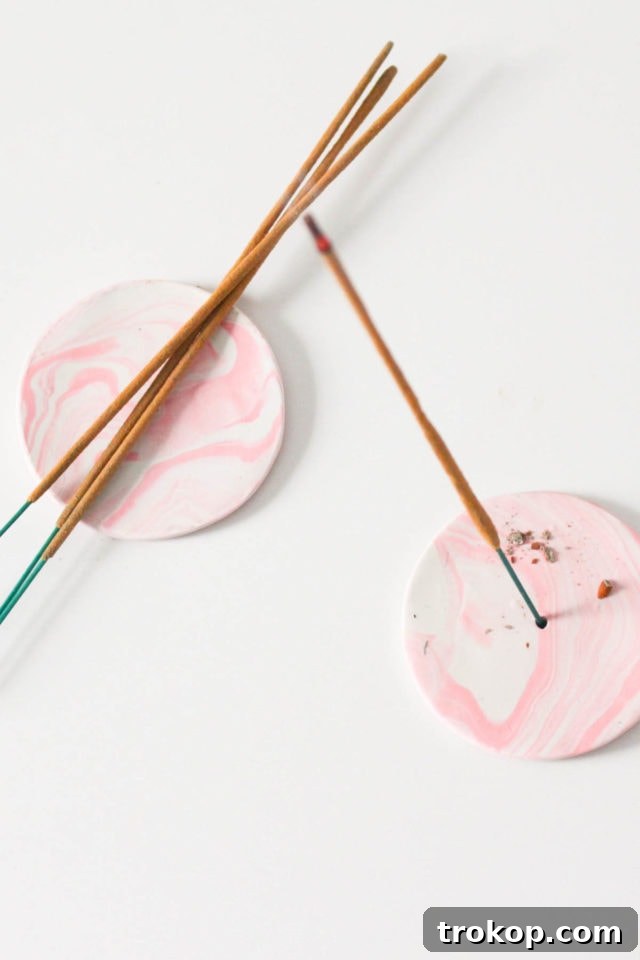
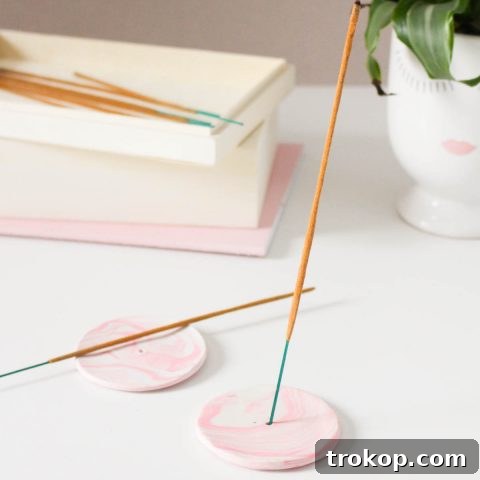
Marbled Clay DIY Incense Holder
Equipment
- Rolling pin
- Parchment paper
- Exacto knife
- Poking tool (like a paintbrush handle or toothpick)
- Circle cookie cutter or lid
Materials
- 2 polymer clay blocks in colors of choice (at least 1/4 block each)
Instructions
- On a clean work surface, divide each block of clay into roughly equal portions based on your desired marbling intensity. Condition your clay by gently warming it in your hands until pliable. Then, mold each color into cylinder rope-like shapes.
- Combine the 2 colors of clay by gently pressing and rolling them together into one long rope.
- Twist and swirl the layered clay into a circular spiral shape.
- Carefully roll out the swirl with your rolling pin, pressing down evenly to create a cohesive marbled design. The thickness should be around 1/4 inch for good incense stick stability and durability.
- With a circle cookie cutter or a lid, stamp out a circle from the rolled out clay. Trim any excess clay off the edges with an X-acto knife and smooth the edges with your fingers. Gently pull the edges of the circle clay up a bit with your fingers to create a shallow bowl to catch ash.
- Using your poking tool, carefully create a hole in the center of your clay circle. Ensure the hole is large enough to accommodate your incense stick securely.
- Carefully transfer your shaped holder to a baking sheet lined with parchment paper. Following the baking instructions on your specific polymer clay packaging, bake your creation in the oven until cured.

Related Inspirations
Discover more creative ideas to enhance your lifestyle and home:
25 Best Clear Stadium Bags for Concerts, Sports & Events
Stay stylish and compliant with the best clear stadium bags for any event, from concerts to sports games.
Continue Reading
Jet-Set with These 46 Top Travel Gifts for Men
Whether he’s a frequent flyer or an occasional explorer, find the perfect travel gifts for the man on the go.
Continue Reading
Your Guide to Hosting the Perfect Outdoor Movie Night
From DIY projectors to cozy seating arrangements, explore the best tips for an unforgettable outdoor cinema experience.
Continue Reading
60 Amazon Bedroom Decor Picks to Revamp Your Room
Discover the best Amazon bedroom decor items to create a stylish and comfortable oasis for less.
Continue Reading