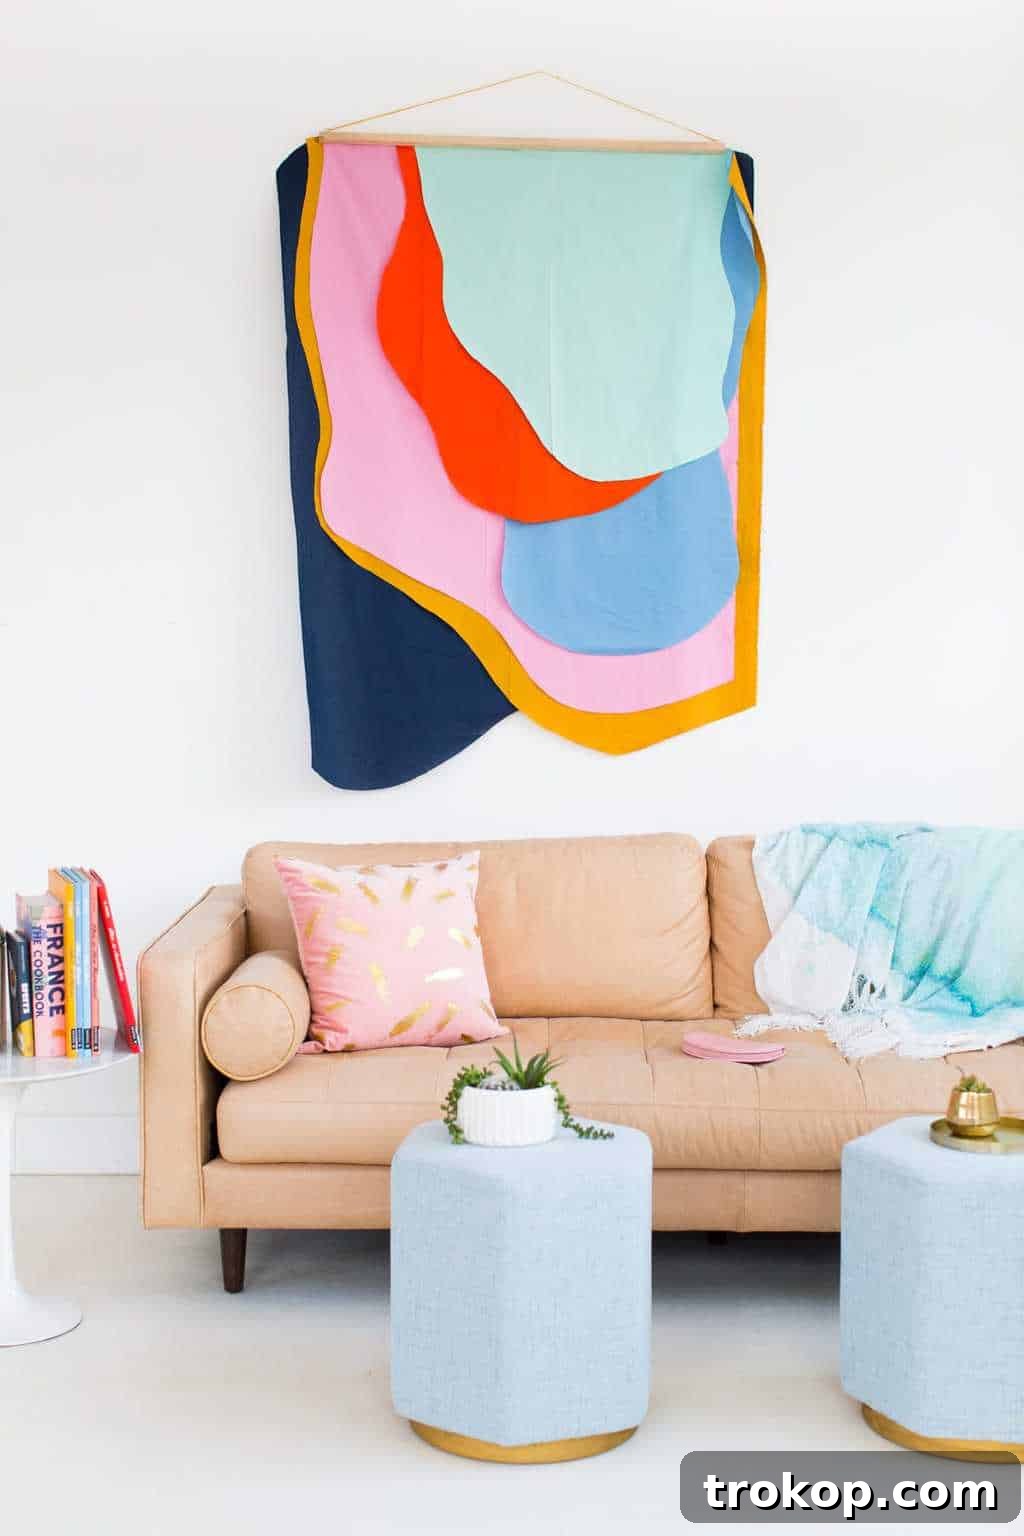
Are you searching for a striking piece of wall art that truly expresses your unique style, without the hefty price tag? This DIY Abstract Shapes Fabric Wall Art project offers an incredibly affordable and personal way to transform your home decor. Say goodbye to generic store-bought art and hello to a vibrant, custom creation that adds warmth, texture, and a splash of color to any room.
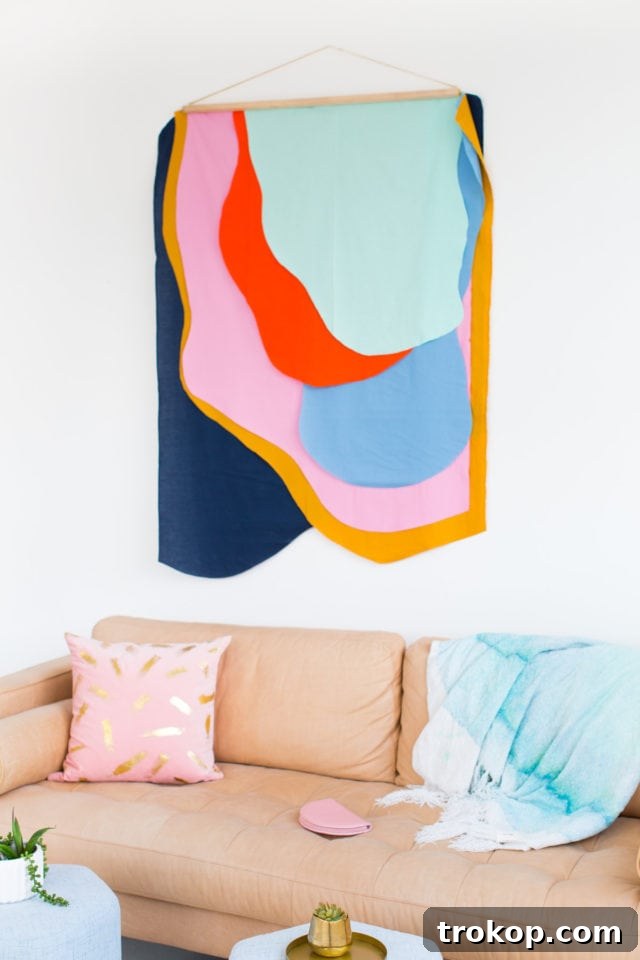
Creating your own decor allows for unparalleled customization, giving you complete control over colors, patterns, and overall aesthetic. We initially designed this abstract fabric wall hanging as a dynamic backdrop for our animal shelter charity workshop, needing something that perfectly complemented our chosen color scheme and theme. The result was so captivating that we simply had to share it as a standalone DIY tutorial!
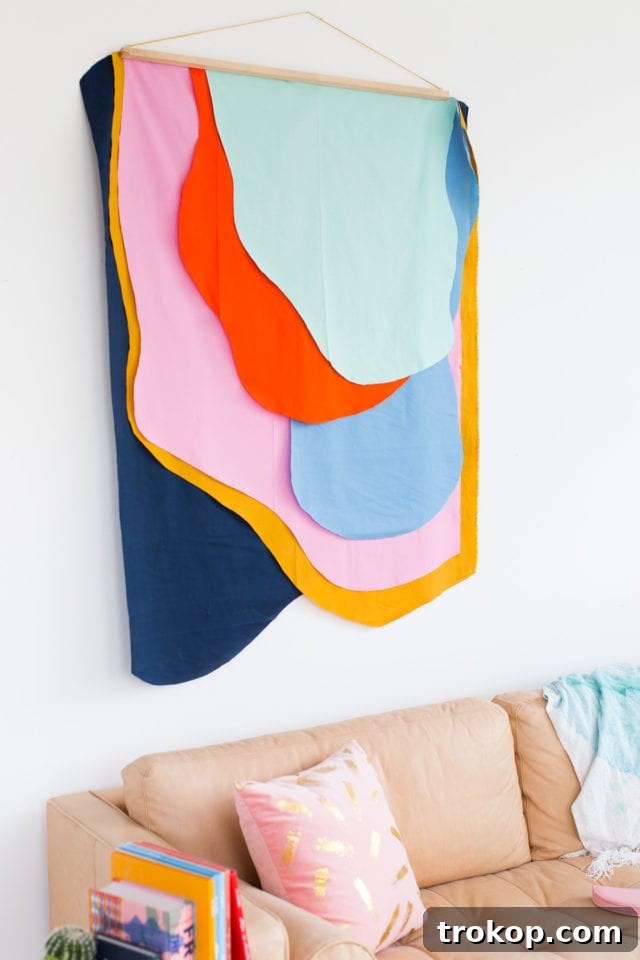
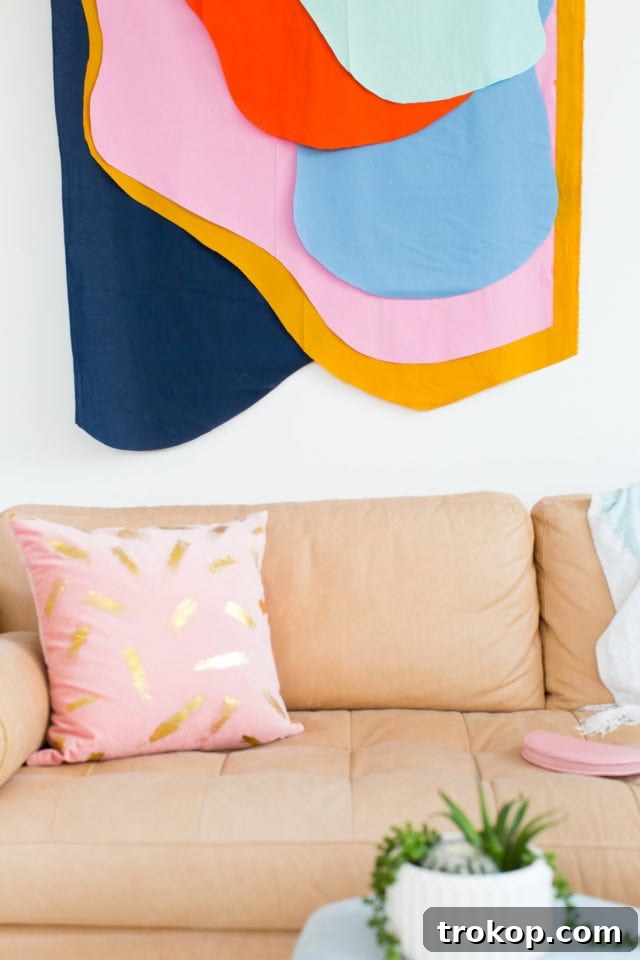
There’s immense satisfaction in crafting a giant statement piece for your walls, featuring custom colors and fluid, abstract lines. This project embraces both creativity and simplicity, requiring only a few basic materials and a dash of imagination. The beauty of abstract design is its versatility; it allows you to create eye-catching visuals that resonate with your personality and enhance your living space. Best of all, this impressive piece, measuring approximately 5.5 feet tall and 3 feet wide, cost us around $75 and took less than an hour to complete – an incredible value for custom fabric wall art!
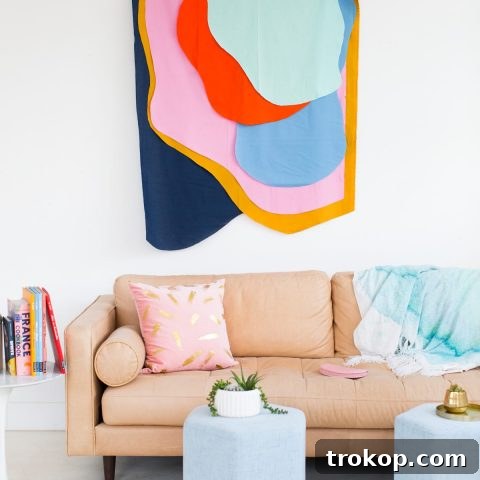
For some added flair in our styling, we even brought out our DIY gold base stools, which perfectly harmonized with the art’s modern aesthetic. This project proves that stunning home decor doesn’t have to break the bank or require advanced crafting skills.
Benefits of DIY Fabric Wall Art
Beyond being a budget-friendly option, DIY fabric wall art offers a myriad of advantages for home decorators. Fabric brings a unique warmth and texture that traditional canvas or framed prints often lack. It can soften a room’s acoustics, adding a cozy and inviting ambiance. Furthermore, fabric art is incredibly versatile; you can easily change out pieces with the seasons or as your style evolves, all without a significant financial commitment. This particular abstract design allows for boundless creativity, letting you explore different color palettes and geometric forms to perfectly complement your existing decor or create a bold new focal point. It’s an eco-conscious choice too, as you can often use fabric scraps or repurposed materials, minimizing waste and giving new life to textiles.
Choosing Your Fabrics and Colors
The selection of your fabrics and color palette is perhaps the most exciting part of this abstract wall art project. Since you’re creating a statement piece, consider the existing colors and mood of the room where it will hang. Do you want a bold contrast or a harmonious blend? For this project, we opted for cotton fabrics due to their affordability, ease of cutting, and wide range of colors available. However, you could experiment with linen for a more organic feel, or even velvet for a luxurious touch. When selecting colors, think about:
- **Complementary Colors:** Colors opposite each other on the color wheel (e.g., blue and orange) create high contrast and vibrancy.
- **Analogous Colors:** Colors next to each other on the color wheel (e.g., blue, blue-green, green) create a serene and harmonious look.
- **Monochromatic Schemes:** Different shades and tints of a single color offer sophistication and depth.
- **Neutrals with Pops of Color:** A base of grays, beiges, or whites with a few bright accents provides a modern and balanced aesthetic.
Don’t be afraid to mix patterns subtly, as long as the color scheme remains cohesive. Lay out your fabric choices before cutting to ensure they create the desired visual impact. Remember, abstract art is about feeling and flow, so trust your instincts!
Materials and Tools Needed
Gathering your materials is the first step to bringing your abstract vision to life. The beauty of this project lies in its simplicity, requiring readily available and inexpensive items.
- Cotton fabrics in the colors of your choice: Aim for 3-5 different colors or patterns that complement each other. The amount will depend on the size and complexity of your design.
- Fabric scissors: Sharp scissors are crucial for clean cuts, especially when dealing with multiple layers or intricate shapes.
- Square wooden dowel rod: Choose a dowel rod that is slightly wider than your desired wall hanging for a balanced look. The thickness should be sturdy enough to support the fabric.
- Gold screw hooks (eye hooks): These will be inserted into the dowel rod to create a hanging point.
- Gold craft cording or picture wire: For stringing between the eye hooks to hang your art.
- Staple gun and staples: A heavy-duty staple gun is essential for securely fastening the fabric layers to the dowel rod.
- **Optional:** Iron and ironing board (highly recommended for a polished finish), pencil or fabric marker, large work surface.
While we confess to being in a bit of a hurry and skipping the ironing step for our fabrics, we highly recommend taking a moment to iron your fabrics flat before cutting. This will ensure crisper lines and a more professional finish for your abstract shapes. However, if time is of the essence, as it was for us, rest assured that the finished piece will still look fantastic!
How to Make an Abstract Shapes Fabric Wall Art
Follow these simple steps to craft your very own vibrant and personalized abstract fabric wall hanging. This no-sew project is perfect for beginners and experienced crafters alike.
Step 1: Design and Cut Your Abstract Shapes
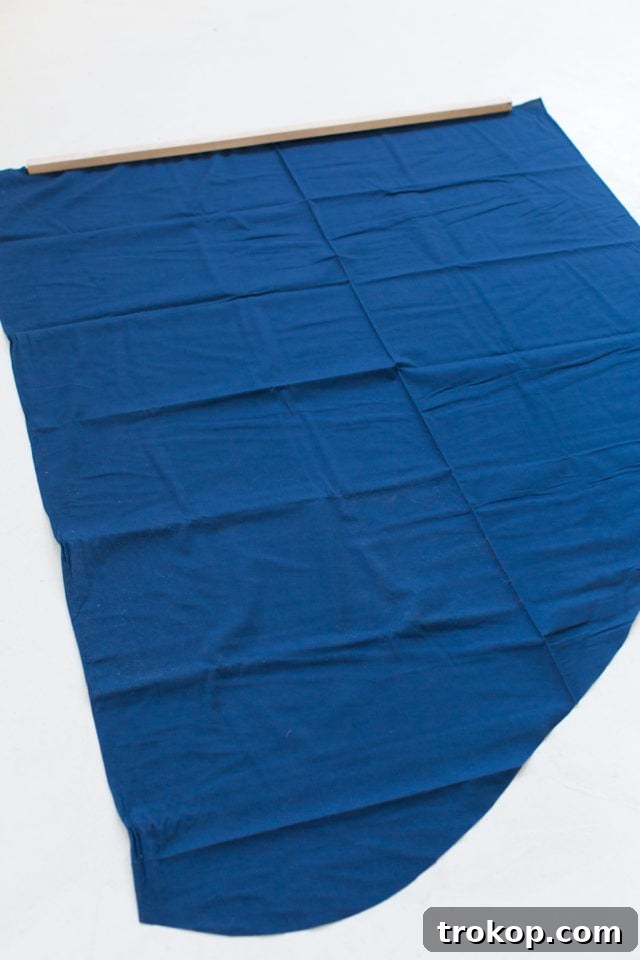
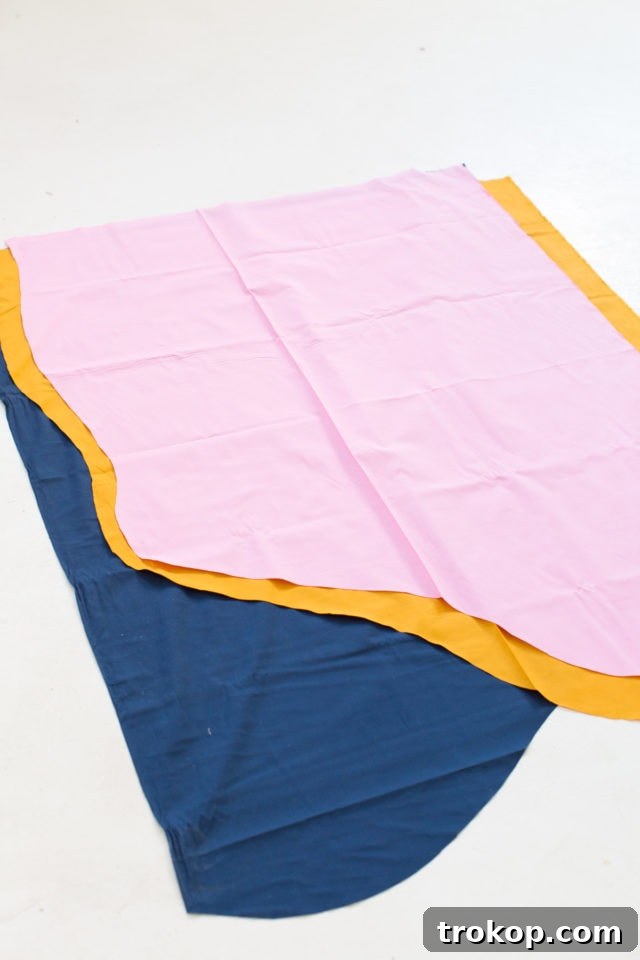
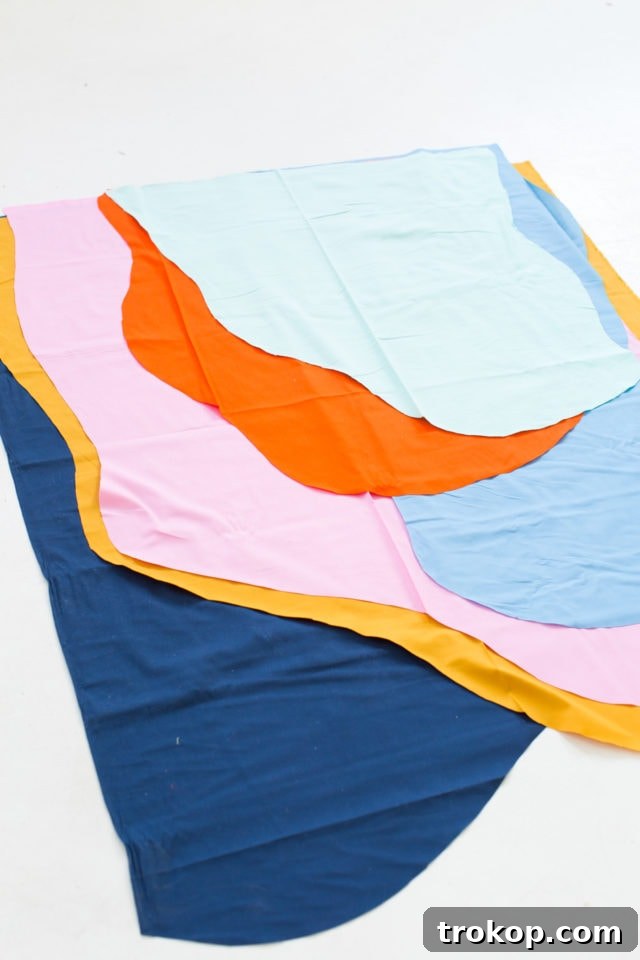
Begin by conceptualizing your abstract design. You can sketch it out on paper first or dive straight into the fabric. Start by cutting out your largest, foundational fabric shape. This will serve as the base layer of your artwork. As you progress, carefully layer additional fabric shapes on top of each other. This layering technique is crucial; it allows you to visualize the entire composition as you work, enabling you to see how different colors and forms interact and flow together. It’s far more effective than cutting all your shapes separately and trying to arrange them at the very end. Embrace asymmetry and organic forms – the beauty of abstract art lies in its unique, often irregular, patterns and contours. Don’t overthink it; let the fabric guide your cuts and create natural, flowing lines.
Step 2: Position the Dowel Rod
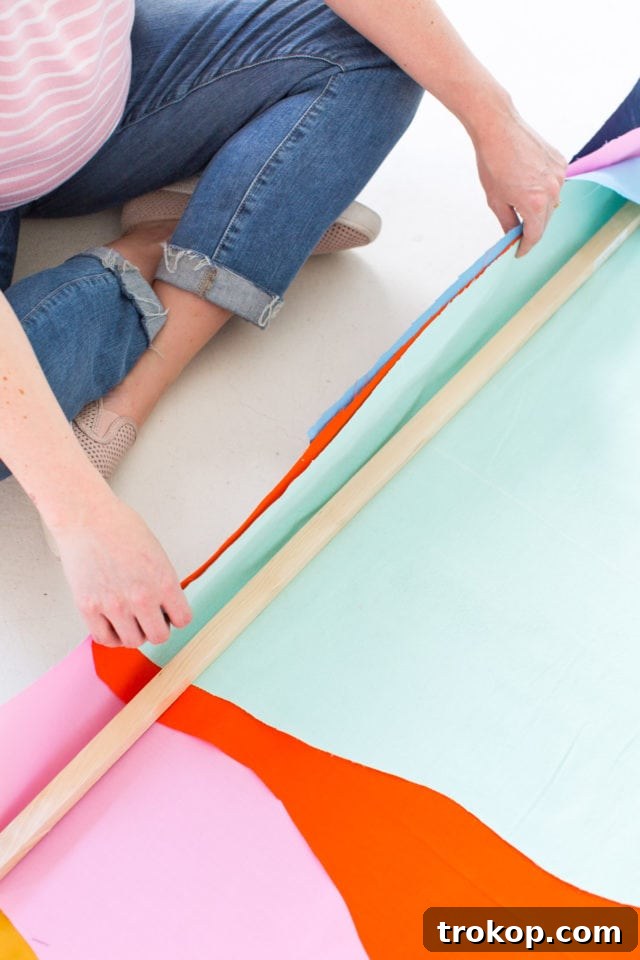
Once your abstract fabric design is fully cut and arranged to your satisfaction, it’s time to prepare it for hanging. Carefully place your square wooden dowel rod across the top middle section of your fabric layers. Ensure it’s centered and straight, laying it over all the arranged fabric pieces. This step is vital for aligning your design and preparing it for secure attachment. The dowel rod acts as the anchor for your entire artwork, so precise placement here will contribute to a professional-looking finish. Take a moment to step back and ensure your design looks balanced before moving on.
Step 3: Secure the Fabric
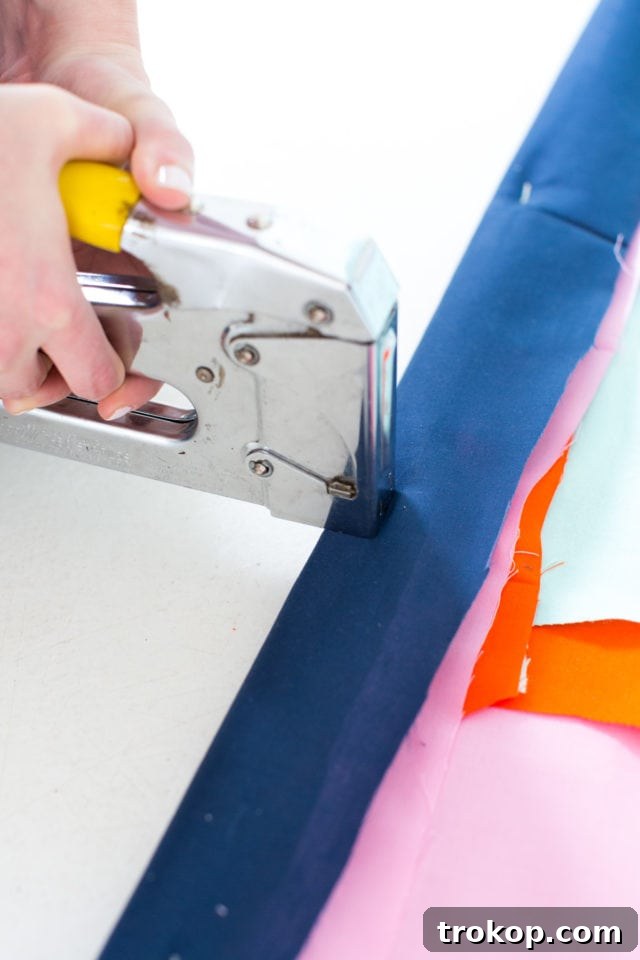
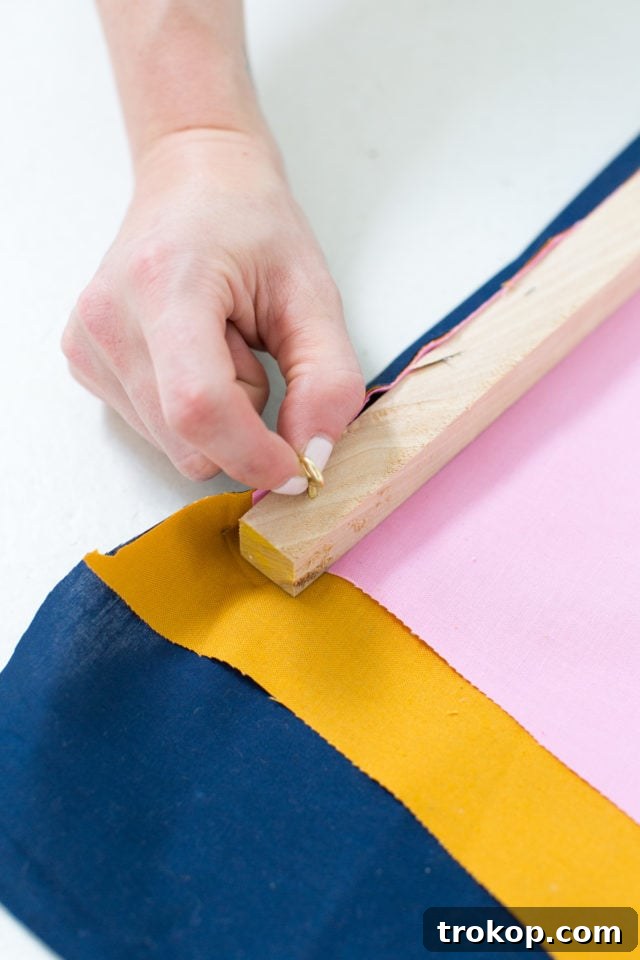
Now, carefully roll the excess fabric from the top of your design around the dowel rod. Ensure that all layers are wrapped neatly and tightly, creating a strong and secure edge. With your staple gun, begin to fasten all the fabric layers in place along the length of the backside of the dowel rod. Start from one end and work your way across, placing staples every inch or two. This ensures maximum security and prevents any sagging. Make sure your staples penetrate all fabric layers and firmly embed into the wooden dowel. This step is crucial for the longevity and stability of your wall art, so take your time to ensure everything is tightly secured and the fabric remains smooth on the front.
Step 4: Finish the Top Edge
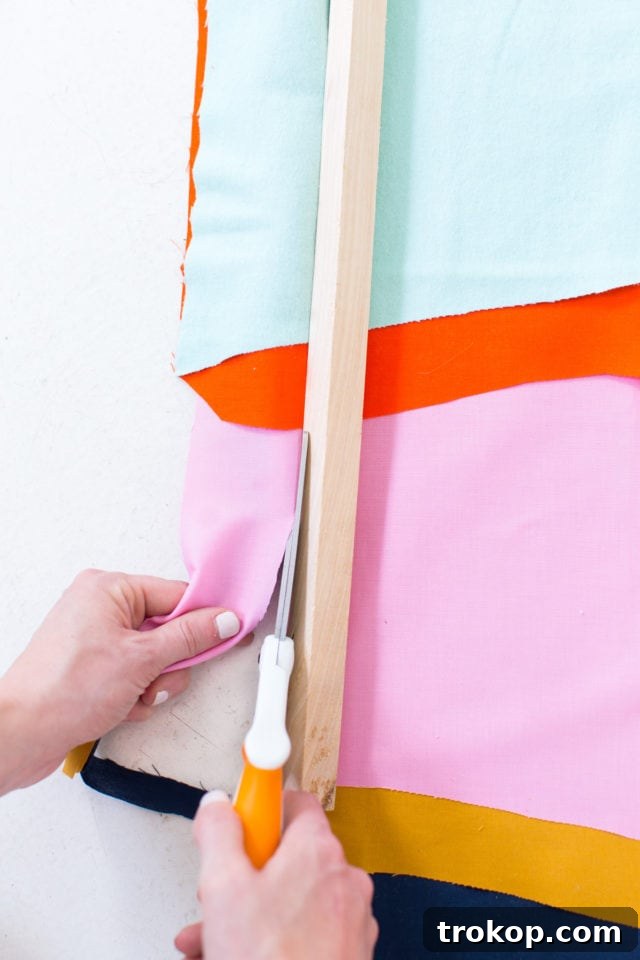
After securing the fabric with staples, take your fabric scissors and carefully trim any remaining excess fabric from the very top edge of the dowel rod. This step provides a clean, polished finish to your wall art, ensuring no stray threads or uneven edges are visible once it’s hung. A neat top edge contributes significantly to the overall aesthetic appeal of your handcrafted piece, giving it a professional look. Double-check that all layers are uniformly trimmed for the best result.
Step 5: Add Hanging Hardware
The final step in creating your abstract fabric wall art is to add the hanging mechanism. Carefully screw in the gold eye hooks into the top of the wooden dowel rod, placing them a few inches in from each end. Ensure they are evenly spaced for balanced hanging. Once the hooks are securely in place, thread your gold craft cording or durable picture wire through them. Tie secure knots at each end to create a sturdy hanger for your beautiful new wall art. This cording adds another touch of elegance and makes it easy to hang your creation on any wall hook or nail.
How to Attach the Fabric to a Wall Without Damaging It?
While we opted to hang our wall art using the string and eye hooks, there are several ways to display your fabric masterpiece, even if you prefer a more minimal look without visible string or want to secure the fabric itself to prevent movement. Ensuring your walls remain undamaged is key, especially if you’re renting or simply want flexibility.
- **For the Dowel Rod (Invisible Hanging):** If you prefer not to use the gold cording, you can still hang the wooden dowel rod directly to the wall. We highly recommend using heavy-duty removable double-sided tape or Command strips designed for picture hanging. These products are specifically engineered to provide strong adhesion without peeling off paint or leaving residue when removed. Measure carefully to ensure the dowel is level.
- **Securing the Fabric (If Needed):** Typically, if the wooden rod is properly hung, the fabric will drape naturally. However, if your artwork is in a high-traffic area, or if you simply want the fabric to lie perfectly flat against the wall, you can secure the lower sections. For this, use removable double-sided fabric tape. Apply small pieces discreetly to the back of the fabric at strategic points and press gently onto the wall. This type of tape is designed to be gentle on both fabric and paint.
- **Push Pins or Tacks (Minimalist Approach):** For a very casual and non-committal look, especially with lighter fabrics, you can use decorative push pins or tacks directly through the fabric into the wall. Choose pins that complement your artwork’s style. This method is best for areas where minimal holes are acceptable.
- **Fabric Clips:** Small, decorative clips can be attached to the fabric and then hung on tiny nails or Command hooks along the wall, offering another damage-free option.
By employing these methods, you can confidently display your trendy DIY fabric wall hanging, giving any room in your home a stylish and personalized makeover without worrying about damage. Experiment to find the method that best suits your specific piece and wall type.
Care and Maintenance for Your Fabric Wall Art
To ensure your beautiful abstract fabric wall art remains vibrant and fresh for years to come, a little care and maintenance go a long way. Since this is primarily a decorative piece, it generally won’t require extensive cleaning. However, dust can accumulate over time.
- **Dusting:** Gently dust your fabric wall art regularly using a soft, dry cloth, a lint roller, or the brush attachment of your vacuum cleaner on a low setting. Be careful not to pull or snag the fabric.
- **Spot Cleaning:** For small marks or stains, lightly dab the area with a damp cloth and a very mild soap solution. Always test on an inconspicuous area first to ensure no discoloration occurs. Avoid saturating the fabric.
- **Deep Cleaning:** If a more thorough cleaning is absolutely necessary, consider professional dry cleaning. Avoid machine washing unless you are absolutely sure all fabrics are colorfast and pre-shrunk, and remove the dowel rod beforehand. Given the staple gun attachment, machine washing is generally not recommended.
- **Sunlight Exposure:** Over time, direct sunlight can fade fabrics. Position your wall art in a spot where it’s not constantly exposed to harsh sun to preserve its colors.
With these simple tips, your DIY fabric wall art will continue to be a stunning and unique focal point in your home.
More Easy DIY Art to Try
We absolutely adore the bold color combination and the striking design of this abstract fabric wall hanging. It’s much simpler to create than it looks, isn’t it? We’d love to know what you think! Can you envision this vibrant piece transforming your own space, or do you have a different aesthetic in mind?
If you’ve enjoyed crafting this DIY fabric wall hanging and are eager for more creative home decor projects, you’re in luck! We have a treasure trove of easy and impactful DIY ideas that can help you personalize every corner of your home. From wall art that makes a statement to clever accent pieces, there’s something for every style and skill level. Don’t hesitate to explore more of our home decor DIY ideas right here and keep that creative energy flowing!
- Sassy DIY Printable Wall Art & Digital Wallpapers + New Studio Pieces
- How To Paint An Accent Wall + Guest Bedroom Makeover
- DIY Canvas Art – How To Make Your Own Canvas Print
- Easy DIY Hanging Flower Wall
Abstract Shapes DIY Fabric Wall Art (Quick Guide)
Equipment
- Fabric scissors
- Staple gun and staples
Materials
- Cotton fabrics in the colors of your choice
- 1 square wooden dowel rod
- Gold screw hooks
- Gold craft cording
Instructions
-
Cut out your abstract fabric shapes, always starting with the largest base shape. We highly recommend layering your fabrics as you cut to get a real-time visual of your overall layout. This method makes it significantly easier to see how the colors and shapes will flow together, rather than attempting to arrange them after cutting everything separately.
-
Once your complete cut-out design is arranged, carefully lay the square wooden dowel rod over all of the fabric layers, positioning it in the top-middle section of your design to serve as the hanger.
-
Roll the excess fabric from the top of your design tightly around the dowel rod. Use your staple gun to firmly staple all of the fabric layers in place across the entire length of the backside of the dowel rod, ensuring everything is securely fastened.
-
Trim any remaining excess fabric from the very top edge of the dowel rod for a clean and neat finish. Then, screw the gold eye hooks into the top of the rod, a few inches in from each end. Use the gold cording or sturdy picture wire to string between the hooks, creating a robust hanging mechanism for your new wall art.