
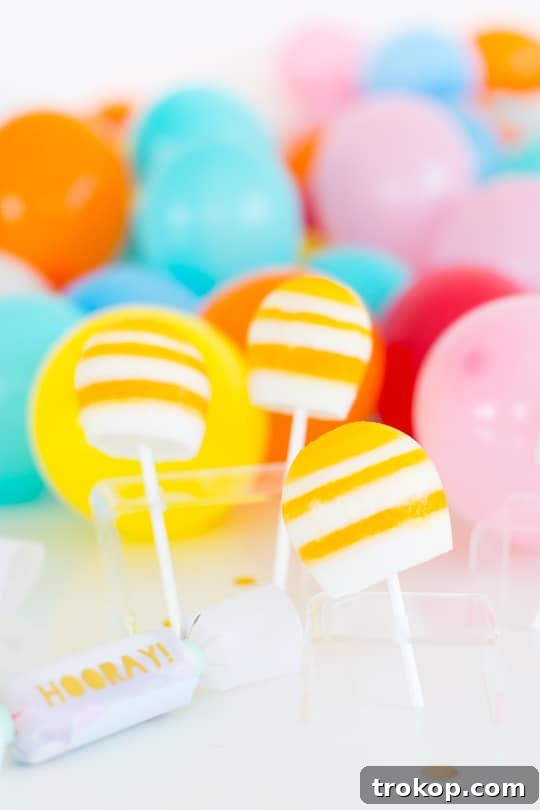
Beat the summer heat and elevate your gatherings with our ultimate guide to hosting an unforgettable popsicle party! Forget the mundane; these vibrant, refreshing treats are guaranteed to bring a burst of fun and flavor to any celebration. Whether you’re marking a special occasion, enjoying a casual backyard get-together, or simply savoring the last days of a glorious summer, a popsicle-themed party offers a delightfully cool experience for guests of all ages.
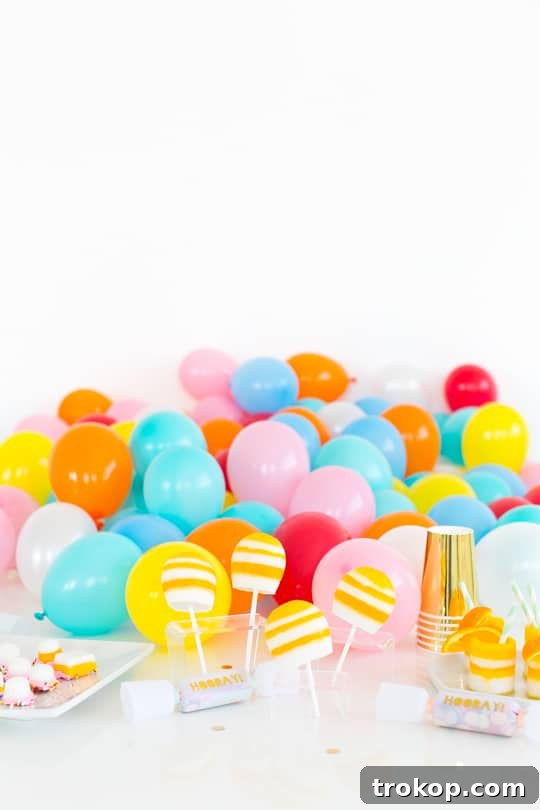
As the whispers of back-to-school season approach and the crisp embrace of autumn lingers just around the corner, there’s one perfect way to bid farewell to summer: throw one last, epic hurrah! This isn’t just any party; it’s a celebration of sunshine, laughter, and the simple joy of a frozen treat. From crafting your own vibrant and refreshing popsicle flavors to designing creative decorations and engaging games, our comprehensive guide provides everything you need to host a deliciously cool and unique popsicle-themed extravaganza. Your guests will be raving about it long after the last drop of icy goodness is gone.
To help you indulge without the guilt, we’ve partnered with Truvia® sweetener. This zero-calorie hero allows you to significantly reduce the sugar content in your homemade popsicles, making your summer bash both delightful and healthier. Imagine enjoying all the sweetness you love in your favorite frozen treats, but with less added sugar – it’s a game-changer for any health-conscious host!
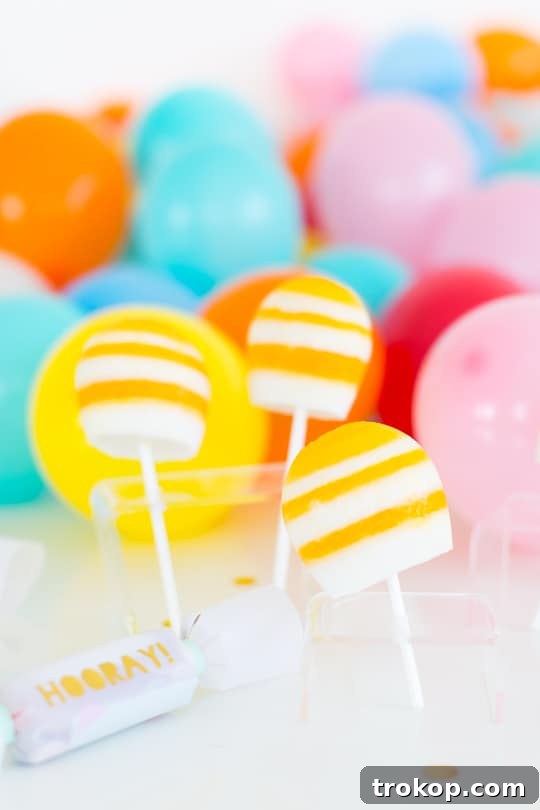
Every great party begins with a showstopper, and for a popsicle party, that means an irresistible recipe that will capture everyone’s taste buds. Before we dive into the delicious details, let’s emphasize a crucial element for success: time sensitivity. Popsicles are fickle friends when it comes to heat, so ensuring they are served immediately upon removal from the freezer is paramount to maintaining their frosty perfection.
The best strategy we’ve discovered for seamless serving and picture-perfect presentation is to have your popsicles already arranged and plated within the freezer. This thoughtful preparation ensures that the moment you retrieve them, they are ready for stunning photo opportunities and instant enjoyment, allowing you to focus on your guests rather than last-minute arrangements. This simple tip can save you from a melty disaster and enhance the overall aesthetic of your party spread.
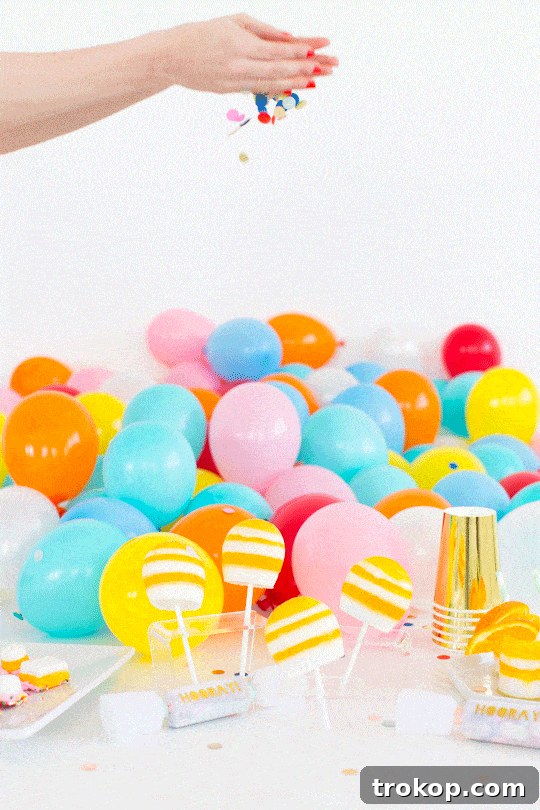
Table of Contents
Creamy Pineapple Coconut Popsicles Recipe
Transport your taste buds to a sun-drenched beach with this incredible Creamy Pineapple Coconut Popsicle recipe. This delightful treat combines the tropical sweetness of pineapple with the rich, smooth texture of coconut cream, creating a luscious dessert that’s perfect for cooling down. Best of all, with the thoughtful addition of Truvia® Natural Sweetener, you can enjoy this refreshing indulgence with significantly less sugar, making it a guilt-free pleasure for everyone at your party.
Ingredients:
- Chopped Fresh Pineapple: Opt for ripe, sweet pineapples for the best flavor. About 3 cups will yield a good amount of puree.
- Fresh Pineapple Juice: A splash of fresh juice enhances the pineapple flavor and helps with the popsicle’s smooth consistency.
- Coconut Cream: This is the secret to the creamy texture. Use full-fat coconut cream, chilled, for optimal results.
- Truvia® Natural Sweetener: A fantastic way to add sweetness without the calories of traditional sugar. Remember, one packet of Truvia® Natural Sweetener provides the same sweetness as two teaspoons of sugar, so adjust according to your preference and the natural sweetness of your fruit.
- Vanilla Extract: A touch of vanilla complements the tropical flavors beautifully, adding depth and warmth.
- Coconut Flakes: A delightful addition for texture and an extra burst of coconut flavor. Toasted flakes can add another layer of complexity.
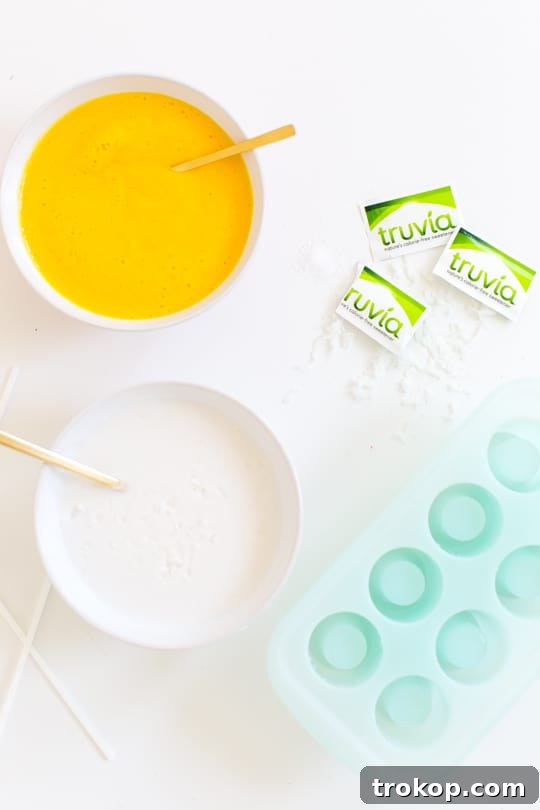
How to Make Pineapple Coconut Popsicles:
-
Prepare the Coconut Cream Mixture: In a medium mixing bowl, combine the chilled coconut cream, 1 tablespoon (or 2 packets) of Truvia® Natural Sweetener, the coconut flakes, and vanilla extract. Whisk thoroughly until all ingredients are well combined and the mixture is smooth and slightly airy. Set aside.
-
Create the Pineapple Puree: In a blender, combine the chopped fresh pineapple and the fresh pineapple juice. Add the remaining Truvia® Natural Sweetener. Blend until you achieve a perfectly smooth and uniform puree. Ensure there are no large chunks of pineapple remaining for a silky popsicle texture.
-
Combine or Layer: Now, you have two creative options for assembling your popsicles:
- Quick & Simple: For a delicious and straightforward popsicle, simply blend the pineapple puree and the coconut cream mixture together until fully incorporated. Pour this blended mixture directly into your popsicle molds.
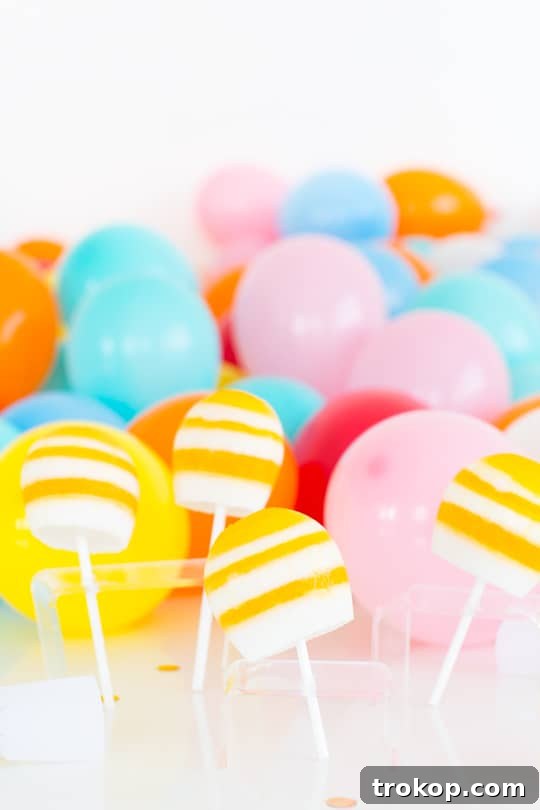
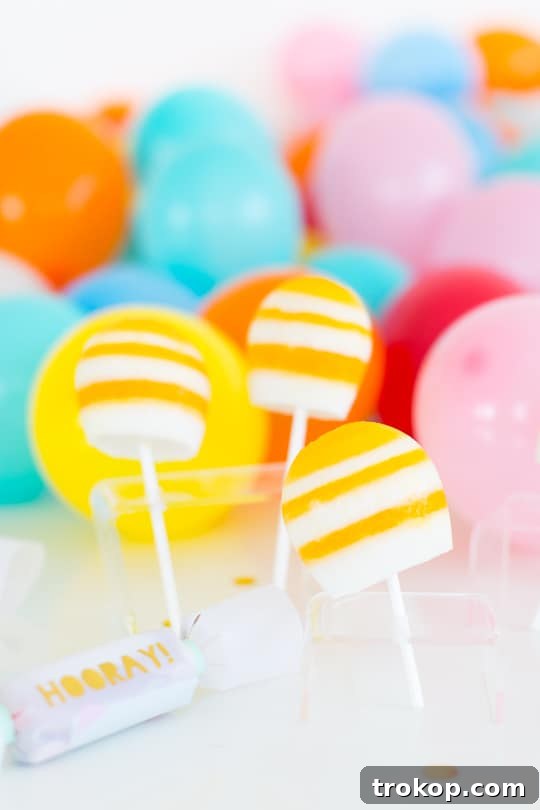
- Layered Elegance: For a visually stunning effect, create distinct white and yellow layers, much like the beautiful popsicles pictured. To do this, pour a layer of the coconut cream mixture into the molds and freeze it for about 30-45 minutes until it’s semi-solid. Then, add a layer of the pineapple puree and freeze again until semi-solid. Repeat this process until your molds are full, ensuring each layer has enough time to firm up before adding the next to prevent bleeding.
-
Freeze to Perfection: Once your molds are filled, insert your popsicle sticks. Place the molds in the freezer and allow them to freeze until completely solid. This typically takes 6-8 hours, but for the best results and firmest popsicles, we recommend freezing them overnight. When ready to serve, briefly run the molds under warm water to easily release your delectable frozen treats.
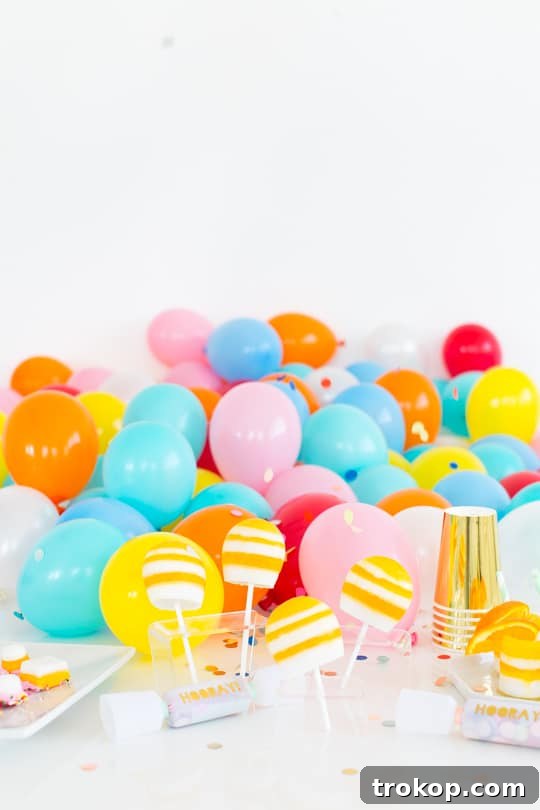
Creative Popsicle Party Ideas
Beyond delicious flavors, a truly memorable popsicle party involves unique presentation and innovative serving methods. Here are some creative ideas to elevate your frozen fun and impress your guests.
1 – Get Fancy with Your Popsicle Sticks.
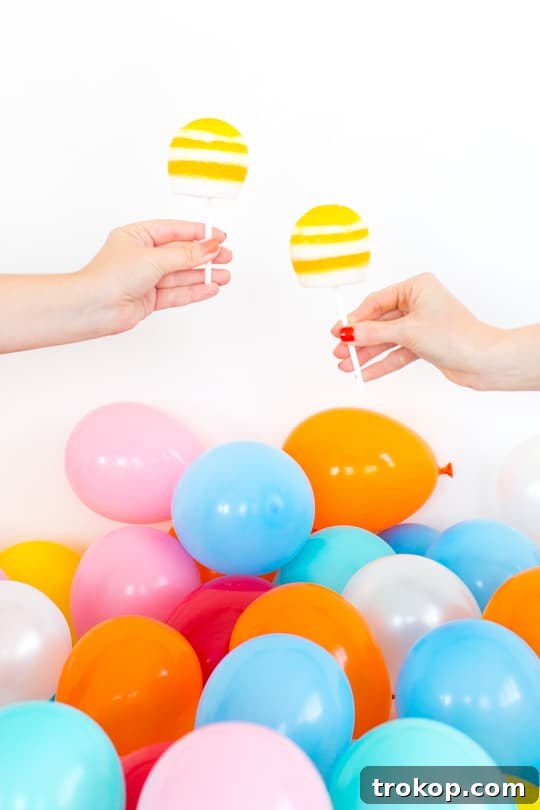
Why settle for plain wooden popsicle sticks when you can add an extra touch of flair? Upgrading your popsicle sticks is a simple yet effective way to enhance the visual appeal of your frozen treats. Consider opting for plastic cocktail stirrers, which often come in a variety of fun colors and designs. Striped popsicle sticks, brightly colored plastic sticks, or even sticks with playful shapes can transform a simple popsicle into a miniature work of art.
For a truly custom look, we repurposed plastic cocktail stirrers. To ensure they fit perfectly into our DIY popsicle stands and prevent them from becoming top-heavy, we carefully cut them to different lengths using heavy-duty shears. This small detail not only adds a unique touch but also makes the popsicles easier to handle and display, contributing to a polished and professional party aesthetic. Think about matching stick colors to your party theme or the popsicle flavor for an even more cohesive presentation.
2 – Display Your Popsicles in a DIY Acrylic Popsicle Stand.
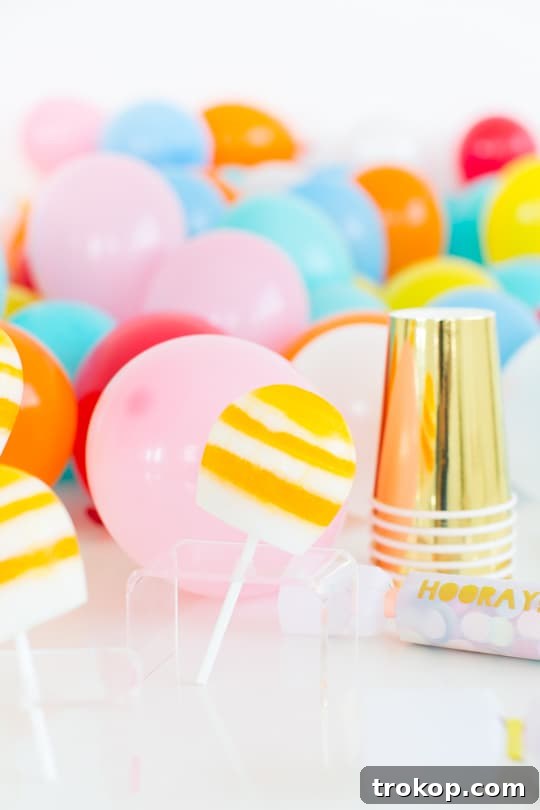
Presentation is key to any memorable party, and a DIY acrylic popsicle stand offers an incredibly chic and practical way to showcase your frozen delights. These stands are surprisingly easy to create and add a sophisticated touch to your dessert table. To construct these elegant displays, you’ll need an acrylic riser set and a drill equipped with a corresponding drill bit, sized precisely to accommodate your chosen popsicle sticks.
A crucial tip for working with acrylic: always start by drilling a small pilot hole. Then, gradually use progressively larger drill bits until the hole reaches the desired size for your popsicle sticks. Attempting to drill one large hole immediately can cause the acrylic to crack, ruining your beautiful stand. By taking this patient, incremental approach, you’ll ensure a clean, smooth finish.
For ultimate convenience, consider inserting the popsicles into the stand while they are still in the freezer. This way, your entire display is chilled and ready to be whisked out and presented to guests the moment they arrive, keeping your popsicles perfectly frozen for longer enjoyment.
3 – Serve Cocktails Out of Frozen Popsicle Cocktail Cups.
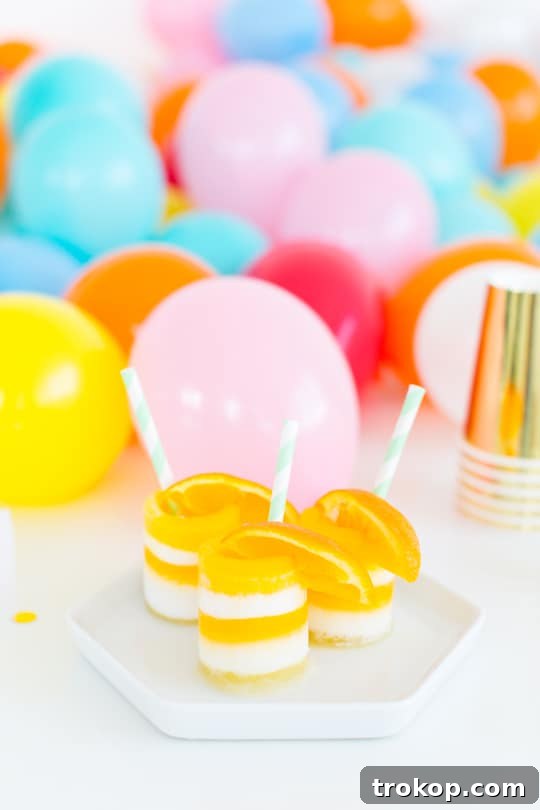
Elevate your adult beverage service with an innovative twist: frozen popsicle cocktail cups! These unique edible glasses are not only incredibly fun but also serve to keep your drinks perfectly chilled. You can create these frozen cups in virtually any flavor combination to match your party’s theme or your beverage menu. For our tropical-themed party, we maintained the delicious pineapple and coconut stripe motif, layering each ingredient from our popsicle recipe into shot glass molds, much like how we crafted our standard popsicles.
Once frozen solid, these delightful cups become an integral part of the drink experience. We served ours with a charming mini rendition of the classic gin fizz float, poured over a bed of crushed ice. The gradual melting of the popsicle cup infuses the cocktail with subtle fruit flavors, creating an evolving drink experience that is both refreshing and entertaining. Experiment with different fruit purees, juices, or even creamy concoctions to create a signature frozen cocktail cup that will undoubtedly be a talking point at your gathering.
4 – Make Popsicle Bon Bons.
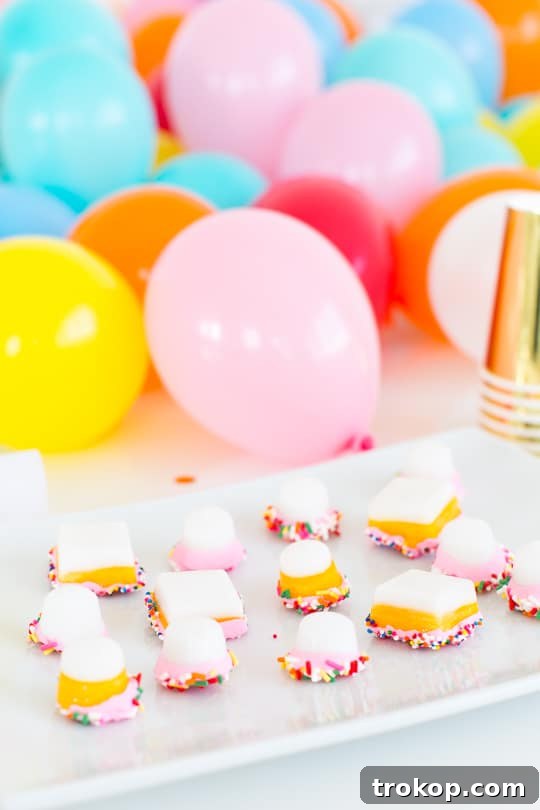
For a bite-sized burst of frozen deliciousness, consider making popsicle bon bons. These adorable mini treats are perfect for a dessert bar and offer a sophisticated twist on the classic popsicle. They are incredibly versatile and allow for endless customization in terms of flavor and coating.
Materials:
- Round mini ice trays: Specifically, those with flexible silicone or rubber bottoms are ideal for easy removal.
- Gel food coloring: To add vibrant hues to your yogurt chip coating.
- Yogurt chips: These provide a creamy, tangy coating that complements most popsicle flavors. White chocolate chips can also be used.
- Your favorite popsicle recipe: Our Pineapple Coconut Popsicle recipe works wonderfully for this!
- Sprinkles or other toppings: For added crunch and visual appeal.
You can use the very same delicious popsicle recipe you prepared earlier for your bon bons. The key difference lies in the molding: instead of traditional popsicle molds, pour your layered or blended mixture into round mini ice trays. The trays we recommend, with their rubber bottoms, are perfect as they allow the frozen “bon bons” to pop out effortlessly without breaking. Once frozen solid, these tiny spheres are ready for their decorative coating.
Next, gently melt your yogurt chips. For an extra touch of festivity, stir in a few drops of your favorite gel food coloring to create a vibrant coating. Work quickly, dipping each frozen bon bon into the melted mixture, ensuring it’s evenly coated. Immediately after dipping, roll or sprinkle them with colorful sprinkles, shredded coconut, chopped nuts, or even finely crushed cookies. The cold bon bons will set the coating almost instantly. Place them back into the freezer on a parchment-lined tray until they are ready to be served. These mini delights are guaranteed to be a crowd-pleaser and offer a delightful textural contrast with their creamy interior and crisp coating.
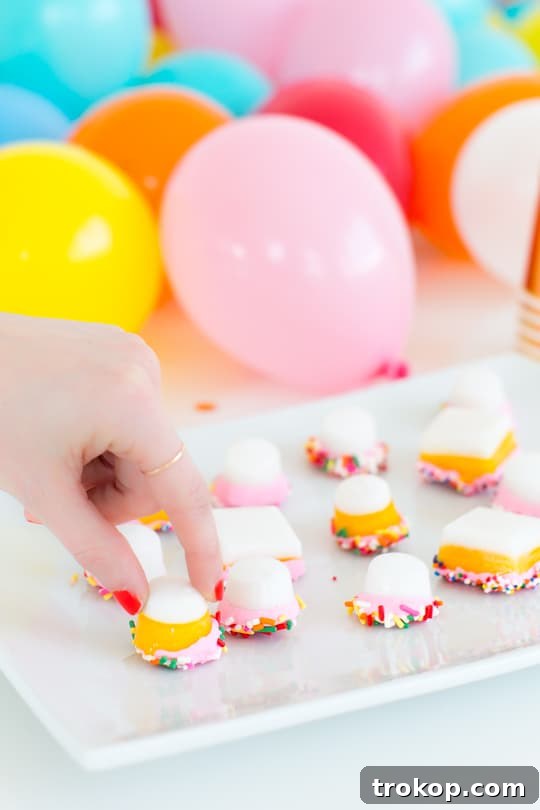
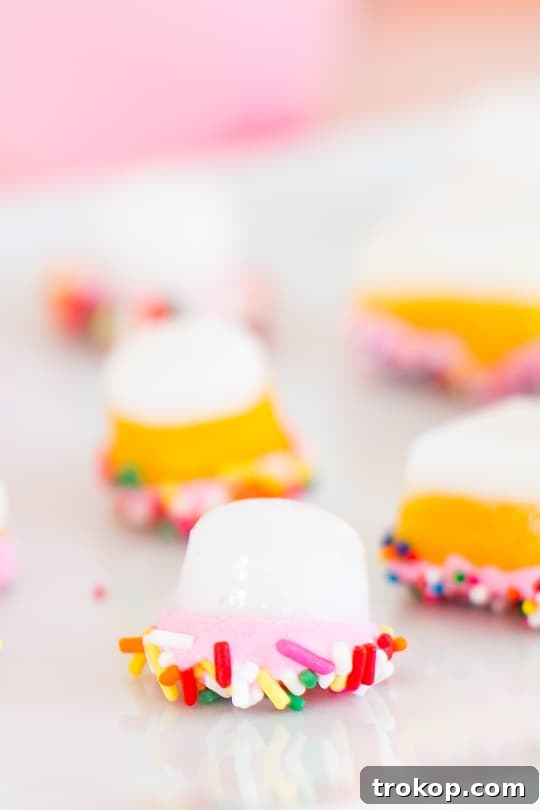
A popsicle party is a surefire way to spread joy and beat the heat, and with these creative ideas, you’re off to an excellent start! From crafting healthy, delicious treats to presenting them with flair, every detail contributes to a vibrant and memorable celebration. What’s your go-to reduced-sugar popsicle recipe? I confess, I’m completely smitten with the yogurt-dipped popsicle bon bons—perhaps I’m a little biased, but their delightful crunch and creamy center are truly irresistible!
Pineapple Coconut Popsicles Recipe
Transport yourself to a tropical paradise with our mouthwatering Pineapple Coconut Popsicles recipe. These creamy, refreshing treats are the perfect way to cool down on a hot day, offering a delightful blend of sweet pineapple and rich coconut flavors.
Prep Time: 10 mins
Freeze Time: 6 hrs
Total Time: 6 hrs 10 mins
Course: Desserts
Cuisine: Ice Cream
Equipment
- Popsicle mold
- Large mixing bowl
- Blender
Servings: 12
Ingredients
- 3 cups pineapple, chopped fresh
- ¼ cup coconut cream
- ¼ cup fresh pineapple juice
- 2 ½ tbsp Truvia® Natural Sweetener (adjust to taste)
- 1 tsp vanilla extract
- Coconut flakes (for texture and garnish)
Instructions
- Mix the coconut cream, 1 tablespoon (or 2 packets) of Truvia® Natural Sweetener, the coconut flakes, and vanilla in a bowl until well combined.
- Blend the fresh pineapple and pineapple juice with the remaining natural sweetener until you’ve got a smooth puree.
- Next, you can blend the two mixtures for a quick and simple popsicle. Or you can add a layer at a time, freezing in between to create the white and yellow layers like we did!
- Pour the popsicle mixture into your popsicle molds. Insert popsicle sticks. Freeze until solid, 6-8 hours or ideally overnight.
Nutrition
Calories: 41kcal | Carbohydrates: 10g | Protein: 0.4g | Fat: 2g | Saturated Fat: 2g | Polyunsaturated Fat: 0.04g | Monounsaturated Fat: 0.1g | Sodium: 1mg | Potassium: 68mg | Fiber: 1g | Sugar: 5g | Vitamin A: 24IU | Vitamin C: 20mg | Calcium: 7mg | Iron: 0.2mg
KEYWORD: pineapple coconut popsicles, sugar-free popsicles, healthy popsicle recipe

This post is proudly made possible by Truvia® Sweetener. We extend our sincere gratitude for supporting the brands we adore, which enable us to continue bringing you bigger, better DIY projects and even sweeter, healthier treats straight to your inbox!