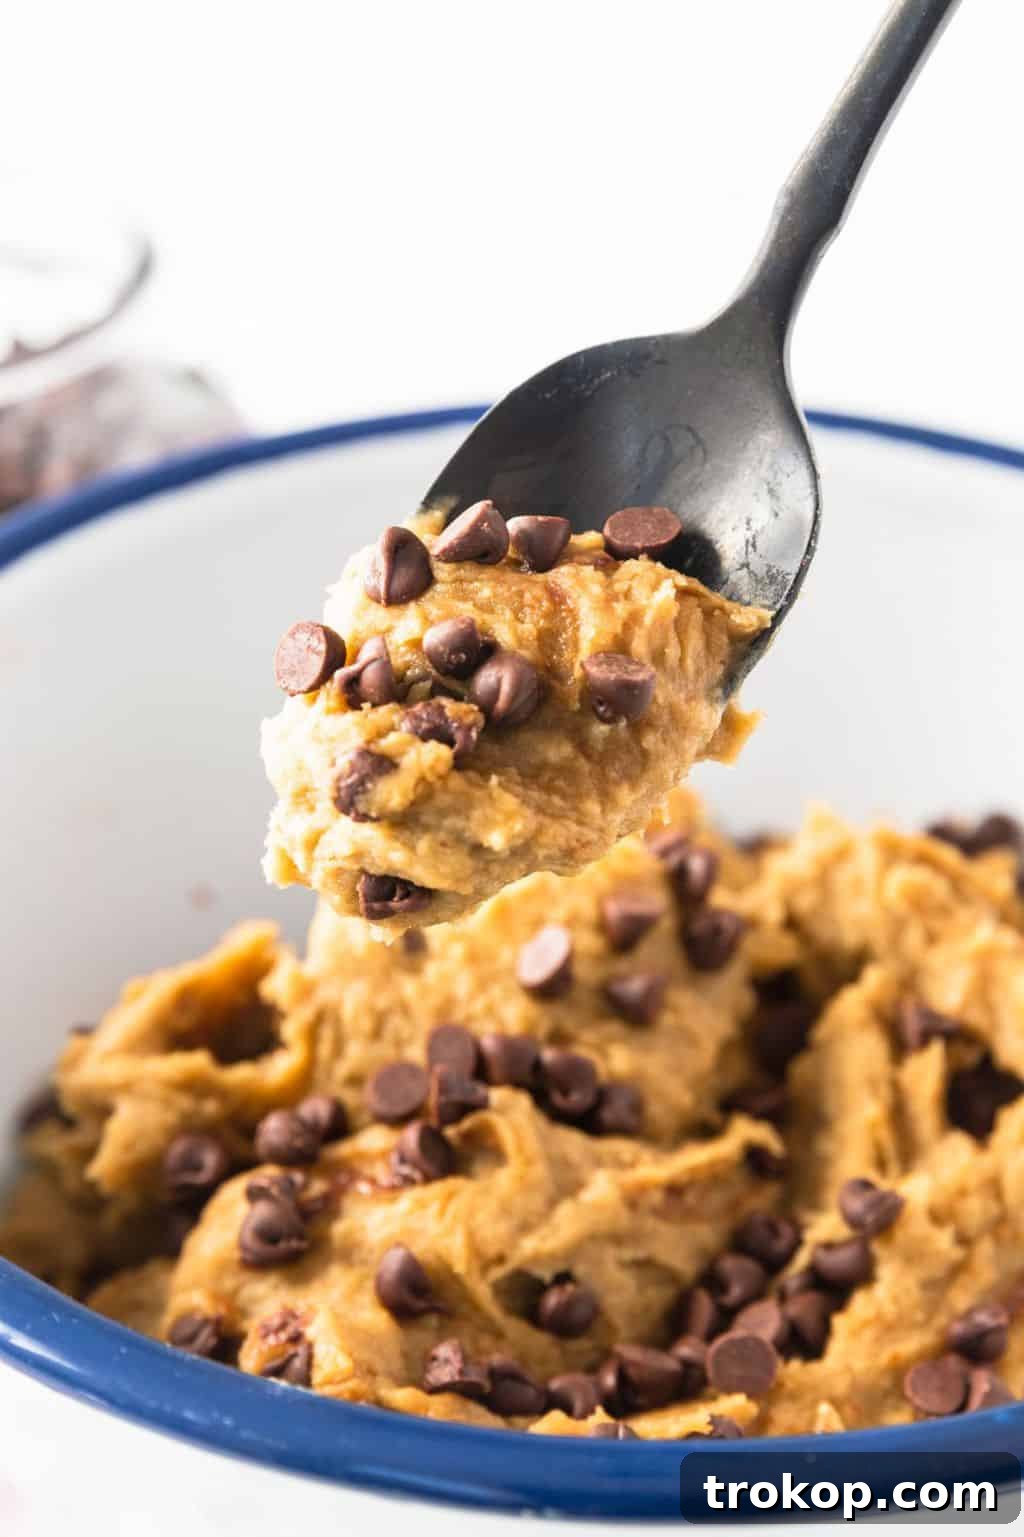
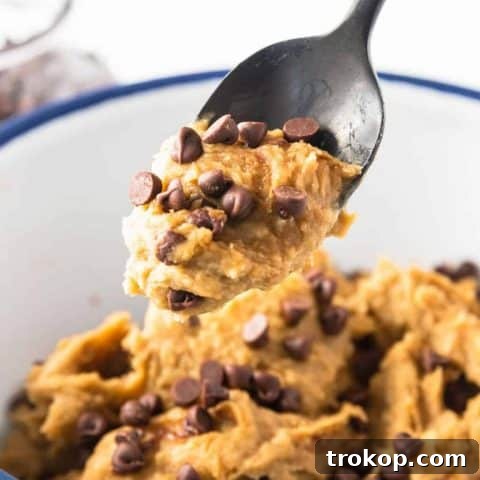
Indulge your sweet cravings without guilt! This incredibly simple and delicious Chickpea Cookie Dough recipe transforms wholesome ingredients into a healthy, gluten-free, dairy-free, and refined sugar-free dessert that everyone will love.
Do you ever find yourself battling a persistent craving for cookie dough, the kind that demands a spoon and a quiet moment of pure indulgence? We’ve all been there! But what if you could satisfy that irresistible desire without derailing your healthy eating goals? Enter our revolutionary Chickpea Cookie Dough. It’s here to prove that healthy can be utterly delicious, offering a guilt-free alternative that truly hits the spot.
As Rebecca, a self-proclaimed cookie dough enthusiast, can attest, those “cookie-dough-and-spoon days” are frequent occurrences. That’s why she’s thrilled to share this healthy, satisfying recipe that delivers all the creamy, sweet bliss of traditional cookie dough, but with a nutritious twist.
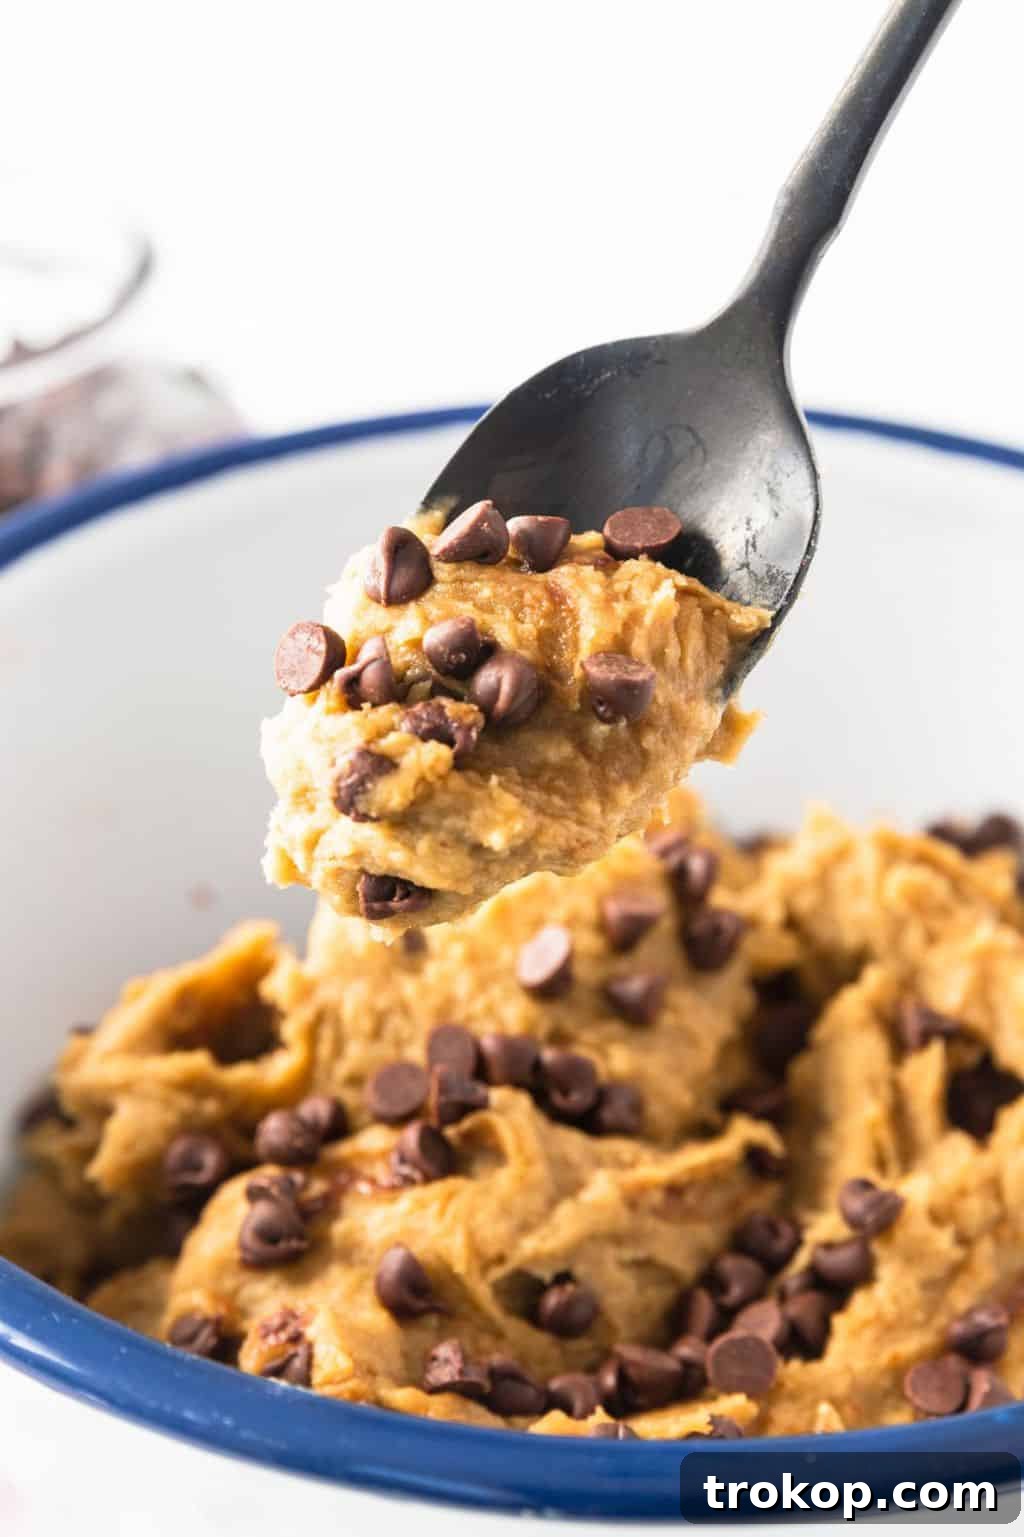
Beyond its incredible taste, one of the most remarkable aspects of this healthy cookie dough is its adaptability as an allergen-friendly dessert recipe. While inherently gluten and dairy-free, the thoughtfully chosen ingredients allow for easy substitutions to make it nut-free, grain-free, soy-free, and virtually free of any other common allergens. This means more people can enjoy this delightful treat without worry.
Its versatility extends beyond dietary needs, too. The base recipe yields a wonderfully soft, spoonable cookie dough consistency. However, if you’re envisioning a delectable dip for fresh fruits, crisp cookies, or savory crackers, simply add 2-4 tablespoons of your preferred milk (oat, coconut, almond, hemp, or even cow’s milk) until you achieve the perfect dipping texture. This transforms it into an ideal snack for entertaining or a fun, interactive dessert.
Table of Contents
Toggle
Why Chickpea Cookie Dough is Your New Favorite Dessert
This isn’t just any cookie dough; it’s a game-changer for anyone seeking a healthier way to satisfy their sweet tooth. Here’s why this chickpea cookie dough will quickly become a staple in your kitchen:
- Wholesome & Nutrient-Rich: Unlike traditional cookie dough loaded with raw eggs, refined sugars, and butter, this recipe harnesses the power of chickpeas. Chickpeas are an excellent source of plant-based protein and dietary fiber, contributing to a feeling of fullness and promoting digestive health.
- Allergy-Friendly (Naturally & Adaptable): As mentioned, it’s naturally gluten-free and dairy-free. With simple swaps, you can easily make it nut-free (using sunflower seed butter), grain-free (using almond flour instead of oats), and soy-free. It’s a dream come true for those managing various food sensitivities or allergies, ensuring everyone can enjoy a safe and delicious treat.
- Refined Sugar-Free Options: The choice of sweetener is yours, allowing you to opt for natural alternatives like maple syrup or honey, thus avoiding refined sugars and still achieving that perfect level of sweetness.
- No-Bake & Quick: This recipe requires no baking, making it incredibly fast and simple to prepare. From start to finish, you can have a bowl of delicious cookie dough ready in just minutes, perfect for those immediate cravings.
- Versatile Treat: Enjoy it by the spoonful, as a dip for your favorite dippables, or even roll it into small balls for a healthier energy bite. The possibilities are endless!
- Kid-Friendly & Safe: Because it’s egg-free, this cookie dough is completely safe to eat raw, making it a fantastic and healthy snack option for children (and adults!) without any concerns.
Ingredients for Chickpea Cookie Dough (and Allergy-Friendly Substitutes)
Crafting this delightful dessert requires just a handful of simple, wholesome ingredients. Let’s delve into each one and explore fantastic options for those with dietary restrictions.
Chickpeas — The star of our show! You can either use a can of chickpeas, thoroughly drained and rinsed, or cook your own from dry. Opting for cooked chickpeas provides a softer texture and allows you to control the sodium content. Instructions for both Instant Pot and stovetop cooking methods are provided below.
Nut Butter — For that rich, creamy texture and depth of flavor, unsweetened peanut or almond butter works wonderfully. These add healthy fats and a satisfying mouthfeel. For a nut-free version of your chickpea cookie dough, substitute with sunflower seed butter (often sold as SunButter). It mimics the texture and taste of peanut butter remarkably well, making it an excellent allergen-friendly alternative. If you’re looking for more ways to use sunflower butter, try a SunButter Banana Quesadilla!
Sweetener — This is where you control the sweetness! You can choose between brown sugar for a classic cookie dough taste, or natural, refined sugar-free options like pure maple syrup or honey. The recommended amount is ⅓ to ½ cup, but feel free to adjust to your personal preference for sweetness. For a truly refined sugar-free dessert, ensure you use maple syrup or honey.
Salt & Baking Powder — While this is a no-bake recipe, the addition of baking powder is not for leavening. Instead, it imparts a subtle tang that wonderfully mimics the flavor profile of traditional baked cookie dough, elevating the overall taste experience. A pinch of salt balances the sweetness and enhances all the flavors.
Oats — Old-fashioned or quick oats are both suitable. However, quick oats tend to blend more seamlessly and quickly into the dough, resulting in a smoother consistency. If you need to make this cookie dough grain-free, an excellent substitute is almond flour, which will maintain a pleasant texture.
Vanilla Extract — A touch of vanilla extract is essential. It’s a flavor enhancer that brings warmth and classic cookie dough notes, truly making everything taste better!
Milk (optional) — If your goal is a lighter, dippable consistency for serving with fruits or crackers, a splash of milk is perfect. Start with 2 tablespoons and gradually add more, one tablespoon at a time, until your desired dipping consistency is achieved. Any type of milk works here, including cow’s milk, oat milk, coconut milk, hemp milk, or almond milk, allowing for further customization based on dietary needs or preference.
Chocolate Chips — No cookie dough is complete without chocolate chips! Any variety will work, but mini chocolate chips tend to distribute more evenly and melt beautifully in each bite. Crucially, if you are catering to specific allergies, ensure your chocolate chips are compliant. Brands like Nestle and Enjoy Life offer fantastic allergy-friendly chocolate chip options that are free from common allergens.
How to Make Chickpea Cookie Dough
Creating this healthy chickpea cookie dough is incredibly straightforward, requiring minimal effort and just a few minutes in a food processor. Follow these simple steps for a perfect, guilt-free treat.
Step 1: Combine the Base Ingredients
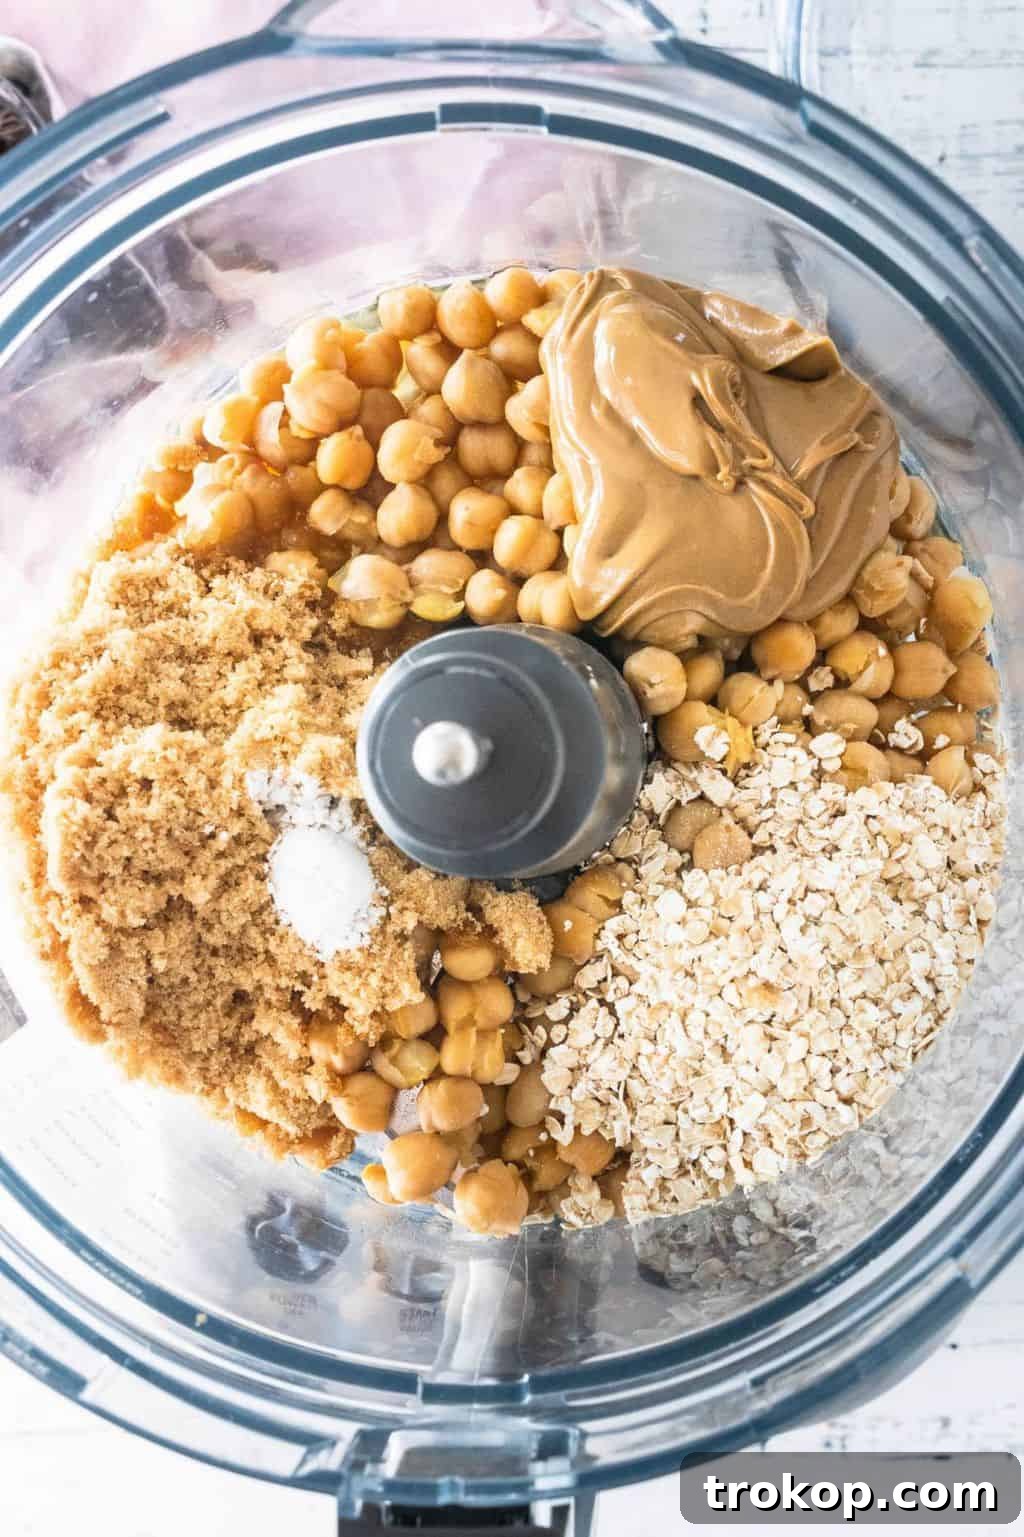
Begin by adding the prepared chickpeas (drained and rinsed), nut butter of choice, sweetener, salt, baking powder, oats, and vanilla extract into the bowl of a food processor. Ensure all ingredients are ready for blending.
Step 2: Process Until Smooth
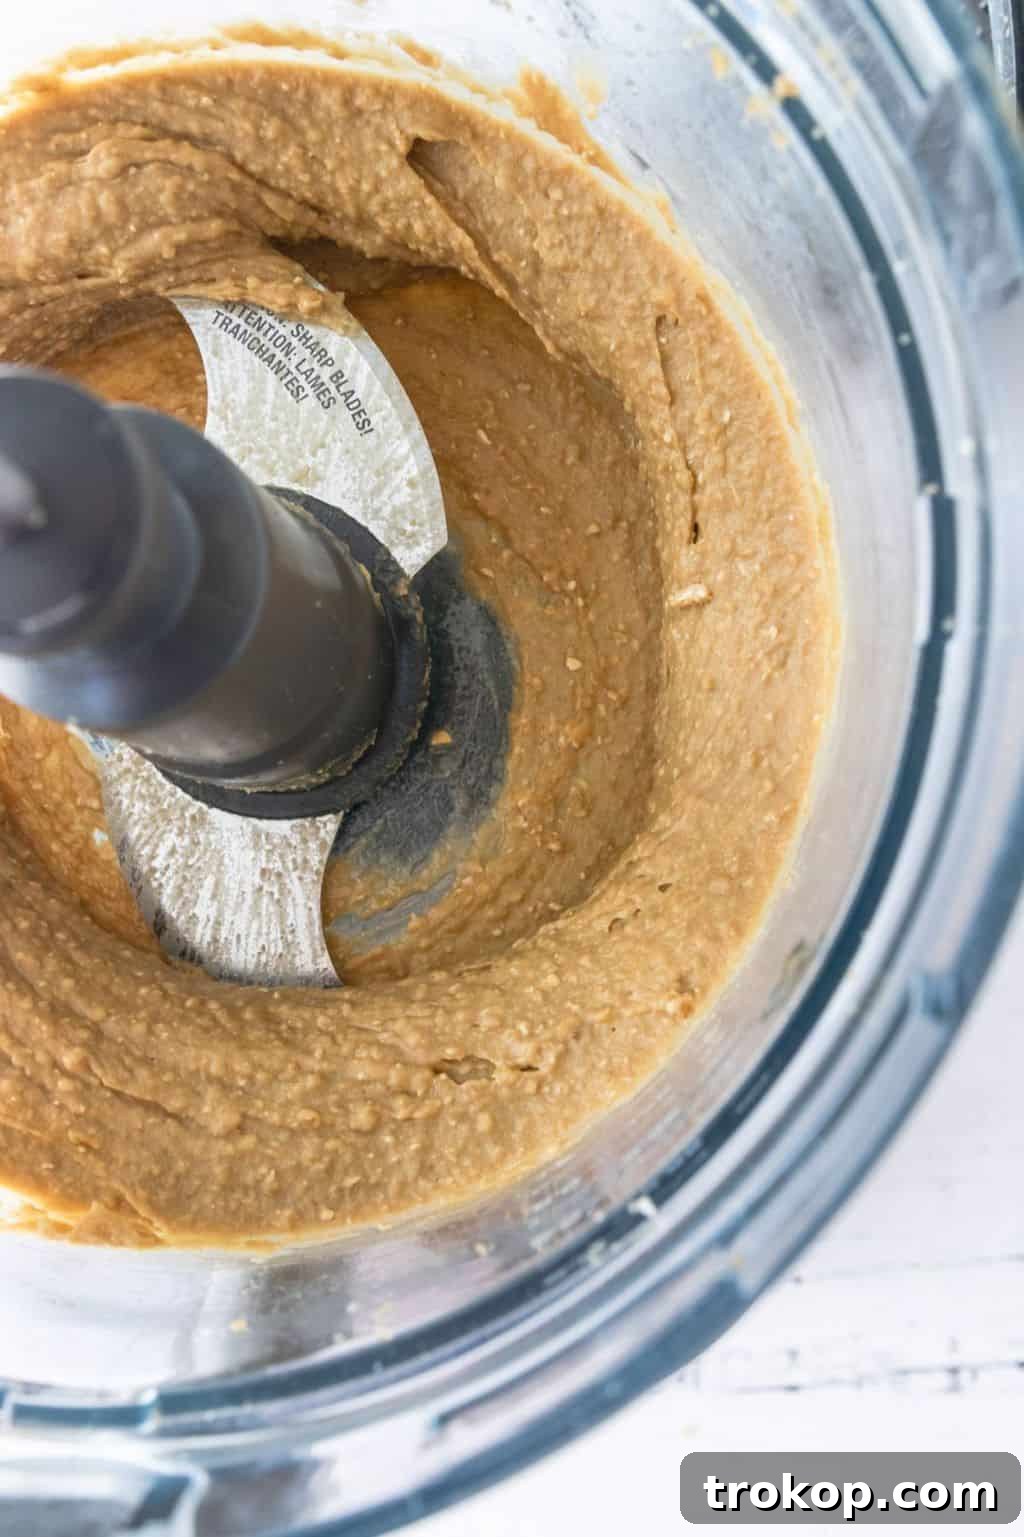
Run the food processor for approximately two minutes. During this time, stop the processor every 30 seconds or so to scrape down the sides of the bowl with a rubber spatula. This crucial step ensures that all ingredients are thoroughly incorporated and blended evenly, preventing any dry pockets or unmixed bits. Continue processing until the mixture is smooth, creamy, and the oats are completely or almost completely invisible.
Optional Step: Create a Cookie Dough Dip
If you desire a thinner consistency, perfect for a cookie dough dip, gradually add your chosen milk, one tablespoon at a time, to the blended mixture in the food processor. Blend briefly after each addition until it reaches your preferred dipping consistency. This makes it ideal for pairing with fruit, pretzels, or other snacks.
Step 3: Chill for Optimal Texture
The blending process can sometimes generate a slight warmth in the cookie dough. For the best texture and flavor, transfer the dough to a container and refrigerate it to cool completely. Chilling allows the flavors to meld and the dough to firm up to that perfect, irresistible cookie dough consistency.
Step 4: Stir in Chocolate Chips
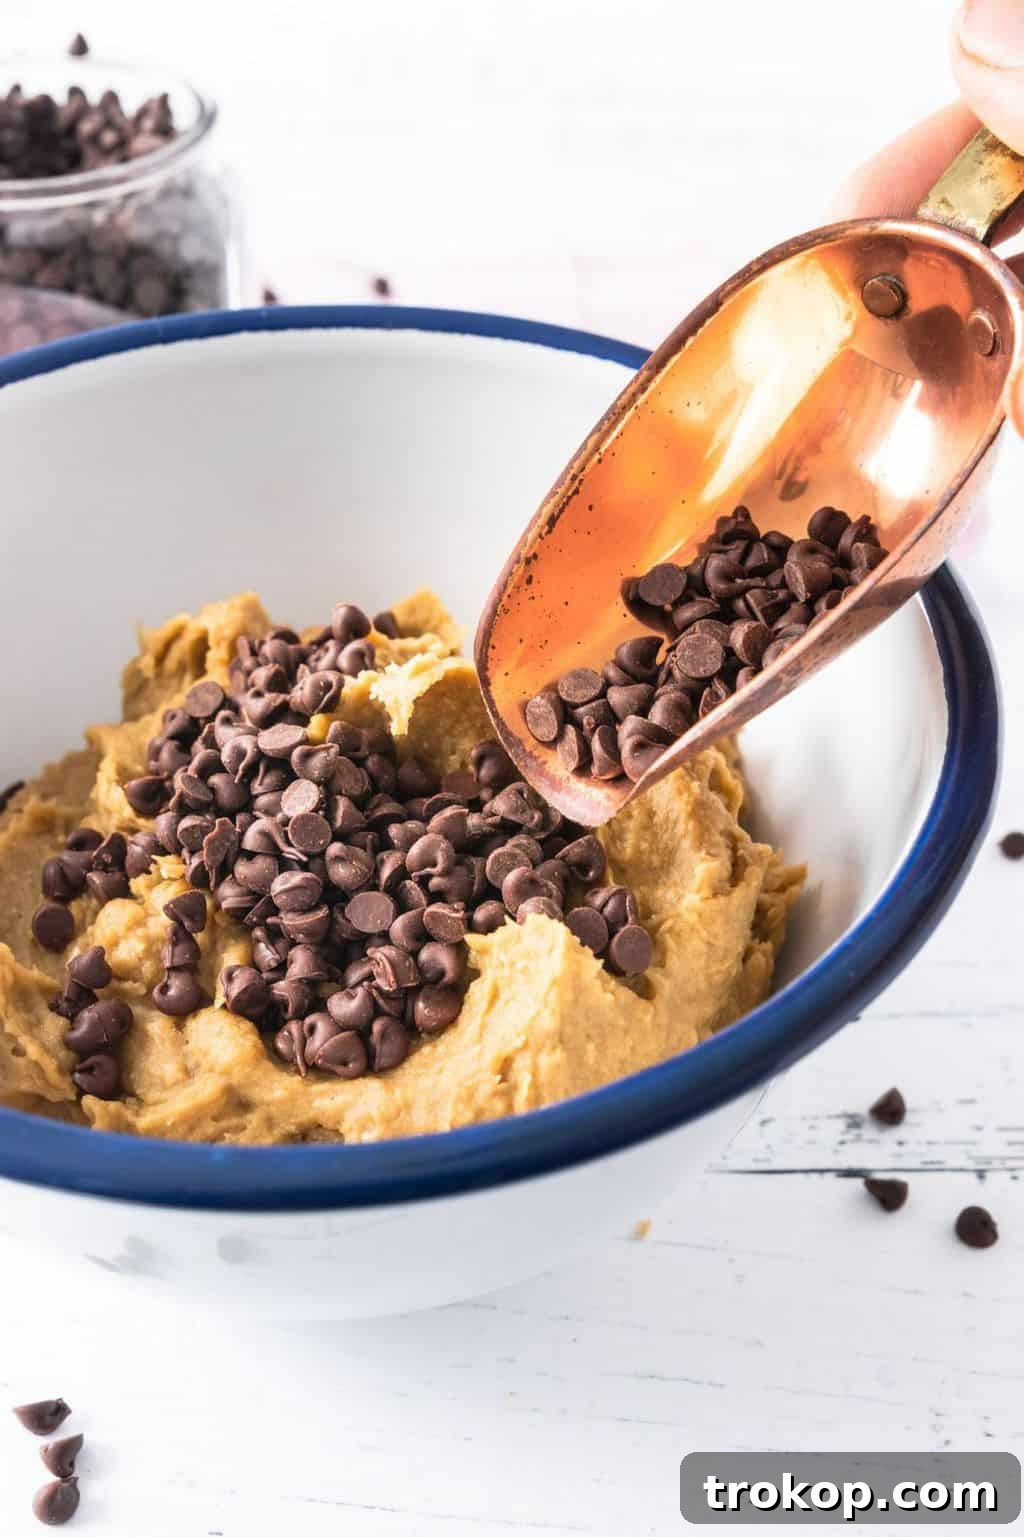
Once the chickpea cookie dough has thoroughly cooled, remove it from the refrigerator and stir in the chocolate chips. This ensures they don’t melt into the dough, maintaining their delightful texture and visual appeal.
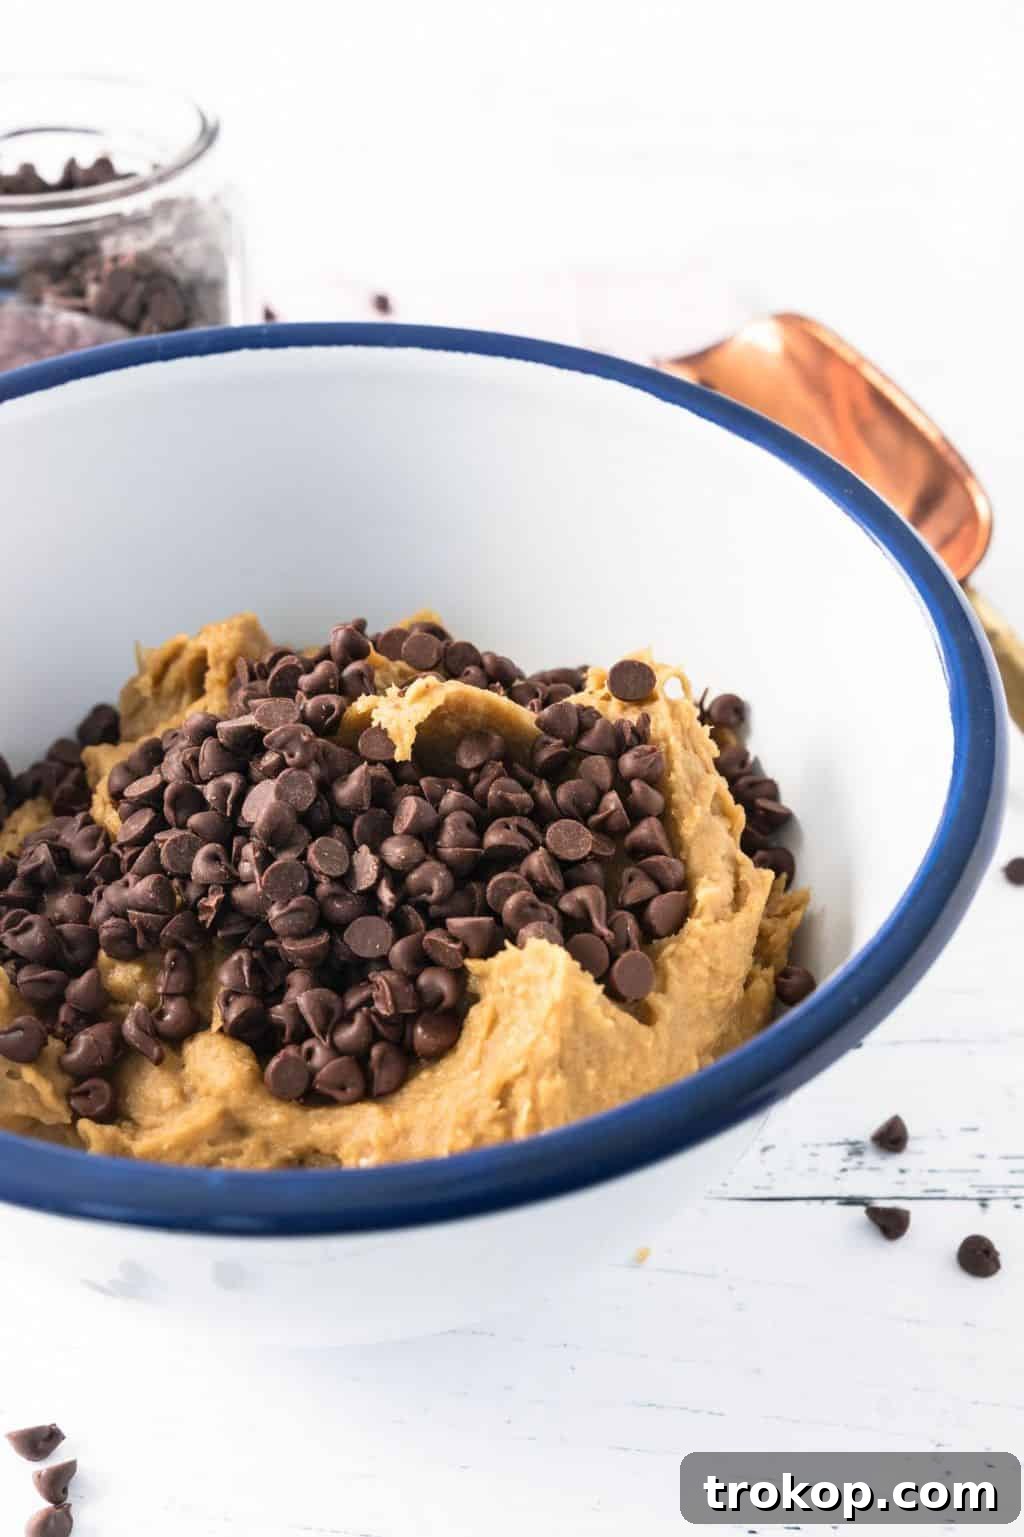
Step 5: Final Refrigeration
Always refrigerate the chickpea cookie dough until you are ready to eat or serve it. This keeps it fresh, maintains its texture, and enhances its deliciousness.
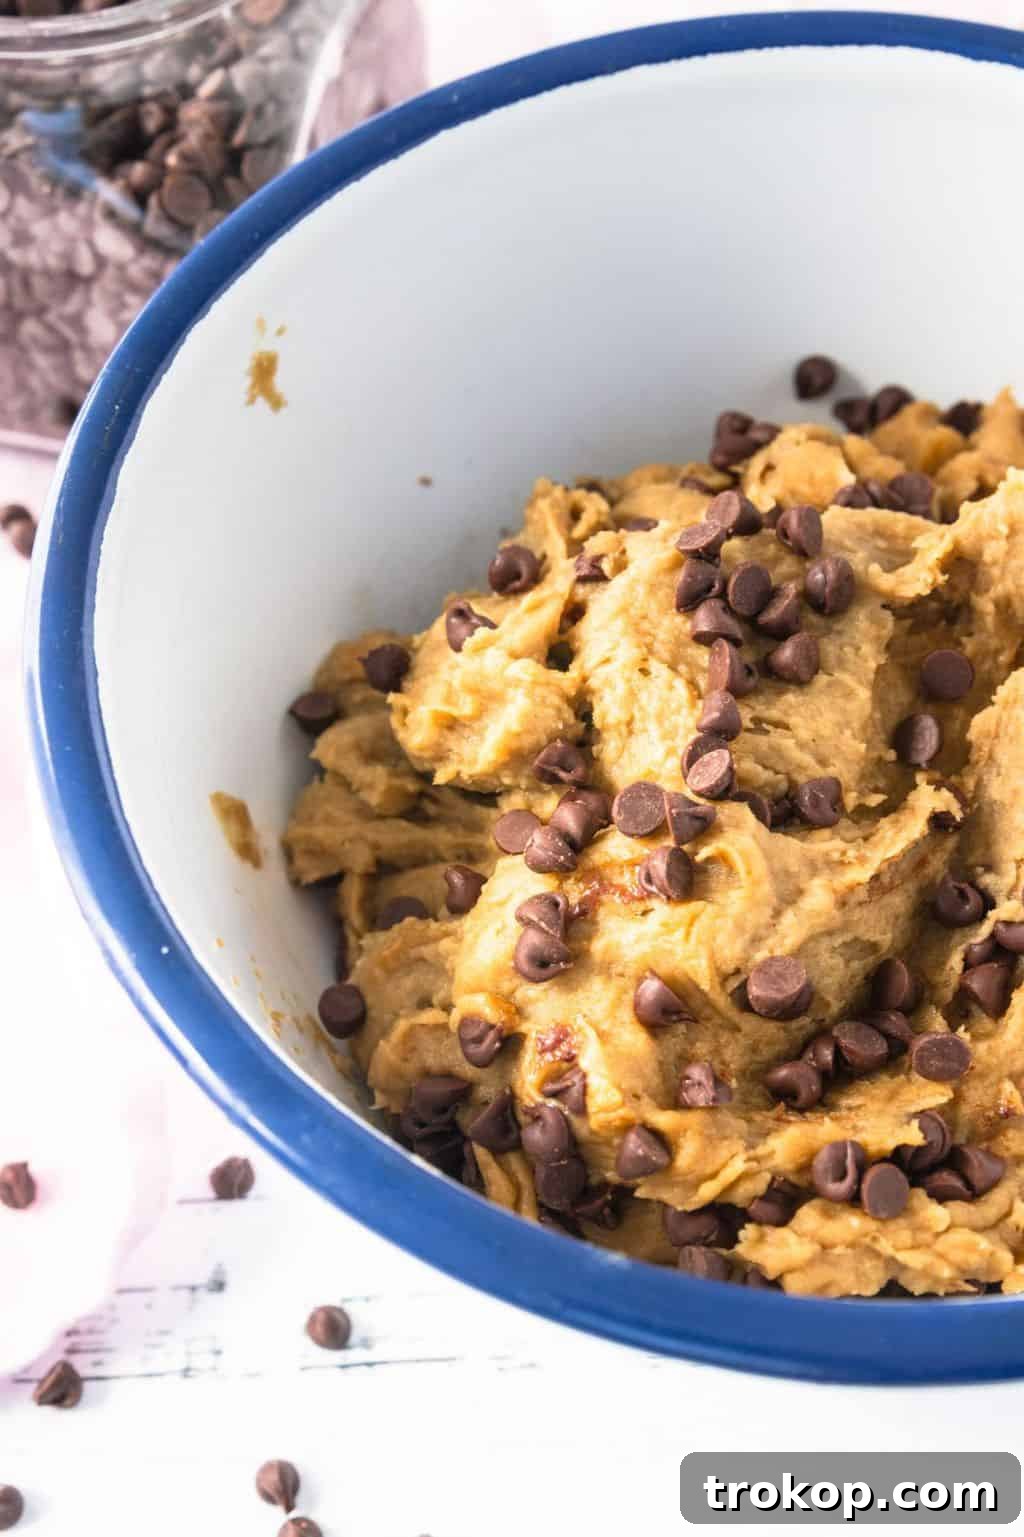
Mastering Homemade Chickpeas: Instant Pot Method
While canned chickpeas offer convenience, cooking your own from dry provides superior flavor, texture, and allows you to control the sodium content. The Instant Pot makes this process incredibly fast and easy, yielding perfectly tender chickpeas every time. Uncooked chickpeas are often sold alongside other beans in the grocery store, sometimes labeled as garbanzo beans, especially in ethnic food sections.
1 — Rinse and Inspect: Begin by thoroughly rinsing 1 pound of dry chickpeas under cold running water. Carefully inspect them, removing any shriveled beans, small stones, or debris that might be present in the bag.
2 — Pressure Cook: Place the rinsed chickpeas into the insert of your Instant Pot. Cover them with six cups of fresh water. Secure the lid, ensuring the valve is set to the “sealing” position. Cook the chickpeas on high pressure for 50 minutes.
3 — Natural Release: Once the 50-minute cooking cycle is complete, allow the Instant Pot to natural release for ten minutes. This means letting the pressure dissipate on its own without touching the valve. After ten minutes, carefully flip the valve to the “venting” position to release any remaining pressure. Once the pressure pin drops, indicating it’s safe, remove the lid.
4 — Drain, Rinse, and Portion: You’ll find beautifully soft and tender chickpeas inside. Drain them thoroughly and rinse again under cold water. Divide the cooked chickpeas into 1 ½ cup portions; each portion is roughly equivalent to one standard 15-ounce can of chickpeas. These can be used immediately in this chickpea cookie dough recipe or stored for future use in any recipe calling for canned chickpeas.
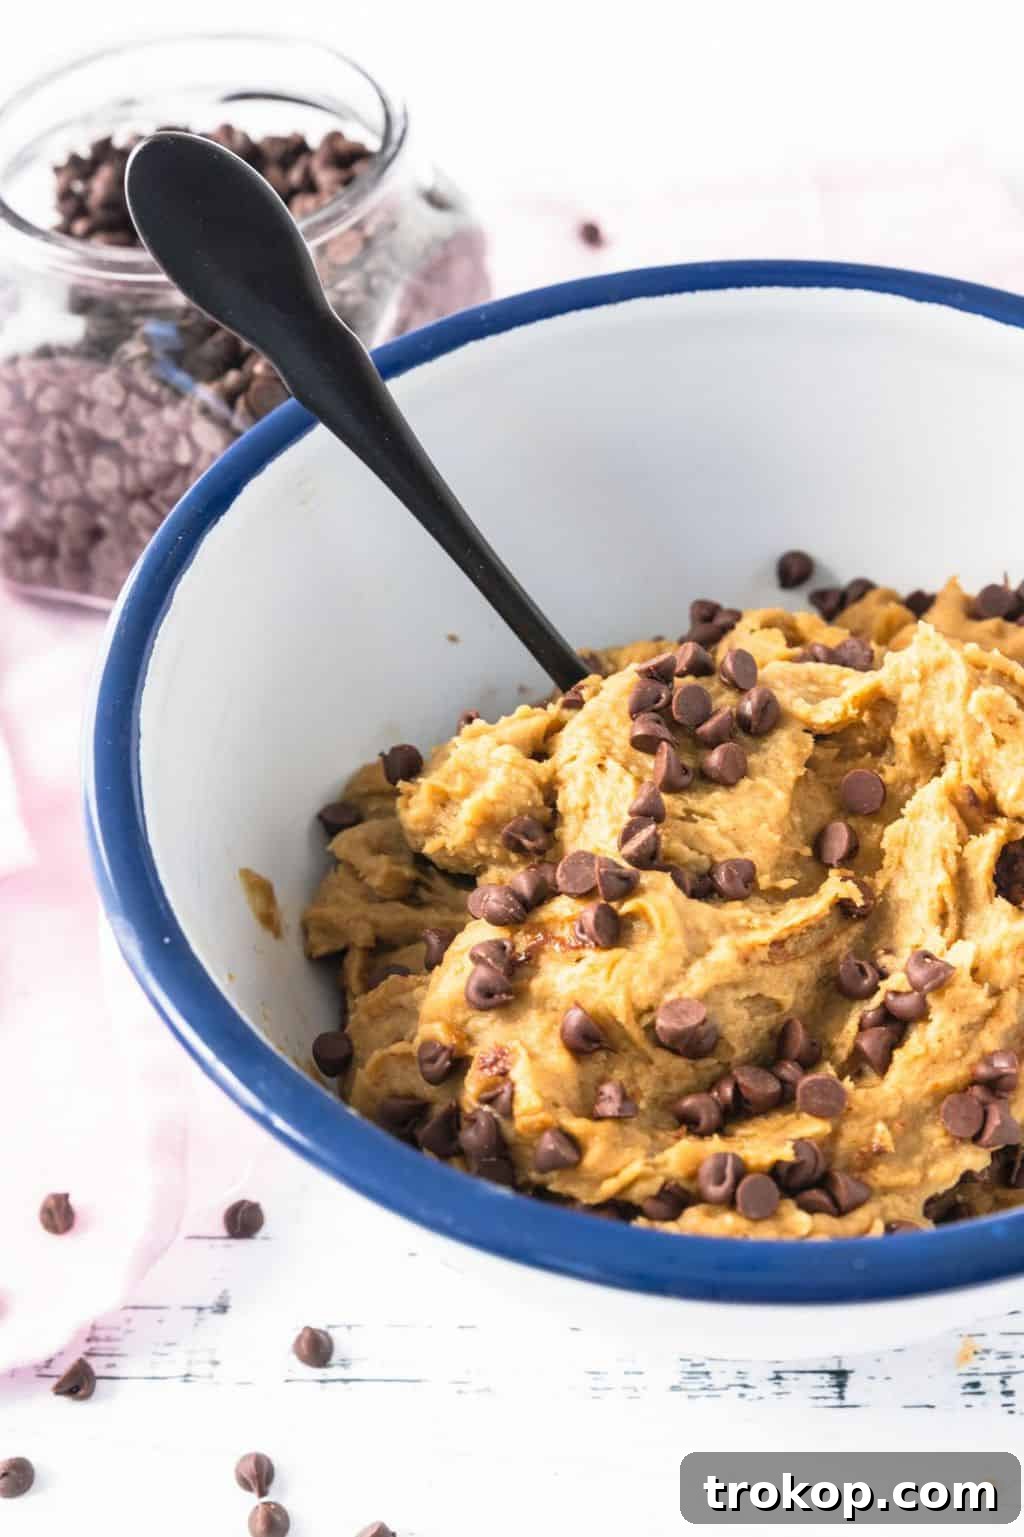
Mastering Homemade Chickpeas: Stovetop Method
If you prefer not to use an Instant Pot, or simply don’t have one, cooking chickpeas on the stovetop is a perfectly viable method. It does require a bit more foresight and time for soaking and simmering, but the results are just as rewarding.
1 — Rinse and Soak: Begin by thoroughly rinsing the dry chickpeas. Soaking is crucial for tender chickpeas and reduces cooking time. You have two options for soaking:
- Overnight Soak: Place the rinsed chickpeas in a large bowl and cover them with several inches of cold water. Let them soak at room temperature overnight (8-12 hours).
- Quick Soak: Alternatively, place the rinsed chickpeas in a pot, cover them with hot water, and bring to a boil for five minutes. After boiling, remove the pot from the heat, cover, and let them sit for 1 hour.
2 — Simmer to Perfection: After soaking, drain and rinse the chickpeas once more. Transfer them to a clean pot and cover with about an inch of fresh water. Bring the water to a gentle boil, then reduce the heat to medium-low to maintain a steady simmer. Place the lid on top, but tilt it slightly to allow steam to vent. Simmer for 1 ½ to 2 hours, or until the chickpeas are easily pierced with a fork. It’s important to monitor the water level throughout the cooking process and add more hot water as needed to ensure the chickpeas remain covered and the pot doesn’t boil dry.
3 — Final Preparation: Once cooked to your desired tenderness, drain and rinse the chickpeas thoroughly before using them in your chickpea cookie dough or any other recipe.
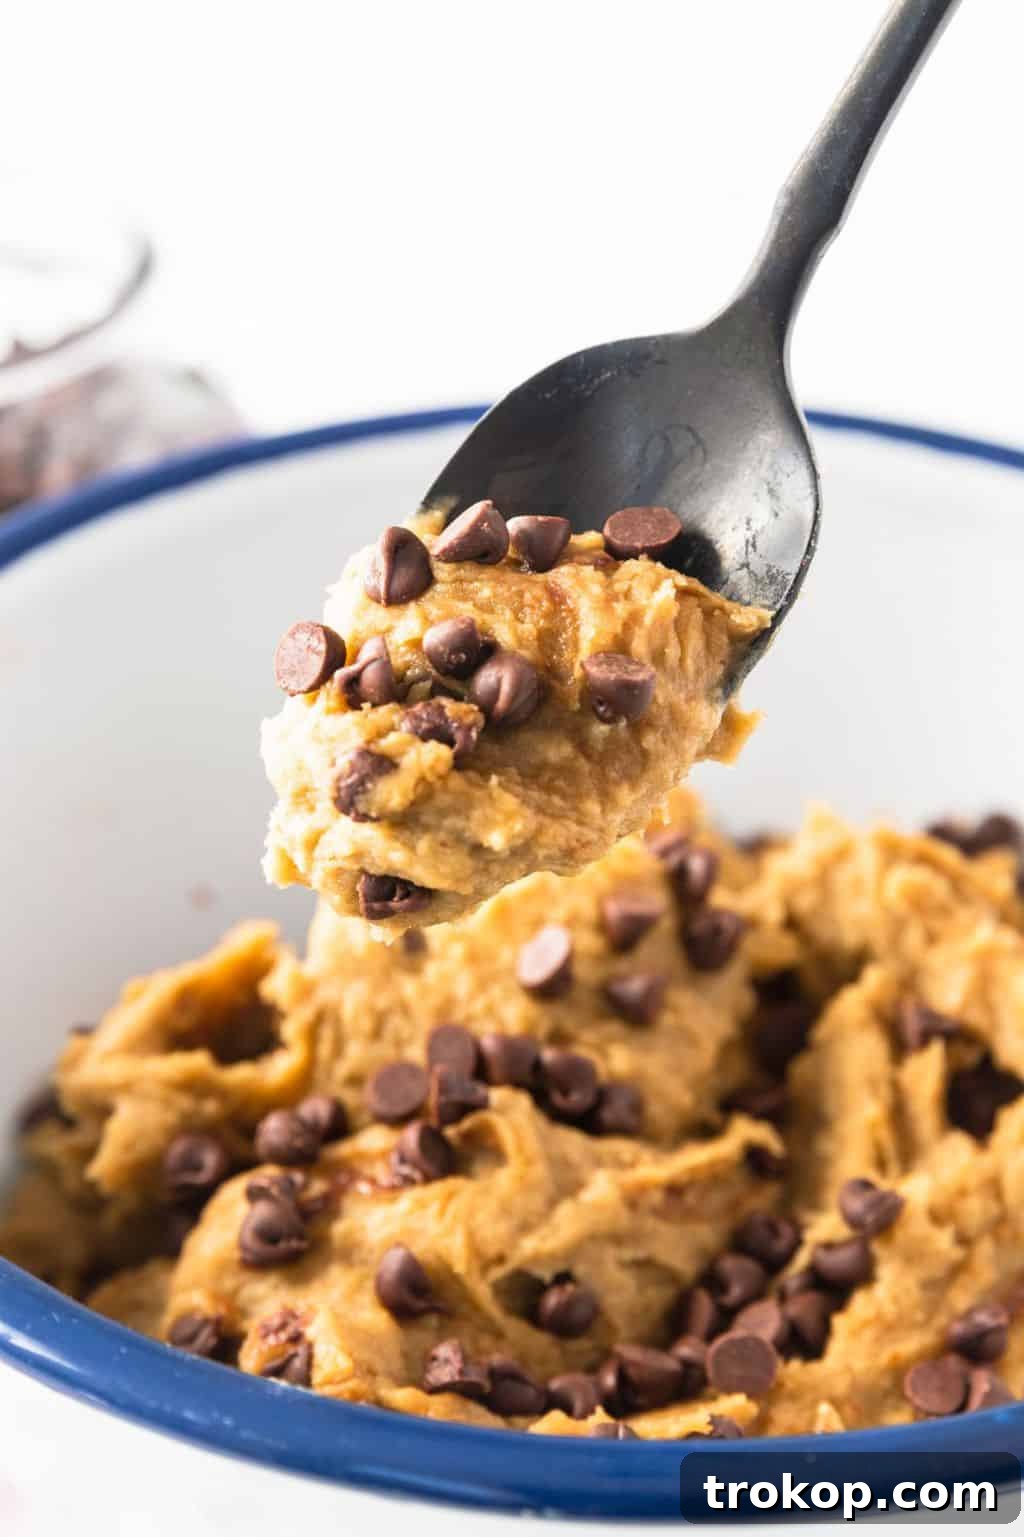
Serving and Storage Tips for Your Chickpea Cookie Dough
Now that you’ve created your delicious and healthy chickpea cookie dough, here’s how to best enjoy and store it to maintain its freshness and flavor.
Serving Suggestions:
- Classic Spoonful: The simplest and often most satisfying way to enjoy it – straight from the bowl with a spoon!
- Fruit Dip: As mentioned, thin it out with a little milk to create a delightful dip for sliced apples, bananas, strawberries, or any of your favorite fresh fruits.
- Energy Bites: Roll the chilled dough into small, bite-sized balls for a quick energy boost or a convenient snack on the go. You can even roll them in shredded coconut or cocoa powder for an extra touch.
- Topping: Use a dollop of cookie dough as a topping for oatmeal, yogurt parfaits, or even healthy smoothie bowls for added protein and flavor.
- Dessert Platter: Serve it alongside other healthy treats like roasted nuts, dark chocolate squares, and fruit for an impressive and nutritious dessert spread.
Storage:
- Refrigeration: Always store your chickpea cookie dough in an airtight container in the refrigerator. This will keep it fresh and delicious for up to 5-7 days.
- Freezing: For longer storage, you can freeze the cookie dough. Place it in a freezer-safe, airtight container or divide it into individual portions before freezing. It will stay fresh in the freezer for up to 1-2 months. Thaw in the refrigerator before enjoying.
Frequently Asked Questions About Chickpea Cookie Dough
Got questions? We’ve got answers to help you get the most out of your chickpea cookie dough experience!
Q: Is this chickpea cookie dough really healthy?
A: Absolutely! Compared to traditional cookie dough, this recipe uses nutrient-dense chickpeas as a base, providing protein and fiber. It’s also gluten-free, dairy-free, and can easily be made refined sugar-free. It’s a much healthier alternative for satisfying your cookie dough cravings.
Q: Can I bake this cookie dough into cookies?
A: While this recipe is designed to be eaten raw, it can indeed be baked! Since it’s eggless, it’s completely safe to consume as dough. If you wish to bake them, this recipe typically yields about 14 cookies. Simply preheat your oven to 350°F (175°C) and bake for approximately 10 minutes, or until the edges are lightly golden. The texture will be slightly different from traditional cookies due to the chickpea base, but still delicious!
Q: How long does homemade chickpea cookie dough last?
A: Stored in an airtight container in the refrigerator, the chickpea cookie dough will remain fresh for about 5 to 7 days. You can also freeze it for up to 1 to 2 months.
Q: Can I make this recipe vegan?
A: Yes! This recipe is inherently vegan if you ensure your chosen nut butter, sweetener (maple syrup or agave are vegan, honey is not), and chocolate chips are vegan-friendly. If you’re turning it into a dip, make sure to use a plant-based milk like oat, coconut, almond, or hemp milk.
Q: Why add baking powder if it’s no-bake?
A: The baking powder in this recipe isn’t for leavening, as there’s no baking involved. Instead, it contributes a subtle, tangy flavor that closely mimics the taste profile of traditional baked cookie dough, enhancing the overall authenticity of the experience.
Q: What if my cookie dough is too thick or too thin?
A: If it’s too thick, add milk (plant-based for vegan options) one tablespoon at a time until your desired consistency is reached. If it accidentally becomes too thin, you can try adding a bit more ground oats or almond flour, one teaspoon at a time, to thicken it up, then chill thoroughly.
More Delicious Cookie Recipes to Explore!
If you loved this healthy chickpea cookie dough, you’re in for a treat! We have a wide array of other fantastic cookie recipes, both baked and no-bake, traditional and healthy-ish, to satisfy every palate. Dive into these delightful creations and find your next favorite sweet indulgence!
- Best Chocolate Peanut Butter Stuffed Cookies Recipe
- Pumpkin Chocolate Chip Cookies Recipe
- White Chocolate Shamrock Matcha Cookies Recipe
- No Bake Chocolate Almond Cookies Recipe
- No Bake Mini Cookie Butter Tarts Recipe
Don’t forget to share your Chickpea Cookie Dough creations with us on Instagram using the hashtag #sugarandclothloves. We absolutely love seeing your culinary masterpieces! For more quick, easy, and delicious recipes, you can find them all right here, along with some perfect bites to pair with them!
Print Recipe
Chickpea Cookie Dough Recipe
Equipment
-
Food processor
-
Rubber spatula
Ingredients
- 15 oz chickpeas drained and rinsed, or 1 ½ cups cooked chickpeas, drained and rinsed
- ¼ cup unsweetened nut butter
- ⅓-½ cup sweetener brown sugar, maple syrup, or honey
- ¼ tsp salt
- ¼ tsp baking powder
- ¼ cup oats quick oats or old-fashioned
- 1 tsp vanilla extract
- 2-4 tbsp milk optional, for dip consistency
- ½ cup dark chocolate chips
Instructions
-
Place the chickpeas, nut butter, sweetener, salt, baking powder, oats, and vanilla extract in the bowl of a food processor.
-
Run the food processor for about 2 minutes, stopping every 30 seconds to scrape down the sides of the bowl with a spatula. This ensures all ingredients are well incorporated. The cookie dough is ready when it’s smooth and the oats are completely or almost completely invisible.
-
Optional Step: If you want to make it a cookie dough dip, add milk a tablespoon at a time until it reaches the correct consistency.
-
The cookie dough may be warm from blending. If so, refrigerate it to cool completely.
-
When the chickpea cookie dough has cooled completely, stir in the chocolate chips.
-
Refrigerate the chickpea cookie dough until you are ready to eat or serve it.
Nutrition
Notes
- This recipe makes approximately 2 cups of delicious chickpea cookie dough.
- Since this recipe is eggless, it is perfectly safe and intended to be eaten “raw” as dough. However, if you prefer, you can bake this dough into about 14 cookies. Simply place scoops on a baking sheet and bake at 350°F (175°C) for 10 minutes.
- For a fully vegan recipe, and especially if you plan to make it a dip, ensure you use vegan milk options such as rice, soy, hemp, or oat milk, and check that your chocolate chips and sweetener are also vegan-friendly.