
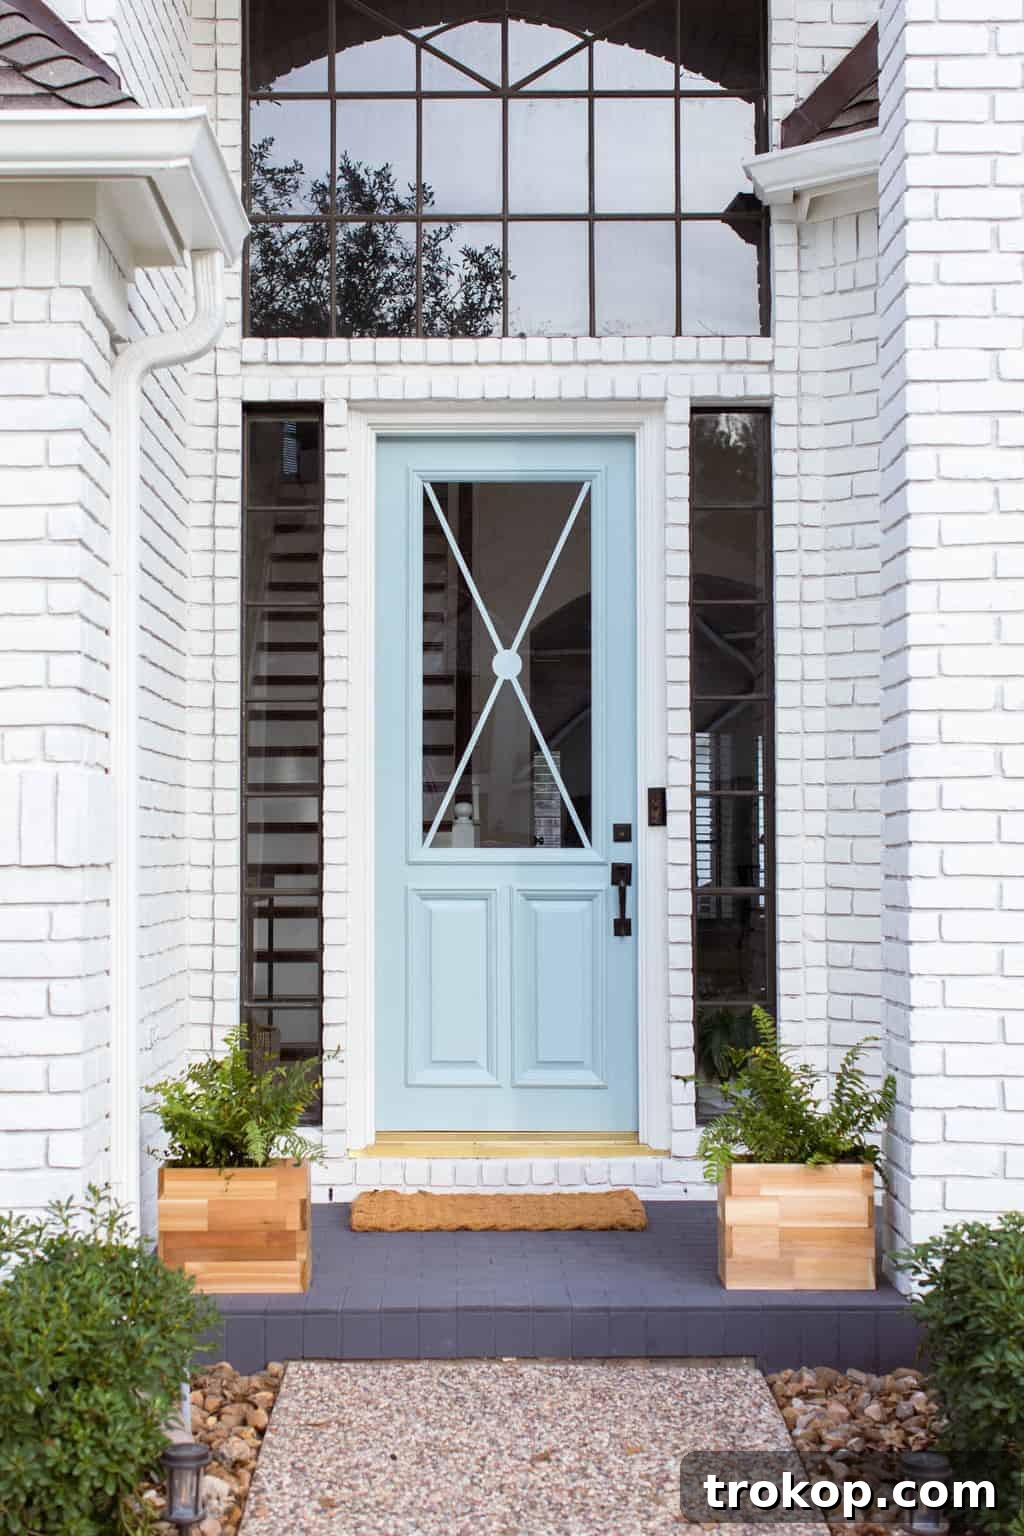
Considering a fresh new look for your brick exterior? If you’ve been wondering, “Can you limewash painted brick?” or simply seeking the best way to revitalize raw brick, you’ve come to the right place. This comprehensive guide will delve into the transformative world of limewash paint, a timeless technique gaining renewed popularity for its unique aesthetic and practical benefits. Learn why limewash is an exceptional choice for your home’s exterior, understand its distinct characteristics, and discover how to master this popular painting method yourself to achieve a stunning, durable finish.
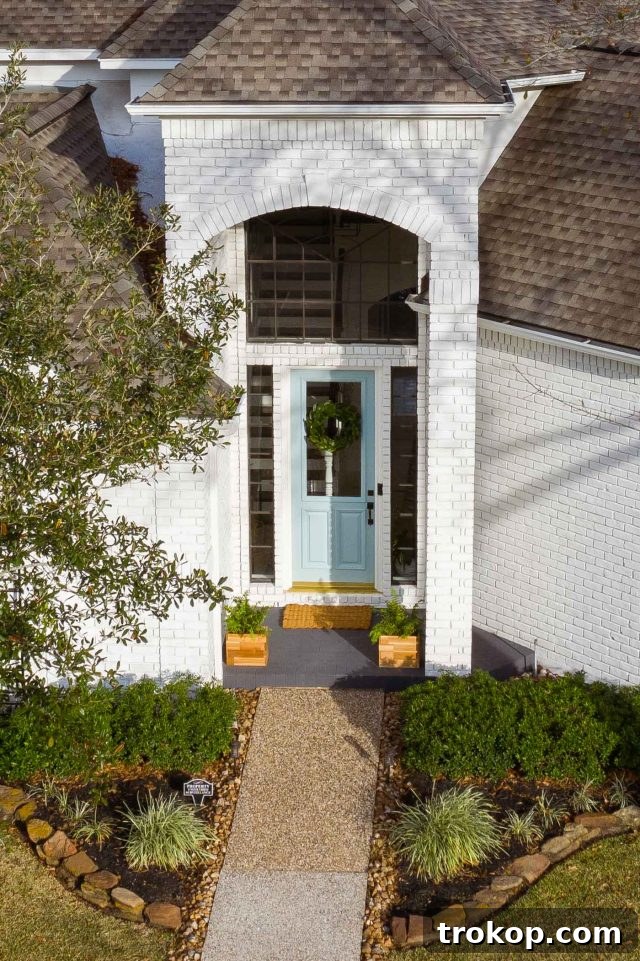
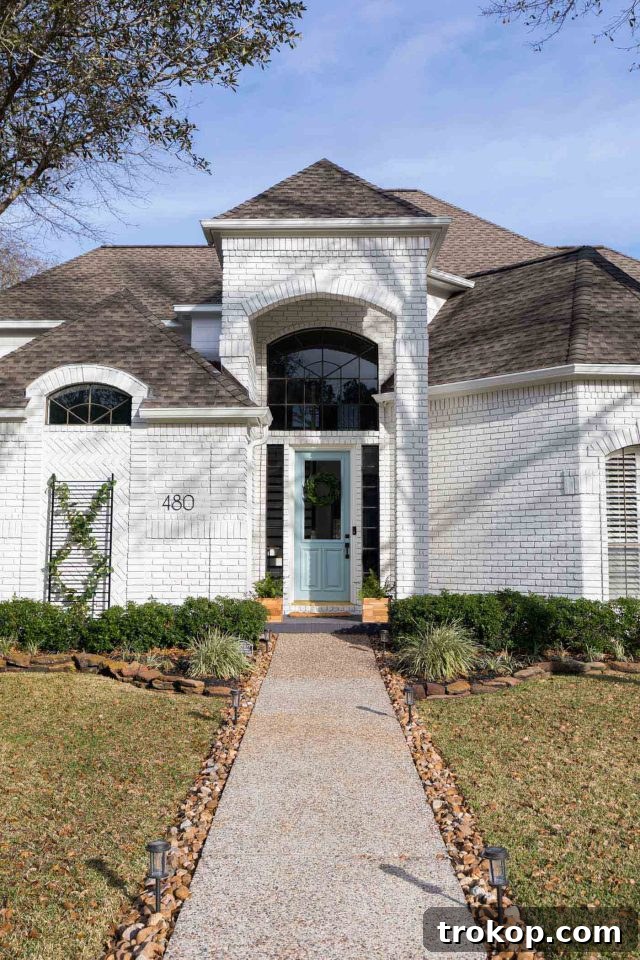
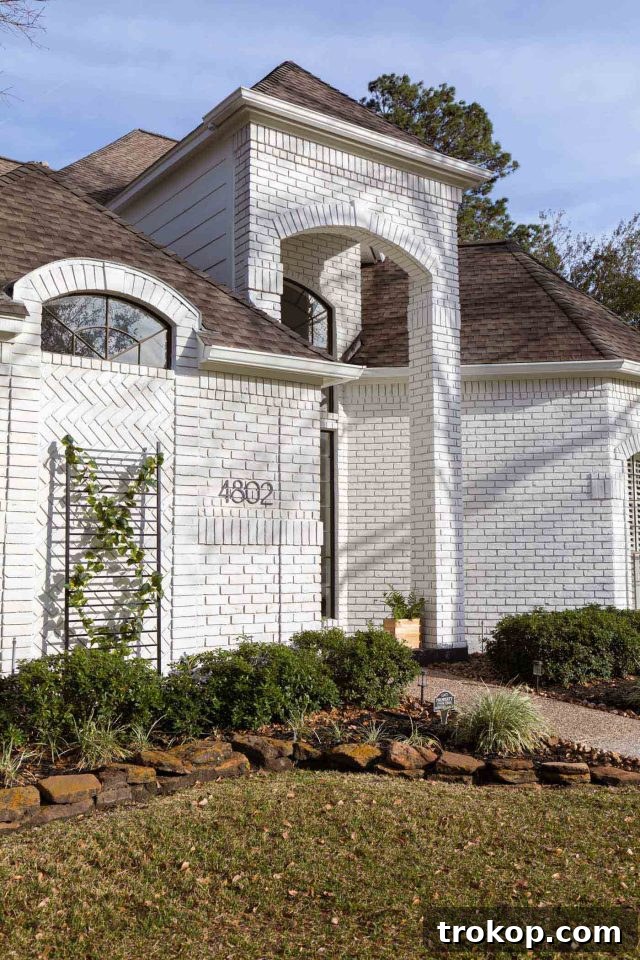
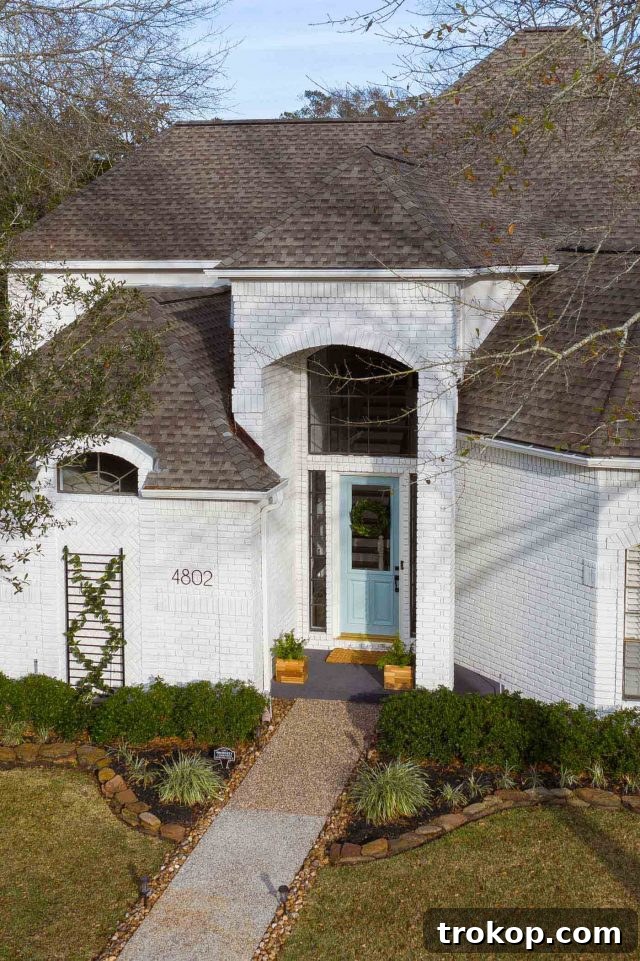
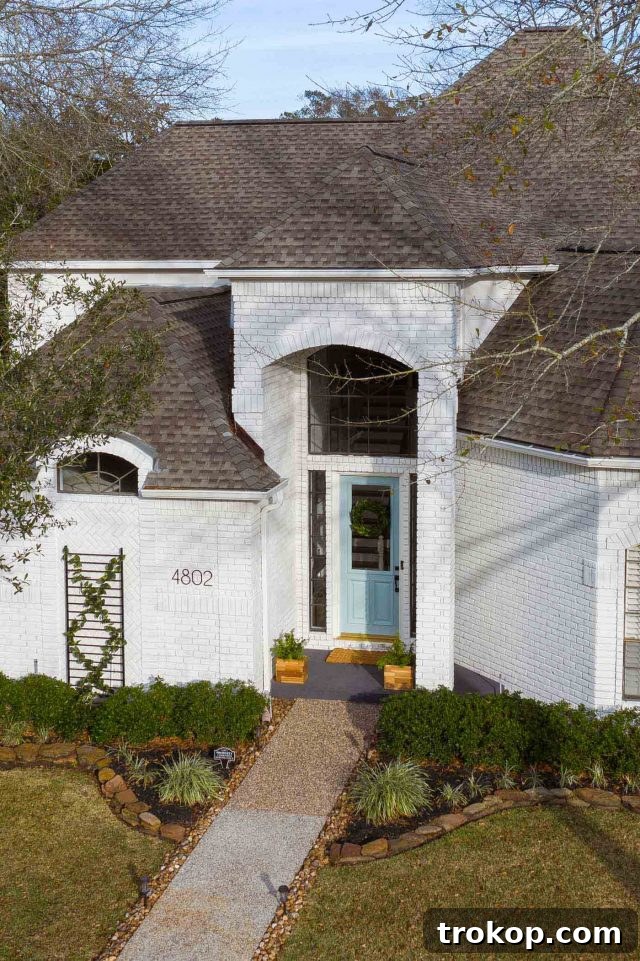
Beyond a simple front door makeover, one of the most impactful ways to modernize and enhance a home’s curb appeal is by refreshing its exterior. When we embarked on designing this home’s exterior update, lime-based paint was our unequivocal first choice for its raw brick façade. This decision was driven by limewash’s unparalleled benefits, including its natural resistance to cracking and peeling, its eco-friendly composition, and its inherent anti-fungal properties that effectively deter pests. Moreover, limewash is renowned for its fade resistance and remarkable versatility, available in an extensive palette of colors to match any aesthetic vision.
To demystify the process and empower you to undertake your own limewash project with confidence, we’re sharing everything you need to know about this classic yet contemporary painting technique. Get ready to transform your home with a finish that is not only beautiful but also built to last for centuries.
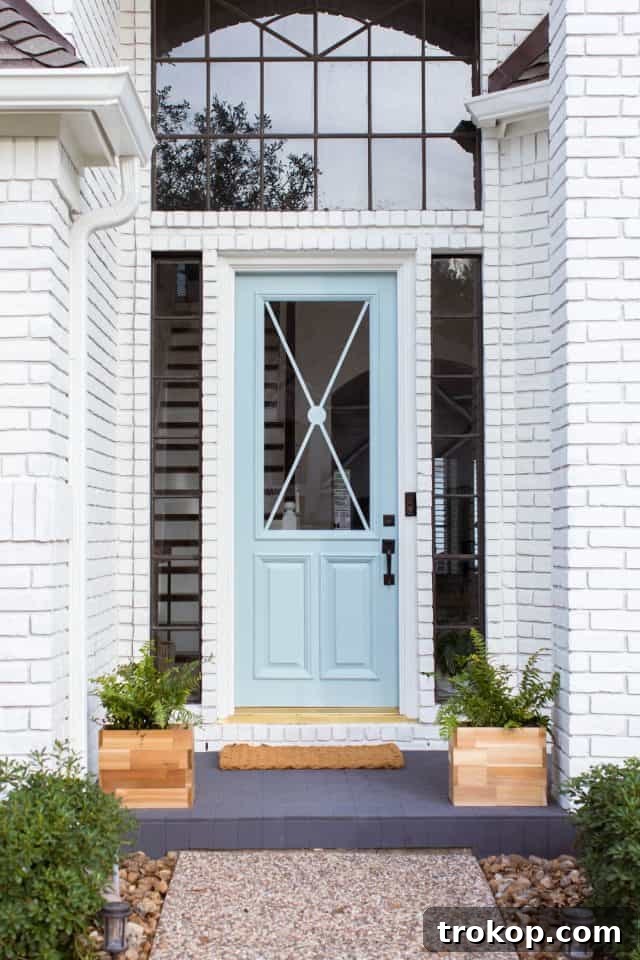
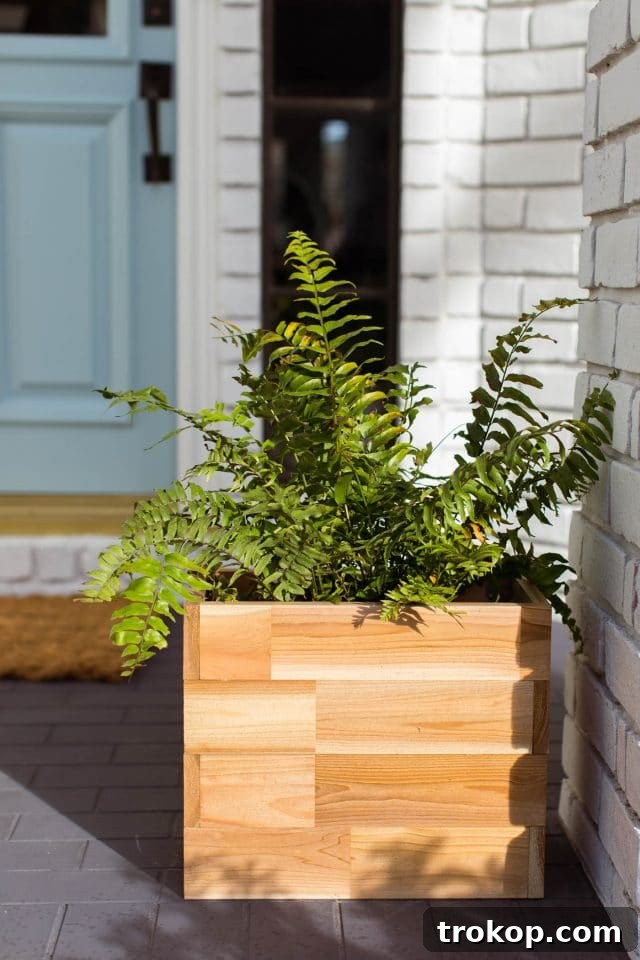
Table of Contents
What is Limewash Paint?
Many people often confuse “limewash” with “whitewash,” yet these two techniques are fundamentally distinct. While whitewashing is an application method typically using diluted latex paint to create a semi-transparent effect, limewash refers to a specific type of paint with a unique composition and historical lineage. Limewash is an all-natural, non-toxic paint derived from crushed limestone that has been heated, then mixed and diluted with water to form a thick, paste-like consistency.
Traditionally, limewash has been exclusively used on porous mineral surfaces such as brick, stucco, stone, concrete, and plaster. Its magic lies in its ability to be absorbed into these surfaces, forming a breathable, durable, and naturally variegated finish. However, innovations like JH Wall Paints’ Mineral Primer have expanded its application possibilities, allowing limewash to create a microporous surface over new drywall and previously painted interior and exterior surfaces. This means you can now achieve the classic limewash look on a wider range of materials than ever before.
One of the most appealing aspects of limewash is its customizable nature. It can be tinted with mineral pigments to achieve virtually any color imaginable, from classic whites and soft greys to deeper, richer hues, often matching popular shades from brands like Benjamin Moore or Sherwin Williams. Due to its thick consistency and unique formulation, dried limewash paint exhibits a distinctive matte, suede-like finish. This finish is not flat but “living,” meaning it subtly changes and develops a beautiful patina over time, especially noticeable with darker tints. This characteristic variation in tone and texture is precisely what gives limewash its centuries-old charm and enduring popularity, adding a subtle depth and organic feel to any wall.
Why Choose Limewash Paint on Brick?
Choosing limewash paint for brick isn’t just about aesthetics; it’s about embracing a superior, long-lasting solution that respects the inherent qualities of your masonry. Unlike traditional latex or acrylic paints that form a plastic-like film on the surface of brick, limewash works by soaking into the porous material. This crucial difference means the brick absorbs the mineral pigments, allowing the surface to remain breathable. This breathability is vital for brick, as it permits moisture to escape, preventing common issues like efflorescence, peeling, and mildew growth often associated with conventional paints.
The unique interaction between limewash and brick creates a “living finish.” This means the color isn’t static; it gently mutes the harsh tones of raw brick while allowing the natural variations and textures of the brick to show through. The result is a soft, chalky, matte appearance with subtle color variations, creating an authentic, aged, and organic look that cannot be replicated by standard paints. This characteristic visual depth adds immense character and curb appeal, lending a timeless elegance to any brick home.
Key Benefits of a Limewash Painted Brick House
The advantages of using limewash on your brick home extend far beyond its captivating appearance. Here are the key benefits that make limewash an outstanding choice for exterior painting projects:
- Unrivaled Durability and No Peeling or Cracking: Limewash chemically bonds with the brick surface rather than simply sitting on top of it. This allows the brick to breathe, preventing moisture entrapment that causes traditional paints to bubble, crack, and peel over time. A limewash finish is incredibly durable and can last for decades.
- Exceptional UV Resistance: Made with natural mineral pigments, limewash boasts high UV resistance. This means the beautiful color you choose will resist fading, even under consistent exposure to harsh sunlight, maintaining its vibrancy and depth for years.
- Eco-Friendly and Non-Toxic: As a product made from natural crushed limestone and water, limewash is inherently non-toxic and environmentally friendly. It contains zero VOCs (Volatile Organic Compounds), making it a healthier choice for your home and the planet compared to many synthetic paints.
- Natural Anti-Fungal and Pest Deterrent: The high pH level of hydrated lime acts as a natural fungicide and biocide. This inherent property makes limewash an effective deterrent against mold, mildew, algae, and even common household pests, contributing to a cleaner and healthier exterior.
- Enhanced Breathability: Unlike conventional paints, limewash is microporous, meaning it allows moisture vapor to pass through the brick. This is crucial for the health of your masonry, preventing water from getting trapped within the brick and mortar, which can lead to spalling and degradation over time.
- Timeless, Organic Aesthetic: The soft, matte, and variegated finish of limewash creates an authentic, old-world charm that is both sophisticated and inviting. It enhances the natural texture of the brick, offering a subtle depth and character that feels instantly classic.

How To Choose An Exterior Limewash Color
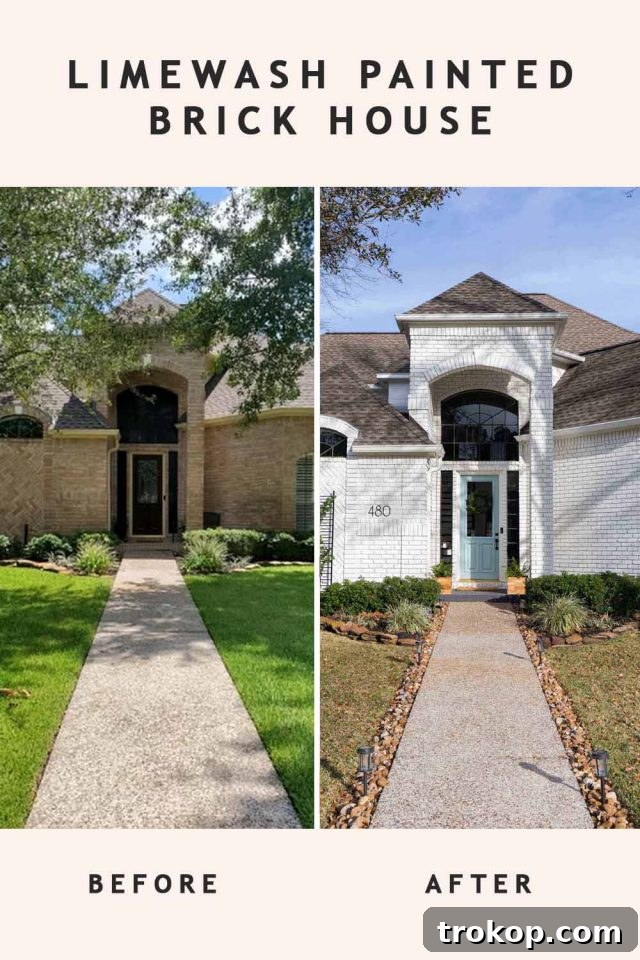
Selecting the perfect limewash color for your home’s exterior involves more than just picking a shade you like. The unique characteristics of limewash, combined with environmental factors, require careful consideration to achieve the desired outcome. For our featured house makeover, classic white brick was the ideal choice, and we opted for JH Wall Paints, custom-tinted to perfectly match Benjamin Moore’s iconic White Dove.
Custom tinting your limewash provides immense flexibility, allowing you to seamlessly integrate the brick’s new finish with other non-porous exterior elements like house trim, window frames, or existing siding. For instance, the wooden trim on our project was painted with standard latex paint in a shade that precisely complemented the limewashed white brick, creating a cohesive and polished look.
When choosing your exterior limewash color, consider these vital factors:
- Observe Natural Light: Colors appear drastically different under various lighting conditions. What looks perfect in a sample might shift under direct sun, shade, or at different times of day. Test large swatches on your brick in multiple locations and observe them throughout the day.
- Consider Your Home’s Architecture: Certain colors naturally complement specific architectural styles. A historic home might benefit from softer, more traditional limewash tones, while a modern farmhouse could embrace a crisper, clean white.
- Harmonize with Surroundings: Take into account your home’s roof color, landscaping, hardscaping (driveways, walkways), and even neighboring houses. The goal is to create a harmonious palette that feels integrated with its environment.
- Understand the “Living Finish”: Remember that limewash dries lighter than it appears when wet and will develop subtle variations and a beautiful patina over time. This organic aging process is part of its charm.
- Test on Your Specific Brick: The porosity and original color of your brick will influence the final limewash appearance. Always test samples on your actual brick surface to see how the limewash absorbs and interacts. This also helps you get a feel for the application process.

How To Apply Limewash Brick Paint: A DIY Guide
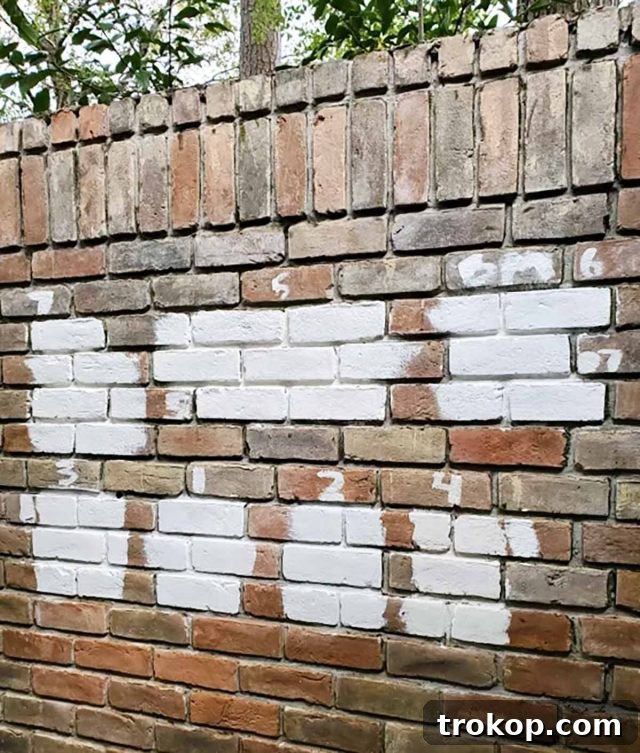
While traditional exterior paints are often sprayed or rolled, limewash application is a distinctly different process, best achieved by brushing. The goal is not merely to cover the surface but to push the limewash into the pores of the brick, allowing it to fuse with the masonry. This unique technique ensures the signature breathable, variegated finish. There are many excellent how-to videos for limewash painting available, and once you grasp the fundamental principles, you’ll find it a surprisingly rewarding and straightforward DIY endeavor.
Step-by-Step Application:
- Preparation is Key: Begin by thoroughly cleaning the brick surface. Remove any loose dirt, mildew, or efflorescence using a pressure washer or a stiff brush with a mild detergent. Any repairs to mortar joints should be completed before painting. Mask off windows, doors, and any areas you don’t want painted. Ensure the brick is slightly damp before application, as this aids in absorption.
- Mixing the Limewash: Follow the manufacturer’s instructions for mixing your limewash. It typically comes as a concentrated paste that needs to be diluted with water to achieve the right consistency. Mix thoroughly to ensure an even color and texture, taking care to avoid lumps.
- Choose the Right Tools: A specialized block brush or a high-quality masonry brush is essential. These brushes have sturdy bristles designed to work the limewash into the porous surface of the brick, creating the characteristic matte finish. Avoid rollers or sprayers, as they won’t achieve the same effect and can lead to uneven coverage or a less authentic look.
- Application Technique:
- Work in Sections: Apply limewash in small, manageable sections, working from top to bottom. This helps maintain a wet edge and prevents noticeable lap lines.
- Irregular Strokes: Unlike traditional paint, you’re not aiming for perfectly smooth, even strokes. Embrace irregular, crisscross, or circular motions to push the limewash into the brick and create the desired variegated, natural finish. This technique allows the underlying brick’s texture to shine through, contributing to the rustic charm.
- Thin Coats: Apply limewash in thin coats. It’s better to build up opacity with multiple thin layers rather than one thick coat, which can look unnatural and potentially hinder breathability.
- Re-wetting (Optional but Recommended): Some professionals recommend lightly misting the brick with water just before applying limewash to ensure optimal absorption, especially in dry or warm conditions.
- Multiple Coats for Desired Opacity: The number of coats required depends on your desired level of opacity and the original color of your brick. A single coat will offer a sheer, translucent effect, allowing more of the brick’s original color to show through. Two or three coats will create a more opaque, yet still naturally variegated, finish. Allow sufficient drying time between coats as per the manufacturer’s instructions.
- Drying and Curing: Limewash dries significantly lighter than it appears when wet. The full depth of color and the development of its unique patina will become evident as it cures over several days or weeks.
While brushing on the paint can take a bit longer than other methods, the process is very forgiving and easy to DIY. Practicing on sample boards or a less visible section of your wall will allow you to get the hang of the technique and observe how the limewash reacts to your specific type of brick. Experimenting with white wall paint colors in limewash form, for instance, can help you find your ideal shade and application rhythm.
Tips & Frequently Asked Questions
Mastering limewash paint is straightforward, but a few expert tips and answers to common questions can ensure your project is a resounding success:
- Color Dries Lighter: Always remember that limewash will dry significantly lighter than its wet appearance. This is part of its natural charm, so don’t be alarmed during application. Plan your color choice with this in mind and always test samples.
- Painting Over Limewash: If you ever decide to paint over a limewash finish, you’ll need to use a specialized mineral primer first. This creates a suitable surface for conventional paints to adhere to.
- Sealing for Protection: For high-traffic areas or surfaces prone to excessive splashing, you can apply a breathable interior/exterior sealer after the limewash has fully cured. This can make cleaning easier, but be aware that some sealers might slightly alter the matte finish or reduce the breathability. Choose a mineral-compatible, breathable sealer if possible.
- Adding Depth and Texture: Get creative with your brushing technique! Varying your strokes can add incredible depth, texture, and dimension to your walls, enhancing the organic feel of the limewash. Experiment with lighter or heavier pressure, or slightly different stroke patterns.
- Versatile Application: Limewash paint is not just for exteriors; it can be used on both interior and exterior porous surfaces, bringing its unique warmth and character to any space.
- Can you limewash over previously painted brick? Yes, with the right preparation. If the existing paint is in good condition, a specialized mineral primer (like JH Wall Paints’ Mineral Primer) is necessary to create a microporous surface for the limewash to adhere and breathe properly. If the old paint is peeling or failing, it should be removed first.
- How long does limewash last? A properly applied limewash finish can last for 20 years or more on exterior surfaces, often longer than traditional paints, due to its durability and natural resistance to cracking and peeling.
- Is limewash hard to maintain? Generally, limewash is very low maintenance. Its breathable nature and anti-fungal properties mean less mildew and fewer touch-ups. Regular cleaning with water and a soft brush is usually sufficient.
- Can limewash be removed? Removing limewash is challenging but possible, typically requiring specialized cleaners or gentle abrasive methods. It’s a long-term commitment, which is why testing samples is so important.
- Cost Comparison: While the initial cost per gallon of limewash might be slightly higher than some conventional paints, its longevity and low maintenance often make it a more cost-effective solution over the long term.
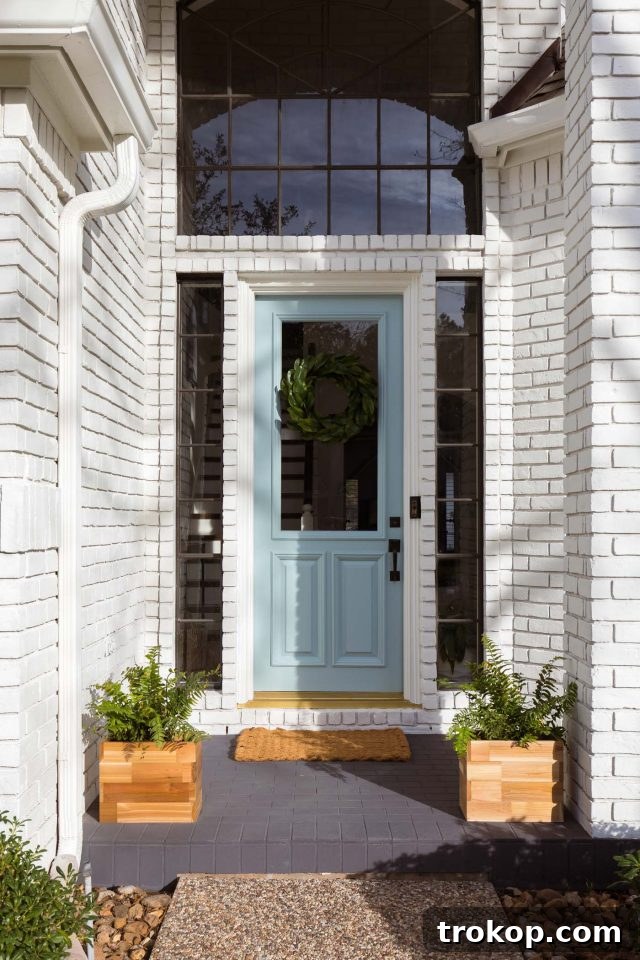
To further elevate your home’s exterior appeal after limewashing, consider adding a vibrant pop of color to your front door. We achieved this striking contrast with a beautiful blue-grey hue, Sherwin Williams Racing The Rain, as part of our comprehensive door makeover. We adore making a statement with our entryways, just like our memorable pink door repainted for our colorful front door Christmas decor reveal, or our elegant front door makeover featuring sophisticated wood panels.
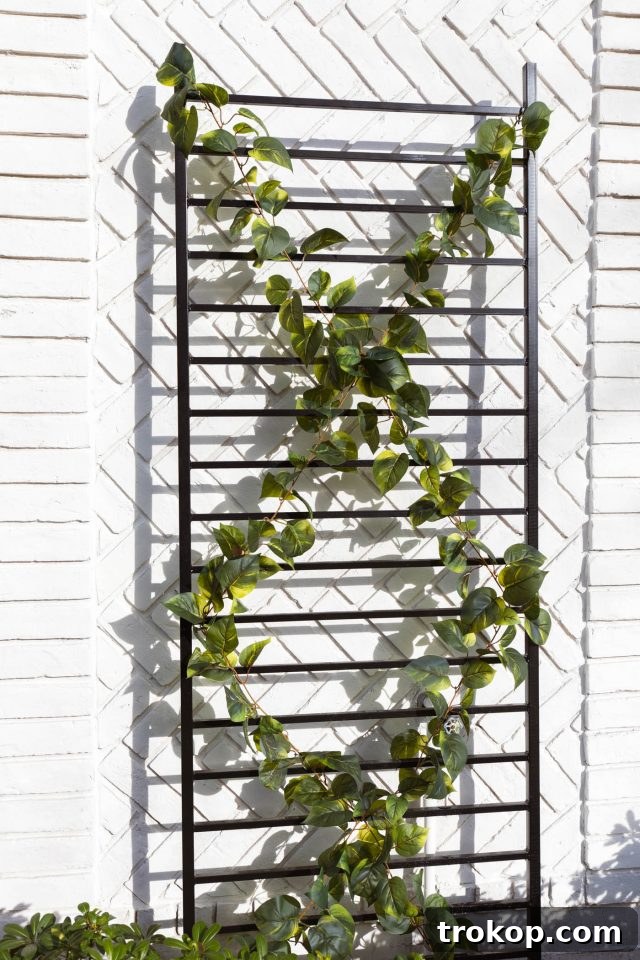
Complete your outdoor transformation by pairing your freshly limewashed brick and revamped front door with thoughtfully chosen accessories. Incorporate modern house numbers, stylish cedar planters, a charming decorative trellis, and a welcoming woven doormat for a truly stunning and cohesive exterior!
Find more how-to projects and house updates below —
- Our most popular Ikea bed frame DIY project.
- How to make an easy, custom Ikea TV stand with a rattan hack.
- An easy DIY triangle wall paint idea for a modern accent.
- How to paint an accent wall and transform a guest bedroom.
Paint Ideas & Tutorials

How to Paint an Accent Wall + Our Guest Bedroom Makeover

Living Room Makeover: How To Choose The Perfect White Wall Paint

DIY Painted Chair Makeover
Abstract Shapes DIY Nursery Wall Decor
DIY Canvas Print Wall Art

How To Make A DIY Watercolor Wall Art
Don’t forget to share your Limewash Paint On Brick projects with us on Instagram using the hashtag #sugarandclothloves. We always love seeing all of your creative transformations!