
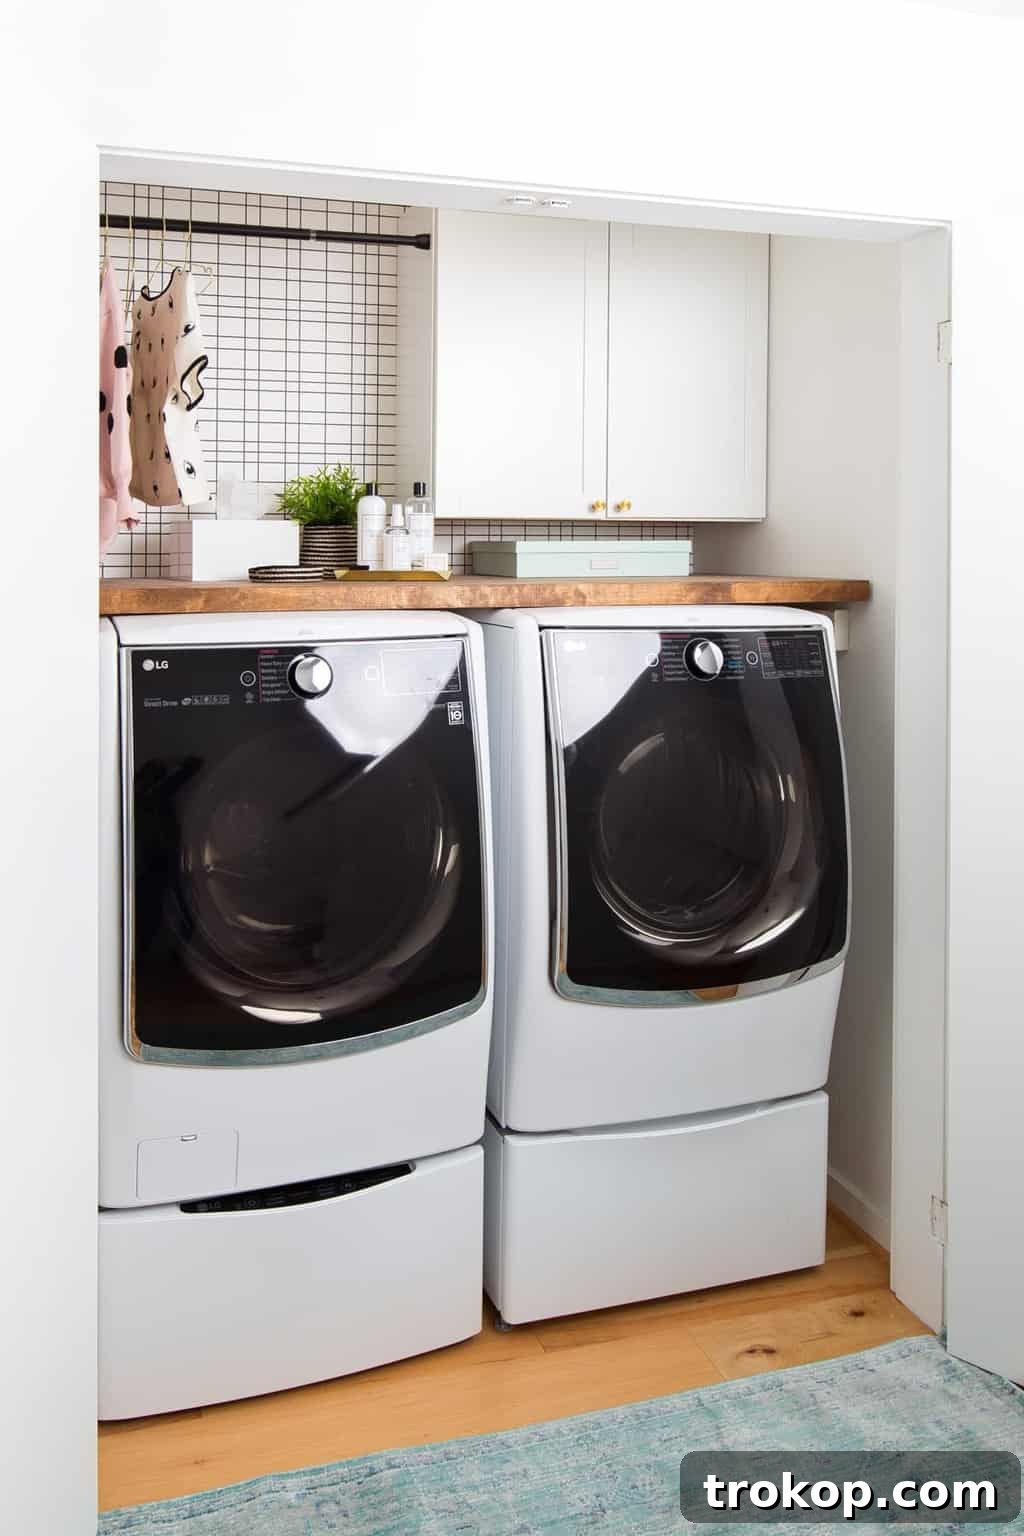
Transforming a small space can yield surprisingly impactful results, and we’re thrilled to finally unveil the complete before-and-after journey of our recent small laundry room makeover! This project, though confined to a modest footprint, truly packs a serious punch with its blend of style and efficiency.
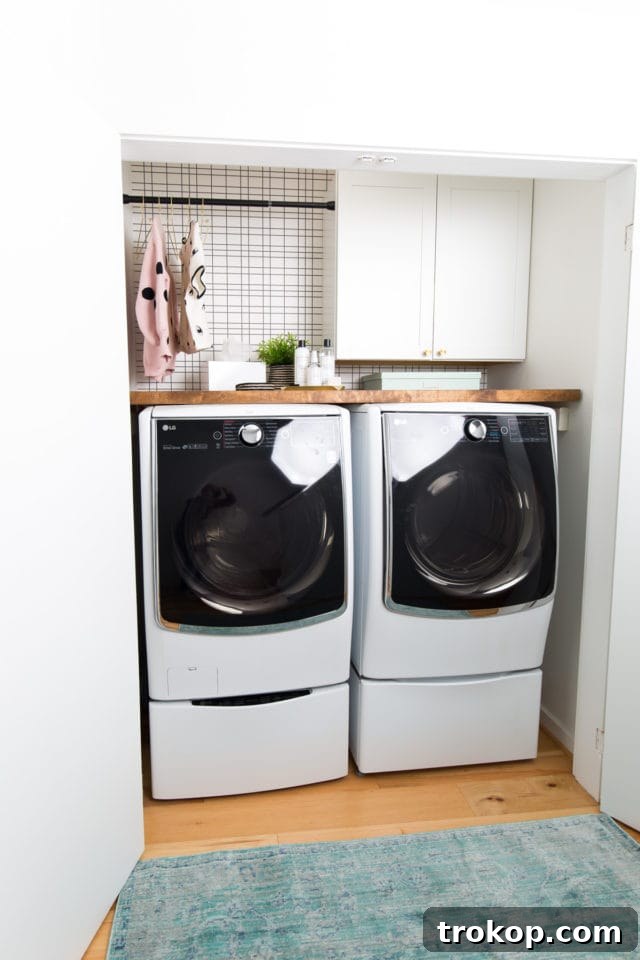
Have you ever embarked on a home renovation project, confidently telling yourself, “This will be a quick and easy job!” only for it to spiral into the longest, most drawn-out endeavor imaginable? If so, you’re not alone, and you’ll perfectly understand the rollercoaster ride that was our laundry room renovation.
That scenario precisely describes our experience with the laundry room at our townhouse. We tackled roughly 90% of the work ourselves back in August, two months before this reveal! It feels genuinely wild to be sharing the final, dazzling before and after of our laundry room makeover only now. The delay wasn’t due to our procrastination, however. The remaining 10% turned into one of our most memorable, albeit frustrating, renovation nightmares, all thanks to an utterly incompetent flooring contractor.
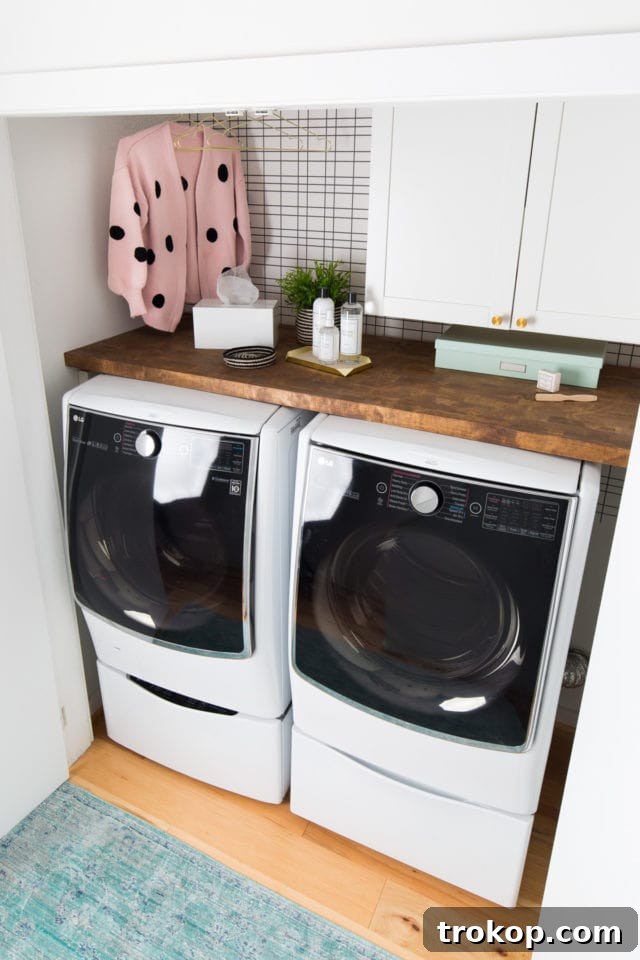
But fear not! Despite the unexpected hurdles and laughable setbacks, the transformation is nothing short of awesome. Even in this very small space, we managed to achieve a dramatic and functional upgrade. This project undeniably stands out as one of our favorite implementations of small laundry room ideas, proving that even tiny areas can be incredibly stylish and efficient.
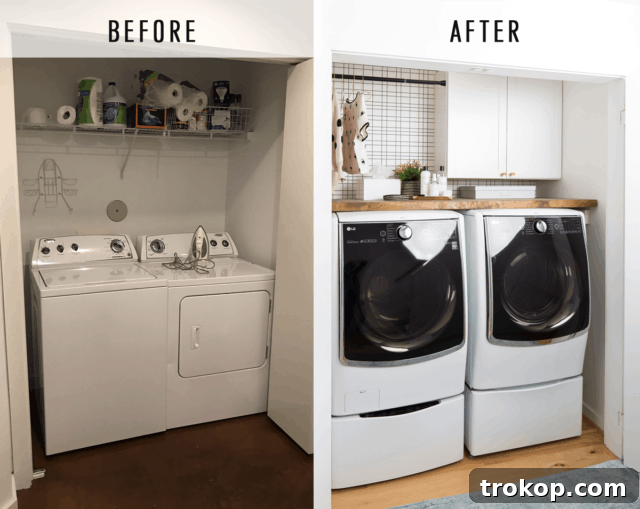
Our Laundry Room Makeover Checklist
To give you a clearer picture of everything involved in transforming our small laundry room, here’s a detailed checklist of the major tasks we undertook:
- Paint the Room: We carefully selected a crisp, clean white paint to brighten the compact space and create an illusion of greater size, providing a fresh canvas for our design elements.
- Remove Old Pocket Doors: The original pocket doors were old, inefficient, and constantly falling off their tracks. Removing them was crucial for improving accessibility and flow in the small area.
- Remove Old Shelving: The existing shelving units were outdated and offered minimal functionality. Clearing them out allowed us to rethink the storage solutions and maximize every inch of vertical space.
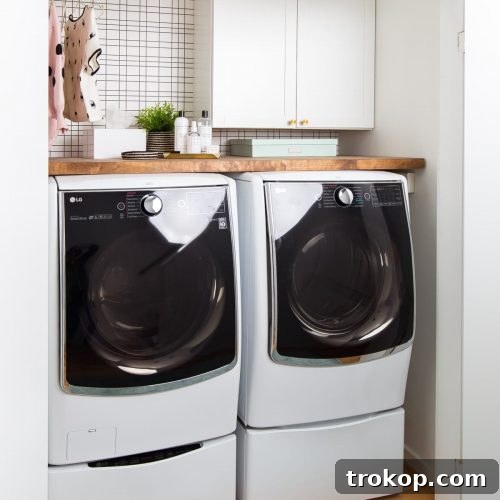
- Install New Elements: This included applying a stylish accent wallpaper, setting up a sturdy tension rod for hanging, mounting a new cabinet for essential storage, and adding elegant door pulls. We also integrated a state-of-the-art LG front-load washer and dryer, which dramatically upgraded our laundry routine.
- Stain and Cut the Butcher Block Countertop: We chose a beautiful 1.75-inch thick birch butcher block countertop from Baltic Butcher Block. This required precise cutting to fit the unique dimensions of our small space and careful staining to achieve the desired finish, adding warmth and a natural touch.
- Replace the Flooring: This was perhaps the most challenging part of the project. We desperately wanted to replace the ugly, dark orange stained concrete floors throughout our first level, including the laundry room. We selected Pergo Variable Width Autumn Hickory engineered wood flooring, which offers both durability and a classic aesthetic. For similar options, explore these engineered wood flooring choices on Amazon.
Our Biggest Makeover Setback: The Floors
The flooring portion of our renovation quickly became our biggest headache. Initially, we planned to have Lowe’s flooring specialists handle the installation. However, the aftermath of Hurricane Harvey caused unprecedented delays, making the wait time for an installation simply insane. In hindsight, not booking this crucial step before the storm hit was a major regret!
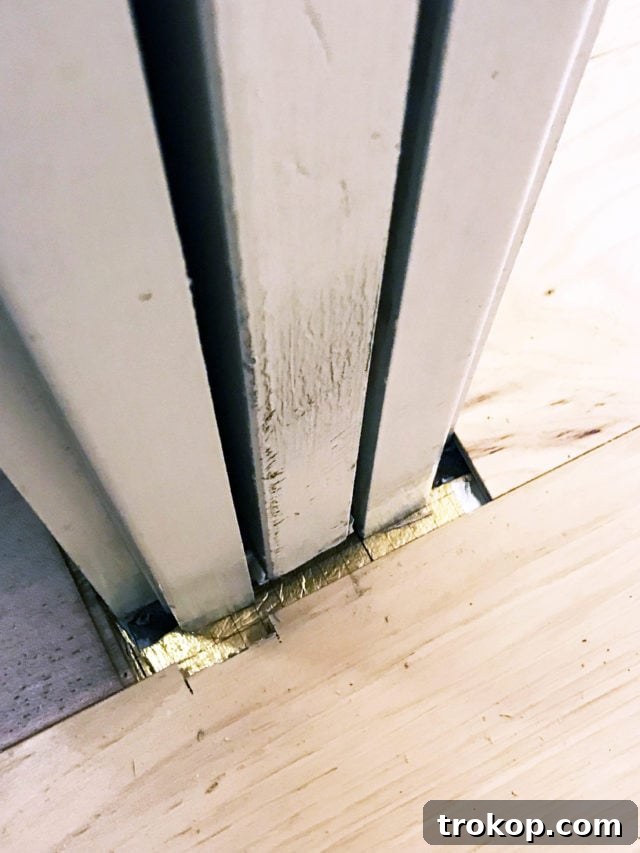
Desperate to move forward, we turned to Angie’s List and found a contractor with glowing A++ reviews, complete with impressive work photos and countless positive ratings. We thought we had found our savior. Yet, when they finally arrived a month later to install the floors, what they produced was nothing short of a disaster. The image below speaks for itself…
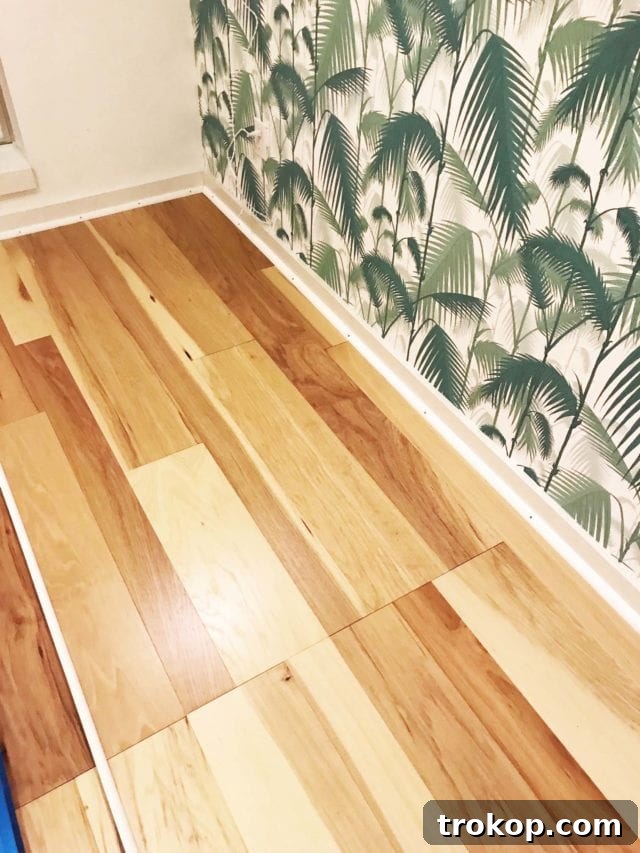
Can you believe it? There was a GIANT, glaring straight line running right down the middle of the floor! On top of that, they completely butchered the edges around the door frames and other architectural elements. We were absolutely mortified by the shoddy workmanship.
Our goal was to replace all the strangely stained concrete floors on our first level, including the laundry room. This contractor, however, clearly had no idea what he was doing. Despite our repeated attempts to explain the errors and emphasize the need for corrections, he simply didn’t possess the skills or understanding to fix his mistakes.
Ultimately, we didn’t even allow them to proceed into the laundry room area. We ended up losing our significant down payment because the contractor outright refused to refund our money! Half in tears, I shared the entire saga on Instagram stories. Thankfully, a kind reader recommended her brother-in-law, a flooring expert who turned out to be an absolute lifesaver. He came, professionally uninstalled the disastrous first attempt, and meticulously reinstalled the flooring correctly. Miraculously, we were able to save most of the original material, which minimized our additional costs. It was a truly chaotic and unbelievable experience, but we’re so grateful for the happy ending!
Laundry Room Door Installation
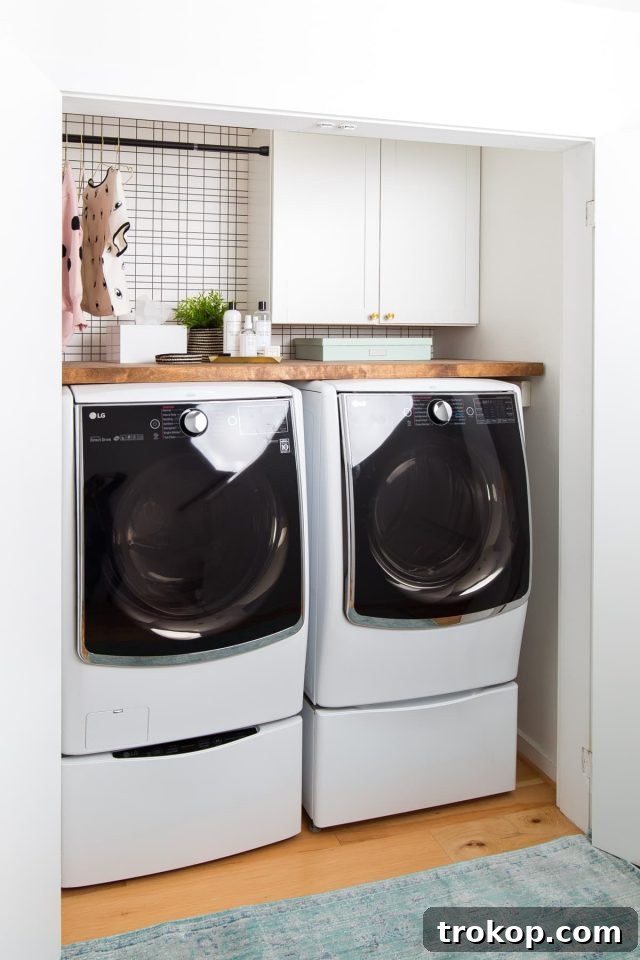
With the flooring finally corrected and looking pristine (just look at those perfectly finished corners now!), our next challenge was addressing the laundry room’s doors. We initially envisioned elegant pocket doors from Lowe’s to replace the old, non-functional ones. However, a significant complication arose: our new LG washer and dryer were substantially larger than the older, smaller units we had purchased years ago from a scratch-and-dent shop.
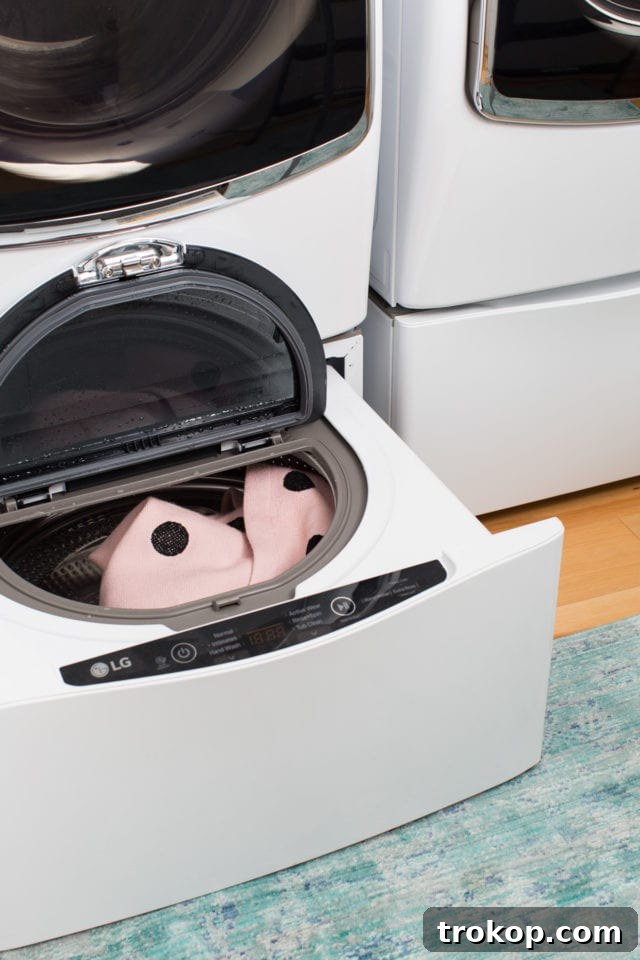
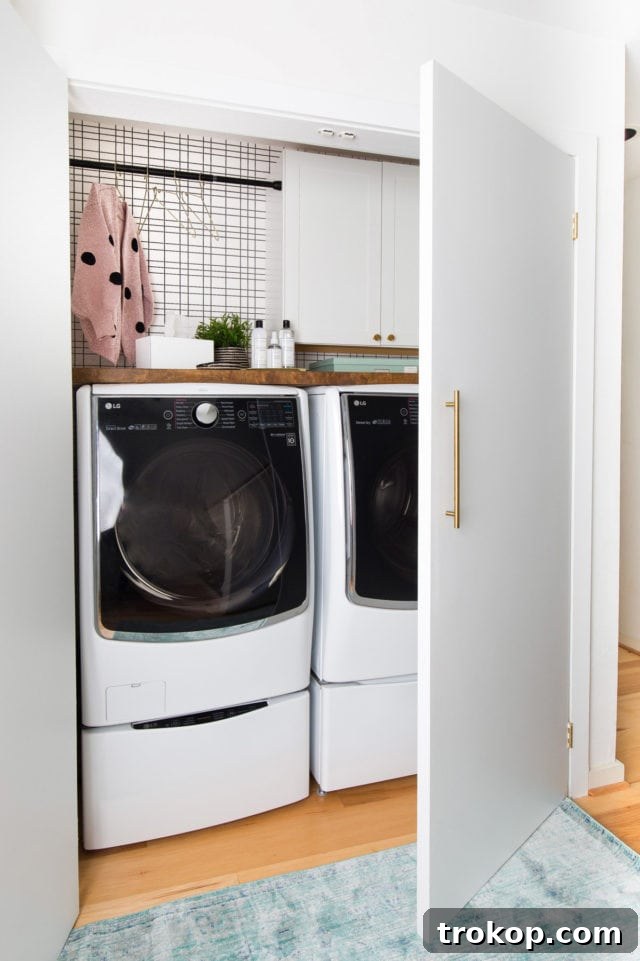
Specifically, the problem centered around the incredible LG TwinWash pedestal drawer washer. This “insanely awesome” feature allows you to wash mini loads simultaneously with a regular load, but it requires the pedestal drawer to open fully. The pocket doors, unfortunately, simply wouldn’t slide far enough into the wall to allow these innovative drawers to open properly. We consulted with eight different door installers, all attempting to devise a solution to expand the door frame just enough to accommodate the drawers. Each consultation brought more frustration than answers.
After much deliberation and recognizing the escalating costs and complexities of custom modifications, we ultimately decided against the pocket doors. Instead, we opted for simpler, yet equally stylish, regular slab doors. The addition of chic gold handle pulls ensures the space still maintains a sophisticated and fancy feel, perfectly complementing the overall design. This decision saved us a considerable amount of extra money and stress.
And despite the door dilemma, the TwinWash pedestal remains our absolute favorite “party trick”! We enthusiastically demonstrate its capabilities to anyone who visits. It truly represents a massive upgrade from our previous washer and dryer set, making laundry day far more efficient and even a little bit fun!
How to Make a DIY Dryer Sheet Dispenser
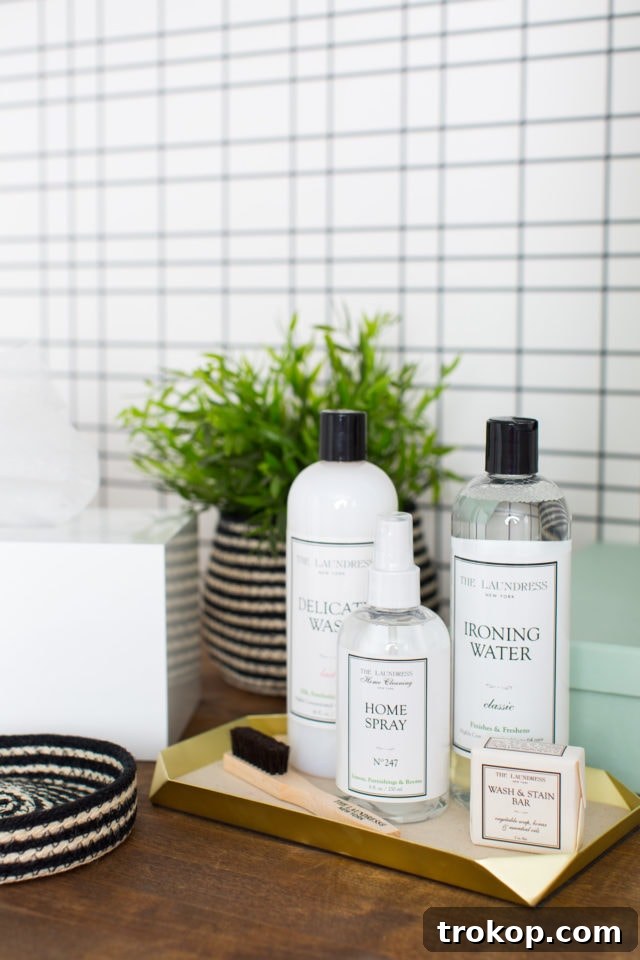
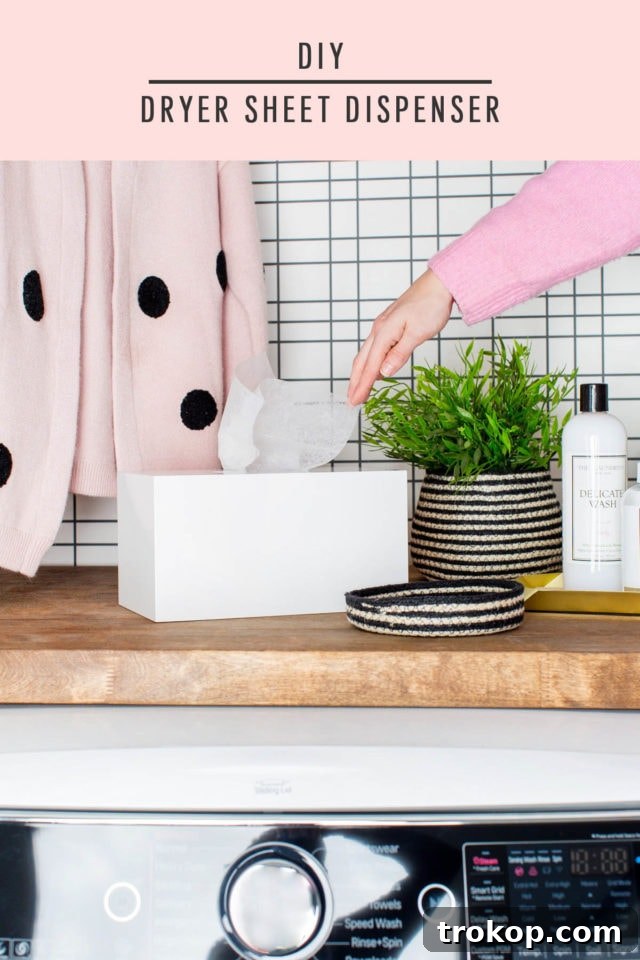
With our newly beautiful and functional laundry space, we wanted to add a few decorative yet practical elements to style the new butcher block shelf. This desire sparked a brilliant idea: a simple, 2-minute DIY Dryer Sheet Dispenser! I created this ingenious solution using nothing more than an old Kleenex tissue box cover we already had on hand.
It’s truly all you need! While we used a basic tissue box cover, the possibilities are endless with so many other fun designs and styles available. Not only does this little dispenser keep your dryer sheets neatly organized and easily accessible, but placing it on the counter also helps diffuse a pleasant scent throughout the house, making your home feel welcoming the moment you walk in. Plus, retrieving a dryer sheet has never been easier – it’s absolute “easy peasy” convenience now!
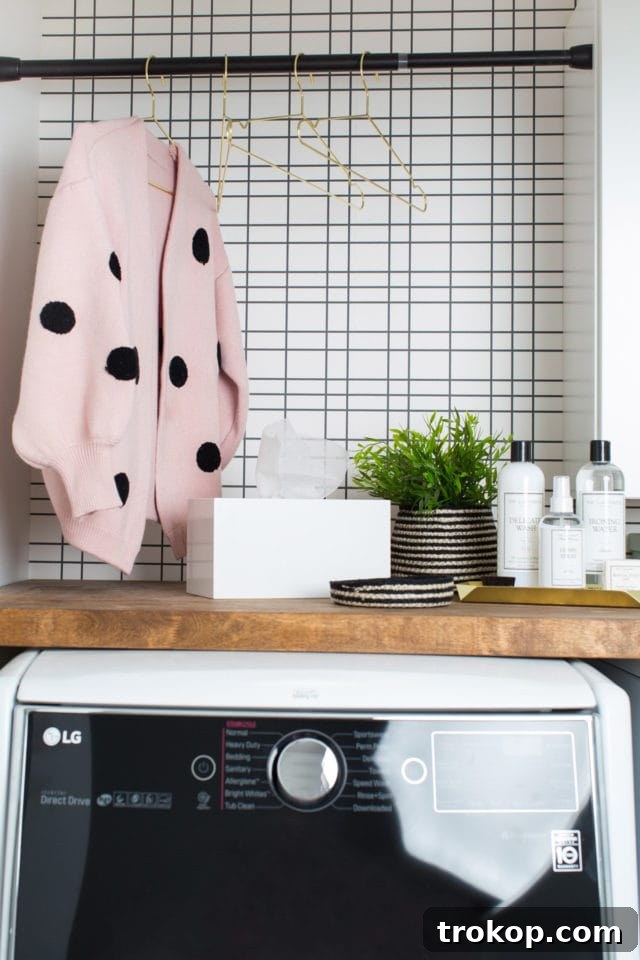
On a lighter note, we spent an entire Saturday attempting to photograph this tiny space without creating distorted, funhouse mirror reflections. Capturing the essence of a small room can be surprisingly challenging!
Given its compact dimensions and maximized functionality, I’m starting to think it’s time to officially reclassify our “laundry room” as a “laundry closet.” Ha! What do you all think? Even for such a super small space, it’s still a pretty significant and impressive transformation, wouldn’t you agree?
Laundry Room Sources
Curious about where we found all the beautiful elements for our laundry room? Here’s a comprehensive list of the sources for everything we used:
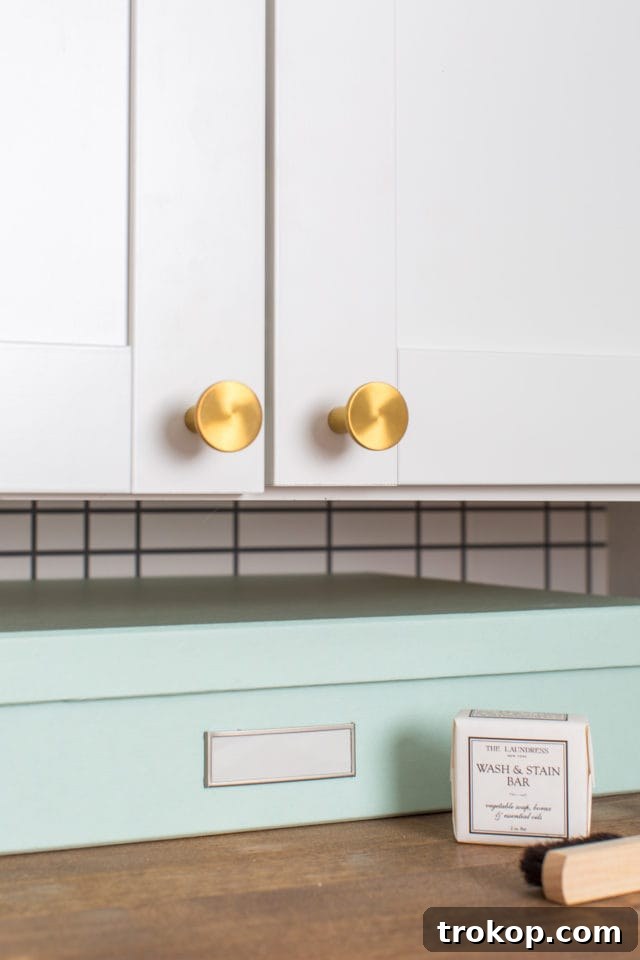
- Kohler’s Gold Pulls from Amazon: These elegant pulls add a touch of luxury to our new cabinetry.
- White Shaker Cabinet from Lowe’s: A classic choice for clean lines and ample storage.
- Kohler Gold Knobs from Amazon: Complementing the pulls, these knobs enhance the sophisticated aesthetic.
- Black and White Grid Print Wallpaper from Lowe’s: This bold pattern creates a striking accent wall in the compact space. Discover similar geometric wallpaper options on Amazon, or explore some of our other favorite bold wallpaper designs for inspiration.
- 3’×5′ Blue Runner from Lowe’s: Adds a pop of color and softness underfoot.
- Flush Mount Light from Lowe’s: A sleek and functional lighting fixture perfect for a small room. Consider these similar mid-century flush mount options on Amazon.
- LG TwinWash Compatible Washer with Pedestal Washer from Amazon: Our new favorite appliance for its dual-wash capabilities.
- LG Front-Load Dryer with Pedestal Storage from Lowe’s: Perfectly paired with the washer for efficiency and extra storage.
- Hollow Core Veneer Wood Slab Door from Lowe’s: A practical and clean choice for our new entryway.
- 8-Foot Butcher Block from Lowe’s: Provides durable and beautiful countertop space.
More Room Makeovers
If you’ve enjoyed following our laundry room transformation, we invite you to explore more of our exciting home makeover projects! Get inspired with our various room renovations and design ideas linked below:
- Before and After of Our Townhome Living Room Makeover
- Living Room Makeover – How to Choose the Perfect White Wall Paint
- Sugar & Cloth Casa: The Before + After Of Our Guest Bathroom Makeover
- The Holiday Living Room Makeover We Gifted with Lowe’s
DIY Dryer Sheet Dispenser
This super handy DIY project offers multiple benefits: it helps you save money by reusing materials, reduces plastic waste, and most importantly, prevents your dryer sheets from ever falling on the floor again!
2 mins
2 mins
DIY
Home Accessories
Equipment
- Scissors
Materials
- Old Kleenex tissue box cover
Instructions
- Using scissors, carefully smooth out and slightly widen the opening in the tissue box cover, ensuring it’s large enough to easily pull out dryer sheets.
- Simply place your stack of dryer sheets directly into the modified tissue box. You’re all set!
$3
diy dryer sheet dispenser, laundry room organization, home hack

Don’t forget to share your own inspiring home renovation projects and DIY creations with us on Instagram using the hashtag #sugarandclothloves. We genuinely love seeing all the amazing things you create! If you’re seeking more interior design inspiration, you can explore all of our home decor tutorials and ideas right here on our blog.
How to Paint a Porch for an Easy Home Upgrade
Looking for a quick, impactful makeover for your home’s exterior? We’re sharing our simple yet effective tips on painting a porch for a fresh, inviting look…
Continue ReadingHow to Paint a Porch for an Easy Home Upgrade
We’re Moving!
That’s right, big news! We’re embarking on a new adventure and moving to a new home. Discover all the details and excitement behind this huge life update…
Continue ReadingWe’re Moving!
Our Revamped, Open Concept Living Room & Dining Room Design
Explore a harmonious blend of style and functionality as we unveil the redesigned open concept living and dining areas, creating a seamless and inviting space…
Continue ReadingOur Revamped, Open Concept Living Room & Dining Room Design
Lakeside Modern Living Room Before & After
This bright white lakeside modern living room design is the epitome of serene elegance. Discover the stunning transformation…
Continue ReadingLakeside Modern Living Room Before & After