
Crafting Love and New Beginnings: DIY Scroll Letters & Our Exciting Home Journey
The week has officially drawn to a close, and with it comes a profound sense of accomplishment and anticipation for the weekend ahead. It’s Friday, a day that always feels like a deep breath after a busy stretch, and I’m genuinely thrilled to have made it through. Hopefully, your week has been filled with moments of joy and productivity. But if not, or if you’re simply looking for a delightful way to infuse some extra warmth into your days, I’ve got just the thing to spark some happiness.
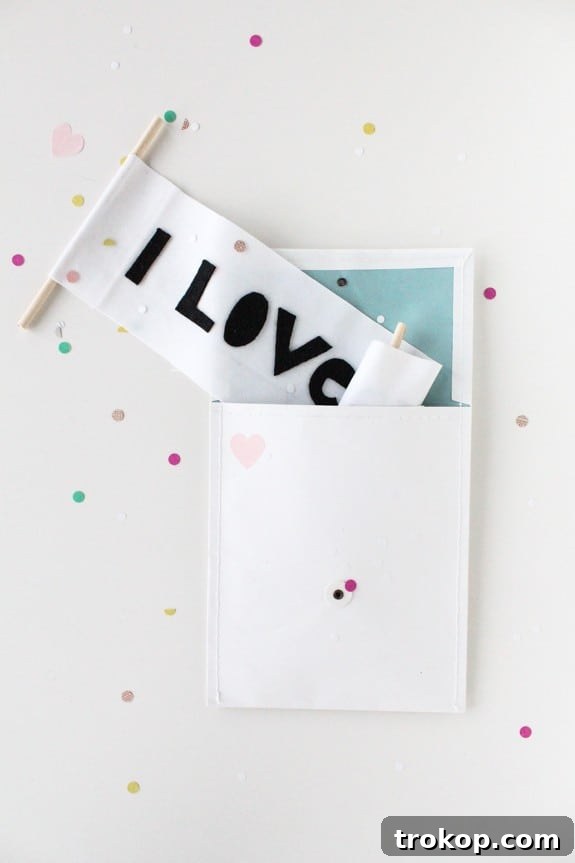
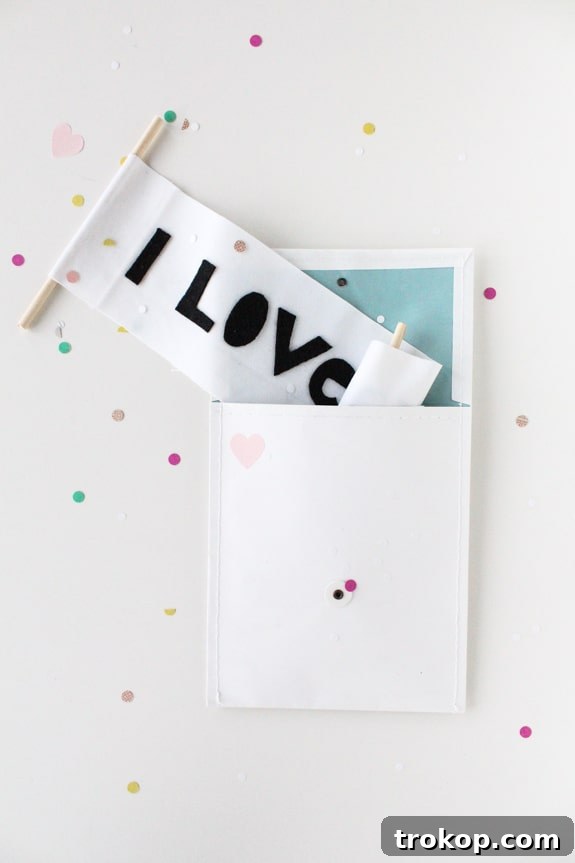
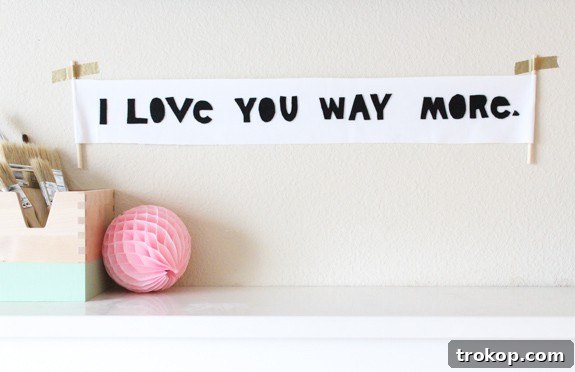
This weekend presents the perfect opportunity to embrace creativity and share a heartfelt sentiment with someone special. Imagine the pure delight on a loved one’s face when they unroll a beautifully crafted, personalized message. That’s precisely the magic behind my DIY love letter scroll, a project I was absolutely thrilled to create for Say Yes To Hoboken. In a world increasingly dominated by fleeting digital messages, there’s something incredibly romantic and enduring about a tangible, handwritten letter. It’s a testament to time and thought, a truly unique keepsake that can uplift spirits and forge deeper connections. I truly believe that very few people could resist a smile after unwrapping such a thoughtful gesture.
The Timeless Charm of a DIY Love Letter Scroll
Why opt for a scroll when a card or an email would suffice? The answer lies in its unique allure and historical elegance. Scrolls evoke a sense of ancient romance, mystery, and importance. They transform a simple message into an experience, an artifact to be carefully unfurled and cherished. This isn’t just a piece of paper; it’s a small work of art, a tangible representation of your affection and effort. Whether it’s for Valentine’s Day, an anniversary, a birthday, or simply a spontaneous declaration of love, a DIY love letter scroll makes an unforgettable statement.
Materials You’ll Need for Your Personalized Scroll
- Paper: Choose a sturdy paper that feels good to the touch. For an aged, vintage look, consider parchment paper or even plain white paper that you can intentionally age.
- Two Small Dowels or Sticks: These will form the ends of your scroll. Wooden dowels (available at craft stores) or even decorative twigs can work wonderfully.
- Ribbon or Twine: For tying the scroll closed and adding a decorative touch. Choose a color and texture that complements your paper and the recipient’s style.
- Craft Glue or Hot Glue Gun: To attach the paper to the dowels securely.
- Pen or Calligraphy Set: Your choice of writing instrument will add to the aesthetic. A fine-tip pen, a fountain pen, or even a calligraphy pen can elevate the message.
- Optional Embellishments: Wax seals, dried flowers, glitter, stamps, or even a spritz of a favorite perfume can add extra personal flair.
Crafting Your Heartfelt Message: A Step-by-Step Guide
- Prepare Your Paper: If you desire a vintage look, steep plain paper in strong tea or coffee for a few minutes. Carefully remove, pat dry, and iron flat once completely dry. This gives it a beautiful, aged patina.
- Write Your Letter: This is the most crucial part. Take your time to compose a message from the heart. Be sincere, specific, and let your emotions guide your words. Consider sharing favorite memories, expressing gratitude, recounting inside jokes, or simply stating how much the person means to you. Don’t worry about perfection; authenticity is key.
- Attach to Dowels: Once your letter is written and dry, apply a thin line of craft glue along one short edge of the paper, on the back. Carefully align a dowel and press it firmly onto the glued edge. Roll the dowel once or twice to secure the paper tightly. Repeat this process for the other dowel on the opposite short edge.
- Roll Your Scroll: Starting from one end, carefully roll the paper around the dowel, ensuring it’s tight and even. When you reach the other dowel, continue rolling until the entire letter is neatly contained within the scroll.
- Tie with Ribbon: Take your chosen ribbon or twine and wrap it around the center of the rolled scroll. Tie it neatly with a bow or a knot. This not only keeps the scroll secure but also adds a beautiful decorative element.
- Add Finishing Touches: Now is the time for any optional embellishments. Apply a wax seal over the ribbon, tuck in a small dried flower, or even spray a hint of their favorite scent onto the paper.
Presenting this handmade treasure isn’t just about the words; it’s about the entire experience. Imagine handing this unique scroll to your loved one, watching their eyes light up as they carefully unroll your message. It’s an intimate moment, a cherished memory in the making.
Exciting News on the Home Front: Our New Fixer-Upper!
Beyond the delightful world of DIY, there’s been some monumental news on the personal front that has brought an overwhelming wave of excitement and relief: we’ve finally found our new house! The journey to finding “the one” has been quite the adventure, filled with countless showings, endless discussions, and perhaps a few moments of exasperation. But every search culminates in discovery, and ours led us to a place we can now proudly call home.
This news is particularly significant because it marks the end of an era – specifically, the era of the hour-long commute to work and school. Starting next weekend, that grueling daily trek will be a thing of the past! You can bet I’ve been doing a celebratory happy dance around the house at the thought of reclaiming those precious hours. Imagine the extra time for creative projects, for enjoying leisurely mornings, or simply for more quality moments with family. The liberation from the daily grind is truly exhilarating.
However, this joyous discovery also ushers in another monumental task: packing our entire lives into boxes and orchestrating a move within the next week. Anyone who has moved knows this is no small feat. It involves decluttering, organizing, wrapping, lifting, and seemingly endless trips to the store for more packing tape. While daunting, it’s a welcomed challenge, a rite of passage into our new chapter. We’re not just moving possessions; we’re moving memories, dreams, and the foundation for our future. The anticipation of transforming this new space into our very own sanctuary is already fueling our spirits.
Envisioning Our Dream Home: The Fixer-Upper Potential
Our new acquisition isn’t just a house; it’s a fixer-upper, which means it’s brimming with potential and ripe for transformation. This is where the real fun begins for us – seeing beyond the current state to envision the dream home it will become. The allure of a fixer-upper lies in the opportunity to infuse every corner with our personality, our style, and our vision. From choosing paint colors and flooring to planning potential layout changes and garden designs, every decision is a step towards creating a truly bespoke living space. The linked post to Sugar & Cloth Casa: All The Before Photos From Our New Fixer Upper offers a glimpse into the raw potential and the exciting journey ahead. We’re eager to document and share every renovation step, every design choice, and every moment of progress as we embark on this home transformation.
The process of renovating and decorating a new home, much like crafting a love letter scroll, is an act of creation and intention. It’s about building something meaningful, piece by piece, and pouring love into every detail. We foresee countless weekends spent painting, assembling, and curating, all with the goal of making our new house feel utterly like ‘us’.
A Call for Community and Celebration in Houston!
As we prepare for this whirlwind week of packing and moving, we’re keenly aware that a little help (and a lot of cheer) goes a long way. So, if you happen to be in Houston and have a secret (or not-so-secret) love for the satisfying pop of bubble wrap, the structural integrity of a well-packed box, or the delightful sweetness of a celebratory cupcake, please consider this a heartfelt, albeit humorous, open invitation! I’d be more than happy to supply you with all the aforementioned necessities, along with endless gratitude, if you’re inclined to lend a hand. There’s nothing quite like the collective spirit of friends and community to turn a daunting task into a memorable shared experience.
This period of transition, marked by both creative expression and significant life changes, is truly exciting. It’s a time for reflection, for looking forward, and for cherishing the simple joys – like the satisfaction of a handmade gift or the promise of a new home. We’re embarking on a thrilling chapter, and I can’t wait to share more updates on our new home’s progress and, of course, many more DIY inspirations along the way. Stay tuned for glimpses into our fixer-upper journey and perhaps even more ideas for spreading love and joy through creative endeavors!