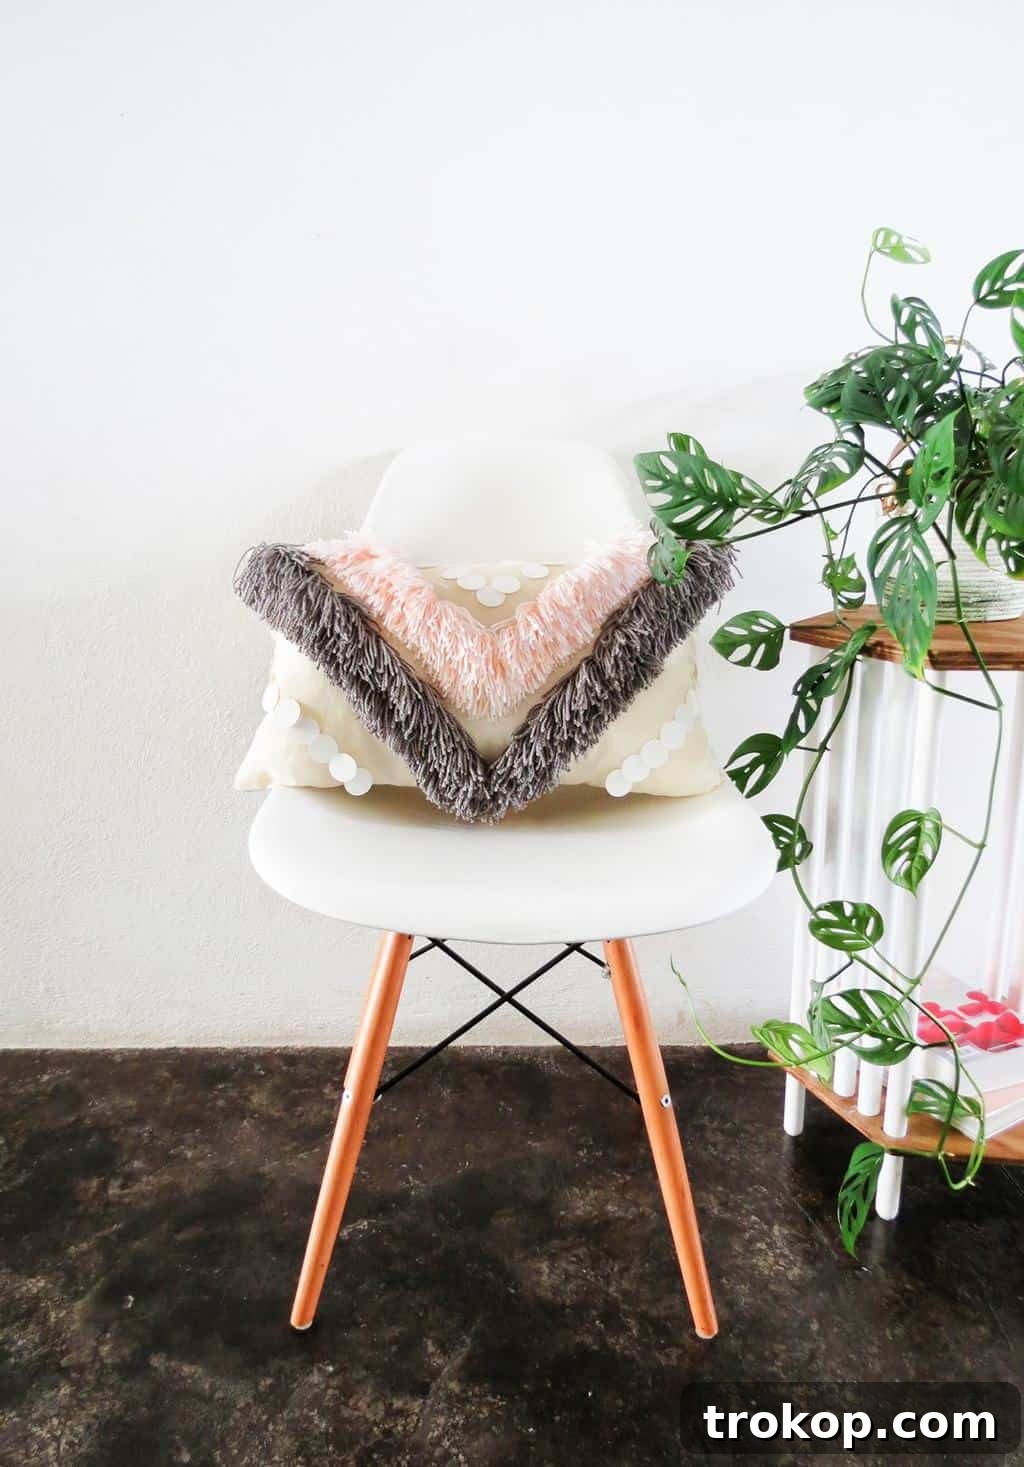
Transform your living space with a touch of handmade charm! This easy-to-follow guide will show you how to create a stunning and customizable DIY Yarn Fringe Throw Pillow, perfect for adding texture and warmth to any room. Weaving and yarn crafts have seen a massive resurgence in popularity, becoming a beloved trend in home decor. From intricate wall hangings to cozy rugs, woven elements bring a unique, artisanal feel to modern interiors. This project is a fantastic way to tap into that trend, allowing you to personalize your decor with colors and designs that perfectly match your style. The best part? You don’t need any complex tools or advanced weaving skills to achieve this beautiful fringed look. If you’re a fan of throw pillows, like myself, Amaryllis, then combining them with the captivating art of fringe was an inevitable and exciting venture!
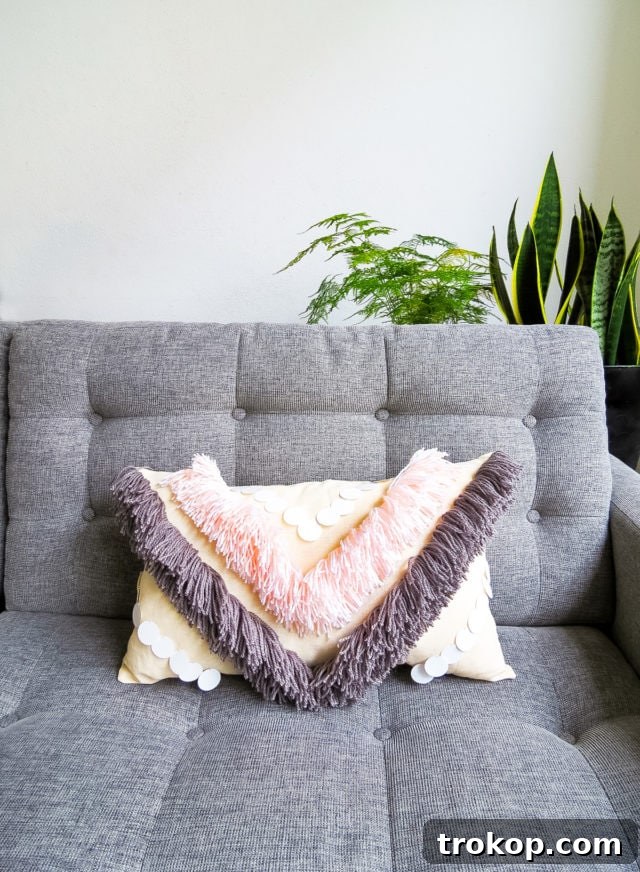
I am thrilled to share this simple yet impactful DIY project with you. Imagine a whole collection of unique throw pillows, each boasting its own vibrant fringe design, scattered across your sofa or bed. This project makes it entirely possible. By choosing your favorite yarn colors, you can ensure your new fringe pillow seamlessly integrates with your existing decor or stands out as a charming focal point. Ready to add a bespoke, cozy touch to your home?
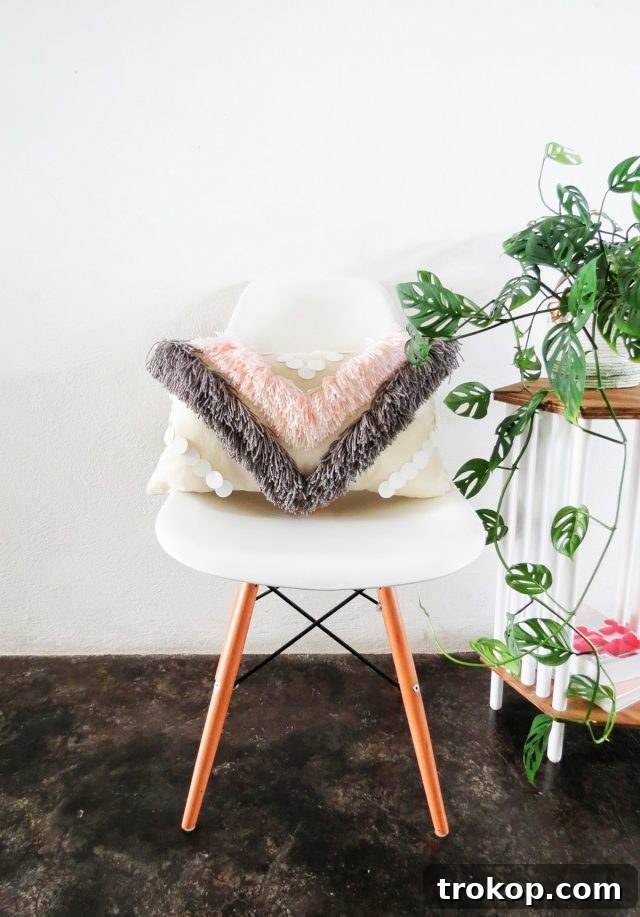
Materials and Tools Needed to Make a DIY Fringe Throw Pillow
Gathering your materials before starting any DIY project is key to a smooth and enjoyable crafting experience. For this delightful fringe throw pillow, you’ll need just a few basic supplies, many of which you might already have around your home. The beauty of this project lies in its flexibility; feel free to experiment with different fabric textures and yarn types to truly make it your own.
- Fabric: Choose two pieces of fabric for your pillow cover. We recommend a durable yet soft material like linen, cotton, or even a sturdy canvas for a rustic feel. For our cushion, we opted for a lovely linen fabric which offers a beautiful drape and natural texture. Each piece should measure 12″ x 20″ for our recommended pillow size.
- Acrylic Knitting Yarn: This is the star of our fringe! Acrylic yarn is versatile, comes in a vast array of colors, and is relatively inexpensive. Its durability makes it perfect for a throw pillow that will see regular use. Select colors that complement your existing decor or choose contrasting hues for a bolder statement.
- Sewing Thread: A good quality sewing thread is essential. While you can try to match the thread color to your yarn for seamless stitches, it’s not strictly necessary as the seams will be largely hidden. A neutral color that blends with your fabric will work perfectly.
- Cardboard: This will be your secret weapon for creating uniform fringe. Any sturdy piece of cardboard, like from a delivery box, will do. You’ll use it to make a simple template.
- Pillow Fiber Foam Filling: To give your throw pillow its plush shape and comfort. Alternatively, you can use a pillow insert if you prefer (more on this below!).
- Sewing Machine: While it’s possible to hand-sew, a sewing machine will make the process much faster and result in cleaner, stronger seams.
- Sharp Scissors: For cutting fabric and yarn cleanly. A good pair of fabric shears makes all the difference.
- Razor Knife or Craft Cutter: Specifically for precisely cutting your cardboard template. Always exercise caution when using sharp tools.
- Ruler: For accurate measurements of your fabric and cardboard template.
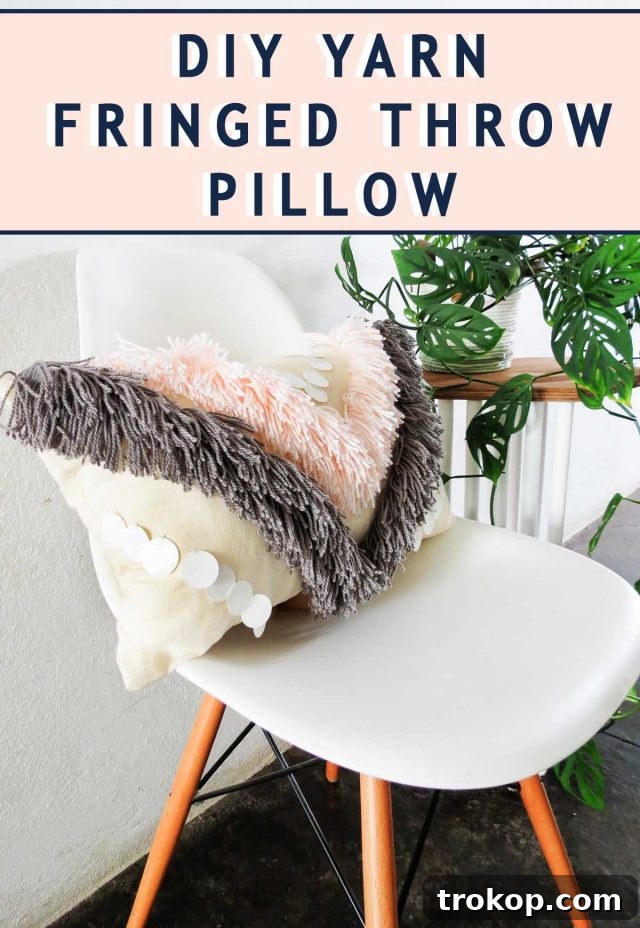
How to Make a DIY Fringe Throw Pillow
Creating your own yarn fringe throw pillow is a rewarding project that even beginners can master. Follow these steps carefully, and soon you’ll have a beautifully customized accent piece for your home.
-
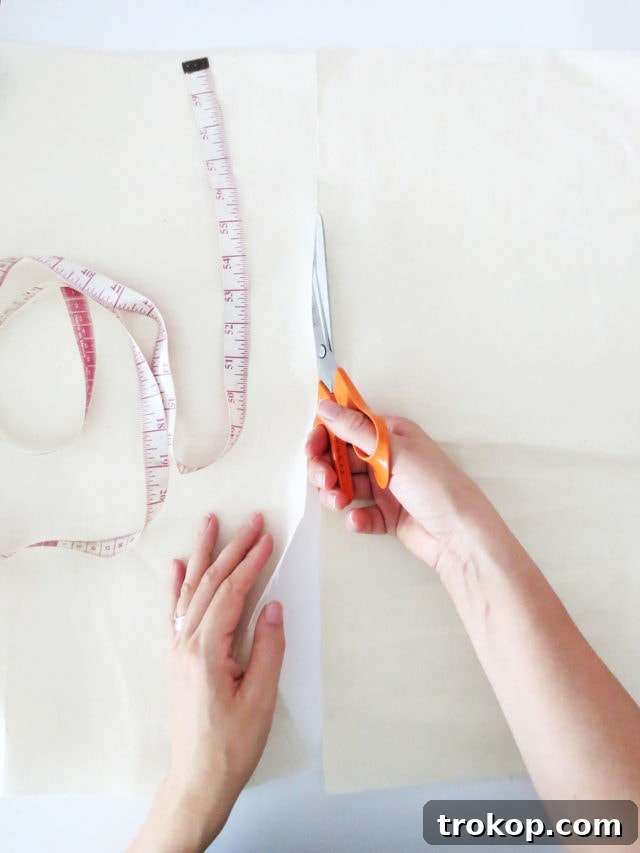
Prepare Your Fabric: Begin by cutting two identical rectangular pieces from your chosen fabric. These will form the front and back of your pillow cover. For our tutorial, we used pieces measuring 12 inches by 20 inches each. Ensure your cuts are precise for a neat finish.

-
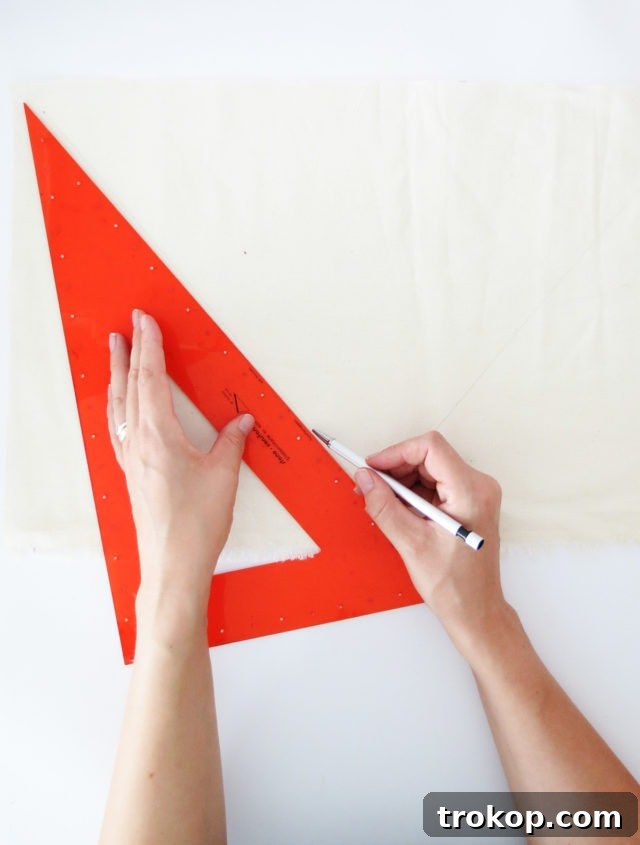
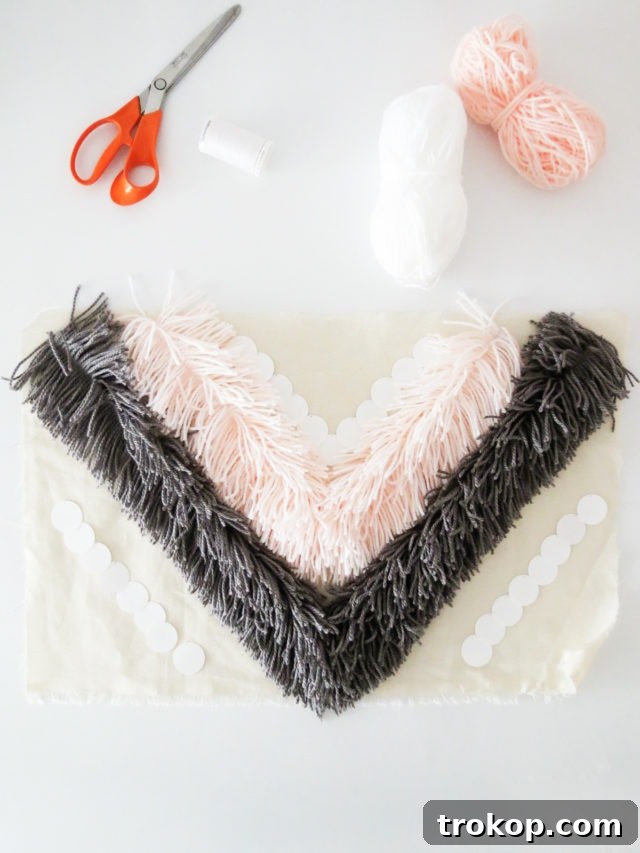
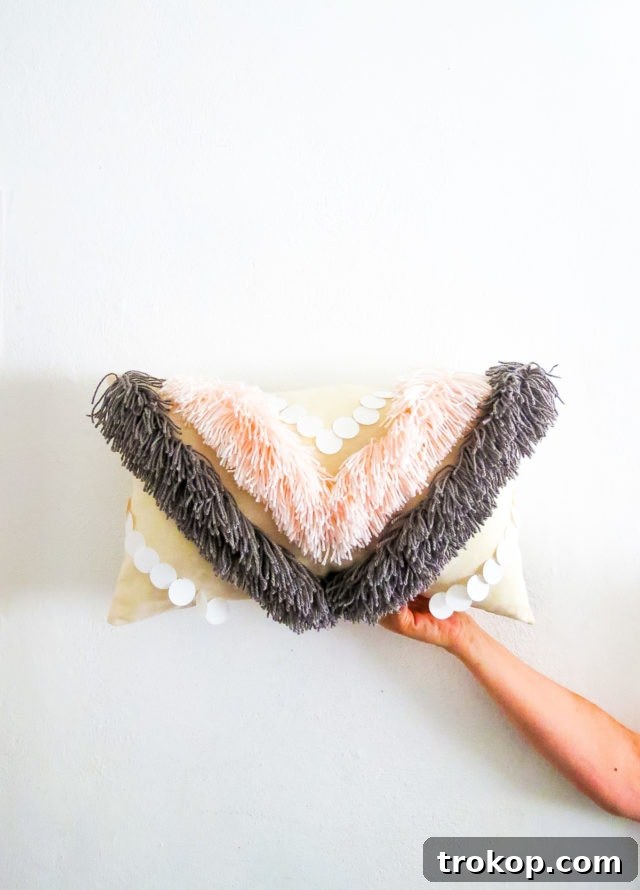
Mark Your Fringe Design: On one of the fabric rectangles (this will be the front of your pillow), use a fabric marker or chalk to trace the line where you intend to sew your yarn fringe. This line will guide your sewing. For a classic and visually appealing design, we created a V-shape, centered within the fabric rectangle. You can choose any pattern you like – straight lines, geometric shapes, or even freehand curves!
-
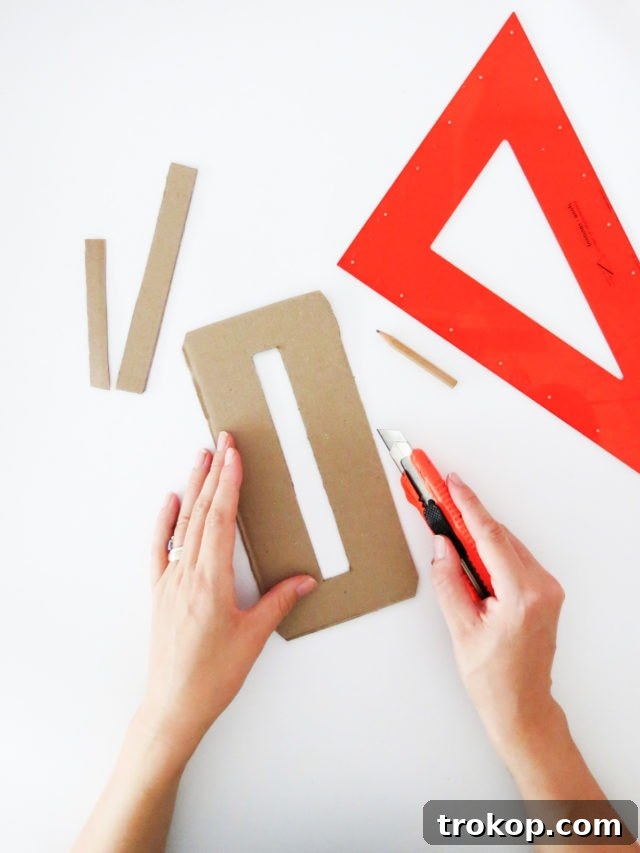
Create Your Fringe Template: To ensure uniform and easy-to-manage fringe, you’ll need a cardboard template. Cut a rectangle out of your cardboard measuring 9 inches by 4 inches. Then, carefully cut a slit in the center of this cardboard rectangle, measuring 7 inches by 1 inch. This slit is crucial for guiding your sewing machine needle.
-
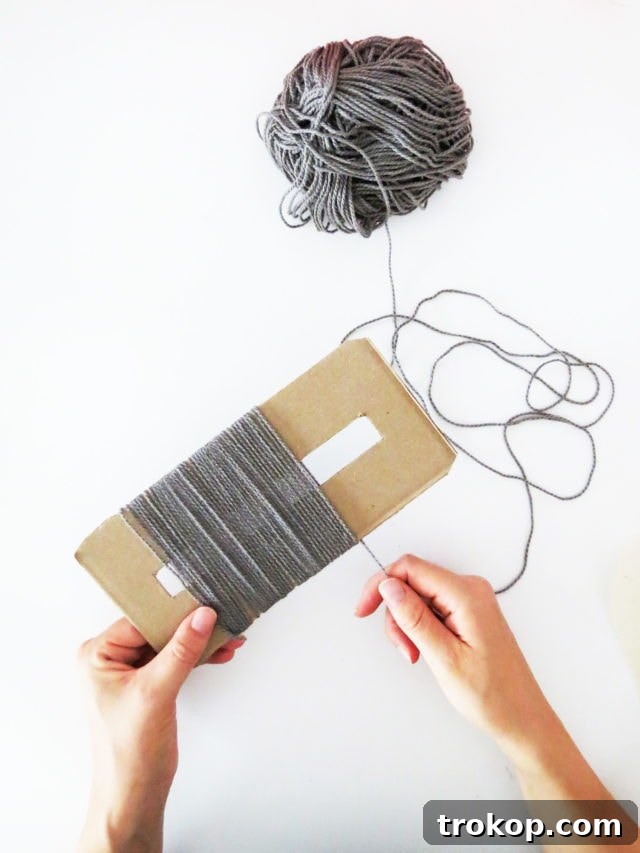
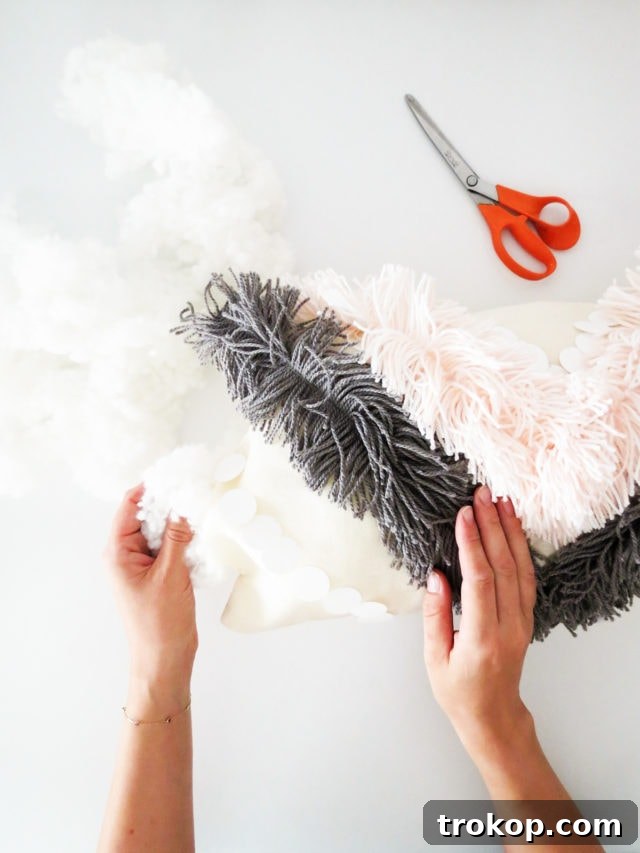
Wrap the Yarn: Take your chosen acrylic yarn and begin wrapping it snugly around the cardboard template. Wrap it lengthwise, ensuring the yarn covers most of the template’s surface, creating multiple loops. The more yarn you wrap, the denser your fringe will be.
-
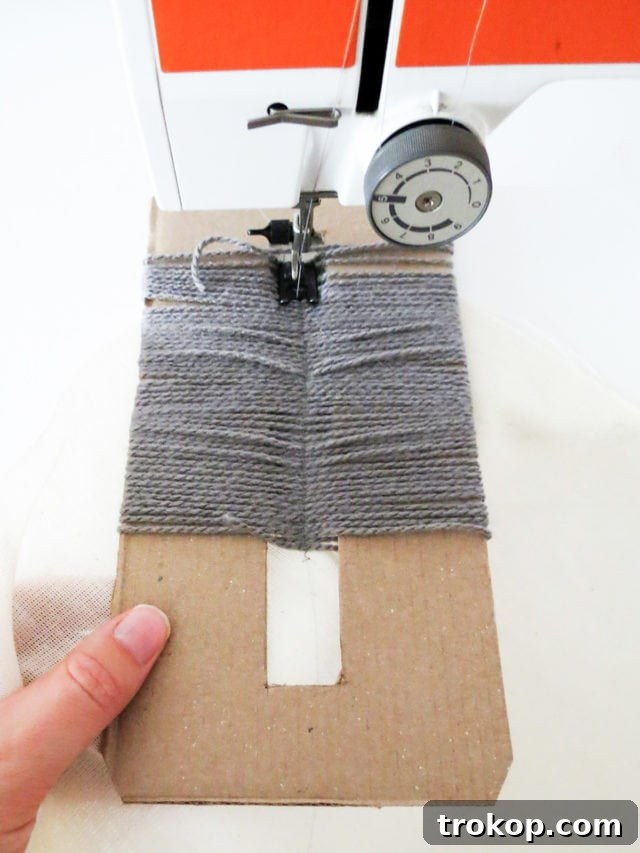
Sew the Fringe to the Fabric: Once the cardboard template is sufficiently covered with yarn, carefully place it onto your marked fabric. Align the template so that the traced line on your fabric runs directly through the center slit of the cardboard. Position the fabric and template under your sewing machine’s presser foot, centering the presser foot in the slit. Stitch along the traced line, using a small zigzag stitch. The zigzag stitch is ideal as it securely fastens the yarn loops to the fabric, creating a durable attachment.
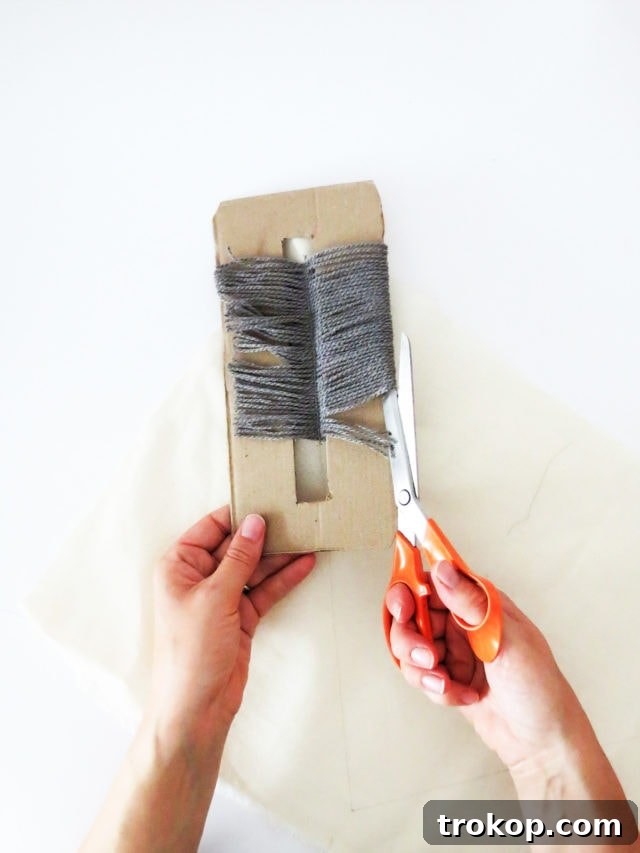
- Cut and Reveal Your Fringe: After sewing along the entire length of your design line, carefully cut the yarn loops along the outer edges of the cardboard template. Once all the loops are cut, gently remove the cardboard. Voila! You now have your first beautiful row of yarn fringe.
-
Repeat for Your Design: Continue this process of wrapping, sewing, and cutting until your desired fringe design is complete. You can create multiple rows, vary the colors, or experiment with different patterns to achieve a truly unique look.
Different Ways to Customize Your DIY Fringe Throw Pillow:
The true joy of this DIY project lies in its endless customization possibilities. Don’t be afraid to let your creativity run wild! Here are some ideas to make your fringe pillow truly one-of-a-kind:
- Color Play: Experiment with multiple yarn colors to create striped fringes, ombré effects, or geometric color blocks. Using varying shades of a single color can also add subtle depth and sophistication.
- Texture Variation: Combine different types of yarn! Think chunky wool for a bolder fringe, or thin, silky yarn for a delicate touch. You could even incorporate ribbons or thin fabric strips for added interest.
- Embellishments: Elevate your design by sewing on beads, sequins, or small fabric cutouts onto the fringe or the fabric itself. As we did with ours, a few well-placed embellishments can add a glamorous sparkle or intricate detail.
- Pattern Diversity: Instead of just a V-shape, try creating horizontal stripes, vertical lines, or even a full fringe cover on the pillow front. You could also create smaller, concentrated bursts of fringe in corners or along edges.
- Fringe Length: Vary the length of your fringe by adjusting the size of your cardboard template. Longer fringes create a more bohemian look, while shorter, denser fringes offer a more tailored finish.
How to Sew the Cushion Together:
Once you are delighted with your fringe design, it’s time to assemble your pillow cover.
-
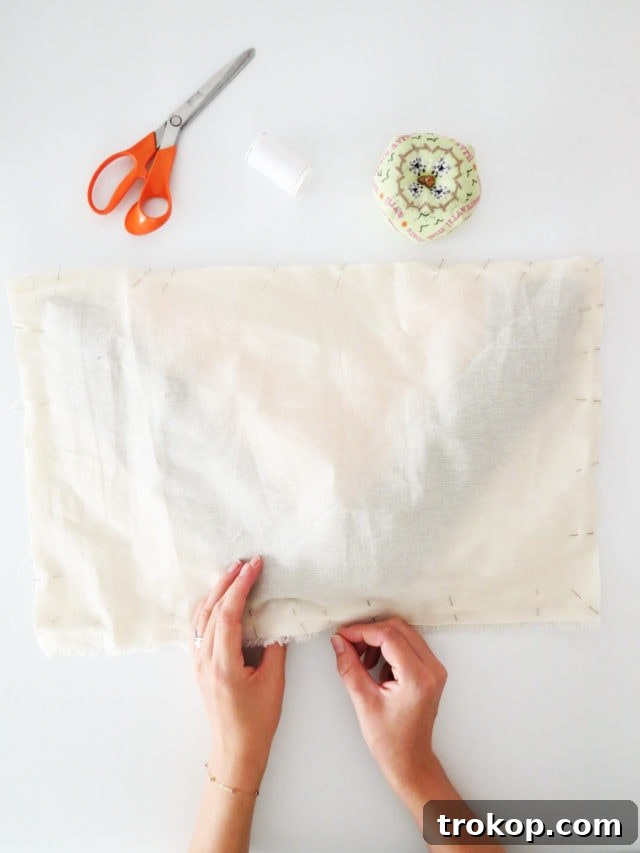
Assemble the Pillow Cover: Take your decorated fabric piece and the second plain fabric rectangle. Place them right sides together, ensuring all edges align perfectly. Pin the edges securely around all four sides. Using your sewing machine, stitch along the pinned edges, leaving approximately a 5-inch unsewn gap on one side. This opening is crucial for turning the pillow right side out and for stuffing.
- Turn and Stuff: Carefully turn your pillow cover right side out through the 5-inch opening. Use a blunt object, like a chopstick, to gently push out the corners for a crisp shape. Now, it’s time to stuff your cushion generously with pillow fiber foam filling. Distribute the filling evenly to achieve a plump and comfortable pillow.
-
Close the Opening: Once your pillow is stuffed to your liking, pin the raw edges of the opening together, folding them inwards to create a neat seam. Close this gap with a few invisible hand stitches (like a ladder stitch) to create a seamless finish.
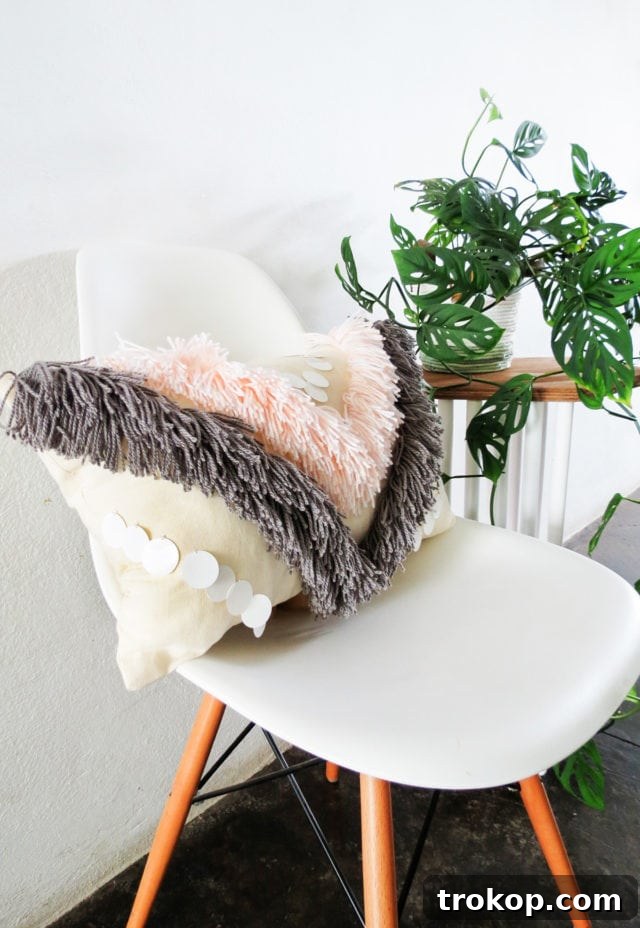
And there you have it! Your stunning DIY Yarn Fringe Throw Pillow is now complete and ready to adorn your couch, bed, or any cozy nook in your home. Stand back and admire your handiwork – a unique piece of decor crafted with love and creativity.
Why is It Called a Throw Pillow?
The term “throw pillow” has a charming historical origin. It dates back to the Middle Ages when large pieces of fabric were literally “thrown” over furniture, primarily sofas and benches, to provide warmth, comfort, and protection. These early textiles often featured decorative elements and served as versatile coverings. Over time, these larger coverings evolved into smaller, decorative cushions that could be “thrown” onto furniture to add a touch of color, pattern, and softness. The word “throw” itself can be traced back to Middle English, where it referred to cloth used for wiping or drying. While that specific usage diminished by the 18th century, the concept of a decorative fabric item casually placed on furniture persisted, giving us the modern throw pillow. Today, throw pillows are indispensable for enhancing aesthetic appeal and comfort in any living space, whether they are store-bought treasures or creative DIY pillows.
What is Fringe Typically Made Of?
Fringe, as a decorative trim, boasts a rich history dating back to ancient civilizations. Early forms of fringe were often quite rudimentary, crafted from readily available natural fibers such as un-spun wool or twisted plant fibers. These early fringes served both decorative and practical purposes, preventing fabric edges from unraveling. Today, the world of fringe is far more diverse. It can be fashioned from virtually any fabric material imaginable, from luxurious silk and soft cotton to rugged leather and synthetic blends. Modern manufacturing techniques allow for an incredible variety of fringe styles, including cut fringe, looped fringe, beaded fringe, and brushed fringe. While historically, fringe was often an integral part of the textile weaving process, it is now very common for decorative fringe to be made separately and then sewn onto garments, upholstery, or home decor items, offering immense flexibility in design.
What is the Most Common Throw Pillow Size?
When selecting or crafting throw pillows, size plays a crucial role in achieving a balanced and inviting look. For standard sofas and armchairs, the most common and versatile throw pillow sizes are typically 18 inches x 18 inches and 20 inches x 20 inches. These sizes offer a good balance, providing comfort without overwhelming most furniture pieces. However, for larger sofas, sectionals with deep seats, or grander beds, you might consider opting for slightly larger pillows, such as 22-inch or even 24-inch squares. These larger dimensions fill space more effectively and contribute to a plush, luxurious feel. Ultimately, the best size often depends on the scale of your furniture and the overall aesthetic you’re aiming for, allowing for creative layering and arrangement.
Can I Stuff My Pillow With an Insert Instead?
Absolutely! While we opted to stuff our DIY Yarn Fringe Throw Pillow with loose fiber foam filling for this tutorial, using a pre-made pillow insert is an excellent and often preferred alternative. Pillow inserts offer a consistent shape and density, making the stuffing process much quicker and cleaner. When choosing an insert, a key tip for achieving a full, fluffy, and professionally finished look is to select an insert that is slightly larger than your pillow cover. For example, if your finished pillow cover measures 18 inches x 18 inches, we recommend using a 20 inch x 20 inch pillow insert. This slight size difference ensures that the cover is taut and the pillow appears plump and inviting, rather than saggy or under-filled. Inserts come in various materials, including down, feather, synthetic down, or memory foam, each offering different levels of softness and support.
More Fun and Easy DIY Fringe Projects
We absolutely adore the versatility of fringe in home decor and crafting. The freedom to experiment with colors, textures, and patterns means there’s truly no strict rulebook, allowing each project to reflect your unique style. Not only do these fringe DIYs offer a fantastic way to personalize your living space, but they also make incredibly thoughtful and unique handmade gifts for friends and family. If you’ve enjoyed creating this fringe throw pillow, you’re in luck! There are countless other ways to incorporate the playful elegance of fringe into your DIY endeavors. Explore some of our other favorite fringe-inspired projects below to continue your crafting adventure:
- Fringed Mirror Wall Hanging: Add a bohemian flair to your walls with a mirror adorned with beautiful fringe.
- Gold Fringe Drink Toppers: Perfect for parties, these little accents add sparkle to any beverage.
- Door Handle Tassels: A subtle yet stylish way to add character and a pop of color to your doors.
- Retro Fringe Beach Umbrella: Take your summer style to the next level with a custom-fringed beach umbrella.
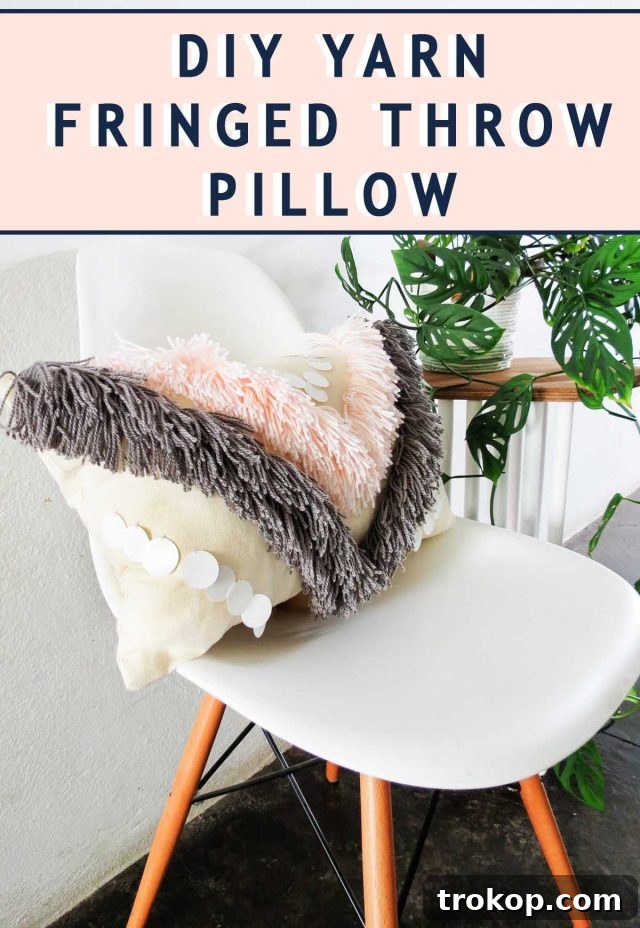
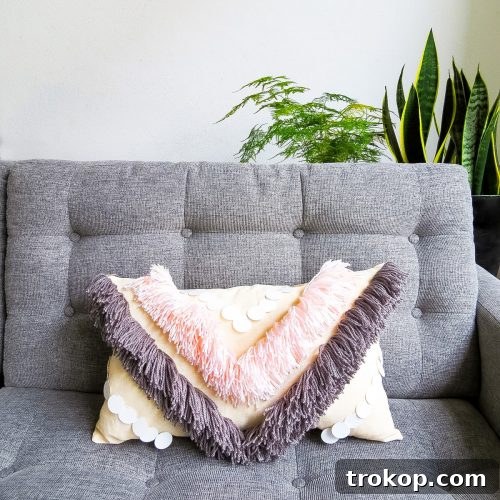
DIY Yarn Fringed Throw Pillow
An easy and customizable DIY Yarn Fringed Throw Pillow.
Total Time: 2 hrs 30 mins
Course: DIY
Category: Pillow
Equipment
- Sewing machine
- Scissors
- Razor knife cutter
- Ruler
Materials
- Fabric of your choice
- Acrylic knitting yarn
- Sewing thread
- Cardboard to create your design template
- Pillow fiber foam filling
Instructions
- Cut out two rectangular shapes from your fabric that will form the cushion. (Ours measured 12″ x 20″ each.)
- On the fabric piece that will be the front of the cushion, trace a line where you want to sew the yarn fringe. We made a V-shape design centered in the fabric rectangle.
- To easily make fringes with the yarn, you need to create a template with cardboard. Cut a rectangle out of the cardboard measuring 9″ x 4″. And in the center, make a slit that is 7″ x 1″.
- Start wrapping the yarn around the cardboard template.
- Once the yarn covers most of the template, place it on your fabric.
- Using your sewing machine: Center the presser foot in the slit and sew following the line you previously traced on the fabric. Use a small zigzag stitch so that the yarn is well stitched with the fabric.
- Cut the yarn following the sides of the cardboard.
- Remove the template, and now you have your first row of fringe!
- Repeat the process as many times as needed to complete your design.
- Once you are happy with the design, you need to finish sewing the cushion. Place the second fabric rectangle on top of the decorated one, both right sides turned inward. Pin the edges together and sew along, leaving an unsewn gap of 5-inches.
- Turn the cushion through the 5″ opening to have the right side out.
- Fill the cushion with foam.
- When you are done filling, pin both sides of the opening together and close it with a few hand stitches.
Notes
Feel free to go wild by making several fringe lines with different yarn colors or adding more texture by sewing a few beads or some sequins.
Cost: $45
Keywords: diy yarn fringe pillow