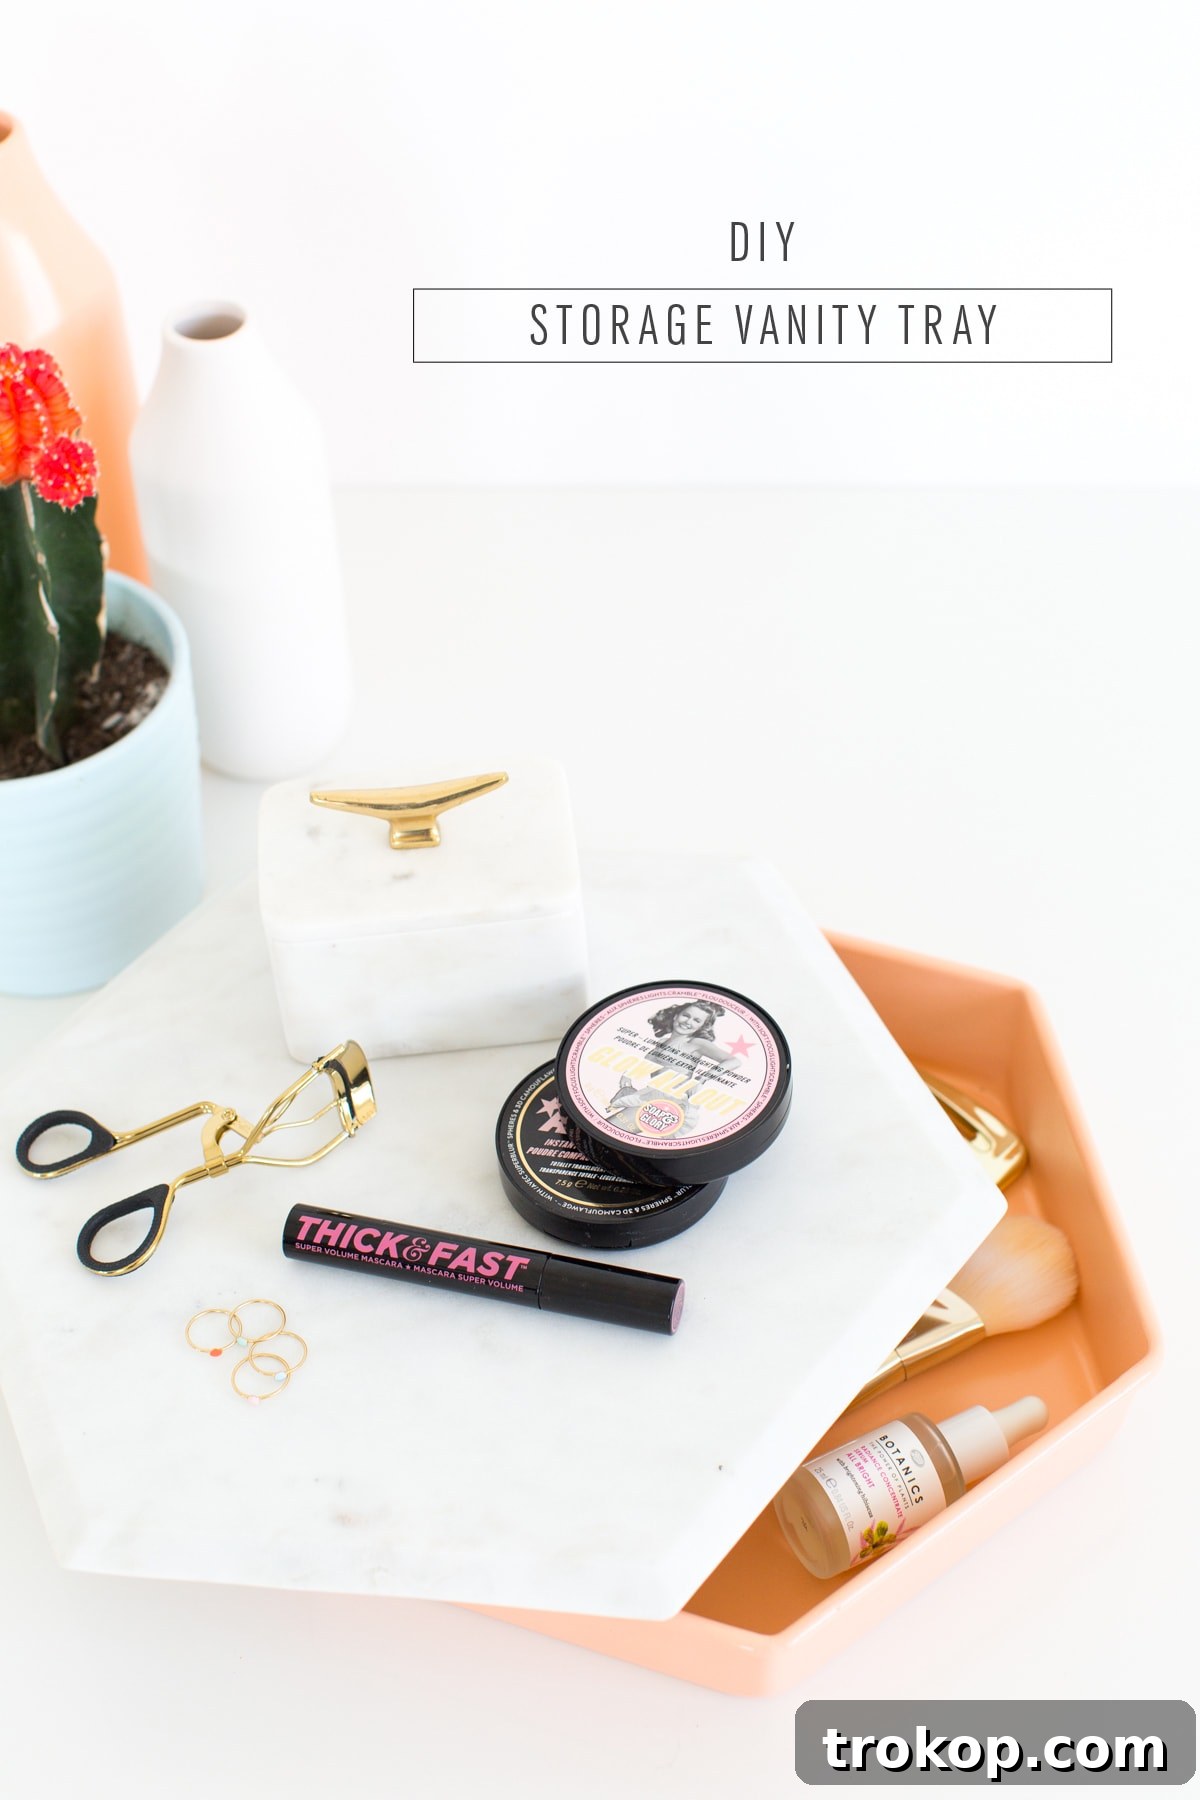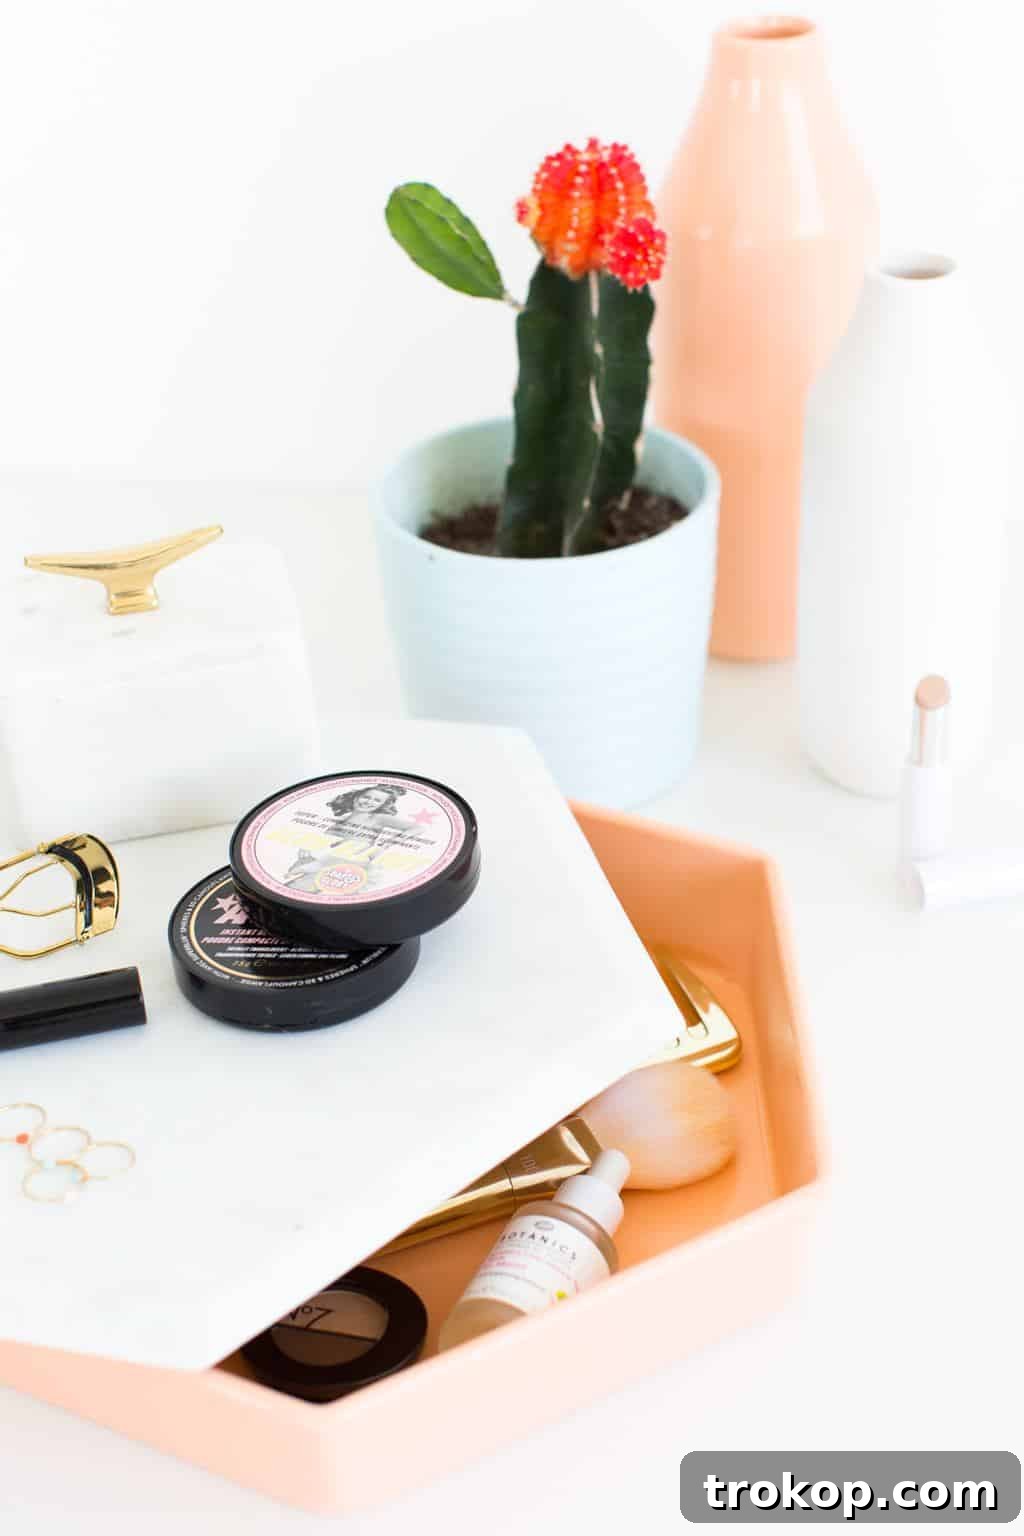
Welcome to the ultimate guide for creating a stunning and highly functional DIY Vanity Tray with Storage! If your beauty collection often finds itself in a delightful (yet sometimes chaotic) jumble, or if you simply appreciate the elegance of a tidy space, this project is tailor-made for you. We’re diving deep into an incredibly simple yet profoundly impactful home decor DIY that promises to transform your daily routine and elevate your personal space.
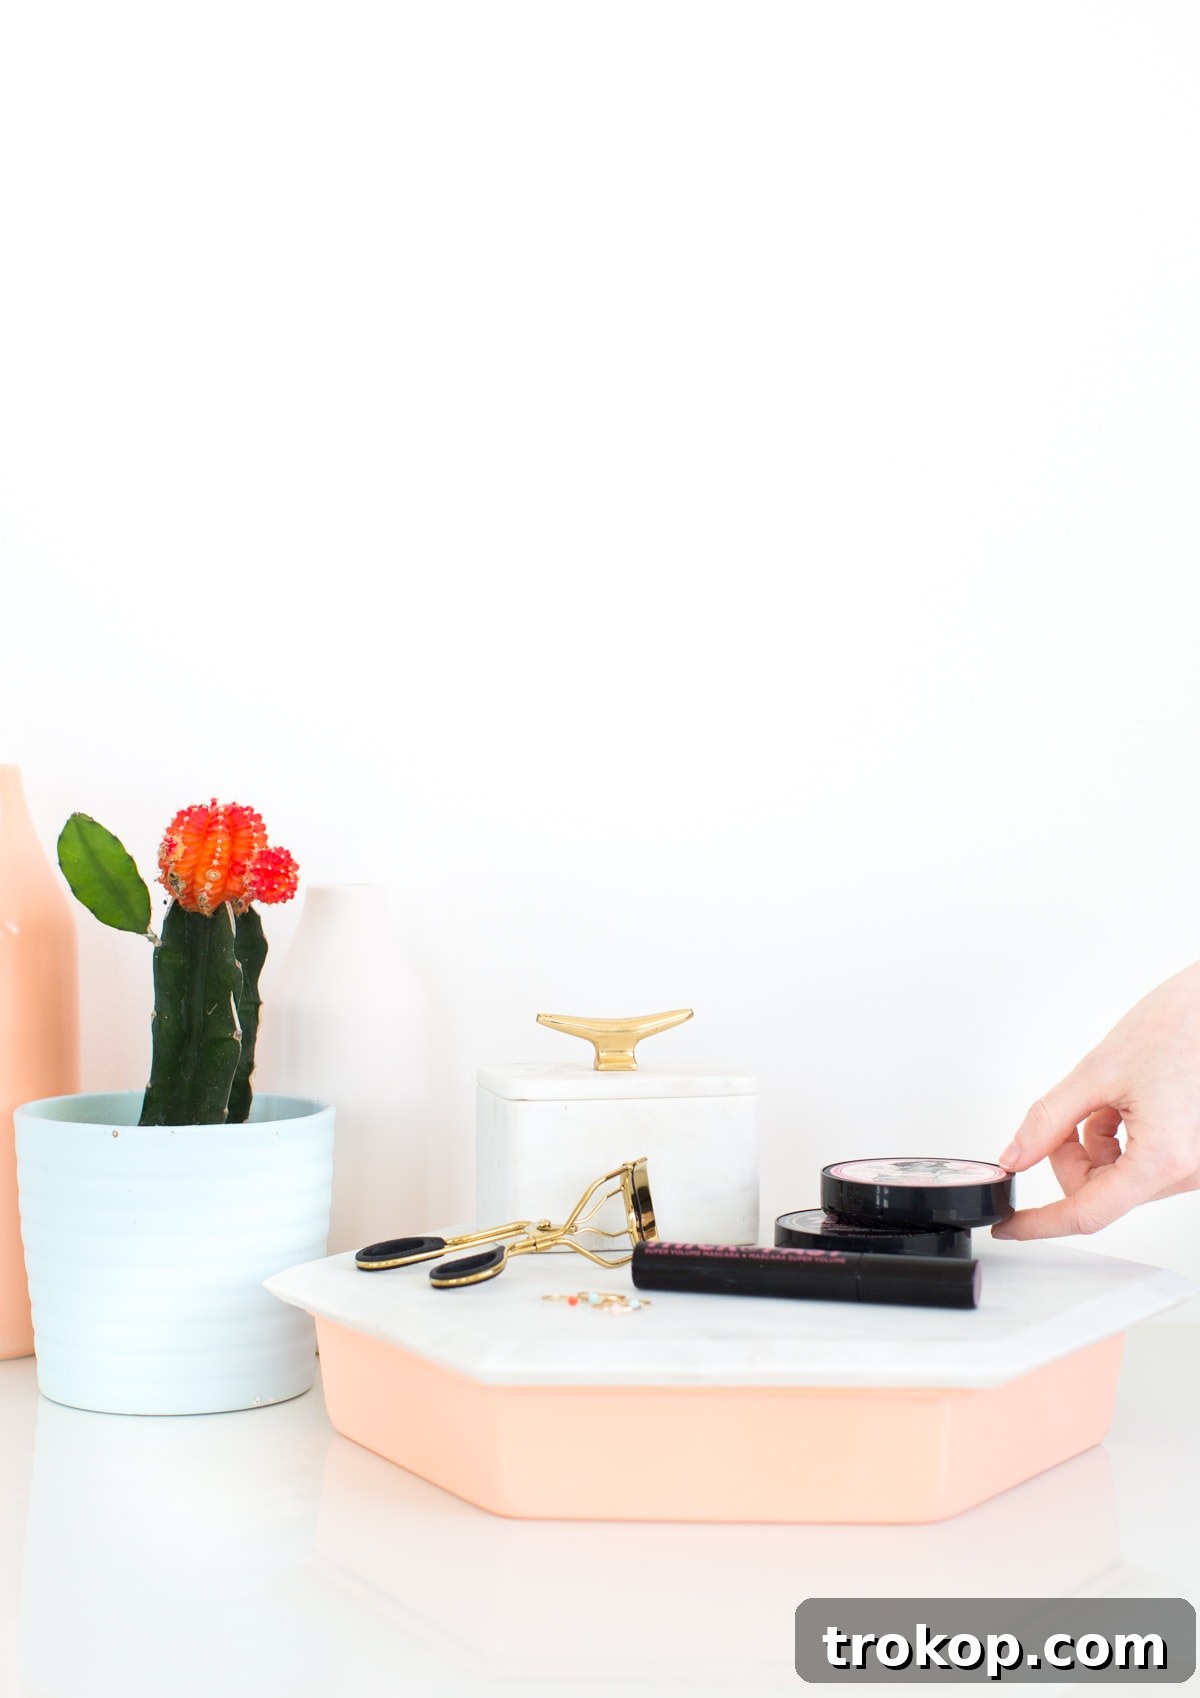
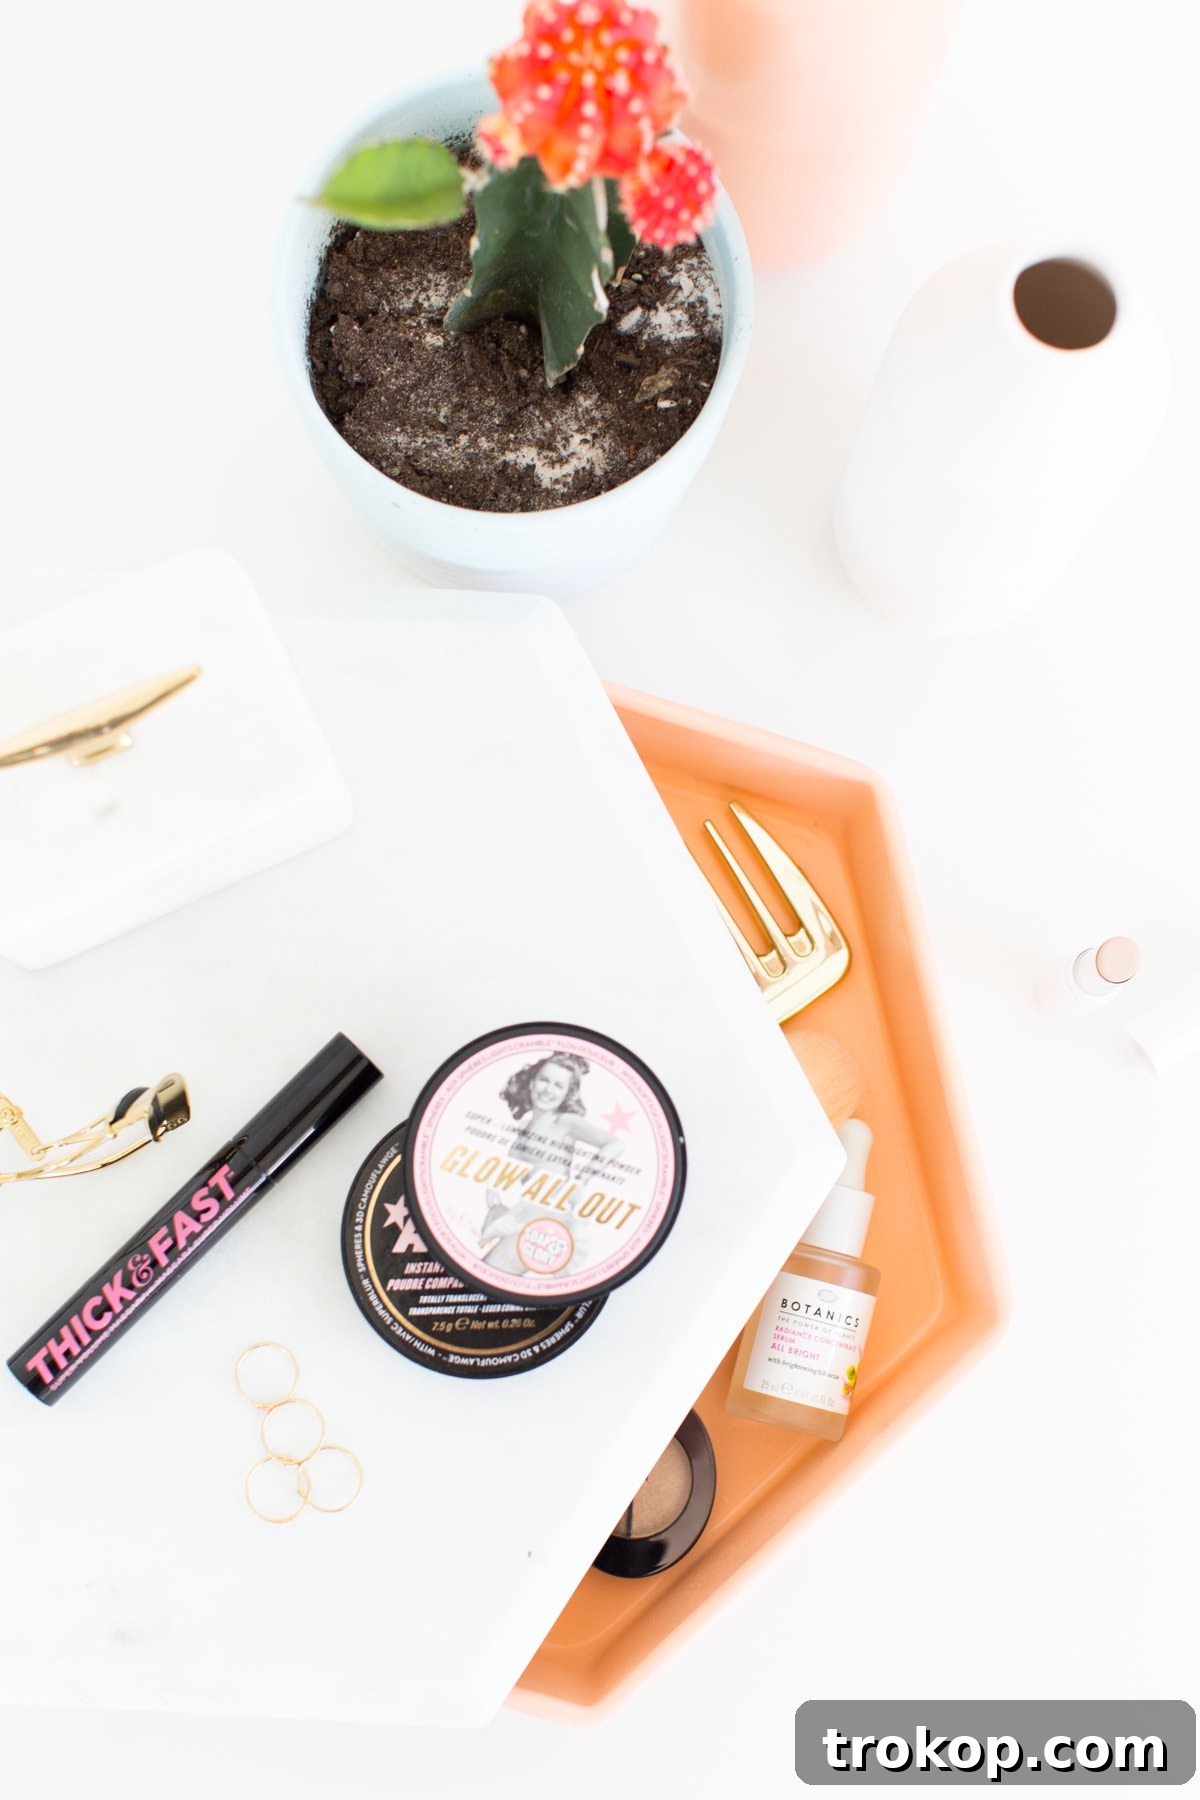
I completely understand the “out of sight, out of mind” philosophy. My own home can appear perfectly organized on the surface, only for a closet door to reveal a delightful avalanche of forgotten treasures! This project is born from that very impulse – to create a beautiful display piece that also cleverly conceals the everyday essentials. Imagine a chic marble surface showcasing your favorite perfume and a fresh flower, while beneath, all the less-glamorous necessities of your morning routine are neatly tucked away. This isn’t just a tray; it’s a sanctuary for your vanity, a stylish solution for everyday clutter, and a testament to clever organization.
For those meticulous organizers who prefer a minimalist display, this DIY vanity tray is also a dream come true. It allows you to curatedly showcase only your absolute favorites, keeping the rest within easy reach but elegantly out of view. No more unsightly balding blush compacts or half-used lip balms detracting from your carefully designed aesthetic. This project brings a touch of sophistication and practicality to any bathroom, bedroom, or dressing area, making it a versatile addition to your home decor arsenal. Get ready to embark on a fun and rewarding journey into the world of creative home organization!
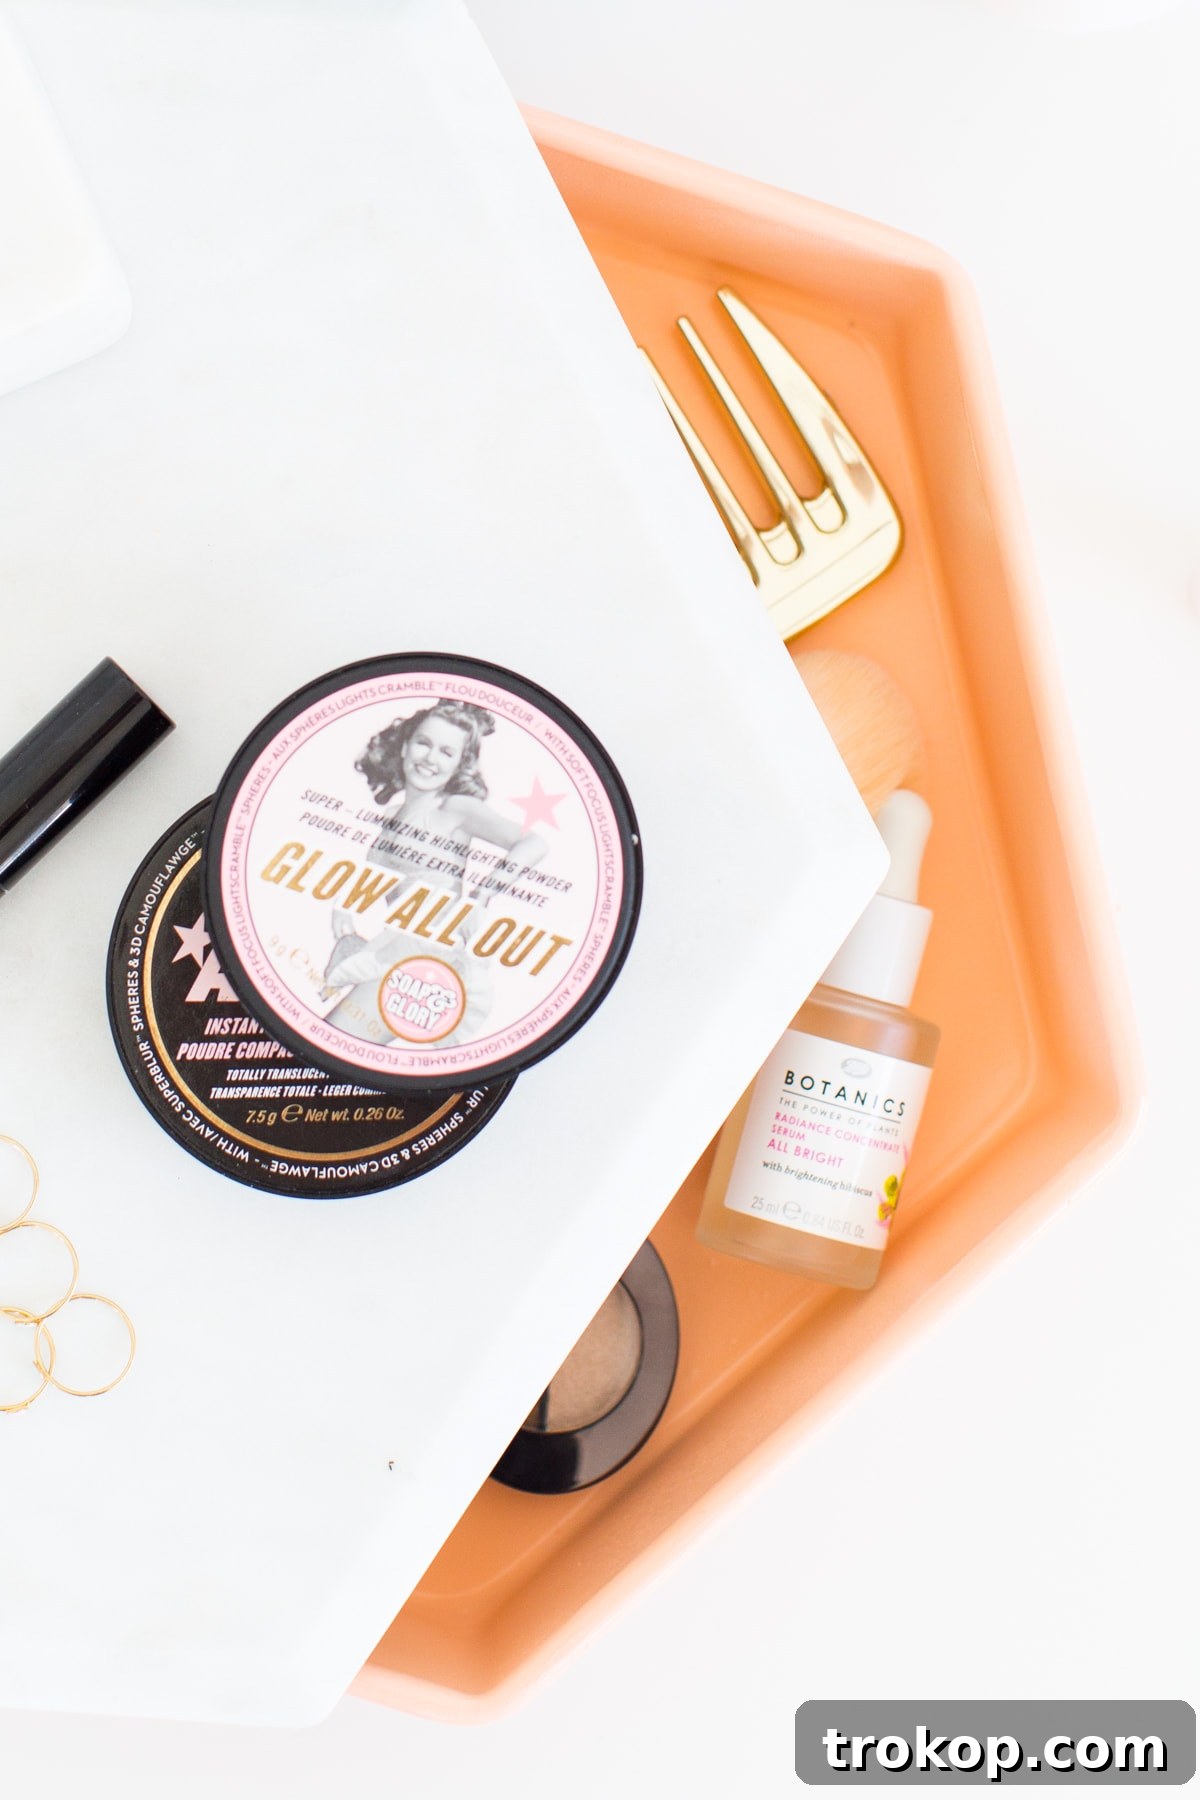
The Undeniable Benefits of a DIY Vanity Tray with Hidden Storage
Beyond the sheer satisfaction of crafting something beautiful with your own hands, a DIY vanity tray with storage offers a multitude of practical advantages. Let’s explore why this project should be at the top of your to-do list:
- Unleash Your Inner Organizer: This tray is a game-changer for keeping your makeup, skincare, jewelry, or office supplies neatly categorized. The hidden compartment is perfect for items you don’t want on constant display but need accessible.
- Elevate Your Aesthetic: A beautiful tray instantly transforms a cluttered surface into a curated display. By using a sophisticated material like marble for the top and a custom-painted base, you add a touch of luxury and personalized style to your space. It’s a simple way to introduce elegance and cohesion to your decor.
- Customization at Your Fingertips: Unlike mass-produced organizers, a DIY project allows for complete personalization. Choose your favorite colors, finishes, and even adapt the materials to match your existing home decor seamlessly. Want a metallic gold base or a soft matte teal? The choice is yours!
- Cost-Effective Elegance: Achieve a high-end look without the hefty price tag. By sourcing affordable materials and adding your creative touch, you can create a piece that looks far more expensive than it actually is.
- Versatile Functionality: While designed for a vanity, this tray’s utility extends far beyond beauty products. It can serve as a stylish desk organizer, a sophisticated catch-all for keys and mail in your entryway, or even a decorative centerpiece on a coffee table or nightstand.
- Instant Clutter Control: For those who struggle with maintaining a pristine surface, the hidden storage is a lifesaver. Simply lift the top, tuck away your items, and enjoy an instantly tidy appearance. It encourages the “put away” habit without demanding extreme minimalist sacrifices.
This project is more than just a craft; it’s an investment in a more organized, beautiful, and functional living space. It empowers you to take control of your environment and infuse it with your unique sense of style.
Materials Needed To Make A DIY Vanity Tray With Storage
Gathering your materials is the first exciting step in bringing your vision to life. The beauty of this particular DIY vanity tray lies in its simplicity and the readily available nature of its components. Here’s what you’ll need to create your own:
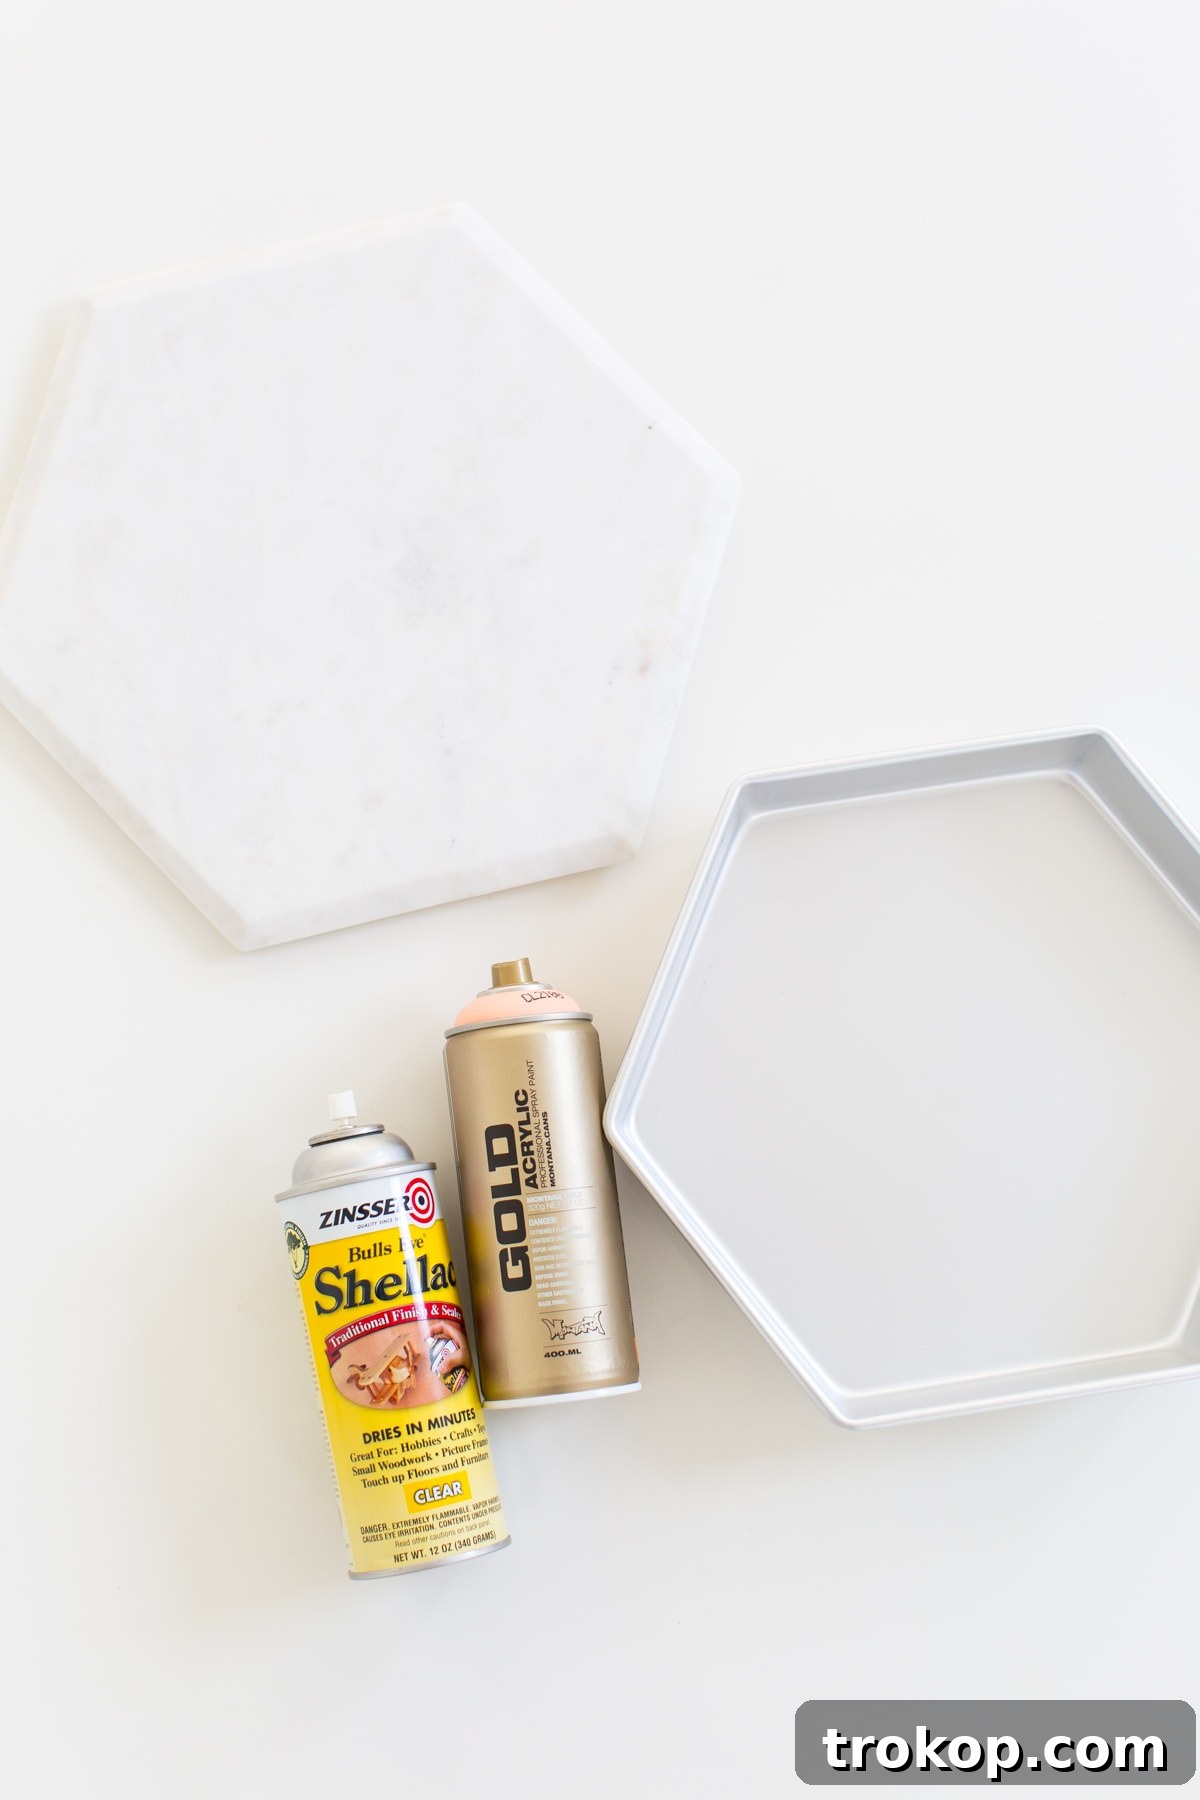
- Hexagon Marble Board: This forms the elegant top of your tray. The natural veining of marble adds a touch of sophistication and luxury. A hexagon shape provides a modern and unique aesthetic.
- Hexagon Cake Pan Set: This is the clever secret to your hidden storage! A set typically includes multiple sizes, allowing you to choose the perfect pan that is slightly smaller than your marble board. The metal pan will be transformed with paint.
- Montana Gold Spray Paint in Shrimp Pastel: (or your color choice) High-quality spray paint like Montana Gold offers excellent coverage and a beautiful finish. The “Shrimp Pastel” is a delightful, soft hue, but feel free to choose any color that complements your existing decor or expresses your personal style. Consider metallics, vibrant bolds, or other subtle pastels.
- Clear Spray Shellac: This is crucial for protecting your painted surface, providing durability, and giving it a professional, finished look. It seals the paint and prevents chipping or wear over time.
- Clear Bumpers: These small, self-adhesive bumpers will be attached to the bottom of your painted pan. They serve two important purposes: protecting your surfaces from scratches and providing stability, preventing the tray from sliding.
How To Make A DIY Vanity Tray With Storage: Step-by-Step Guide
Get ready for a remarkably straightforward DIY project! The process of creating this stylish and functional vanity tray is truly “easy peasy.” Follow these simple steps to bring your vision to life:
Step 1: Prepare Your Workspace and Cake Pan
Before you begin spray painting, ensure you have a well-ventilated area. This could be outdoors or in a garage with open windows. Lay down a drop cloth or old newspaper to protect your surfaces from overspray. Clean your chosen hexagon cake pan thoroughly to remove any dust, grease, or residue. A clean surface is essential for the paint to adhere properly and create a smooth finish. Make sure the pan is completely dry before proceeding.
Step 2: Apply the First Coat of Spray Paint
Select the medium-sized hexagon cake pan from your set, or whichever size best fits beneath your marble top, leaving a slight overhang for the marble. Shake your chosen spray paint can vigorously for at least one minute to ensure the color is well mixed. Hold the can approximately 8-12 inches away from the cake pan and apply a thin, even coat of paint. It’s better to apply multiple thin coats than one thick coat, as this prevents drips and ensures a smoother, more professional finish. Don’t worry if the first coat doesn’t provide full coverage; that’s perfectly normal.
Step 3: Allow Drying Time and Apply Subsequent Coats
Once you’ve applied the first coat, let the paint dry completely according to the manufacturer’s instructions, typically 15-30 minutes. Once dry to the touch, apply a second thin coat of spray paint. Continue this process, adding thin layers until you achieve the desired opacity and a consistent, vibrant color. Always allow adequate drying time between coats. Patience here will pay off with a superior finish.
Step 4: Apply the Clear Shellac Top Coat
After your final color coat has dried completely (this might take a few hours), it’s time to seal and protect your work. Shake the clear spray shellac can well. Apply thin, even coats of shellac over the painted cake pan, just as you did with the spray paint. The shellac will provide a durable, protective layer, preventing scratches and chips, and giving your tray a beautiful, professional sheen. Apply 2-3 coats for optimal protection, allowing each coat to dry thoroughly.
Step 5: Allow for Full Curing Time
This is a crucial step! While the paint and shellac might feel dry to the touch within a few hours, they need more time to fully cure and harden. To ensure maximum durability and prevent any sticking or damage, allow everything to set completely for at least 48 hours. During this time, handle the painted pan as little as possible.
Step 6: Assemble Your DIY Vanity Tray
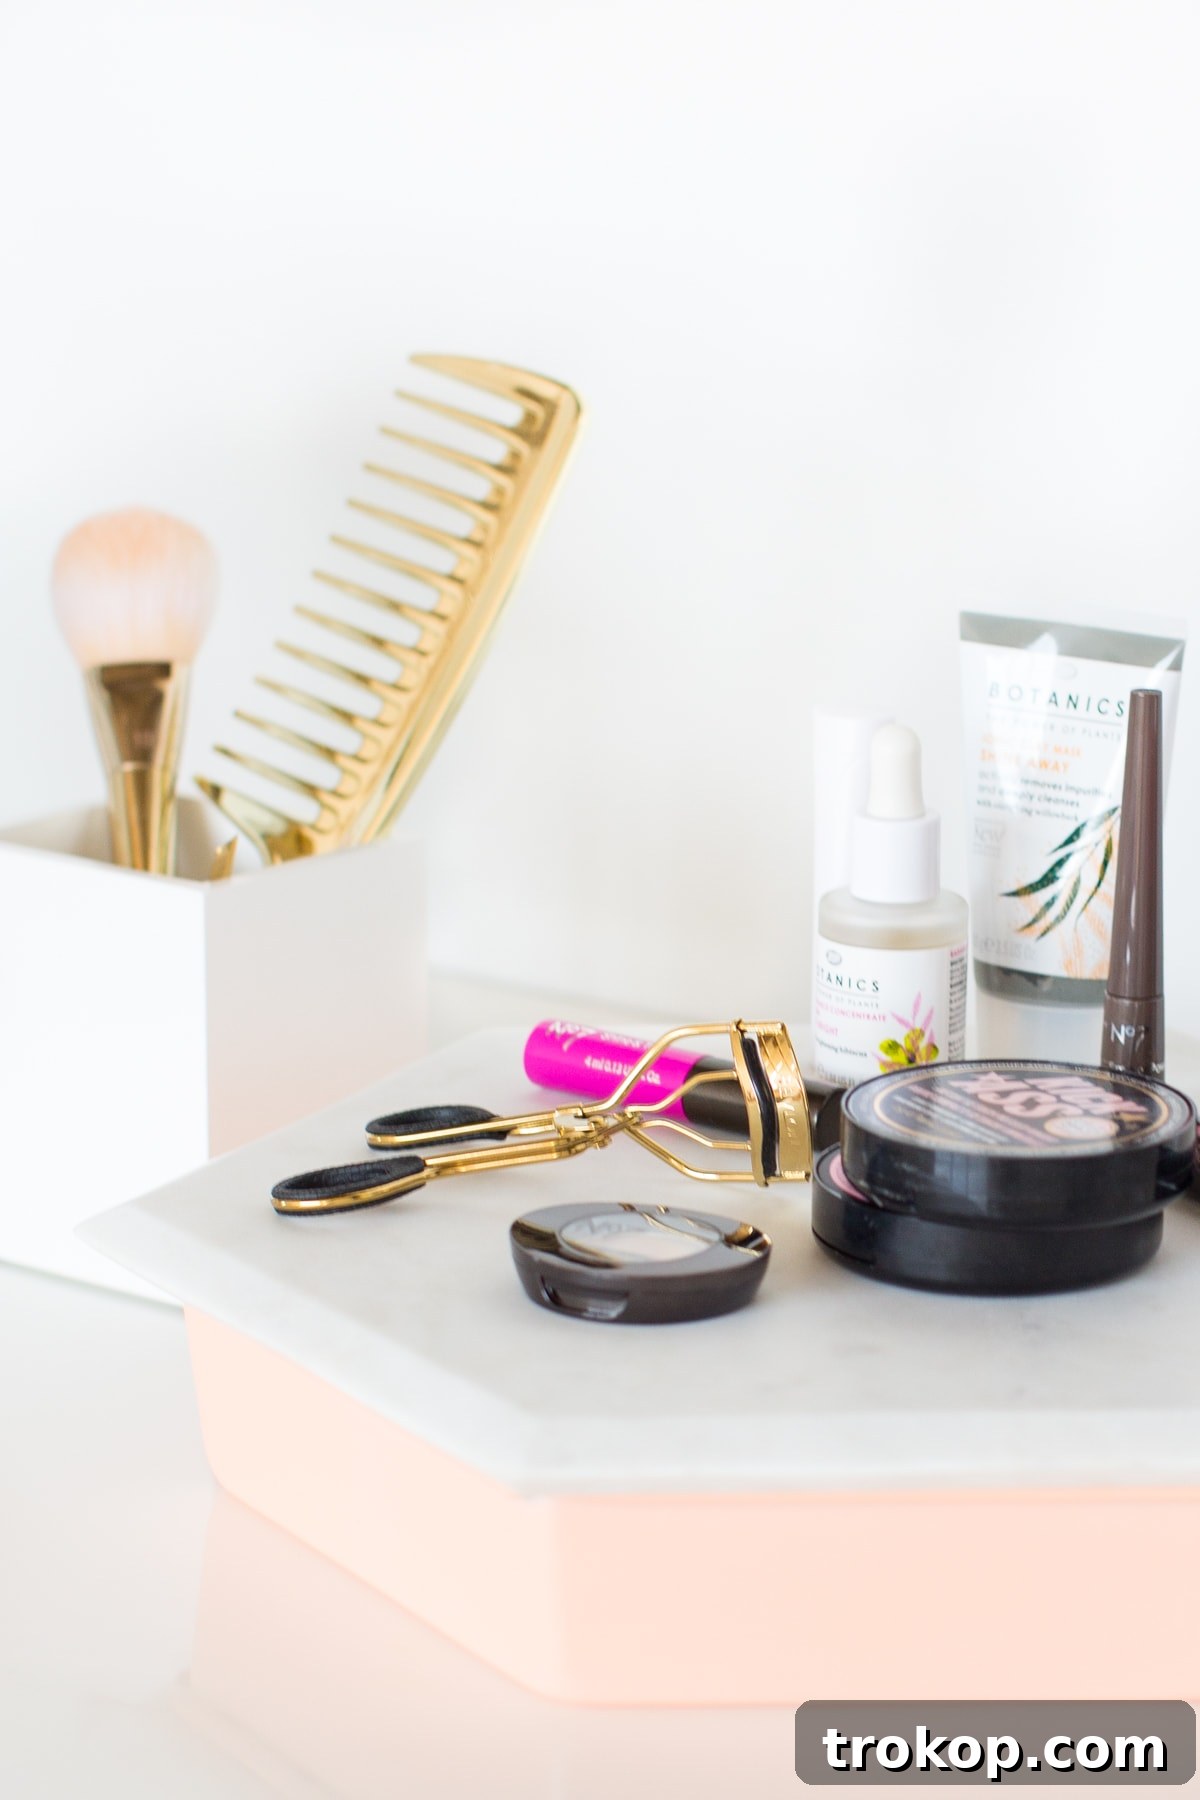
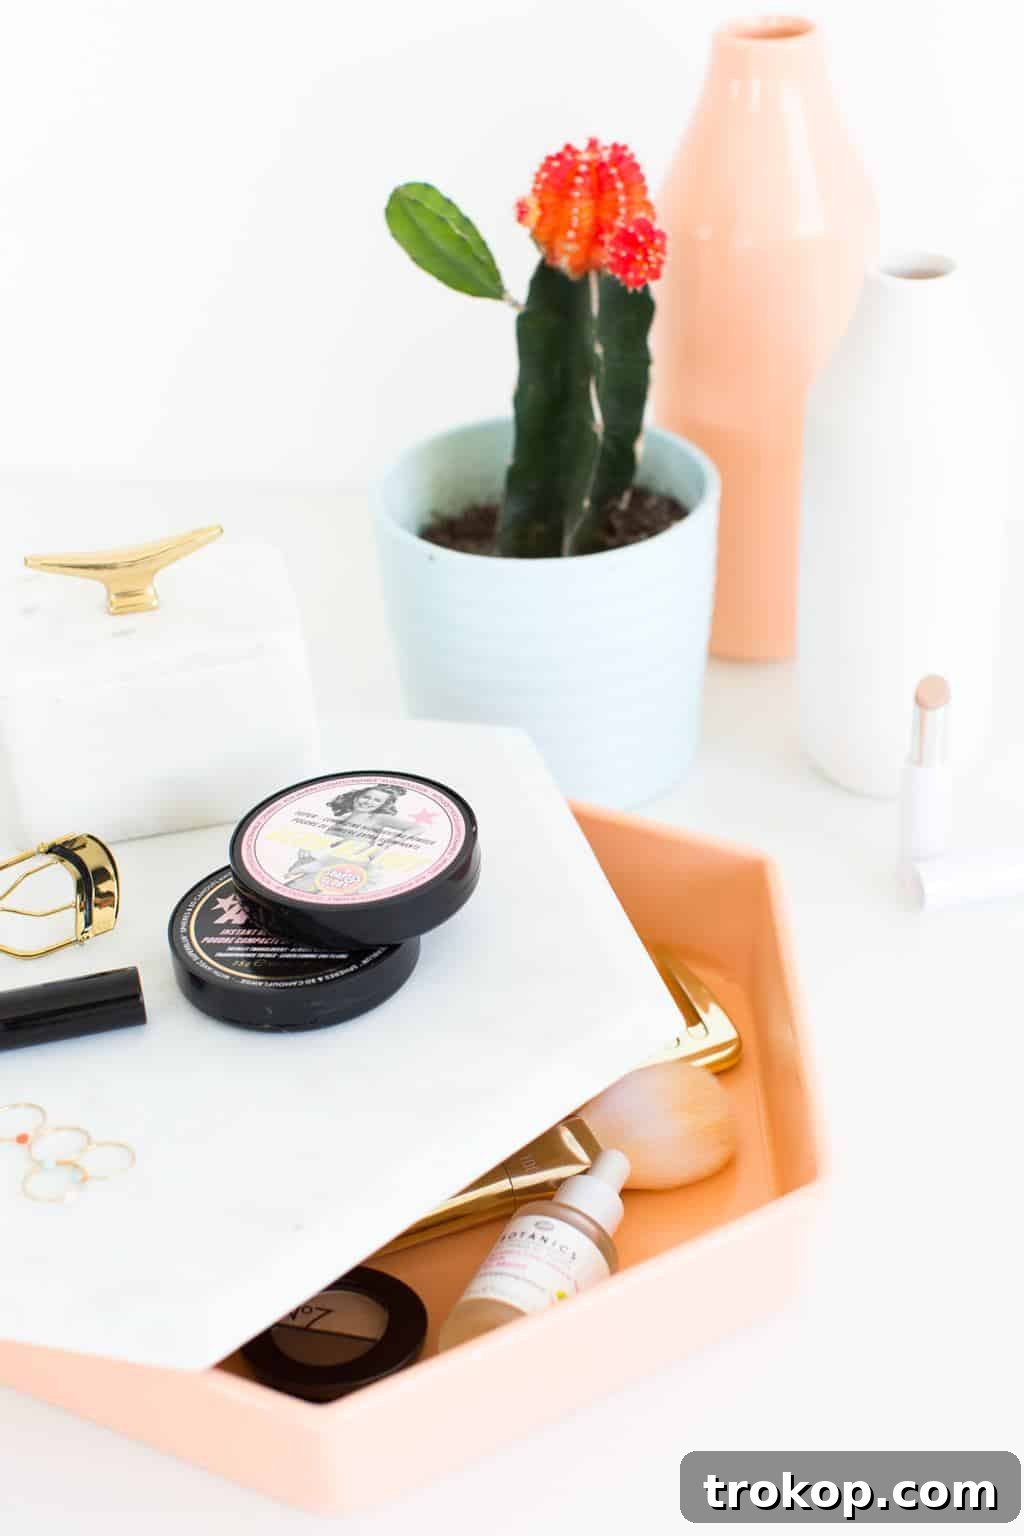
Once the 48-hour curing period has passed, it’s time for the final assembly. Take your clear bumpers and attach them evenly to the bottom of the painted hexagon pan. These will provide stability and protect your surfaces. Finally, carefully place your elegant hexagon marble board on top of the painted cake pan. The pan’s rim will create a snug fit for the marble, securing it in place while also creating the hidden storage compartment below.
Step 7: Style and Enjoy!
Now for the fun part! Style your brand-new DIY vanity tray with storage. Arrange your favorite perfumes, a small vase of fresh flowers (matching your tray color, perhaps, thanks to spray paint miracles!), or your most-used makeup items on the marble top. Utilize the hidden compartment for those items you want close at hand but out of sight, like cotton pads, hair ties, or extra makeup brushes. Revel in your beautifully organized and personalized space!
Customization and Styling Tips for Your New Vanity Tray
The true beauty of a DIY project lies in its endless possibilities for personalization. Your new DIY vanity tray with storage is a blank canvas, ready for you to infuse it with your unique style. Here are some ideas to make it truly yours:
Color and Finish Variations:
- Metallic Glam: Instead of a pastel, opt for gold, silver, or rose gold spray paint for a luxurious, high-shine finish.
- Matte Modern: Choose a matte spray paint in a neutral tone like black, white, or grey for a contemporary, sophisticated look.
- Ombre Effect: Experiment with two complementary colors, gradually blending them on the cake pan for a unique ombre gradient.
- Textured Finish: Some spray paints offer a textured finish like stone or hammered metal, adding another dimension to your tray.
Alternative Materials:
- Wood Slice Top: If marble isn’t your style, consider a polished wood slice for a rustic or bohemian vibe.
- Mirrored Top: A custom-cut mirror top can add extra sparkle and light to your vanity area.
- Different Pan Shapes: While hexagon offers a modern touch, round or square pans can also be used, matching the shape of your chosen top.
Styling Your Tray:
- Curated Collections: Arrange items by color, height, or function. Think small stacks of books, a scented candle, a delicate piece of jewelry, or a small plant.
- Seasonal Decor: Update your tray’s look with the seasons – a tiny pumpkin in fall, a small sprig of holly in winter, or fresh flowers in spring.
- Functional Art: Don’t just store; display. Let your beauty products, if they come in attractive packaging, become part of the decor.
- Underneath Storage: The hidden compartment is perfect for cotton swabs, makeup sponges, hair ties, small tubes of hand cream, or even charger cables that tend to clutter.
This project is almost too easy, isn’t it?! The impact it has on your space and daily routine, however, is anything but small. It’s a testament to how simple DIY projects can bring immense joy and practicality into your home. We’d absolutely love to see your personalized versions of this DIY vanity tray with storage! Please share your creations on social media using the hashtags #mysugarandcloth and #sugarandcloth so we can celebrate your craftiness with you. Happy crafting!