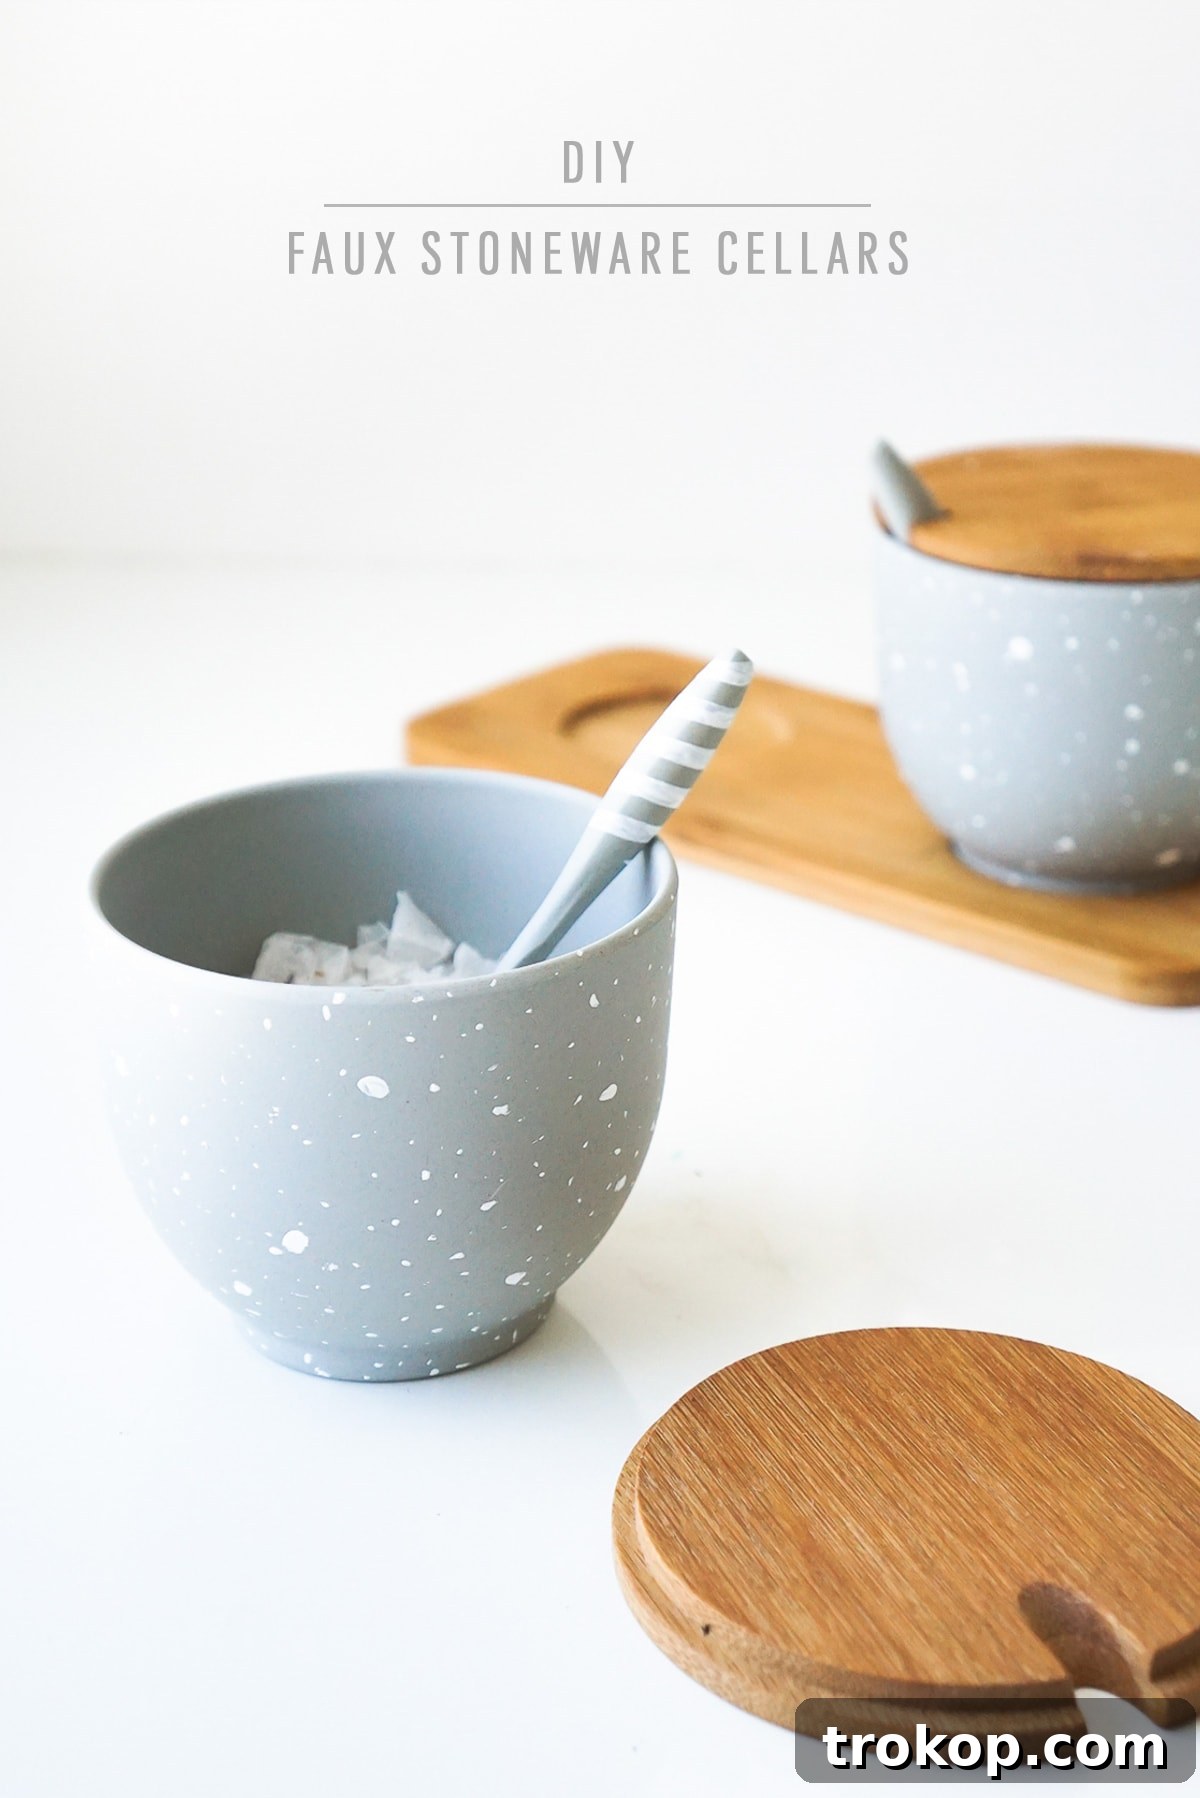
Are you yearning to bring a touch of rustic elegance and timeless charm to your kitchen decor without breaking the bank? Look no further than these incredibly stylish DIY Faux Stoneware Salt Cellars. This creative project offers the perfect opportunity to replicate the coveted aesthetic of high-end, handcrafted pottery using readily available and inexpensive materials. Imagine elevating your culinary space with a piece that exudes artisan quality, all crafted with your own hands. It’s a rewarding endeavor that transforms a basic kitchen essential into a sophisticated statement piece, blending functionality with an enviable aesthetic.
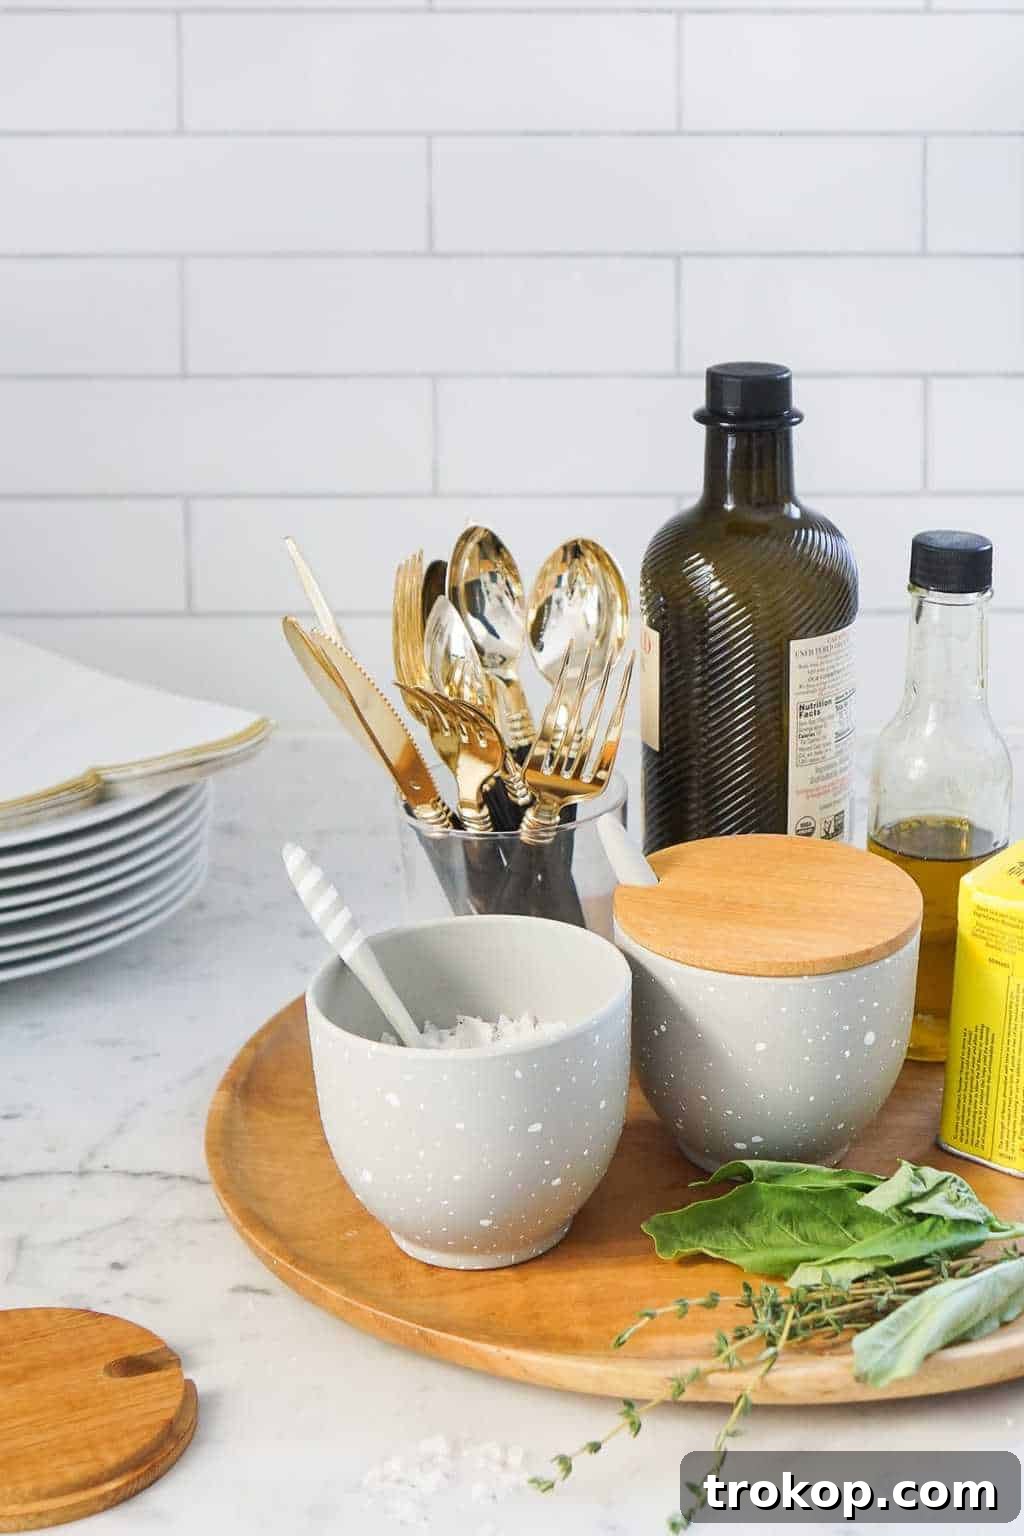
In today’s world of home decor, the appeal of a speckled stoneware finish is undeniable. It brings a subtle texture, an organic feel, and a touch of grounded sophistication to any item, whether it’s a mug, a planter, or a serving dish. These DIY Faux Stoneware Salt Cellars perfectly embody this popular trend, proving that you don’t need a ceramics studio or a hefty budget to achieve that desirable look. The intricate speckling and muted tones inherent in stoneware lend an authentic, earthy character that complements a wide range of interior styles, from modern farmhouse to minimalist contemporary.
For a while now, I, Erin of Francoise et Moi, have been captivated by the idea of having a beautiful stoneware salt cellar in my kitchen. Beyond their aesthetic appeal, these small vessels are incredibly practical. They are an all-around chic piece of kitchenware, providing easy access to specialty spices like flaky sea salt, black peppercorns, or even artisanal herb blends. Having these culinary essentials right at your fingertips while cooking streamlines your process and adds a touch of gourmet convenience. No more fumbling with grinders or shakers when precision and speed are key.
However, the cost of genuine, hand-thrown pottery can be a significant barrier. True stoneware pieces, especially those crafted by skilled artisans, often come with a price tag that doesn’t fit every budget. Driven by a desire for both style and affordability, I set out to find a creative solution. My goal was to dress up a more affordable, basic cellar with a faux stoneware finish, transforming its appearance and elevating its perceived value. This innovative approach allows you to enjoy the high-end look without the corresponding investment, making sophisticated kitchen decor accessible to everyone.
The beauty of this faux finish technique lies in its simplicity and versatility. It’s incredibly easy to execute, making it suitable for crafters of all skill levels, even those new to DIY projects. This method is perfect for anytime you wish to create the convincing illusion of handmade pottery, bringing a unique, personalized touch to your home. Once you master this technique, you’ll find countless other items around your home that could benefit from a similar transformation, from decorative bowls to small storage containers. Are you ready to embrace your inner artisan and get your speckle on?
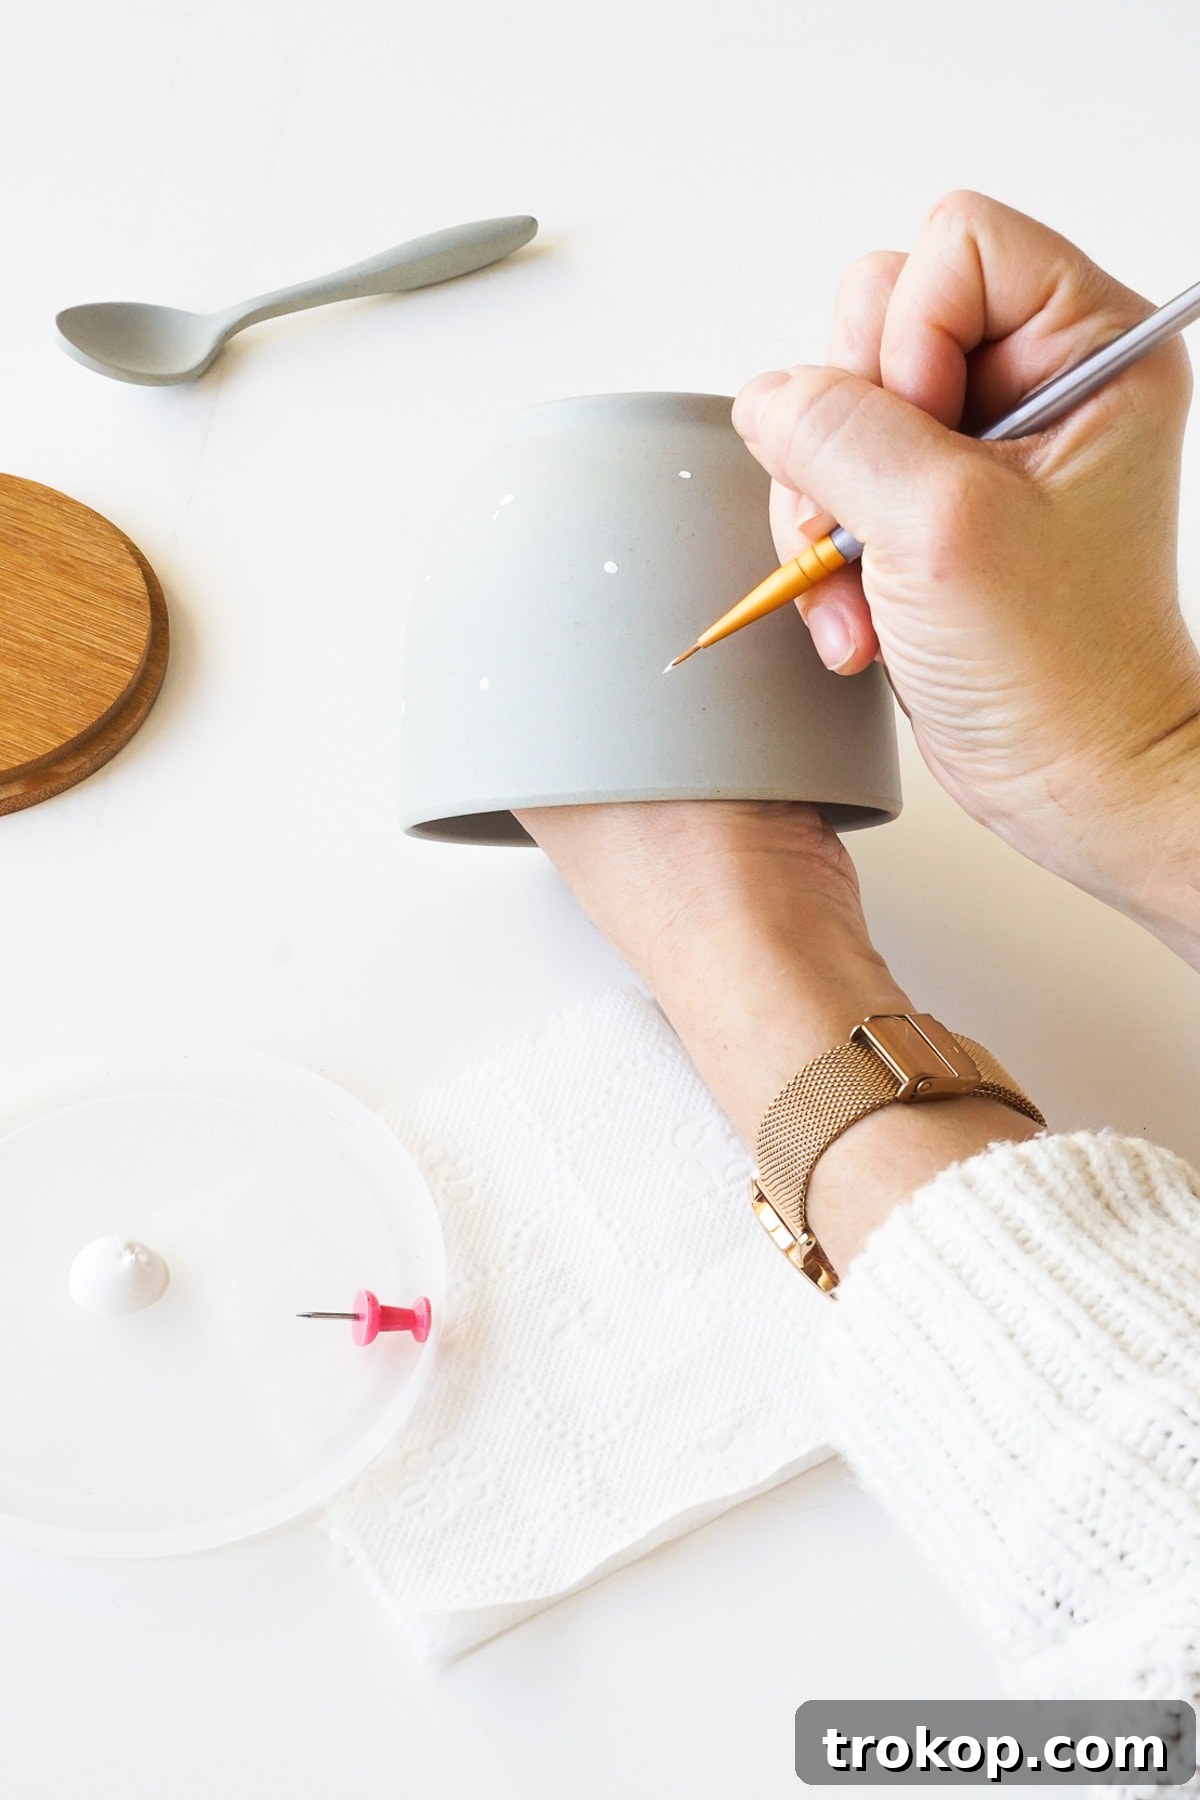
Table of Contents
Materials & Tools Needed To Make DIY Faux Stoneware Salt Cellars
Gathering the right materials is the first step towards creating your stunning faux stoneware salt cellars. The beauty of this project lies in its accessibility; most items can be found at your local craft store or ordered online. Each tool plays a crucial role in achieving that authentic speckled pottery look, ensuring a professional and durable finish.
- Salt cellar: Choose a basic, unadorned cellar as your canvas. Look for a design that allows easy painting on the exterior.
- White acrylic paint: A high-quality white acrylic paint provides the perfect base color, mimicking the natural clay tones often seen in stoneware.
- Push Pin: This unassuming tool is essential for creating those tiny, realistic speckles that give stoneware its characteristic texture.
- Paint brush — Size 10/0: A fine-tipped brush is critical for adding the larger, more random flecks and for detailing.
- 1/8” thick painters tape: For creating clean lines and patterns, especially on the accompanying spoon or any decorative rims.
- Plate or Paint Palette: To mix and hold your paint, making the application process cleaner and more efficient.
- Paper Towel: Indispensable for wiping brushes, cleaning up spills, and especially for cleaning the push pin between paint dips.
How To Make DIY Faux Stoneware Salt Cellars
Creating these faux stoneware salt cellars is a straightforward and enjoyable process. By following these detailed steps, you’ll transform a simple item into a beautiful, custom piece of kitchen art. Remember to work in a well-ventilated area and take your time to achieve the best results.
1 — Prepare Your Cellar for Painting: The first and most crucial step is to thoroughly wash all components of your salt cellar. This ensures that any dust, oils, or manufacturing residues are removed, providing a clean surface for the paint to adhere properly. The bamboo pieces, typically the lids or bases, should always be hand-washed with mild soap and water to preserve their natural integrity. The ceramic dishes and accompanying spoons, if they are not bamboo, can generally be placed on the top rack of your dishwasher for a convenient and thorough clean. Allow all parts to dry completely before proceeding.
2 — Create Your Base Speckle Layer: Before you begin, find inspiration! Browse Pinterest for stoneware textures you admire, examine an existing stoneware piece in your home, or simply use the beautiful examples I’ve created here as your muse. Once you have a clear vision of the speckle density and pattern you want to achieve, it’s time to start painting. Dispense a small amount of white acrylic paint onto your plate or palette. Using your fine-tipped brush (Size 10/0), begin creating a series of random dots on the outside of the salt cellar bowls. Don’t overthink this stage; the goal is an organic, all-over splatter vibe. Hold the brush a short distance from the surface and lightly tap or flick the bristles to create varied dot sizes. This initial layer provides the foundation for the realistic stoneware texture, simulating the coarser inclusions often found in natural clay.
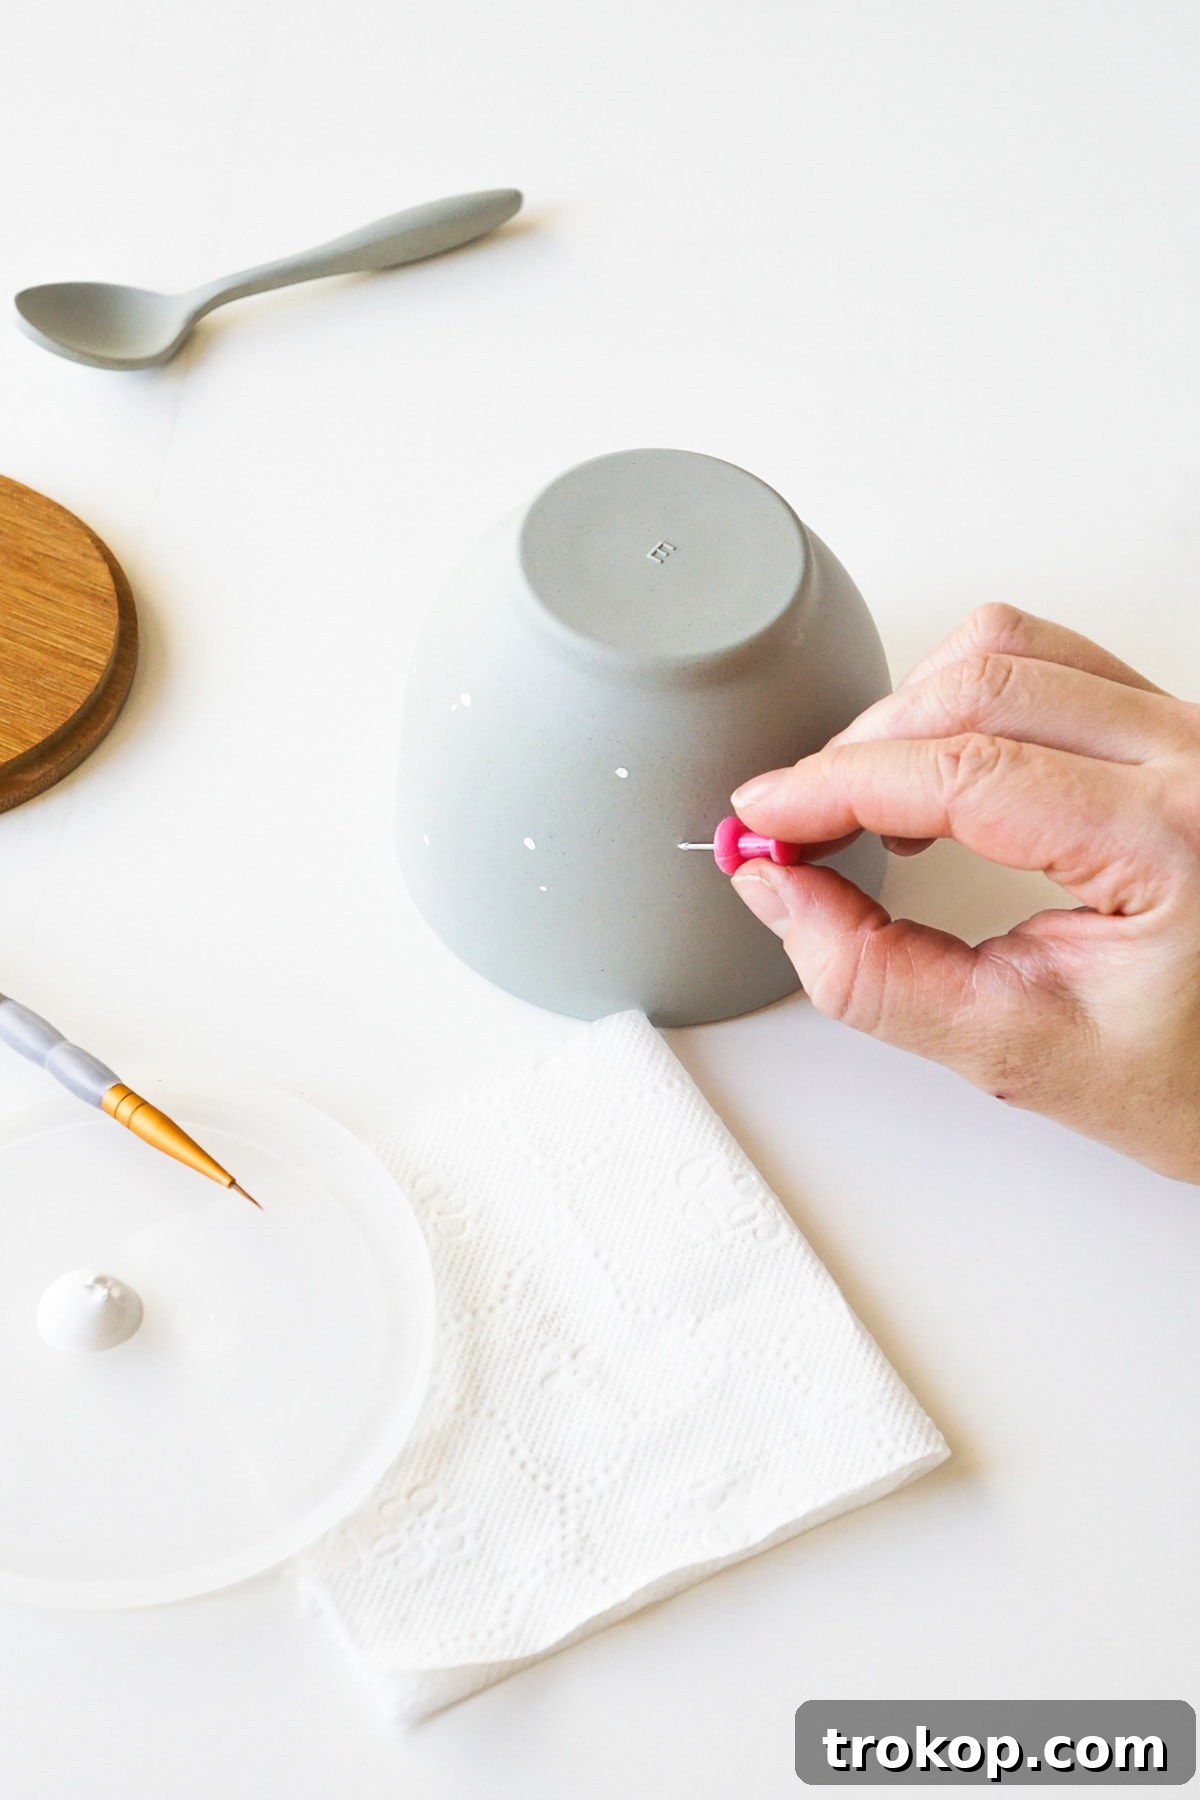
3 — Add Fine Details with a Push Pin: Next, to introduce even finer, more delicate speckles, reach for your push pin. Dip the sharp point of the push pin into the white acrylic paint, picking up just a tiny amount. Then, lightly dab it onto the surface of the salt cellar bowls, filling in the gaps between your brush-applied dots. The push pin is exceptional for creating those minuscule, pin-sized paint marks that are difficult to achieve with a brush and are characteristic of genuine stoneware’s nuanced texture. It mimics the subtle imperfections and variations found in traditional pottery. After each dip, or every few dips, wipe off the pin point with a paper towel to prevent paint buildup and ensure consistent dot size. Once the entire surface is covered with a pleasing variety of dots, ranging from the larger brush speckles to the smallest pin marks, step back and assess your work. If any area appears too uniform or has too many similarly sized dots, simply add a larger dot with your brush, or more tiny dots with the pin, to create a natural, varied look.
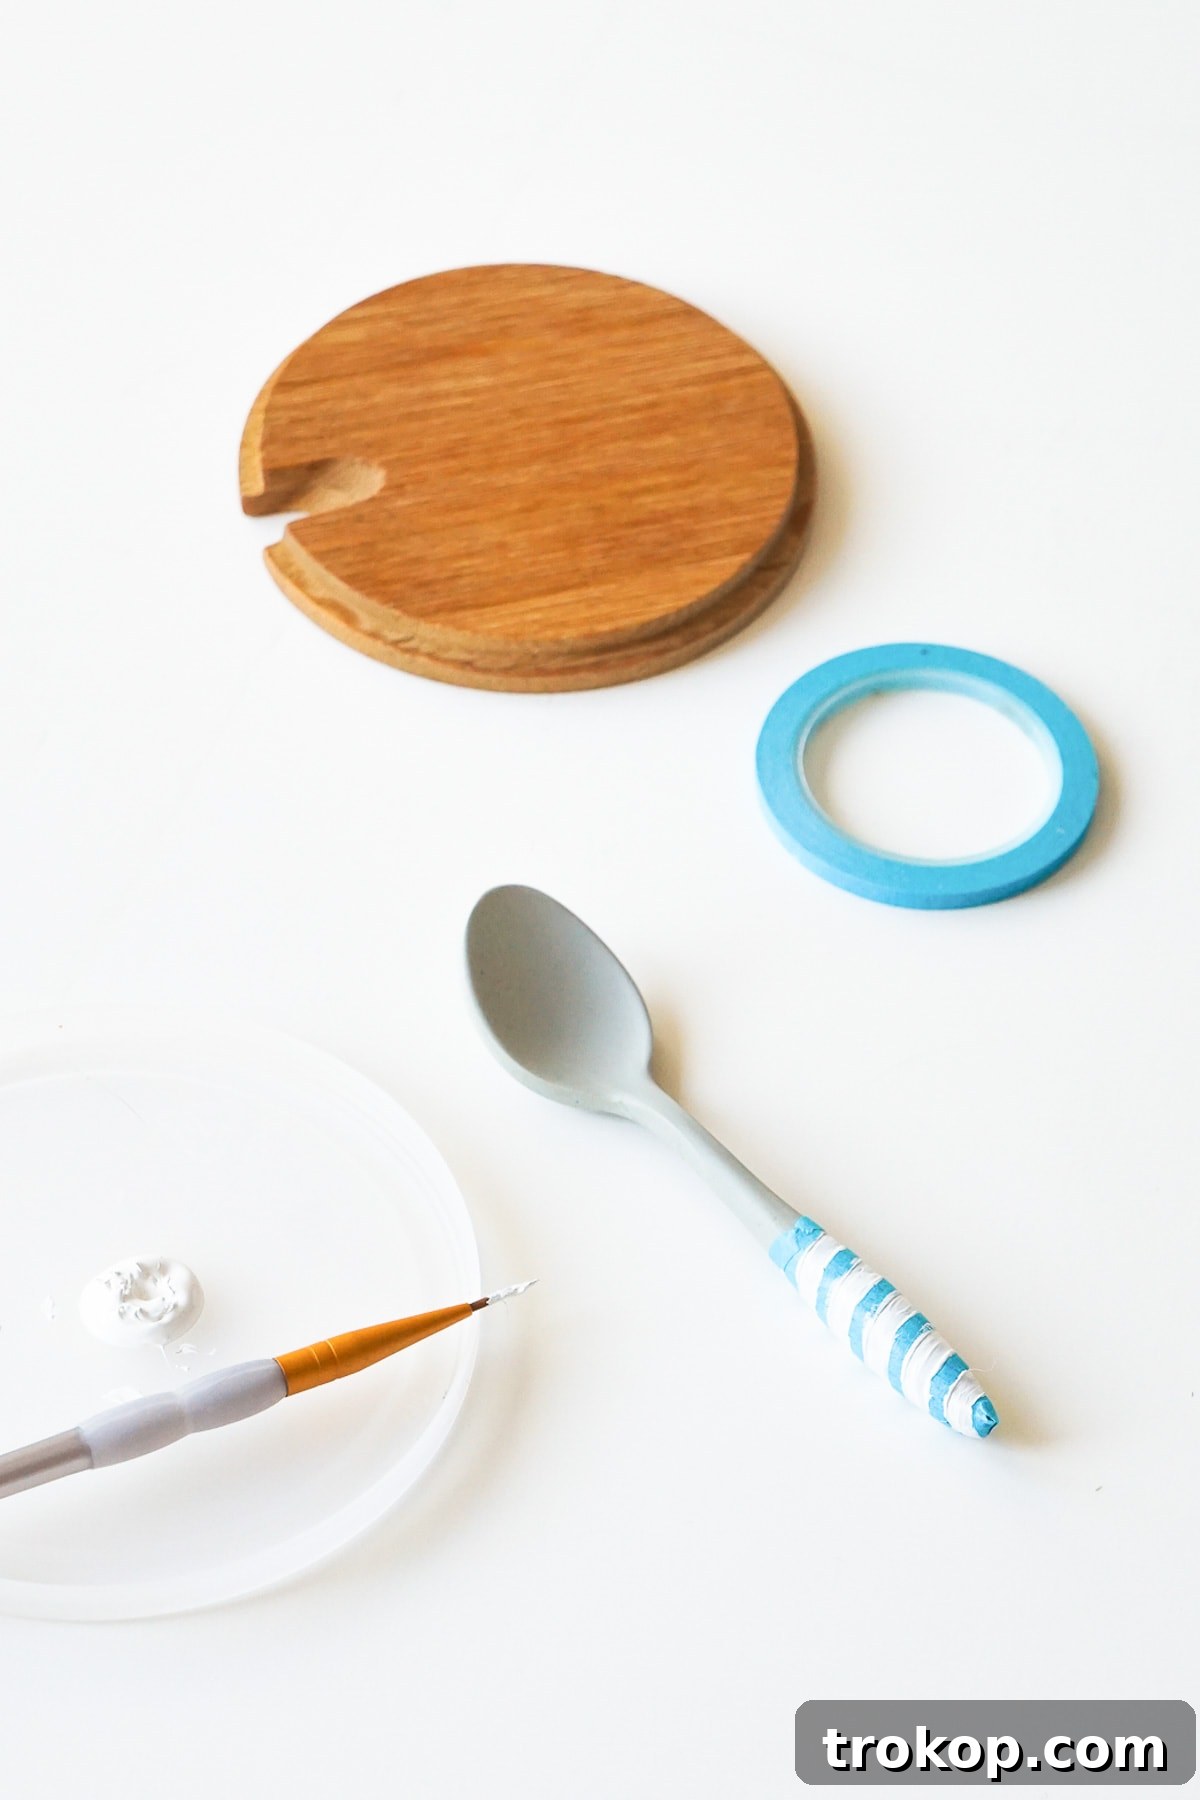
4 — Embellish the Accompanying Spoon: To add an extra touch of interest and coordination, focus on the accompanying spoon. Using your 1/8” thick painter’s tape, carefully tape off a spiral pattern, stripes, or any other desired design on the handle of the spoon. Take your time to smooth out any tape buckling or air bubbles with your fingers to ensure crisp, clean lines once the paint is applied. Once your tape pattern is secure, carefully paint in between the tape lines with the white acrylic paint. For this project, it is crucially important to only paint areas of the salt cellar and spoon that will not come into direct contact with the spices or food items. Acrylic paint, while durable, is not typically food-safe once dried unless specifically stated or sealed with a food-grade sealant, which we are not using in this particular DIY. Always prioritize safety and keep painted areas exterior and decorative.
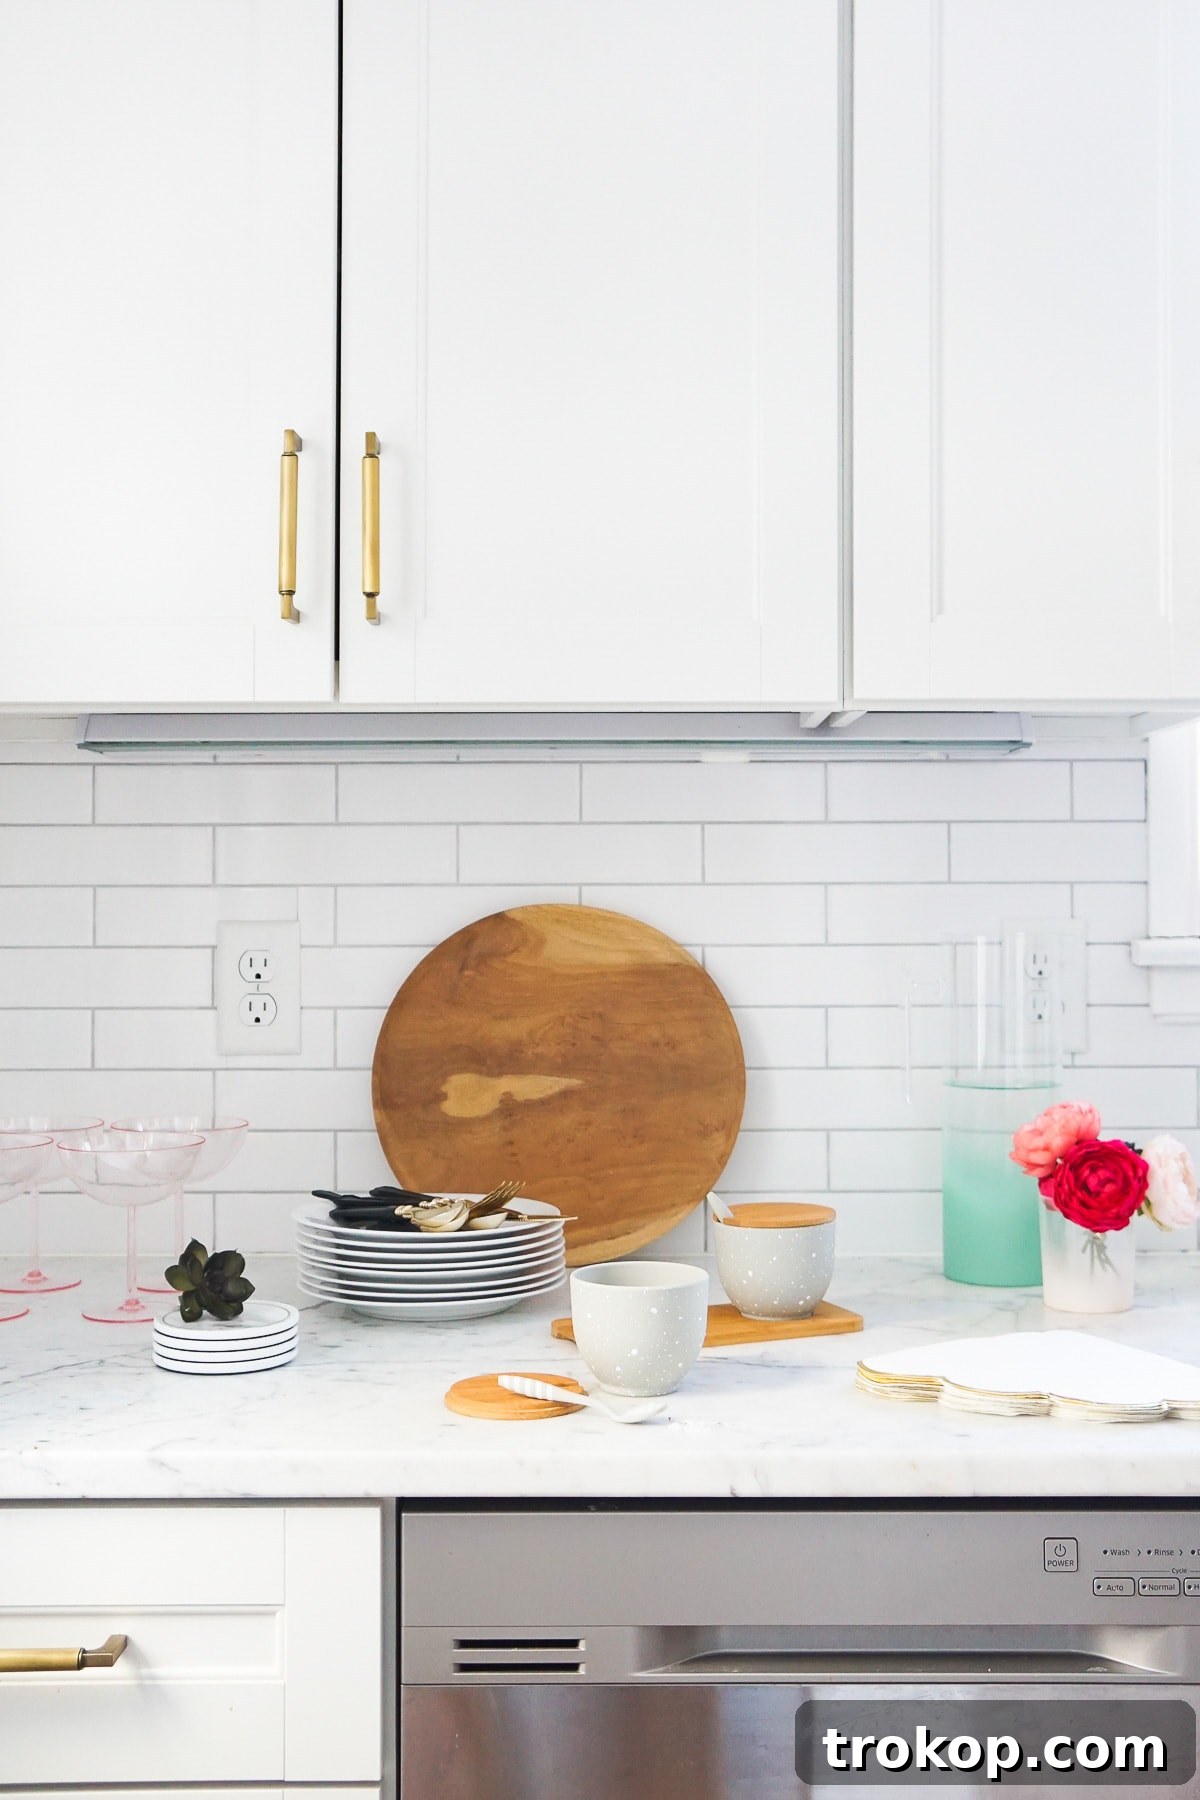
5 — Allow Proper Curing and Care for Longevity: Patience is a virtue, especially when it comes to paint projects. After you’ve finished painting, allow everything to “cure” for a full 21 days prior to washing or rigorous handling. While the paint may feel dry to the touch much sooner, acrylic paint undergoes a chemical curing process that can take several weeks to reach its maximum hardness and durability. This curing time is essential for ensuring that your beautiful faux stoneware finish stands up to daily use and gentle cleaning. When it comes to cleaning, remember the initial guidelines: although the ceramic dishes of many salt cellars are top-shelf dishwasher safe, the painted areas should be treated with care. The bamboo pieces, regardless of paint, are always recommended to be hand-washed to maintain their integrity and finish. Avoid abrasive cleaners or scrubbing pads on the painted surfaces to preserve your handmade creation for years to come.
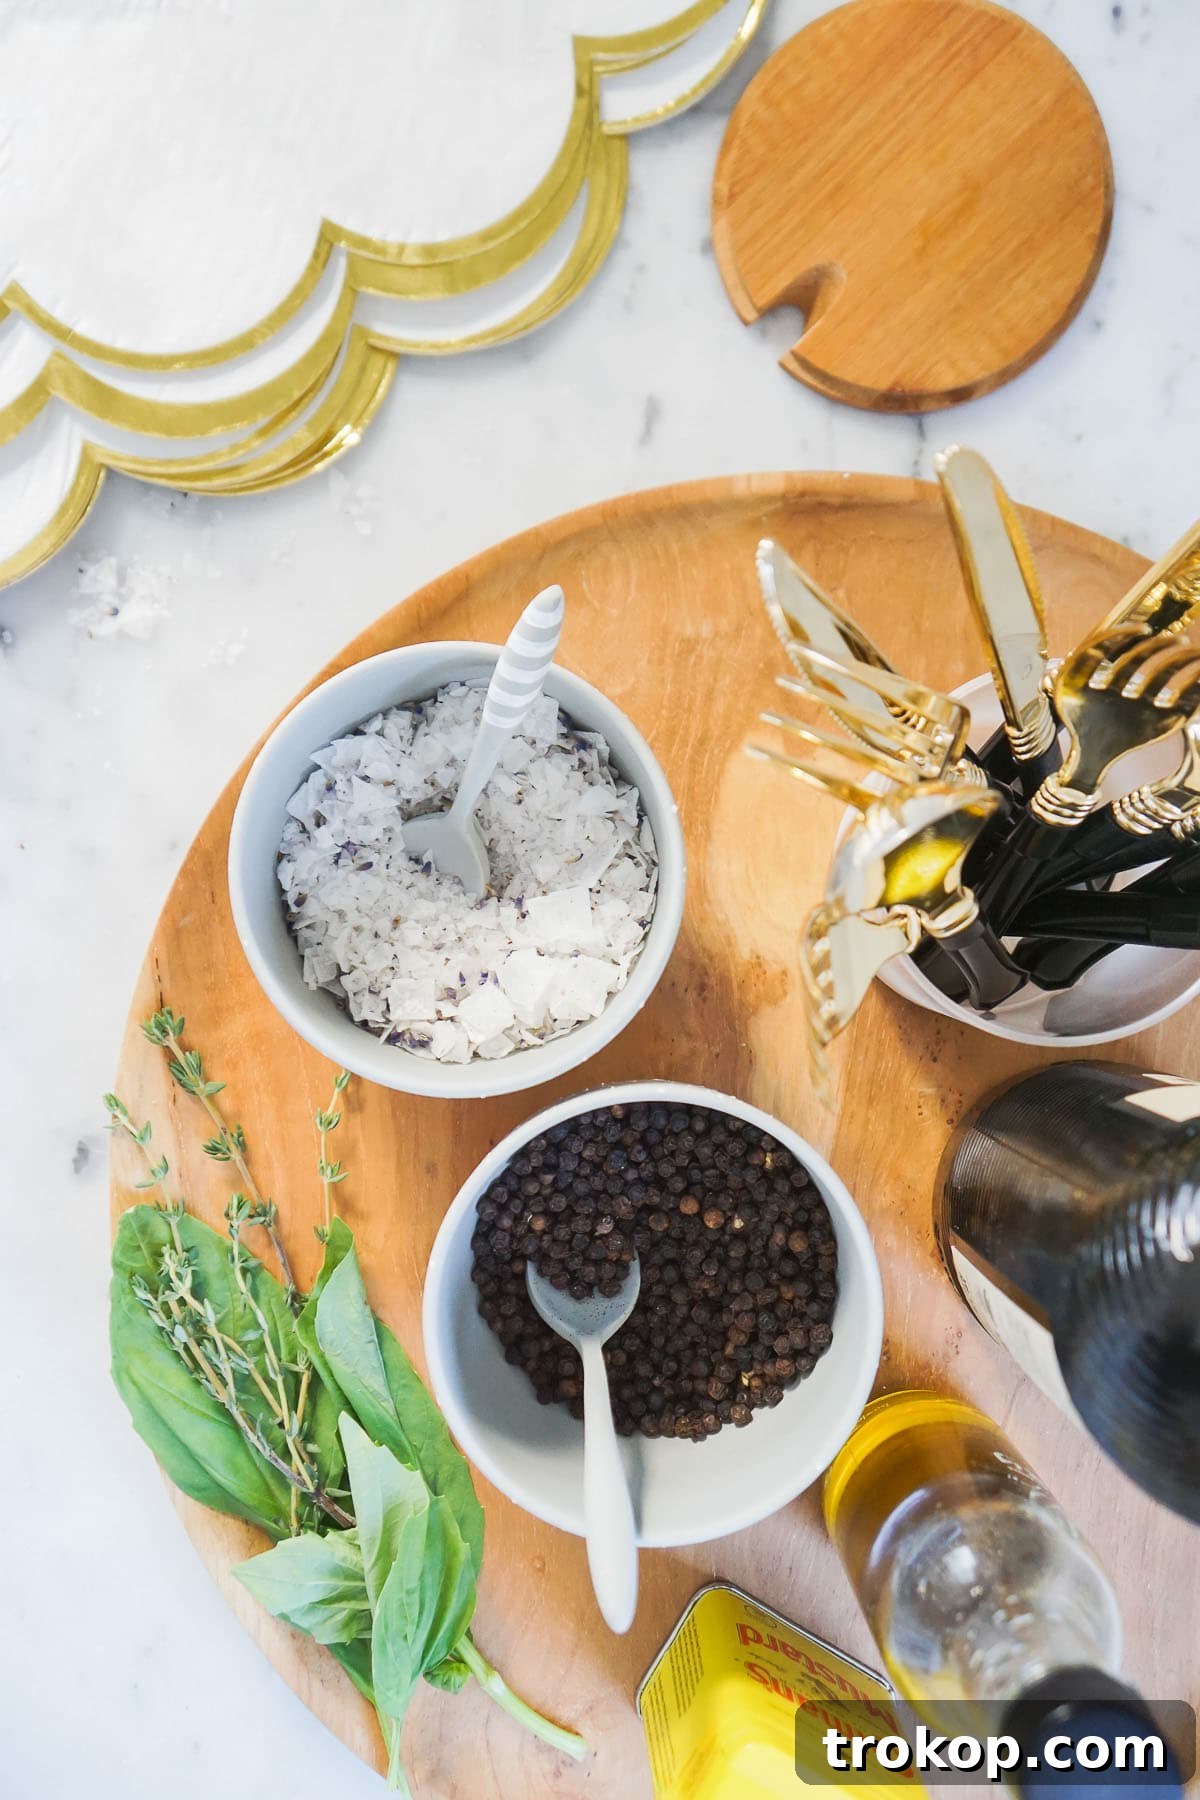
While these versatile cellars are thoughtfully designed to hold salt and pepper, their utility extends far beyond just these two staples. I can envision these charming containers making a perfect home for an array of kitchen delights. From conveniently storing garlic cloves near your cooking station to decanting granulated sugar for your morning coffee, or even organizing small amounts of dried herbs, their potential uses are limited only by your imagination. They are equally adept at holding freshly ground spices, small candies, or even serving as a stylish holder for paper clips or other desk essentials outside the kitchen.
Beyond their practical applications in your own home, these DIY Faux Stoneware Salt Cellars also make for an incredibly thoughtful and personal housewarming gift. Imagine presenting a new homeowner with a handcrafted piece that not only looks exquisite but also embodies a warm, welcoming spirit. To make the gift even more special and visually appealing, consider boxing it beautifully and topping it with one of our DIY Faux Flower Gift Toppers! You could also pair it with a gourmet sea salt blend, a selection of unique peppercorns, or a small recipe book to inspire culinary adventures. A handmade gift carries a unique sentiment, showing care and effort that mass-produced items simply cannot replicate.
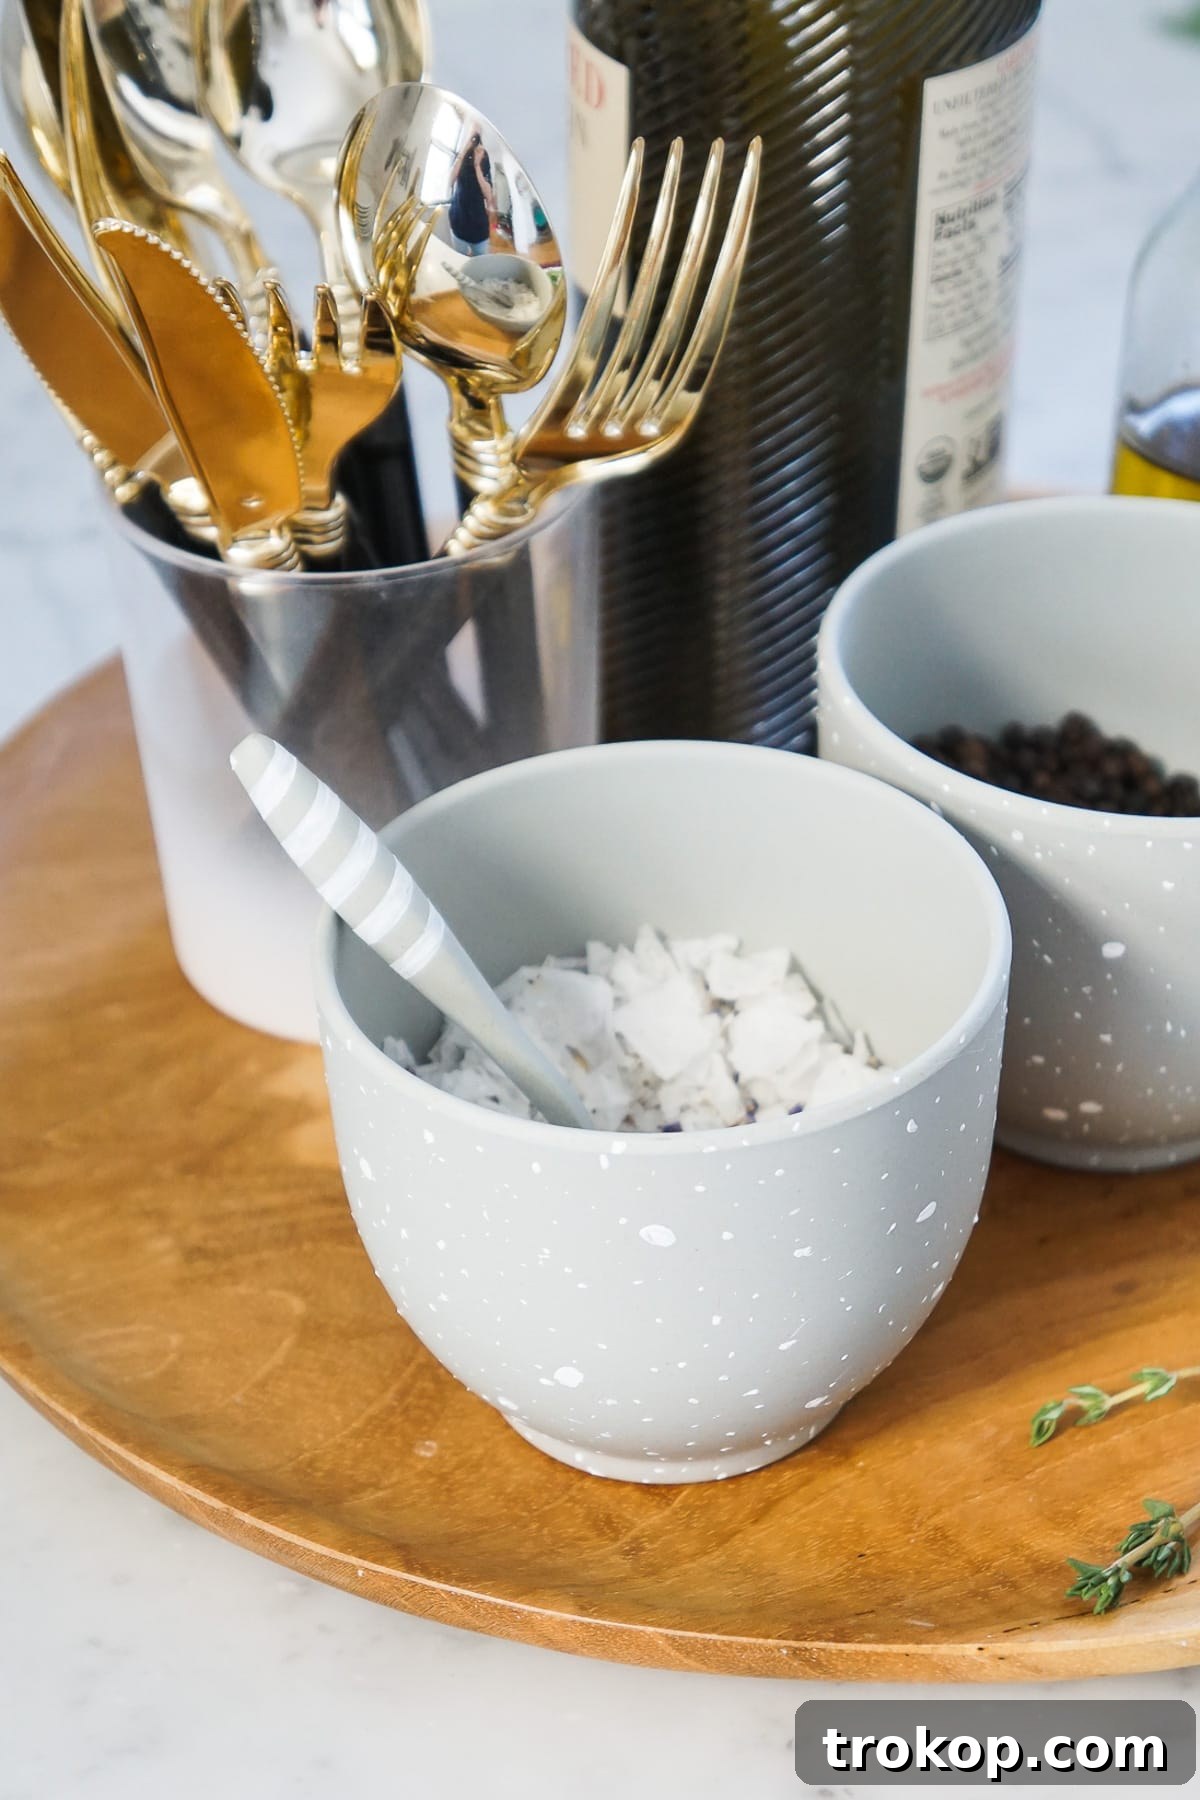
This project is a testament to how a little creativity and a few simple supplies can transform everyday items into objects of beauty and function. The faux stoneware technique is not just about saving money; it’s about infusing your living spaces with character and personal flair. Embrace the joy of DIY and enjoy the admiring glances your custom salt cellars are sure to receive!