
Elevate Your Entertaining: Crafting Stunning DIY Metallic Patterned Glassware
Are you tired of plain, uninspiring drinkware? Do you dream of a bar cart adorned with unique, eye-catching glasses that reflect your personal style? You’re in luck! With just a roll of permanent metallic gold vinyl, you can effortlessly transform ordinary glassware into dazzling, retro-inspired, or modern masterpieces. This DIY Metallic Patterned Glassware project is not only incredibly simple but also delivers an impressive touch of custom luxury to any home or gathering.
The Quest for Unique Glassware: A Common Dilemma
For many enthusiasts of home entertaining and cocktail crafting, the search for distinctive glassware can be a frustrating journey. We’ve all been there – scrolling through endless online shops or browsing boutique stores, only to find exquisite pieces that either come with an exorbitant price tag, making a complete set an impossible dream, or are sold individually, leaving us perpetually short for entertaining guests. The desire for something truly special, something that stands out from the generic, often collides with budget constraints or limited availability. This common dilemma is precisely what makes DIY projects so appealing.
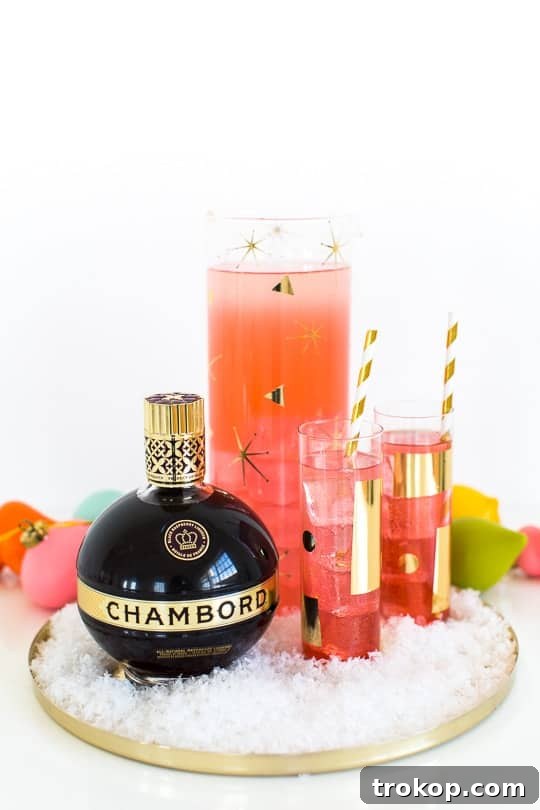
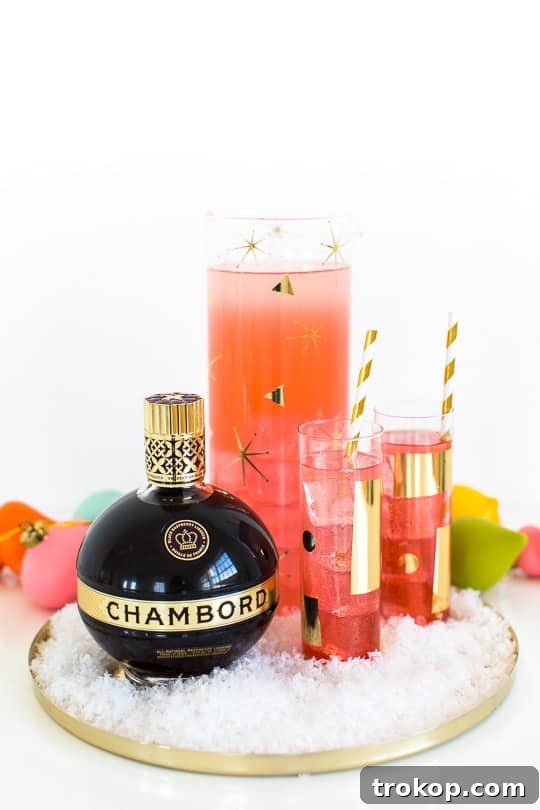
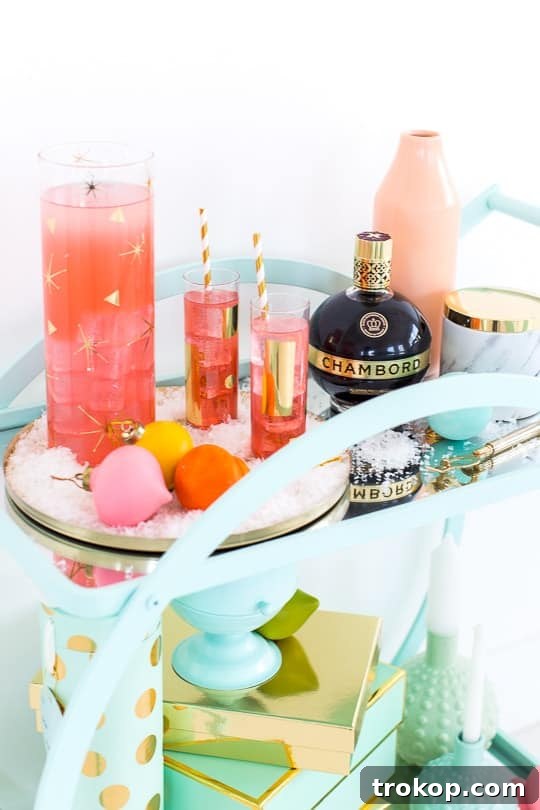
This challenge recently led us to seek a creative solution, especially when we were approached by Chambord to infuse a touch of ‘odd luxury’ into a holiday DIY project. The brief sparked an immediate idea: why buy expensive, unique glassware when you can create it yourself? The answer lay in the versatility of permanent gold vinyl. The result? These wonderfully quirky and fun DIY Metallic Patterned Glassware pieces, designed to add an instant upgrade to your barware collection.
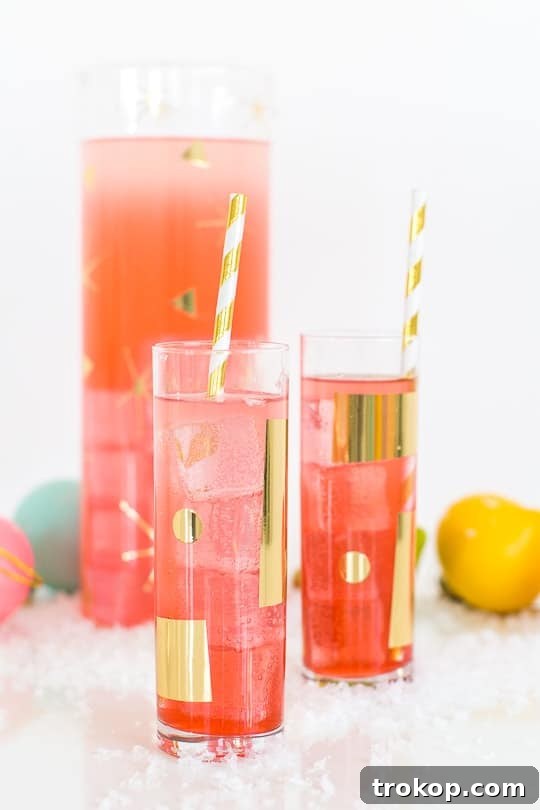
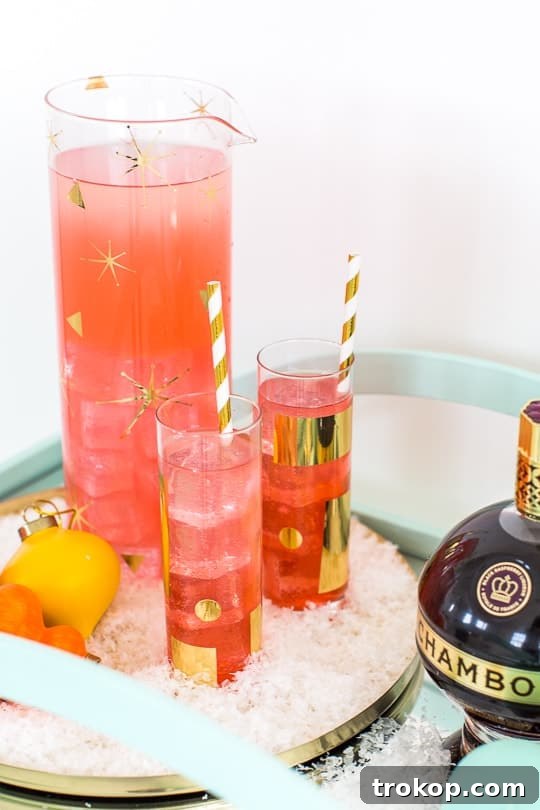
Initially, I envisioned an entire collection adorned with classic retro starbursts. However, as the creative process unfolded, I found myself getting a little more adventurous with the scissors. Experimenting with abstract geometric shapes proved to be an exciting detour, and surprisingly, I ended up loving these modern interpretations even more! The high-quality metallic vinyl I sourced provides such an upscale feel that I couldn’t resist making an abundance of them. After all, when a project is this easy and yields such beautiful results, why hold back?
Why Choose DIY Metallic Glassware?
Beyond the cost savings, there are numerous compelling reasons to embark on this DIY project:
- Unleash Your Creativity: This project is a blank canvas for your imagination. From intricate starbursts to minimalist dots, jagged lines, or even your own custom artwork, the possibilities are limitless. You are the designer, ensuring your glassware is truly one-of-a-kind.
- Personalized Touch: Create glassware that perfectly matches your home decor, your party theme, or even the personality of a gift recipient. Personalized items always carry a special charm.
- Budget-Friendly Elegance: Achieve a high-end, bespoke look without the boutique price tag. Regular plain glasses are incredibly affordable, and a single roll of vinyl can decorate numerous pieces.
- Easy and Accessible: This craft requires minimal tools and skill. Whether you’re a seasoned DIYer or a complete beginner, you’ll find this project straightforward and rewarding.
- Durability: When using permanent vinyl and following the curing instructions, your metallic patterns will withstand regular handwashing, ensuring your beautiful creations last.
- Perfect for Gifting: Handcrafted items make thoughtful and memorable gifts. Imagine presenting a set of custom metallic glasses to friends or family for holidays, weddings, or housewarmings.
Materials and Tools Needed to Make DIY Metallic Patterned Glassware
Gathering your supplies is the first step towards creating your stunning custom glassware. The beauty of this project lies in its simplicity and the minimal tools required.
Essential Materials:
- Permanent Metallic Gold Vinyl: This is the star of our show. “Permanent” is the key word here, as it ensures the adhesive will bond securely to the glass and withstand handwashing. While gold offers that classic luxurious feel, don’t hesitate to explore other metallic shades like silver, rose gold, or even holographic vinyl for different effects. You can often find high-quality permanent vinyl from craft stores or online retailers. For specific recommendations, I often purchase mine here or for a wider selection, consider looking on eBay.
- Plain Glassware: Any smooth, clean glass surface will work! This could include cocktail glasses, tumblers, wine glasses, champagne flutes, decorative vases, carafes, or even glass pitchers. Opt for affordable, clear glassware to truly let the metallic patterns shine. Ensure the glasses are free of any coatings or textures that might hinder vinyl adhesion.
Tools You’ll Need:
- Scissors: For simple geometric designs, a good pair of sharp scissors is all you need. You can freehand cut squares, rectangles, triangles, or even organic wavy shapes.
- Cutting Machine (Optional, but Recommended for Intricate Designs): If you envision complex patterns like starbursts, monograms, or highly detailed logos, an electronic paper cutting machine (such as a Cricut or Silhouette) will be invaluable. These machines allow for precision cutting and the ability to replicate designs consistently. If you don’t own one, many craft stores offer cutting services, or you can find pre-cut vinyl decals online.
- Hole Punch (Optional): Perfect for creating uniform dots of various sizes. A standard paper hole punch works for larger dots, while smaller craft punches can create tiny accents.
- Rubbing Alcohol or Glass Cleaner: For thoroughly cleaning your glassware before application. This ensures the vinyl adheres perfectly.
- Lint-Free Cloth: For drying and wiping down the glass without leaving any residue.
- Weeding Tool or Tweezers (Optional, but Helpful): If you’re using a cutting machine for intricate designs, a weeding tool helps remove excess vinyl from your cut patterns. Tweezers can also assist in precise placement.
- Burnishing Tool or Credit Card (Optional): To smooth down the vinyl and eliminate air bubbles, ensuring a strong bond.
How to Make DIY Metallic Patterned Glassware: Step-by-Step Guide
Creating your custom metallic glassware is a straightforward process. Follow these steps for beautiful and lasting results.
Step 1: Prepare Your Glassware
Thoroughly clean your plain glassware. Wash them with soap and water, then dry completely with a lint-free cloth. For an even better bond, wipe the surface where you plan to apply the vinyl with rubbing alcohol. This removes any oils, fingerprints, or residue that could prevent the adhesive from sticking properly. Allow the alcohol to air dry completely.
Step 2: Design and Cut Your Vinyl Patterns
- For Intricate Designs (Starbursts, Logos): Use an electronic paper cutting machine. Design your patterns in the machine’s software, load your permanent metallic gold vinyl, and cut. Once cut, carefully “weed” away the excess vinyl, leaving only your desired design on the backing paper. If you don’t have a machine, you might find pre-cut vinyl decals online or utilize a local craft store’s cutting service.
- For Simple Geometric Designs (Rectangles, Dots, Stripes): Use scissors or a hole punch. Simply cut imperfect rectangles, triangles, or strips directly from the vinyl sheet. For dots, a standard hole punch or smaller craft punches work perfectly. Don’t be afraid to experiment with varied sizes for an organic, playful look.
Remember to ensure you are using permanent vinyl. This crucial detail ensures that your beautiful designs will adhere securely to the glass and allow for handwashing without fear of them peeling off.
Step 3: Apply the Vinyl to Your Glassware
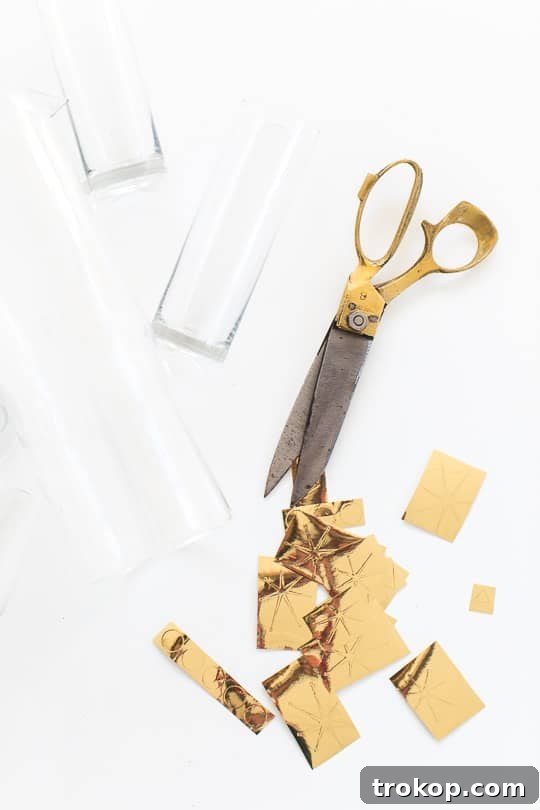
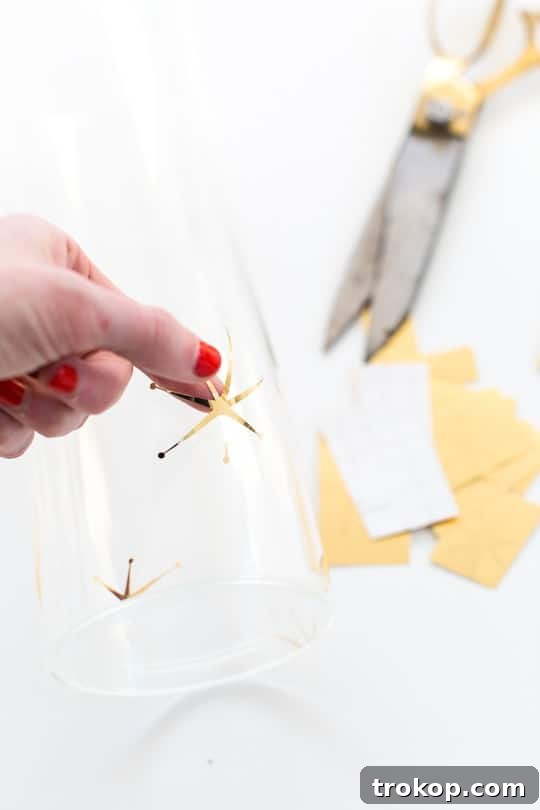
Once your designs are ready, it’s time to apply them. This is the most satisfying part! Carefully peel each vinyl design from its backing. Position it precisely on the clean glass surface according to your desired pattern. Smooth it down gently from the center outwards with your fingers, a burnishing tool, or even a credit card. This action helps to push out any trapped air bubbles and ensures strong adhesion. Repeat this process, placing your designs sporadically or in a more structured pattern across your glassware.
Step 4: Cure the Adhesive
This step is critical for the longevity of your designs. After applying all your vinyl patterns, allow the adhesive to fully cure for a minimum of 72 hours before washing or using the glassware. This curing period allows the permanent vinyl’s adhesive to form a strong, lasting bond with the glass surface, making it much more durable.
Creative Design Ideas and Tips
Abstract Geometric Charm
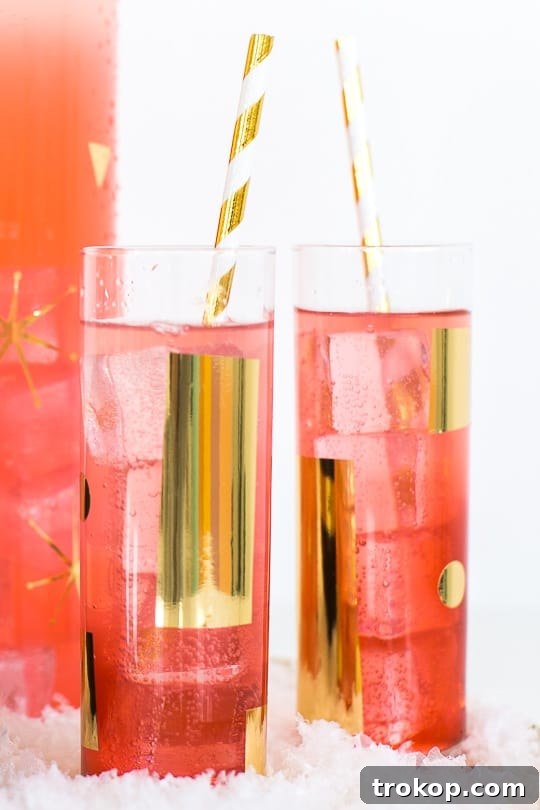
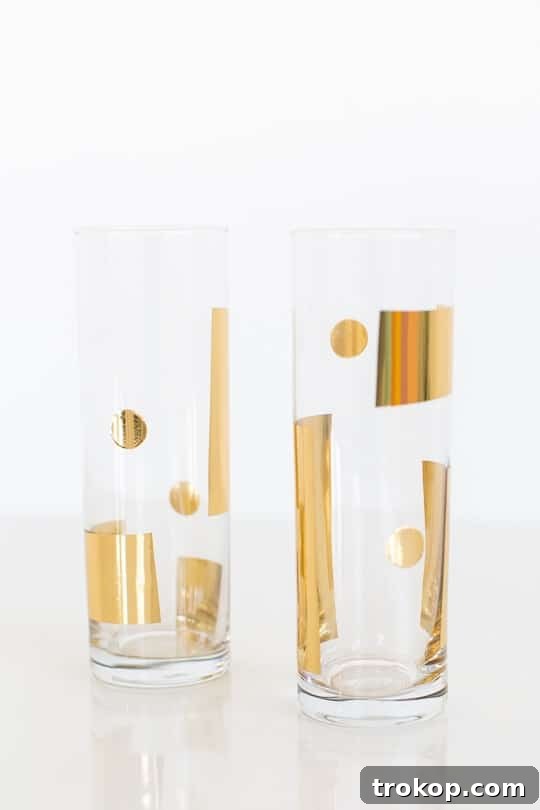
For those who love a modern aesthetic, abstract geometric patterns are incredibly chic and easy to create. As I explored different styles, I found myself drawn to these. Simply cut imperfect rectangles and other geometric shapes of varying sizes from your metallic vinyl. Stick them on in a random yet balanced arrangement around the glass. Then, enhance the design with a few strategically placed gold circles, created using a hole punch. The combination of varied shapes and sizes adds depth and a sophisticated, contemporary feel. These designs turned out to be my absolute favorite!
Retro Starbursts and Beyond
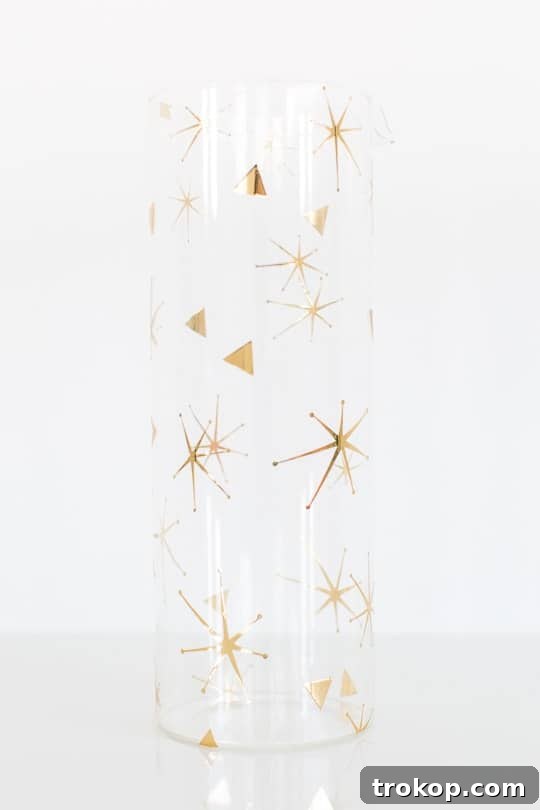
If you prefer a nostalgic vibe, retro starbursts are timeless. Cutting these intricate shapes is where a vinyl cutting machine truly shines. Alternatively, you can search for pre-made starburst vinyl decals if you don’t have access to a machine. Consider other classic patterns like polka dots, stripes, or even custom monograms for a truly personalized touch. The versatility of vinyl allows you to match any decor style, from mid-century modern to ultra-contemporary.
Maintenance and Care
While permanent vinyl is quite durable, it’s essential to treat your custom glassware with care. Always handwash your metallic patterned glasses. Avoid using abrasive scrubbers, harsh detergents, or dishwashers, as these can gradually degrade the adhesive over time and cause your beautiful patterns to peel. A gentle sponge and mild dish soap are all you need to keep your creations sparkling. With proper care, your DIY metallic glassware will remain a stunning addition to your collection for years to come.
Beyond Cocktails: More Ways to Use Your Metallic Creations
So, what do you think of these dazzling creations? I’m already envisioning a whole host of DIY holiday gifts coming to life with this simple technique! But the possibilities extend far beyond just cocktail glasses:
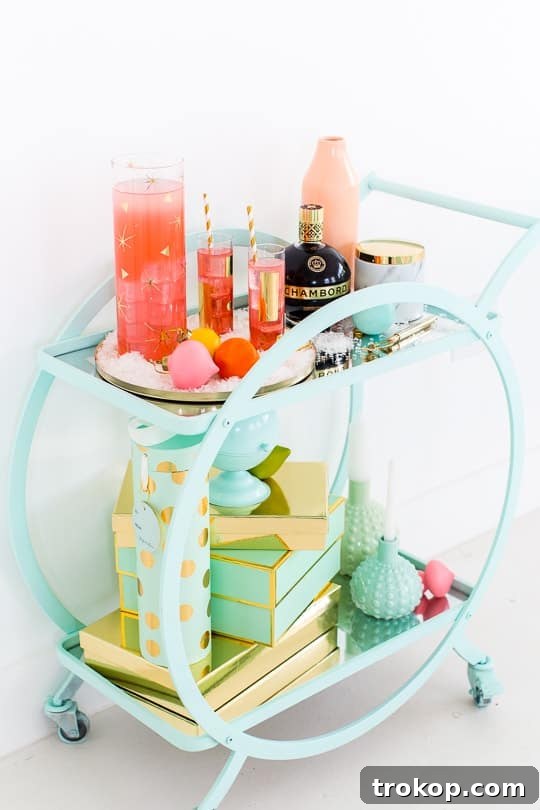
- Personalized Ice Buckets: Add a touch of luxury to your entertaining by decorating a plain ice bucket with metallic vinyl patterns. It instantly elevates your bar setup.
- Decorative Vases: Transform simple glass vases into elegant centerpieces for your dining table or mantle.
- Candle Holders: Apply subtle metallic patterns to glass candle holders for a warm, inviting glow.
- Gift Packaging: Even glass jars used for gifting homemade treats can be adorned with metallic vinyl for a special touch.
- Everyday Drinkware: Why limit the sparkle to special occasions? Elevate your morning juice glass or water tumbler with a bit of metallic flair.
This project is an incredible way to infuse personality and elegance into your home decor and gift-giving without breaking the bank. It’s a testament to how a small, creative effort can yield spectacularly luxurious results.
This post is made possible by Chambord (Brown-Forman Corporation, Louisville, KY, Black Raspberry 16.5%, 21+) & Refinery 29. We extend our sincere gratitude for supporting the brands we love, which in turn helps us bring you bigger, better DIY projects and even sweeter content straight to your inbox!