
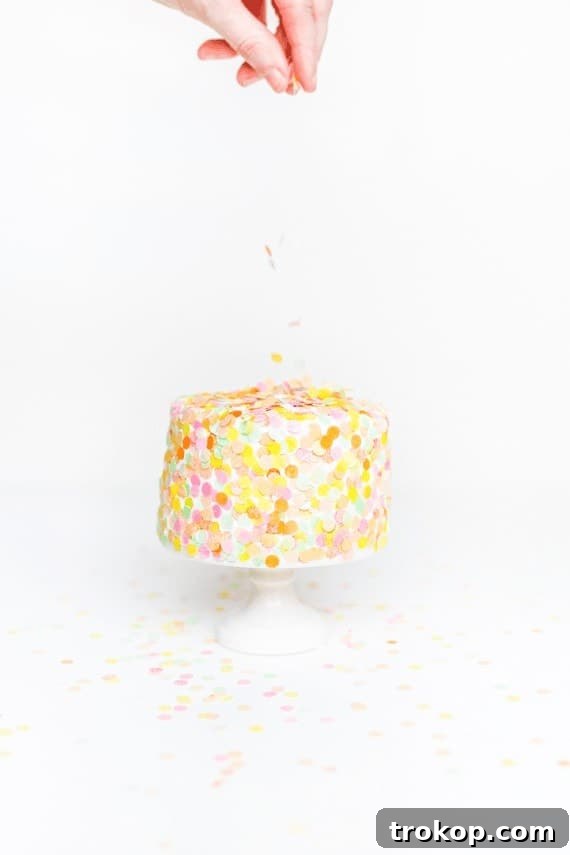
Elevate your dessert game with this quick and simple DIY Edible Confetti! This project allows you to sprinkle a vibrant pop of color and an extra layer of fun onto all your desserts. Best of all, it’s entirely natural, completely customizable, and surprisingly easy to make at home. Say goodbye to generic store-bought sprinkles and hello to a world of personalized sweet decorations. In this comprehensive guide, you’ll learn the step-by-step process, discover essential tips, and unlock endless creative possibilities for crafting your very own unique edible confetti.
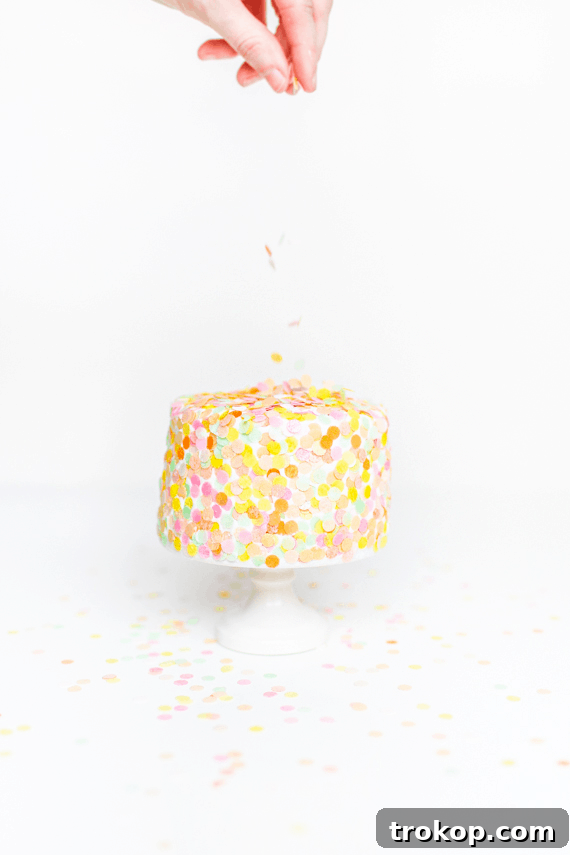
DIY Edible Confetti: Crafting Your Own Custom Dessert Sprinkles
For many avid bakers and party planners, finding the perfect sprinkles to match a specific theme or color palette can often be a challenge. Standard grocery store options frequently lack the desired shades or are filled with artificial ingredients. This is precisely why making your own homemade edible confetti is a game-changer! This DIY project isn’t just about crafting a pretty topping; it’s an opportunity to inject genuine creativity and personal flair into your confections. Imagine being able to choose any color — from dazzling gold and trendy mint to soft peach or bold rainbow combinations — that perfectly complements your vision. With this tutorial, you’ll be able to bring those colorful dreams to life, and it might just become your newest favorite baking addiction!
There’s hardly a celebration that isn’t enhanced by the playful addition of confetti, and when that confetti is delicious and edible, it truly makes an event unforgettable. Homemade sprinkles offer a level of customization that commercial products simply can’t match. You control the ingredients, making them ideal for those with dietary restrictions or anyone looking for a more natural alternative. Beyond the aesthetic appeal, there’s immense satisfaction in knowing every detail of your dessert, right down to the sparkling edible confetti, was crafted with care and creativity.
If you have a love for exquisite desserts like delicate macarons, you’ll appreciate the art of edible decoration. Be sure to explore our tutorial on DIY Edible Gold Macarons, which shows another beautiful way to personalize your sweet creations. The principles of precision and creativity apply similarly, allowing you to elevate both the taste and presentation of your baked goods.
The possibilities with DIY edible confetti are genuinely endless, limited only by your imagination. You can experiment with a myriad of shapes, sizes, and colors. Beyond simple rounds, think tiny stars, hearts, squares, or even custom mini silhouettes using specialized craft punches. Imagine gradients of color, metallic accents, or specific color blends that perfectly align with your party decor. This level of personalized detail is exhilarating, almost as thrilling as picking out your favorite ice cream at a magical destination. It transforms your baking from a task into a truly expressive art form.
Ready to embark on this fun and delicious DIY journey? Here’s a complete guide with all the how-tos and essential tips for making your own stunning edible confetti sprinkles.
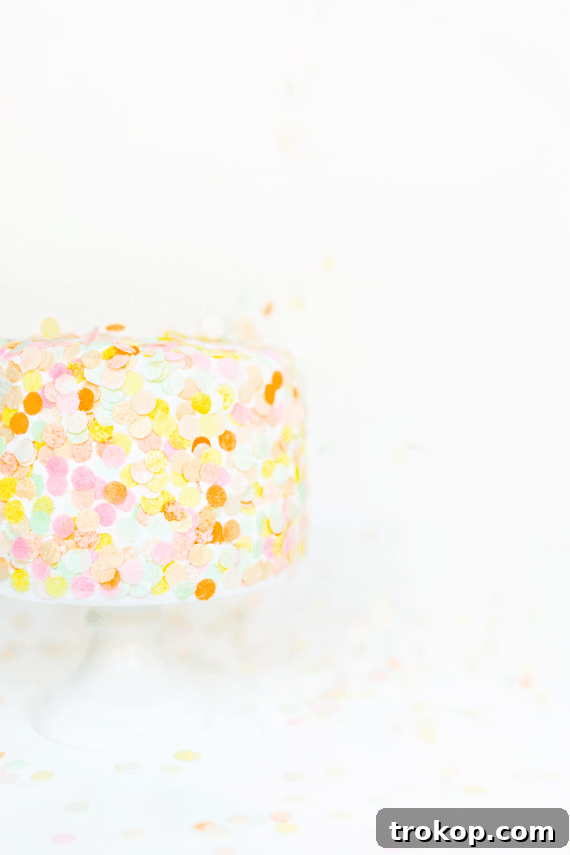
Table of Contents
Materials and Tools Needed to Make DIY Edible Confetti
Creating your own custom edible confetti requires a few simple, accessible items. Having these ready before you begin will streamline your crafting process:
- White Sugar Sheets: These form the edible base of your confetti. Sugar sheets are thin, flexible, and slightly sweet, making them perfect for food decoration. Starting with white sheets provides a blank canvas, allowing you to achieve any desired color. While pre-colored sugar sheets are an option for convenience, white sheets offer the ultimate in color customization. Alternatively, you could experiment with wafer paper, which is also edible, but sugar sheets typically yield a smoother texture and absorb color more evenly.
- Food Color Mist (Edible Spray Paint): This is how you’ll impart vibrant colors to your sugar sheets. Food color mist delivers a fine, even layer of color, which is essential for creating uniformly tinted confetti. Look for food-grade aerosol sprays in a variety of colors at baking supply stores or online. If you’re looking for even more intricate color blending or prefer a non-aerosol option, gel food coloring diluted with a small amount of edible alcohol (like vodka or clear vanilla extract) can be painted onto the sheets with a food-safe brush, though this method may require more drying time and a lighter hand.
- Hole Punch (or Mini Cookie/Craft Cutters): This is your primary tool for shaping the confetti. A standard office hole punch works perfectly for traditional round confetti. However, don’t hesitate to expand your horizons! Small craft punches designed for paper can be repurposed for edible use (ensure they are thoroughly cleaned and designated for food-only after this). These come in myriad shapes like stars, hearts, flowers, or even tiny animals, allowing for truly unique confetti designs. The size of your punch impacts both the look of your confetti and the speed at which you can decorate; larger punches cover more surface area faster.
- Parchment Paper or Wax Paper: Indispensable for protecting your work surface during the coloring process and providing a clean, non-stick area for your sugar sheets to dry.
- Scissors (Optional): Useful for trimming larger sugar sheets into more manageable sections, especially if you’re working with smaller punches or multiple colors simultaneously.
How to Make DIY Edible Confetti
Creating your own edible confetti is a delightful and straightforward process. Follow these detailed steps to produce a beautiful array of custom sprinkles:
Step 1: Coloring Your Sugar Sheets
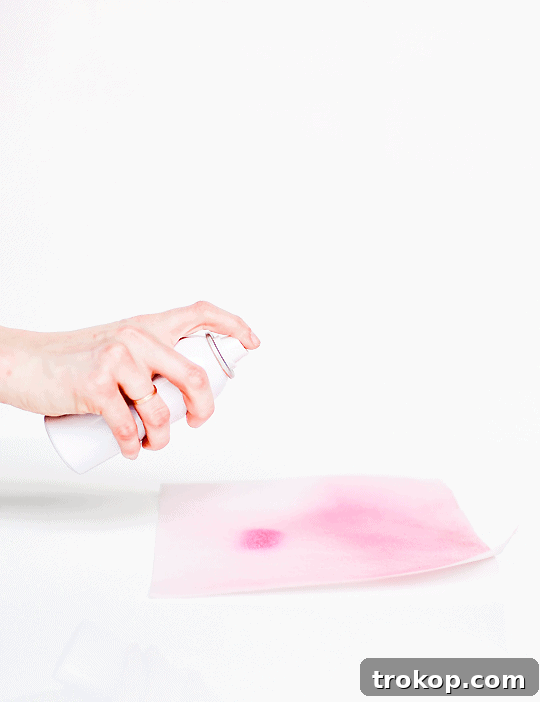
Begin by laying your white sugar sheets flat on a protected surface, such as a large piece of parchment paper or newspaper, in a well-ventilated area. If you’re using food color mist, give the can a good shake to ensure the color is evenly mixed. Hold the can approximately 6-8 inches away from the sugar sheet and apply the color in short, even bursts. The key to achieving vibrant, streak-free color is to apply several thin coats rather than one heavy layer. For deep, rich colors (like a royal blue or dark red), build up the intensity gradually, allowing a minute or two of drying time between each coat. For lighter, pastel shades, fewer coats will be sufficient. Remember to extend your spray slightly beyond the edges of the sheet to ensure that the entire paper is covered uniformly, preventing any uncolored borders on your finished confetti. This technique ensures a professional, polished appearance for every piece.
Step 2: Drying the Sheets for Best Results
Once you’ve achieved your desired color intensity on the sugar sheets, it’s crucial to let them dry completely. This step is vital to prevent smudging, sticking, and to ensure clean, crisp cuts when you punch out the shapes. The drying time can vary depending on the humidity levels in your environment and the number of color coats applied; typically, it ranges from 15 minutes to an hour. The sheets should feel firm and entirely dry to the touch, without any tackiness, before you proceed. If you opted for pre-colored sugar sheets, they may still benefit from a short drying period to ensure they are perfectly pliable for punching.
While purchasing pre-colored sugar sheets offers convenience, using food color mist provides unparalleled flexibility for custom colors or unique mixed shades. This method empowers you to perfectly match your confetti to any party theme or creative vision, making your desserts truly one-of-a-kind.
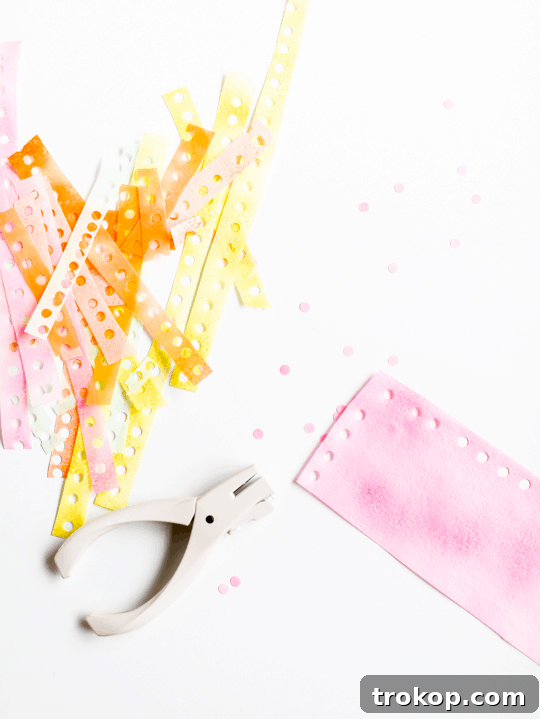
Step 3: Punching Out Your Edible Confetti Shapes
With your vibrant sugar sheets thoroughly dry, it’s time for the most enjoyable part: creating the confetti pieces! Take your chosen hole punch or mini cookie cutters and systematically work your way across the colored sheets. Press firmly and cleanly to create your desired shapes. You can stick to a classic circular hole punch for traditional confetti, or get creative with various craft punches to produce stars, hearts, tiny flowers, or any other fun shapes that complement your theme. Remember, the larger the punch, the quicker your confetti will cover a cake, which can save you significant time and effort during decoration. For an even more dynamic and visually interesting mix, consider using punches of different sizes and shapes to create a varied assortment of edible sprinkles.
As you punch, collect the fresh edible confetti in a clean, dry bowl or container. This process can be quite therapeutic and efficient, allowing you to quickly build a generous supply of beautiful, homemade sprinkles ready for immediate use or storage.
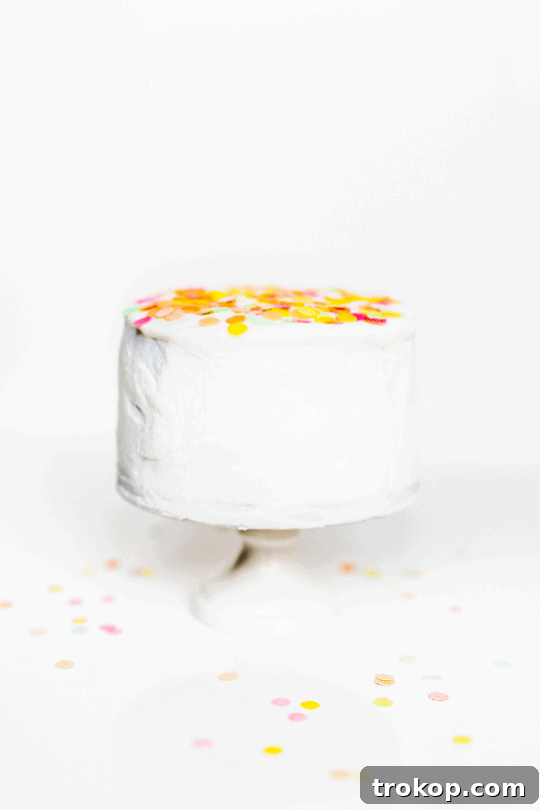
Storage Tips for Homemade Confetti
To ensure your homemade edible confetti remains fresh, crisp, and vibrant, proper storage is essential. Once all your pieces are punched out and dry, transfer them to an airtight container. Store this container at room temperature in a cool, dry place, away from direct sunlight and any sources of moisture. A pantry or cupboard is an ideal location. Avoid refrigerating or freezing your confetti, as the moisture and condensation can cause the sugar pieces to become sticky, lose their crispness, or even clump together. When stored correctly, your custom edible confetti can last for several weeks, or even a few months, allowing you to prepare well in advance for upcoming special occasions.
Decorating With Your Homemade Confetti Sprinkles
With your beautiful batch of homemade edible confetti ready, it’s time to unleash your creativity and transform your desserts into stunning edible art. The application possibilities are truly boundless:
- Spotlight on the Top: For a quick yet personalized pop of color, sprinkle your custom confetti exclusively across the top of a plain white frosted cake. The simplicity of the base will make your unique color combination truly stand out, creating an elegant and playful statement.
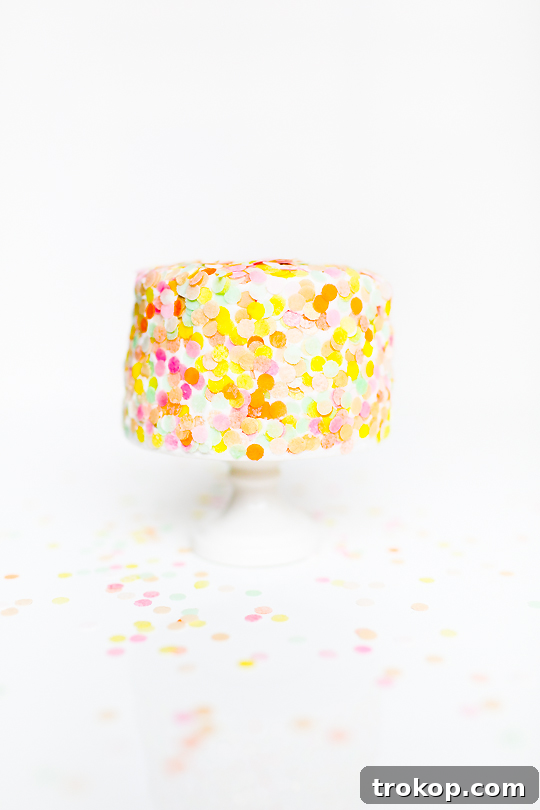
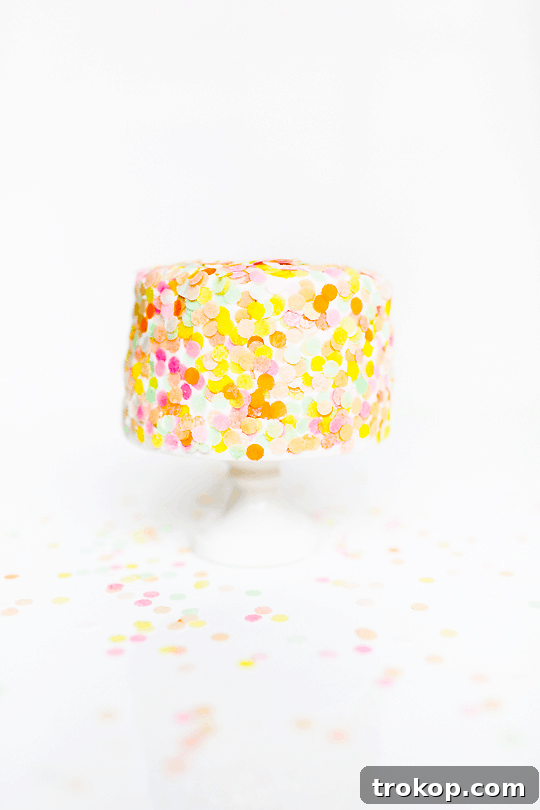
- Statement Confetti Cake: To achieve a truly show-stopping dessert, cover the entire cake – top and sides – with your edible confetti. Gently press the sprinkles into freshly applied frosting or royal icing on the sides for optimal adhesion. This creates a dazzling, textural effect perfect for grand celebrations, birthdays, or festive holiday tables.
- Cupcake & Cookie Embellishments: Transform individual treats into miniature works of art. Shower frosted cupcakes with a generous layer of confetti, or use it to decorate the edges of sugar cookies. You can also press confetti into chocolate-dipped fruit or pretzels for a delightful crunch and visual appeal.
- Patterned & Themed Designs: Utilize stencils or freehand techniques to create specific patterns or images on your cakes. Lightly press confetti onto areas where you desire a concentrated burst of color, or use it to outline shapes and letters for a personalized message.
- Ice Cream & Frozen Delights: Add a festive touch to scoops of ice cream, sundaes, milkshakes, or even homemade popsicles. The immediate chill helps the confetti adhere and provides a fun, unexpected texture.
- Edible Party Favors: Package small quantities of your beautiful homemade confetti in mini jars or decorative bags. These make charming, unique, and biodegradable party favors for weddings, baby showers, birthday parties, or any special event, offering a thoughtful alternative to traditional party confetti.
- Beyond Traditional Desserts: Don’t limit yourself to cakes! Consider garnishing the rim of a cocktail glass for a festive drink, or even adding a whimsical touch to savory appetizers (like cheese balls) for an unexpected pop of color.
I absolutely fell in love with the dramatic effect of an entire cake covered in vibrant edible confetti, so that was definitely the route I chose for my own creations! It instantly becomes the focal point of any dessert spread.
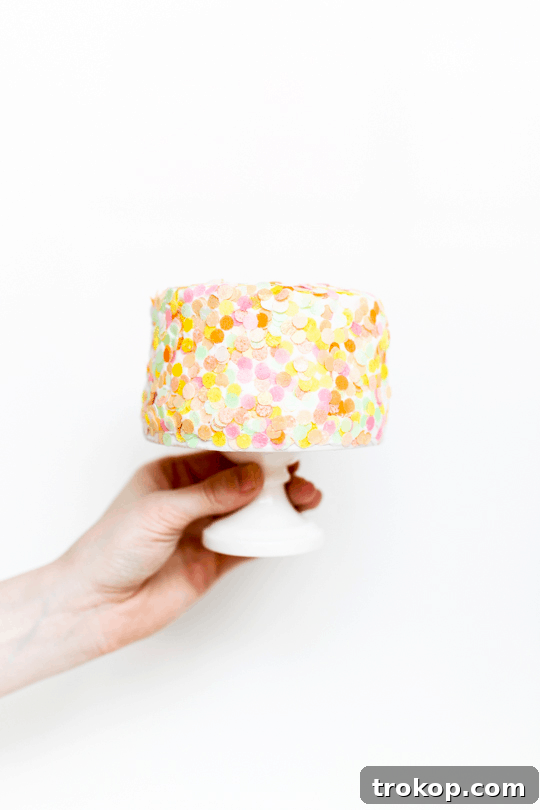
For even more inspiring dessert decoration ideas, you might want to explore our guide on DIY Mini Confetti Print Cakes, which offers another incredibly attractive way to incorporate confetti into your baking repertoire. And to complete your stunning dessert presentation, consider pairing your beautifully adorned treats with these chic and functional DIY cake stands, elevating the entire experience.
If you’re eager for more confetti-themed DIY projects and creative ideas, delve into our related posts below for endless inspiration:
- DIY Wood Veneer Confetti & Gift Tag Flags
- Simple Jumbo DIY Confetti Poppers
- DIY Confetti Pattern Placemats
- DIY Christmas Tree Cones For Your Holiday Decor
Homemade Edible Confetti Recipe
This effortless DIY Edible Confetti recipe allows you to create vibrant, custom sprinkles that add a pop of color and fun to any dessert. It’s all-natural, highly customizable, and perfect for personalizing your baked goods.
Prep Time: 10 minutes
Total Time: 10 minutes
Course: Desserts
Category: Cakes, Decorations
Yield: Varies significantly based on punch size and quantity of sugar sheets used. Typically enough for 1-2 medium cakes.
Equipment
- Hole punch (various shapes and sizes optional, ensure it’s clean and designated for food use)
- Parchment paper or wax paper (to protect work surfaces and for drying)
- Airtight container (for storage)
Materials
- 1 white sugar sheet (standard size, or basic colored ones if you wish to skip the coloring step)
- 3-5 cans of food color mist in colors of your choice (if using a white sugar sheet, for variety)
Instructions
- Prepare and Color Sugar Sheets: Lay your white sugar sheets on a clean, protected work surface, such as parchment paper. Shake your food color mist can well. Hold the can approximately 6-8 inches away from the sugar sheet and spray in light, even coats. For darker and more intense colors, apply multiple thin layers, allowing each layer to dry for 1-2 minutes before applying the next. Be sure to spray slightly beyond the edges of the sheet to ensure complete and uniform color coverage across the entire surface.
- Dry the Colored Sheets: Allow the tinted sugar sheets to dry completely to the touch. This can take anywhere from 15 minutes to an hour, depending on environmental humidity and the number of coats applied. The sheets must be dry and firm to ensure clean cuts in the next step. (If using pre-colored sugar sheets, ensure they are dry before proceeding to punching.)
- Punch Confetti Shapes: Once the colored sugar sheets are thoroughly dry, use your chosen hole punch (or mini craft cutters) to carefully punch out individual confetti pieces. Experiment with different punch sizes and shapes for a varied and visually appealing mix. Collect all the punched edible confetti in a clean, dry bowl or container.
- Store Your Homemade Confetti: Transfer the finished edible confetti into an airtight container. Store it at room temperature in a cool, dry place, away from direct sunlight and moisture. When stored properly, your homemade sprinkles will stay fresh and vibrant for several weeks, ready to adorn your next delicious creation.
Estimated Cost: $16 (This cost is approximate and can vary based on brand, quantity, and specific colors of sugar sheets and food color mist purchased.)
Keywords: edible confetti, homemade sprinkles, DIY cake decorations, sugar sheet confetti, custom sprinkles, baking crafts, dessert toppings, party food decor

We’d love to see your beautiful homemade edible confetti creations! Don’t forget to share them with us on Instagram using the hashtag #sugarandclothloves. We are always thrilled to see how you bring your unique ideas to life! For more quick, easy, and undeniably delicious recipes, including a fantastic selection of delightful desserts, be sure to explore our full collection right here. Happy baking and decorating!
Easy Recipes for Special Occasions & Celebrations

DIY Abstract Floral Pattern Cake
Easter Egg Cheesecake: Mini Egg Cheesecake Recipe
Frosted Animal Cracker Cake Recipe
Quick Funfetti Birthday Cheesecake Recipe
Easy Chai Crepe Cake Recipe
The Best Funfetti Cookie Cake Recipe