
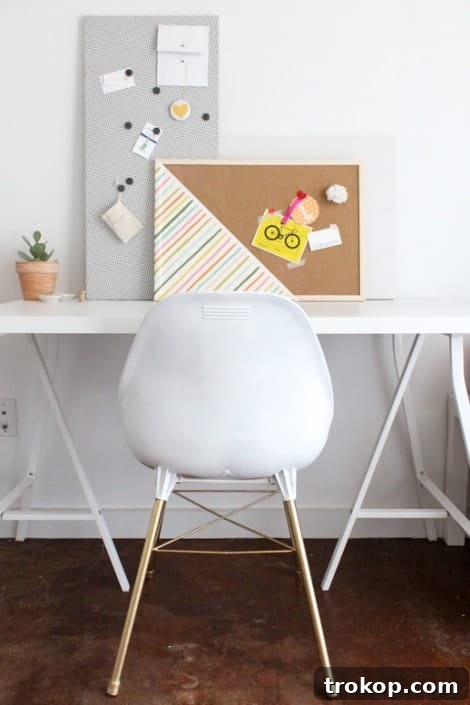
DIY Patterned Magnetic Board: The Ultimate Guide to Stylish Organization
In our increasingly busy lives, staying organized is key to productivity and peace of mind. Whether you’re a student preparing for a new academic year, a professional managing deadlines from a home office, or a parent juggling countless tasks, a dedicated space for notes, reminders, and inspiration can be a game-changer. This comprehensive guide will show you how to create a beautiful and functional DIY patterned magnetic board that not only helps you declutter but also adds a touch of personalized style to any room. Forget generic, store-bought solutions; it’s time to craft a custom organization station that truly reflects your taste!
Why Choose a DIY Magnetic Board for Your Organization Needs?
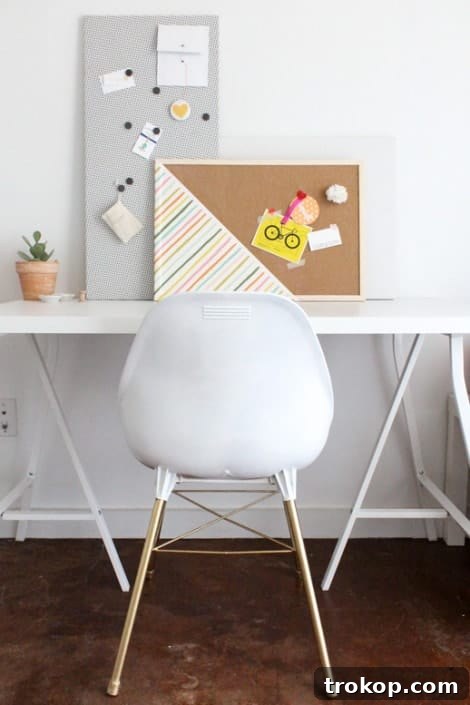
The concept of a magnetic board isn’t new, but customizing one with your favorite fabric elevates it from a mere utility item to a decorative centerpiece. Many people have asked about the stylish polka dot board from the original Ikea Back to School DIY series, and the secret lies in its delightful simplicity and personalization. This project offers several compelling advantages:
- Customization Beyond Limits: Unlike off-the-shelf options, a DIY magnetic board allows you to select any fabric pattern, color, or texture that perfectly matches your existing decor or personal style. From vibrant florals to minimalist geometrics, the possibilities are endless.
- Cost-Effective Solution: Creating your own board is often more budget-friendly than purchasing a pre-made, designer version, especially when you can source affordable fabric and a basic magnetic base.
- Versatile Functionality: Not only can you use magnets to hold notes, photos, and memos, but with the right fabric, you can also transform it into a hybrid cork board. Just push thumbtacks right through the fabric to display additional items. This dual functionality makes it incredibly versatile for various needs, from a busy student’s desk to a creative crafter’s studio.
- A Personal Touch: There’s immense satisfaction in creating something with your own hands. This project is simple enough for crafters of all skill levels and results in a unique piece that genuinely feels like ‘you.’
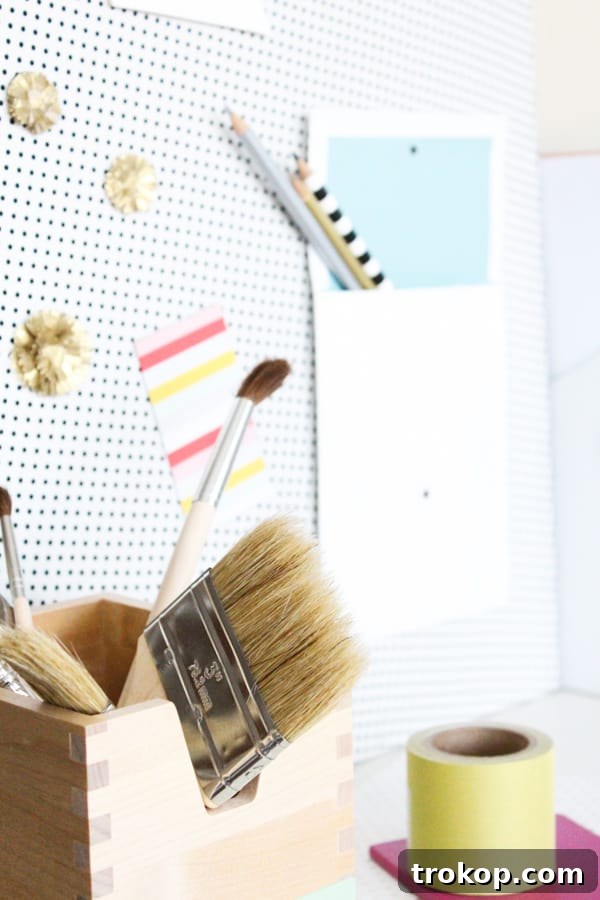
Table of Contents
Materials Needed to Make a DIY Magnetic Board
Gathering your supplies is the first exciting step in any DIY project. For this patterned magnetic board, you’ll find most items readily available at craft stores, home improvement centers, or even your local Ikea. Here’s what you’ll need:
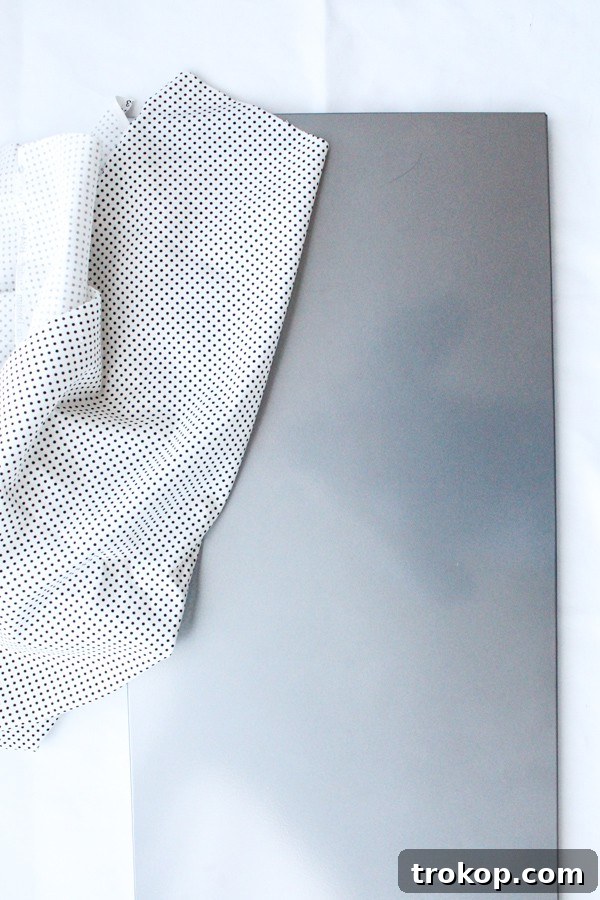
- Magnetic Board: We utilized the Ikea Spontan Memo Board for its affordability and clean design. However, this DIY is incredibly adaptable and works with any flat, magnetic surface. Consider options like a plain metal sheet from a hardware store, an old cookie sheet (for a smaller board), or even repurposing an existing, less attractive magnetic board. The key is a smooth, clean surface for the fabric.
- Magnets or Magnet Dots: You’ll need these to attach your notes and photos. Small magnet dots are excellent for discreet holding, but feel free to get creative with decorative magnets or even make your own by gluing magnets to small embellishments.
- 1 Yard of Fabric: The heart of your personalized board! One yard is typically sufficient for standard memo board sizes, but always measure your board and add at least 6-8 inches extra on all sides to account for wrapping. When choosing fabric, think about:
- Pattern: Polka dots, stripes, floral, geometric, abstract – select something that speaks to your style.
- Color: Complement your room’s color scheme or introduce a vibrant pop of color.
- Weight: Lighter-weight cotton or linen fabrics work best as they are easy to manipulate and adhere smoothly. Avoid very thick or textured fabrics, as they might be challenging to wrap neatly.
- Affordability: Many stores, including Ikea, offer a fantastic selection of affordable fabrics perfect for craft projects.
- Spray Adhesive: A strong, permanent spray adhesive designed for fabric and multi-surface use is crucial. Look for brands that offer a repositionable option initially, which allows for adjustments before a final, permanent bond. This ensures a smooth, wrinkle-free finish.
- Sharp Scissors: Good quality, sharp scissors will make cutting your fabric much easier and prevent fraying.
- Optional: Iron and Ironing Board: Highly recommended for ensuring your fabric is perfectly smooth before application.
- Optional: Craft Knife or Rotary Cutter: Useful for very precise trimming of excess fabric, though scissors will also work.
How To Make a DIY Patterned Magnetic Board
Now that you have all your supplies, let’s dive into the simple steps to transform a plain magnetic board into a stylish and personalized organizational tool. This process is surprisingly quick and rewarding!
Step 1: Prepare Your Fabric and Board
First impressions count, and a smooth fabric surface is key to a professional-looking magnetic board. Lay your chosen fabric face down on a clean, flat surface. Place your magnetic board on top of the fabric. Ensure you have ample fabric laid out to cover the entire board with approximately 3 extra inches on all four borders. This margin is essential for wrapping the fabric neatly around the back of the board. It’s highly recommended to iron your fabric beforehand to remove any wrinkles or creases. A wrinkle-free fabric will adhere much more smoothly to the board, giving you a flawless finish.
Step 2: Adhere the Fabric to the Board
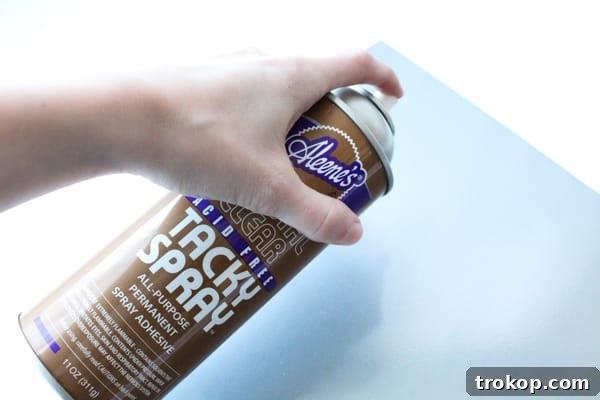
Carefully lift the magnetic board from the fabric. Apply an even layer of spray adhesive to the front surface of the magnetic board, working in sections if necessary, especially for larger boards. Follow the manufacturer’s instructions for the spray glue regarding drying time and proper ventilation. Immediately after applying the glue, gently lower the fabric onto the adhesive-covered board. Start from one edge and smooth the fabric across the surface, carefully pushing out any air bubbles or wrinkles as you go. Take your time to ensure the fabric is taut and perfectly aligned.
Step 3: Secure and Finish the Edges
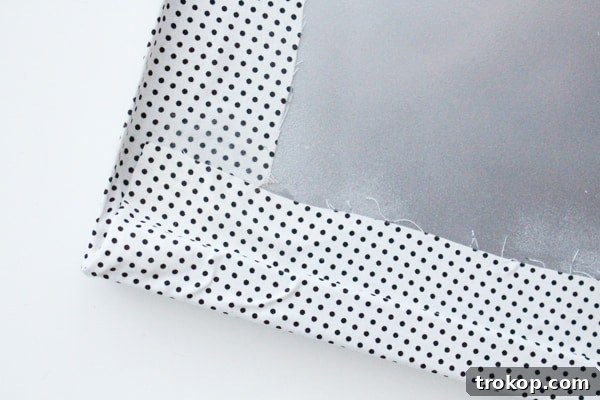
Once the front is smooth and adhered, it’s time to tackle the edges. Turn the board over so the fabric-covered side is face down. Working one side at a time, spray the back edges of the board with spray adhesive. Then, carefully fold the excess fabric over the back of the board, pulling it taut to create crisp edges on the front. Pay special attention to the corners: neatly fold them like you would when wrapping a present, creating clean, mitered corners that don’t bunch or fray. Once all sides are glued down, inspect for any significant excess fabric that might interfere with hanging or create bulk, and trim it away with your sharp scissors for a tidy finish.
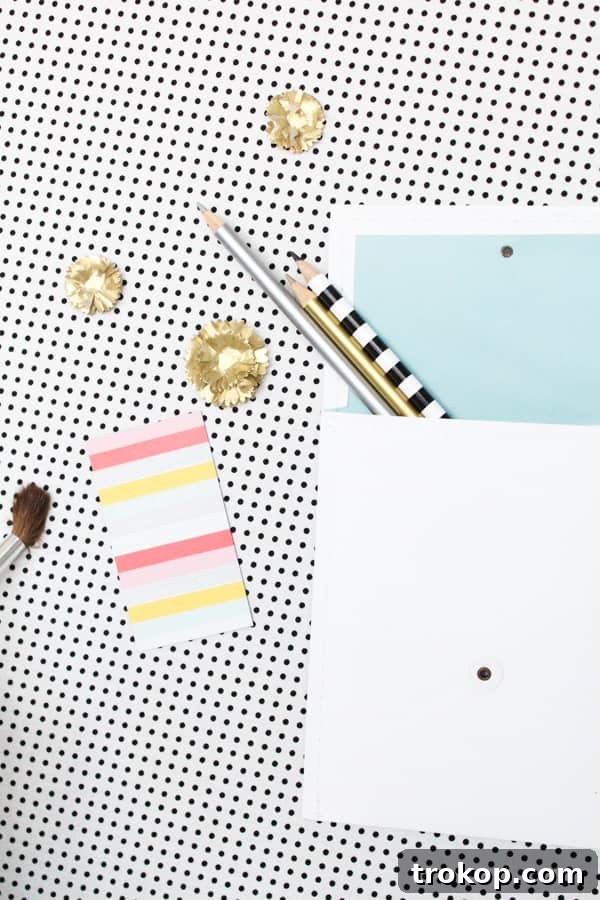
Congratulations! Your beautifully patterned magnetic board is now complete and ready for action. You’re all set to organize your bits and pieces into one cute, functional, and personalized place!
Step 4: Personalize and Accessorize (Optional)
This is where you can truly make your board shine! Beyond just pinning notes, think about adding extra dimension and flair. For instance, you can glue magnet dots to the back of paper flowers, small decorative envelopes, or even tiny craft boxes to create unique, functional embellishments that add depth and visual interest to your board. Use it to display photos, inspirational quotes, important documents, or even small, lightweight decorations. The possibilities for personalization are endless!
Creative Ideas for Your New Magnetic Board
Your new DIY patterned magnetic board is a blank canvas for organization and creativity. Here are a few ideas to get you started on how to best utilize it in different areas of your life:
- The Student’s Command Center: Keep track of assignments, class schedules, important deadlines, and study notes. Use it to display flashcards, inspirational quotes, or even photos of friends and family to motivate you.
- The Home Office Hub: Transform your workspace by organizing to-do lists, client notes, project timelines, and business cards. Attach a small magnetic cup for pens or clips to keep your desk clutter-free.
- The Craft Room Inspiration Board: Perfect for holding fabric swatches, yarn samples, mood board images, project ideas, or patterns. It helps keep your creative thoughts and materials visible and organized.
- The Kitchen Message Center: A great spot for grocery lists, meal plans, important family reminders, take-out menus, or even your favorite recipes clipped with magnets.
- Kids’ Activity Wall: Encourage creativity by displaying your children’s artwork, chore charts, learning materials, or even magnetic letters and numbers for interactive play.
- Entryway Organizer: A convenient spot to hang keys (with magnetic key holders), outgoing mail, appointment reminders, or notes for family members as they come and go.
Caring for Your Fabric Magnetic Board
To keep your DIY magnetic board looking fresh and fabulous, occasional care is recommended. For light dusting, simply wipe the fabric surface with a soft, dry cloth. If you notice any smudges or marks, gently blot the area with a damp cloth and a mild soap solution, being careful not to saturate the fabric. Avoid harsh chemicals or abrasive cleaners, as these can damage the fabric or loosen the adhesive. With proper care, your personalized magnetic board will serve you well for years to come.
More Ingenious DIY Organization Solutions
Looking for even more ways to stay organized and add a handmade touch to your home or office? Check out some of our favorite DIYs from the archives to continue your organizational journey:
- DIY Desk Organizer: For keeping your pretty office essentials on display, this super easy and modern DIY Desk Organizer features a cork board that requires no nails, hammers, or drills to make. It’s perfect for adding functional beauty to your workspace.
- Color Block Storage Lockers: These stylish lockers are perfect for adding a pop of color and practical storage to your mudroom, toy room, office, or entryway. They’re a fantastic way to contain clutter with a modern aesthetic.
- Rag Rug Storage Baskets: As the name suggests, these unique baskets are constructed from repurposed rugs, offering a charming and eco-friendly solution for storing blankets, toys, or craft supplies in any room.
- Vanity Tray With Storage: Keep all your beauty items neat, clean, and beautifully organized with this elegant DIY vanity tray. It’s perfect for tidying up countertops in bathrooms or bedrooms.
Creating your own DIY patterned magnetic board is more than just a craft project; it’s an investment in a more organized, aesthetically pleasing, and personalized living or working space. With its endless customization options and straightforward creation process, you’ll wonder why you didn’t make one sooner. So, pick out your favorite fabric, gather your supplies, and get ready to transform clutter into coordinated charm. Don’t forget to share your unique creations!