Craft Your Own Mid-Century Modern Serving Tray with a Built-In Bowl Rest: A No-Power-Tool DIY Guide
Elevate your entertaining game with a touch of timeless style! This DIY serving tray project introduces a beautifully designed piece that isn’t just a tray but also features a clever, integrated nesting spot for your favorite dips and dishes. Imagine serving appetizers or breakfast in bed with a touch of mid-century elegance, all crafted by your own hands.
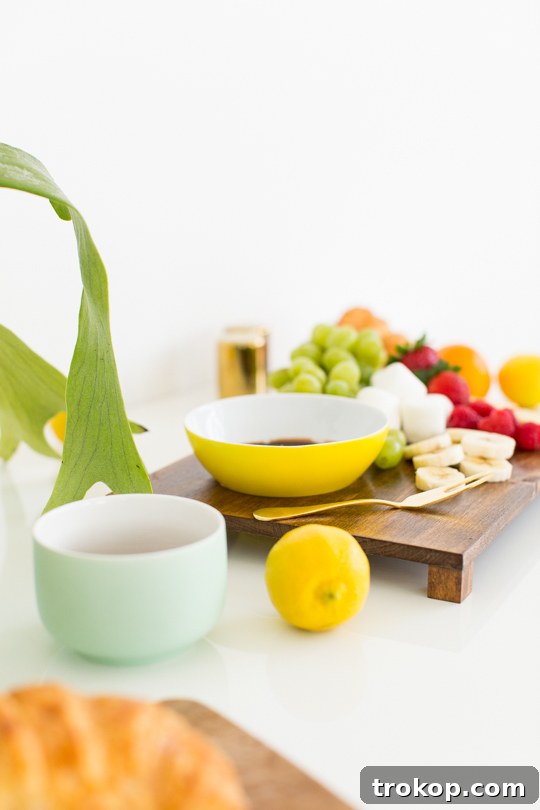
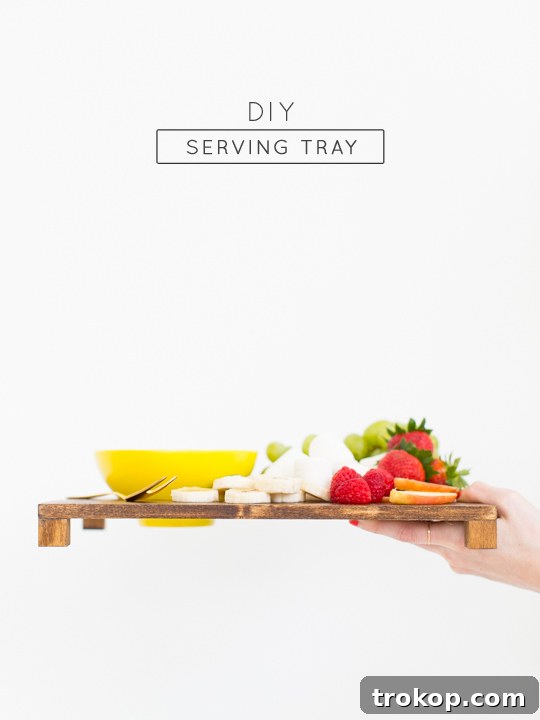
We’re thrilled to bring that iconic mid-century modern aesthetic back into your home and entertaining routine with this exceptionally easy-to-make serving tray. What makes this project truly special is its built-in dish holder, a feature that combines practicality with sophisticated design. Gone are the days of bowls sliding around or precarious balancing acts; this tray ensures everything stays neatly and securely in place, making serving a breeze.
There’s something inherently appealing about designs that offer clever solutions, much like the thrill of discovering a secret compartment. While this DIY serving tray doesn’t hide anything in the traditional sense, its subtle yet functional nesting place for your salsa bowl, olive dish, or small ramekin evokes that same sense of delightful discovery. It’s a design detail that makes all the difference, transforming a simple tray into a statement piece that’s both beautiful and highly functional. This thoughtful inclusion not only secures your serving dishes but also adds an element of refined organization to your spread.
Perhaps the most exciting aspect of this project for many DIY enthusiasts, especially beginners or those with limited workshop access, is that it requires absolutely zero power tools. Yes, you read that correctly! This means no loud saws, no complicated drills, and no extensive safety gear beyond common sense. This simplicity opens up the world of woodworking to everyone, proving that you don’t need a professional setup to create stunning and practical home decor. It’s truly the next best thing since “no-sew” projects, offering immense satisfaction with minimal fuss. And rest assured, there’s no duct tape involved either – only quality materials and straightforward steps!
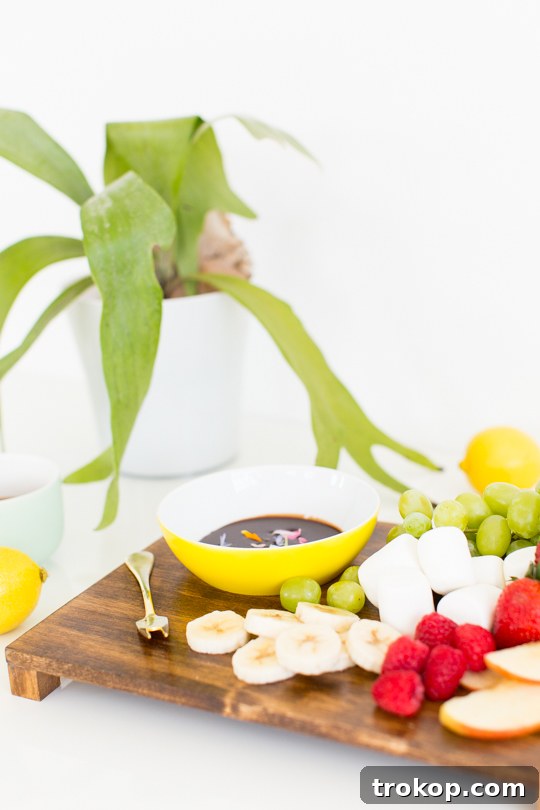
Table of Contents
Materials and Tools Needed to Make a DIY Serving Tray With a Bowl Rest
Gathering your materials is the first exciting step in any DIY project. For this mid-century inspired serving tray, you’ll find that the list is delightfully short and accessible. Each item plays a crucial role in bringing your vision to life, creating a durable and beautiful piece for your home. Remember, quality materials contribute to a long-lasting and impressive finish.
Unfinished wooden plaque with a circle: This is the star of our project. We chose a wood board that conveniently features a pre-cut circular opening, which will serve as our elegant bowl rest. This clever design saves you the effort of cutting a perfect circle yourself. However, if you can’t find a plaque with a cutout, a plain unfinished wooden board can work just as well. You would simply need to cut out a circle of your desired size using a jigsaw or a hole saw, ensuring it’s smooth and precise.
Wooden blocks: These sturdy 1-inch wooden blocks, easily found at any craft store, will become the stylish legs of your serving tray, lifting it to a comfortable height and adding to its mid-century aesthetic. You can also repurpose any scrap wood you might have lying around, as long as the pieces are uniform in size and sturdy enough to support the tray.
Wood glue: A strong, reliable wood glue is essential for securely attaching the legs to the tray. Choose a high-quality wood glue that provides a strong, lasting bond for structural integrity.
Wood stain: The right wood stain can transform your project, giving it character and depth. We opted for “Early American” stain to achieve that classic, warm rustic mid-century look, but feel free to choose any color that complements your home decor. Staining highlights the natural grain of the wood, adding a rich, professional finish.
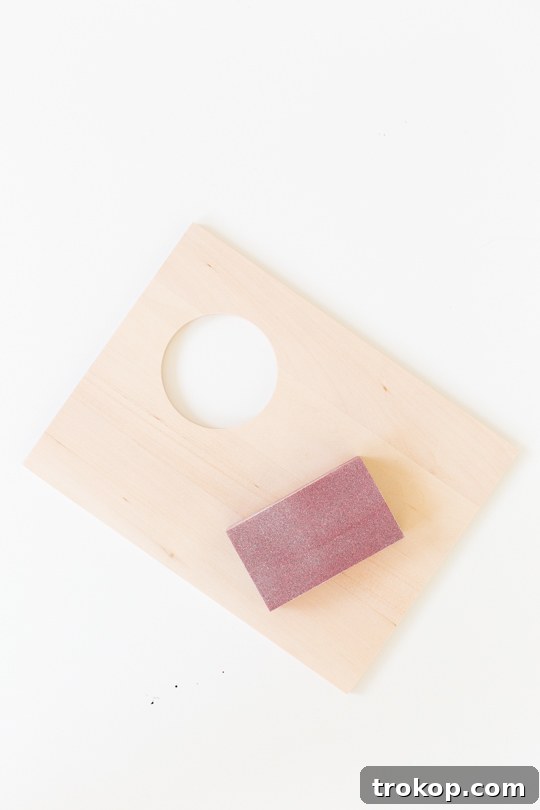
Extra fine sandpaper: While some wooden plaques come pre-sanded, a thorough sanding with extra fine sandpaper ensures an exceptionally smooth, splinter-free surface. This step is crucial for both aesthetic appeal and user comfort, making the tray pleasant to touch and safe for serving.
Spray food-safe shellac: Since this tray will be used for serving food, a food-safe sealant is paramount. Shellac provides a durable, protective, and non-toxic finish that is safe for incidental food contact. This final coating will seal the wood, protect it from moisture, and give it a beautiful sheen, ensuring your tray remains pristine for years to come.
Foam brush: An inexpensive foam brush is ideal for applying wood stain smoothly and evenly. Its disposable nature also makes cleanup incredibly easy.
How to Make a DIY Serving Tray with a Bowl Rest
Creating your own mid-century modern serving tray is a rewarding experience, and with these simple, no-power-tool instructions, it’s entirely achievable for anyone. Follow these steps carefully to craft a beautiful and functional piece for your home.
Step 1 — Prepare Your Wood Surface with Thorough Sanding: Even if your wooden board appears smooth, a thorough sanding is a critical first step. Our wooden plaque was relatively sanded, but to ensure an exquisitely smooth surface—free from any potential splinters or rough patches—we recommend being generous with your sanding efforts. Use extra fine sandpaper to meticulously smooth all edges and surfaces, including the inside of the circular cutout. This attention to detail will not only make your tray more pleasant to handle but also give it a professional, finished look that truly elevates its aesthetic appeal. A perfectly smooth surface also allows the stain to apply more evenly.
Step 2 — Apply Wood Stain Evenly: Once your board and wooden blocks are perfectly smooth, it’s time to add character with wood stain. Using a foam brush, apply your chosen wood stain to all sides of the main board, paying close attention to the edges and the inside of the bowl rest opening. Don’t forget to stain the wooden blocks that will serve as legs, ensuring they match the main tray seamlessly. Apply the stain in the direction of the wood grain for the best results and an even finish. Allow the stain to dry completely according to the manufacturer’s instructions. This might take several hours, so plan accordingly to avoid smudges or an uneven finish.
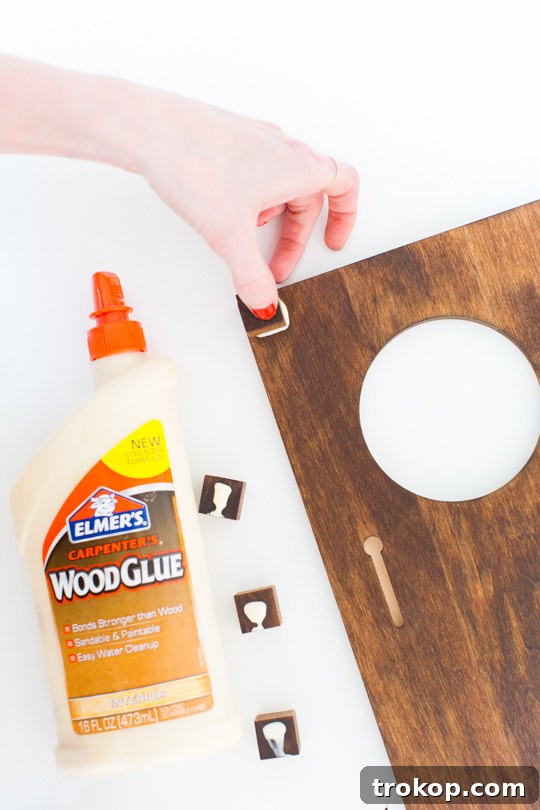
Step 3 — Securely Attach the Wooden Legs: With the stain fully dried, position your four wooden blocks at each corner on the underside of the serving tray. Apply a generous amount of wood glue to one side of each block, then firmly press them into place. To ensure a secure and lasting bond while the glue dries, you have a couple of options. You can use clamps to hold the legs tightly against the board. Alternatively, if you don’t have clamps, simply flip the board right-side up after positioning the legs, and place something heavy—like a stack of books or a weighty pot—directly over where the legs are glued. Allow the wood glue to set completely, which can take several hours depending on the brand. This step is crucial for the stability and durability of your serving tray.
Step 4 — Apply Food-Safe Shellac for Protection: Once all components are thoroughly dry and the glue has fully cured, it’s time for the final protective layer. Lightly spray the entire piece—top, bottom, and sides—with food-safe shellac. This coating will not only protect the wood from moisture and wear but also ensure that your tray is safe for serving food. Shellac is a natural resin that dries quickly but requires a curing period to become fully resilient and food-safe. After applying the shellac, it is absolutely essential to wait at least 48 hours before using the tray for serving. This curing time allows the shellac to harden completely, providing maximum durability and safety for all your future entertaining needs.
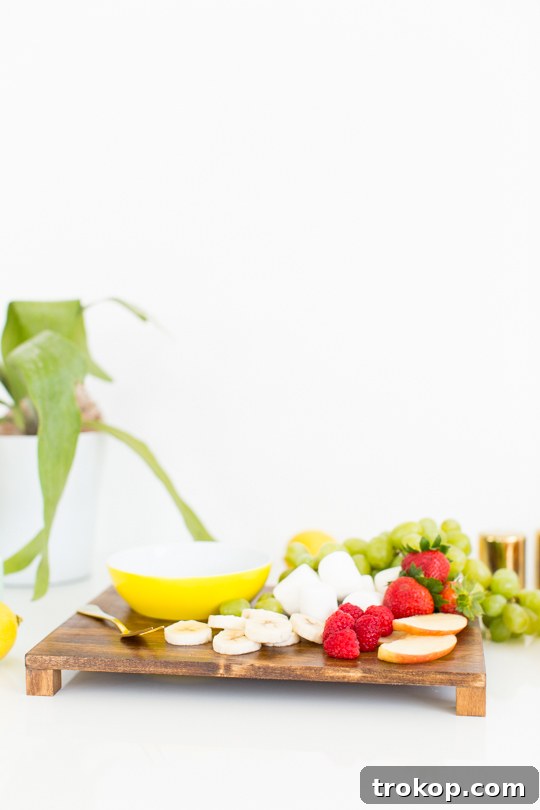
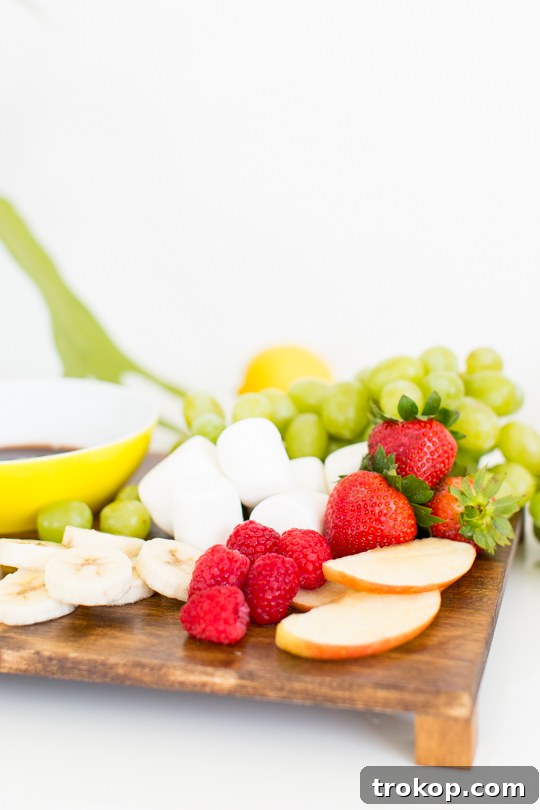
Serving Suggestions & Versatility
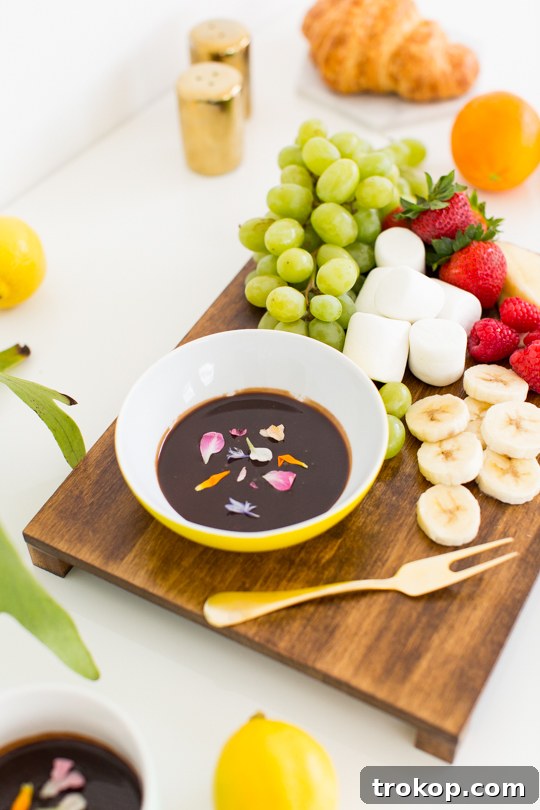
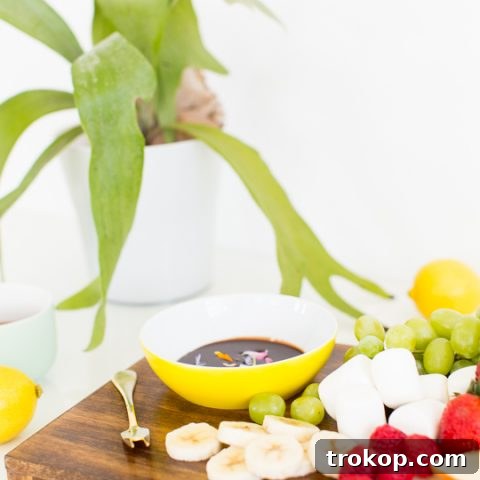
The beauty of this DIY serving tray extends far beyond its stylish looks; it’s incredibly versatile! We discovered that a small bowl from Ikea fits perfectly into the nested circle, transforming it into an ideal dipping bowl. But don’t limit your imagination! This tray is perfect for a variety of culinary delights and serving occasions.
- Appetizer Spreads: Fill the central bowl with a vibrant salsa, a creamy hummus, or a savory olive tapenade. Arrange an assortment of crackers, fresh-cut vegetables, artisan cheeses, or mini spring rolls around it for a delightful appetizer spread. The bowl rest ensures your dip stays centered and secure, even when passed around.
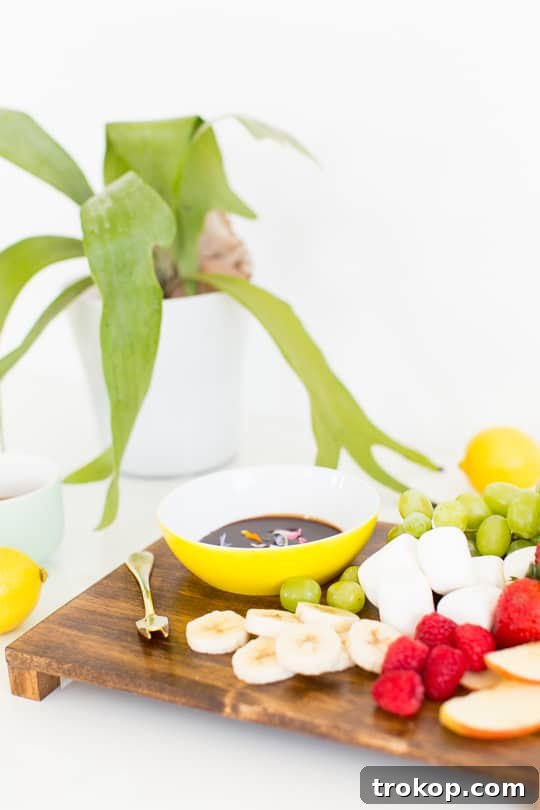
- Dessert & Dip Board: Elevate your dessert presentation. The nested bowl can hold a decadent raspberry cream cheese dip, a rich chocolate sauce for dipping fruits and cookies, or even individual servings of panna cotta. Surround it with fresh berries, cookies, mini pastries, or homemade churros for a truly indulgent treat.
- Breakfast in Bed: Treat yourself or a loved one to a luxurious breakfast in bed. The central spot is perfect for a small fruit salad, yogurt, or a dipping sauce for pancakes or waffles. The sturdy legs make it comfortable to use in bed, preventing spills and keeping your meal organized.
- Coffee & Tea Service: Use it to serve coffee or tea with accompanying sugar, cream, and a small snack. The bowl rest can hold sugar packets, a selection of tea bags, or a few biscotti.
- Cocktail Hour: For your next cocktail party, the tray can hold a small bowl of nuts or olives, with space for glasses or small plates around it. It adds a sophisticated touch to any bar setup.
- Decorative Display: When not in use for serving, this tray makes a charming decorative piece. Display it on a coffee table with a small plant and some candles, or use it to organize remote controls and magazines, lending a touch of mid-century flair to your living space.
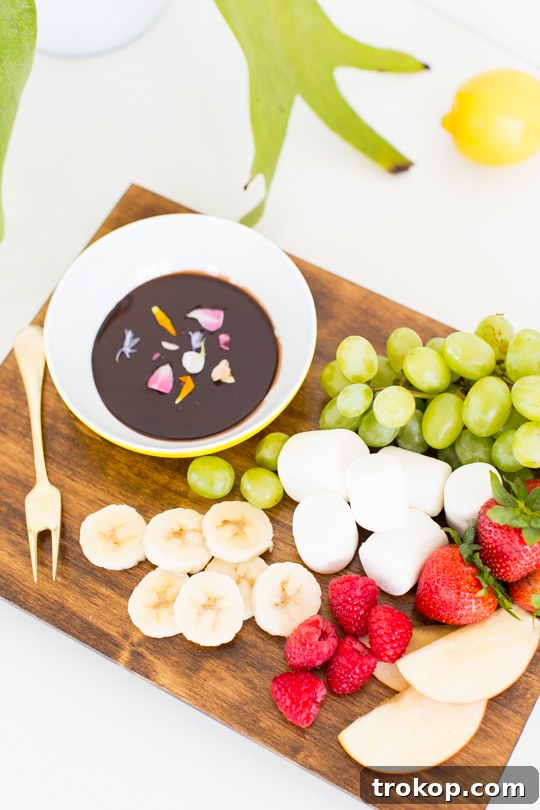
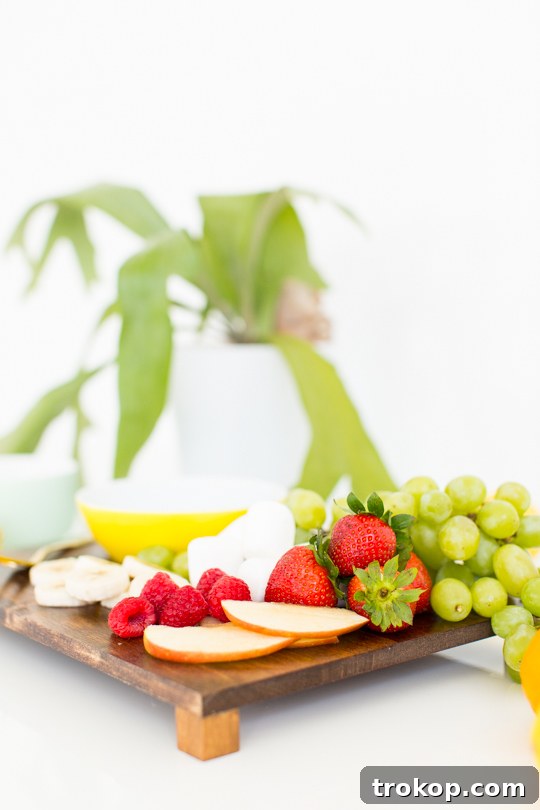
It’s truly incredible how that plain wooden plaque transformed into such a nifty and functional piece, isn’t it?! We are absolutely thrilled with the outcome. This serving tray is not only aesthetically pleasing with its mid-century charm but also remarkably clever in its design, making it super easy to maneuver and a joy to use for any occasion.
More Similar DIYs to Try
If you enjoyed crafting this DIY Serving Tray With A Bowl Rest and are looking for more rewarding projects to enhance your home or entertain with style, explore these related DIYs:
- Tiered DIY Concrete Tray: For a more industrial or minimalist aesthetic, try making a multi-level concrete tray, perfect for organizing or displaying small items.
- DIY Slate Cheese Board: Elevate your cheese and charcuterie presentations with a sophisticated, custom-made slate board.
- Fancy Fiesta: DIY Pattern Bowls: Add a splash of color and personality to your kitchenware by customizing your own patterned bowls.
- Easy DIY Custom Hand-Painted Bowls: Personalize your serving dishes with unique hand-painted designs, perfect for gifts or adding a unique touch to your dining experience.
DIY Serving Tray with a Bowl Rest
Equipment
- Wood glue
- Extra fine sandpaper
- Foam brush
Materials
- 1 wood plaque with circle cutout
- 4 wood blocks
- 1 wood stain
- 1 clear shellac spray (food-safe grade)
Instructions
-
Optional: Sand your wood board.
Ours was relatively sanded, but we wanted it to be extra smooth to avoid splinters.
-
With a foam brush, stain the wood (including the wooden blocks as legs) in the color of your choice.
Let dry completely according to the manufacturer’s instructions.
-
Glue a wooden block to each corner of the board with wood glue.
Clamp the legs to the board while the glue dries. Or flip it right-side up and sit a heavy object on top to make sure it’s secure while the wood glue sets.
-
Once everything is dried, spray the entire piece with food-safe shellac and wait 48 hours before using.

We absolutely love seeing your creations! Don’t forget to share your DIY Serving Tray with us on Instagram using the hashtag #sugarandclothloves. Looking for more inspiration to beautify your living space? You can find all of our home decor tutorials and ideas right here!