
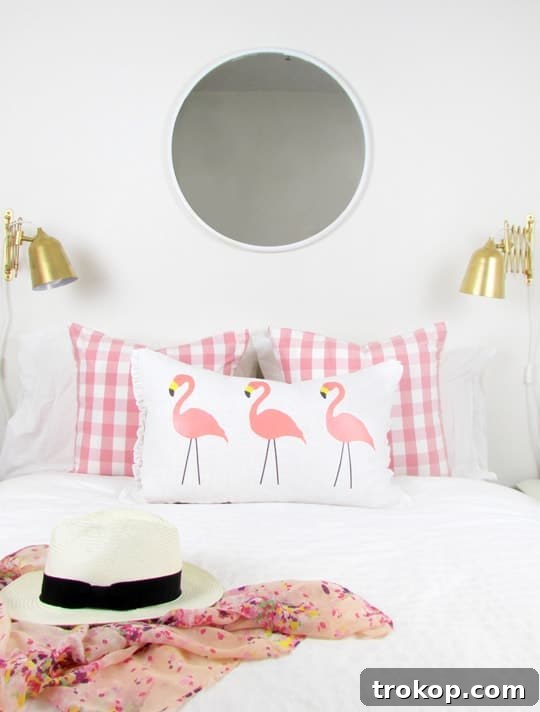
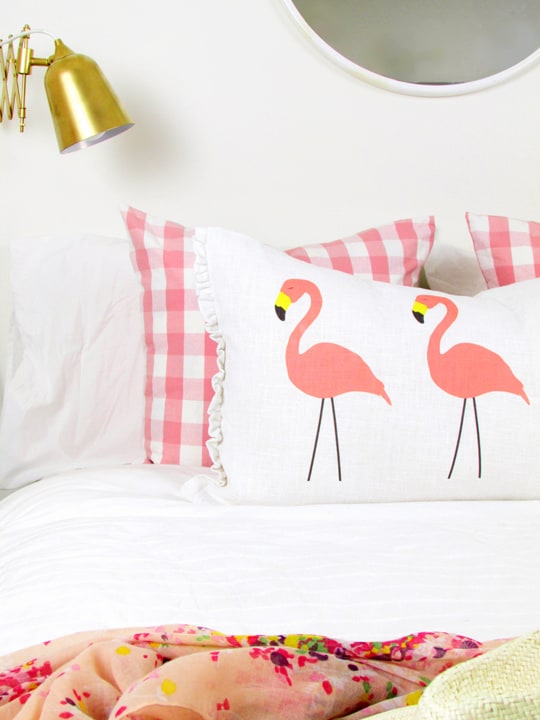
Transform your living space with a vibrant touch of summer! Nothing quite captures the essence of warm weather and joyful days like the sight of elegant pink flamingos. If you’re looking for an effortless way to refresh your home decor, our super simple DIY No-Sew Flamingo Lumbar Pillow project is exactly what you need. This guide will help you infuse a playful, tropical vibe into any room, proving that stunning decor doesn’t require a sewing machine or hours of intricate work. Get ready to unleash your creativity and craft a beautiful, personalized accent pillow in just an afternoon!
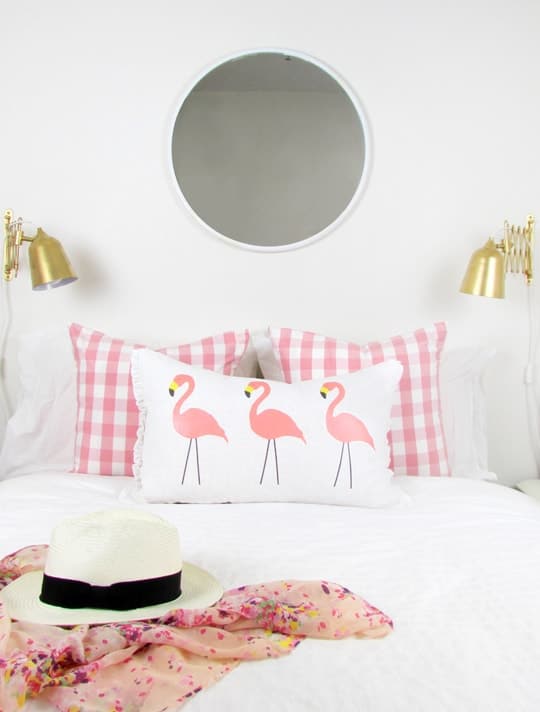
Hello, fellow DIY enthusiasts! Erin from Francois et Moi here, delighted to share a fun and irresistibly summery lumbar pillow project that you can easily complete in a single afternoon. As someone who loves to keep my living space feeling fresh and up-to-date, I often turn to throw pillows. They are truly a decorator’s secret weapon – an inexpensive, versatile, and wonderfully simple way to transition your home’s aesthetic from one season to the next without a complete overhaul.
With summer now in full swing, my mind is constantly drifting towards all things bright and tropical, and flamingos are absolutely at the top of that list! It seems I’m not alone in my flamingo fascination, as Ashley, too, has embraced this charming bird with creative projects like her DIY Flamingo Ring Toss Game and delightful Flamingo Macarons. Inspired by this shared love for flamingos and easy crafting, we’ve developed this step-by-step tutorial for a gorgeous, easy-to-make flamingo lumbar pillow!
The absolute best part? No sewing machine is required! That’s right, this is a completely no-sew project, making it accessible for everyone, regardless of their crafting experience. We love sharing no-sew ideas because they empower anyone to create beautiful items for their home. If you’ve enjoyed our past no-sew creations like the no-sew handkerchief, no-sew apron, and the chic no-sew infinity scarf, you’re going to adore this pillow. It perfectly encapsulates that playful summer spirit, proving that crafting can be both rewarding and incredibly straightforward.
Essential Materials and Tools for Your DIY No-Sew Flamingo Lumbar Pillow
Gathering your materials is the first exciting step in any DIY project. For this fabulous flamingo pillow, you’ll find that the list is short, sweet, and budget-friendly. Most items can be easily found at your local craft store or ordered online, ensuring you can start crafting almost immediately. Here’s everything you’ll need to bring your vision to life:
- Inkjet Iron-On Transfer Paper: You’ll need 3 sheets of iron-on transfer paper specifically designed for light fabric. Choosing the right transfer paper is crucial for a crisp, vibrant print and a durable finish. Ensure it’s compatible with inkjet printers.
- Flamingo Printable PDF: Download our exclusive Flamingo printable. This high-quality design is ready for you to print and transform onto your pillow.
- Inkjet Printer: Any standard inkjet printer will work perfectly for printing the flamingo design.
- Sharp Scissors: A good pair of sharp scissors will ensure clean, precise cuts around your flamingo images.
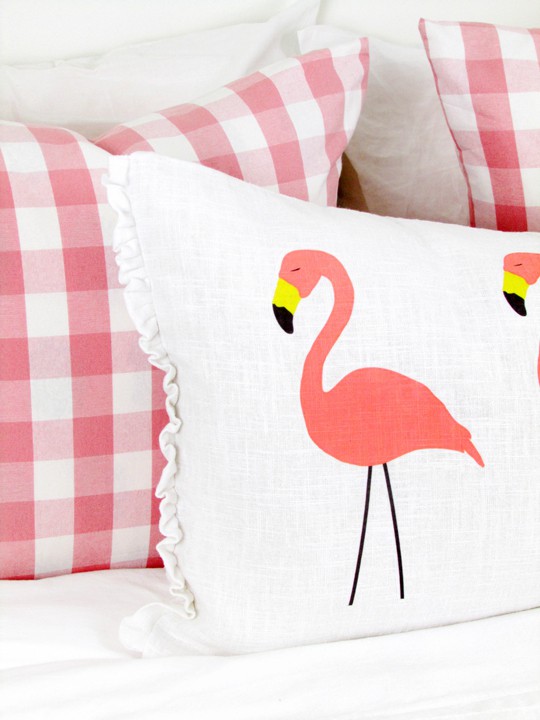
- Lumbar Pillow Cover: We opted for the versatile IKEA VITFJÄRIL lumbar pillow cover, but any plain, light-colored lumbar pillow cover made from a smooth, light fabric like linen or cotton will be suitable. Consider a case similar to this linen throw pillow. For our project, we will be using the backside of the cover as the main display face of the pillow, as it often provides a smoother surface without buttons or hidden zippers interfering with the transfer process.
- Iron: A standard household iron is all you need to perfectly adhere your flamingo transfers.
Having all your materials prepared before you begin will make the crafting process smooth and enjoyable, allowing you to focus on the fun of creation!
Step-by-Step Guide: How to Craft Your DIY No-Sew Flamingo Lumbar Pillow
Creating your custom flamingo lumbar pillow is a wonderfully straightforward process, even for beginners. Follow these simple steps to achieve a professional-looking result that will brighten up any space. Remember, patience and attention to detail are key to a flawless finish!
-
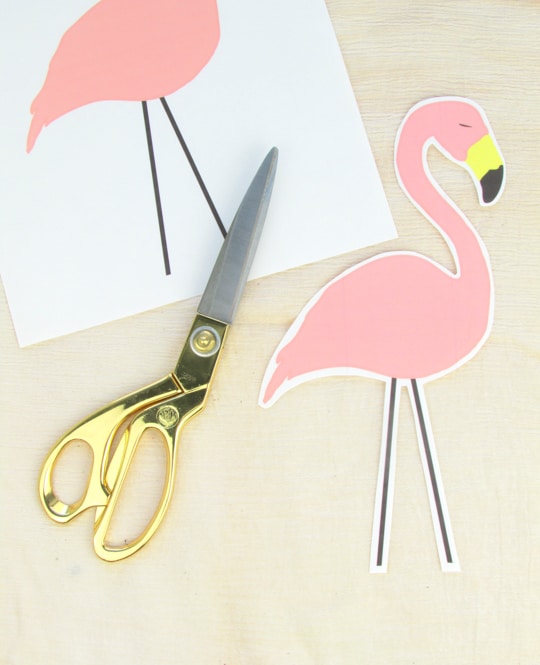
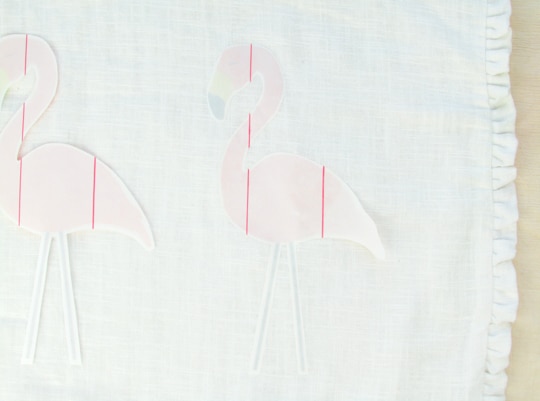
Print and Precisely Cut Your Flamingo Designs: Begin by printing three copies of our provided flamingo PDF onto your inkjet iron-on transfer paper. Ensure your printer settings are optimized for high-quality image printing. Once printed, allow the ink to dry completely to avoid smudging. Then, using your sharp scissors, carefully cut out each of the three flamingos. The key here is precision: leave only a minimal 1/8-inch border around the outline of each flamingo. This small border is important as it helps the transfer blend seamlessly with the fabric, preventing any harsh edges or visible transfer paper lines after ironing.
-
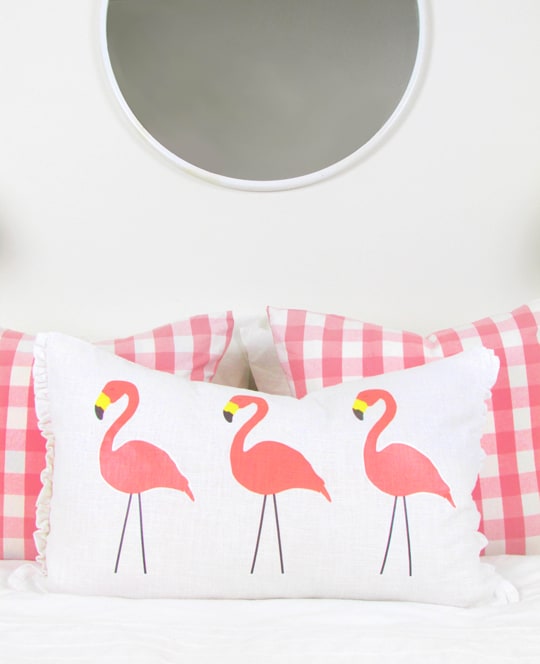
Position and Iron the Transfers: Lay your lumbar pillow cover flat on a hard, heat-resistant surface, such as an ironing board or a protected table. We recommend using the backside of the pillow cover, which typically has a smoother, uninterrupted surface perfect for transfers. Carefully arrange your three flamingo cutouts in a row, ensuring they are equally spaced across the pillow cover and positioned exactly where you want them. Crucially, place them face down onto the fabric. Now, set your iron to its highest temperature setting, making sure the steam function is turned OFF. Iron the flamingos one by one, applying firm, even pressure for approximately 60 seconds on each design. Pay special attention to the corners and edges of each flamingo, as these areas need thorough heat and pressure to ensure proper adhesion. Even heating across the entire image prevents bubbling or incomplete transfers.
-
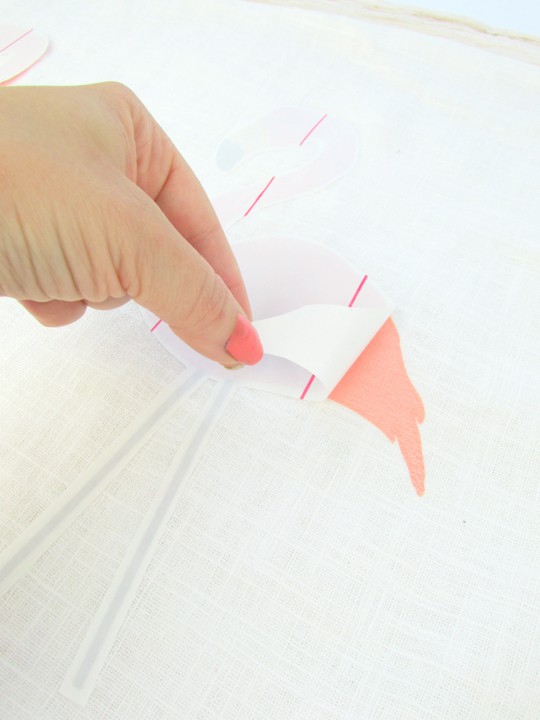
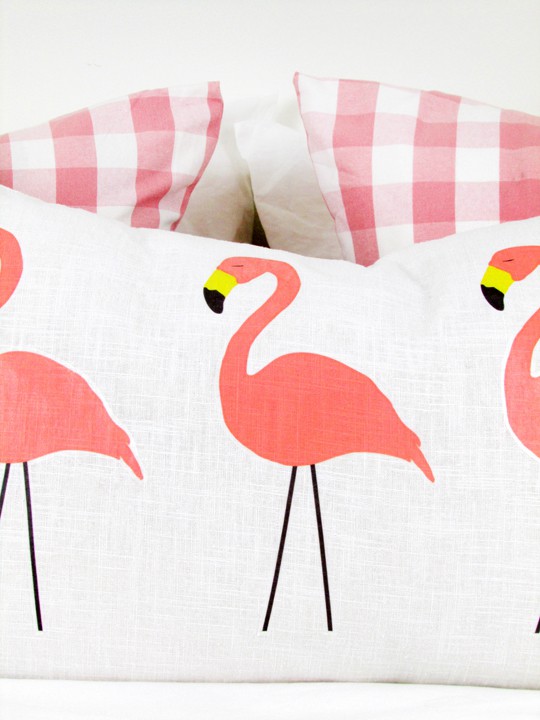
Cool, Peel, and Enjoy!: This step is critical for a smooth finish. After ironing, resist the urge to peel immediately. Allow the flamingos to cool completely to the touch. Rushing this step can cause the transfer to crack or peel unevenly. Once thoroughly cooled, gently and carefully peel off the paper backing from each flamingo. You should be left with a vibrant, smoothly adhered flamingo design on your pillow cover. The lightweight, linen-esque fabric of the pillow cover makes it an absolutely perfect backdrop for these cheerful flamingo motifs, creating a delightful visual contrast and a truly summery feel. Finally, stuff your newly decorated cover with a suitable pillow form, and your custom DIY No-Sew Flamingo Lumbar Pillow is ready to adorn your sofa, bed, or favorite lounge chair!
Maintaining Your Beautiful DIY Throw Pillow: Care Tips for Longevity
You’ve just created a beautiful, personalized lumbar pillow, and you’ll want it to stay vibrant and fresh for many summers to come! The good news is that caring for your new no-sew flamingo pillow is incredibly easy, ensuring you can truly use and enjoy it without constant worry. This simple maintenance routine will help preserve the integrity of your iron-on transfers and the fabric of your pillow cover.
The pillow cover, along with its charming flamingo transfers, is designed to be washable. To ensure the longest life for your DIY creation, always wash it in cold water. Cold water is gentler on both the fabric and the iron-on design, helping to prevent fading, shrinking, or premature peeling of the transfer. Before placing your pillow cover into the washing machine, remember this crucial step: turn it inside out. Washing the pillow cover inside out acts as a protective measure, reducing direct friction on the iron-on designs during the wash cycle. This simple trick significantly extends the life and vibrancy of your flamingos.
When it comes to drying, air drying or tumble drying on a low heat setting is recommended. High heat can sometimes affect iron-on transfers over time. With these minimal care instructions, your pretty and feminine lumbar pillow will continue to satisfy your summer flamingo craving and remain a delightful accent in your home for many seasons!
If this project has sparked your passion for crafting and you’re looking for more cute and creative DIY pillow ideas, you’re in luck! We love finding innovative ways to personalize our spaces with textiles. Explore some of our favorite pillow projects below, ranging from patterned designs to unique textures and no-sew wonders, each offering a distinct way to add comfort and style to your home.
- DIY Pattern Throw Pillows
- DIY Liquid Gold Ombre Pillowcases to Spruce Up Your Home
- No-Sew Envelope Pillows Made from Napkins
- Shibori Tie Dye: DIY Shibori Throw Pillow
- DIY Structured Pleat Lumbar Pillow
- Rug Hooking: How to Make a Pillow with Rug Hook
- How To Make A DIY Knot Pillow
- Modern DIY Oversized Cross-Stitched Cushion
- Colorful DIY Tufted Pillows
- DIY Snowball Pillow
DIY No-Sew Flamingo Lumbar Pillow Recipe Card
DIY No-Sew Flamingo Lumbar Pillow
This easy no-sew lumbar pillow is perfect for flamingo lovers! Add a pop of color to any room with this fun DIY.
Active Time: 1 hour
Total Time: 1 hour
Course: DIY
Category: Pillow
Equipment
- Scissors
- Iron
- Inkjet printer
Materials
- 3 sheets inkjet iron-on transfer paper for light fabric
- Flamingo printable
- Lumbar pillow cover
Instructions
- Print 3 copies of the flamingo PDF on iron transfer paper, then carefully cut out each of the 3 flamingos so there’s only a 1/8” border around the flamingo.
- Place the flamingos in a row equally spaced and face down on the backside of the pillow (the side without the pleating). Set your iron to the highest setting without steam. Iron the flamingos for 60 seconds each, giving special attention to corners and edges.
- Let the flamingos cool completely, and carefully peel off the paper backing on each of them. Stuff the cover with a pillow form and lounge away!
Cost: $20
Keywords: diy no-sew flamingo lumbar pillow

We absolutely love seeing your creativity in action! Once you’ve completed your fabulous DIY No-Sew Flamingo Lumbar Pillow, be sure to share it with us on Instagram. Don’t forget to use the hashtag #sugarandclothloves so we can easily find and admire your beautiful creations. Your projects inspire us and our community, and we can’t wait to see how you’ve brought a touch of flamingo magic into your home!