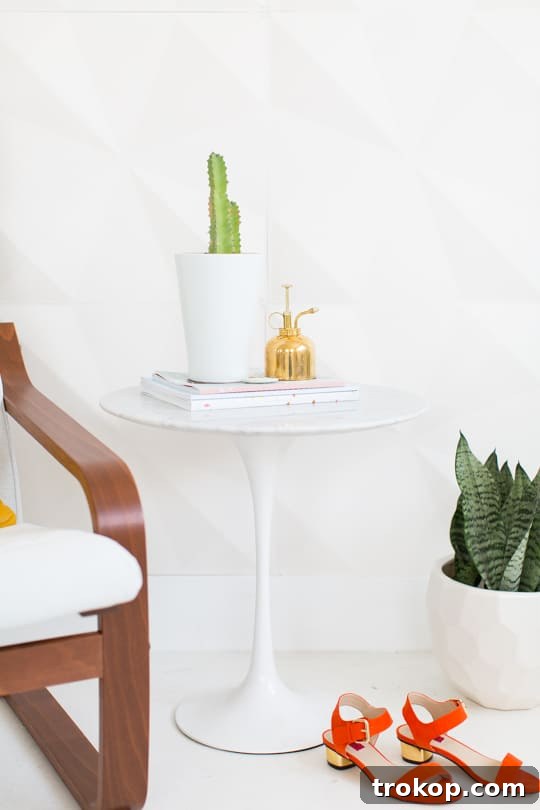
Transform Your Rental with DIY Retro Wall Panels: The Ultimate Renter-Friendly Accent Wall Solution
Dreaming of a stylish accent wall but worried about landlord restrictions? Or perhaps you’re a homeowner seeking a fresh look without the long-term commitment? Look no further! This comprehensive guide to DIY Retro Wall Panel Installation offers the perfect, renter-friendly solution to infuse personality and character into any space. Say goodbye to plain walls and hello to a vibrant, customizable aesthetic that’s as easy to install as it is to remove.
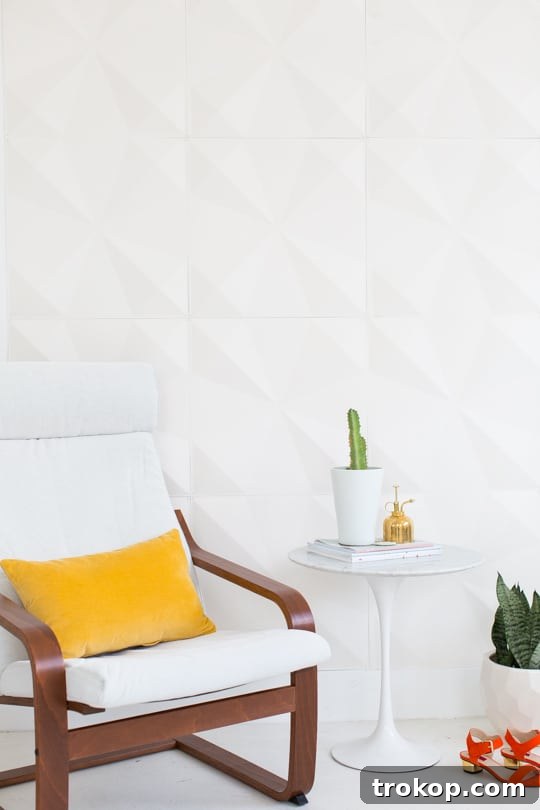
As promised following our discussions on navigating the world of house hunting as a renter, I’m thrilled to share an incredibly cool and surprisingly simple DIY project! This DIY retro wall panel installation concept is ingeniously designed for making a space truly your own, all while remaining completely renter-friendly.
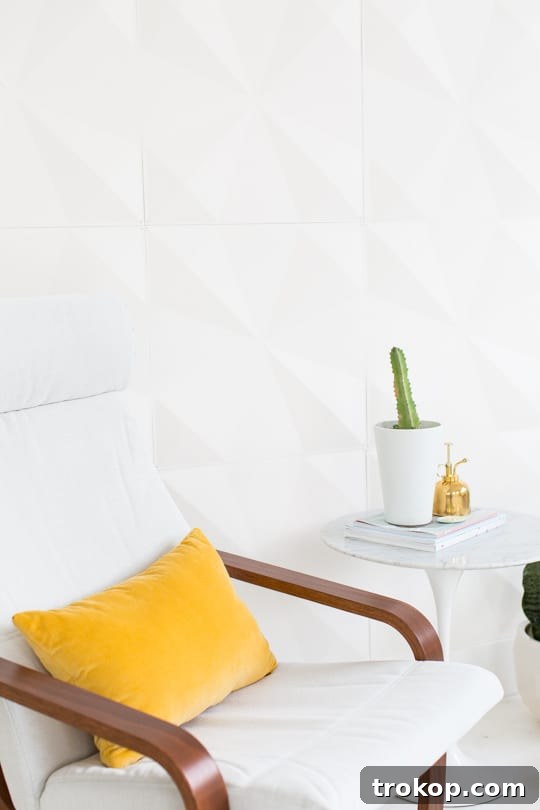
Imagine the possibilities! You could panel an accent wall in every room – from a cozy bedroom nook to a dynamic living area. The allure of these panels lies in their versatility; picture one adorned with subtle metallic gold accents, creating an exquisite interplay of texture and shimmer. It’s an instant upgrade that elevates your home decor without demanding permanent changes.
Before diving into a whirlwind of even more exciting design ideas, let’s focus on the simplicity of crafting your very own retro accent wall. This method ensures your landlord (or your beloved Rent.com apartment find) will still adore you when it’s time to move on. For homeowners, this project is ideal if you’re hesitant about committing to a single wall accent for years to come. It offers the freedom to experiment and update your style whenever inspiration strikes.
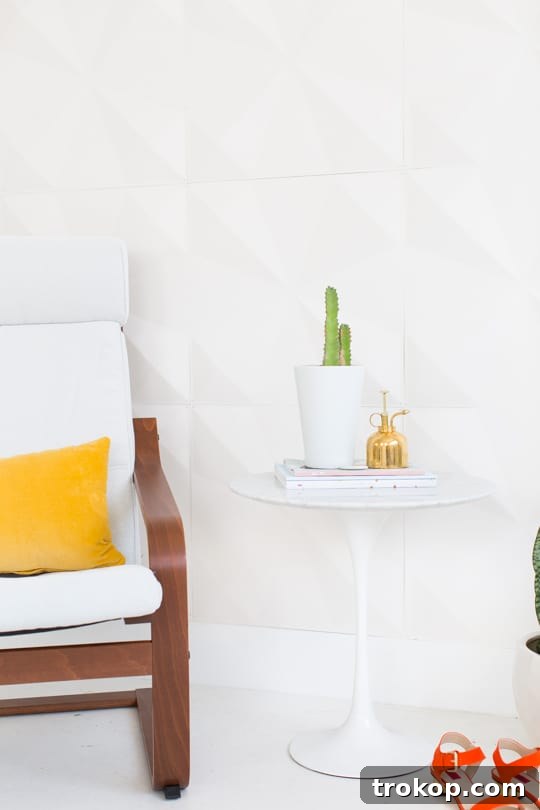
Table of Contents
Why Choose DIY Retro Wall Panels?
The appeal of DIY retro wall panels extends far beyond their aesthetic charm. They offer a multitude of benefits, making them an ideal choice for anyone looking to personalize their living space without the usual hassles associated with traditional wall treatments.
The Ultimate Renter-Friendly Solution
For renters, the struggle to personalize a space without violating lease agreements or incurring hefty repair costs is real. Painting often requires landlord approval and meticulous repainting upon moving out. Wallpaper can leave stubborn residue and damage walls. Retro wall panels, however, provide a non-permanent, damage-free alternative. Installed correctly with small nails, they leave virtually no trace, making them the dream solution for temporary yet impactful decor. This means you can truly make a rental feel like home, without the looming stress of move-out inspections.
Low-Commitment for Homeowners
Homeowners often grapple with the fear of making permanent design choices that might quickly fall out of style or no longer suit their evolving tastes. A DIY accent wall with removable panels solves this dilemma. You can experiment with bold patterns, vibrant colors, or unique textures, knowing that if you ever desire a change, the panels can be easily removed or replaced. This flexibility encourages creative expression and ensures your home always reflects your current style.
Cost-Effective and High-Impact Decor
Compared to a full renovation or even professional wallpaper installation, retro wall panels are a surprisingly affordable way to achieve a high-end look. They deliver a significant visual statement for a relatively small investment. The dramatic transformation they bring can make a room feel completely new, often tricking the eye into believing a much more extensive renovation has taken place.
Unmatched Ease of Installation
One of the most compelling reasons to choose this DIY project is its simplicity. You don’t need specialized skills or expensive tools. With a few basic items and a clear plan, anyone can achieve a professional-looking result. This ease of installation empowers you to take control of your home decor, offering a rewarding sense of accomplishment.
Designing Your Perfect Retro Accent Wall
Before you hammer your first nail, taking the time to design your retro accent wall is key to a successful and satisfying outcome. Consider these elements to create a look that perfectly complements your space.
Selecting the Right Panels
- Material: Wall panels come in various materials, including wood, MDF, reclaimed wood, plastic, or even textured wallpapers designed to mimic panels. The original panels mentioned were from Inhabit, known for their unique 3D designs. Explore different textures and finishes that resonate with the retro aesthetic you’re aiming for.
- Patterns & Textures: Retro design embraces bold geometric patterns, organic shapes, and sometimes even abstract textures. Think about the overall vibe you want to achieve – a subtle ripple effect, a repeating geometric motif, or a dynamic wavy pattern.
- Color: While the panels themselves might be a neutral base (like white or natural wood), consider if you want to paint them after installation. Alternatively, choose panels in a color that immediately evokes that retro feel, or one that contrasts beautifully with your existing decor.
Strategic Placement and Layout
An accent wall is meant to draw the eye, so choose a wall that serves as a natural focal point. This could be the wall behind your bed, sofa, dining table, or even a smaller wall in an entryway. When planning the layout of the panels:
- Full Wall vs. Partial Wall: Decide if you want the panels to cover the entire wall from floor to ceiling, or just a section. A partial wall application can create a unique headboard effect or define a reading nook.
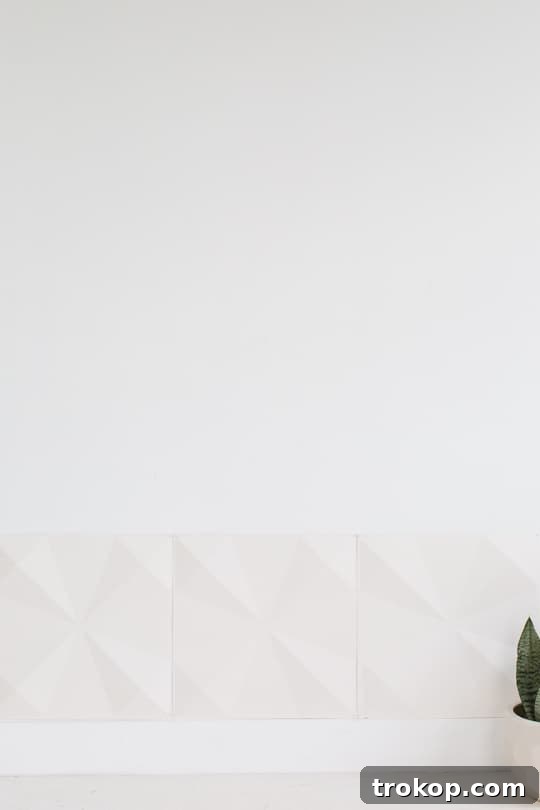
- Pattern Repetition: Most wall panels are designed to interlock or align to create a continuous pattern. Lay them out on the floor first to visualize how the pattern repeats and ensure you’re happy with the flow.
- Borders and Edges: Consider if you want the panel installation to have a clean, defined edge or if you want it to appear to “float” on the wall. Sometimes, adding a thin trim can give it a more finished look, though for renter-friendliness, keeping it simple is often best.
Color Schemes and Decor Integration
The retro aesthetic is diverse, from vibrant mod colors to earthy mid-century tones. Integrate your panels by:
- Complementary Colors: Choose panel colors or textures that complement your existing furniture and decor.
- Adding Accents: As mentioned, metallic gold accents can beautifully enhance a retro panel wall, adding a touch of glamour and warmth. This could be through art, decorative objects, or even subtle touches on the panels themselves (if suitable for the material).
- Lighting: Strategically placed lighting can highlight the texture and depth of the panels, especially 3D designs, creating stunning shadow play.
Materials And Tools Needed To Make A DIY Retro Wall Panel Installation
Gathering all your materials and tools before you begin will make the installation process smooth and efficient.
- Wall Panel Squares: The star of the show! Mine are from Inhabit, known for their innovative designs. Ensure you purchase enough to cover your desired area, plus a few extra for cuts or mistakes.
- Hammer: A standard claw hammer will do the trick.
- Small White Nails (or matching color): Crucial for a discreet, damage-minimal installation. Choose nails with small heads that can be easily camouflaged or blend with the panel color.
- Measuring Tape: Essential for accurately measuring your wall and panels.
- Pencil: For marking layout and cut lines.
- Level: A spirit level (or a laser level for larger projects) is absolutely vital to ensure your panels are installed straight and even. This prevents a crooked, unprofessional look.
- Utility Knife or Saw (Optional): Depending on the panel material, you might need a utility knife for scoring and snapping, or a fine-toothed saw for precise cuts, especially around outlets or wall edges.
- Safety Glasses (Recommended): Always a good idea when working with tools.
How To Make A DIY Retro Wall Panel Installation: Step-by-Step Guide
With your materials ready and your design finalized, it’s time for the fun part: installation!
1. Prepare Your Wall
Ensure the wall surface is clean, dry, and smooth. Remove any existing nails or picture hangers. A clean surface helps with accurate marking and ensures the panels lay flat.
2. Plan Your Layout (Crucial Step!)
Before you attach anything to the wall, get a clear idea of your layout. This step is paramount for a professional finish and to avoid costly mistakes.
- Floor Layout: Lay out your wall panels on the floor directly in front of the wall you intend to cover. This allows you to visualize the pattern, make any necessary adjustments, and number the backs of each panel to keep your order straight.
- Determine Starting Point: For a solid, repeating pattern, it’s generally best to start at the bottom of the wall and work your way up. Use your measuring tape and pencil to mark a perfectly straight and level horizontal line along the bottom where your first row of panels will sit. This initial line is your foundation – if it’s off, your entire installation will be crooked.
- Center vs. Edge Start: For a symmetrical look, you might choose to start your first panel in the exact center of the wall and work outwards. However, for most panel types that interlock, starting from a bottom corner (after establishing your level line) is often easier and more practical.
- Account for Outlets/Obstacles: If you have electrical outlets, light switches, or other obstacles, plan how your panels will go around them. You’ll likely need to cut panels to fit these areas later.
3. Begin Installation
Now, it’s time to bring your design to life on the wall.
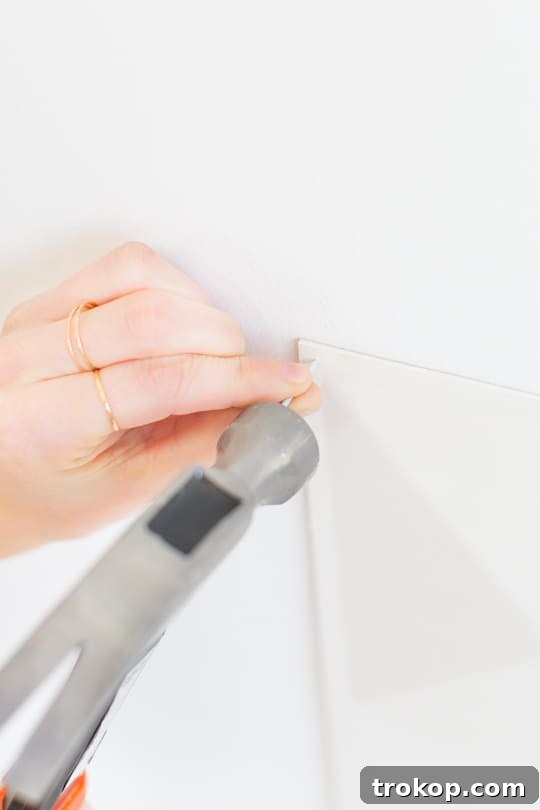
- Secure the First Panel: Align your first panel with your marked level line and chosen starting point. Using small, same-colored nails, gently hammer one nail into each of the four corners of the panel. Ensure the nail heads are flush with the panel surface for a seamless look.
- Continue the First Row: Place the next panel right beside the first, ensuring it interlocks or aligns perfectly (depending on your panel type) and maintains the level line. Repeat the four-corner nailing process for each panel in the first row. Use your level frequently to check that the entire row remains perfectly horizontal.
- Work Upwards: Once the first row is complete, begin your second row directly above the first. Again, ensure the panels align vertically and horizontally. This continuous checking with your level is essential for a flawless finish.
- Cutting Panels (If Needed): As you reach the edges of the wall or encounter obstacles, you will need to cut panels to fit. Measure precisely, mark your cut line with a pencil, and use the appropriate tool (utility knife for softer materials, saw for harder ones). Take your time with these cuts for a clean edge.
The use of small, color-matched nails is key here. This method makes the panels super sturdy and flush without leaving giant holes or any adhesive residue on the walls when you move out (or decide to go with a new look!). It’s the ultimate trick for renter-friendly home decor.
Maintenance and Easy Removal for Renters
One of the greatest advantages of DIY retro wall panels is their low maintenance and easy removal. To keep your panels looking fresh, simply dust them regularly with a soft cloth. For tougher spots, a slightly damp cloth can often do the trick, depending on the panel material.
When it’s time to move or refresh your decor, removing the panels is as simple as reversing the installation. Carefully pry out the small nails from each corner. The tiny holes left behind are minuscule compared to those from larger picture hangers and can be easily filled with a dab of spackle and touched up with paint, often in minutes. This minimal impact is what makes this project truly renter-friendly and landlord-approved.
Unleash Your Creativity: Beyond Retro
While this guide focuses on a retro wall panel installation, the technique is versatile enough for endless creative possibilities. Don’t limit yourself to just retro designs:
- Modern Minimalist: Choose plain, smooth panels in neutral tones for a sleek, contemporary look.
- Rustic Charm: Opt for reclaimed wood panels or panels with a distressed finish to add warmth and character.
- Artistic Statement: Create a custom mural by painting individual panels before installation, or by painting directly onto the panels once installed.
- Mix and Match: Combine different panel textures or colors within the same wall for a dynamic, personalized design.
Consider adding integrated LED strip lighting around the perimeter of your panel wall or installing floating shelves directly onto the panels for added functionality and display space. The possibilities are truly only limited by your imagination!
So, what do you think? Is this DIY retro wall panel installation something you’d consider creating for an accent wall in your own home or rental? Honestly, it’s incredibly inexpensive for the dramatic statement it makes, and the ease of installation makes me a huge advocate for it! Consider this friendly peer pressure to finally tackle that accent wall you’ve been dreaming of.
In case you missed our previous discussions on finding the perfect rental, be sure to check out this post featuring our top picks and tips from Rent.com!