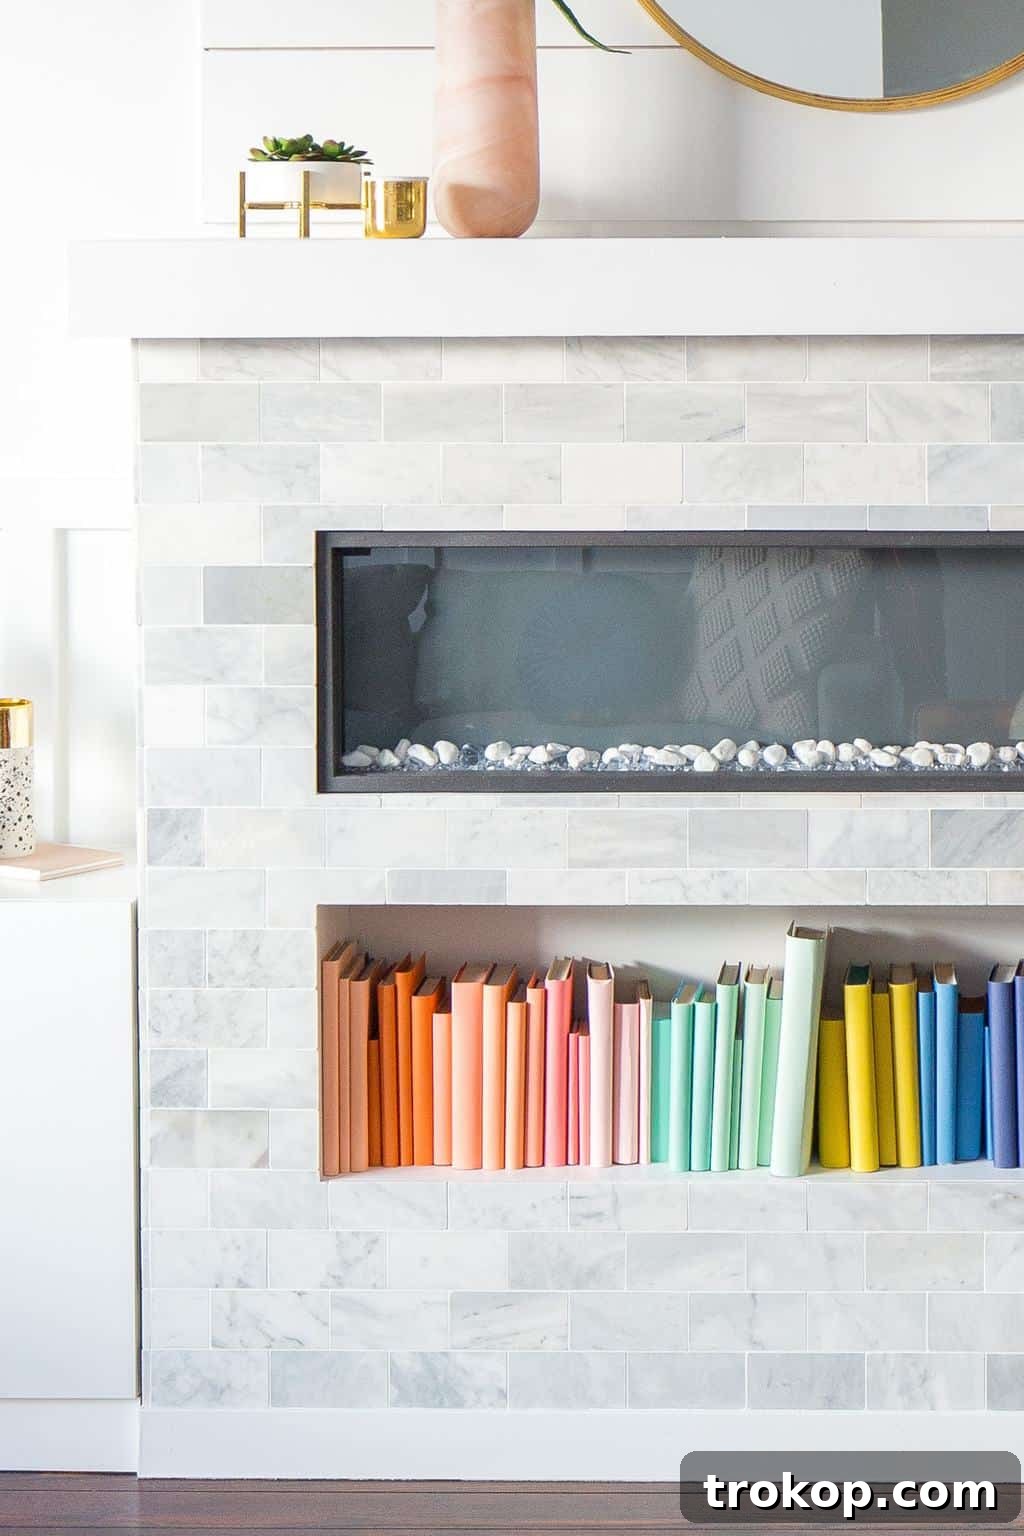
Transforming a cluttered collection of books into a vibrant, organized display can completely revolutionize the aesthetic and feel of your home. A DIY color-coded bookshelf is not just a clever storage solution; it’s an artistic statement, a personal touch that brings warmth, personality, and an unexpected splash of color to any room. This comprehensive guide will walk you through the simple, budget-friendly steps to create your own stunning rainbow bookshelf, turning everyday books into eye-catching decor.
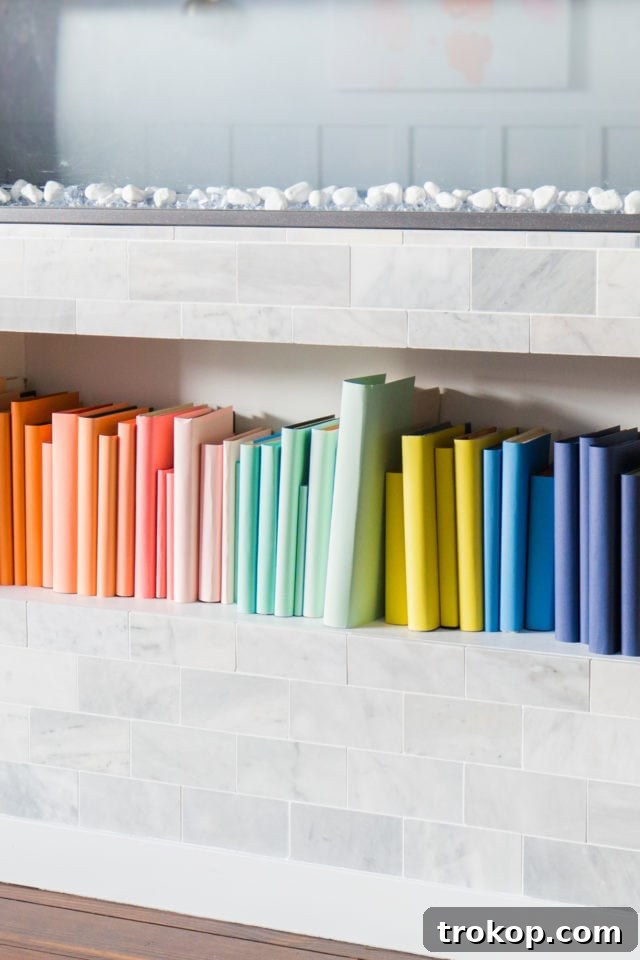
Are you ready for one of the easiest, most impactful, and incredibly inexpensive DIY projects you’ll ever undertake? This project is not only simple but also bursting with color, offering a fantastic way to refresh your living space without breaking the bank. It’s an ideal project for anyone looking to add a unique, personalized touch to their home decor.
This DIY color-coded bookshelf project is perfect for injecting playful energy into your home, whether you’re celebrating St. Patrick’s Day with its vibrant rainbow theme or simply want to brighten up a dull corner. Imagine a spectrum of colors neatly arranged, drawing the eye and inviting closer inspection. If you’re looking for more festive and fun DIYs, don’t miss these DIY Lucky Charms Macarons For St. Patrick’s Day – they’re as easy as coloring giant shapes onto cookies!
You might recognize a similar concept from our living room makeover or our “how we decorated for Christmas” decor post, where we featured fireplace books. Many people inquired about these unique arrangements, and you’ll be delighted to discover just how incredibly simple they are to recreate. In fact, calling it a “DIY” might almost feel like an overstatement given its straightforward nature.
The beauty of this project is that you don’t need to splurge on new books or hunt for specific colored covers. Instead, this ingenious method utilizes the books you already own, transforming them with just a few basic craft supplies. This means you can create a stunning, personalized colorful book organization system with minimal expense and maximum impact. It’s all about creativity and smart use of resources!
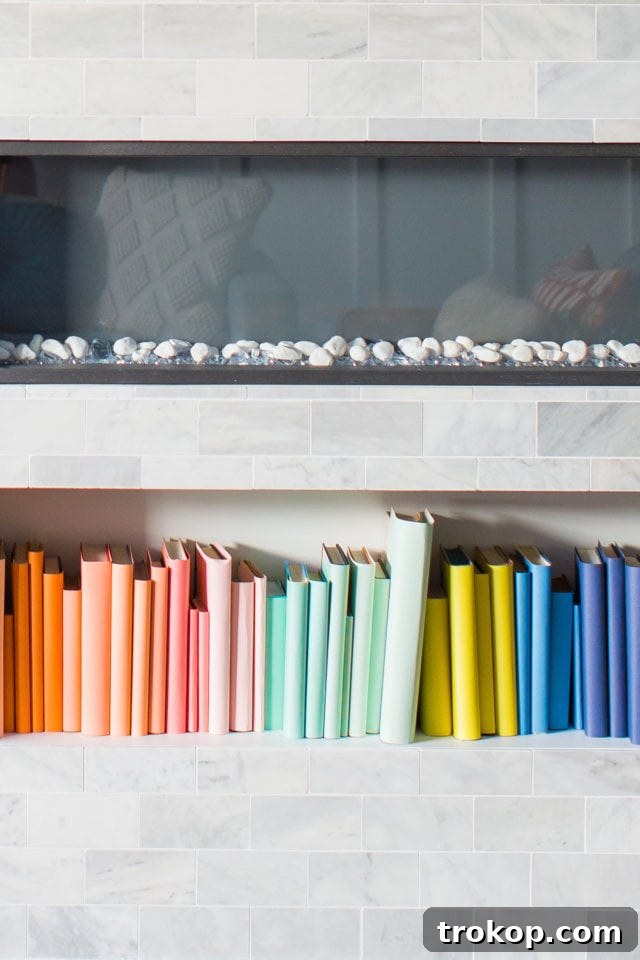
Benefits of a Color-Coded Bookshelf
Beyond its striking visual appeal, a color-coded bookshelf offers several advantages:
- Aesthetic Enhancement: Instantly transforms a mundane bookshelf into a vibrant focal point, adding a pop of color and personality to any room. It’s a stylish way to incorporate your favorite hues into your decor scheme.
- Organizational Simplicity: While not for every reader, for those who appreciate visual order, organizing books by color can make your collection feel less chaotic and more curated. It creates a sense of calm and structure.
- Decluttering and Refreshing: It encourages you to re-evaluate your collection. As you wrap each book, you’ll physically engage with your library, perhaps rediscovering old favorites or deciding which books truly deserve a place on your newly styled shelf.
- Budget-Friendly Decor: Instead of buying expensive art or decorative objects, this DIY allows you to use items you already own (your books!) as artistic elements. The primary cost is affordable craft supplies.
- Personalized Touch: You control the color palette, allowing you to match your books to your room’s existing decor or create a bold contrast. It’s a truly custom decor solution.
- Hiding Worn Covers: This trick is perfect for older, well-loved books whose covers might be tattered or mismatched. The cardstock provides a fresh, clean facade, giving new life to old treasures.
Materials and Tools Needed to Make a DIY Color Coded Bookshelf
Gathering your supplies is the first simple step towards creating your stunning rainbow book display. The beauty of this project lies in its minimal requirements and affordability:
- Old Books: Dive into your existing collection! Look for books of varying sizes to add visual interest. Don’t worry about their current condition or titles; they’ll all be getting a beautiful new cover. If you need more books, hit up your local dollar store, thrift shops like Goodwill, or library book sales for incredibly cheap finds.
- Clear Tape: Essential for securing your new book covers seamlessly. Opt for high-quality, transparent tape that won’t yellow over time.
- Scissors: A good pair of sharp scissors is crucial for clean cuts.
- Handy Paper Cutter: While optional, a paper cutter can significantly speed up the process and ensure perfectly straight edges, giving your covers a professional finish. If you plan to cover many books, this is a worthwhile investment.
- Colorful Cardstock: This is where the magic happens! Choose a variety of colors to create your desired rainbow, ombré, or monochromatic scheme. Cardstock offers durability and a clean, opaque finish that will completely hide the original book covers. You can find large packs of assorted colors at craft stores or online. Consider different shades within each color family for a more nuanced effect.
How to Make a DIY Color Coded Bookshelf: Step-by-Step Guide
Creating your colorful bookshelf is incredibly straightforward. Follow these simple steps for a beautiful result:
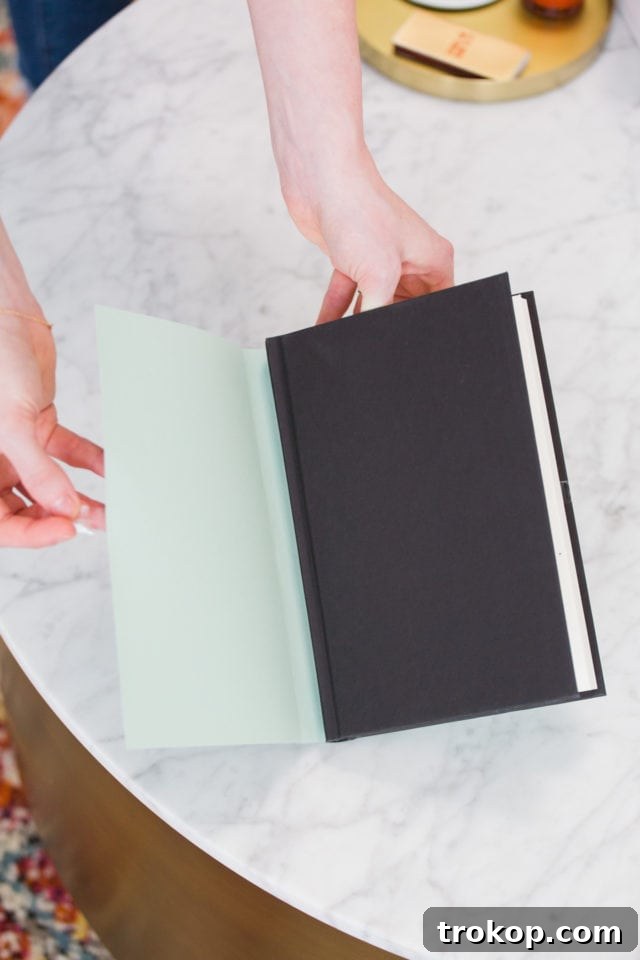
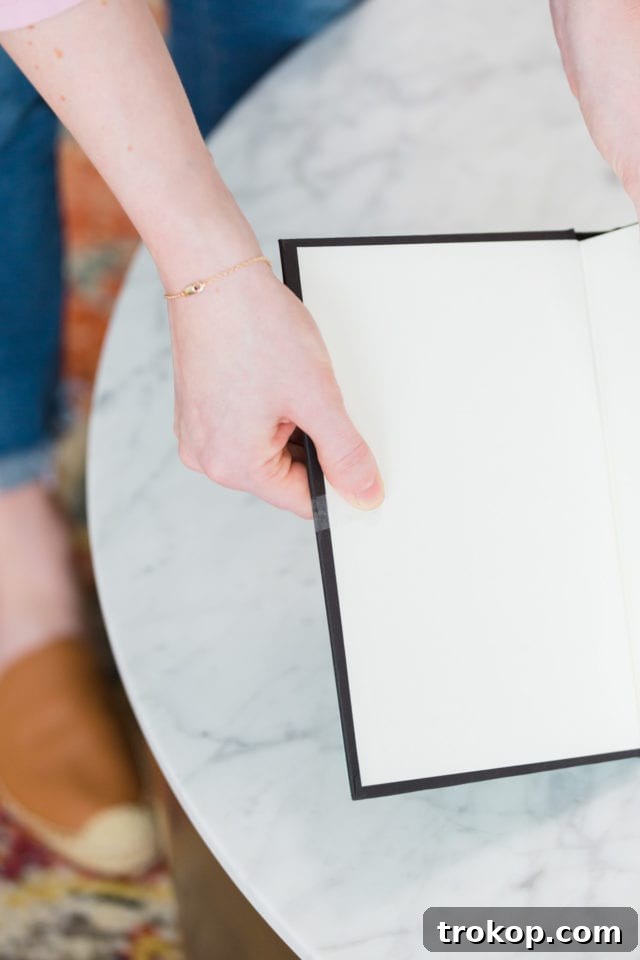
- Measure and Cut Your Cardstock: Take one book at a time. Lay your chosen colored cardstock flat. Open the book and place it open-face down on the cardstock. Measure the cardstock so that it completely covers the front, back, and spine of the book, extending slightly past the edges of the original covers (about half an inch to an inch on each side). This ensures no part of the original cover is visible. Use your scissors or paper cutter to cut the cardstock precisely to this size.
- Crease the Edges: Once cut, place the book back onto the center of the cardstock. Gently fold the cardstock around the book’s spine and covers, creating firm creases along the edges of the spine and the front and back covers. This pre-creasing will help the cardstock sit snugly and give your book a neat, custom-fitted appearance. Run your finger or a ruler along the creases to make them sharp.
- Secure with Clear Tape: Open the book again with the cardstock cover in place. Fold the excess cardstock (the part that extends past the original covers) inwards, tucking it neatly inside the front and back covers of the book. Use small pieces of clear tape to secure these flaps to the inside of the original book covers. Aim for a minimal amount of tape, placed strategically, to hold the cardstock firmly without being visible from the outside.
- Repeat for All Books: Continue this process for all the books you wish to color-code. Take your time to ensure each cover is neatly cut and securely taped. While it takes a little time to wrap each one to size, the meditative process is part of the DIY charm, and the cost-saving benefits are well worth it!
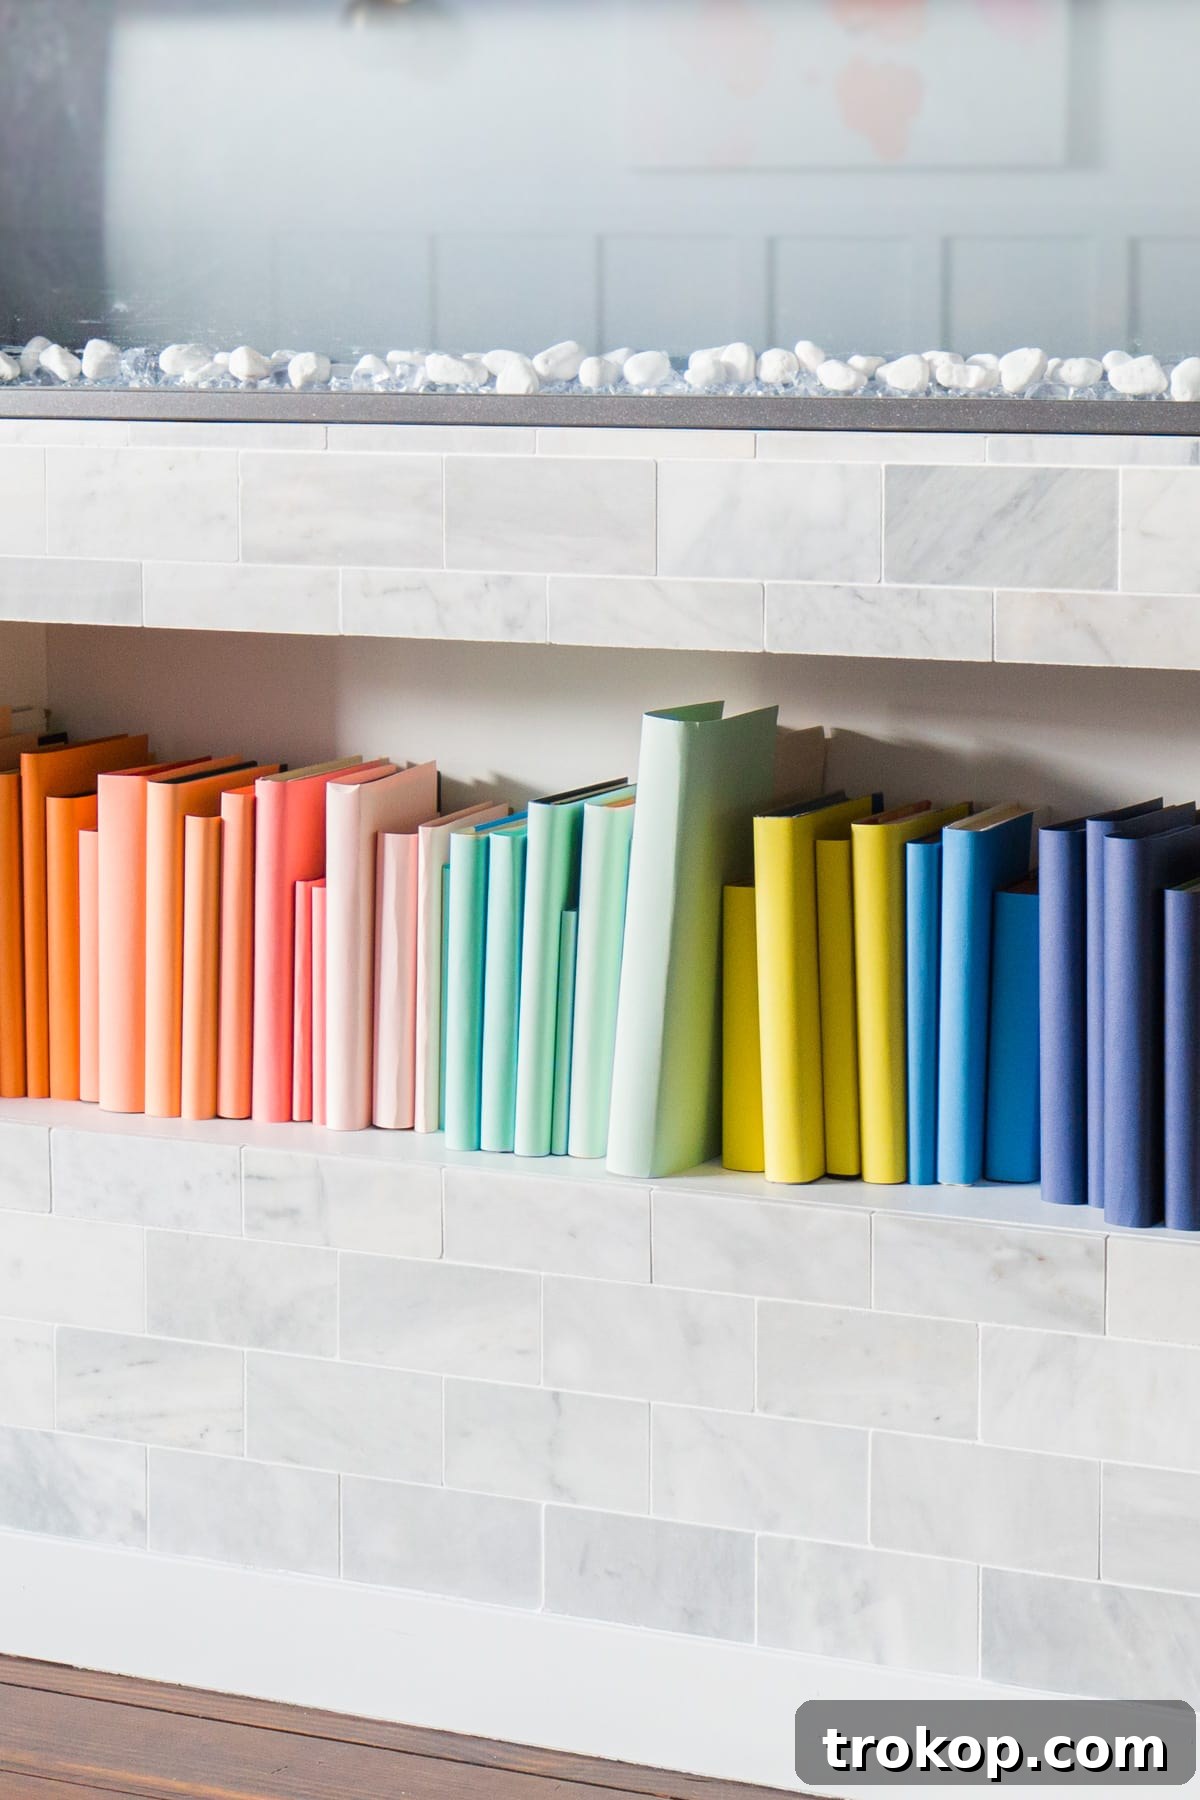
Pretty simple, right?! This hack is particularly perfect for creatively styling an unused fireplace or adding a personalized touch to any shelf or cabinet. The result is a stunning, cohesive display that looks anything but DIY.
Tips for Perfecting Your Rainbow Bookshelf
To ensure your DIY color-coded bookshelf looks its absolute best, consider these additional tips:
- Plan Your Color Scheme: Before you start wrapping, lay out your chosen cardstock colors to finalize your desired order. Will you go for a classic rainbow, an ombré effect from light to dark, or a specific thematic palette?
- Vary Book Sizes: Mixing books of different heights and thicknesses adds visual depth and interest to your display. Arrange taller books towards the back or at the ends of your color blocks, with smaller ones in front.
- Consistency is Key: While varying book sizes is good, try to maintain consistency in the neatness of your wrapping. Clean cuts and firm creases make a big difference in the overall polished look.
- Use a Bone Folder: For extra crisp creases, a bone folder (a common craft tool) can be used to smooth down the folds of the cardstock, giving a professional finish.
- Consider Book Orientation: Decide if you want all your books standing upright, or if some will be stacked horizontally within the color blocks for added visual dynamics.
- Experiment with Textures: While plain cardstock is elegant, you could also experiment with textured cardstock or even subtle patterns for an added layer of interest, provided they don’t detract from the color organization.
- Group Like Colors: Arrange your newly covered books in color families or a continuous spectrum. For example, transition from deep reds, through oranges and yellows, into greens, blues, and purples.
- Clean Your Books: Before wrapping, quickly dust off any old books to ensure a clean surface.
Creative Display Ideas for Your Color-Coded Books
Once your books are beautifully color-coded, it’s time to display them! Here are a few ideas to get you started:
- The Classic Rainbow: Arrange your books in the traditional ROYGBIV (Red, Orange, Yellow, Green, Blue, Indigo, Violet) spectrum for a timeless, cheerful look.
- Ombré Effect: Choose a single color and use different shades of that color, transitioning from light to dark (or vice-versa) across a shelf. This creates a sophisticated, subtle gradient.
- Thematic Blocks: Group books by specific color themes (e.g., all cool tones like blues and greens, or all warm tones like reds and yellows) to evoke different moods in your space.
- Corner Nooks: Use a smaller collection of color-coded books to brighten up an otherwise dull corner, an unused fireplace mantel, or a bedside table.
- Mixed with Decor: Integrate your color-coded books with other decorative items like plants, small sculptures, or photo frames. Choose items that complement or contrast with your book colors.
- Children’s Rooms: This is a fantastic way to add vibrant, playful organization to a child’s bedroom or playroom, making their book collection feel fun and accessible.
- Home Office Inspiration: A color-coded bookshelf can bring a burst of creativity and order to a home office, making your workspace feel more inspiring and less cluttered.
More Easy Living Room DIYs
If you loved this project, you’ll enjoy exploring more simple and impactful DIYs to enhance your living space. Here are a few ideas to keep your creative momentum going:
- DIY Mini Patterned Side Table
- DIY Ikea TV Stand: How to Hack A Rattan Ikea TV Unit
- 20 Simple and Attractive DIY Plant Stand Ideas
- DIY Structured Pleat Lumbar Pillow
DIY Color Coded Bookshelf: Project Summary
Print Project
10 mins
10 mins
DIY
Book Shelves
Equipment
- Scissors or paper cutter
- Clear tape
Materials
- Old books
- Colorful card stock in the colors of your choice
Instructions
- Cut down the card stock to size so that it completely covers the front, back, and spine of the book, and crease the edges firmly for a neat fit.
- Use clear tape to secure each end of the cardstock to the inside of the front and back covers. And you’re all set for a beautifully transformed book!
$20
color coded bookshelf, DIY bookshelf, rainbow book display, book organization, colorful home decor, easy DIY