
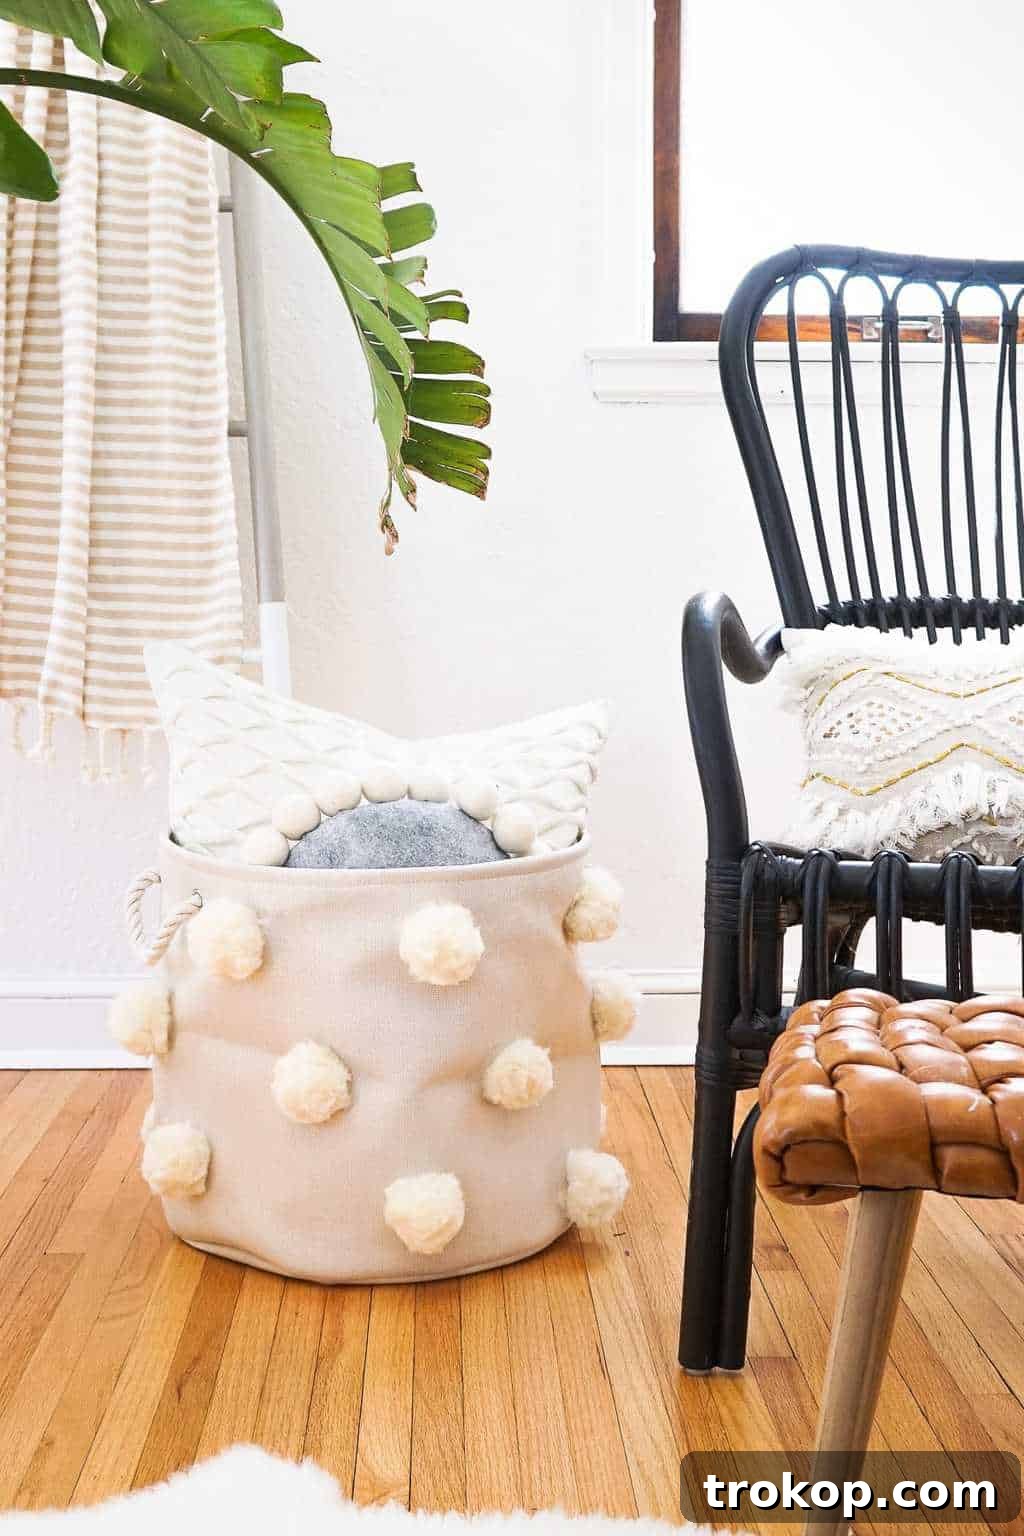
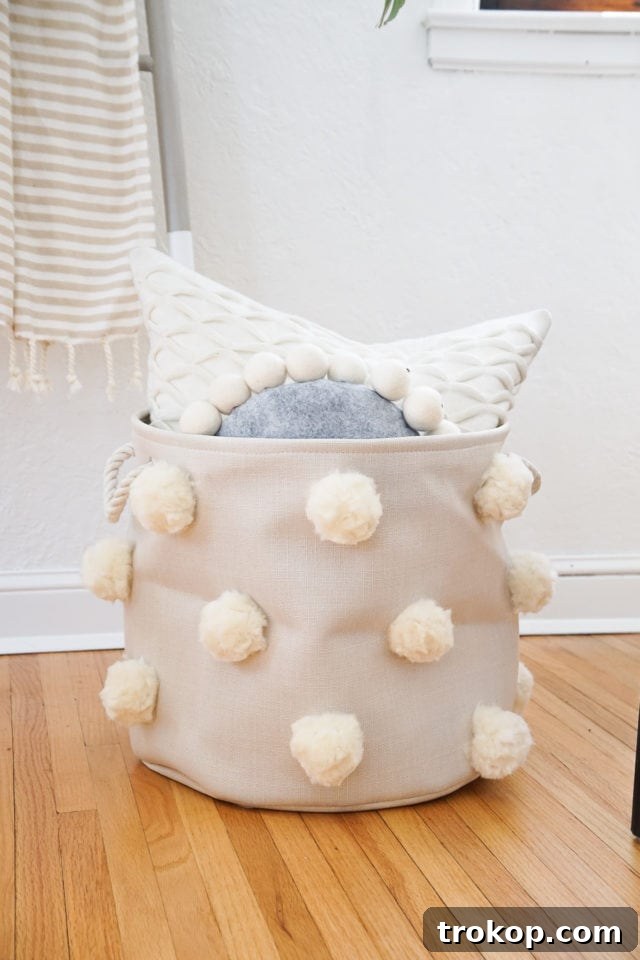
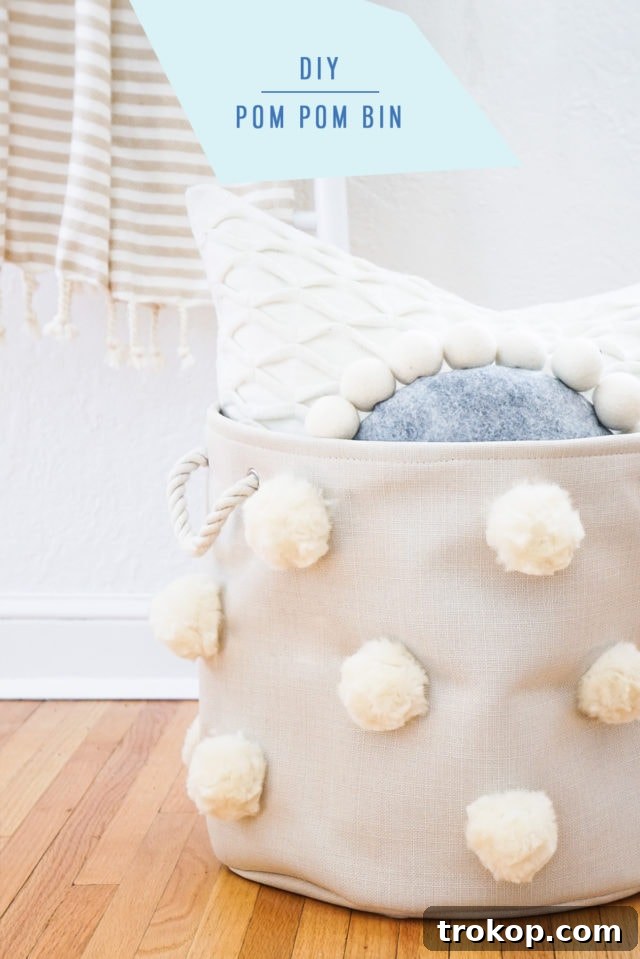
Fluffy DIY Pom Pom Bin — Transform your living space with this charming Fluffy DIY Pom Pom Bin! Perfect for those who adore neutral aesthetics, this project introduces a delightful touch of texture while expertly concealing those less-than-neutral bits and bobs around your home.
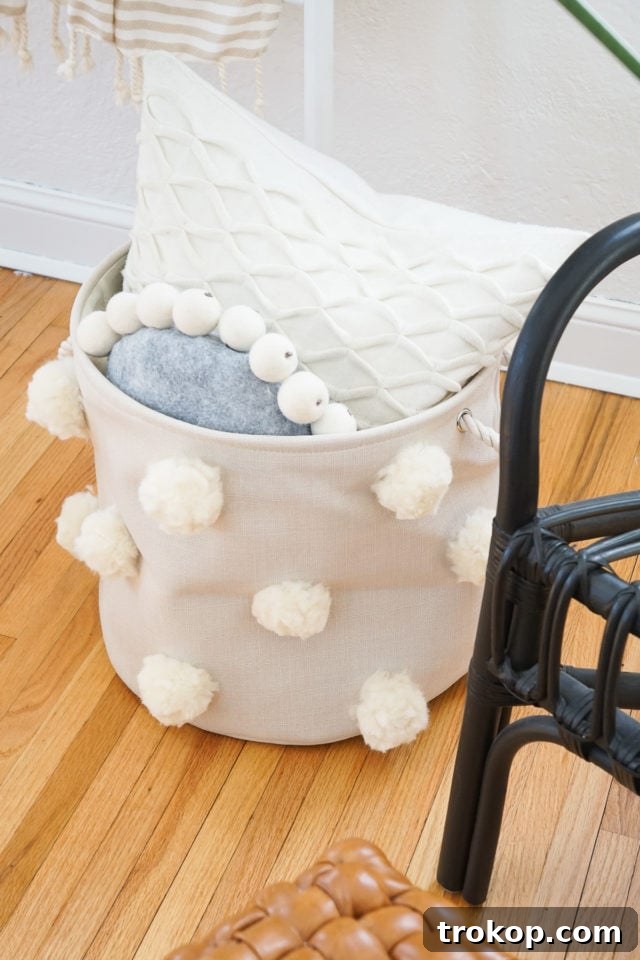
Fluffy DIY Pom Pom Bin: Elevate Your Home with Textured Storage
Are you captivated by neutral palettes in your home decor but constantly searching for ways to prevent your spaces from feeling bland or uninspired? The secret often lies in strategic use of texture. Our Fluffy DIY Pom Pom Bin is the ultimate solution, not only providing a practical storage space for all your everyday clutter but also infusing your home with an irresistible tactile element that breathes life into any neutral scheme.
In a world filled with vibrant colors and bold patterns, opting for a neutral home creates a serene and timeless atmosphere. However, to truly master a neutral aesthetic, visual interest is paramount. This is where texture becomes your best friend. By incorporating diverse textures—from plush fabrics to rustic wood, sleek metals to fluffy accents—you can create a dynamic and inviting environment that feels rich and layered, even without a spectrum of colors.
This pursuit of tactile elegance constantly drives us to discover new ways to integrate interesting elements into our homes, balancing both decorative charm and functional utility. That’s precisely how this delightful pom-pom storage bin project came to life. Inspired by the creative eye of Erin of Francoise et Moi, this DIY was born out of a universal need: finding a stylish solution to store children’s toys without compromising the living room’s aesthetic.
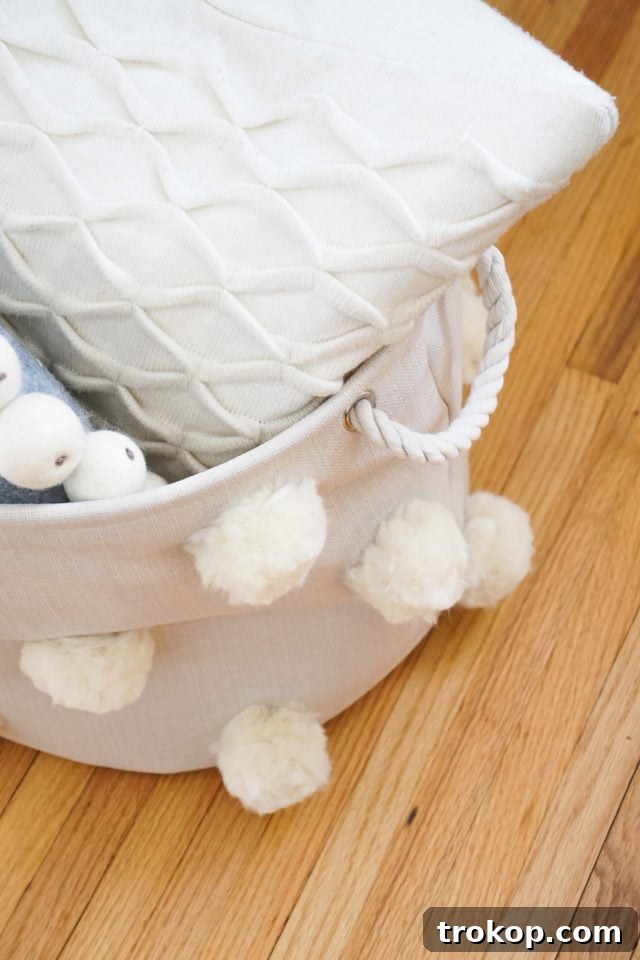
More than just a toy holder, this generous fabric container, boasting a 16-inch diameter and 15 inches in height, is a true master of chaos management. Its ample size makes it ideal for corralling an array of items, from unruly toys to an overflowing laundry pile, or even outdoor gear that needs a dedicated spot. The star of the show, of course, are the fluffy pom-poms that adorn its exterior. These whimsical additions bring a healthy dose of softness and playfulness, ensuring your storage solution is as visually engaging as it is practical.
Even if you don’t have little ones, the versatility of this fluffy DIY pom pom bin is unmatched. Imagine it holding your extra throw pillows, perhaps complementing your own DIY Snowball Pillow, or neatly organizing blankets in a cozy reading nook. And for those with an eye for accompanying stylish pieces, the charming chair seen nearby is our popular DIY Woven Stool—another project that beautifully marries texture and design. This project offers not just a storage bin, but a statement piece that enhances any room with its unique blend of utility and aesthetic appeal.
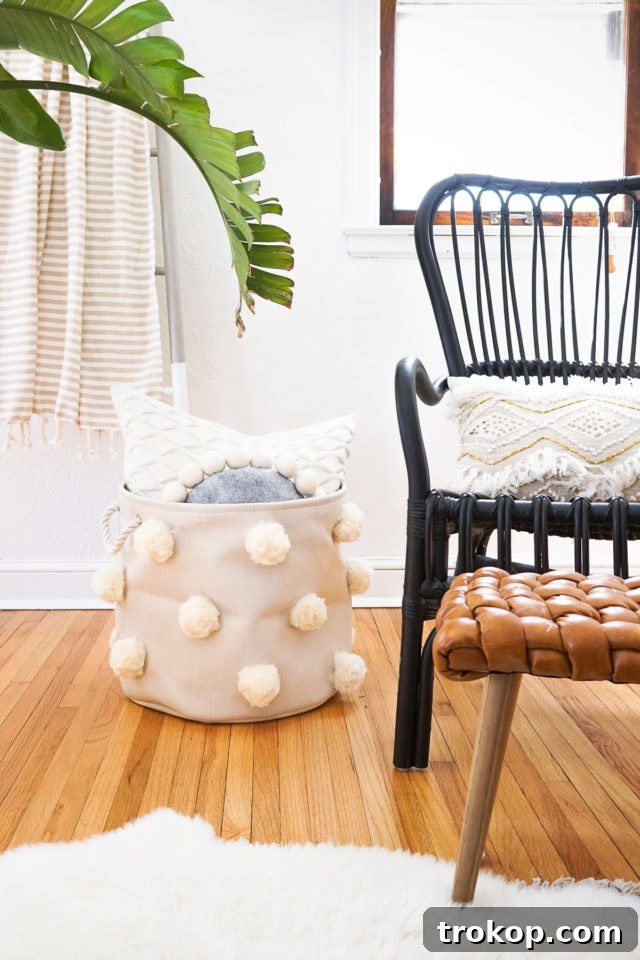
Table of Contents
Materials Needed To Make A Fluffy DIY Pom Pom Bin
Crafting your own Fluffy DIY Pom Pom Bin is a wonderfully rewarding project that requires just a few simple materials. Here’s what you’ll need to gather:
- Fabric Bin: Choose a sturdy bin, ideally with a neutral color and a good structure to hold its shape. A canvas or felt bin works perfectly as a base for the pom-poms. The size of your bin will determine the number of pom-poms you’ll need.
- Raw Wool Roving: This is the key to creating those wonderfully fluffy, cloud-like pom-poms. Roving is unprocessed wool fibers, soft and easy to work with. Opt for a color that complements your bin and desired aesthetic – natural whites, creams, or light grays are excellent for a neutral look.
- Coordinating Yarn: This yarn will be used to tie the pom-poms and attach them to the bin. Choose a color that closely matches your wool roving or the bin itself for a seamless finish. A medium-weight yarn is generally suitable.
- Wallet-sized (3”x 2”) Sturdy Plastic Card: An old credit card, loyalty card, or even a piece of stiff cardboard cut to size will work. This acts as your pom-pom maker, ensuring uniform size and shape.
- Sharp Scissors: Essential for cutting the wool roving and yarn cleanly, and for shaping your pom-poms.
- Tapestry Needle: A large-eyed needle is necessary for threading the yarn tails and securely attaching the finished pom-poms to the fabric bin.
With these materials in hand, you’re ready to embark on a fun and easy crafting journey that will result in a chic and functional storage piece for your home.
How To Make A Fluffy DIY Pom Pom Bin
Creating this Fluffy DIY Pom Pom Bin is a straightforward process that yields incredibly stylish results. Follow these simple steps to bring your textured storage solution to life:
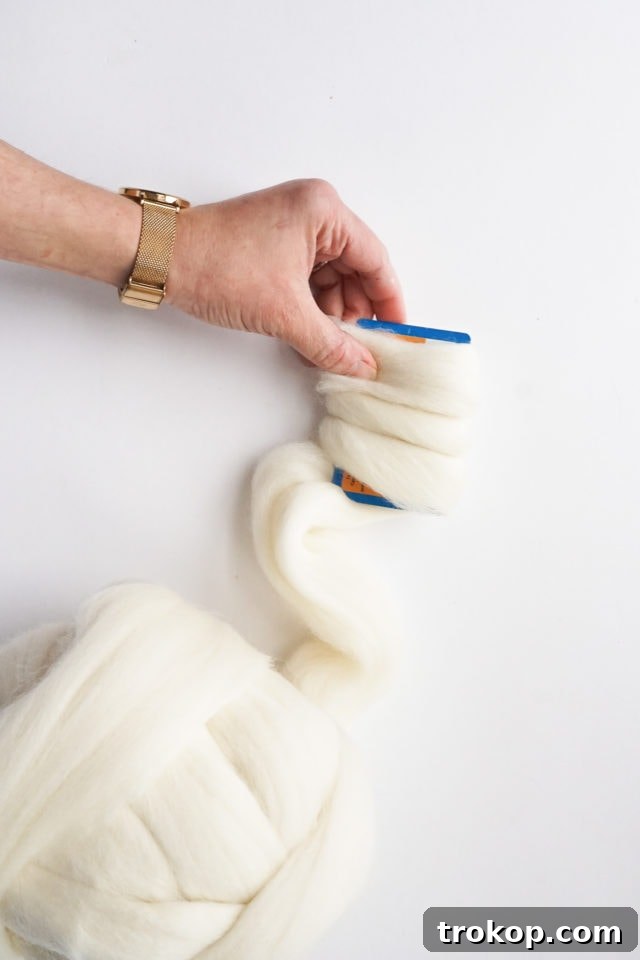
Step 1: Wrap the Wool Roving
Begin by taking your raw wool roving and wrapping it around the wallet-sized plastic card. For a robust and fluffy pom-pom, aim for approximately 2.5 times the length of the card. The more wraps you make (within reason), the denser and more luxurious your pom-poms will appear. Maintain a consistent tension as you wrap to ensure an even distribution of wool.
Step 2: Cinch and Tie
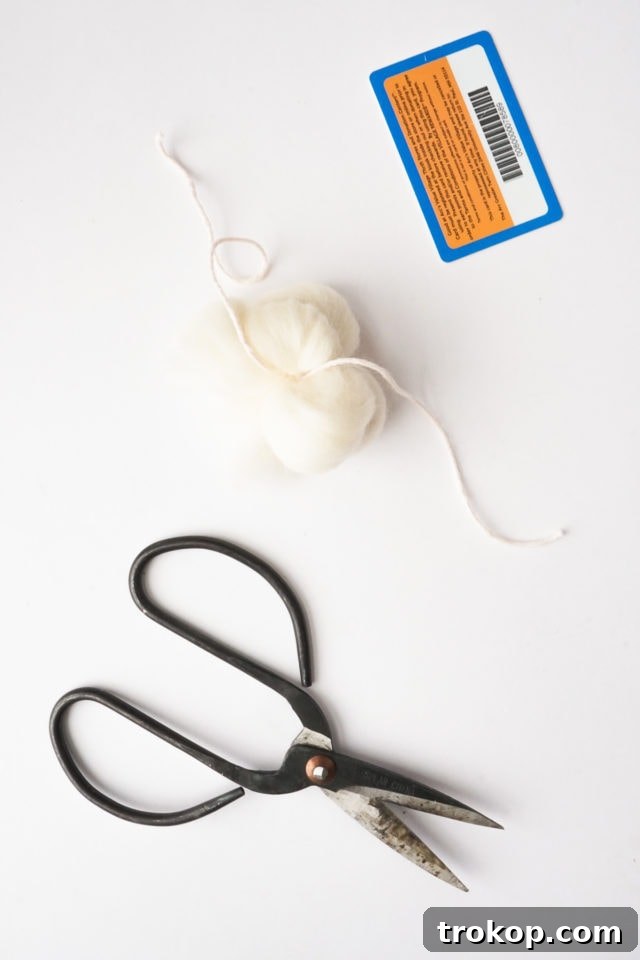
Carefully slide the wrapped wool roving off the plastic card, ensuring it retains its folded shape. Gently pinch the center of the folded wool with your fingers to create a distinct waist. Now, take a length of your coordinating yarn and tie it tightly around this cinched center. Make sure to double knot the yarn securely. These knots are crucial for holding the pom-pom together, so pull them snug without breaking the yarn. Leave generous tails on this tying yarn, as you’ll use them to attach the pom-pom to the bin later.
Step 3: Cut and Fluff
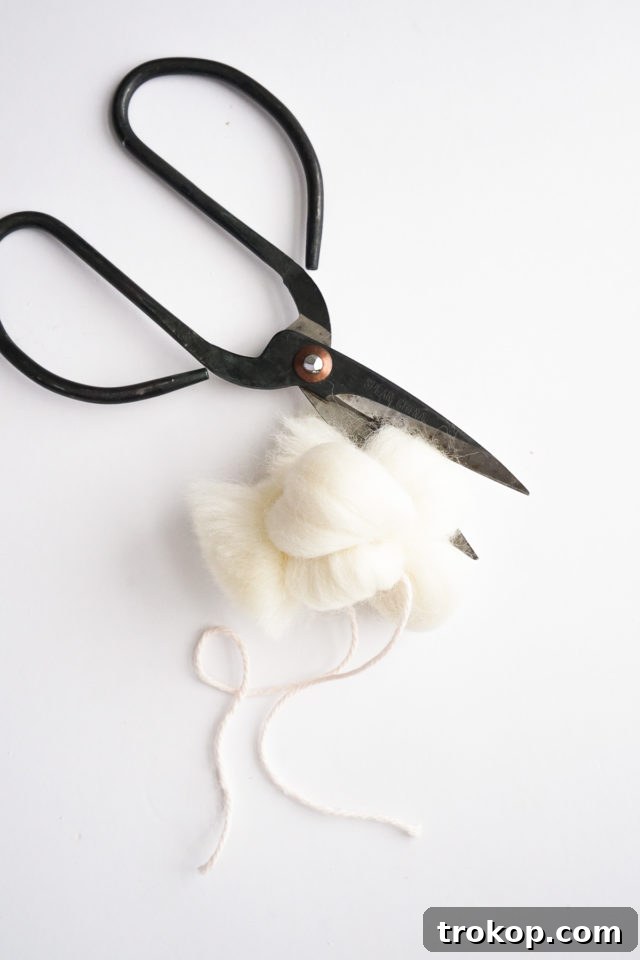
With your sharp scissors, carefully cut through all four loops of the wool roving. Once all loops are cut, you’ll see the pom-pom begin to take its spherical shape. The next crucial step is to gently fluff the pom-pom. Use your fingers to separate and spread out the wool fibers, transforming it into a soft, full, and perfectly fluffy sphere. Don’t be shy with the fluffing – this is what gives your pom-poms their charming texture.
Step 4: Repeat for More Pom-Poms
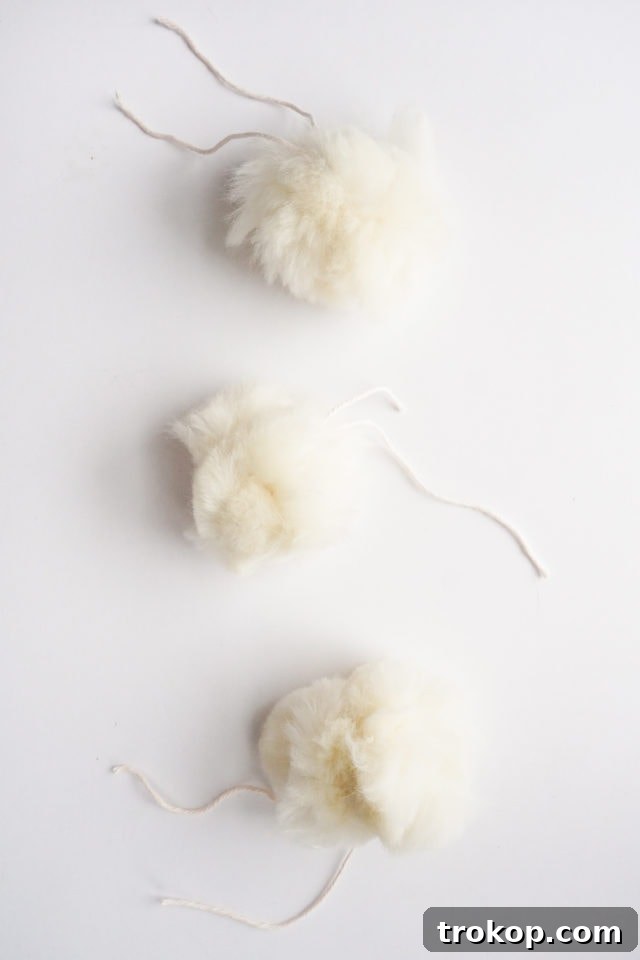
The number of pom-poms you’ll need will depend on the size of your fabric bin and how densely you wish to cover it. For the 16” diameter by 15” high bin featured in this tutorial, we used a total of 18 pom-poms to achieve a full and luxurious look. Continue repeating Steps 1-3 until you have enough fluffy pom-poms to adorn your bin. Consider creating a few extra, just in case, or for experimenting with different placements.
Step 5: Prepare for Attachment
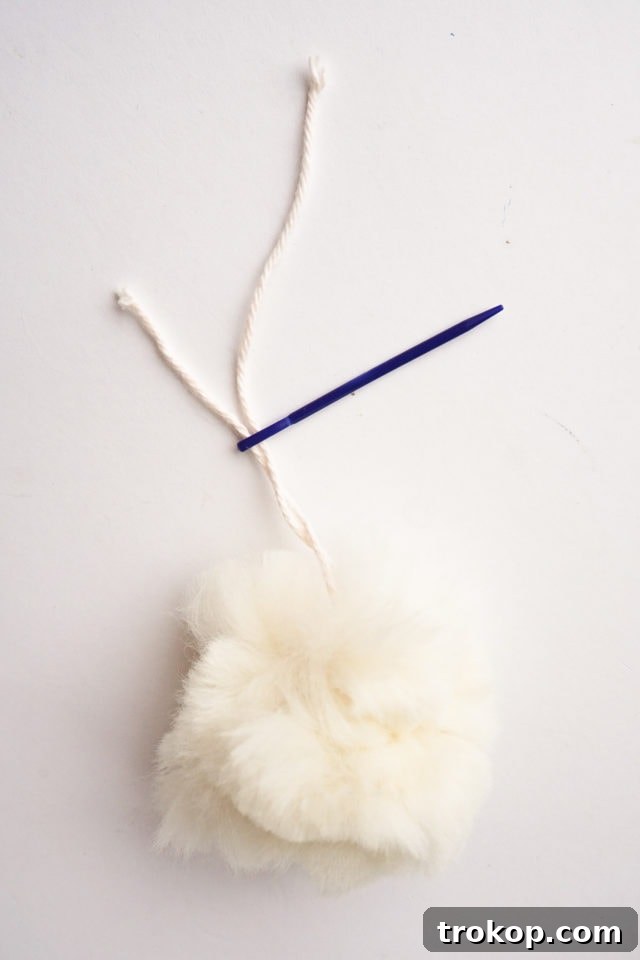
Once your pom-poms are ready, take one and thread both of its yarn tails through the eye of your tapestry needle. A tapestry needle’s large eye and blunt tip make it perfect for weaving through fabric without snagging. This double-threaded yarn will ensure a secure attachment to the fabric bin.
Step 6: Attach Pom-Poms to the Bin
Decide on the placement for your first pom-pom. Insert the tapestry needle through both fabric layers on the side of the bin, pushing it all the way through to the inside. Pull the yarn tails through until the pom-pom sits snugly against the exterior of the bin. On the inside of the bin, tie the yarn tails together in a tight double knot. Trim any excess yarn tails close to the knot for a neat finish. This ensures the pom-pom is firmly secured and won’t easily detach with use.
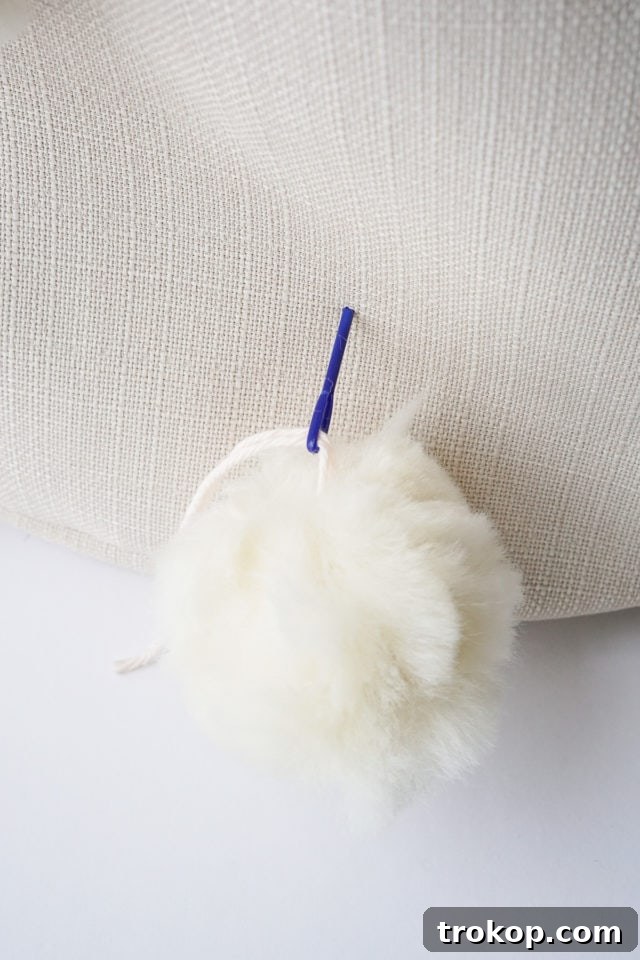
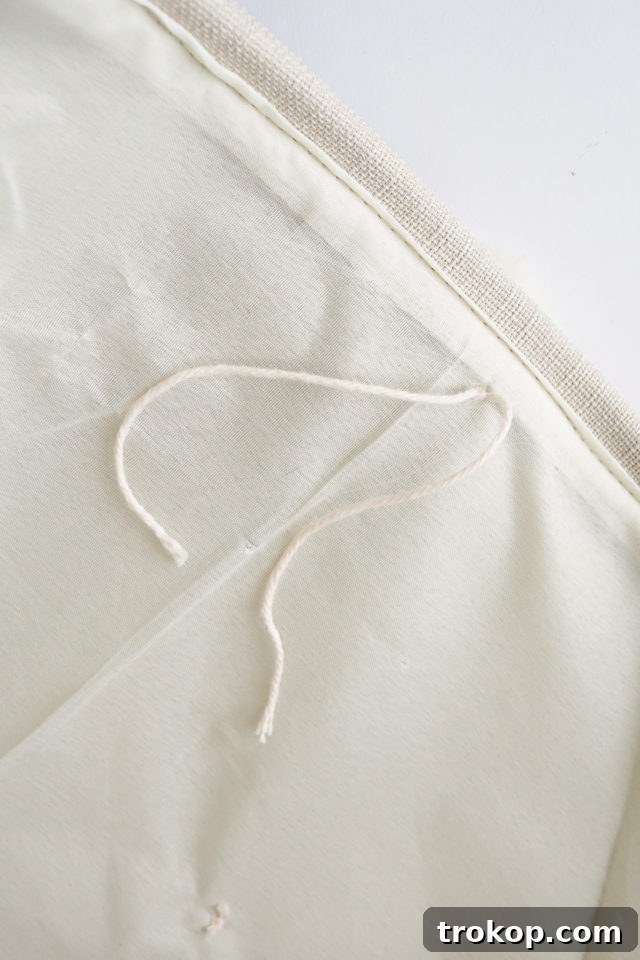
Step 7: Arrange and Refine
Continue attaching the remaining pom-poms in an all-over pattern, or any arrangement you prefer, ensuring even spacing for a cohesive look. Step back occasionally to assess your progress and adjust placement as needed. Once all pom-poms are attached, take your scissors and gently trim any wild tufts or uneven fibers on your pom-poms. This final grooming step will give your Fluffy DIY Pom Pom Bin a polished and professional finish, making it truly sparkle as a handmade piece of home decor.
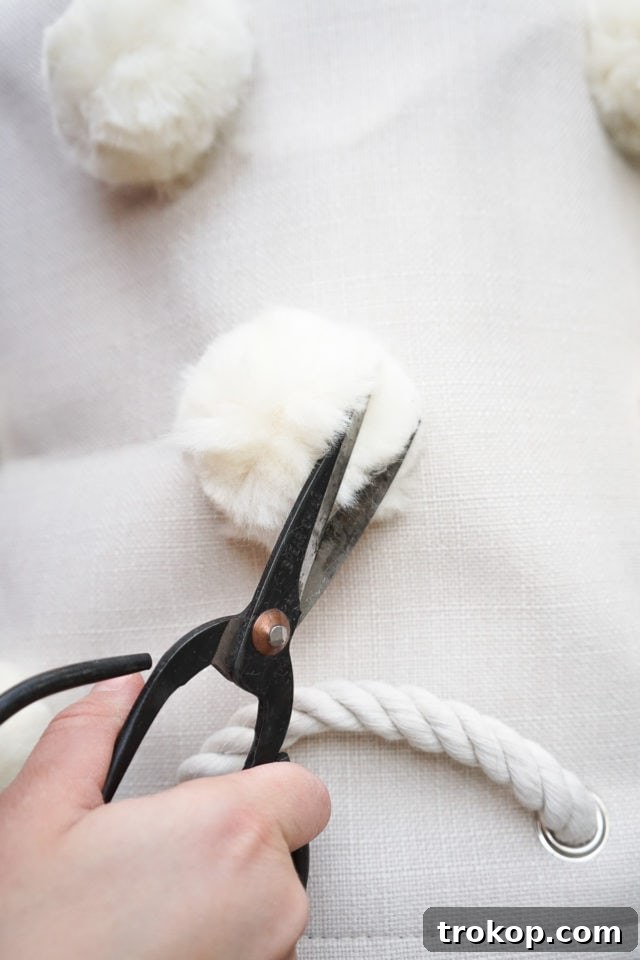
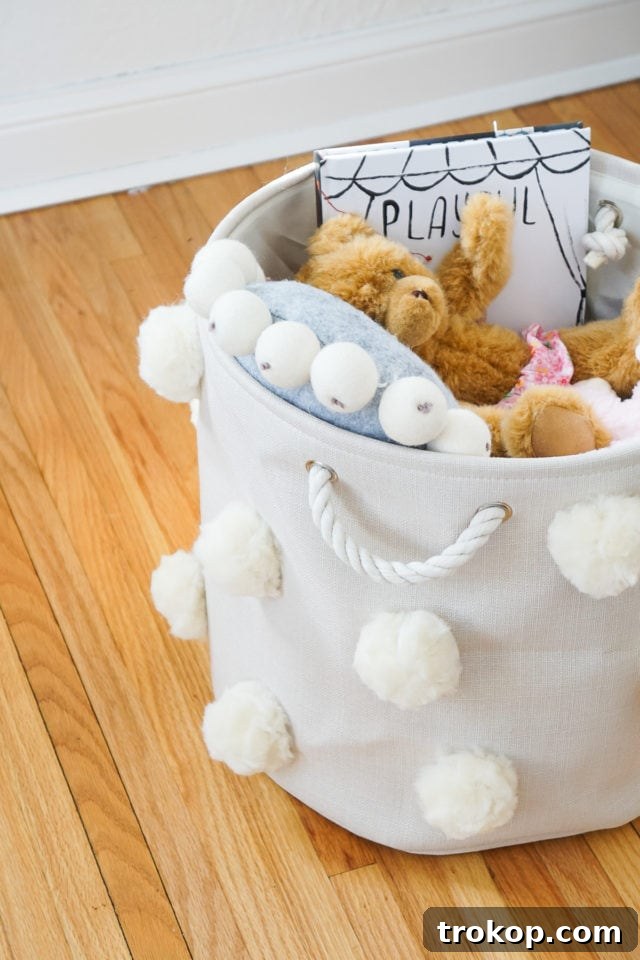
Personalize Your Fluffy DIY Pom Pom Bin
While this tutorial focuses on a neutral aesthetic, the beauty of this project lies in its complete customizability! If you’re not solely a lover of neutrals, you can absolutely infuse your personality into this DIY by selecting wool roving and yarn in vibrant hues. Imagine a pop of cheerful yellow, a calming pastel blue, or even a sophisticated mix of jewel tones adorning your bin. This technique offers endless possibilities for adding a unique touch of fluffy color and texture that perfectly matches your home’s unique style and color scheme. Don’t hesitate to experiment with different sizes of pom-poms too, or even mix and match colors for a truly bespoke storage solution.
Enjoy Your Stylish and Functional Storage!
The satisfaction of creating something beautiful and functional with your own hands is truly unmatched. This Fluffy DIY Pom Pom Bin not only serves as an excellent home organization tool but also acts as a stunning decorative accent, adding warmth, charm, and that much-needed texture to any room. It’s an easy-to-follow craft that delivers significant impact, proving that stylish storage doesn’t have to be complicated or expensive. So gather your materials, get crafting, and enjoy the delightful addition of your new, handmade fluffy pom-pom bin!
More Easy Storage DIY’s

17 Clever Ideas To Store Your Blanket

Ikea Besta Door Colors – DIY Color Block Storage Ideas
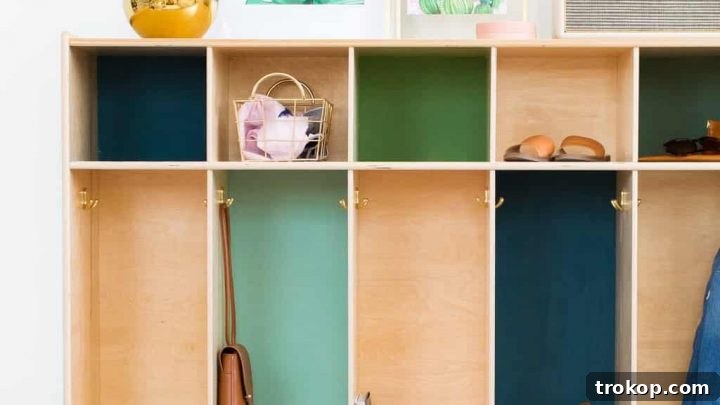
DIY Color Block Storage Lockers
DIY Rag Rug Storage Baskets

DIY Ikea TV Stand: How to Hack A Rattan Ikea TV Unit
She Shed It: Modern Tool Organization Ideas + Gift Guide!