
DIY Marquee Letters: Craft Your Own Dazzling Light-Up Decor on a Budget
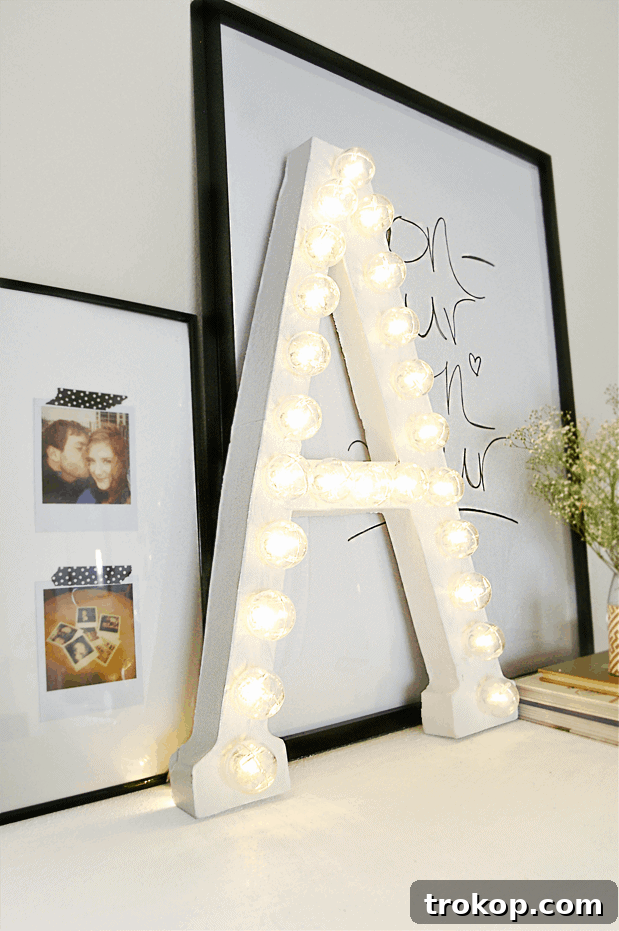
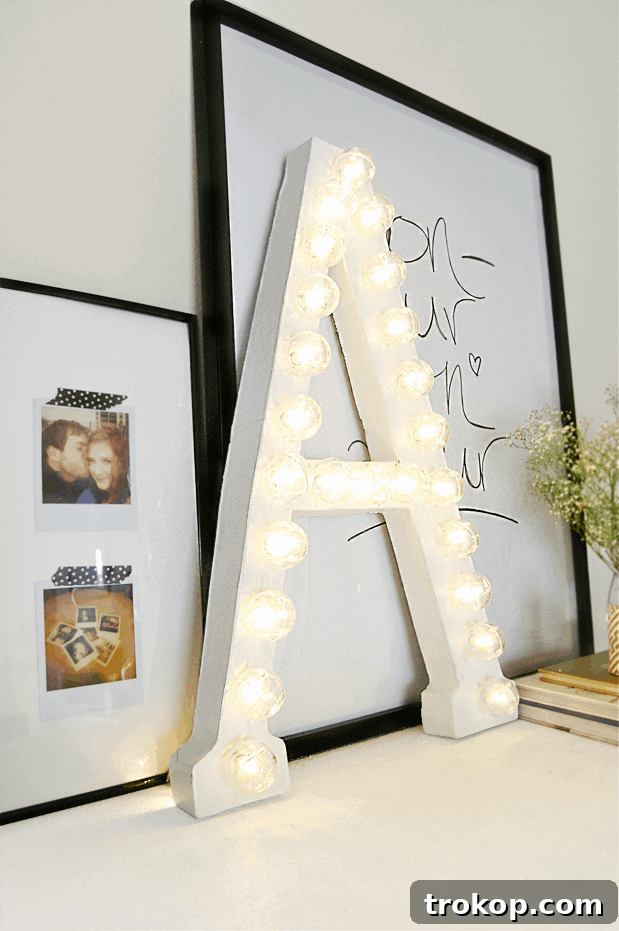
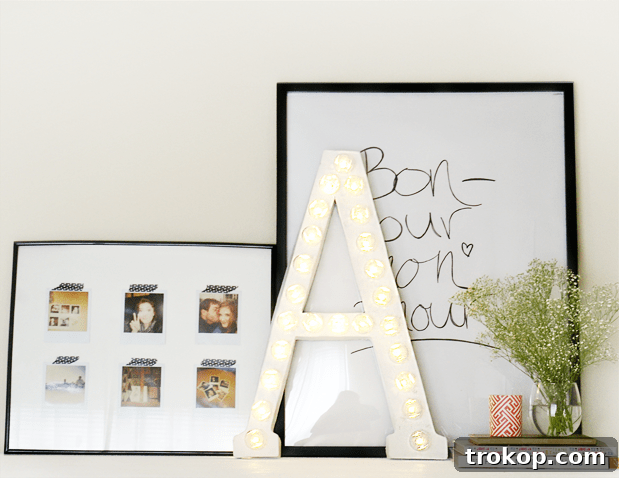
Are you searching for a striking piece of decor that adds a touch of personalized brilliance to any space without breaking the bank? Look no further! While many DIY projects can seem daunting, requiring specialized tools or advanced skills, I firmly believe in the power of simple crafts that deliver a huge impact. This DIY simple marquee letter is a prime example, originally shared with Grey Likes Nesting, and it’s proof that stunning decor can be both easy and incredibly affordable.
Forget the intimidating power tools or complicated wiring. If you can confidently handle a craft knife and string lights, you possess all the skills needed to create this captivating light-up letter. The best part? This entire project can be completed for under $15, making it a dream come true for budget-conscious decorators and gift-givers alike. Get ready to transform ordinary materials into extraordinary illuminated art!
Why Choose a DIY Marquee Letter?
Marquee letters have long been synonymous with vintage charm, Hollywood glamour, and festive celebrations. They instantly elevate the ambiance of any room or event, adding a warm, inviting glow. But why should you embark on the DIY journey for these coveted pieces?
- Unmatched Personalization: Craft any letter, number, or symbol that holds special meaning to you. Spell out initials for a wedding, a child’s name for their room, or an inspiring word for your office. The creative possibilities are endless.
- Incredible Affordability: Store-bought marquee letters can be surprisingly expensive, especially for larger sizes or custom designs. Our DIY approach slashes costs dramatically, allowing you to achieve the same high-end look for a fraction of the price.
- The Joy of Creation: There’s immense satisfaction in making something beautiful with your own hands. This project is not just about the end result; it’s about the fun and pride you’ll feel throughout the crafting process.
- Versatile Decor: Marquee letters aren’t just for parties. They make fantastic permanent fixtures in nurseries, living rooms, bedrooms, or even a cozy reading nook. They can also be fantastic photo props or centerpieces for special occasions.
- Sustainable Crafting: Repurpose materials like cardboard, giving them a new life as stylish home decor.
Materials You’ll Need for Your Marquee Letter
One of the beauties of this DIY project is its reliance on readily available and inexpensive materials. Before you begin, gather these essentials:
- Sturdy Cardboard: The thicker, the better! Large moving boxes, appliance boxes, or presentation boards work perfectly. Ensure it’s clean and free from strong creases.
- Craft Knife or Box Cutter: A sharp blade is crucial for clean, precise cuts. Replace blades often for optimal performance and safety.
- Metal Ruler or Straight Edge: Essential for guiding your knife and ensuring straight lines.
- Pencil: For tracing your design and marking light placements.
- Hot Glue Gun and Glue Sticks: Your primary adhesive for assembling the structure. A good quality hot glue gun will make this process smooth.
- Battery-Operated LED String Lights: These are key for safety and portability. Choose lights with bulbs that are small enough to fit through your cardboard holes. Warm white is popular, but feel free to experiment with colors.
- Cutting Mat (Optional but Recommended): Protects your work surface and provides a stable base for cutting.
- Paint or Spray Paint (Optional): Acrylic paint or spray paint in your desired color (metallic finishes look fantastic!). Consider a primer if your cardboard has a glossy finish.
- Awl or Skewer: For easily poking holes for the lights.
Step-by-Step Guide: Crafting Your DIY Marquee Letter
Follow these simple steps to bring your illuminated vision to life:
- Step 1: Design Your Letter or Shape
Begin by choosing the letter, number, or symbol you wish to create. You can freehand draw it onto your cardboard, print a large template from your computer, or project a design onto the cardboard and trace it. Consider the font style and size carefully – blockier fonts tend to be easier to work with for cutting and attaching sides. Ensure your chosen design fits comfortably on your cardboard piece.
- Step 2: Cut the Base of Your Letter
Place your cardboard on a cutting mat or a protected surface. Carefully cut out the front piece of your letter using your craft knife and ruler. Take your time, making multiple shallow passes with the knife rather than trying to cut through in one go. This technique results in cleaner edges and is safer. Be precise, as this piece forms the face of your marquee letter.
- Step 3: Create the Side Strips
Now, you’ll need to cut strips of cardboard to form the “walls” or depth of your letter. The width of these strips will determine how deep your marquee letter is (e.g., 2-3 inches wide is a good starting point). Measure and cut several long strips from your remaining cardboard. You’ll need enough to go around the entire perimeter of your letter, including any internal cutouts (like the center of an “A” or “O”). For curved sections, gently pre-bend the cardboard strips to make them more pliable.
- Step 4: Assemble the Letter Structure
Using your hot glue gun, begin attaching the cardboard strips to the edges of your cut-out letter base. Start at an inconspicuous point, like the bottom of the letter. Apply a bead of hot glue along the edge of the base, then firmly press a cardboard strip onto it. Hold it in place until the glue sets. Work in small sections, carefully molding the strips around curves and angles. For sharp corners, you may need to score and fold the strips or cut them into smaller pieces and glue them at an angle for a neat seam.
- Step 5: Reinforce and Refine
Once all the side strips are attached, go back over all the seams with additional hot glue, if necessary, to ensure a strong, stable structure. Check for any gaps or weak spots. You can also add small pieces of cardboard on the inside corners for extra reinforcement.
- Step 6: Paint Your Masterpiece (Optional but Recommended)
If you wish to paint your marquee letter, now is the time. Spray paint works wonderfully for a smooth, even finish, but acrylic paint can also be used. Choose a color that complements your decor. Metallic gold, silver, or rose gold can give a very polished, professional look. Allow ample drying time before moving to the next step.
- Step 7: Mark and Puncture Light Holes
Lay your finished (and dry) letter face-up. Arrange your LED string lights over the surface to visualize the placement of each bulb. Use a pencil to mark where each individual light bulb should go. Try to space them evenly for a balanced look. Once marked, use an awl, a sharp pencil, or a skewer to carefully poke holes through the cardboard at each marked spot. Make sure the holes are just large enough for the LED bulbs to pass through snugly.
- Step 8: Insert the Lights
From the back side of your letter, carefully push each LED bulb through its designated hole. Work your way around the letter, ensuring that the wires are neatly tucked inside the cardboard structure. Once all bulbs are in place, secure the battery pack to the back of the letter using hot glue, strong tape, or Velcro strips, ensuring it’s accessible for changing batteries.
- Step 9: Power Up and Display!
Turn on your lights and admire your handiwork! Your stunning DIY marquee letter is now ready to be displayed. Place it on a shelf, mantelpiece, hang it on a wall, or use it as a centerpiece for your next celebration.
Tips for Success and Longevity
To ensure your DIY marquee letter turns out perfectly and lasts for a long time, keep these tips in mind:
- Sharp Blade is Key: Always use a fresh, sharp blade in your craft knife for clean, frustration-free cuts. Dull blades can tear the cardboard.
- Work on a Protected Surface: A cutting mat is ideal, but thick cardboard or multiple layers of newspaper can protect your table.
- Test Lights Beforehand: Make sure all your string lights are working before you begin the insertion process.
- Patience with Hot Glue: Hot glue sets quickly, but don’t rush the assembly. Hold pieces firmly until the glue cools and hardens completely.
- Consider Double Layering: For extra durability and a more substantial feel, you can cut two identical base layers and glue them together before adding the side strips.
- Experiment with Light Types: While battery-operated LEDs are recommended for ease, you can explore solar-powered lights for outdoor use or plug-in lights for permanent indoor fixtures (ensure safety with professional advice if modifying electrical components).
- Decorative Backing (Optional): You can cut a back panel from cardboard and glue it to the side strips for a fully enclosed look, though it’s not strictly necessary, especially if the letter will be displayed against a wall.
Creative Variations and Customization Ideas
This basic tutorial is just the starting point! Here are some ideas to inspire further customization and creativity:
- Words and Phrases: Instead of a single letter, create an entire word like “LOVE,” “HOME,” “DREAM,” or “PARTY.” This works wonderfully for event decor or a statement piece in your home.
- Numbers for Milestones: Celebrate birthdays, anniversaries, or significant dates by crafting illuminated numbers.
- Themed Shapes: Extend beyond letters and numbers. Create a glowing star, a heart, an arrow, or even a simple outline of an animal for a child’s room.
- Unique Finishes: After painting, add glitter, metallic leaf, or cover the cardboard with fabric or patterned paper using decoupage techniques for a unique texture and visual appeal.
- Distressed Look: For a rustic or vintage aesthetic, sand down edges and apply a thin wash of dark paint to create an aged appearance.
- Seasonal Decor: Craft holiday-themed marquee letters like “JOY” for Christmas or “BOO” for Halloween.
- Different Light Colors: Experiment with colored LED lights to match specific party themes, seasons, or personal preferences.
Safety Considerations
While this is a relatively safe DIY, it’s always important to exercise caution:
- Sharp Tools: Always cut away from your body and keep your fingers clear of the blade’s path. Use a cutting mat or a sturdy surface that can withstand knife marks.
- Hot Glue Gun: Be mindful of the hot nozzle and melted glue to avoid burns.
- Electrical Components: Stick to battery-operated LED string lights for maximum safety, especially if you’re a beginner. They produce minimal heat and pose less electrical risk.
Conclusion: Light Up Your World, One DIY Letter at a Time
Creating your own DIY marquee letter is a rewarding project that combines simplicity, affordability, and stunning visual appeal. It’s an accessible craft for anyone looking to add a personalized, illuminated touch to their home, a special event, or to give a thoughtful handmade gift.
So, gather your materials, unleash your creativity, and prepare to be amazed at what you can achieve with just a knife, some cardboard, and a string of lights. Your space will thank you for this brilliant addition!
Have you tried making a marquee letter? Share your tips and creations in the comments below!