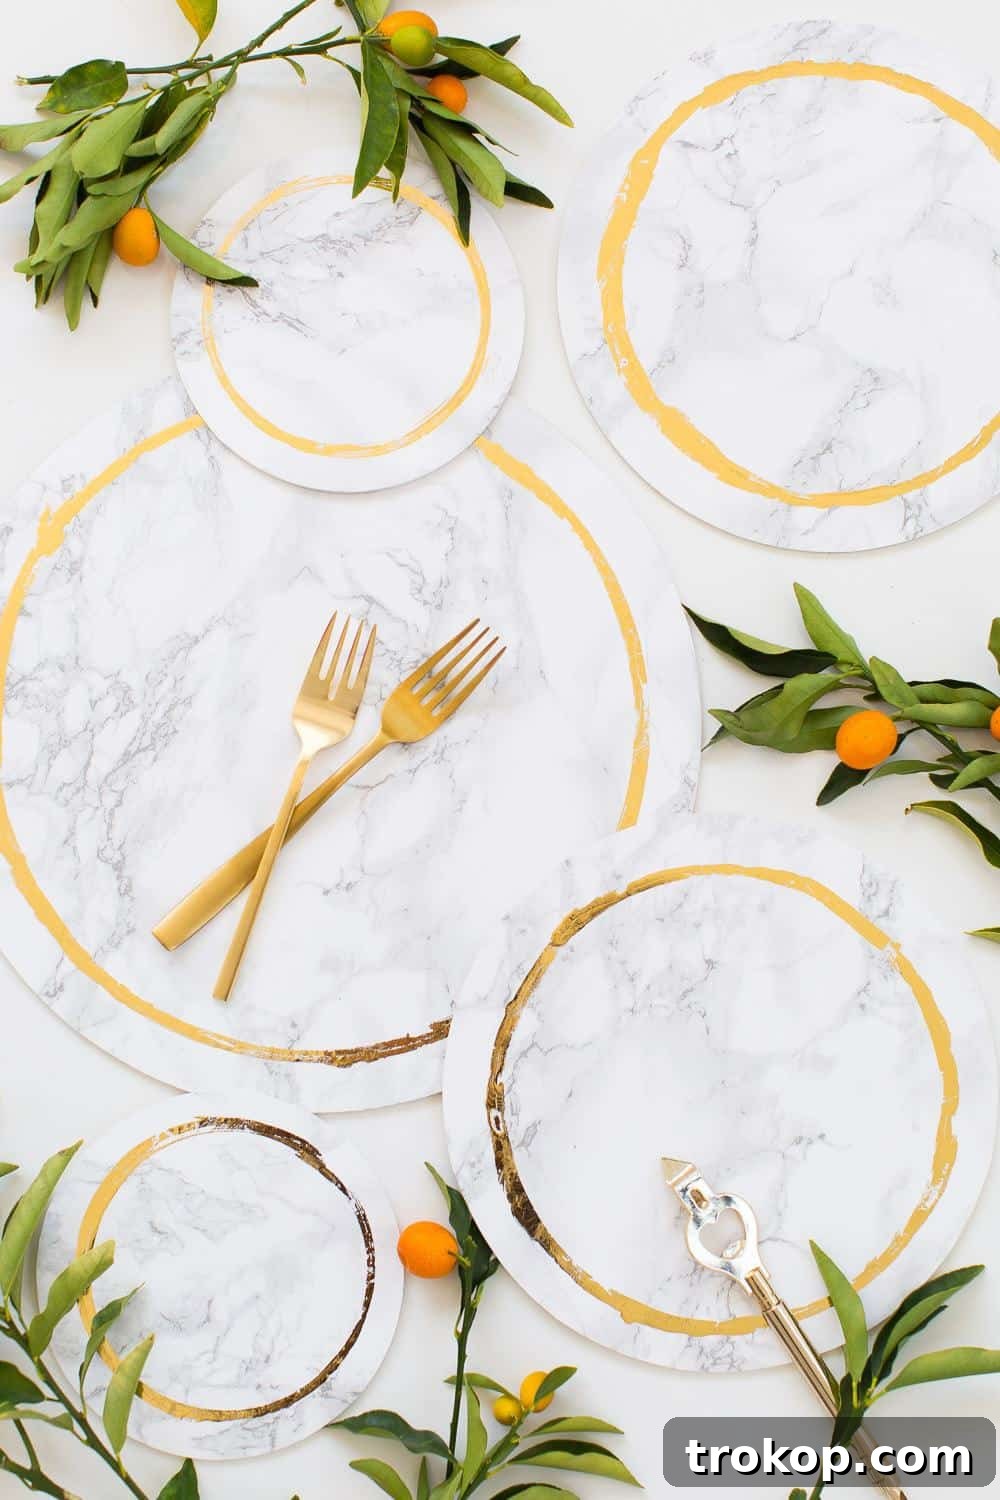
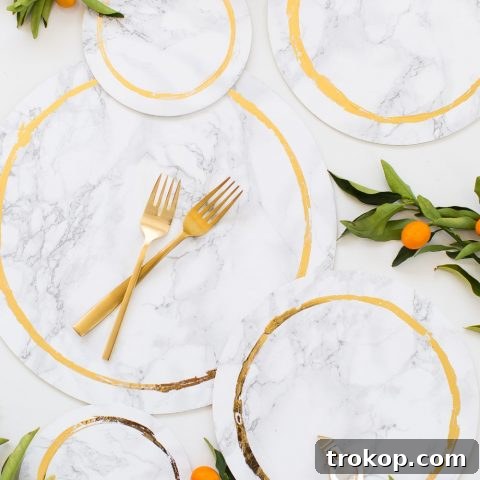
Transform your dining experience or special events with these stunning DIY Decorative Marble Plates, enhanced with just the right touch of gold. Forget about hunting for expensive chargers that don’t quite fit your vision or budget. This ingenious craft project offers an incredibly affordable, reusable, and stylish solution that you can easily create at home. Infusing a dash of modern elegance into any setting, these faux marble plates capture the sophisticated look of real stone and precious metal without the hefty price tag or delicate care requirements.
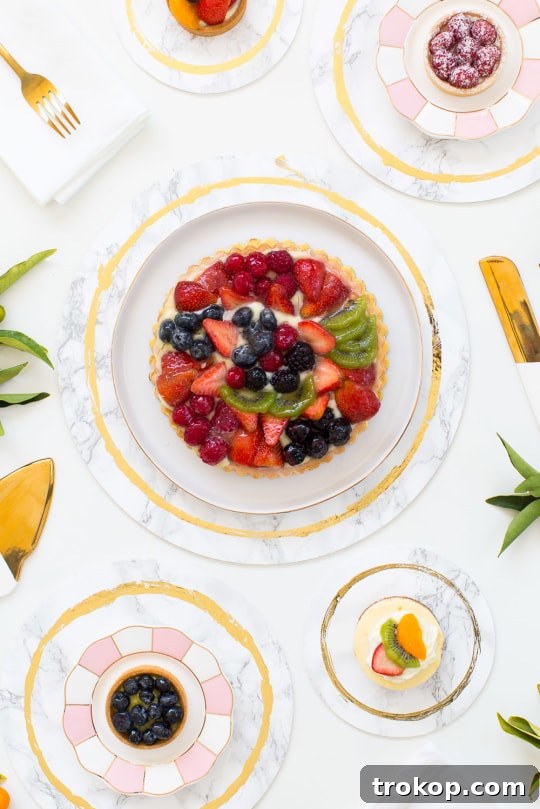
There’s something about the timeless allure of marble and the luxurious gleam of gold that instantly elevates any space. Whether you’re planning an intimate dinner party, a grand wedding reception, a celebratory shower for a friend, or simply want to add a touch of glamour to your everyday home decor, these plates are an absolute game-changer. I personally conceived this project when tasked with finding chic yet affordable chargers for an upcoming event. Faced with options that were either exorbitantly priced (way beyond my $5 per plate maximum) or simply non-existent, I decided to leverage my passion for DIY and bring this vision to life.
The beauty of this project lies in its clever use of materials. While these aren’t crafted from genuine marble, the visual effect is remarkably convincing. They are exceptionally inexpensive to produce, remarkably simple to clean for repeated use, and feature that perfect hint of gold that makes them feel truly special. Get ready to impress your guests and infuse your gatherings with an air of refined charm, all while staying well within your budget. Let’s dive into creating these stunning pieces that will have everyone asking, “Where did you get those?!”

Materials and Tools Needed To Make Decorative DIY Marble Plates
Gathering your materials is the first exciting step towards creating your bespoke marble plates. Most of these items are readily available at craft stores, hardware stores, or online, ensuring this project is as accessible as it is rewarding.
- Wood Plywood Circles: These form the sturdy base of your plates. I recommend using a variety of sizes to create a dynamic tablescape or for different serving needs. For instance, 10-inch circles are perfect for chargers, 8-inch for dessert plates, and 6-inch versions for coasters or smaller bites. The smooth, flat surface of plywood is ideal for applying contact paper evenly.
- Decorative Marble Contact Paper: This is the secret to achieving that realistic marble look without the expense or weight of real stone. Choose a high-quality paper with a convincing veining pattern. Its adhesive backing makes application straightforward.
- X-Acto Knife: Essential for precision cutting. A sharp blade will ensure clean, crisp edges around your wooden circles, making the finished product look professional.
- Scissors: Useful for rough cutting of the contact paper and gold foil before fine-tuning with the X-Acto knife.
- Gold Foil Paper: This will add the elegant gilded edge to your plates. Look for actual foil paper rather than just gold-colored paper for the best metallic sheen.
- Transfer Adhesive: This special adhesive is designed to pick up the gold foil. It’s crucial to select a non-toxic option, especially if these plates will be in close proximity to food, even if they’re purely decorative. Read product labels carefully.
- Thin Paintbrush: For applying the transfer adhesive precisely to the edges of your plates. A thin brush allows for control and detailed work.
- White Craft Paint and Brush: To paint the edges of the wood circles, ensuring a cohesive and finished look that seamlessly blends with the marble top. Any acrylic craft paint will do.
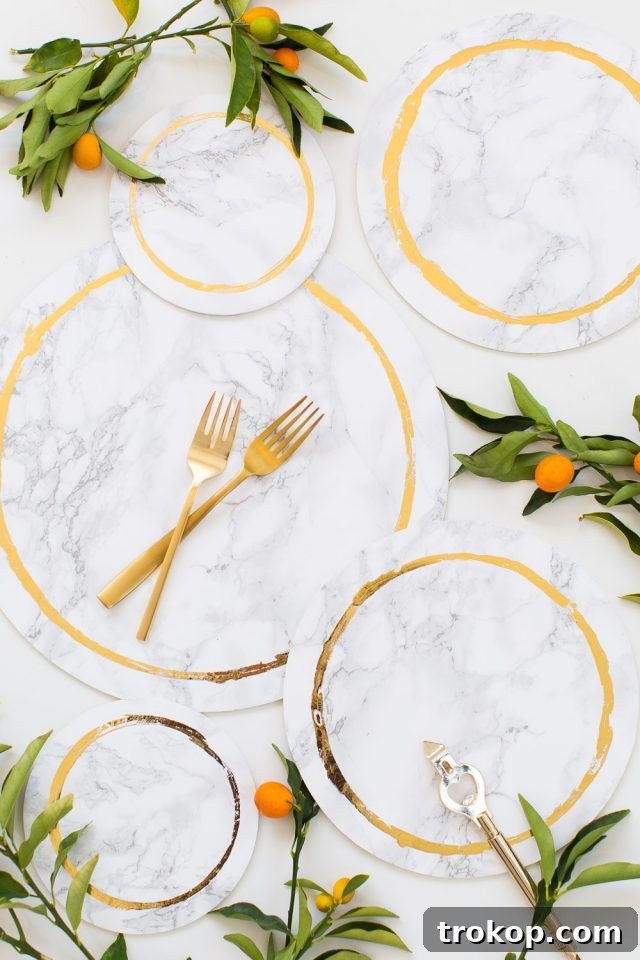
How To Make Decorative DIY Marble Plates
You’ll be delighted to discover just how simple and satisfying this DIY project truly is! While the process is straightforward, paying a little extra attention to the details will ensure your decorative plates look polished and professional, as if they came straight from a high-end boutique.
Step 1: Prepare the Wooden Bases
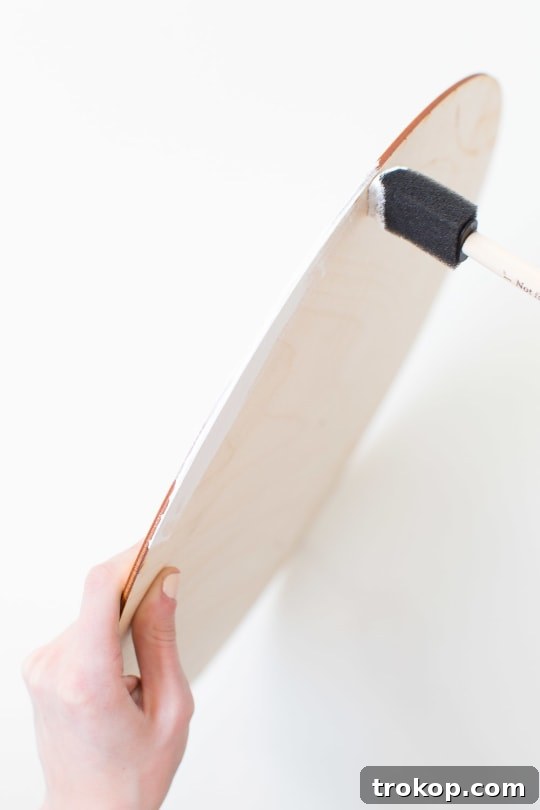
To ensure a seamless and refined aesthetic, the raw edges of your wooden circles should complement the marble surface. Begin by applying a coat of white craft paint to the sides of each wood circle. This step not only hides the natural wood grain but also creates a clean, bright border that will beautifully frame your faux marble. Allow the paint to dry completely. Depending on the opacity of your paint and the wood, a second coat might be beneficial for a perfectly smooth and even finish.
Step 2: Apply the Marble Contact Paper
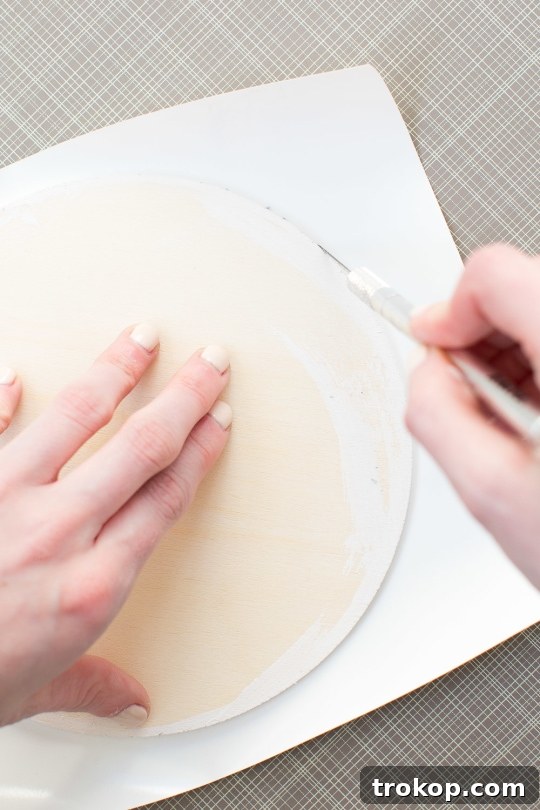
Now it’s time to bring the marble effect to life! Carefully peel back a section of the marble contact paper’s backing, exposing the adhesive side. Align one edge of your painted wood circle onto the sticky side of the contact paper. Slowly and deliberately smooth the contact paper over the entire surface of the wood, peeling away the backing as you go. Work from the center outwards to push out any air bubbles, using a credit card or a craft squeegee to achieve a perfectly smooth finish. Once the entire top surface is covered, use your X-Acto knife to meticulously trim the excess contact paper very closely around the wooden edges. This precision ensures a clean, crisp marble surface that seamlessly meets the painted sides.
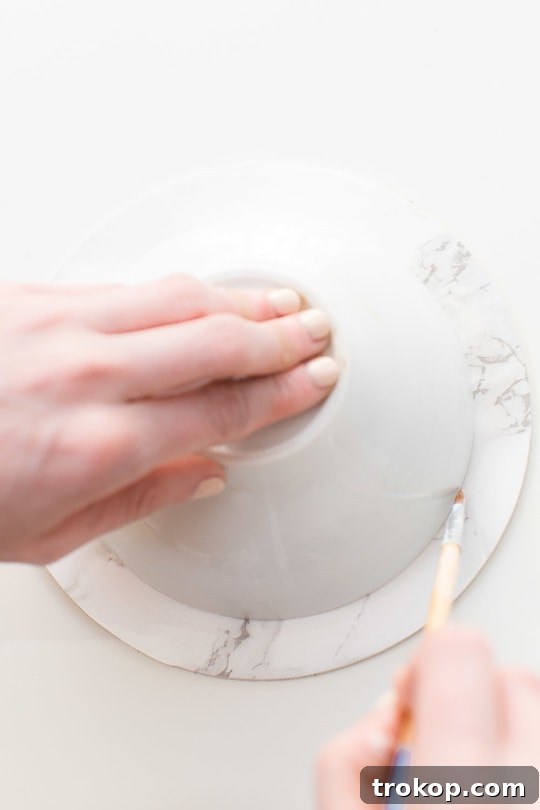
Step 3: Prepare for Gold Foiling
With the marble contact paper firmly in place and neatly trimmed, it’s time to add that luxurious gold accent. Pour a small amount of your transfer adhesive onto a disposable surface, such as a paper plate or a piece of cardboard. Using your thin paintbrush, apply the adhesive around the top edge of the marble-covered plate. You can aim for a perfectly neat line, or embrace a slightly “messy” brushstroke for a more organic, artisanal look—the choice is yours! The beauty is that it doesn’t have to be absolutely perfect to achieve a beautiful result. Just ensure you have an even coat of adhesive where you want the gold foil to adhere.
Step 4: Apply the Gold Foil
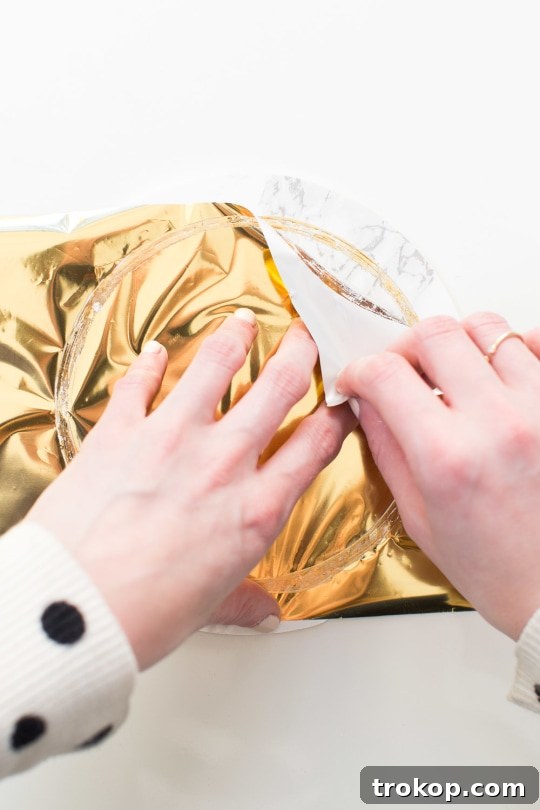
Allow the transfer adhesive to dry completely. This is a critical step; if the adhesive is still wet, the foil won’t transfer properly or will adhere unevenly. Once dry, the adhesive usually becomes tacky to the touch. Place a sheet of gold foil paper over the tacky edge, ensuring the gold side is facing up. Gently rub your fingers across the foil, applying firm, even pressure. This action helps the gold foil transfer effectively to the adhesive. After a thorough rub, carefully peel the foil paper away. You’ll be left with a stunning, shimmery gold-foiled circle around the edges of your marble plate, instantly elevating its aesthetic. Repeat this process for all your plates.
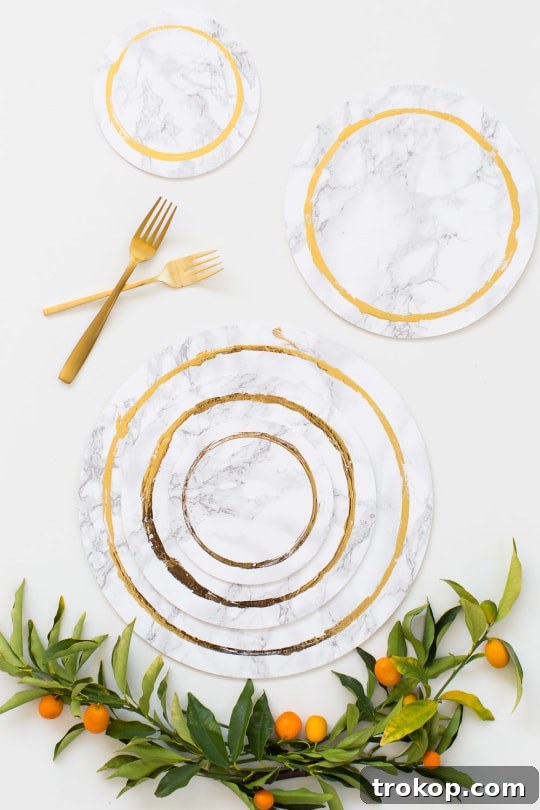
Why Choose DIY Marble Plates?
The appeal of creating your own decorative marble plates goes far beyond mere cost savings. While the affordability is certainly a major draw – especially when compared to high-end marble or ceramic chargers that can run upwards of $20-$50 per piece – the benefits extend into customization, reusability, and the sheer satisfaction of crafting something beautiful with your own hands.
Firstly, the ability to **personalize** these plates is unmatched. You can choose from an endless array of marble contact paper patterns, from classic white Carrara to striking black Marquina, or even more abstract veining. The gold foil can also be swapped for silver, rose gold, or even a bold metallic color, allowing you to perfectly match your event’s theme or home decor palette. This level of control is simply not available when buying off-the-shelf items.
Secondly, these plates are incredibly **versatile and reusable**. Unlike fragile ceramic or real marble, these contact paper-covered wood plates are surprisingly durable for decorative use. They are easy to wipe clean with a damp cloth, making them perfect for repeated use at countless dinner parties, holiday gatherings, or even as permanent display pieces in your home. Their lightweight nature also makes them simple to stack and store away conveniently, a definite win for anyone with limited storage space.
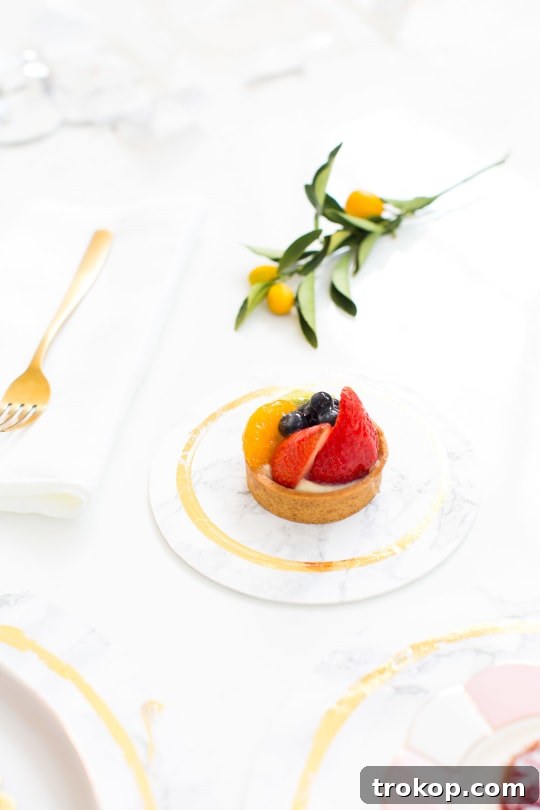
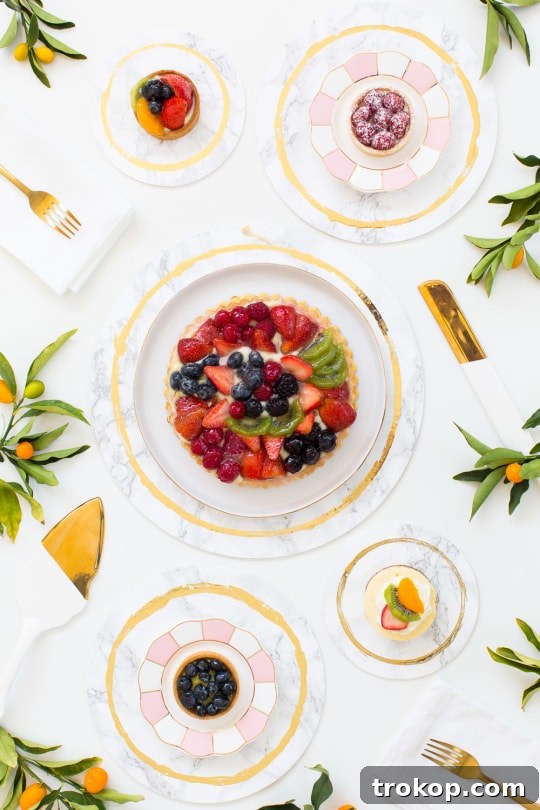
Consider the possibilities: use them as elegant **chargers** beneath your dinner plates, protecting your tablecloth and adding a sophisticated layer to your table setting. They are also perfect as **dessert plates** for a sweet buffet, or as stylish **serving boards** for cheeses, fruits, or appetizers (just remember to place a food-safe barrier like parchment paper between food and the contact paper). Beyond dining, they can serve as chic **trays** for organizing perfumes and jewelry on a vanity, or as striking **bases** for candles and small decorative items on a coffee table. Their adaptability means they’ll find a place in every corner of your home, not just for special occasions.
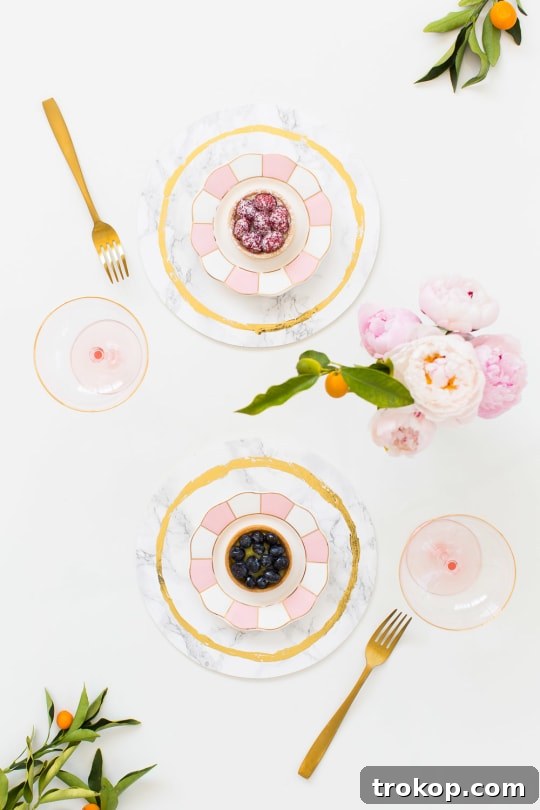
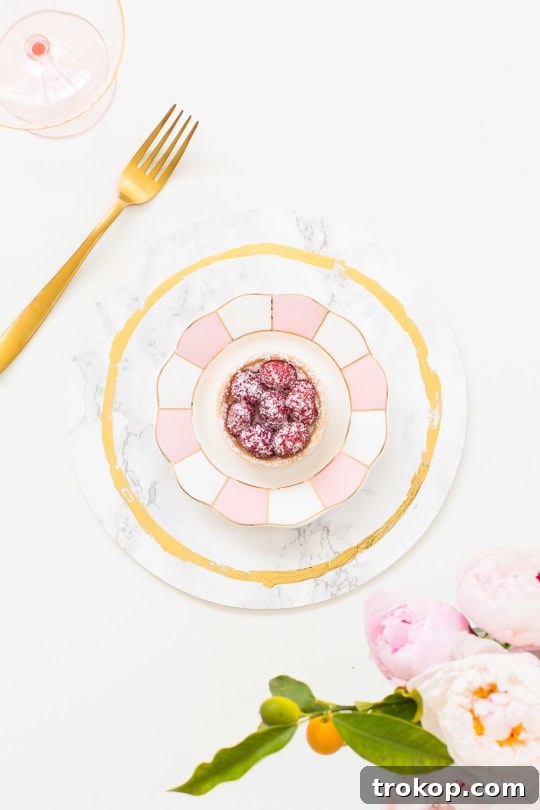
I am now utterly convinced I need a million of these marble beauties for every dinner party, wedding, or casual gathering I ever host! They truly are a win-win: stunning aesthetics combined with practical benefits. These would also be absolutely perfect for a wedding or party dessert table, especially if you prefer not to make one for every single person attending dinner, yet still desire that cohesive, high-end look.
Ultimately, when it comes to the timeless combination of marble and gold, the sky’s truly the limit! Don’t forget to share your amazing creations with us. Tag your photos with #mysugarandcloth and #sugarandcloth so we can follow along with your fantastic DIY projects and be inspired by your unique designs!
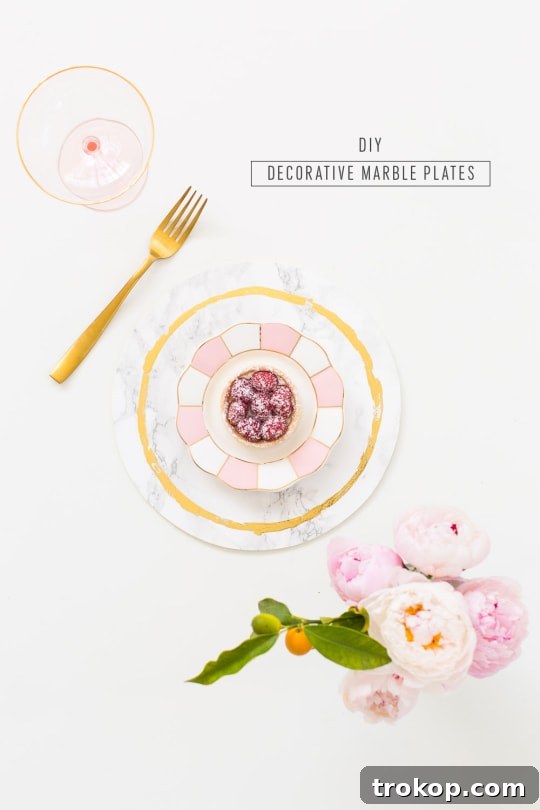
Customization and Care Tips
These DIY marble plates are wonderfully adaptable, allowing for extensive customization to fit your personal style or specific event. Don’t feel limited to classic white marble and gold; explore different patterns of contact paper—think geometric, floral, or even solid colors for a sleek, modern look. Experiment with various metallic foil colors like rose gold, copper, or silver for a unique touch. You could also try applying the foil in different patterns, such as stripes, polka dots, or a simple band further in from the edge, using painter’s tape for clean lines. For added durability, consider applying a clear, non-toxic sealant over the entire finished plate, especially if you anticipate frequent handling.
To ensure your beautiful decorative plates last for many events to come, proper care is essential. Since these are not made of real marble, they are not dishwasher safe and should not be submerged in water. To clean, simply wipe them down with a soft, damp cloth and mild soap if necessary. Avoid abrasive cleaners or harsh chemicals, which could damage the contact paper or foil. Store them flat or stacked carefully with soft cloths between each plate to prevent scratching. With a little care, these elegant pieces will remain a staple in your entertaining arsenal for years.
Related posts you might enjoy:
- DIY Marble Table Top With Gold Accents
- DIY Marble & Gold Serveware
- Easy DIY Sofa Table: How to Make a C Table
- DIY Hanging Marble Serving Board For Under $5
- DIY Gilded Marble Hexagon Serving Boards
DIY Marble Plates – Project Summary
DIY Marble Plates
Learn how to make your own beautiful and affordable marble plates with this easy tutorial. You’ll love the elegant results for any occasion!
40 mins
40 mins
DIY
Equipment
- Scissors
- X-Acto knife
- Thin paintbrush
Materials
- Wood plywood circles (10-inch), (8-inch), and (6-inch versions)
- Decorative marble contact paper
- Gold foil paper
- Transfer adhesive (ensure non-toxic)
- White craft paint and brush
Instructions
-
1. Paint the sides of the wood circles with white craft paint and let them dry completely. This step ensures the edges match the marble top for a polished look.
-
2. Peel a section of the marble contact paper backing and lay the wood round onto the sticky side. Smooth out any bubbles.
Trim very closely around the edges with an X-Acto knife to ensure clean, precise edges, resulting in a perfectly placed and cut marble side. -
3. Once the marble contact paper is securely in place, brush the foil adhesive around the top edges of the plate. You can use a bowl or paper plate as a guide for an exact circle, or freehand for a more rustic feel.
-
4. Allow the adhesive to dry completely until it becomes tacky. Then, place the gold foil paper over the tacky adhesive and rub your fingers across it firmly to ensure the foil transfers well.
Finally, peel the foil paper away to reveal a beautiful gold-foiled circle around the edges of your DIY marble plate!