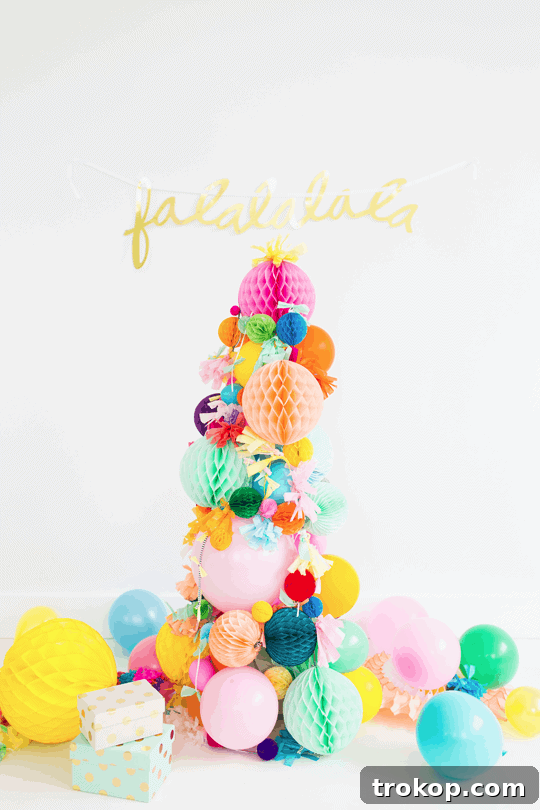
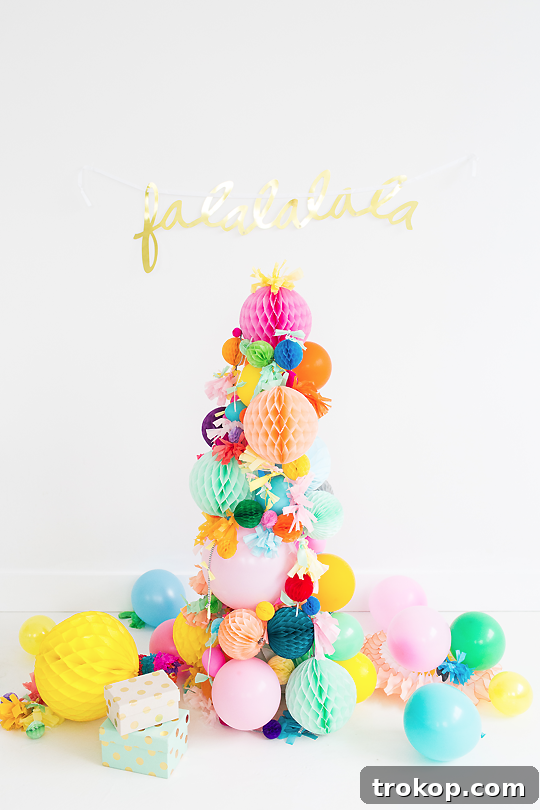
Transform your holiday decor with a splash of color and playful charm by crafting your very own DIY Pom Pom Christmas Tree! This unique and easy-to-follow tutorial offers a delightful alternative to traditional evergreen trees, perfect for adding a personalized festive touch to any home. Forget the hassle of shedding needles and embrace a vibrant, customizable centerpiece that’s sure to spark joy throughout the holiday season.
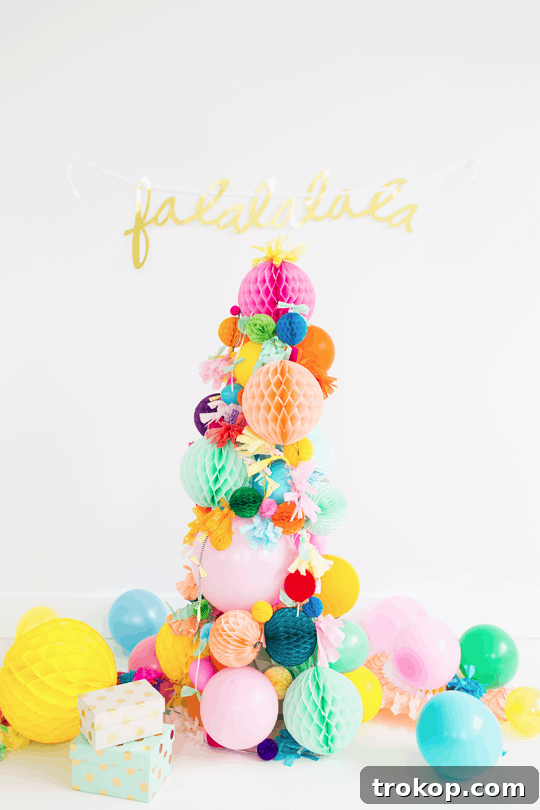
The holidays are a time for cherished traditions, but they’re also an ideal opportunity to express creativity and embrace new, exciting ways to celebrate. While the classic Christmas tree holds a special place in many hearts, it’s not always the most practical or fitting choice for every lifestyle or location. Our DIY Pom Pom Christmas Tree offers a simple, non-shedding, and wonderfully adaptable alternative that brings an explosion of cheer without any of the traditional fuss.
As the holiday season approaches, bringing with it thoughts of travel, family gatherings, and perhaps a much-needed escape, we often find ourselves contemplating how to best bring festive spirit into our homes, no matter where we are. Not everyone envisions a cozy, snow-dusted Christmas complete with chestnuts roasting by an open fire. Many celebrate in sunnier climes, or perhaps in apartments where space is a premium, or even while on adventurous trips abroad. For these scenarios, a traditional, bulky fir tree might feel out of place or simply impractical.
This is where the magic of a non-traditional Christmas tree truly shines. It opens up a world of possibilities for diverse celebrations, perfectly suited for every climate, region, and personal style. Imagine a vibrant, playful tree that complements a tropical setting as beautifully as it brightens a modern urban dwelling. The beauty of this approach is its versatility and the sheer joy it brings, proving that holiday decor can be as unique as the individuals celebrating.
We’ve long held a deep affection for pom poms, incorporating them into a variety of our past DIY projects. From our delightful Pom Pom Wall Hang to our charming Pom Pom Basket and the stylish Pom Pom Scarf, these fluffy wonders have consistently proven their power to add texture, color, and fun. It’s only natural that our love for pom poms extends to holiday decor, culminating in this fantastically colorful DIY Pom Pom Christmas Tree. This project is particularly perfect for those celebrating in places like the Caribbean, where a snow-capped Douglas fir would look, well, a little out of place. Instead, this project calls for something far more vibrant and joyful!
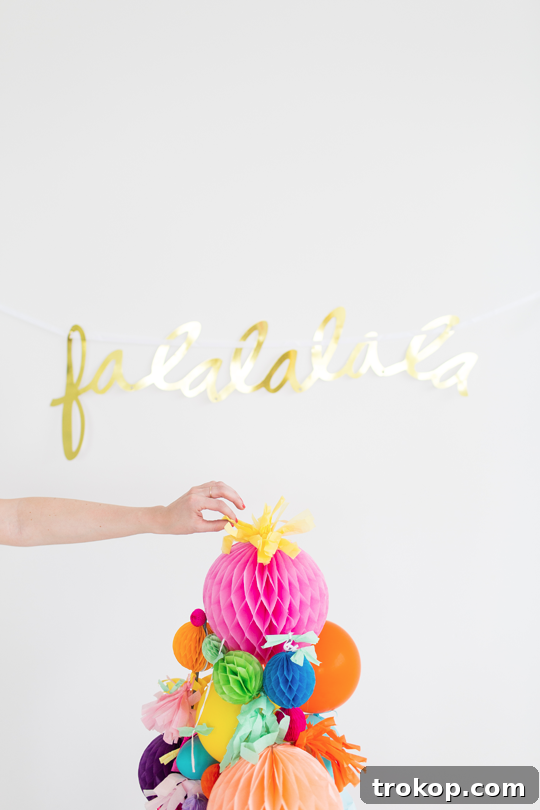
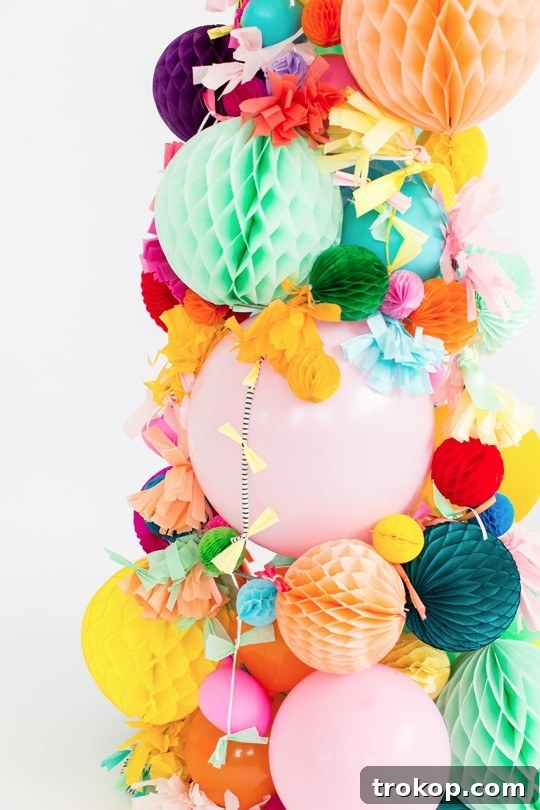
Materials and Tools Needed to Make a DIY Pom Pom Christmas Tree
Creating this whimsical pom pom Christmas tree is surprisingly simple, requiring just a few key materials that are readily available. The foundation of our tree is a humble item you might already have in your garden shed, repurposed for festive flair. The decorative elements allow for endless creativity, making each tree truly unique. Here’s what you’ll need:
- Hot glue gun and glue sticks: Essential for securely attaching your pom poms and other decorations to the frame. A good quality glue gun will ensure your tree lasts throughout the season and beyond.
- Metal tomato cage: This often-overlooked garden tool serves as the perfect conical base for your tree. Its sturdy metal rings provide an excellent framework for building up your pom pom layers, giving your tree a classic Christmas tree shape without the weight or bulk of real wood.
- Paper pom poms, balloons, tissue paper fringe, and anything else you can think of: This is where the fun really begins! For a cohesive look, all of my materials were sourced from Poppies for Grace, known for their beautiful party supplies. However, feel free to explore your local craft store for a wide array of colors, sizes, and textures. Consider yarn pom poms for a fluffier look, felt pom poms for durability, or even fabric scraps for a truly eclectic design. Balloons are great for filling larger spaces efficiently and adding a playful bounce, while tissue paper fringe can provide a lovely cascading effect, mimicking tinsel with a modern twist. Don’t hesitate to incorporate other elements like fairy lights, small ornaments, or glitter to personalize your tree further.
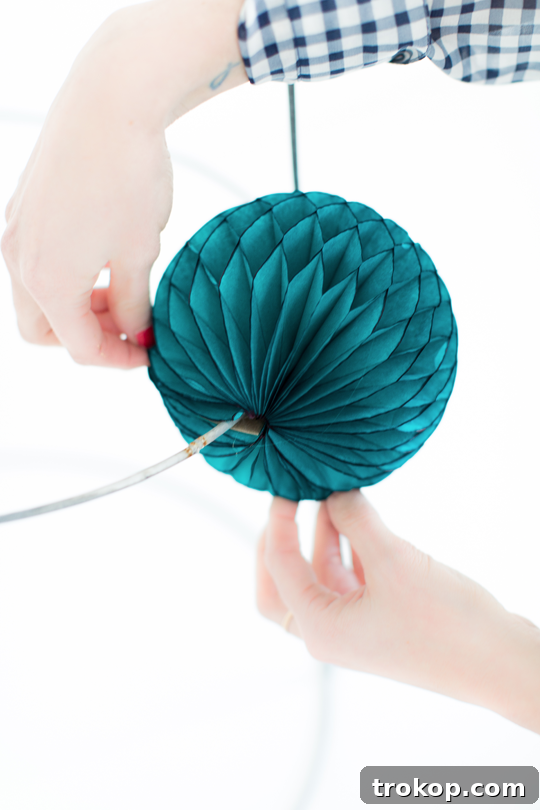
How to Make a DIY Pom Pom Christmas Tree
Once you’ve gathered all your materials, the assembly process is straightforward and enjoyable. This project is perfect for crafters of all skill levels, and the results are incredibly rewarding. Follow these simple steps to bring your colorful pom pom Christmas tree to life:
First, prepare your tomato cage. Invert the metal tomato cage so that the largest circle rests flat on your chosen surface. This wide base will ensure your tree is stable and forms the sturdy foundation for your festive creation. The smaller circles will naturally taper upwards, forming the classic conical shape of a Christmas tree.
Step 1 – Start Gluing Tissue Paper Pom Poms Around the Main Metal Circles. Begin by selecting your largest or most prominent pom poms. Apply a generous dab of hot glue to the base of each pom pom and press it firmly onto the outermost metal rings of the tomato cage. Work your way around the base, creating a dense and colorful foundation. You can alternate colors, create a gradient effect, or stick to a monochromatic theme – the choice is yours! Ensure a good distribution to cover the metal frame and establish the overall visual fullness of your tree.
Step 2 – Then, Use Balloons to Fill the Inner Parts of the Tree. Once the outer layers of pom poms are established, you’ll notice empty spaces within the metal cage. This is where balloons come in handy! Inflate balloons to varying sizes and strategically place them within the inner framework of the tree. The balloons not only help fill out the shape and provide internal volume but also add a playful, bouncy element. They are especially useful for quickly building up the internal structure. If you envision your tree lasting for many holiday seasons to come, or simply prefer a more permanent internal structure, you can certainly substitute the balloons with more tissue paper poms or even scrunched-up tissue paper. This will give your tree a consistent texture throughout and increase its longevity.

Step 3 – Continue Gluing and Filling up the Empty Spaces with Poms, Fringe, and Balloons. Make Sure the Top Staggers to a Point, Just Like a Traditional Tree. Progress upwards, gradually reducing the size of your pom poms as you near the top to maintain the conical tree shape. Continue to fill any gaps with smaller pom poms, colorful fringe, or more balloons. This layering creates depth and a rich texture. Pay close attention to the silhouette, ensuring that your tree tapers elegantly to a distinct point at the apex, much like a classic Christmas tree. Don’t be afraid to mix and match textures and colors to create a truly unique and visually appealing design. The more variety you incorporate, the more dynamic and engaging your pom pom tree will appear.
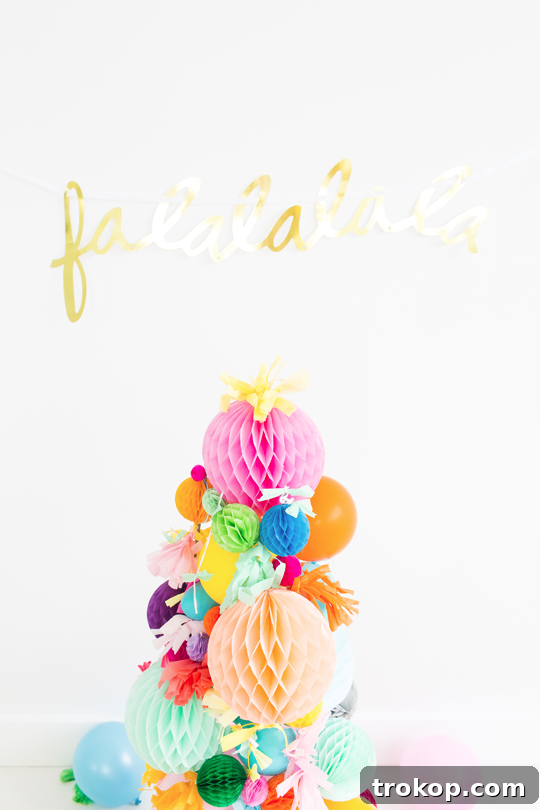
Step 4 – Once It’s Full, Add a Spritz of Yellow Fringe at the Top for the Star, and You’ve Got Yourself a Tree That Can Definitely Withstand Travel and Appearances No Matter What the Weather May Be! With all the spaces filled and your tree looking lush and vibrant, it’s time for the crowning glory. Fashion a beautiful star from a cluster of yellow fringe, or any color that complements your tree, and secure it firmly at the very top. This final touch completes the Christmas tree illusion. The beauty of this pom pom tree is its resilience. Unlike fresh trees, it won’t dry out, shed needles, or require water. It’s incredibly lightweight and durable, making it an ideal choice for those who travel during the holidays or simply want a festive decoration that can be easily moved, stored, and brought out year after year, looking perfect regardless of the climate or conditions.
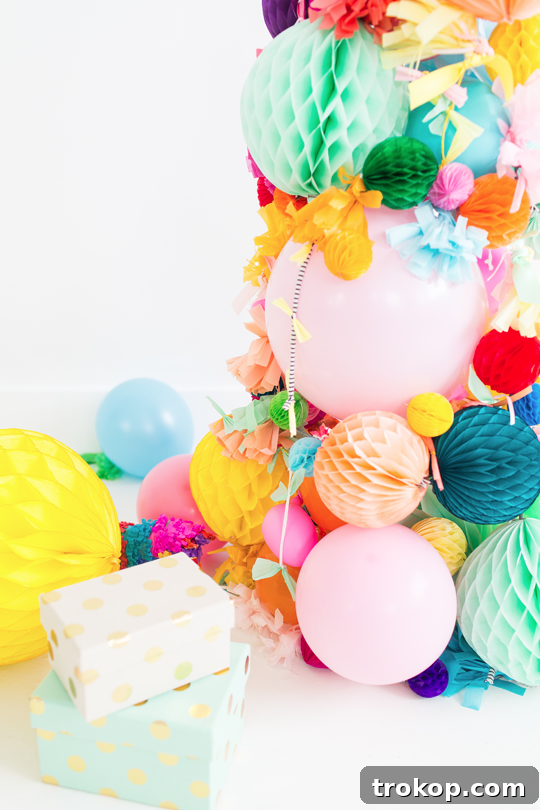
More Non-Traditional Christmas Tree Ideas
The spirit of the holidays is about joy, connection, and celebrating in ways that feel authentic to you. For many, that means stepping outside the box of conventional decorations and embracing unique, personalized styles. A non-traditional Christmas tree is more than just a decor choice; it’s a statement of individuality and a fun way to infuse new energy into your festive season. Whether you’re a seasoned traveler seeking compact, easy-to-assemble decor or simply someone who loves to challenge conventional norms, there’s a world of creative Christmas tree ideas waiting to be explored.
We’ve always been keen on sharing innovative ways to decorate for the holidays, and the pom pom tree is just one example of how you can make a big impact with a little imagination. This week, we’ll continue to roll out even more inventive Christmas tree ideas designed specifically for the adventurous spirit and those who appreciate truly out-of-the-box decor. In the meantime, we’d love to hear about your most unconventional Christmas traditions – tell us what makes your holiday celebrations uniquely yours!
For more easy and inspiring non-traditional tree ideas that cater to various styles and preferences, be sure to check out a few of our top picks below. Each offers a distinct charm and a refreshing take on holiday decorating, proving that there’s no single “right” way to celebrate.
- Mini Wooden Christmas Trees: Perfect for minimalist decor or as charming tabletop accents.
- Pegboard Christmas Tree: A fantastic option for small spaces, offering customizable hanging options for ornaments and lights.
- Foam Gradient Trees: Unleash your artistic side with these stylish trees that add a modern color pop.
- Christmas Tree Cones: Simple yet elegant, these can be customized with various embellishments for a sophisticated look.
- Cactus Christmas Tree: Embrace desert chic with a quirky and unexpected holiday centerpiece, ideal for warmer climates.
- Balloon Garland Tree: A truly festive and vibrant option that creates a stunning visual impact, perfect for parties and playful decor.
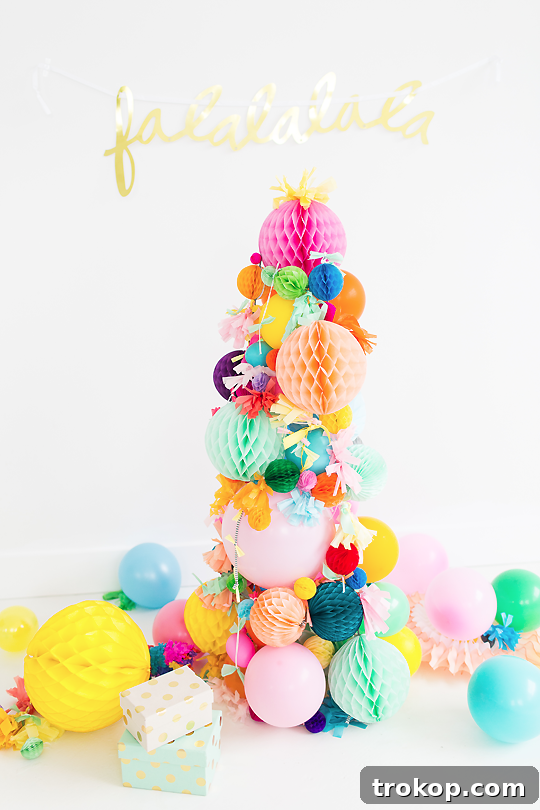
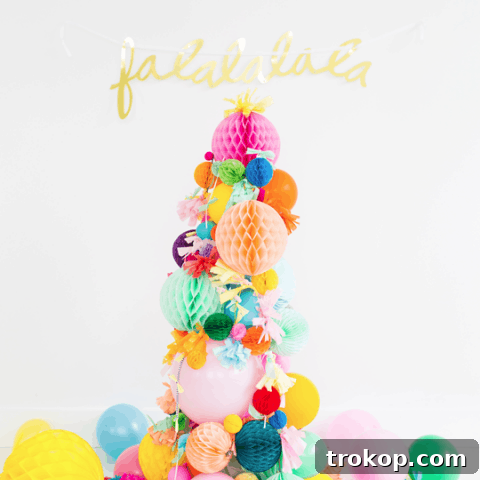
DIY Pom Pom Christmas Tree
This holiday season, why not get creative with your tree and make a pom pom one!
Equipment
- Hot glue gun and glue sticks
Materials
- Metal tomato cage
- Paper pom poms, balloons, tissue paper fringe and anything else you can think of All of mine are from Poppies for Grace.
Instructions
-
Start gluing tissue paper pom poms around the main metal circles.
-
Then, use balloons to fill the inner parts of the tree.
-
Continue gluing and filling up the empty spaces with poms, fringe, and balloons. Make sure the top staggers to a point just like a traditional tree.
-
Once it’s full, add a spritz of yellow fringe at the top for the star

We absolutely love seeing the unique creations that come to life through our tutorials! Don’t forget to share your dazzling DIY pom pom Christmas tree with us on Instagram using the hashtag #sugarandclothloves. Your festive designs inspire us and our community of crafters. Beyond this colorful tree, if you’re searching for more ways to infuse your home with creativity and style, you’ll find an abundance of inspiring home decor tutorials and innovative ideas right here on our site. Happy crafting and happy holidays!