

Unlock the secret to an unforgettable holiday season with enchanting DIY Christmas cocktail ornaments! This ultimate guide will walk you through crafting your own boozy baubles, perfect for decking the halls, delighting guests, or gifting a unique festive treat. Imagine your Christmas tree sparkling not just with traditional decorations, but with miniature spheres holding delicious, pre-mixed cocktails, ready to be enjoyed. These charming creations are more than just décor; they are tiny vessels of holiday cheer, blending creativity, celebration, and a touch of spirited sparkle into one delightful package.
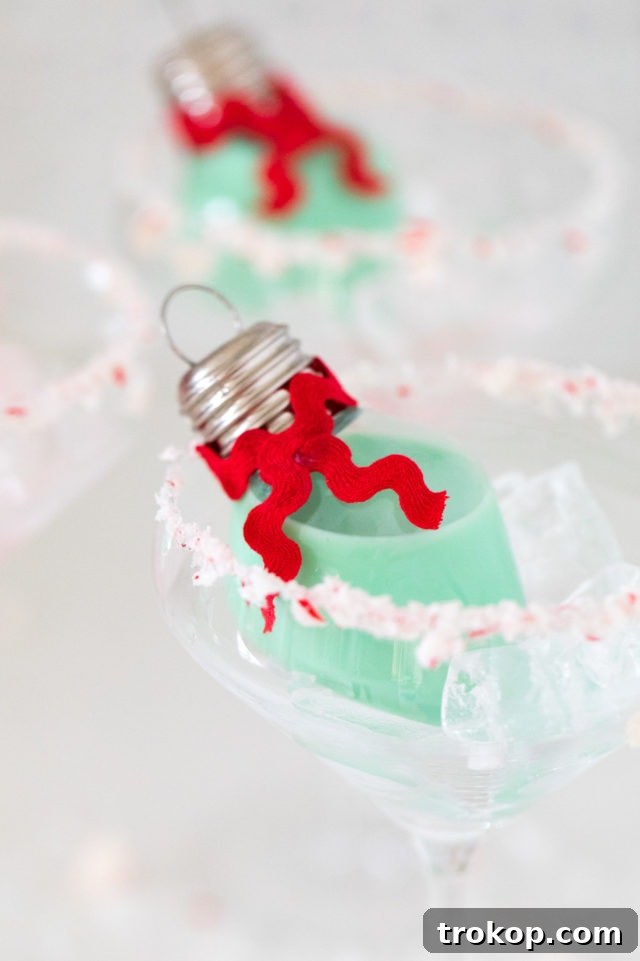
The holiday season is synonymous with warmth, joy, and a touch of magic. What better way to infuse this spirit into your gatherings than by offering guests a truly unique and interactive experience? DIY cocktail ornaments are a fantastic way to elevate your holiday décor beyond the ordinary. Each ornament can be a delightful surprise, holding a meticulously crafted drink, ready to be poured and savored. Whether they serve as stunning tree decorations, engaging party favors, or thoughtful, personalized gifts, these festive baubles are guaranteed to leave a lasting impression and infuse your celebrations with an extra dose of merriment.
Creating your own cocktail ornaments might seem like a complex task, but it’s surprisingly simple and incredibly rewarding. One of the greatest advantages is the sheer versatility and customizability they offer. With an extensive array of Christmas cocktail recipes at your fingertips, you can easily tailor each ornament to complement your specific holiday theme, match your color palette, or cater to the diverse tastes of your guests. The process itself is a joy – whether you host a lively crafting night with friends, complete with festive music and good company, or prefer to assemble them solo, lost in the holiday spirit.
Why Craft DIY Christmas Cocktail Ornaments?
Beyond their undeniable aesthetic appeal, these cocktail ornaments offer a multitude of benefits that make them a standout addition to any holiday celebration:
- Unforgettable Impression: Guests will be captivated by the novelty and creativity of personalized drinkable ornaments. They are instant conversation starters.
- Personalized Touch: Showcase your creativity by filling ornaments with custom cocktails. You can match drinks to individual preferences or create themed collections (e.g., “Winter Wonderland” with minty drinks, “Festive Berry” with cranberry-infused options).
- Interactive Fun: Guests can pick their preferred ornament from the tree or a display, pour their drink, and enjoy. It adds an engaging element to your party.
- Perfect Party Favors: Send your guests home with a delightful and memorable keepsake that doubles as a delicious treat.
- Unique Gifting Idea: Forget generic gifts. A set of handcrafted cocktail ornaments makes a thoughtful and truly special present for friends, family, or colleagues.
- Ease of Preparation: Once mixed, the cocktails are ready to go, saving you valuable time during the busy holiday season.
Essential Materials and Tools Needed
Before you embark on your festive crafting journey, gather these key items to ensure a smooth and successful experience:
- Open-ended Clear Plastic Bulb Ornaments: This is the cornerstone of your project. It is absolutely crucial to choose ornaments specifically designed to be food-safe. Many crafting ornaments are not suitable for holding liquids for consumption. Look for options clearly labeled “food-grade” or “food-safe” to ensure the safety of your guests. Ornaments with wide openings are also easier to fill.
- Your Favorite 3-Ounce Cocktail Recipes: The beauty of this project lies in customization! We’ll provide a couple of delicious examples below, but don’t hesitate to experiment with any cocktail that embodies your holiday spirit. Just ensure the recipe yields roughly 3 ounces per serving to fit comfortably within most standard ornament sizes.
- Cocktail Shaker: Essential for properly mixing and chilling your chosen concoctions.
- Small Funnel: An indispensable tool for cleanly and efficiently pouring liquids into the narrow opening of the ornaments, preventing spills and waste.
- Measuring Cups and Spoons: For precise cocktail measurements, ensuring consistent taste across all your ornaments.
- Decorative Ribbon or Tags (Optional): Elevate the presentation with festive ribbons tied around the ornament caps or custom tags detailing the cocktail name, ingredients, or a personalized holiday message.
- Cocktail Glasses: For serving, of course! Provide an array of suitable glassware for guests to pour their drinks into.
- Refrigerator Space: Crucial for storing your filled ornaments to maintain freshness, especially if they contain perishable ingredients.
How to Make Your DIY Christmas Cocktail Ornaments: A Step-by-Step Guide
Follow these simple steps to transform ordinary ornaments into extraordinary holiday libations:
1 — Prepare Your Ornaments: Begin by thoroughly washing your clear plastic bulb ornaments. Use warm, soapy water and a bottle brush if needed to ensure every nook and cranny is spotless. Rinse them meticulously with clean water until no soap residue remains. Allow the ornaments to air dry completely, ideally overnight, to prevent any moisture from diluting your cocktails. If your ornaments come with removable caps or hanging loops, set them aside for later.
2 — Mix Your Chosen Cocktails: Select cocktail recipes that are suitable for single servings, typically around 3 ounces. Consider the color, flavor, and stability of the ingredients.
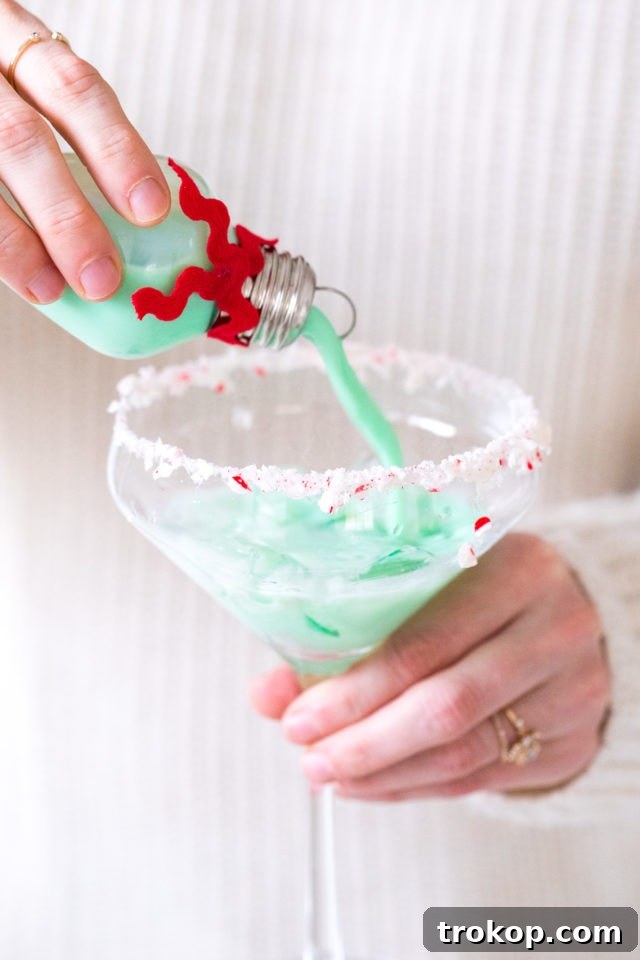
- For our festive mint green peppermint cocktail: In a cocktail shaker filled with ice, combine 1 ounce of crème de menthe, 1 ounce of rumchata, and 1 ounce of whole milk. Shake vigorously until well-chilled, about 15-20 seconds.
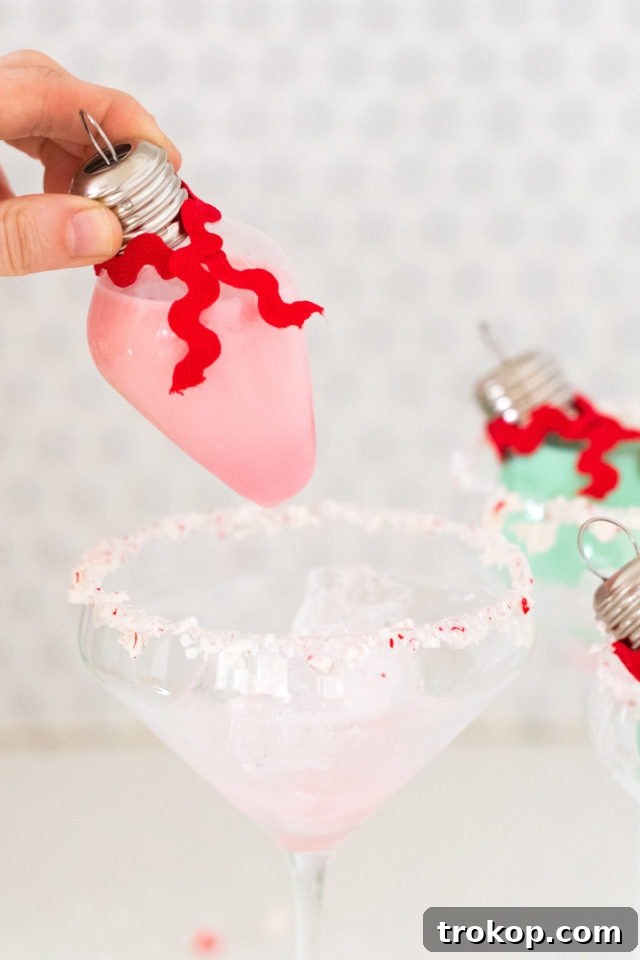
- For the vibrant pink peppermint cocktail: In a cocktail shaker filled with ice, mix 1.5 ounces of Chambord (a raspberry liqueur), 1.5 ounces of rumchata, and a pinch of finely crushed peppermints for that delightful pink tint and refreshing kick. Shake until thoroughly chilled.
Strain each cocktail into a separate clean container or measuring cup, ready for filling.
3 — Fill Your Ornaments with Precision: This step requires a steady hand. Place a small funnel into the opening of each cleaned ornament. Carefully pour your prepared cocktail into the ornament, filling it just below the rim to allow for the cap and prevent any accidental spills when moving or handling. Avoid overfilling, as this could lead to leaks.
4 — Secure and Decorate Your Baubles: Once filled, meticulously reattach the ornament cap, ensuring it is snug and forms a tight seal to prevent any leaks or evaporation. Now is the perfect time to add your personal decorative flair. Tie a festive ribbon around the ornament’s hanging loop, attach a small personalized tag with the cocktail’s name, or even add a miniature sprig of rosemary for an aromatic touch. Your beautiful cocktail ornaments are now ready to make their debut!
Hang them gracefully on your Christmas tree for a whimsical and unexpected display, or arrange them artfully on a serving tray for a unique presentation. To enjoy, simply remove the cap, pour the chilled cocktail into a glass, and toast to a magical holiday season!
Below, you can watch a short tutorial on how to assemble these delightful DIY Christmas cocktail ornaments:
Pro Tips and Customization Ideas
Enhance your DIY cocktail ornament experience with these helpful hints:
- Non-Alcoholic Versions: Create a family-friendly option by swapping spirits for sparkling apple cider, cranberry juice, or a festive mocktail blend. These are perfect for children, designated drivers, or those who prefer non-alcoholic beverages, allowing everyone to partake in the fun.
- Personalize and Label: Go beyond simple ribbons. Use custom-printed tags to label each cocktail’s name, ingredients, or even a fun holiday message. You can also use paint pens (food-safe, on the exterior only!) to add names or designs directly to the ornaments.
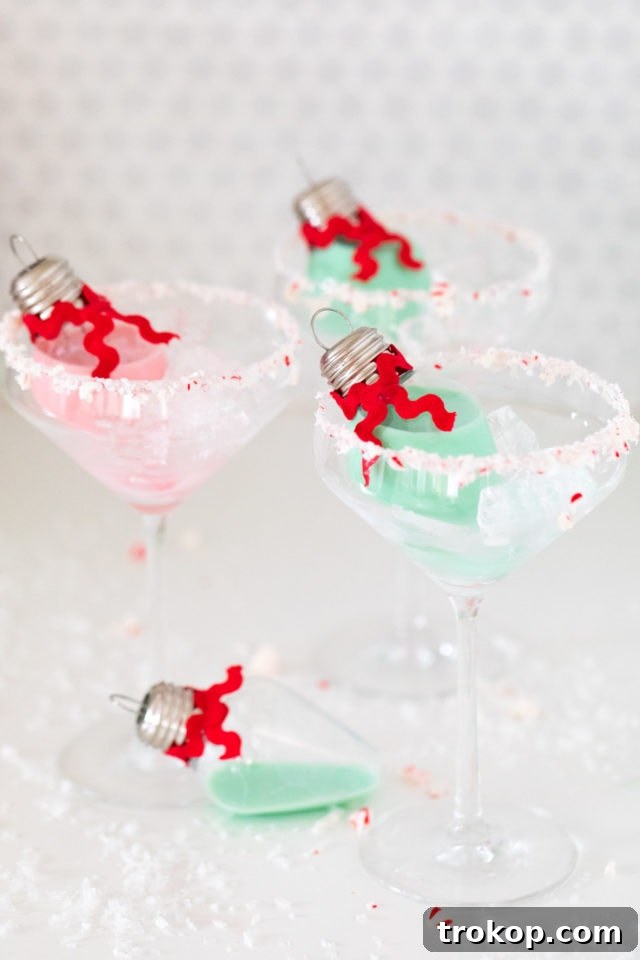
- Garnish Your Glasses: Elevate the drinking experience by serving the ornaments alongside festive glasses. Rim the glasses with crushed peppermint, sugar, or coconut flakes. Add fresh garnishes like lime wedges, cranberries, or mint sprigs to the glass before pouring.
- Storage Advice for Freshness: For optimal taste and safety, especially with dairy or fresh juice-based cocktails, keep your filled ornaments refrigerated. It’s best to consume them within 24 hours of preparation to maintain peak freshness and flavor.
- Color Coordination: Choose cocktails that complement your holiday decor color scheme. Bright reds and greens, icy blues, or elegant metallics can all be achieved with various drink recipes and edible glitters.
- Edible Decorations: Carefully drop a few edible glitter flakes or small, food-safe sprinkles into the empty ornament before filling for an extra magical shimmer.
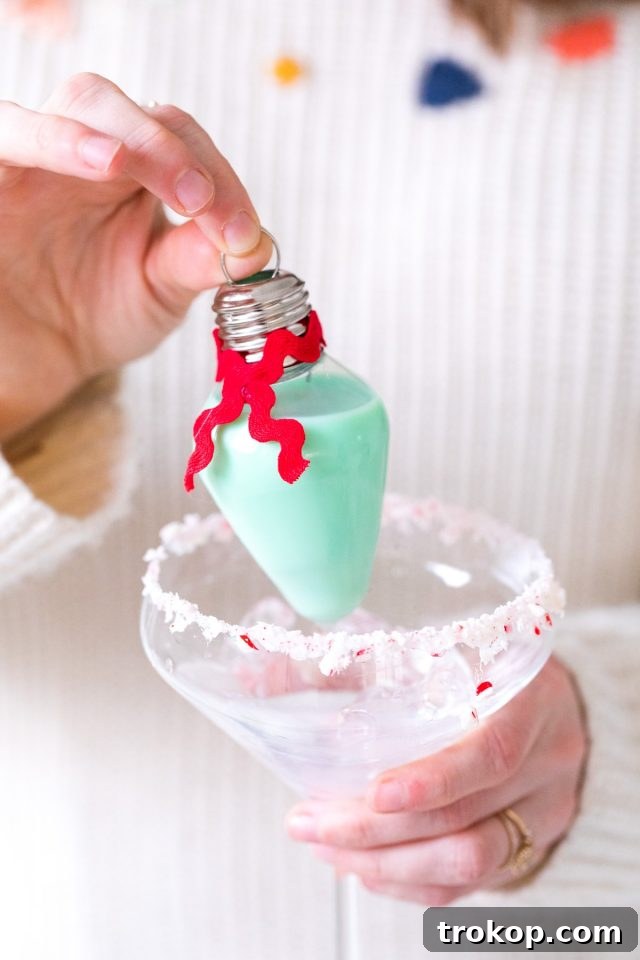
Key Considerations for Gifting Your Boozy Baubles
If you plan to give these delightful ornaments as gifts, keep these points in mind to ensure they are well-received and enjoyed:
- Extended Shelf Life: Opt for cocktail recipes that are more stable and less prone to spoilage. Avoid fresh juices, dairy products, or egg-based ingredients if the ornaments will not be consumed immediately. Spirit-forward cocktails or those with shelf-stable mixers work best for gifting.
- Ease of Enjoyment: Choose cocktails that can be enjoyed directly from the ornament or require minimal additional ingredients that the recipient likely has on hand (e.g., a splash of soda water, tonic, or ice).
- Secure Packaging: Ensure the ornament caps are sealed tightly. Consider placing each ornament in a small gift box with crinkle paper or tissue to prevent breakage during transport.
- Clear Instructions & Labeling: Include a small tag or card with the cocktail’s name, ingredients, any potential allergens, and clear serving suggestions. For instance, “Chill well, open cap, pour over ice, and enjoy!”
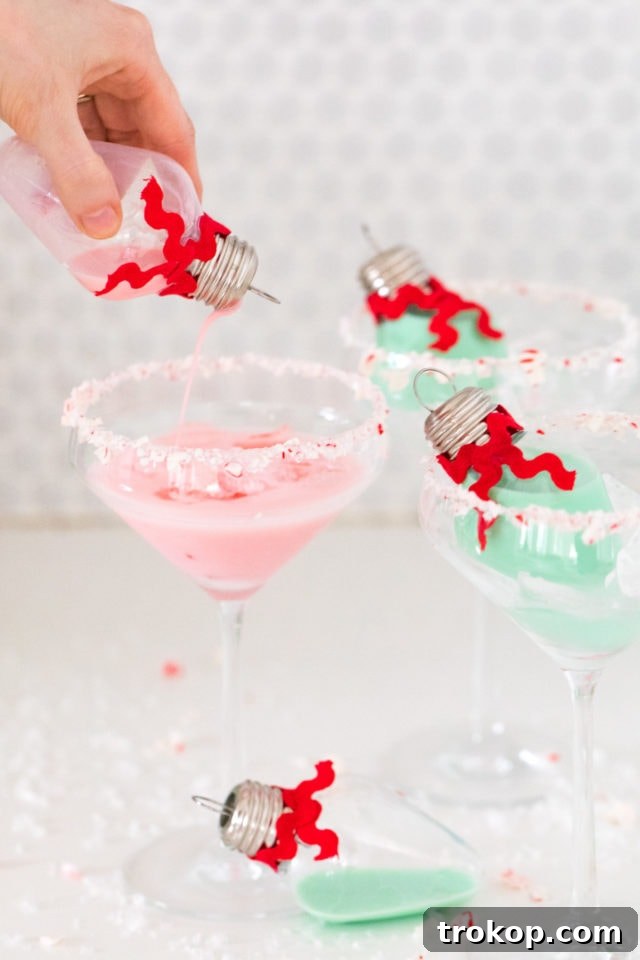
Creative Ways to Serve Your Christmas Cocktail Ornaments
Presentation is key to making these cocktail ornaments a highlight of your holiday event:
- The “Cocktail Tree” Centerpiece: For a truly show-stopping display, hang the filled ornaments on a small, elegantly decorated tabletop Christmas tree. This instantly transforms a simple tree into an interactive and enticing drink station. Alternatively, use decorative branches placed in a vase for a more minimalist look, or integrate them into a festive Christmas wreath.
- Elegant Glassware Pairings: Present each ornament with a matching cocktail glass. You can pre-fill glasses with ice for cocktails meant to be served chilled. For an extra touch of sophistication, place garnishes like sprigs of rosemary, citrus slices, cinnamon sticks, or a mini candy cane alongside each glass, allowing guests to customize their drink.
- Interactive DIY Cocktail Station: Set up a dedicated bar area with an abundant assortment of your cocktail ornaments. Include an ice bucket, various mixers (soda water, tonic, sparkling wine), and an array of fresh garnishes. Add festive décor such as holiday-themed napkins, custom drink stirrers, or fairy lights to create an inviting and engaging experience.
- Chilled on Ice: For a more casual yet elegant presentation, arrange the ornaments upright in a beautiful serving bowl filled with crushed ice. This keeps them perfectly chilled and allows guests to easily grab their desired drink.
- Welcome Drinks: Greet guests as they arrive with a beautifully presented cocktail ornament, setting a festive and welcoming tone from the moment they step through the door.
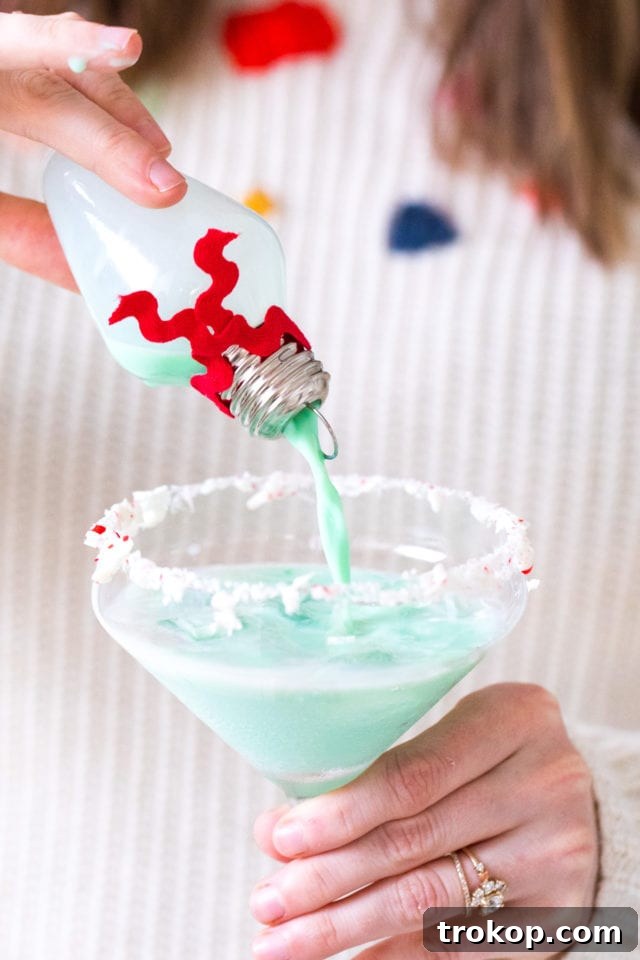
More Unique Cocktail Ideas for Your Holiday Celebrations
If you’re looking for other innovative ways to serve drinks this holiday season, explore these creative concepts:
- Cocktails in Ice Spheres
- Ice Cream Cone Shots
- Christmas Cookie Ice Cream Shots
- Ginger Infused Gin Cocktail Recipe for Gifting
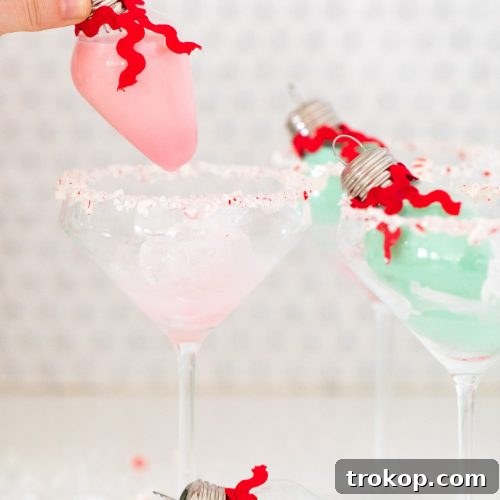
DIY Ornament Cocktails
Rating: 5 out of 5 stars (4 votes)
A super unique way to serve up easy Christmas cocktails for the holidays.
Equipment
- Measuring cup or funnel
Materials
- 1 clear lightbulb ornament (food-safe and open-ended)
- 3 oz your favorite cocktail recipe
- 1 cocktail glass
Instructions
- Clean the ornaments, and allow them to air dry completely.
- Mix your desired cocktail recipe.
- Using a funnel, carefully pour the cocktail into the ornament until it’s just below the opening to avoid spills.
- Seal and decorate.
Notes
- The price per bulb varies depending on your cocktail recipe and if you need to purchase cocktail glasses. The bulbs themselves are fairly inexpensive!
- If you don’t want to prep each glass for guests, you can always fill a bowl with crushed ice and sit each bulb upright for guests to be able to grab them as they wish!
Cost: $20
Keywords: christmas cocktail ornaments, ornament cocktails

Crafting DIY Christmas cocktail ornaments is more than just a holiday project; it’s an opportunity to infuse your celebrations with creativity, personality, and unforgettable moments. These little spheres of joy promise to be a delightful surprise for every guest and a memorable gift for loved ones. So, gather your supplies, choose your favorite festive concoctions, and get ready to create some truly magical boozy baubles that will sparkle with holiday cheer!
23 Festive Thanksgiving Cocktails to Celebrate the Season
Bring some holiday cheer with these Thanksgiving cocktails. They’re simple,…
Continue Reading23 Festive Thanksgiving Cocktails to Celebrate the Season
Baileys Tiramisu Crepe Cake Recipe
Infused with Baileys and using crepes as a twist on…
Continue ReadingBaileys Tiramisu Crepe Cake Recipe
31 Lemonade Cocktails to Make at Home
From classic vodka lemonades to exotic margarita variations, explore the…
Continue Reading31 Lemonade Cocktails to Make at Home
Espresso Martini With Baileys Recipe
Learn how to make the perfect Espresso Martini with Baileys.…
Continue ReadingEspresso Martini With Baileys Recipe