
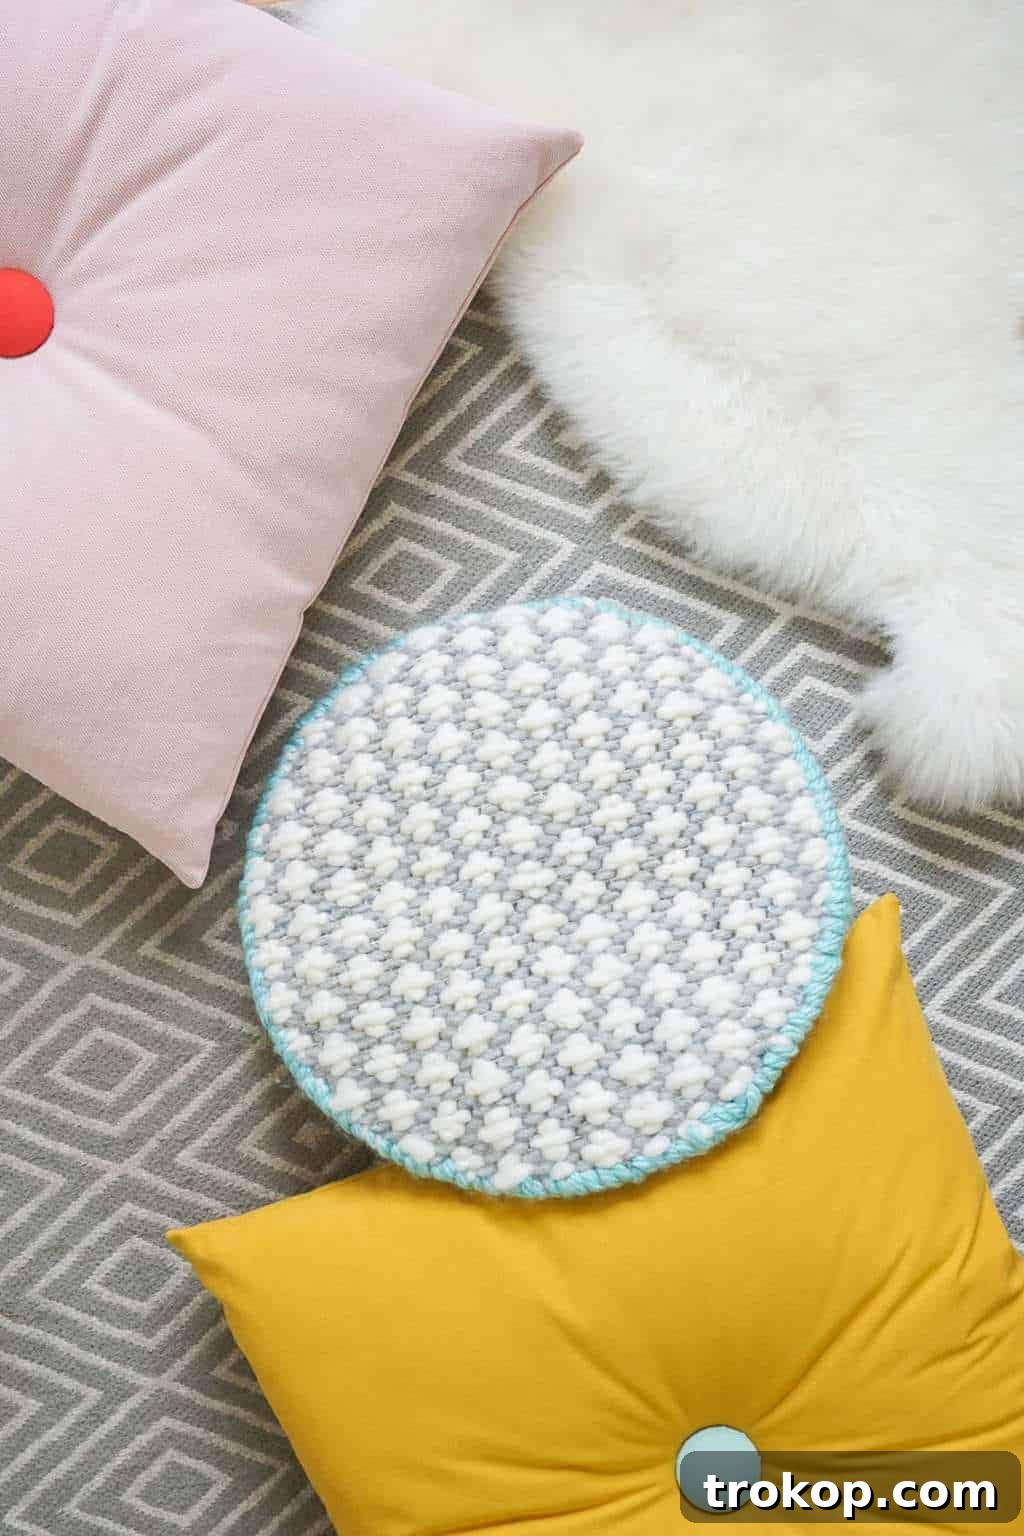
Transform Your Home: Modern DIY Oversized Cross-Stitched Cushion
Are you looking for a unique way to infuse personality and warmth into your living space? Dive into the delightful world of DIY home decor with this step-by-step guide to creating a modern, oversized cross-stitched cushion. This project is a perfect blend of contemporary style and vintage charm, designed to add significant texture and character to any room. Say goodbye to mass-produced decor and hello to a personalized accent piece that tells a story.
Embracing the Blend: Vintage Meets Modern in Home Decor
In the realm of interior design, one of the most compelling approaches is the artful fusion of vintage finds with modern elements. This design philosophy creates spaces that are not only original but also deeply grounded and inherently more interesting. A well-curated mix allows each piece to shine, adding layers of history, character, and unexpected charm that a purely contemporary or solely vintage aesthetic might miss. It’s about creating a dialogue between different eras, resulting in a timeless and uniquely personal ambiance.
However, many beloved vintage pieces, despite their inherent beauty and history, often require a little contemporary touch to truly fit into a modern home environment. They might be structurally sound but lack the softness, comfort, or updated aesthetic needed to make them feel truly “house ready” for today’s living. This is precisely where the magic of DIY comes into play, allowing us to bridge the gap between past and present with thoughtful craftsmanship.
The Inspiration Behind the Stitch: A Thrift Store Treasure
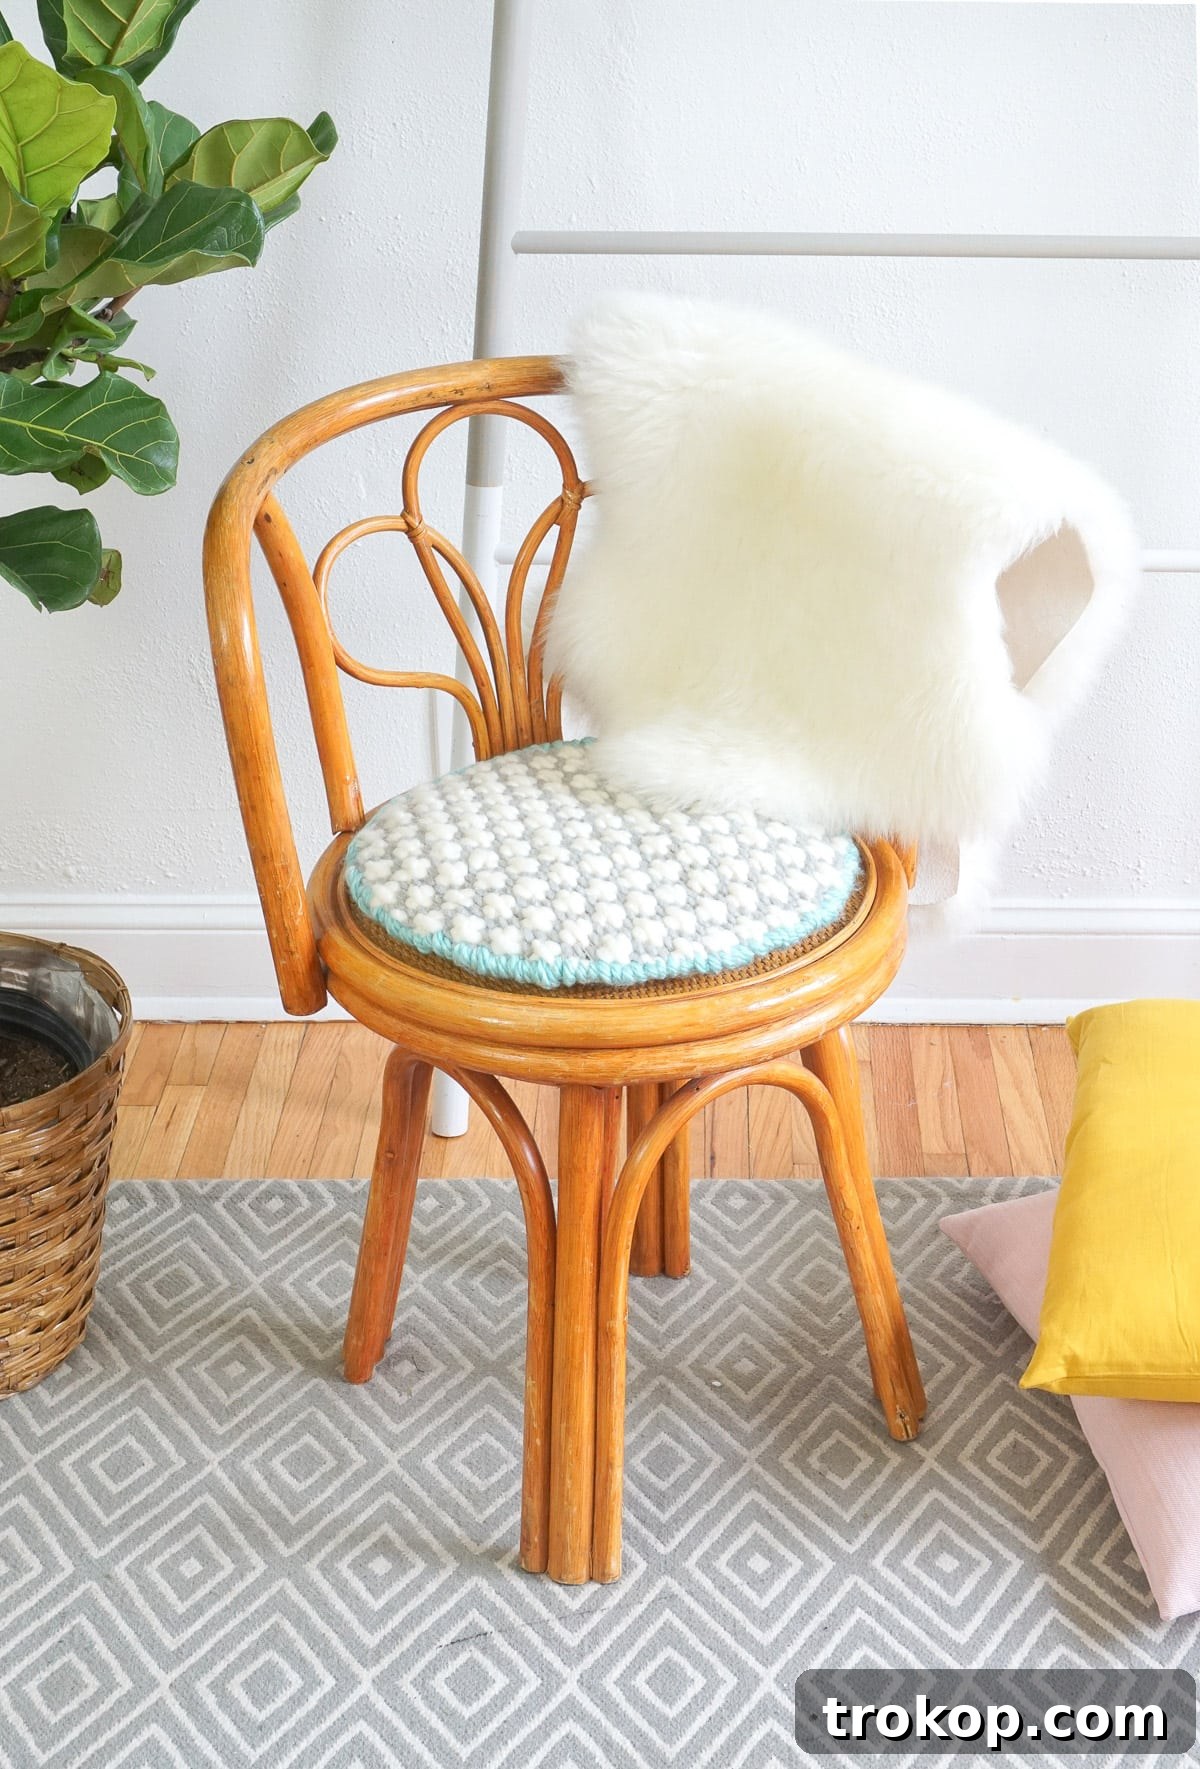
My own journey into this project began, as many great DIY stories do, with an incredible thrift store discovery. I, Erin, stumbled upon a stunning mid-century rattan chair—a true gem—for an unbelievable price of just $4. The thrill of finding such a piece, rich in history and potential, was immense. The chair itself boasted a beautiful scrolled back, a defining feature of its mid-century origins, and a testament to classic design.
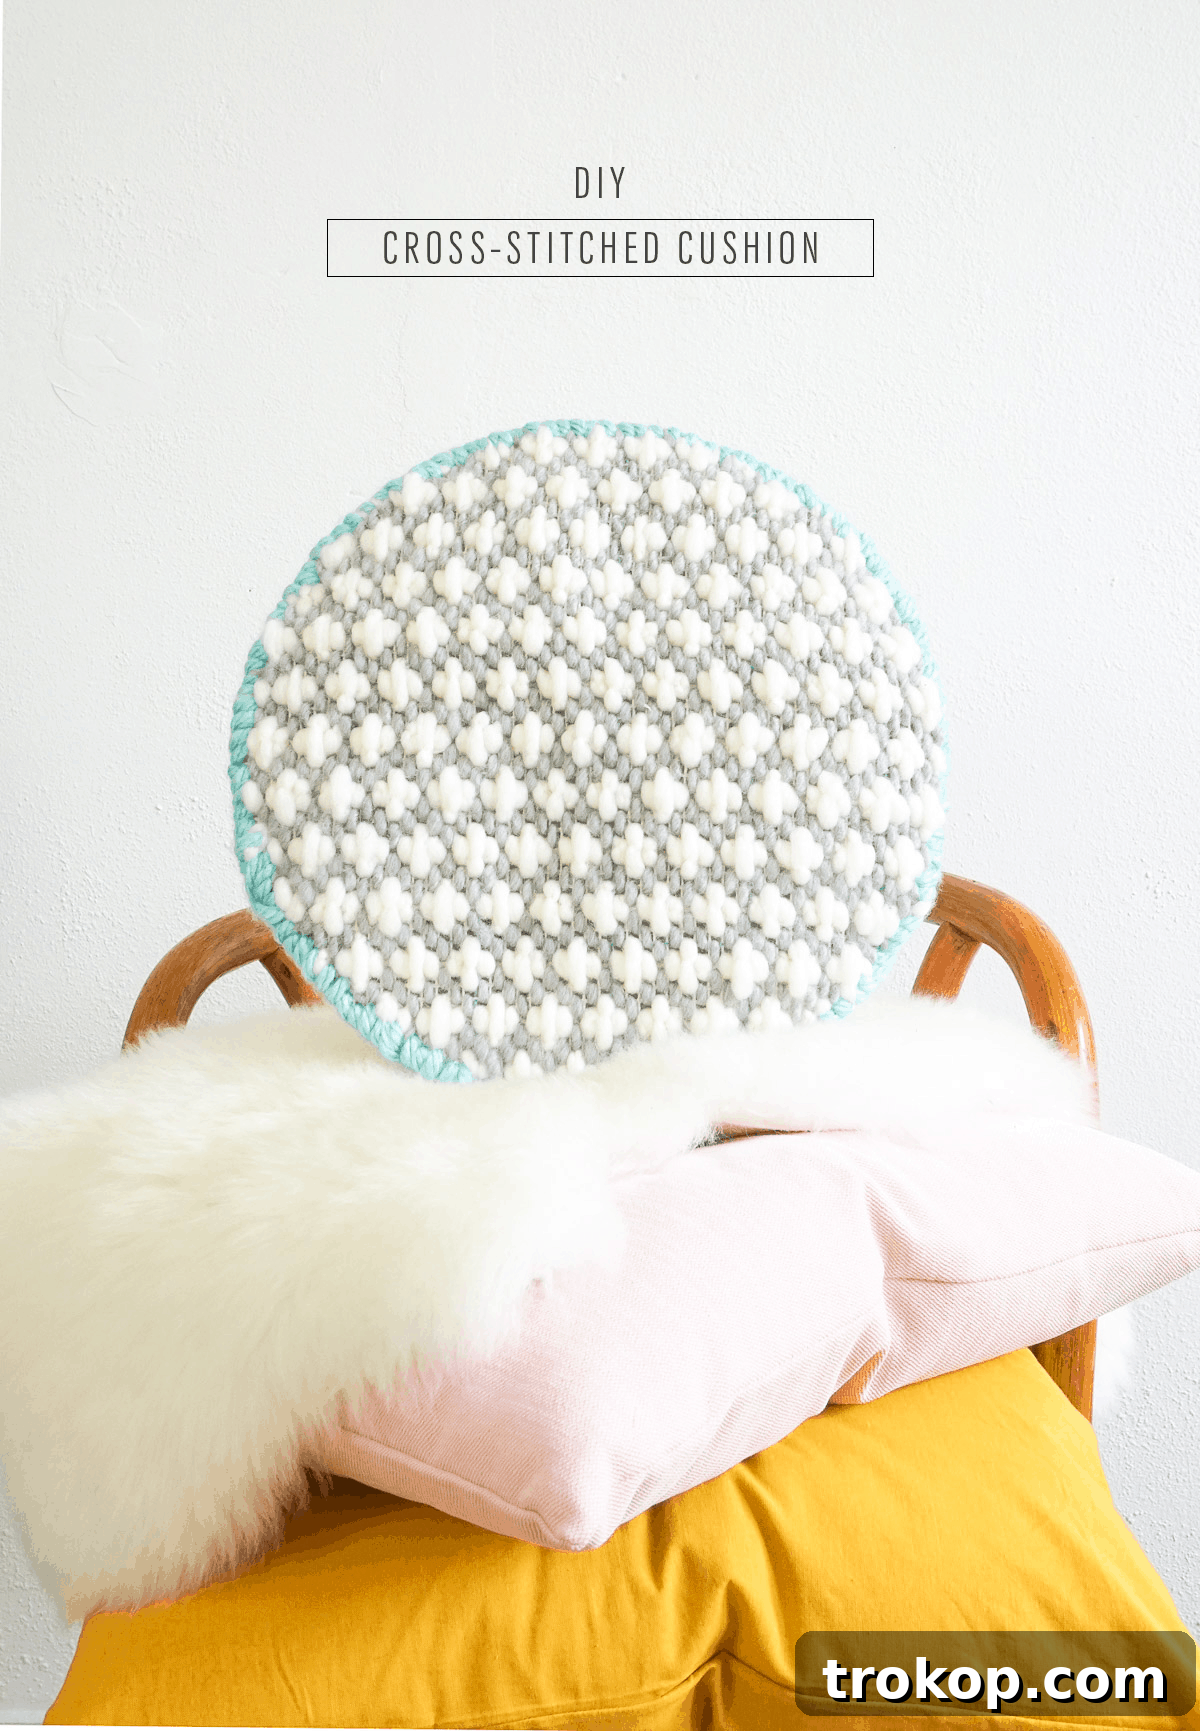
Once I brought this charming piece home, I realized it needed something extra to soften its clean lines and add a layer of inviting comfort. My goal was not to obscure its beautiful rattan structure with a standard throw pillow, but rather to enhance it. I envisioned an accent that would complement its vintage roots while injecting a fresh, contemporary vibe. This led me to conceive the idea of a DIY oversized cross-stitched cushion—a piece that would provide both comfort and a captivating textural element, harmonizing perfectly with the chair’s character without overpowering its delicate details.
Redefining Cross Stitch: Modern, Chunky, and Effortlessly Chic
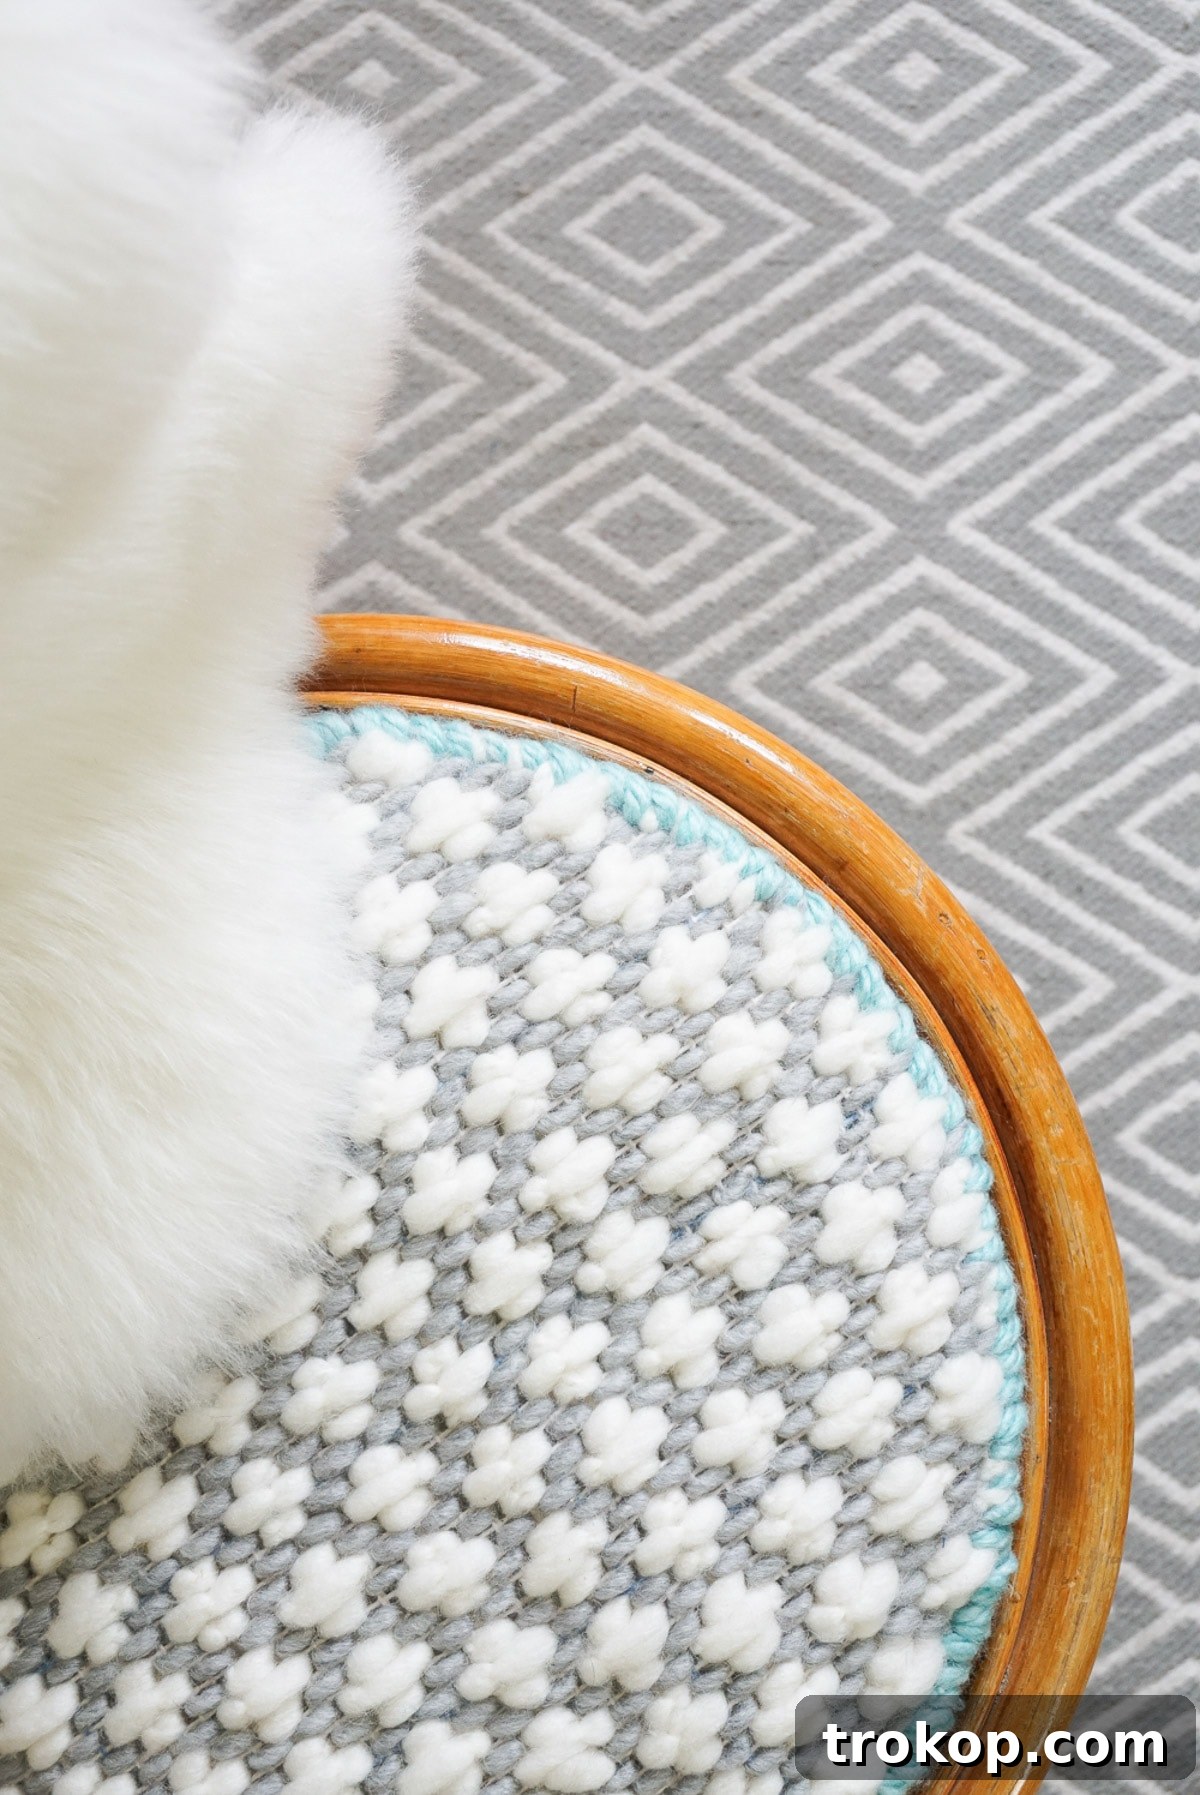
Now, before you envision intricate, tiny stitches reminiscent of your grandmother’s heirloom samplers, let me assure you: this is not your traditional cross stitch. This technique breathes new life into an age-old craft, making it accessible, quick, and incredibly stylish. The secret lies in its “oversized” nature, utilizing chunky yarns and larger canvas grids to create a bold, modern aesthetic that feels perfectly at home in contemporary interiors.
This large-scale approach to cross stitching is purposefully designed to pair beautifully with a variety of styles, particularly mid-century modern furniture, industrial decor, or even bohemian-inspired spaces. The chunky, tactile surface of the cross stitch adds a rich, inviting texture that instantly updates the overall look of any piece, while simultaneously offering a subtle nod to the enduring charm of vintage craftsmanship. It’s a way to introduce a handcrafted element that feels both authentic and distinctly current.
The best part? Because everything is oversized—from the yarn to the needle to the canvas squares—this project is significantly easier and faster than traditional, fine cross stitch. There’s no need for meticulous counting of tiny squares or straining your eyes. It’s a wonderfully forgiving and enjoyable process, making it ideal for beginners and seasoned crafters alike. So, gather your favorite lofty yarn colors, embrace the modern approach, and let’s get ready to stitch up something truly spectacular!
Materials And Tools Needed To Make A Modern DIY Oversized Cross Stitched Cushion
Crafting this stylish oversized cross-stitched cushion requires a few key materials that are specifically chosen to make the process enjoyable and the outcome beautiful. The right tools and supplies will ensure your project is both easy to manage and yields that desired chunky, modern aesthetic. Here’s what you’ll need to get started:
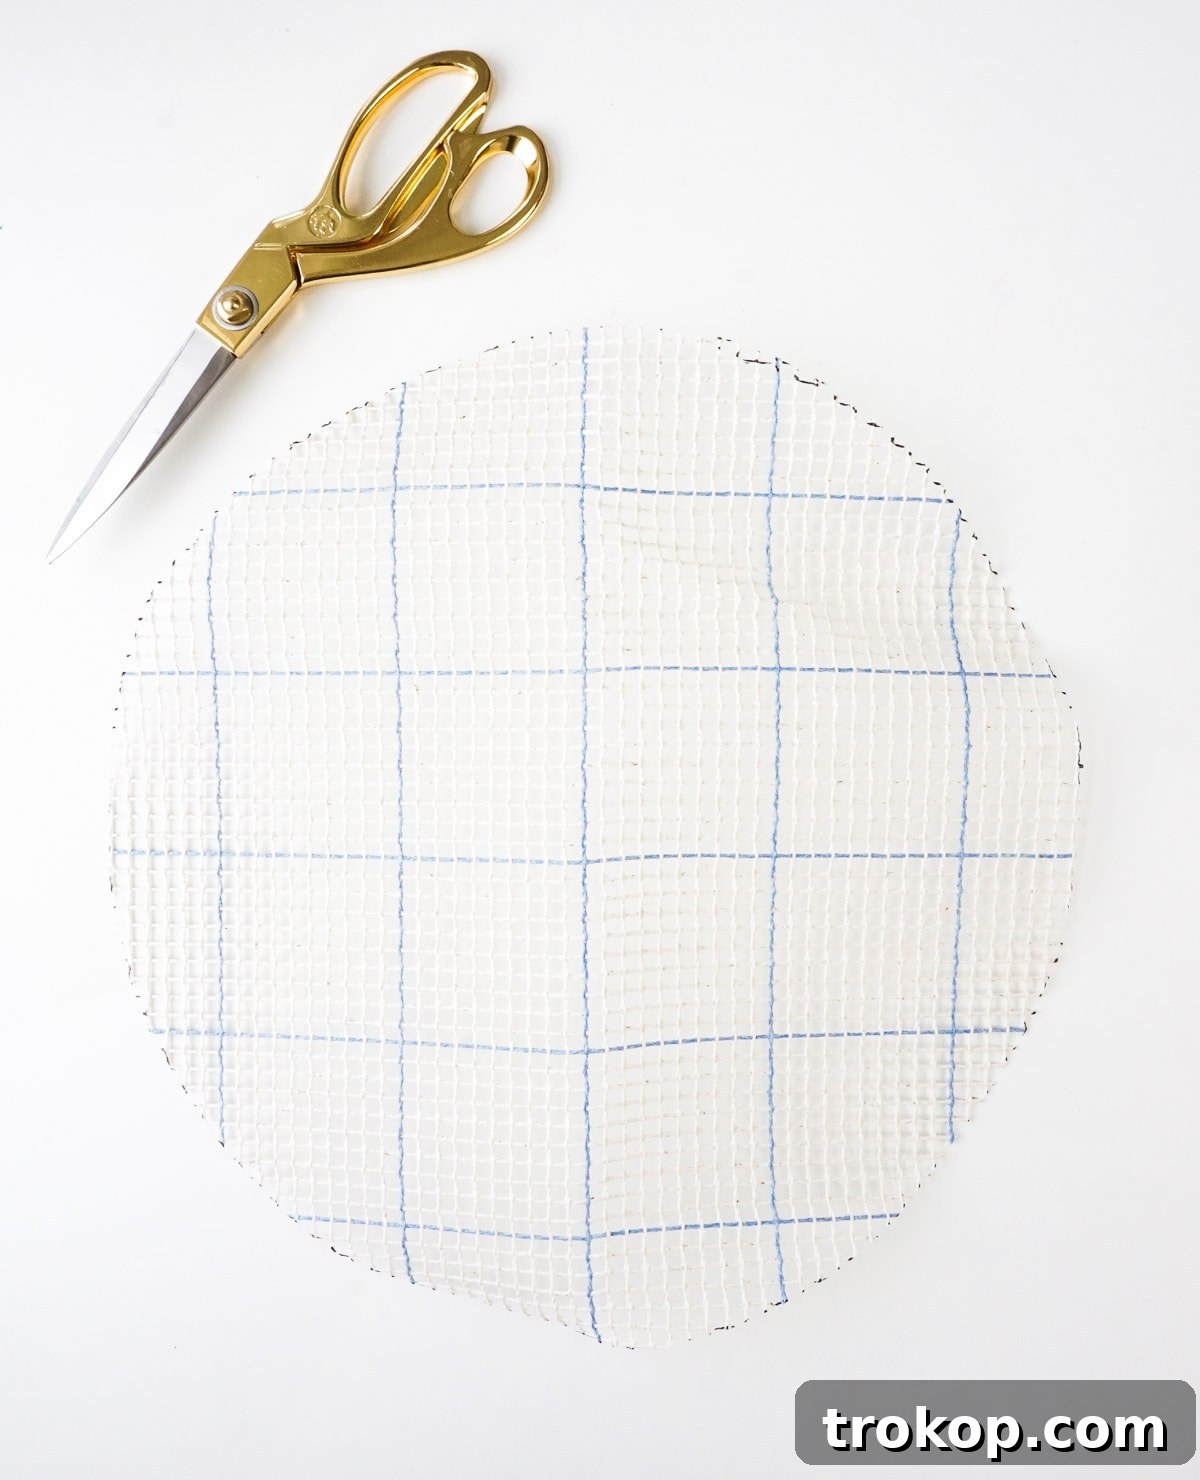
- Graph N’ Latch Rug Canvas: This is the foundation of your cushion. Its large, gridded squares make it perfect for oversized stitching, guiding your needle and ensuring an even pattern.
- Lofty Yarn (3 Colors): The choice of yarn is crucial for achieving that signature chunky look and soft texture. I recommend using three complementary colors to create depth and visual interest. For my project, I chose:
- Ivory (a classic, versatile neutral)
- Grey (a sophisticated, grounding shade)
- Mint (a fresh, subtle pop of color)
- Synthetic Fiber Batting: This will provide the plushness and shape for your cushion. Choose a medium-loft batting for a comfortable yet firm feel.
- Course Plastic Yarn Needle: Unlike traditional embroidery needles, a course plastic yarn needle is designed to handle thick, chunky yarns without splitting them. Having two needles can be incredibly helpful when working with multiple colors simultaneously, saving time on re-threading.
- Sharp Scissors: Essential for cleanly cutting yarn and batting.
The beauty of this project lies in its simplicity. With chunky yarns and a clear grid canvas, stitch counting becomes straightforward, making it easy to keep track of your pattern and ensure a beautifully uniform result. These materials are chosen to empower you to create a high-quality, handcrafted cushion with confidence.
How To Make A Modern DIY Oversized Cross Stitched Cushion
Creating your own oversized cross-stitched cushion is a rewarding process that combines simple techniques with stunning results. Follow these detailed steps to bring your vision to life, adding a touch of personalized elegance to your home decor.
Step 1: Preparing Your Canvas Base
Begin by carefully cutting two circular shapes from your Graph N’ Latch Rug Canvas. The size of these circles should approximately match the dimensions of the chair seat or area where your cushion will reside. Accuracy here is key for a well-proportioned finished product. You can use a large plate or a compass to draw perfect circles on the canvas before cutting.
Step 2: Mastering the First Stitch (Ivory Yarn)
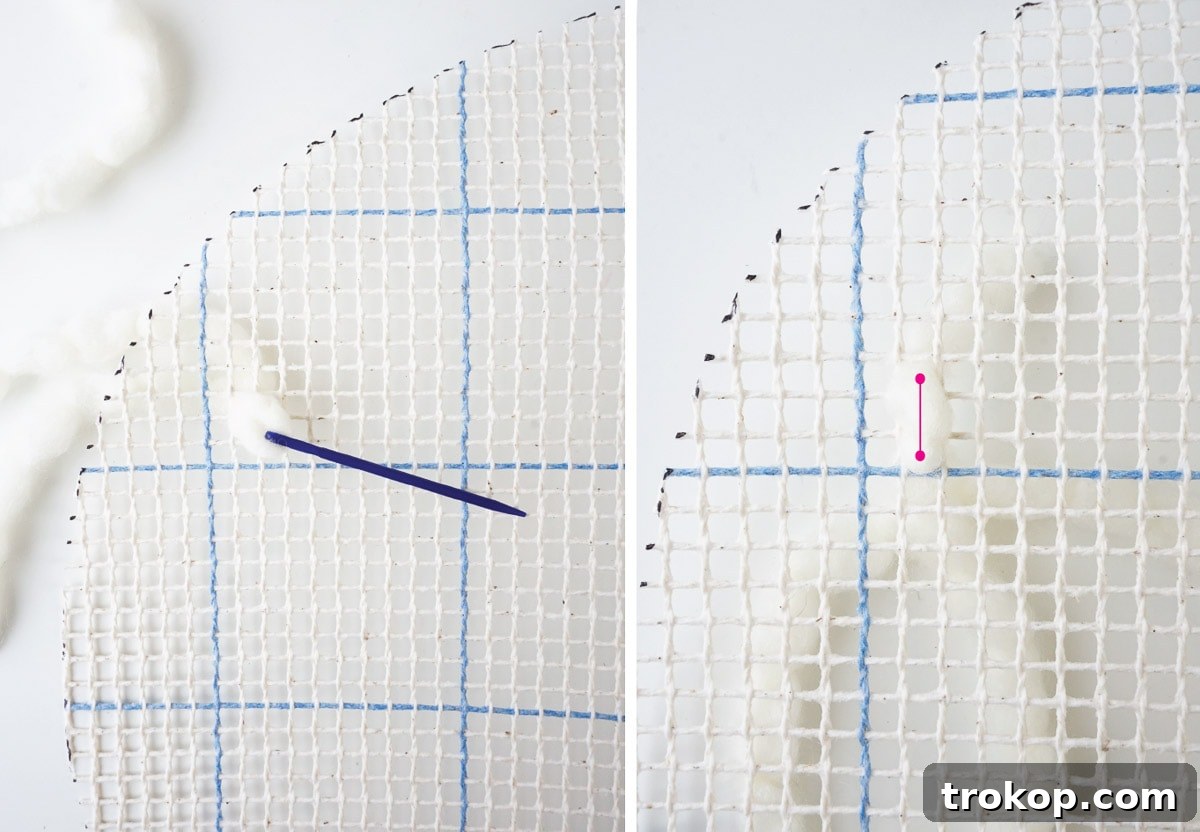
Take one of your canvas circles. Thread your plastic yarn needle with approximately 30 inches of your first chosen color – in this case, the ivory yarn. This length is manageable and reduces tangles. To begin your stitching, start anywhere towards the left edge of the circle, but avoid starting directly on the outermost edge. The circular shape can make it a bit tricky to immediately grasp the pattern concept if you start right at the very edge. Give yourself a little margin.
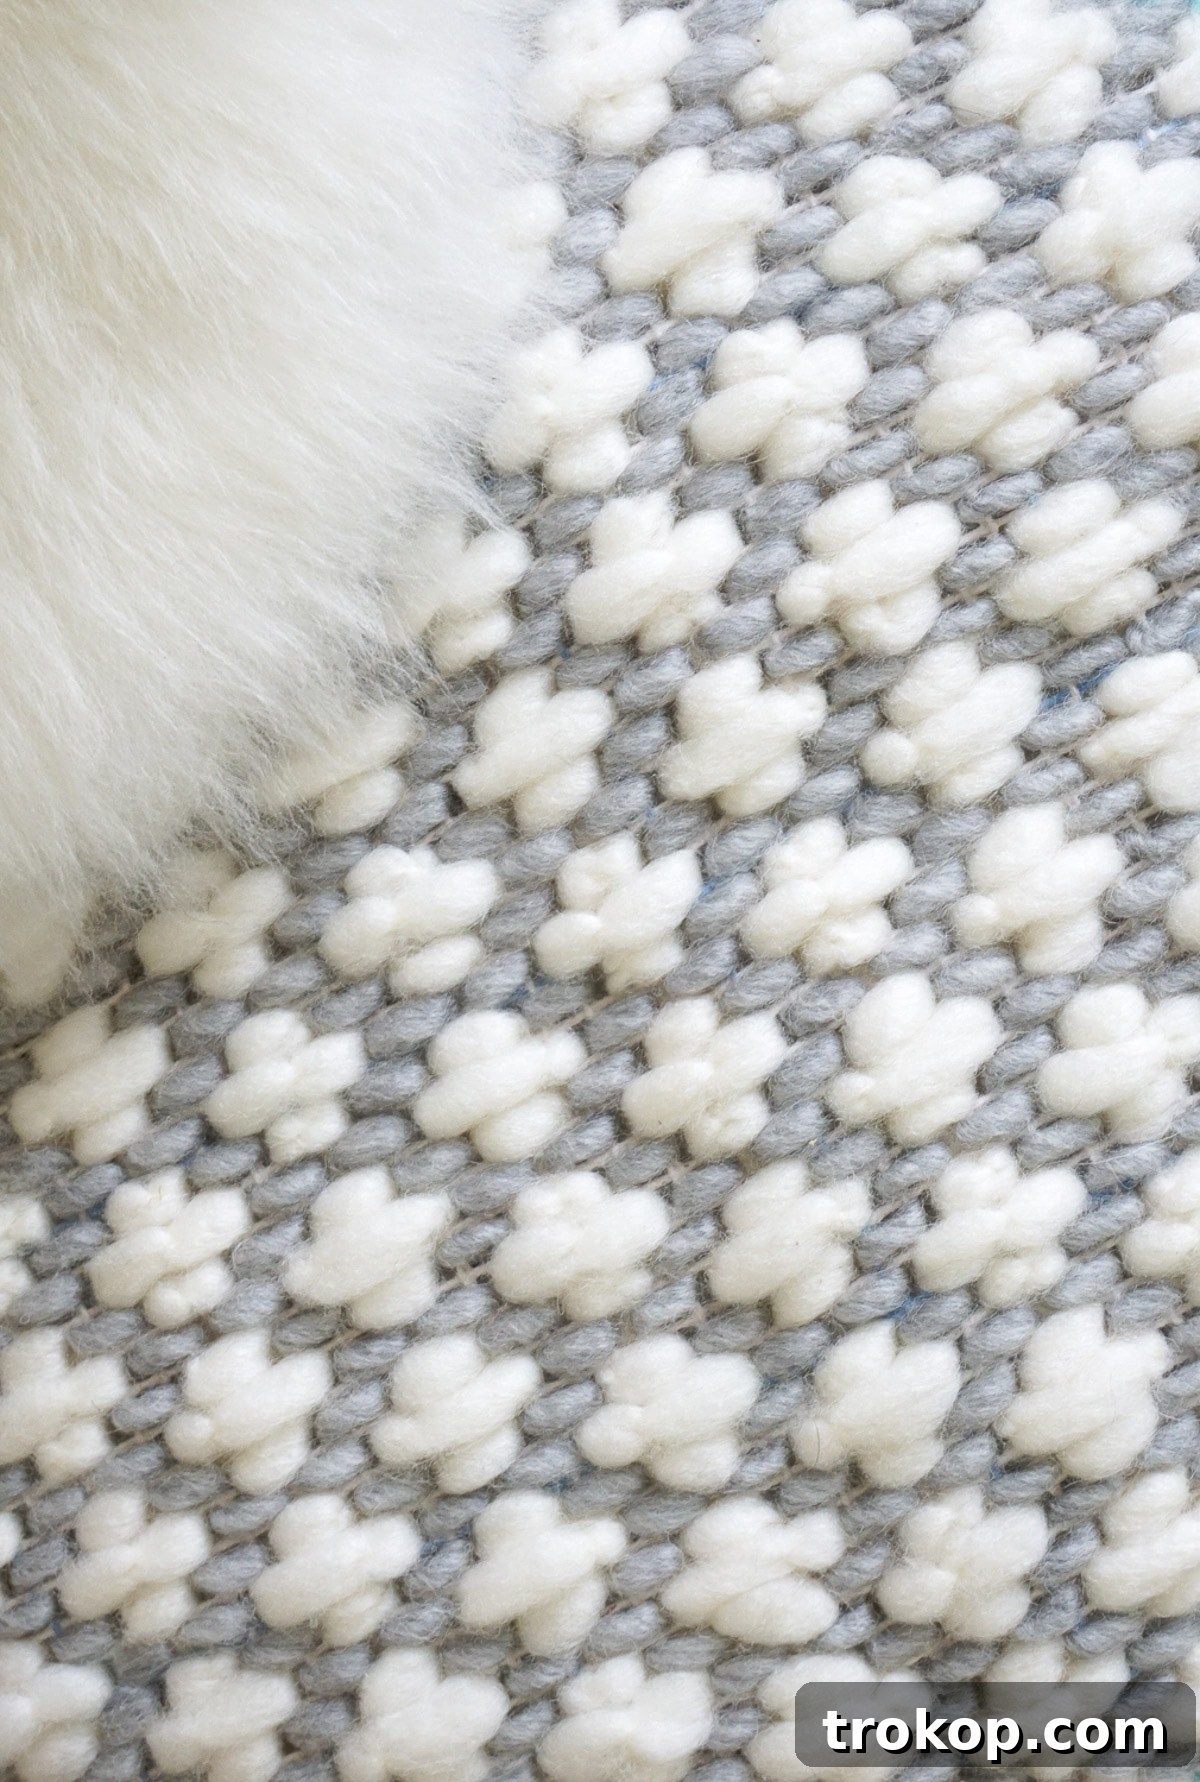
Form your first oversized cross stitch. This involves bringing the yarn up through one square of the canvas, then diagonally down through an adjacent square, creating half of an ‘X’. Then, you’ll complete the ‘X’ by bringing the yarn up through another square and diagonally down through the final square. For consistency, imagine your stitches covering a block of 2×2 squares on the canvas. Don’t worry if your first row isn’t perfectly complete at the edge; you can easily go back and fill in these partial stitches once you’re comfortable with the core pattern.
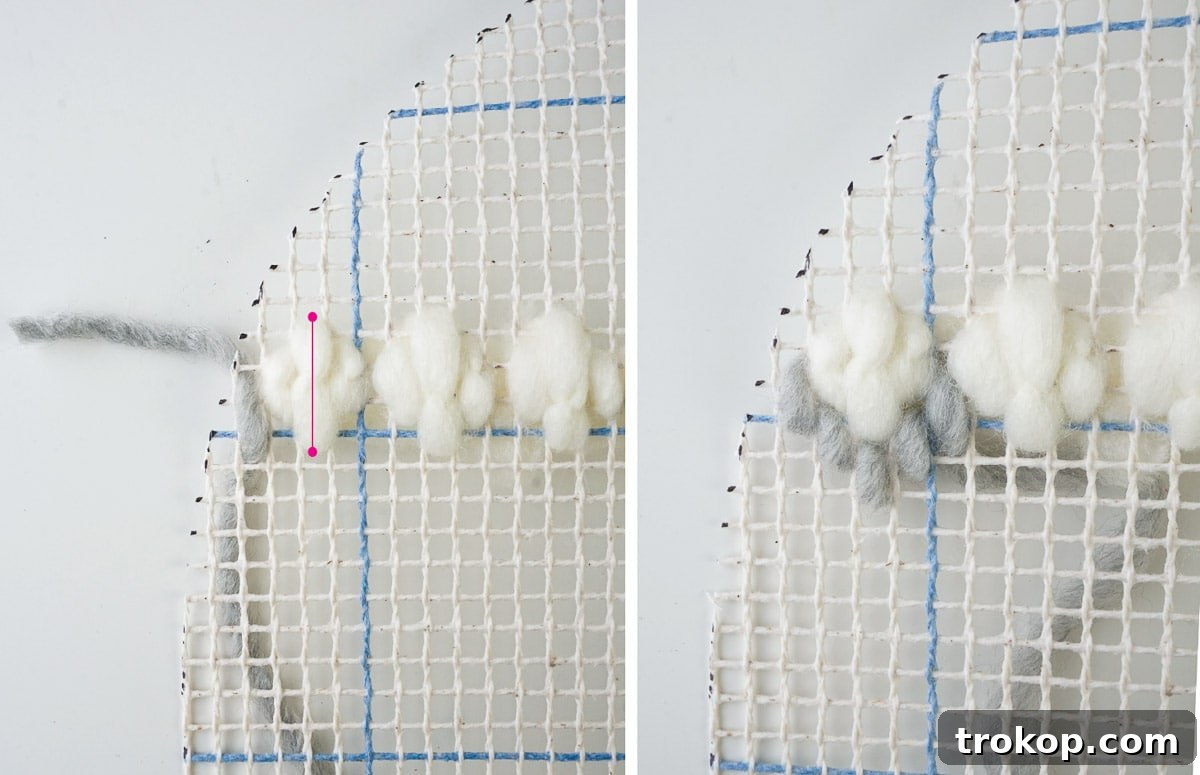
Once you’ve made your first stitch, create a second stitch immediately to its right, mirroring the technique of the first. Then, create a third stitch, also to the right of the previous one, in the exact same manner. You should now have three consecutive, oversized cross stitches. To continue the pattern, skip one graph square to the right and then repeat this sequence of three stitches. Continue this “three stitches, skip one square” pattern until you complete the entire row across your canvas. After finishing the row, go back and fill in any stitches you left incomplete at the beginning of the row near the edge, ensuring a full, uniform line.
Step 3: Introducing Your Second Color (Grey Yarn)
Now, thread your second plastic needle with the grey yarn. This color will form a distinctive “V” shape, elegantly hugging the bottom of your ivory stitches. To start, count one square to the left and one square down from the bottom-left corner of the first ivory stitch in your initial row. Bring your grey yarn up through the backside of the canvas at this point.
Next, skip one graph square directly below where your yarn emerged and run your needle down through the next square below it. This forms the first leg of your ‘V’. To create the second leg, starting from the top of your newly formed grey stitch, count one square to the right and one square down. Bring your needle up from the backside through this new point. Again, skip one full graph square directly below and run the stitch down through the next square. You should now have two legs of the grey ‘V’.
Repeat this stitching process a third time to create a symmetrical pattern. From the top of your latest grey stitch, count one square over and one square down, then make your third stitch. To complete the ‘V’, create a mirror image of the first two grey stitches, ensuring the bottom points meet to form the ‘V’ shape. Continue this pattern of creating grey ‘V’s until you complete the entire row, positioned beneath your ivory stitches.
Step 4: Building the Pattern: Rows and Repetition
With your grey ‘V’s in place, it’s time to start your second row of ivory stitches. This row will begin with a stitch positioned within the same graph square as the grey ‘V’ point in the row directly above it. As before, don’t stress about starting right at the very edge of the canvas; you can always fill in those partial stitches later to create a clean finish.
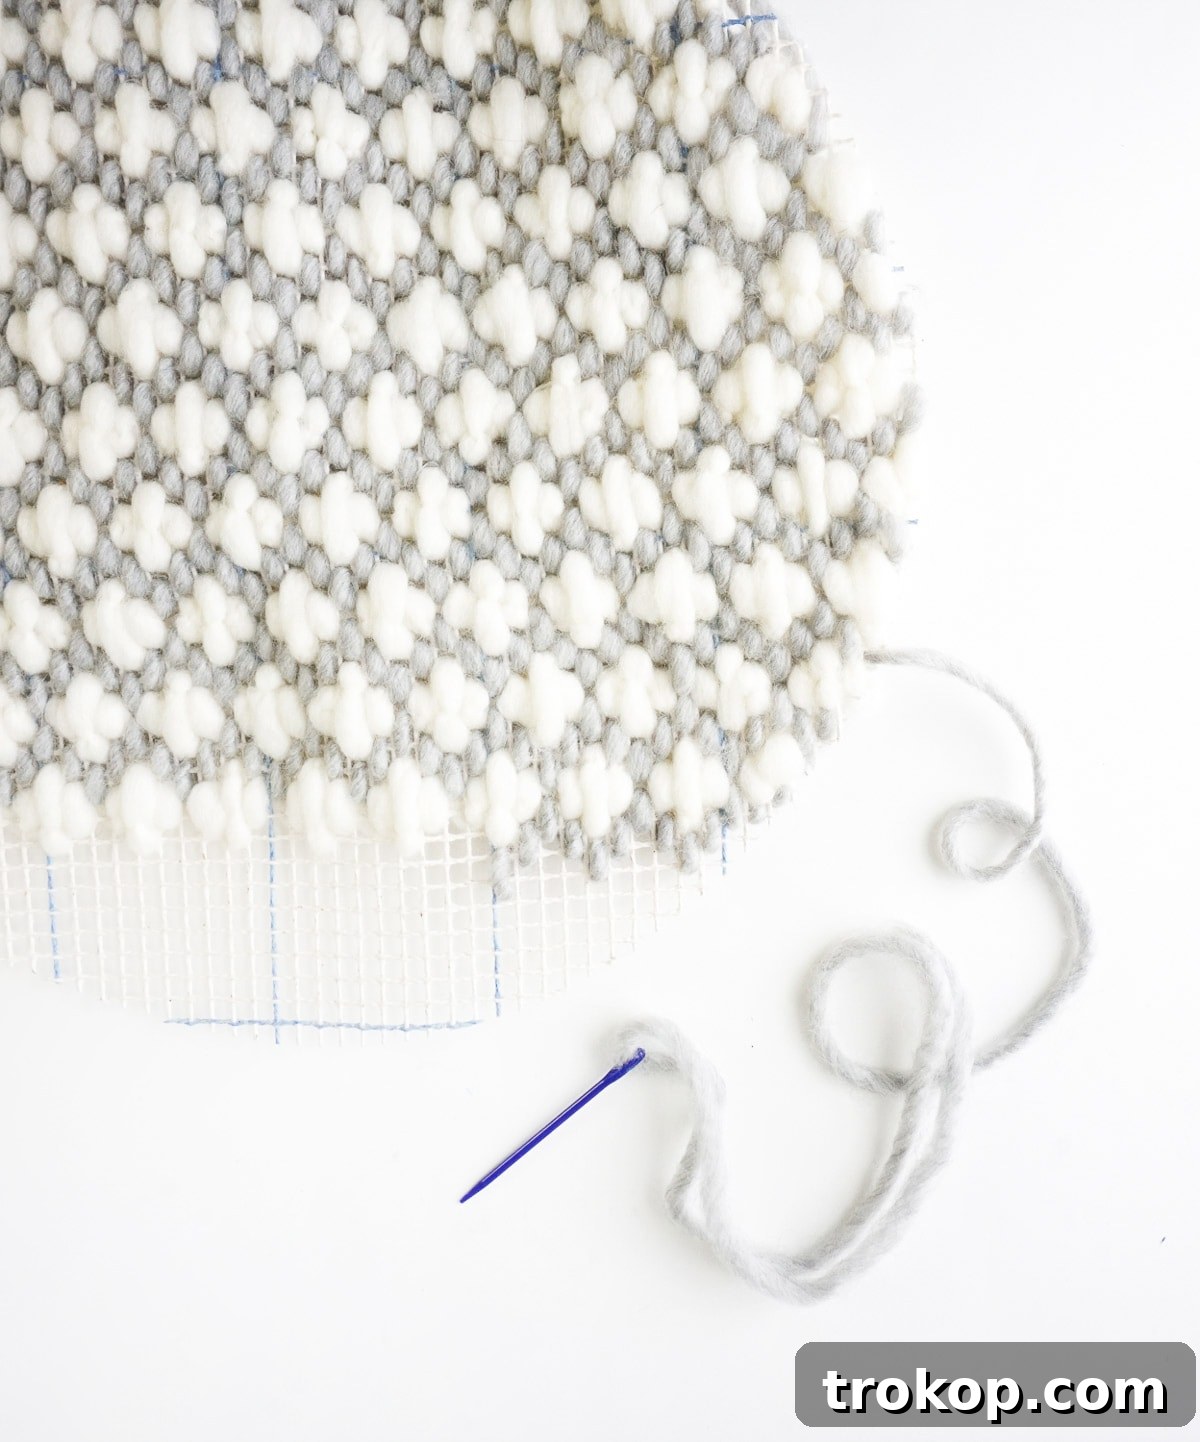
Continue this rhythm of alternating ivory and grey rows, ensuring your stitches remain consistent in size and tension. The repetition of the pattern is what gives this cushion its striking visual appeal and satisfying texture. Work your way across the canvas, filling in the entire surface of the first circular panel with your beautiful, chunky cross-stitch pattern.
Step 5: Completing the Second Panel
Once your first canvas circle is fully patterned, repeat the entire cross-stitching process for the second graph canvas. Ensure that the patterns on both circles are as identical as possible, especially in terms of color placement and stitch density. This consistency will ensure a cohesive and professional-looking cushion when the two halves are joined.
Step 6: Assembling Your Plush Cushion
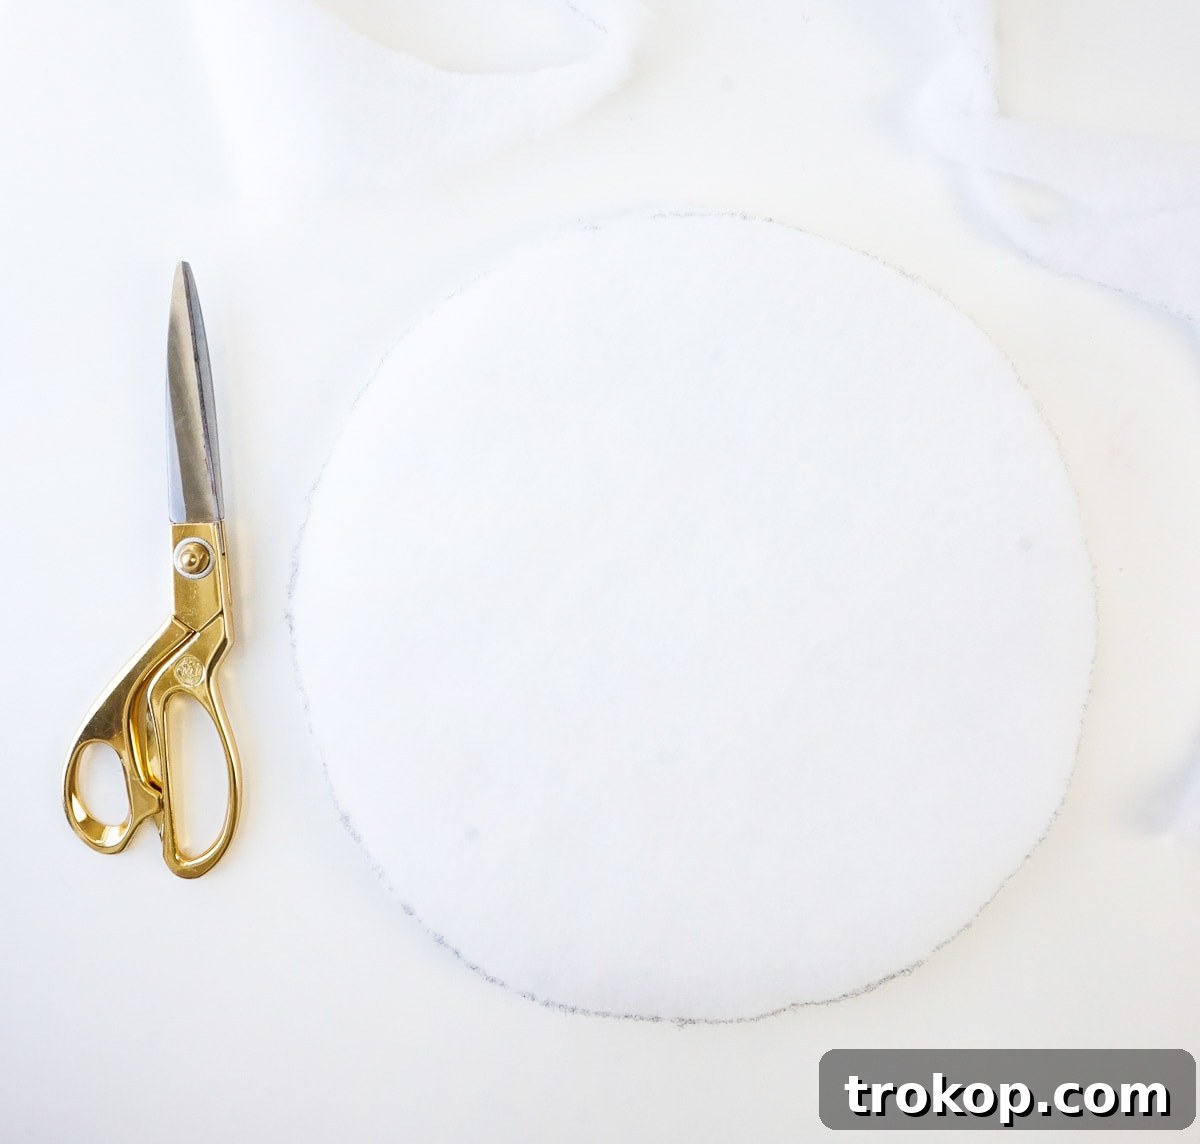
With both cross-stitched panels complete, it’s time to bring your cushion to life with soft, supportive batting. Cut several layers of synthetic fiber batting into a circular shape, ensuring that the diameter is approximately 1 inch smaller than your cross-stitched canvas circles. This slight reduction in size will allow the batting to neatly fill the cushion without bulging at the seams, creating a crisp, finished edge.
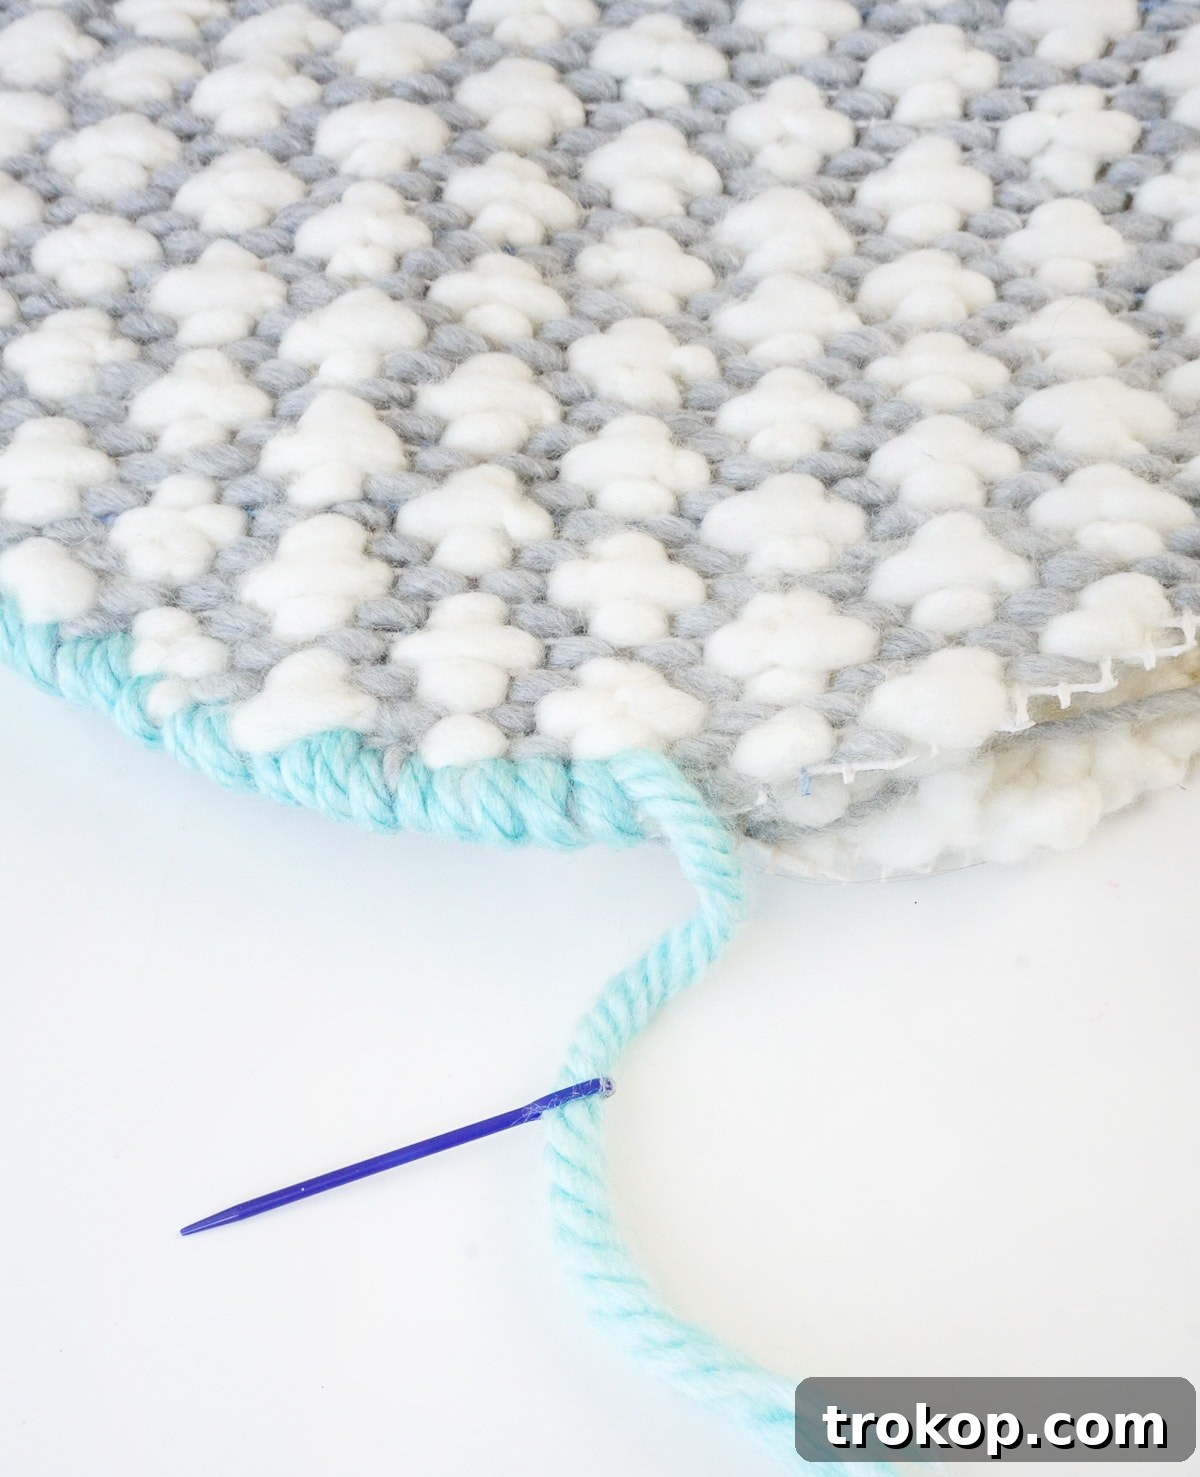
Carefully stack the batting layers to achieve your desired thickness and plushness, then place this batting sandwich precisely between your two complete cross-stitch layers. Align the edges of the cross-stitch panels around the batting. Using a whip stitch (a simple, strong edge-finishing stitch), join the two layers of the cross-stitched canvas together, working your way around the entire circumference. Ensure your stitches are tight and even to create a durable and attractive seam.
To finish your cushion beautifully and securely, tuck any remaining loose yarn tails from your cross-stitching or the whip stitch neatly in between the two cross-stitch layers, concealing them from view. This final touch ensures a clean, professional finish, leaving you with a beautifully handcrafted, oversized cross-stitched cushion ready to adorn your home.
More Home Decor DIYs To Try
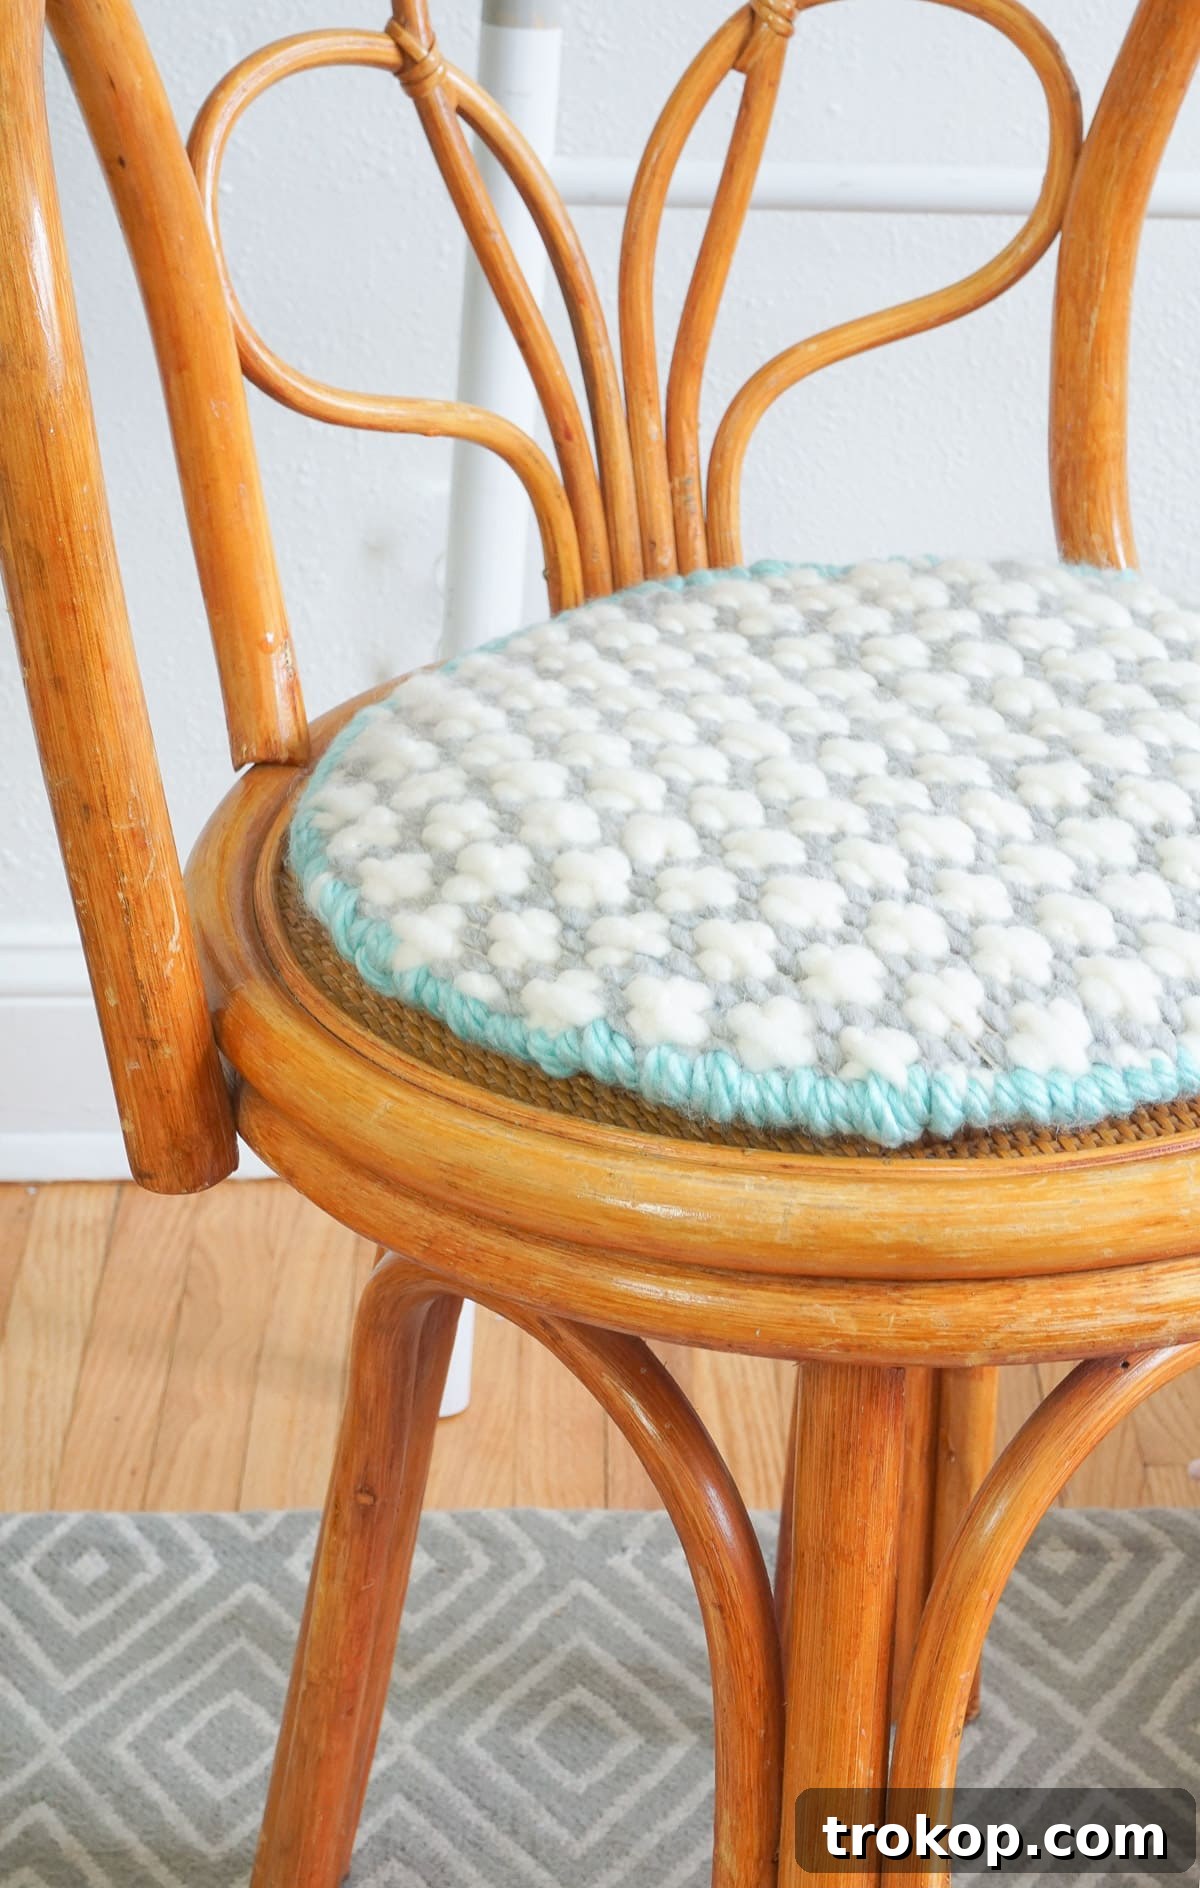
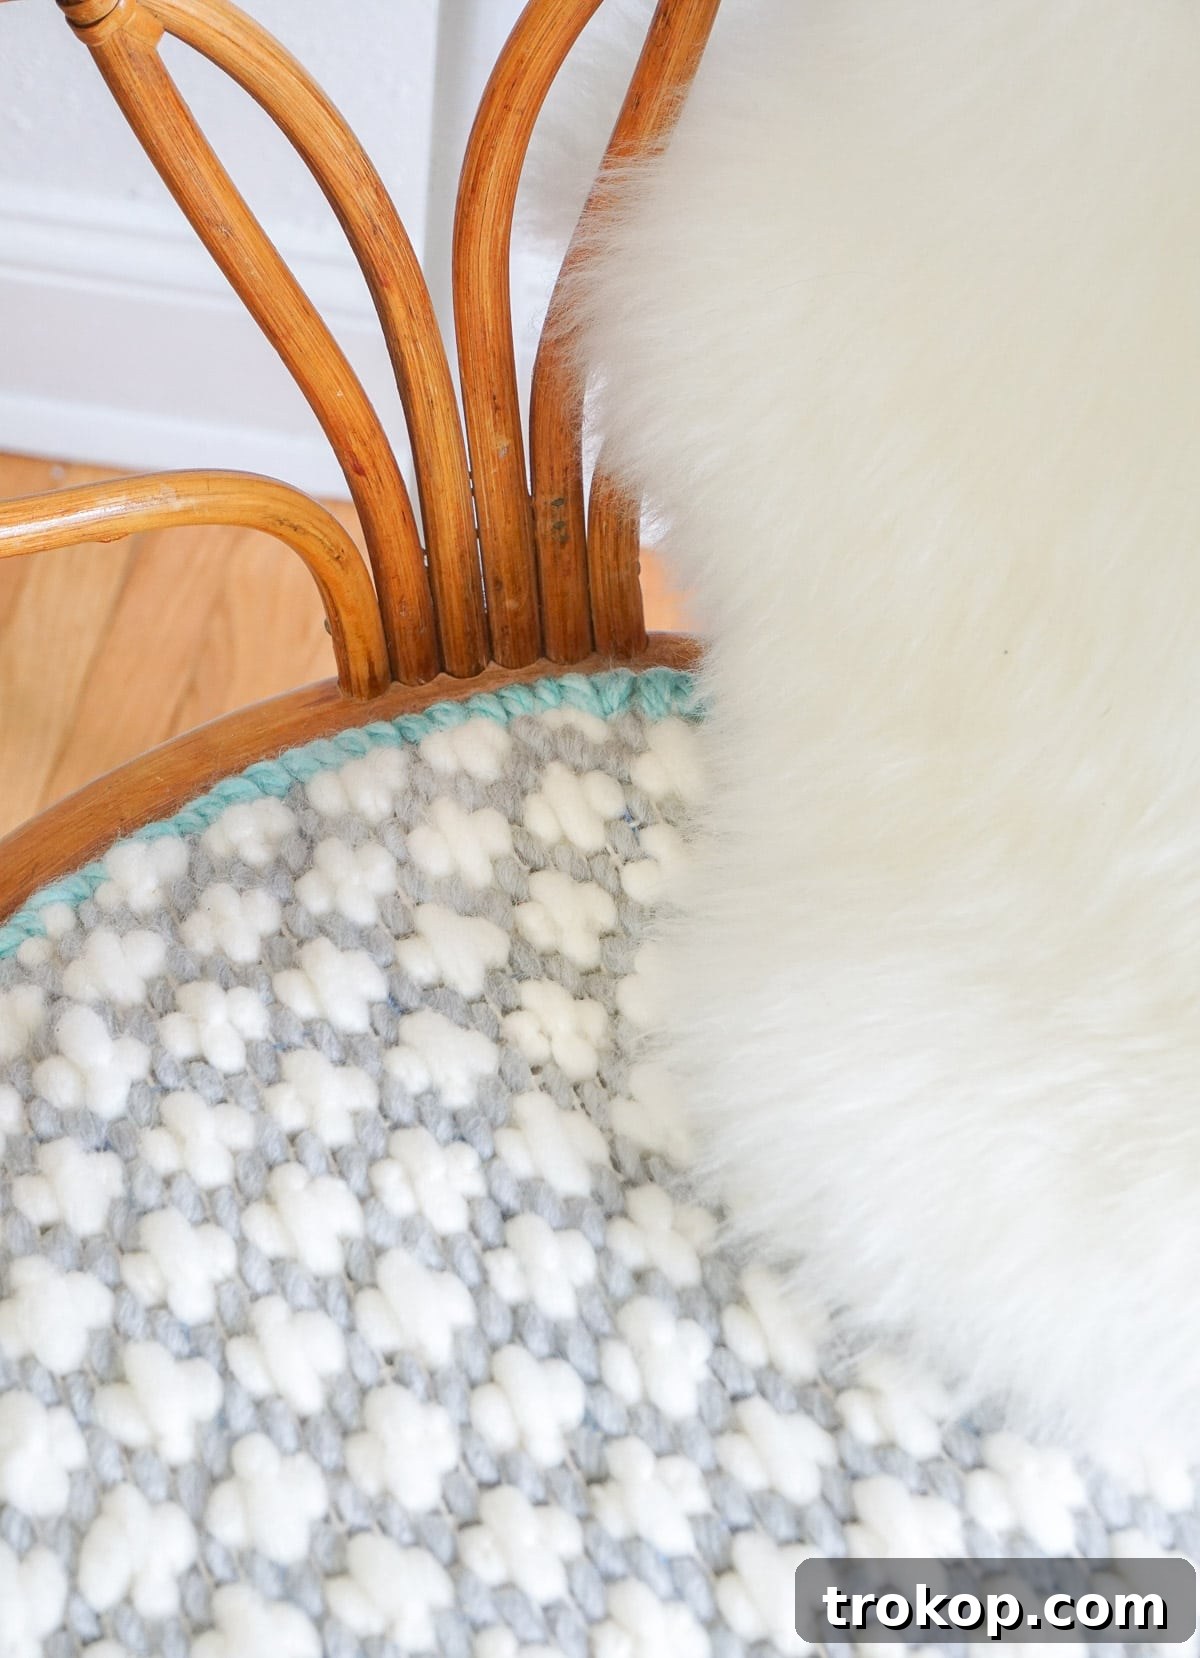
The satisfaction of creating something beautiful and functional for your home is truly unparalleled. This DIY oversized cross-stitched cushion is more than just a decor item; it’s a testament to the power of thoughtful crafting and personal expression. I absolutely adore how the finished cushion, with its bold, textured pattern, beautifully echoes the sophisticated woven designs often found on classic Parisian café chairs. Imagine a mid-century piece meeting Parisian chic—what could possibly be a more delightful combination for your home? It’s a touch of elegance, comfort, and unique texture all rolled into one.
Just envision a collection of these inviting cushions gracing the chairs around your kitchen table, transforming an everyday space into a cozy, stylish bistro nook. The tactile richness of the chunky cross-stitch would bring an unparalleled level of warmth and visual interest, creating textural nirvana that invites lingering conversations and relaxed meals. This project opens up a world of possibilities for customizing your living spaces, allowing you to infuse your unique style into every corner.
Beyond the dining room, consider using these cushions in various settings: as a statement piece on a reading chair, an inviting accent on a window seat, or even to add comfort and flair to an outdoor patio chair (weather permitting, of course!). Each cushion you create will add another layer of bespoke charm, contributing to a home that feels truly lived in and loved.
Embrace the joy of DIY and the endless potential it holds for personalizing your environment. It’s an opportunity to experiment with colors, textures, and patterns, making your home a reflection of who you are. The beauty of handmade items lies in their imperfection and the story they tell, connecting you more deeply with your surroundings. Let this cushion be just the beginning of your crafting adventures!
We’re absolutely thrilled to see your unique creations! Don’t forget to share your finished DIY Oversized Cross-Stitched Cushion with us on Instagram using the hashtag #sugarandclothloves. Your projects inspire us and our entire community. If you’re hungry for more interior design inspiration and engaging home decor tutorials, you’ll find a wealth of ideas right here on our site!