
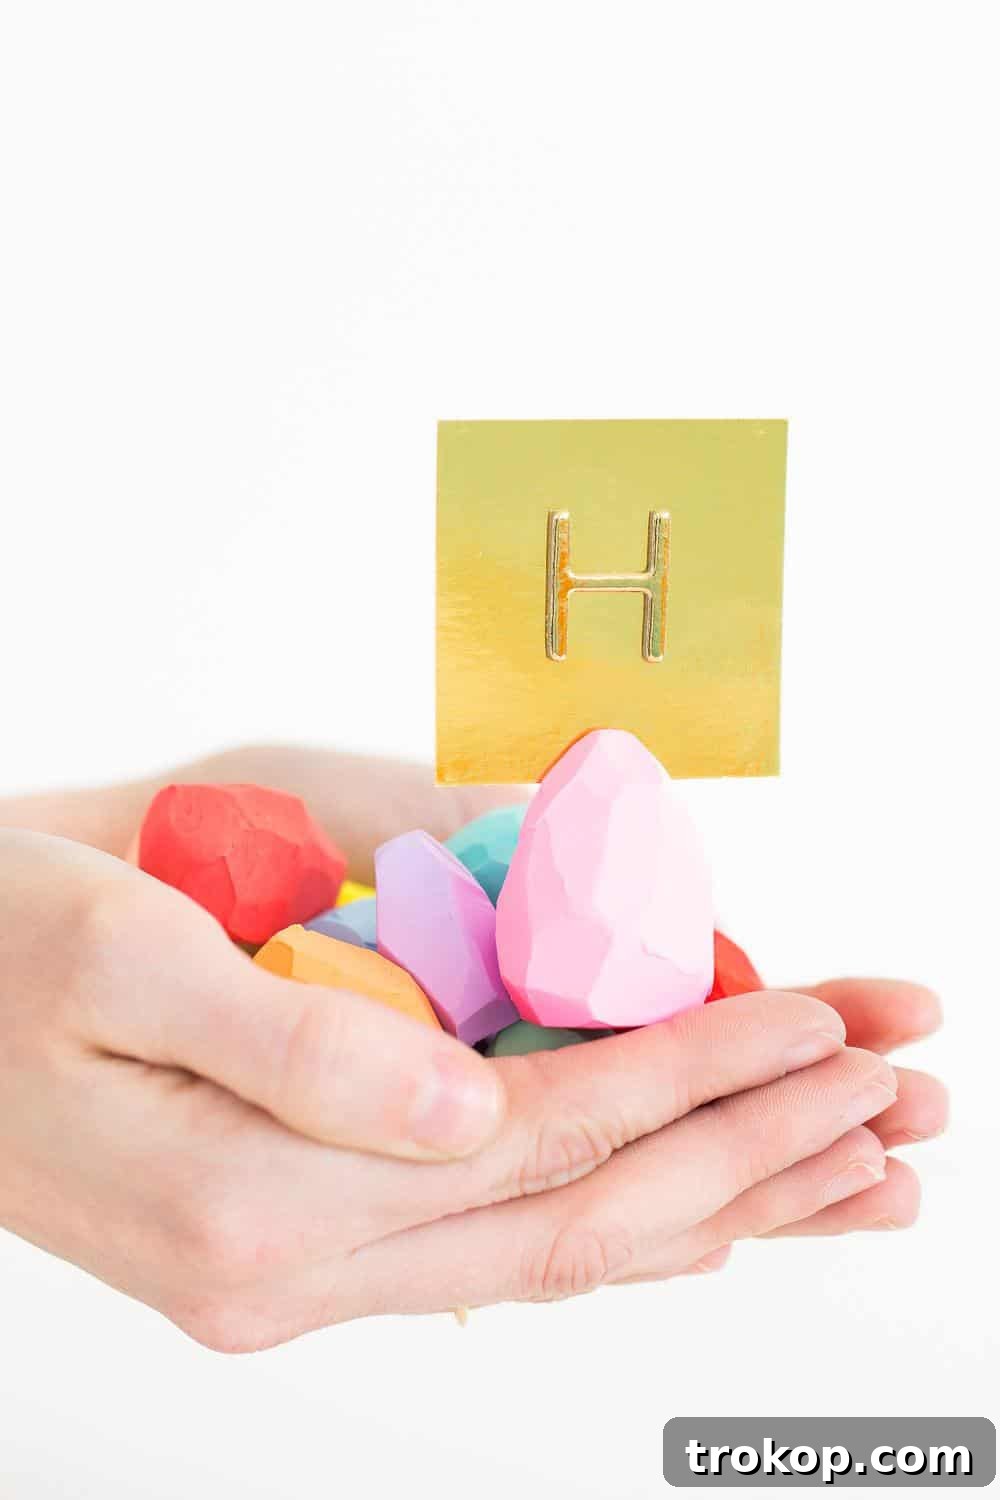
Transform your table into a vibrant spectacle with these enchanting DIY Faceted Polymer Clay Easter Egg Place Card Holders. Far more than just functional items, these handmade creations infuse a personalized, artistic flair into any gathering. Crafted with the versatile and easy-to-work-with polymer clay, these delightful holders are simple to make and perfectly suited for a festive Easter brunch, a charming spring celebration, or any event where you wish to add a unique, custom touch. Their elegant, multi-faceted design and subtle charm mean they don’t scream “Easter” too loudly, allowing for versatile reuse throughout the year.
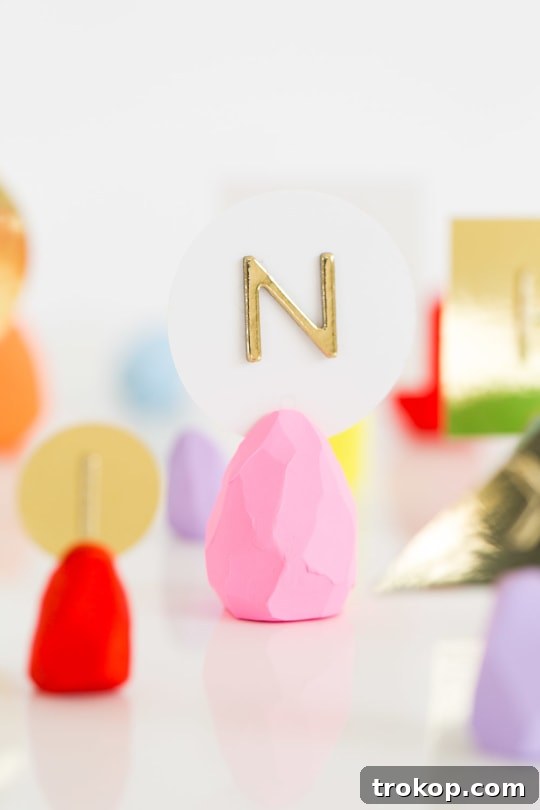
Are you searching for a genuinely unique and creative way to elevate your Easter table decor? We believe in embracing non-traditional holiday decorations that stand out, and these DIY Easter Egg Place Card Holders are a shining example of that philosophy. Made from durable polymer clay, they offer a perfect blend of enduring charm and practical functionality, ensuring your guests feel truly special.
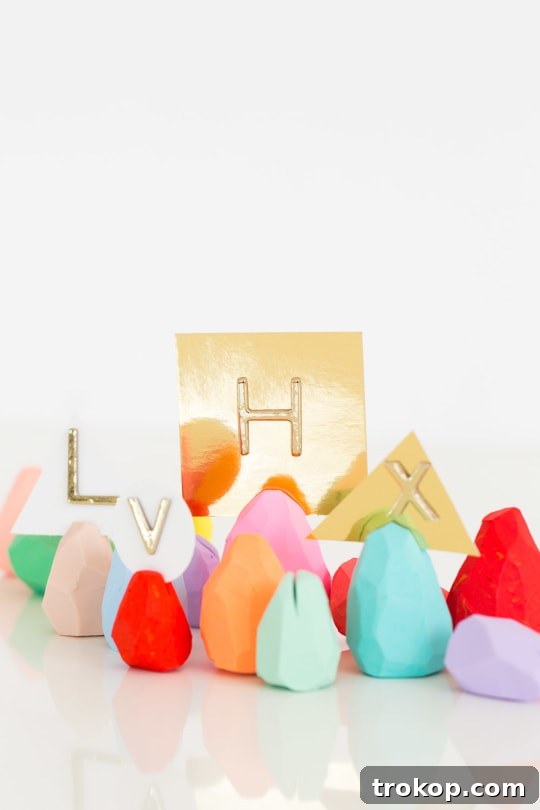
The beauty of working with polymer clay lies in its incredible customizability. With just a few basic materials, you have the freedom to craft these delightful egg-shaped holders in an array of colors, intricate patterns, or personalized designs that perfectly complement your existing Easter aesthetic or any other party theme. Because their geometric, faceted appearance is so chic and understated, they effortlessly transition from holiday celebrations to casual spring brunches, sophisticated dinner parties, or even baby showers. This makes them a wonderfully sustainable and reusable decor item that you’ll cherish for many seasons to come.
Whether you’re hosting an intimate family brunch, a grand Easter feast, or a vibrant spring gathering, these meticulously handmade holders are guaranteed to make each place setting feel extraordinarily special and thoughtful. Moreover, they serve a dual purpose as adorable keepsakes that your guests can take home, offering a lasting memory of your event. Dive into our comprehensive, easy-to-follow step-by-step tutorial below to create your own whimsical and elegant faceted Easter egg place card holders. They are sure to be a beloved and memorable addition to your holiday table!
Why Choose DIY Place Card Holders?
In an age where mass-produced items are commonplace, adding a handmade touch to your celebrations speaks volumes. DIY place card holders offer a unique opportunity to express your creativity and show your guests that you’ve put thought and effort into every detail. Beyond their aesthetic appeal, these polymer clay egg holders provide several benefits:
- Personalized Touch: Each holder can be unique, reflecting your personal style or the specific theme of your event.
- Conversation Starters: Guests will admire the craftsmanship and unique design, sparking delightful conversations around the table.
- Versatile Decor: While perfect for Easter, their subtle design allows them to be used for any spring or summer gathering, making them a wise investment of your crafting time.
- Cherished Keepsakes: Unlike disposable decorations, these durable polymer clay holders can be taken home by your guests as a charming memento of the special occasion.
- Cost-Effective: Crafting your own decor is often more economical than purchasing specialized items, allowing you to allocate your budget to other aspects of your celebration.
Gathering Your Crafting Essentials: Materials and Tools Needed
Embarking on any DIY project begins with assembling the right supplies. For these delightful faceted Easter egg place card holders, you’ll find that the list is wonderfully short and accessible, making this a perfect craft for beginners and experienced crafters alike. Here’s what you’ll need:
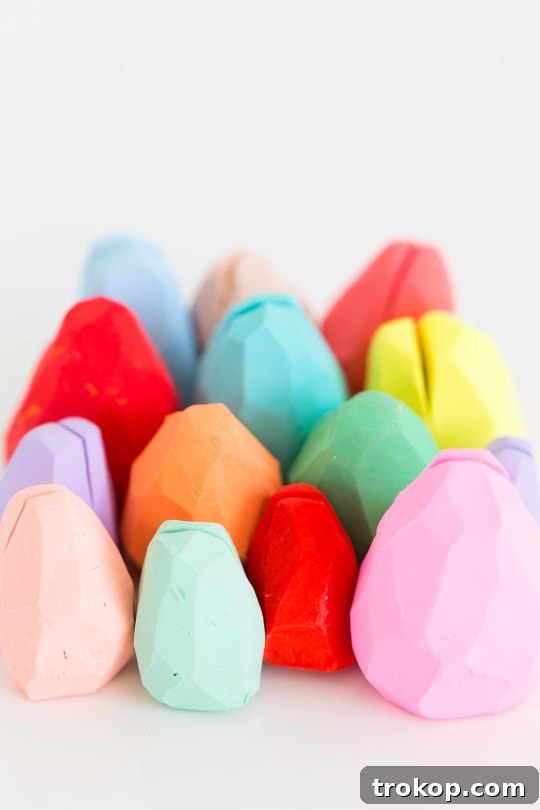
- Oven Bake Polymer Clay Color Set: Choose a palette that inspires you! Pastel shades are perfect for Easter and spring, but don’t shy away from vibrant hues or earthy tones for other occasions. Consider mixing different brands or colors to create custom shades.
- Razor Blade or Any Straight Edge: A dedicated craft razor blade offers the cleanest cuts, but a sharp utility knife, an X-Acto knife, or even a sturdy metal ruler with a sharp edge can work. Ensure it’s clean and designated for clay use to avoid contamination.
- Clay-Dedicated Baking Sheet: It’s highly recommended to use a baking sheet solely for polymer clay projects. This prevents any potential cross-contamination with food items and ensures your clay cures properly without adhering to food-grade surfaces. Line it with parchment paper or foil for easy cleanup and to prevent sticking.
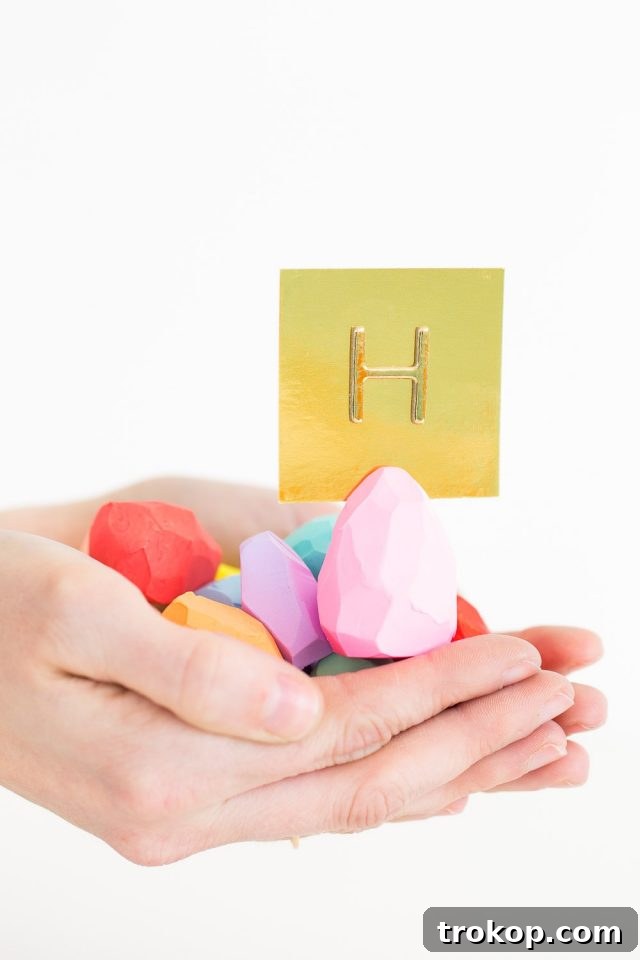
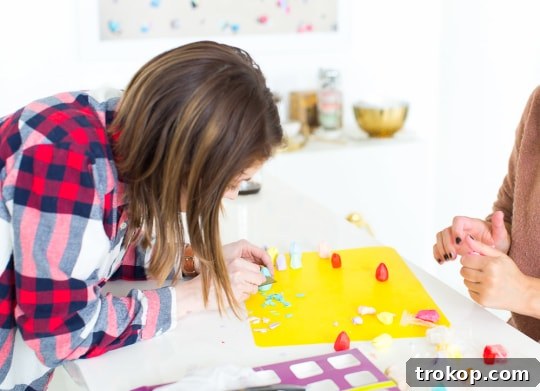
The Art of Creation: Step-by-Step Guide to Faceted Easter Egg Place Card Holders
Creating these charming place card holders is a rewarding process that allows for both precision and artistic expression. Follow these detailed steps to bring your polymer clay eggs to life:
1 — Prepare and Shape the Clay: Begin by conditioning your polymer clay. This involves kneading and rolling it until it becomes soft, pliable, and easy to work with. If you’re mixing multiple colors, now is the time to blend them thoroughly until you achieve your desired custom shades. Experiment with different combinations to create a unique palette for your Easter table. Once conditioned, roll the clay into a smooth, even egg-shaped ball. It’s crucial that this initial shape is slightly larger than the final size you envision for your place card holder. Remember, you’ll be slicing away portions to create the distinctive faceted look, so a little extra material will ensure you have enough to sculpt your ideal design without ending up with a holder that’s too small.
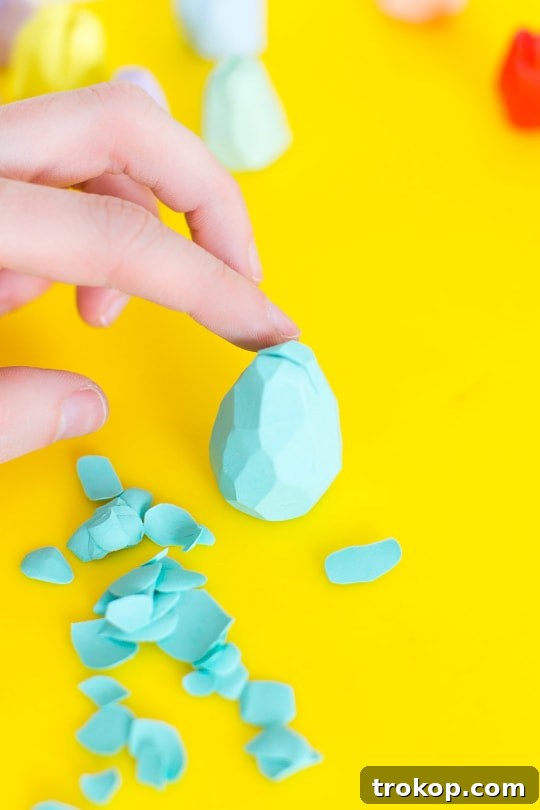
2 — Sculpt the Faceted Sides: This is where the magic happens! With your chosen straight-edge blade, carefully begin to slice off small, thin sections of clay from the egg shape. Start at the top and gradually work your way down towards the base. The key to achieving an appealing faceted design is to vary your cutting angles and the size of the slices. Each cut should create a flat surface, or “facet.” Continue rotating the clay and making cuts until the entire surface of the egg is covered with these geometric planes. Aim for an organic yet structured look, ensuring no two facets are exactly alike unless you desire a highly uniform pattern. Take your time with this step, as precision here will define the final aesthetic of your holder.
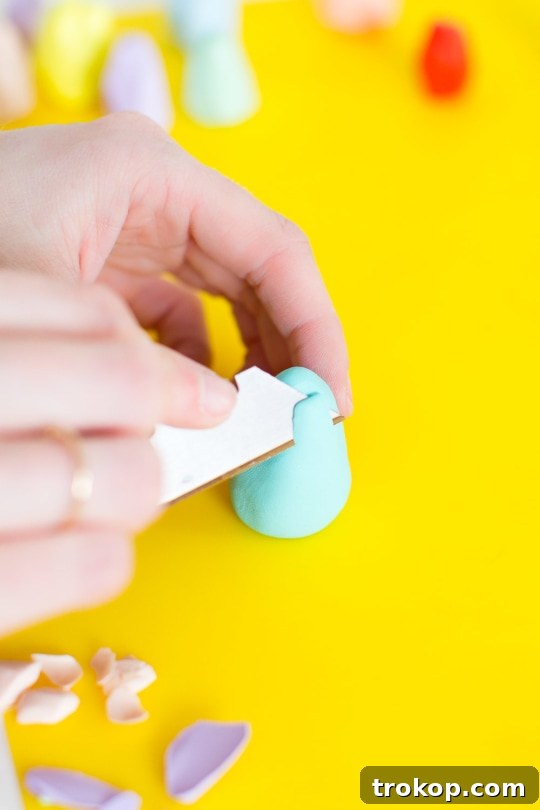
3 — Create the Card Slot: Once you’ve perfected the faceted shape, it’s time to add the slot for your place card. Using the same straight-edge blade, carefully make a small, shallow cut into the top of each egg. This cut should be just deep enough to securely hold a piece of cardstock without splitting the clay. The width of the cut should match the thickness of your chosen place cards. If your cards are thin, a very fine slice will suffice. Test the fit with a scrap piece of paper before baking to ensure it’s snug but not too tight. A well-placed slot ensures your place cards stand upright and neatly presented.
4 — Bake the Clay to Perfection: Gently transfer your intricately faceted clay eggs onto your dedicated clay baking sheet. It’s crucial to follow the polymer clay manufacturer’s instructions precisely regarding baking temperature and time. These guidelines are typically found on the clay packaging and are vital for achieving optimal hardness and durability. Under-baked clay can be brittle, while over-baked clay may crack or scorch. Ensure your oven temperature is accurate (an oven thermometer can be helpful). Proper baking will transform your soft clay creations into sturdy, long-lasting place card holders.
5 — Cool and Style: After the recommended baking time, carefully remove the baking sheet from the oven. Allow the polymer clay eggs to cool completely at room temperature before handling them. Polymer clay continues to harden as it cools, so patience is key. Once cool, your custom-made faceted Easter egg place card holders are ready for their debut! Arrange them on your Easter table, insert your personalized place cards, and admire the unique, handcrafted elegance they bring to your celebration.
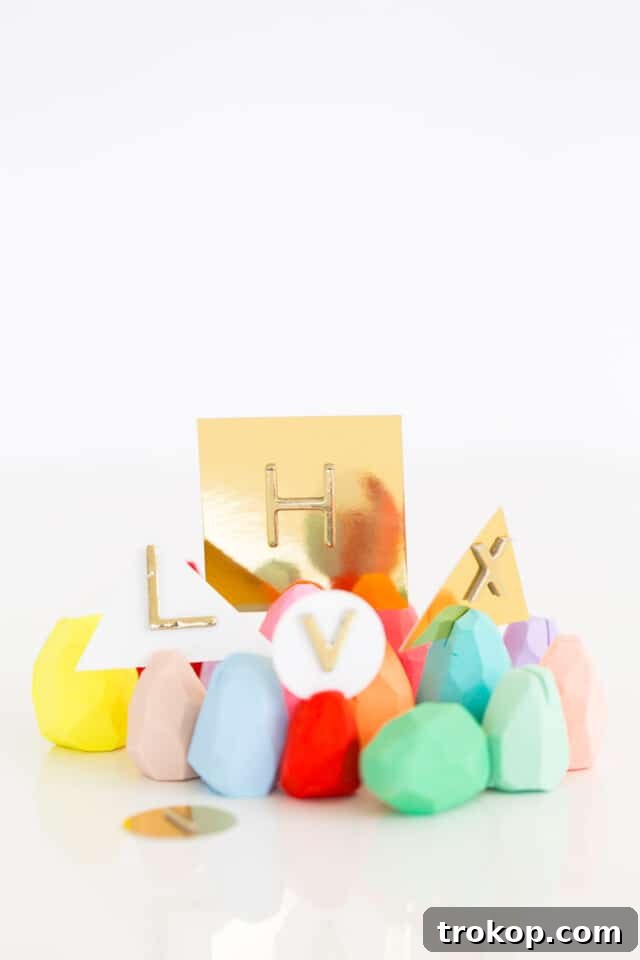
Personalizing Your Table: Creative Place Card Ideas
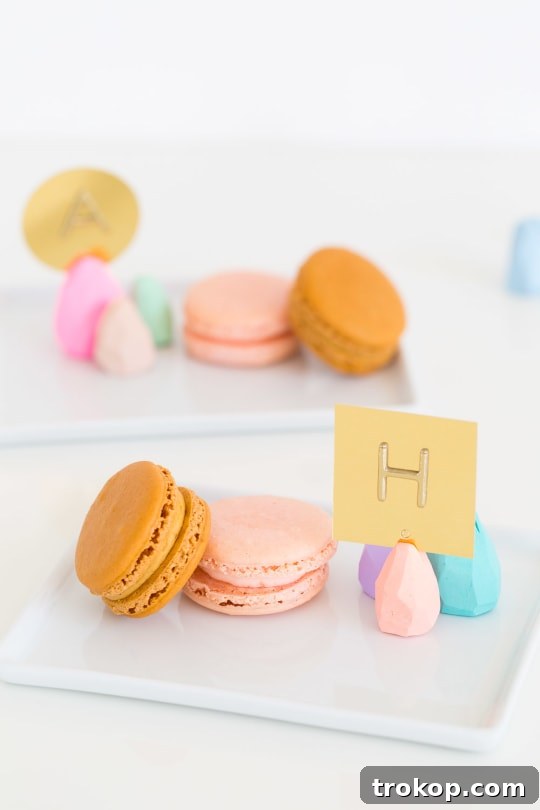
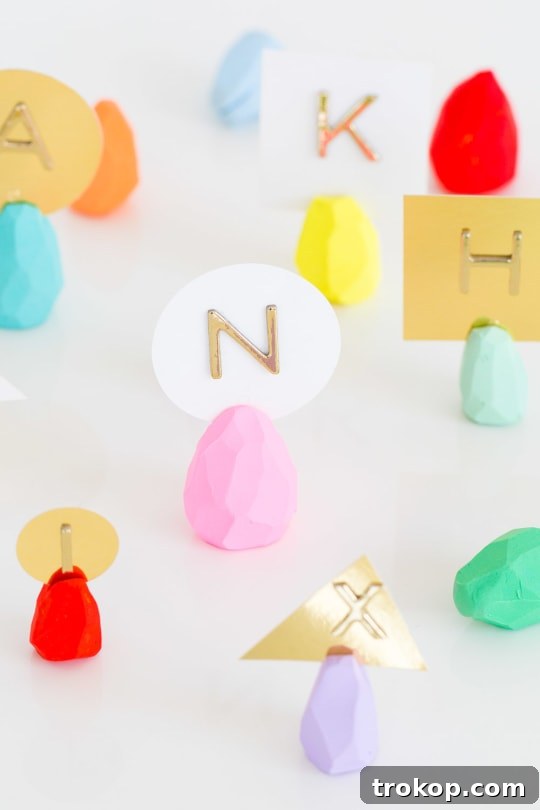
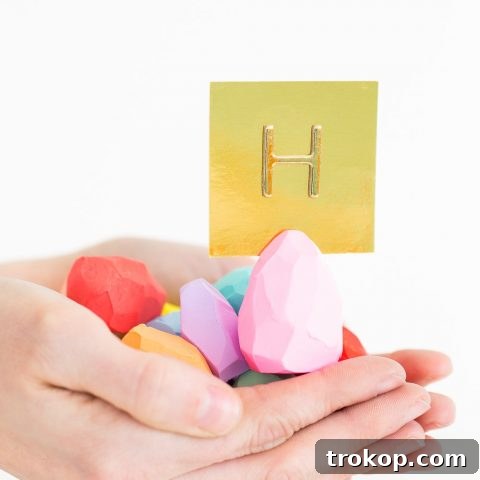
Once your beautiful faceted egg holders are complete, the next step is to choose the perfect place cards to nestle within them. The beauty of these holders is their adaptability, allowing for a wide range of styles to suit your personal aesthetic. For our example, we opted for delicate cut-out shapes from shimmering metallic gold paper, which added a touch of elegance and whimsy. We further enhanced them with charming 3D stickers that perfectly matched our pastel theme. The result, nestled next to delectable macarons, was simply adorable and truly elevated the table setting! While this approach worked wonderfully for us, consider these additional ideas to make your place cards truly shine:
- Hand-Calligraphed Cards: For a sophisticated and personal touch, hand-lettered names on fine cardstock instantly elevate the dining experience.
- Printed Designs: Create custom designs on your computer. Think floral patterns, watercolor washes, or minimalist typography printed on quality paper.
- Mini Photos: Print tiny photos of each guest (perhaps from a past gathering) and use them as unique and sentimental place cards.
- Leaf-Shaped Cards: Cut cards into leaf or flower shapes, especially fitting for spring and garden-themed parties.
- Small Quotes or Messages: Instead of just names, add a short, uplifting quote or a personalized message for each guest to discover.
- Embellished Tags: Use small gift tags, perhaps with a touch of glitter, a small dried flower, or a ribbon tied around the card.
Do any of you have staple Easter decor items that you use every year? We’re thrilled to say that these faceted egg place card holders have definitely earned a permanent spot on our list of cherished holiday decorations!
Beyond Easter: Repurposing Your Holders for Year-Round Charm
One of the most appealing aspects of these polymer clay place card holders is their incredible versatility. While designed with Easter in mind, their elegant faceted shape and neutral material allow them to transcend seasonal boundaries. By simply changing the style or theme of your place cards, you can seamlessly integrate these holders into various events throughout the year. Imagine them gracing your table for:
- Spring Brunches: Use floral-themed cards or pastel colors for a fresh, welcoming feel.
- Summer Dinner Parties: Opt for vibrant, bold-colored cards or minimalist designs.
- Baby Showers: Use cards shaped like tiny onesies or with cute baby animal prints.
- Bridal Luncheons: Elegant white or metallic cards would complement the occasion beautifully.
- Thanksgiving or Fall Gatherings: Swap out the cards for ones in autumnal hues or leaf shapes (though we also have a dedicated DIY for that below!).
- Everyday Home Decor: They can even be repurposed as small photo holders for your desk or mantelpiece, displaying cherished memories.
Their subtle design ensures they never feel out of place, making them a truly sustainable and valuable addition to your home entertaining toolkit. This emphasis on reusability means your crafting efforts provide lasting joy and utility.
Care and Longevity: Tips for Your Polymer Clay Creations
To ensure your beautiful polymer clay place card holders remain vibrant and intact for years to come, a little care goes a long way. Polymer clay, once properly baked, is remarkably durable, but mindful handling and storage are essential:
- Cleaning: For light dust or grime, gently wipe the holders with a soft, damp cloth. Avoid harsh chemicals or abrasive cleaners, which can damage the clay’s finish or colors. For stubborn marks, a small amount of mild soap can be used, but ensure they are thoroughly rinsed and dried.
- Storage: When not in use, store your place card holders in a cool, dry place away from direct sunlight. Prolonged exposure to sunlight can cause some polymer clay colors to fade over time. A small box or a drawer is ideal for keeping them safe from dust and accidental knocks.
- Handling: While sturdy, polymer clay can break if dropped or subjected to extreme force. Handle them with care, especially the thinner sections or edges.
- Avoid Extreme Temperatures: While baked, polymer clay is still a plastic. Avoid exposing it to very high temperatures (like leaving it in a hot car), which could cause it to soften or deform.
By following these simple care tips, your handmade faceted Easter egg place card holders will remain beautiful and ready for countless celebrations.
More Inspirations for Handmade Table Accents
Given the numerous table settings we’ve enjoyed creating over the years, we’re certainly no strangers to innovative place card holder ideas! There’s an endless array of imaginative ways to craft your own unique versions or even cleverly repurpose unexpected items to serve as charming name cards. Just look at how we transformed ordinary items into delightful ribbon candy holders! These would pair perfectly with your pastel Easter table settings, adding an extra layer of handcrafted charm. Here are a few more of our cherished past projects to spark your creativity:
- Clay DIY Geometric Place Card Holders: Explore other geometric shapes and designs using polymer clay for a modern table aesthetic.
- DIY Mini Mountain Photo Holders: Easily adaptable to hold place cards, these charming miniature mountains can bring a touch of natural whimsy to your table.
- DIY Candy Ribbon Place Card Holders: A sweet and surprising way to present guest names, perfect for dessert tables or children’s parties.
- Simple Pumpkin Leaf Place Card Holders: Ideal for fall gatherings, these holders use natural elements to create a rustic and inviting atmosphere.
DIY Faceted Easter Egg Place Card Holders Tutorial
Easter is just around the corner, and these adorable place card holders are the perfect way to make your holiday table extra festive and memorable!
30 mins
15 mins
45 mins
DIY
Entertaining Decor
Equipment
-
Razor blade/straight edge
-
Clay-dedicated baking sheet
Materials
- Polymer clay in colors of your choice
- Place cards of your choice
Instructions
-
You’ll need to get a little creative when combining polymer clay colors to achieve your desired shades.
Once you have the perfect colors, begin by forming an egg-shaped ball of clay.
-
Make sure your initial egg shape is slightly larger than your intended final place card holder, as you will be trimming it down to create the faceted design.
-
Using your straight-edge blade, carefully slice off small sections, starting from the top of the egg. Continue working your way down, cutting at various angles until the entire surface has faceted sides.
-
Next, create a small, shallow slot on the top of each egg using the razor blade, wide enough to hold a place card.
-
Place your shaped eggs on a dedicated clay baking sheet.
Bake them according to the manufacturer’s instructions for the specific type of polymer clay you are using.
-
Once the clay has hardened and cooled, remove the eggs from the oven, let them cool completely, and then they are ready to be styled with your place cards!
Notes
- For the actual place cards, consider using cut-out shapes from metallic paper and matching 3D stickers for an added pop.

We absolutely adore seeing your creative endeavors! Don’t forget to share your beautifully crafted DIY name card holders with us on Instagram using the hashtag #sugarandclothloves. We always look forward to admiring all your unique creations and how you bring them to life on your tables. And if you’re seeking further inspiration for enhancing your home with stylish and inventive decor, you can find all of our home decor tutorials and ideas right here on our blog!
Related Articles for Your Next Celebration
40 Delicious Easter Desserts to Sweeten Your Celebration
Get inspired by these festive and easy-to-make Easter desserts that…Continue Reading40 Delicious Easter Desserts to Sweeten Your Celebration
28 Thoughtful Baptism Gift Ideas
When it comes to gifts for a baptism, you want…Continue Reading28 Thoughtful Baptism Gift Ideas
24 Carrot Cocktail Recipe
Our 24 Carrot Cocktail combines the sweetness of carrots with a…Continue Reading24 Carrot Cocktail Recipe
24 Best Fruit Platter Ideas & Tips
Make a fruit platter for any occasion. Here are some…Continue Reading24 Best Fruit Platter Ideas & Tips