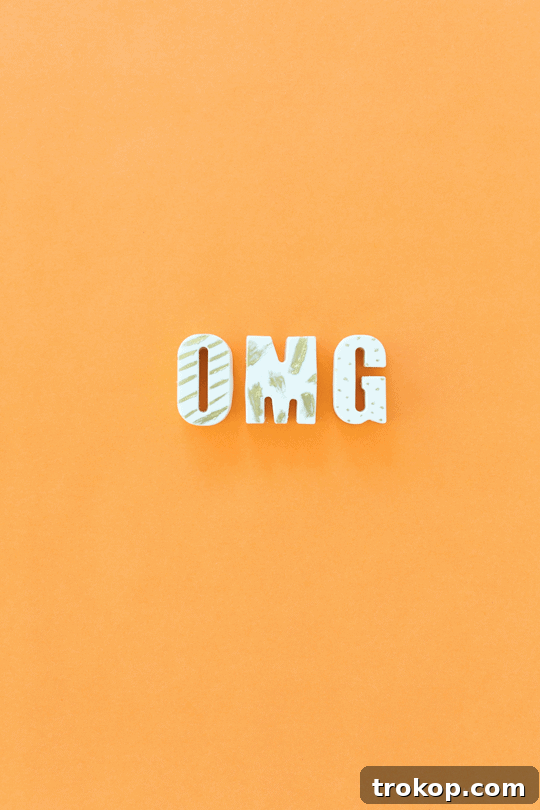
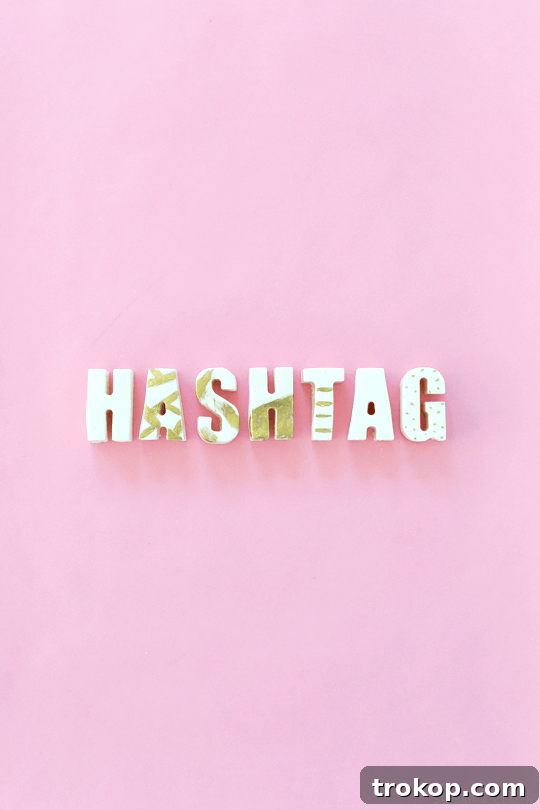
Unleash your creativity and add a personal touch to any occasion with delightful DIY Edible Chocolate Messages. These handcrafted chocolate treats are perfect for conveying heartfelt sentiments, making them ideal for wedding favors, memorable corporate gifts, unique birthday surprises, anniversary celebrations, or simply to say “thank you” in a truly delicious way. Imagine the joy of gifting a custom message, meticulously crafted in shimmering edible chocolate.

For those of us who find immense joy in culinary artistry, the idea of “coloring on food” is more than just a pastime; it’s a passion. From intricately designed macarons to abstract watercolor cakes, the edible canvas offers endless possibilities for expression. While crafting elaborate edible artworks can be time-consuming, these DIY Edible Chocolate Messages provide a charming and efficient way to deliver sweet, impactful statements.
Whether you’re celebrating Valentine’s Day with a romantic declaration, sending a cheerful birthday wish, or offering a word of encouragement, these personalized chocolates ensure your message is received loud and clear – and deliciously!
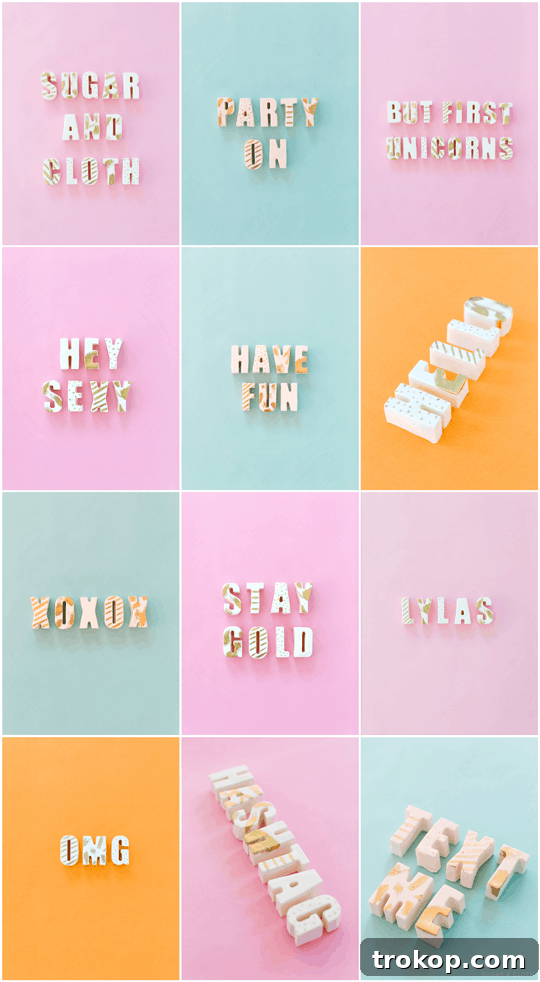
Table of Contents
What is Tempering?
Tempering chocolate is a crucial process in confectionery, involving a precise cycle of heating, cooling, and re-heating chocolate to stabilize its cocoa butter crystals. This stabilization is what gives tempered chocolate its desirable characteristics: a beautiful glossy sheen, a satisfying crisp snap when broken, a smooth melt-in-your-mouth texture, and an extended shelf life without developing “sugar bloom” or “fat bloom.” Without proper tempering, chocolate can appear dull, crumbly, and melt easily at room temperature.
There are several methods for tempering chocolate, but two of the most common and accessible for home cooks are tabling and seeding. Each method aims to guide the cocoa butter into forming stable beta-5 crystals, which are responsible for the chocolate’s ideal properties.
Tabling: The Foundation of Chocolate Tempering
The tabling method, often favored by professional chocolatiers, involves a visually engaging technique. It begins with melting the chocolate to a specific temperature (usually around 113-122°F or 45-50°C for dark chocolate, slightly lower for milk and white chocolate) to ensure all cocoa butter crystals are melted. A significant portion of this melted chocolate is then poured onto a cool, clean surface, typically a marble slab, which acts as a heat sink. Using a metal scraper or palette knife, the chocolate is continuously worked back and forth, spreading it thinly and bringing it together, to rapidly cool it down to a working temperature (around 82-84°F or 28-29°C for white chocolate, slightly higher for milk and dark). This agitation encourages the formation of stable crystals. Once the chocolate reaches this temperature and begins to thicken, it’s transferred back to the remaining warm chocolate, stirred, and gently reheated slightly to achieve the final working temperature, ensuring a perfectly tempered batch.
Seeding: An Advanced Tempering Technique
The seeding method is generally considered more approachable for home use and is less messy than tabling. This technique also starts by melting chocolate to the initial melt temperature. Once fully melted, the chocolate is removed from the heat, and a quantity of finely chopped, untempered chocolate (known as “seed” chocolate) is added to it. The seed chocolate, which contains stable cocoa butter crystals, “seeds” the melted chocolate, encouraging the formation of desirable crystal structures as the mixture cools. The mixture is stirred continuously until the seed chocolate is fully melted and the overall temperature of the chocolate drops to the working temperature. This gradual cooling and introduction of stable crystals results in perfectly tempered chocolate, ready for molding or dipping. This method relies on the principle that stable crystals, once introduced, will prompt other unstable crystals to align correctly.
How Do You Know if Chocolate is Tempered?
Knowing whether your chocolate is properly tempered is crucial for successful edible chocolate messages. Untempered chocolate can lead to dull, streaky, or soft results that won’t hold their shape. Here are a few key indicators to look for:
The “Snap” Test: A Sign of Perfection
One of the most satisfying indicators of well-tempered chocolate is its characteristic snap. After your chocolate letters have fully set and cooled, gently try to break one. Properly tempered chocolate will break cleanly and crisply, producing a distinct “snap” sound. If the chocolate bends, crumbles, or breaks unevenly without a clean snap, it’s likely not tempered correctly.
Visual Appeal: Color and Sheen
Observe the surface of your chocolate. Tempered chocolate should possess a beautiful, uniform glossy sheen. It will look vibrant and inviting. If your chocolate appears dull, streaky, or has grayish-white patches (known as “bloom”), it indicates that the cocoa butter crystals have not formed correctly, and the chocolate is not tempered.
Touch Test: Firmness and Smoothness
Once your chocolate letters are cool, gently touch them. Tempered chocolate should feel firm and solid to the touch at room temperature, without leaving any residue on your fingers. It will release easily from the mold with minimal effort. If the chocolate feels soft, sticky, or melts readily when touched, it means it’s untempered or incorrectly tempered.
Temperature Check: Using a Candy Thermometer
For the most accurate assessment, especially for beginners, a candy thermometer is indispensable. After melting and cooling your chocolate, use a precise thermometer to check its working temperature. For white chocolate, the ideal tempered temperature range is typically between 80-90 degrees Fahrenheit (27-32 degrees Celsius). Staying within this range ensures the stable crystal structure required for perfect results. If your chocolate is outside this range, it may need further adjustment through re-heating or cooling to achieve proper temper.
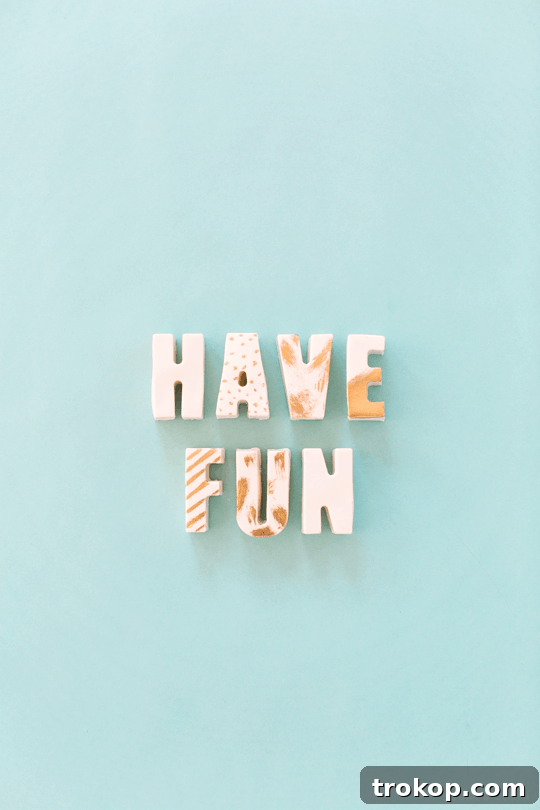
Ingredients Needed to Make DIY Edible Chocolate Messages
Crafting your own edible chocolate messages requires just a few key ingredients:
- White chocolate baking chips: White chocolate is an excellent choice for this project as its neutral color provides a perfect canvas for edible paints. Opt for high-quality baking chips or couverture chocolate for the best melting consistency and flavor. The higher the cocoa butter content, the smoother and glossier your finished letters will be.
- Edible food paint: These paints are specifically designed for food decoration and come in a wide array of colors and finishes. For a sophisticated touch, we recommend a metallic dark gold food paint, but feel free to experiment with vibrant colors, glitter, or pearlescent finishes to match your occasion or theme. Ensure the paint is approved for direct consumption.
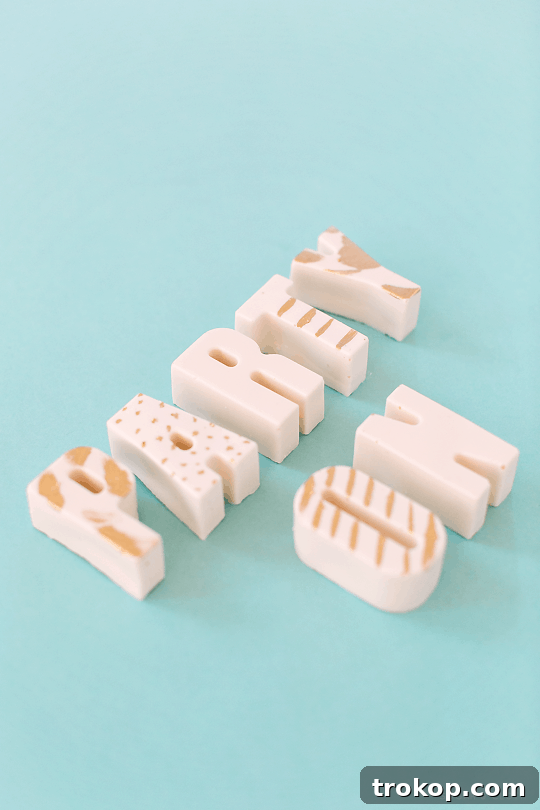
Tools Needed to Make DIY Edible Chocolate Messages
To bring your edible chocolate messages to life, gather these essential tools:
- Silicone alphabet mold: These flexible molds are specifically designed for creating individual letters. Silicone is non-stick, making demolding your delicate chocolate letters incredibly easy. Look for molds that produce letters of a suitable size for your desired messages.
- NuWave Induction Cooktop (or a double boiler/microwave): While you can melt chocolate using a traditional stovetop double boiler or a microwave, an induction cooktop offers unparalleled precision. Its ability to maintain a consistent, low temperature prevents burning and makes the tempering process significantly easier, ensuring your chocolate stays in perfect working condition without constant monitoring.
- Food-dedicated paint brush: It’s important to use a clean, small brush that is exclusively used for food items. This prevents cross-contamination and ensures your edible paint applies smoothly and precisely onto the chocolate letters.
- Candy thermometer (highly recommended for tempering): As discussed, this is critical for accurately monitoring chocolate temperatures during the tempering process, guaranteeing professional results.
- Small bowls/containers: For holding melted chocolate and edible paints.
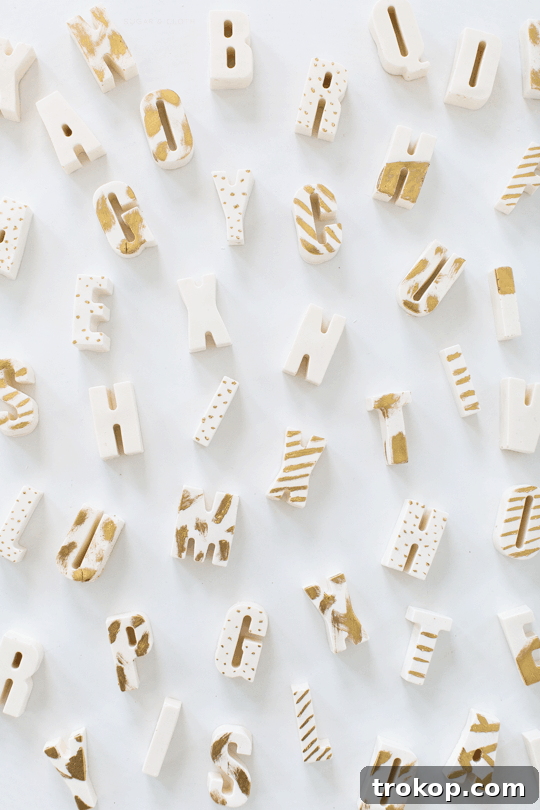
How to Make DIY Edible Chocolate Messages
Follow these detailed steps to create your own beautiful and delicious edible chocolate messages:
Step 1: Melting Your White Chocolate
The first and most critical step is to properly melt your white chocolate chips. You have a few options:
- Microwave Method: Place chips in a microwave-safe bowl. Heat in 30-second intervals, stirring thoroughly after each interval, until mostly melted. Continue heating in 15-second bursts, stirring well each time, until smooth. Be careful not to overheat, as white chocolate can scorch easily.
- Double Boiler Method: Place a heat-proof bowl over a saucepan of simmering water, ensuring the bottom of the bowl does not touch the water. Stir the chocolate continuously until it’s smooth and fully melted. This gentle heat helps prevent burning.
- Tempering Method (Recommended): For the best results – a shiny, snappy, and stable chocolate – tempering is key. Refer back to the “What is Tempering?” section for detailed instructions on the tabling or seeding methods. An induction cooktop, if available, makes this process incredibly easy by maintaining the chocolate at a perfect, consistent low temperature, preventing burning and crystalizing. This allows you to work at your own pace without worrying about the chocolate setting too quickly or overheating.
Step 2: Filling the Silicone Molds
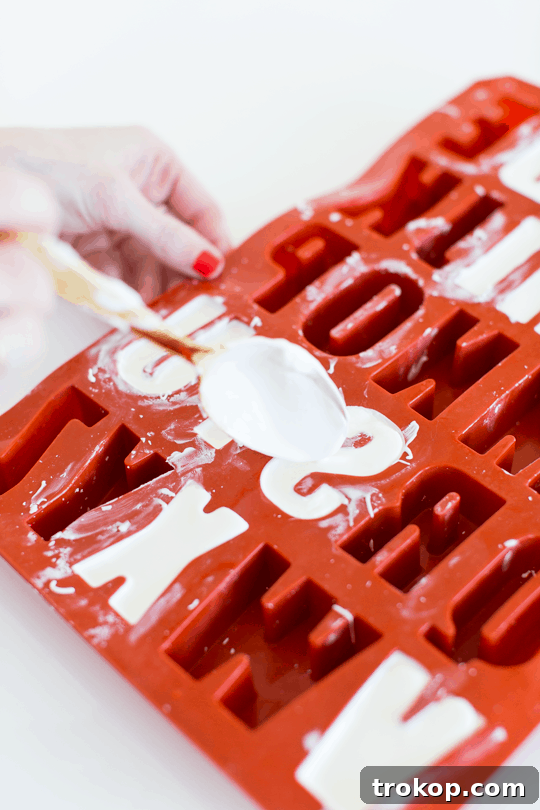
Once your chocolate is perfectly melted and tempered, carefully spoon it into each letter cavity of your silicone alphabet mold. Fill each letter just to the top edge of the silicone; avoid overfilling, as this will prevent the letters from laying flat once removed. To streamline your process and save time, it’s highly recommended to first jot down all the phrases or messages you plan to create. This way, you can efficiently plan exactly how many of each letter (e.g., “T’s,” “I’s,” “Q’s”) you’ll need, minimizing waste and ensuring you have enough for all your desired messages.
Step 3: Removing Air Bubbles
To ensure your chocolate letters have a smooth, uniform surface without unsightly craters or air pockets, gently wiggle the silicone mat on a flat surface. You can also lightly tap the entire mold against the countertop a few times. This action helps any trapped air bubbles rise to the surface and escape, resulting in beautifully smooth and consistent chocolate letters.
Step 4: Cooling and Setting
Allow the chocolate letters to cool completely and set firm. This can be done at room temperature, which helps maintain the temper if you’ve done it correctly. For faster setting, you can place the molds in the refrigerator for about 15-20 minutes, or until the chocolate is firm to the touch. Ensure they are fully cooled before proceeding to the next step, as premature demolding can lead to breakage or loss of shape.
Step 5: Demolding the Chocolate Letters
Once the chocolate has completely set, it’s time to release your letters. Carefully peel the silicone mat back and away from each chocolate letter. Silicone’s flexibility makes this relatively easy, but always be gentle to avoid breaking any delicate parts of the letters. You’ll find that perfectly tempered chocolate will pop out of the molds with a satisfying ease.
Step 6: Decorating with Edible Paint
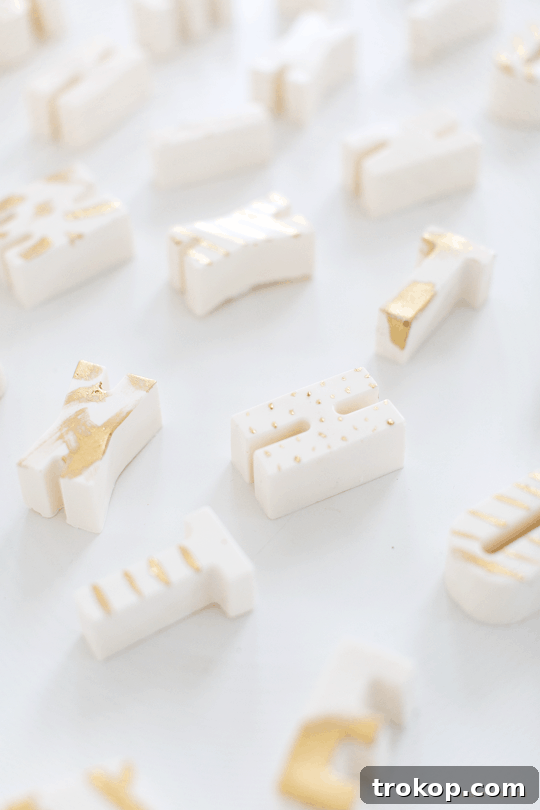
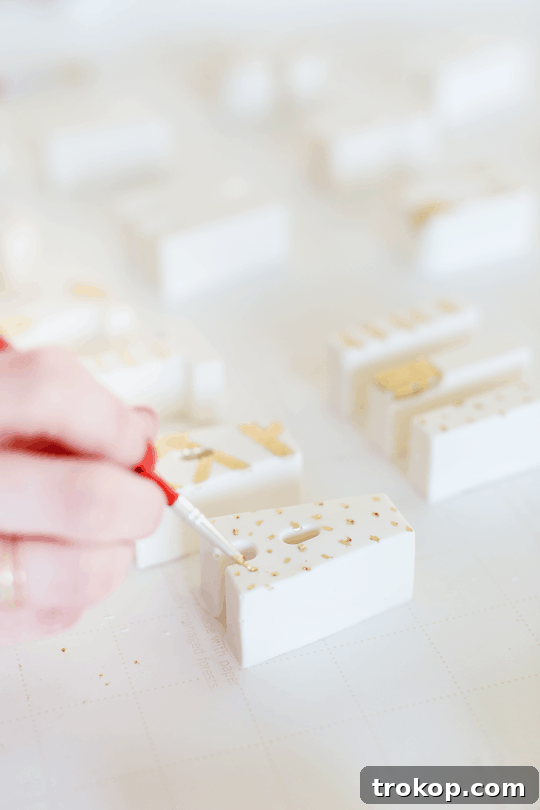
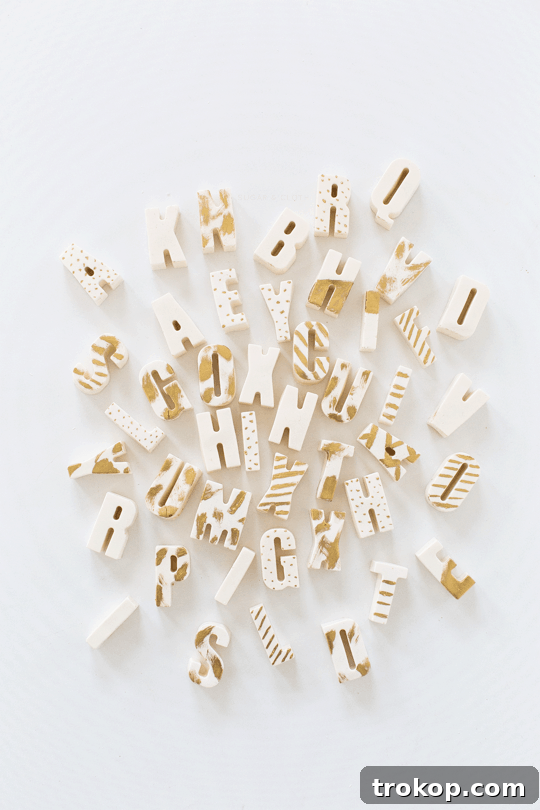
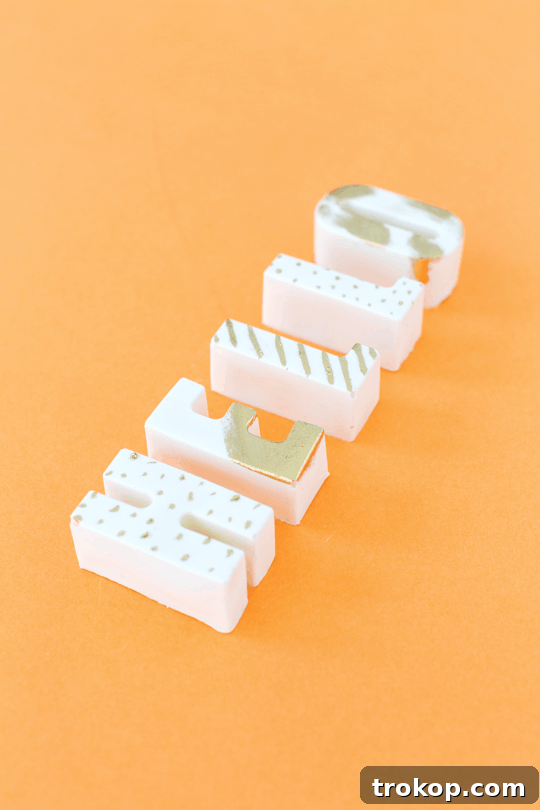
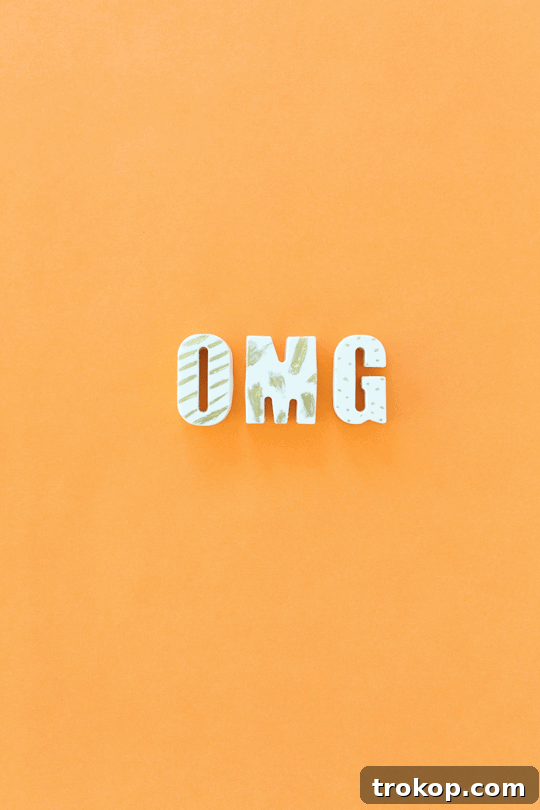
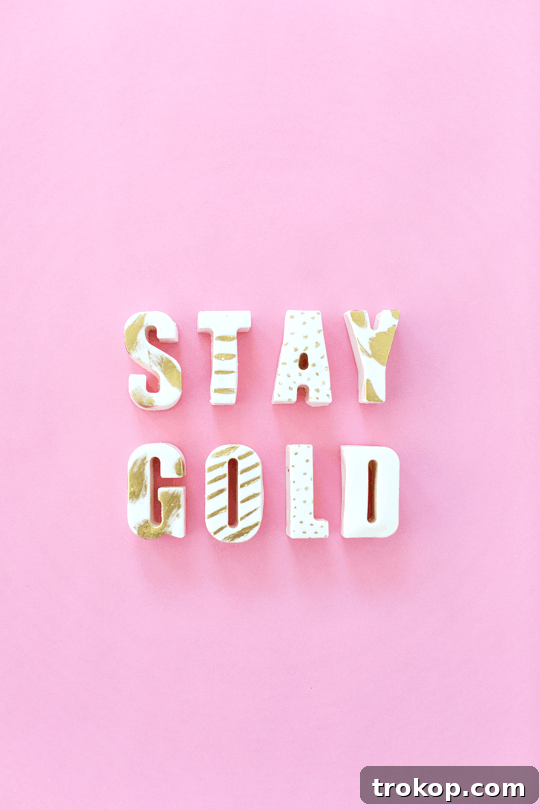
Now for the fun part! Using your food-dedicated brush, apply the edible food paint to each chocolate letter. You can create artistic watercolor strokes, elegant patterns, or simply paint the entire letter for a solid metallic finish. Let your creativity guide you! Allow the paint to dry completely according to the manufacturer’s instructions before handling or packaging. Once dry, your personalized edible chocolate messages are ready to be gifted and enjoyed!
Pro Tips for Crafting Perfect Edible Chocolate Messages
To ensure your DIY edible chocolate messages are nothing short of spectacular, consider these expert tips:
- Invest in High-Quality Chocolate: The foundation of any delicious chocolate creation is good quality chocolate. Opt for baking chips or couverture chocolate with a higher cocoa butter content. This not only ensures better flavor but also a smoother melting consistency, easier tempering, and a superior glossy finish.
- Master Tempering: This cannot be stressed enough. Correctly tempering your chocolate is the secret to letters that have a beautiful shine, a satisfying snap, and resistance to melting at room temperature. Take the time to understand the process and use a candy thermometer for precision. Practice makes perfect!
- Experiment with Shapes and Sizes: Don’t limit yourself to standard alphabet letters. Explore different silicone molds that offer various fonts, sizes, or even small decorative shapes to accompany your messages. This adds visual interest and allows for even more creative customization.
- Plan Your Phrases: Before you begin melting, write down all the messages you intend to make. This will help you count how many of each letter you need, preventing you from running out of a crucial letter mid-process or having too many unnecessary ones.
- Gentle Demolding: Silicone molds are flexible, but chocolate letters can still be delicate, especially thinner parts. Always peel the mold away from the chocolate gently, rather than trying to force the chocolate out.
- Creative Decorating: Edible food paints come in various forms – liquid, dust, or gel. Experiment with different colors, metallic finishes, or even edible glitter. You can use fine brushes for detailed work, or wider brushes for broad strokes, creating unique textures and patterns.
- Storage and Packaging: Once decorated and fully dry, store your chocolate messages in an airtight container at a cool, dry room temperature (ideally between 60-70°F or 15-21°C). Avoid direct sunlight or humid environments, which can cause the chocolate to bloom or melt.
- Consider the Climate: This tip is crucial: rethink trying to mail or store these cute phrases in warm, hot, or highly humid climates. Chocolate is highly susceptible to heat and moisture. Otherwise, you’ll regrettably be gifting a time-consuming puddle of sparkly white chocolate. If you must transport them in warm conditions, consider using insulated packaging with ice packs.
- Have Fun with It! Beyond the technicalities, making edible chocolate messages is a wonderful way to express affection and creativity. Enjoy the process, get imaginative, and let your personality shine through in these sweet, edible gifts.
More Dessert Hacks to Try
If you enjoyed crafting these DIY Edible Chocolate Messages, you’ll love these other creative dessert ideas:
- DIY Edible Confetti – How to Make Homemade Confetti
- Edible DIY Layered Cookie Cake Recipe
- Edible Flower Lemon Jello Shots Recipe

Edible Chocolate Messages Recipe
Equipment
- Silicone alphabet mold
- NuWave Induction Cooktop (or suitable melting alternative)
- Food-dedicated paint brush
- Candy thermometer (optional, but recommended for tempering)
Ingredients
- White chocolate baking chips
- Edible food paint (e.g., metallic dark gold)
Instructions
- Melt your white chocolate chips using a microwave, double boiler, or by tempering the chocolate for a professional finish (refer to tempering guide above for details).
- Once your chocolate is evenly melted and smooth, carefully spoon it into each letter cavity of the silicone alphabet mold. Fill each letter just to the top edge to ensure flat letters. Prioritize planning your phrases to know the exact number of each letter needed.
- Gently wiggle the silicone mat on a flat surface or tap it lightly against the counter to release any trapped air bubbles from the chocolate. This step ensures uniform, smooth letters free of craters.
- Allow the chocolate letters to cool completely and set firm. This can be done at room temperature or in the refrigerator for quicker setting.
- Once cooled and hardened, carefully take each letter out by peeling the silicone mat back away from the chocolate.
- Use your food-dedicated brush to apply the edible food paint. Create fun watercolor strokes, elegant patterns, or a solid color on each letter. Let the paint dry completely.
- Your personalized edible chocolate messages are now ready to be gifted or enjoyed!
Nutrition (per letter, estimated)
Carbohydrates: 11g |
Protein: 1g |
Fat: 6g |
Saturated Fat: 3g |
Polyunsaturated Fat: 0.2g |
Monounsaturated Fat: 2g |
Cholesterol: 4mg |
Sodium: 16mg |
Potassium: 51mg |
Fiber: 0.04g |
Sugar: 11g |
Vitamin A: 5IU |
Vitamin C: 0.1mg |
Calcium: 36mg |
Iron: 0.04mg

We absolutely love seeing your edible creations! Don’t forget to share your DIY edible chocolate messages with us on Instagram using the hashtag #sugarandclothloves. Looking for even more quick, delicious, and creative recipes? You can find an abundance of delightful ideas right here, including some fantastic dinner inspirations to complement your sweet treats!