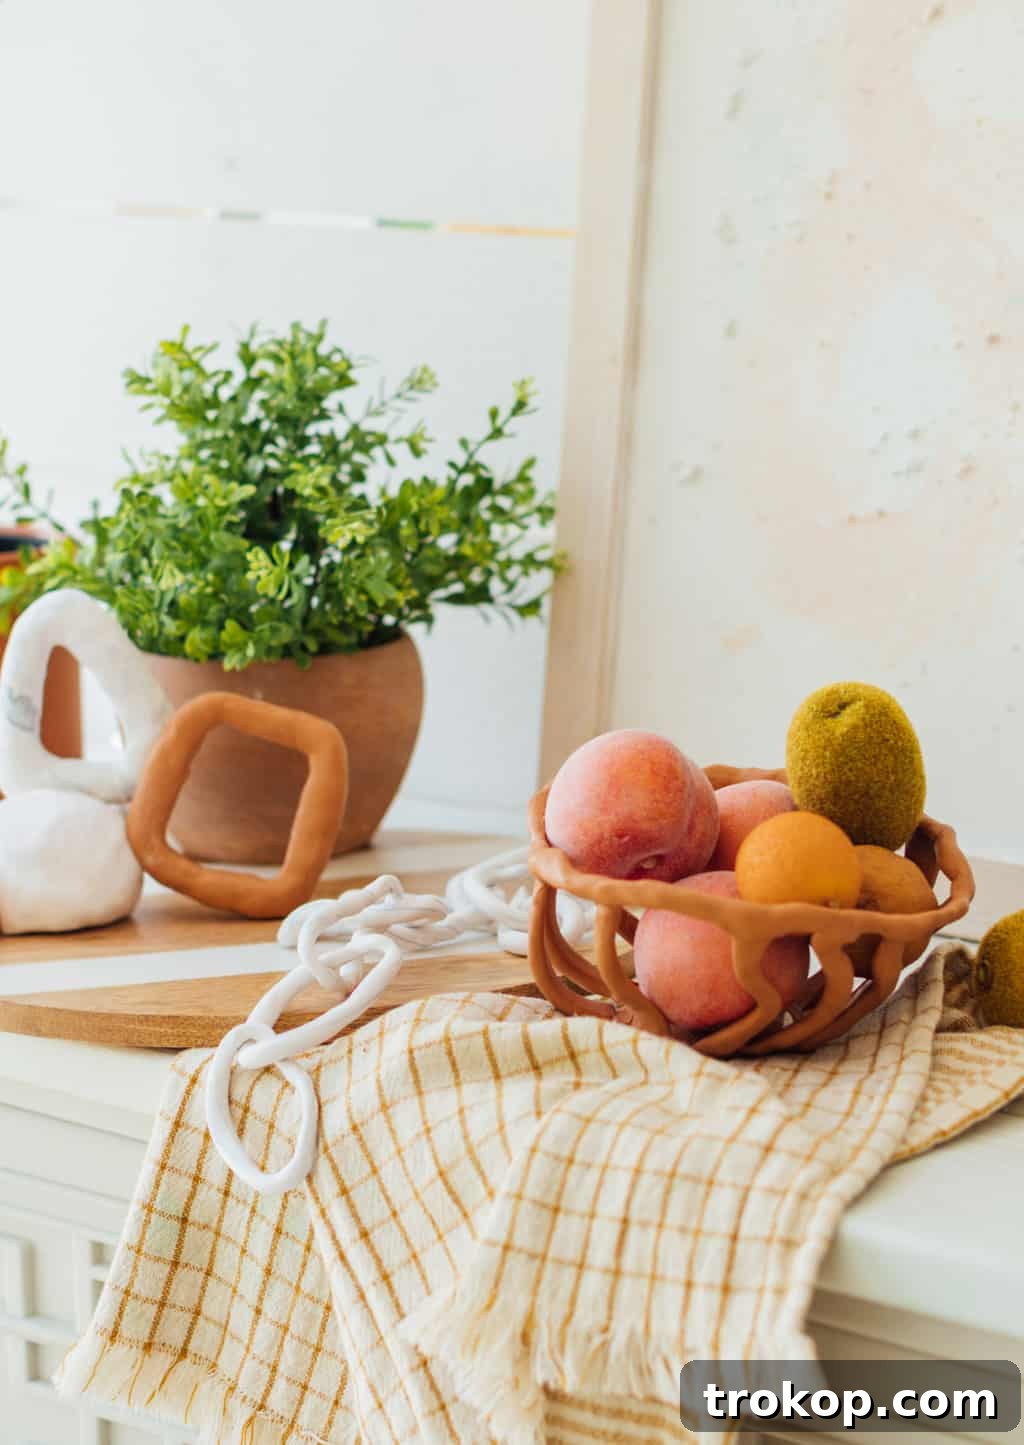
Clay sculptures have taken the home decor world by storm, offering an exquisite blend of artistry and personalization. Imagine transforming simple blocks of clay into stunning decorative pieces that perfectly match your home’s aesthetic. This comprehensive guide will show you just how easy it is to create your own bespoke clay sculptures, customizing them to your desired color scheme and crafting as many unique items as you wish with polymer clay.
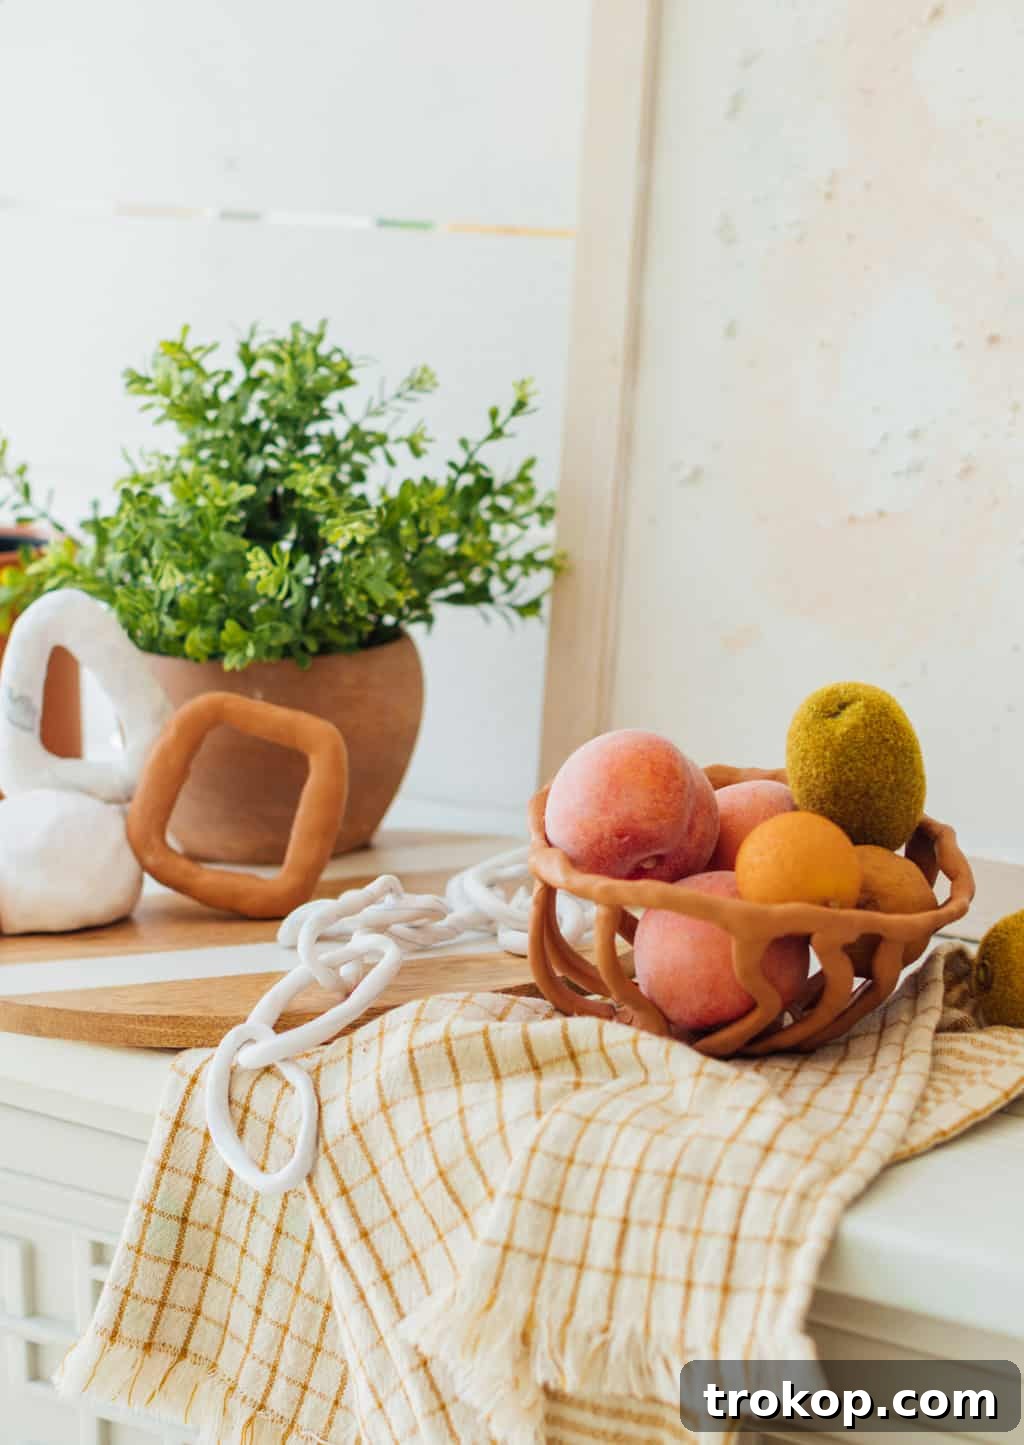
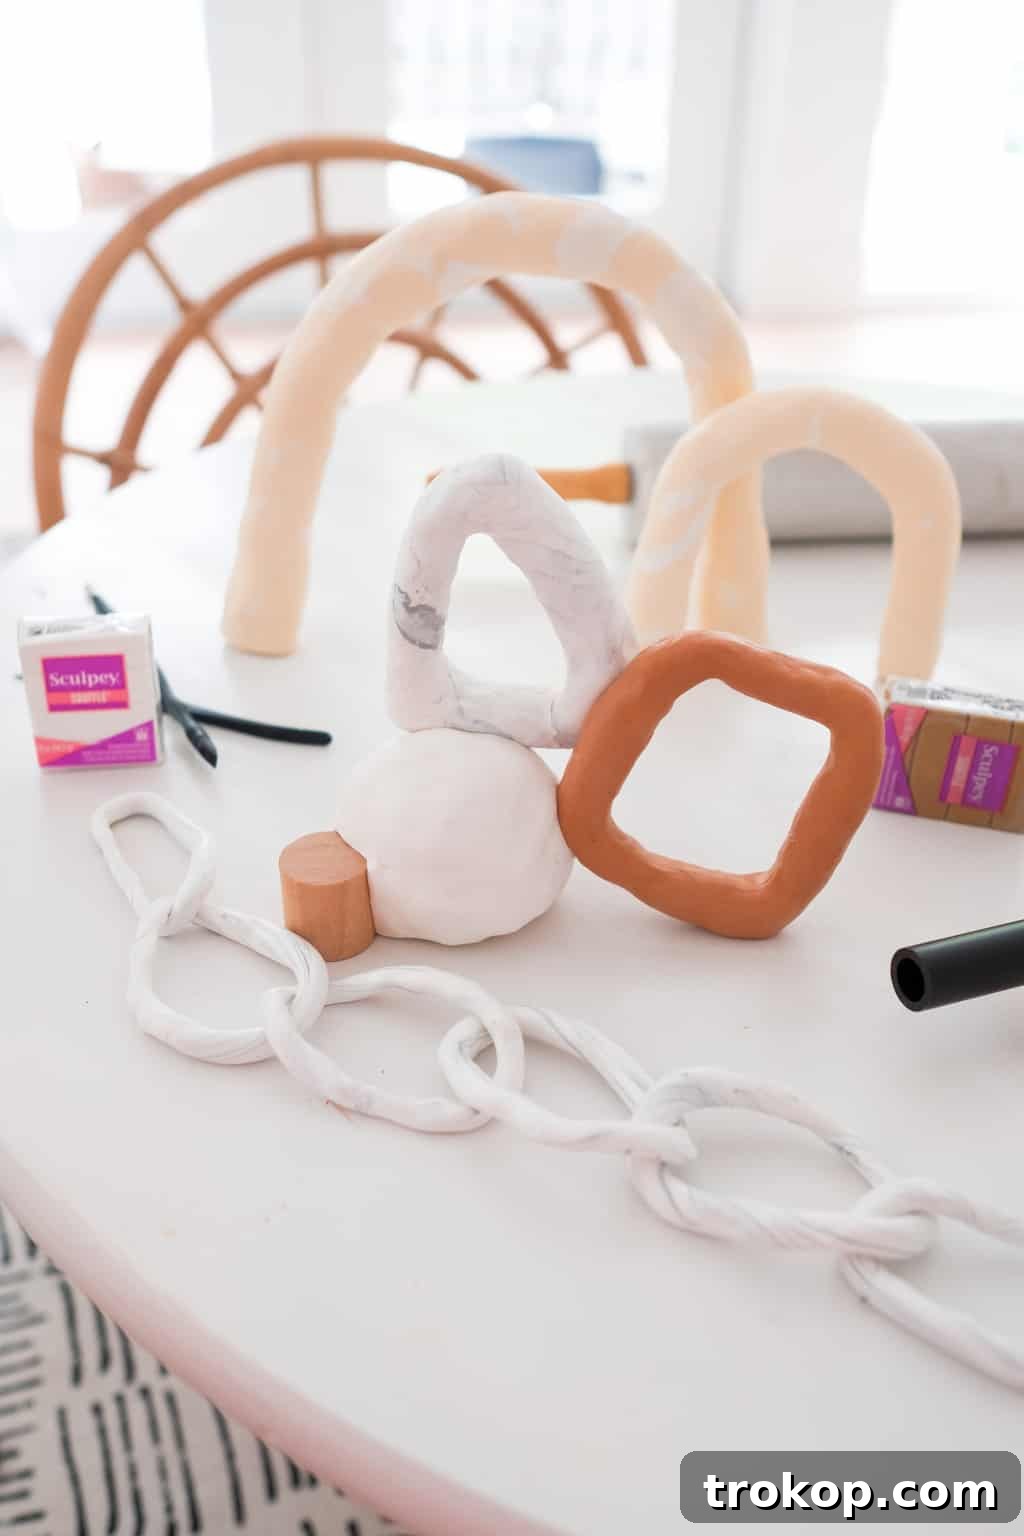
From chic clay knots to elegant link chains, these trendy accents have become a staple in modern interior design, gracing bookshelves, coffee tables, and every corner of stylish homes. While home decor stores offer many beautiful options, the cost can quickly add up. Why spend a fortune when you can unleash your inner artist and create equally stunning, personalized pieces right at home? With just a few blocks of high-quality polymer clay like Sculpey Soufflé, you can craft an array of easy clay sculptures that reflect your unique style and vision.
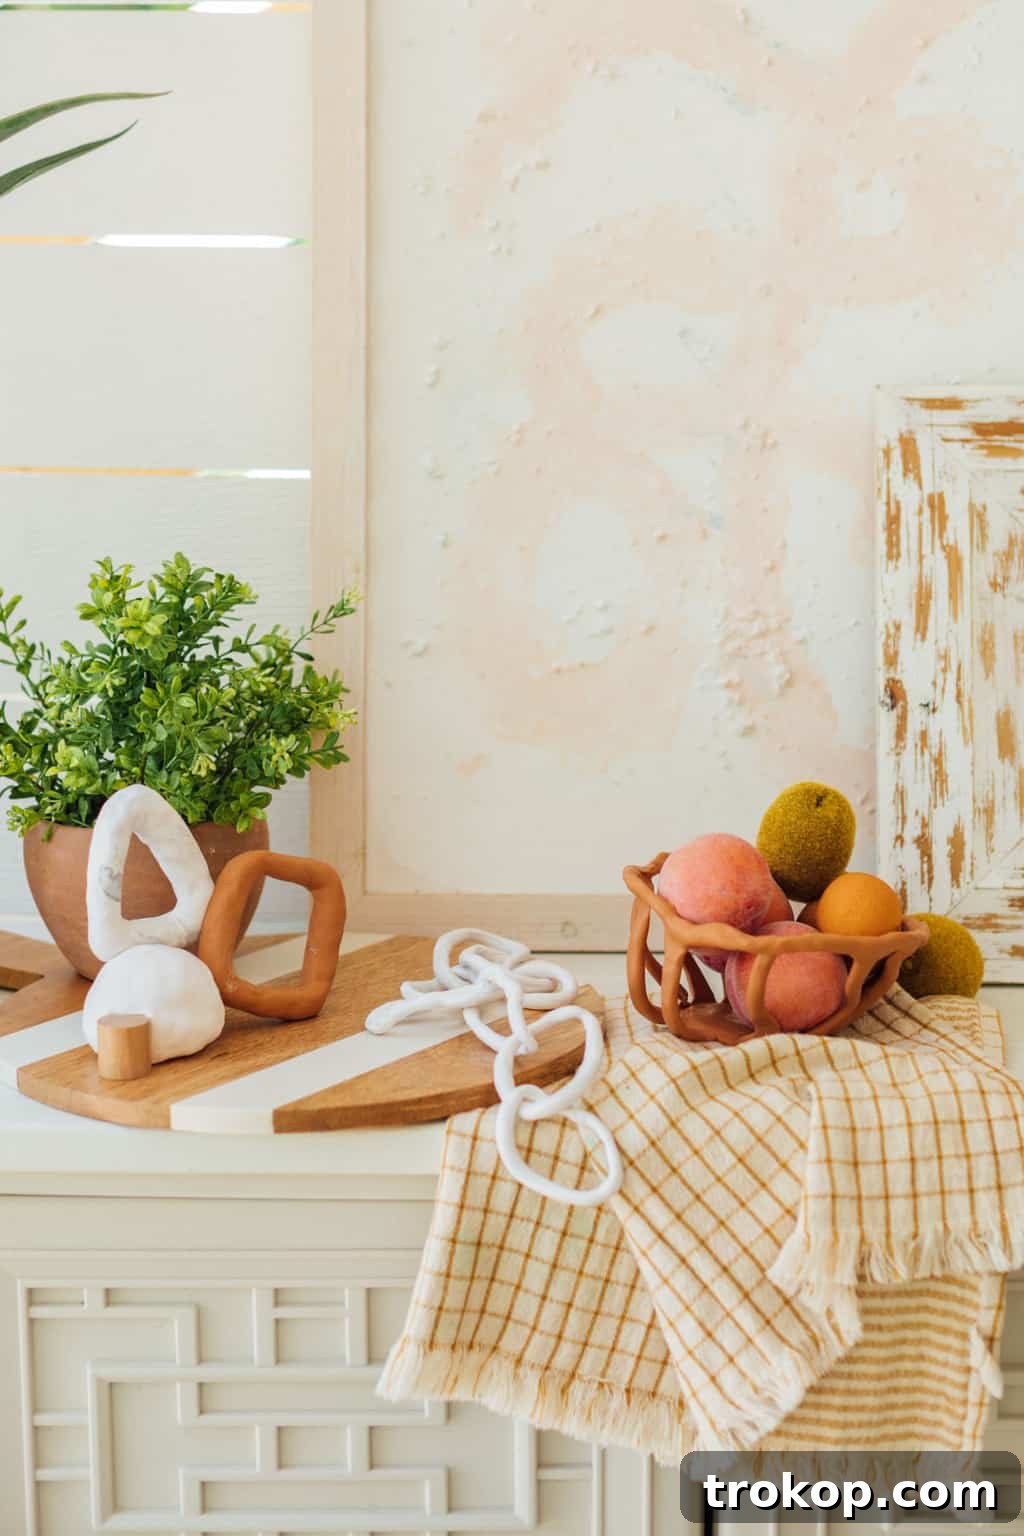
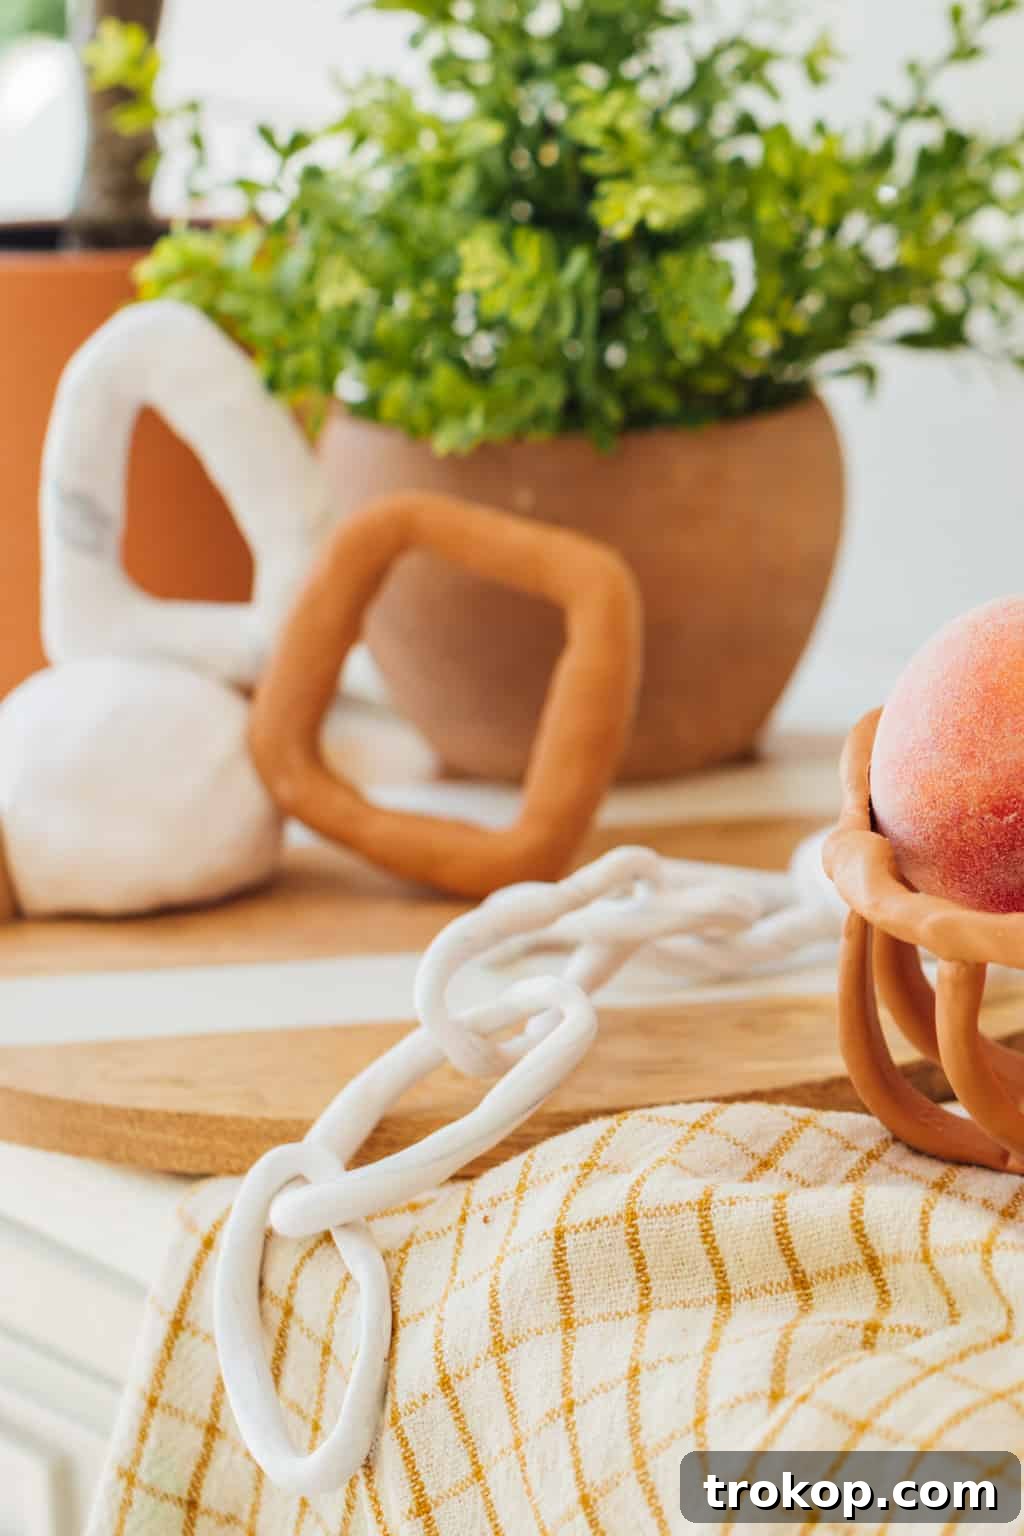
We’ve successfully transformed a modest amount of Sculpey Soufflé Polymer Clay into a variety of popular designs, including an intricate chain link decor, captivating abstract clay sculptures, and even a charming, functional clay fruit basket. The possibilities are truly endless, limited only by your imagination.
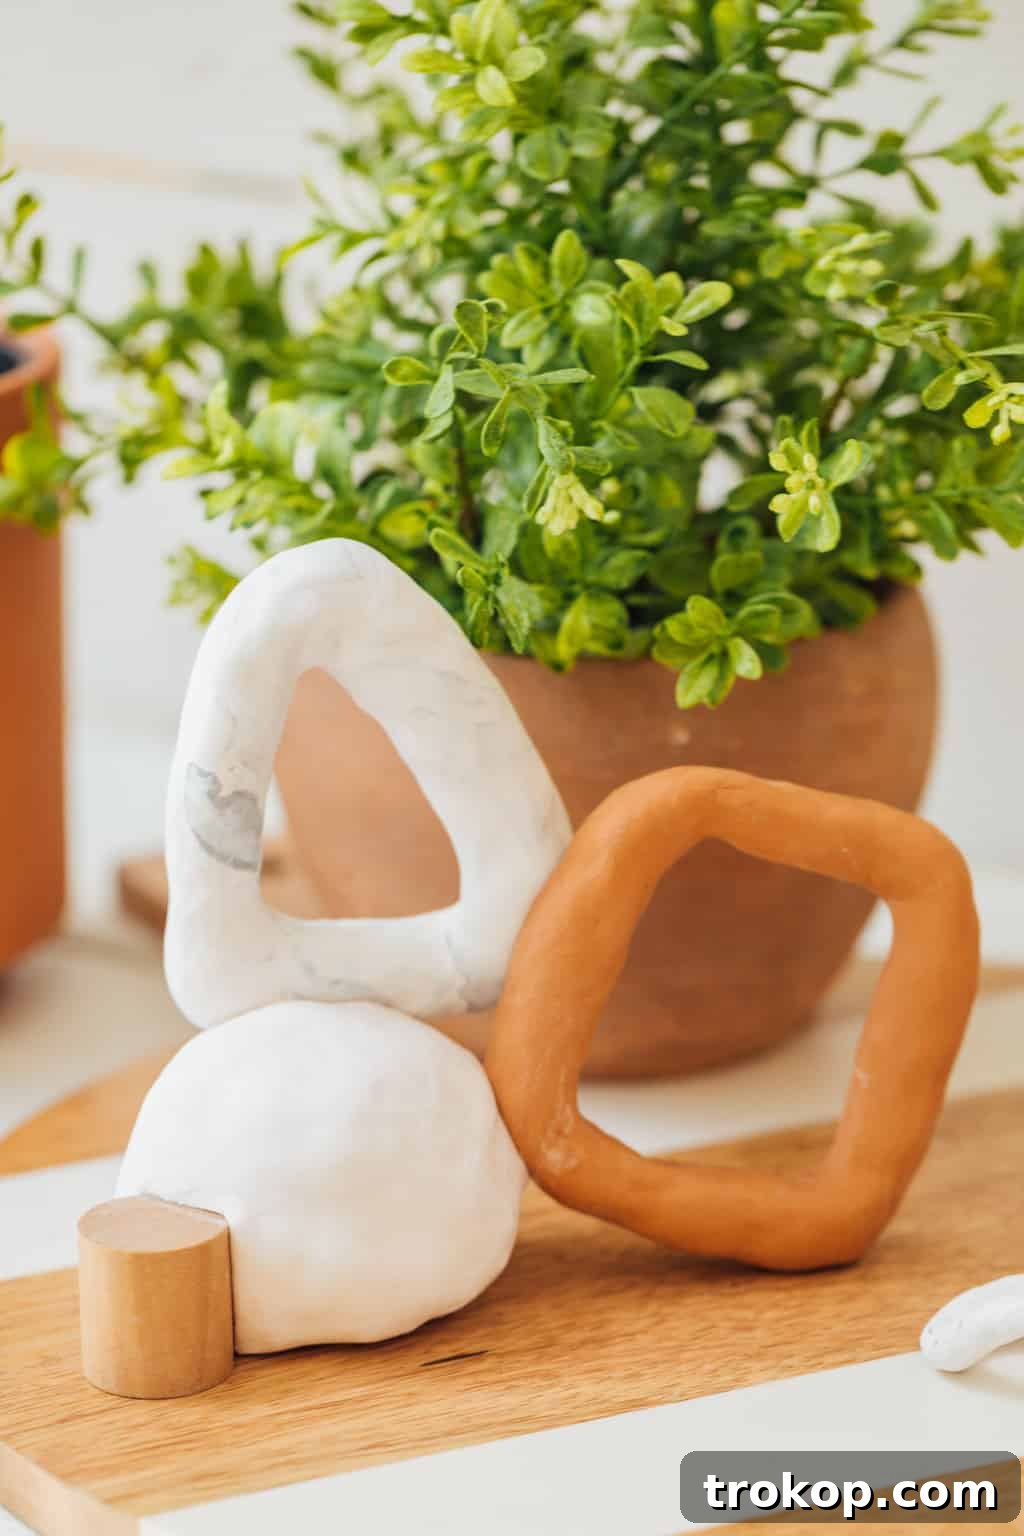
Table of Contents
Essential Tips for Prepping and Working with Polymer Clay
Before diving into any clay project, a clean workspace is paramount. Polymer clay has a remarkable ability to pick up every speck of dust, lint, or stray hair, which can be incredibly frustrating to remove once embedded. Ensure your hands and all work surfaces are thoroughly clean and dust-free. Using a dedicated clay mat or wax paper can also help maintain cleanliness and prevent sticking.
- **Maintain Cleanliness:** Always start with clean hands and a pristine work surface. Dust and lint are polymer clay’s worst enemies, as they cling stubbornly and are difficult to remove once incorporated into your sculpture.
- **Strategic Color Handling:** When working with multiple clay colors, especially a mix of light and dark shades, begin with your lighter or white clay colors first. This proactive approach helps prevent accidental staining or transfer of darker pigments onto lighter clay from your fingers.
- **Conditioning is Key:** The beauty of polymer clay lies in its malleability; it remains soft and workable until baked. However, proper conditioning is crucial for optimal results. Always “condition” your clay beforehand by kneading it thoroughly with your hands until it becomes noticeably soft, smooth, and pliable. Conditioned clay is much easier to manipulate, less prone to cracking during sculpting, and results in a stronger, more durable finished product.
- **Follow Baking Instructions Precisely:** Unlike air-dry clay, polymer clay requires baking to harden permanently. Never use a microwave oven for baking, as it can burn the clay unevenly and release harmful fumes. Always adhere strictly to the recommended bake temperatures and times specified in the clay’s package instructions. Over-baking can cause discoloration and brittleness, while under-baking will leave your sculpture soft and prone to breaking.
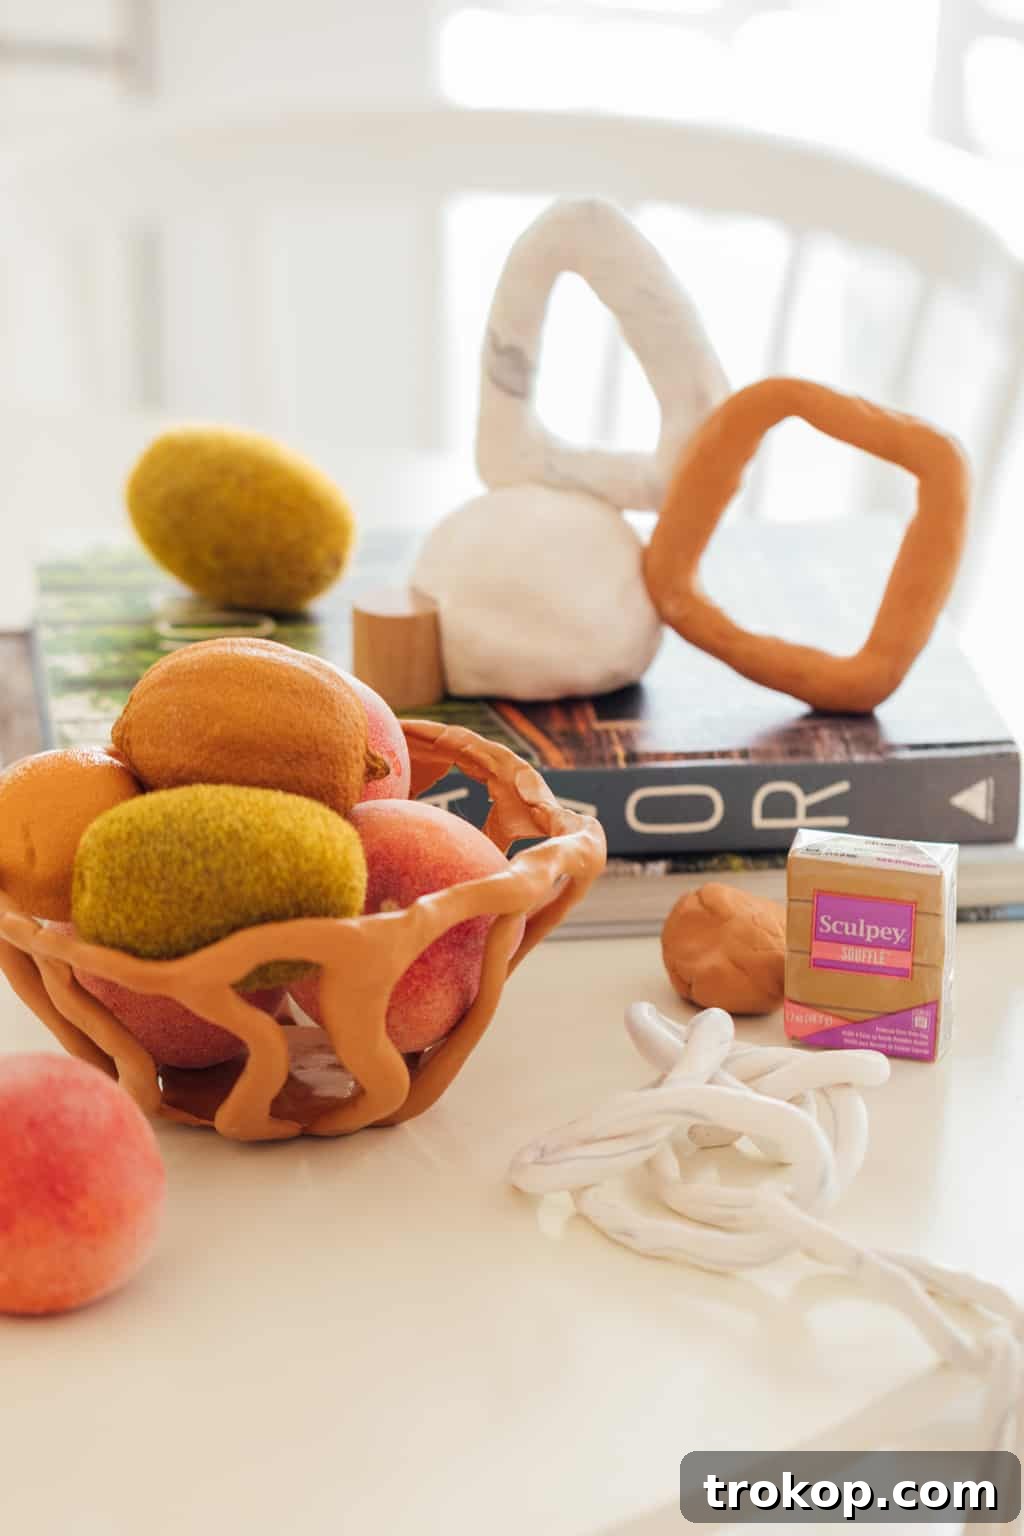
How to Make Easy Polymer Clay Sculptures
Creating your own stunning polymer clay sculptures is an accessible and rewarding craft. Here’s a breakdown of what you’ll need and the fundamental steps to get started:
Materials and Equipment:
- Sculpey Soufflé clay: Choose a variety of colors that inspire your decor scheme.
- Aluminum foil: Essential for constructing an armature mold.
- Rolling pin or Sculpey Sculpting Tool Set kit: For flattening and shaping your clay.
- Wax paper or parchment paper: To protect your work surface and prevent sticking.
- Oven-safe baking surface: A metal baking sheet, ceramic tile, or dedicated clay mat.
- Coconut oil (optional, for specific projects like the fruit bowl).
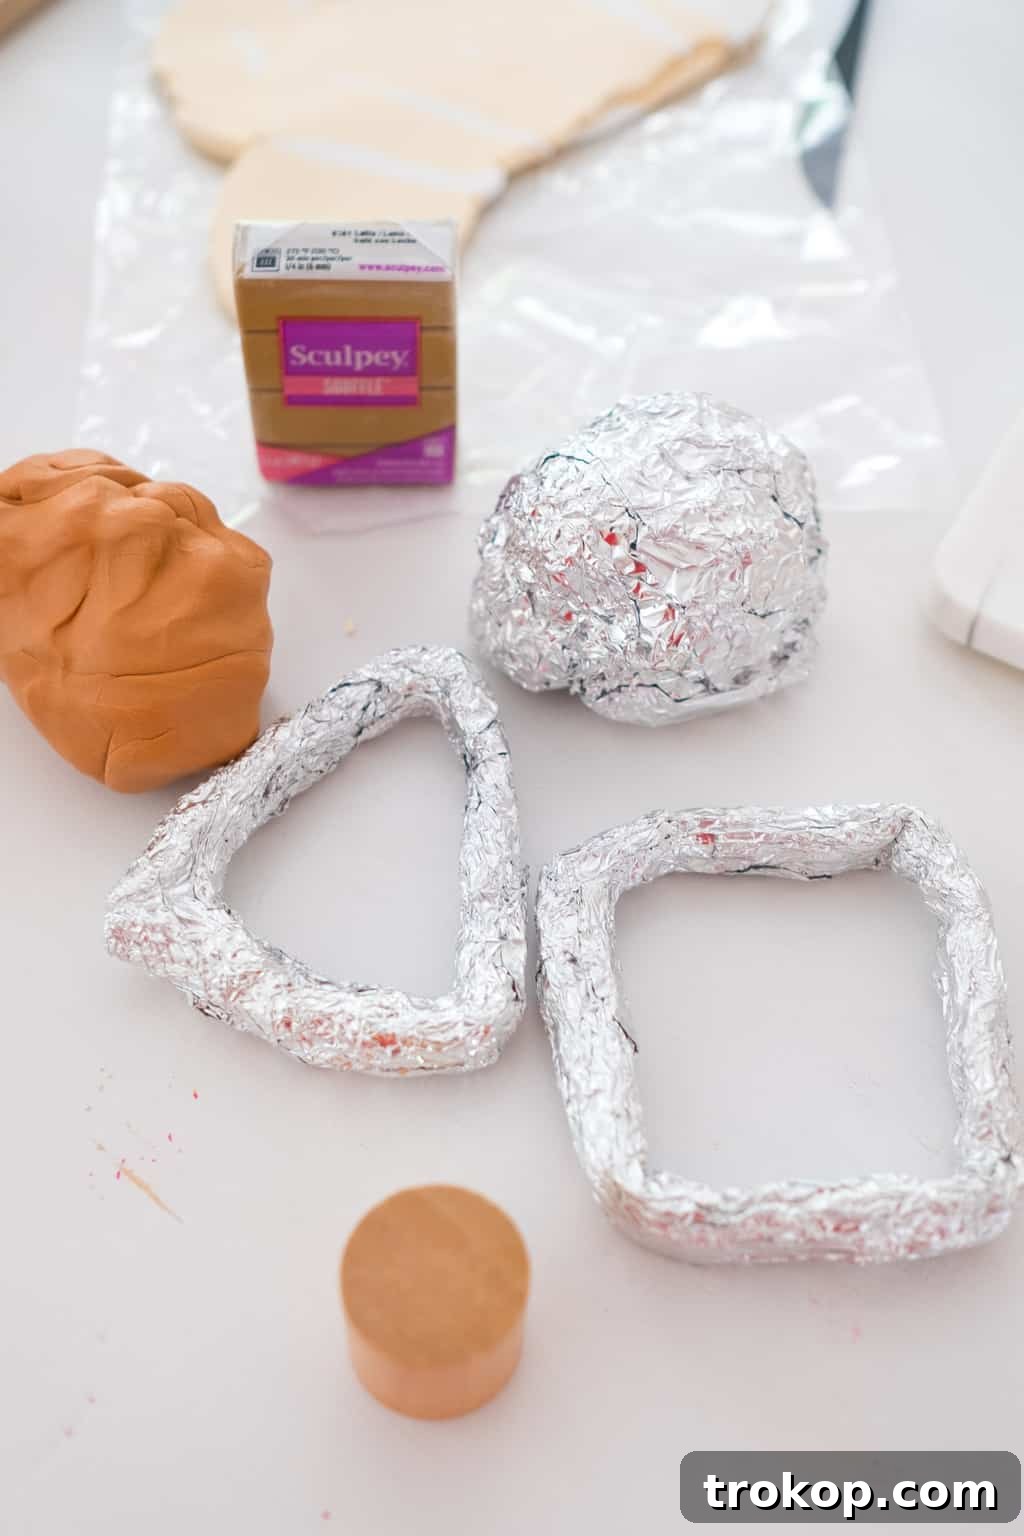
The Art of the Armature:
The secret to successfully baking larger or more intricate clay sculptures is understanding when and how to use an armature. An armature is essentially an internal support structure or framework for your clay form. It’s often made from inexpensive, lightweight, and oven-safe materials like aluminum foil.
- **Why use an armature?** A well-constructed armature allows you to create larger sculptures while using less clay, making the piece lighter and, critically, ensuring it bakes evenly and hardens thoroughly. If your sculpture is too thick without an armature, the inner layers may not bake completely, leading to an uncured, soft core.
- **Consequences of improper baking:** Under-baked parts will remain soft, prone to cracking or crumbling over time. Additionally, significant differences in thickness between parts of a solid clay sculpture can lead to air bubbles forming during baking, which may cause unsightly cracks or deformities.
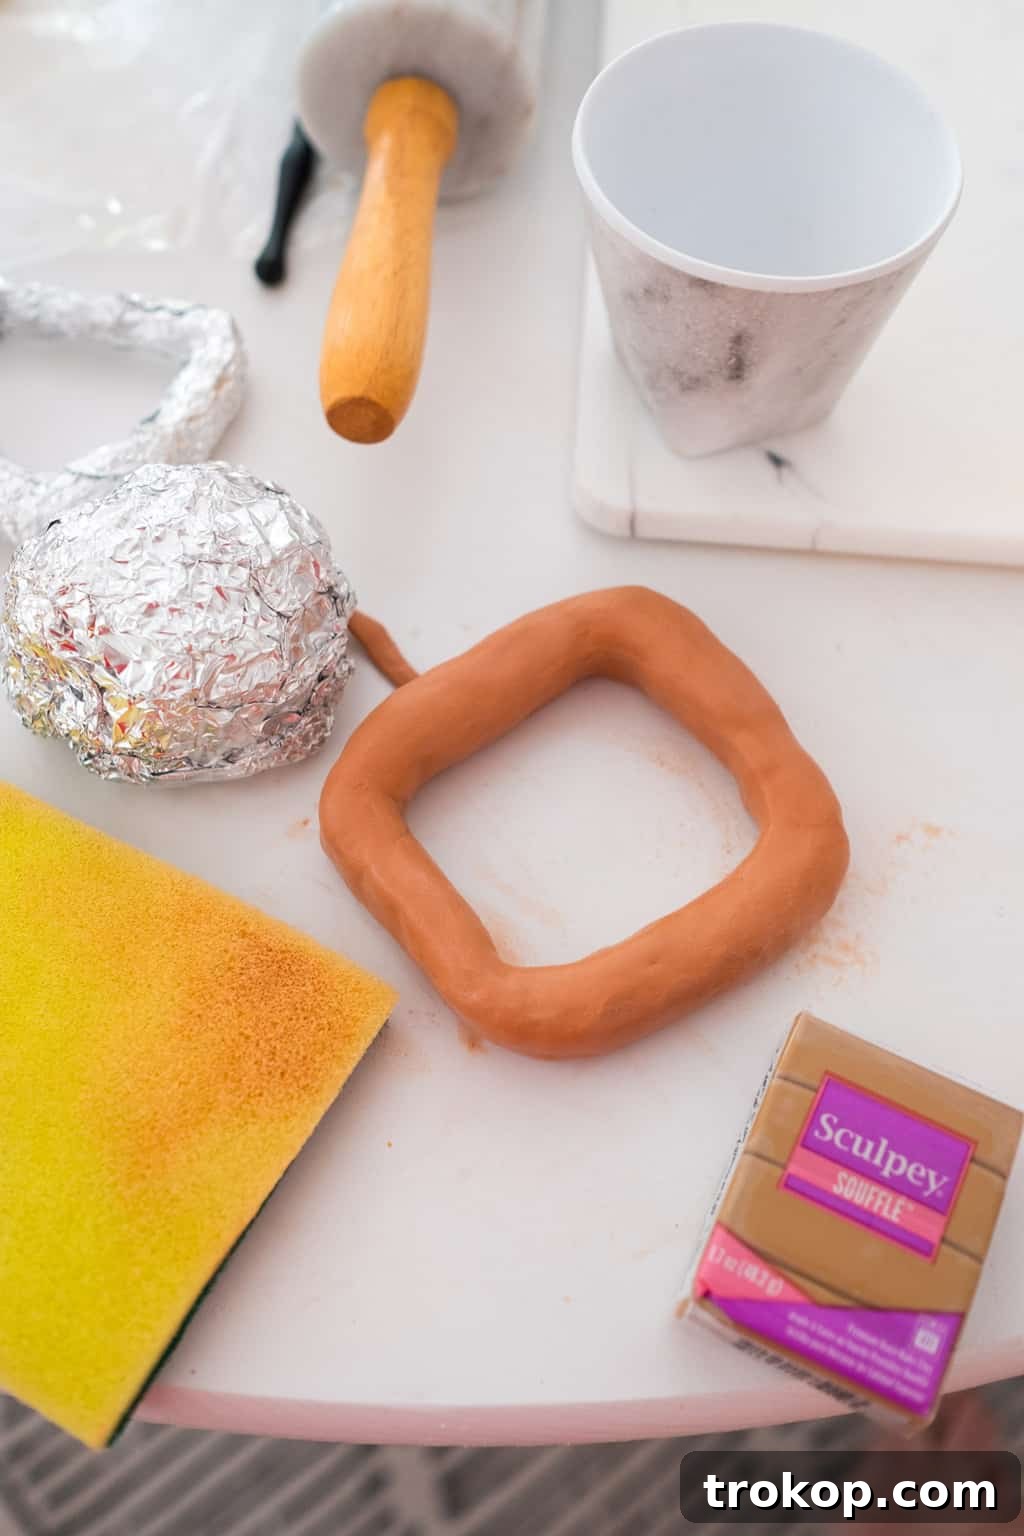
Sculpting Process:
- **Design Your Armature:** Begin by designing and forming your armature using an inexpensive household material like aluminum foil. Crumple and shape the foil into the basic form of your desired sculpture. Ensure it’s sturdy and provides the necessary support.
- **Condition the Clay:** Once your armature is complete, unwrap and prepare your chosen Sculpey polymer clay. Knead it thoroughly in your hands until it’s soft, warm, and smooth. This conditioning step is vital for workability and durability.
- **Combine Colors (Optional Marbling):** If you’re aiming for a custom marbled look, now is the time to combine different colors of conditioned clay. (Refer to the detailed “Mastering Marbled Clay” section below for specific techniques.)
- **Form Around the Armature:** Flatten the conditioned clay with a rolling pin to an even thickness, typically around 1/8 to 1/4 inch, depending on your design. Carefully wrap and shape the clay around your aluminum foil armature, ensuring good adherence and a smooth finish. Eliminate any trapped air bubbles by gently pressing the clay.
- **Bake Your Sculpture:** Place your sculpted piece on an oven-safe baking surface. Bake the Sculpey Soufflé clay sculpture in a preheated oven at 275 degrees Fahrenheit (130°C) for 30 minutes for every 1/4 inch of clay thickness. Always reference the specific package instructions for your chosen clay, as recommended times and temperatures can vary.
- **Cool and Enjoy:** After baking, allow the sculpture to cool completely before handling. This step is crucial for the clay to fully harden and strengthen.
Using this armature method, you can easily recreate popular designs like the marbled chain link decor, abstract geometric shapes, or any imaginative form you desire!
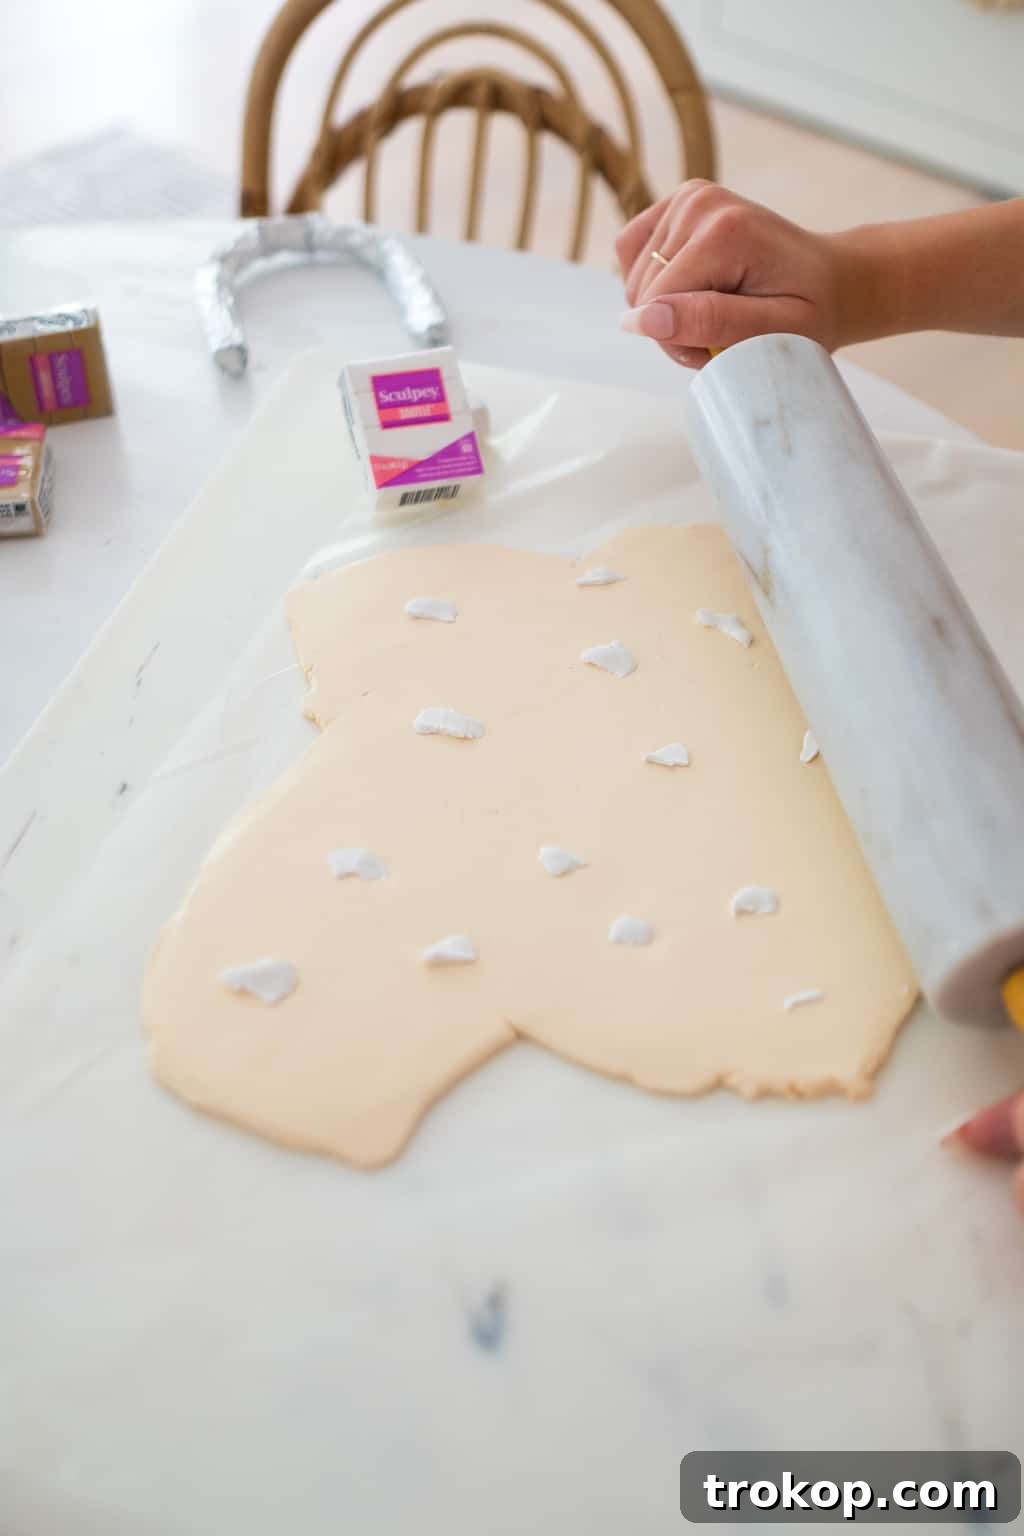
Mastering the Art of Marbled Clay
Achieving a beautiful marbled effect in your clay creations can elevate their sophistication and visual appeal. There are two primary techniques to consider:
- **Post-Bake Painting:** One method involves creating the marble effect by painting patterns onto the finished, baked clay sculpture. This offers precise control over the design but requires painting skills.
- **Pre-Bake Clay Marbling (Easiest Method):** The most straightforward and popular method, as demonstrated with our ceramic sculptures, is to create the marbled pattern directly with different colors of clay before baking. This technique integrates the colors, giving a more natural, organic look.
Steps for Clay Marbling:
- **Prepare Dominant Color:** First, condition and roll out a large, even piece of your chosen dominant clay color. This will form the base of your marbled pattern.
- **Add Accent Colors:** Next, take small, sporadic pieces of your marble accent color(s) and gently place them on top of the dominant clay sheet.
- **Initial Blend & Flatten:** Roll the combined colors flat with your rolling pin. The initial roll will begin to blend the colors, creating streaks and swirls.
- For a subtle marble design with delicate veins, use a minimal amount of your accent color.
- For bold, dramatic marble pieces, similar to our DIY Marbled Incense Holder, aim for more equal ratios between your dominant and accent colors.
- **Twist and Refine:** To enhance the swirling effect and create more intricate patterns, gently pick up and twist the combined clay with your hands. Then, roll it out flat again. Repeat this twist-and-roll process a few times until you achieve your desired marble pattern. Be careful not to overmix, or the colors will fully blend, losing the marbled look.
Real marble can be quite expensive, making this inexpensive DIY method an ingenious way to replicate a luxurious aesthetic for your home decor projects.
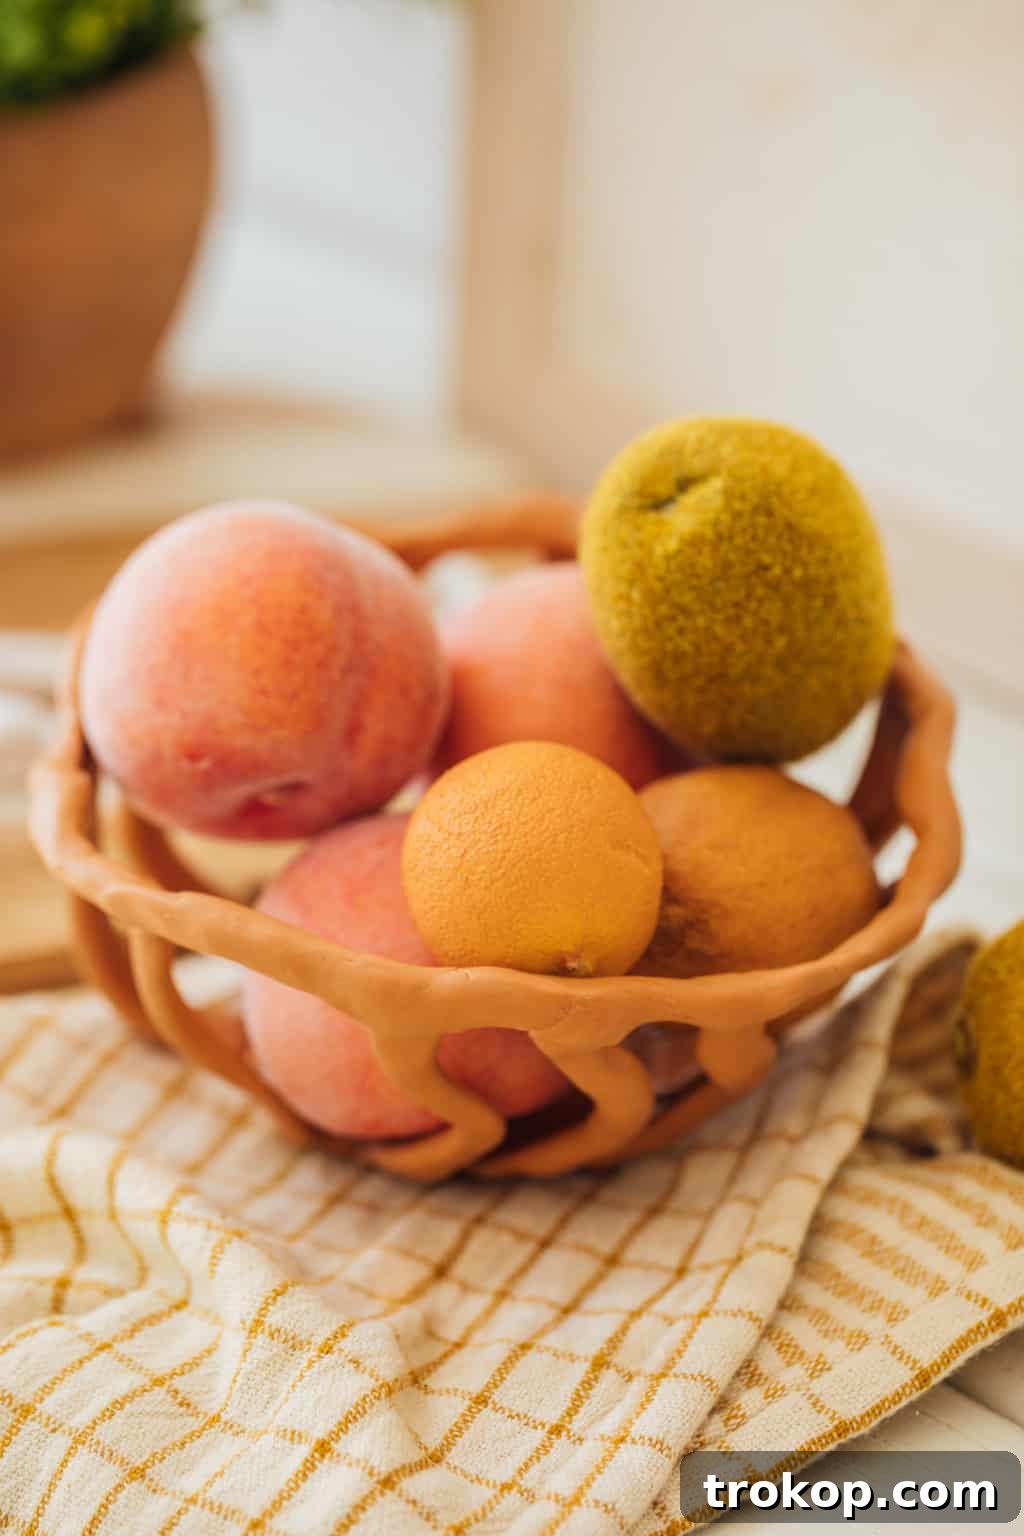
Crafting Your Own DIY Clay Fruit Bowl
A handmade clay fruit bowl adds a touch of bespoke charm to any kitchen or dining area. Here’s how you can create your own unique piece:
- **Select Your Mold:** Find an oven-safe bowl that you wish to use as your mold. Its shape and size will dictate the final form of your clay bowl.
- **Prepare the Mold:** Generously lather the outside of the selected bowl with coconut oil or any other type of cooking grease. This crucial step creates a non-stick barrier, preventing the polymer clay from adhering permanently to the bowl during baking.
- **Form Clay Strands:** Condition your chosen clay color(s). By hand, roll out individual strands or ropes of clay. You can vary the thickness for different effects. For a fun, abstract touch, we shaped out wavy strands.
- **Create the Grid/Pattern:** Carefully place these clay strands around the exterior of your greased oven-safe bowl. Arrange them to create a grid pattern, a woven design, or any abstract arrangement you prefer for your bowl.
- **Ensure Adhesion:** Once all the clay pieces are in place, firmly press them together where they meet. This ensures that the individual strands will fuse and stick securely during the baking process, forming a cohesive structure.
- **Bake with Mold:** Place the clay-covered bowl (acting as the mold) into your preheated oven. Bake the clay at 275 degrees Fahrenheit (130°C) for 30 minutes for every 1/4 inch of clay thickness. Baking the clay directly over the mold helps it retain its shape.
- **Cool and Release:** Once the baking is complete, remove the bowl from the oven and allow it to cool down completely. Once cool, gently remove the hardened clay from the outer shell of the oven-safe bowl to reveal your very own custom-made clay fruit bowl!
More Polymer Clay Projects to Inspire Your Creativity
The versatility of polymer clay means the creative possibilities are truly boundless. Once you master the basics, you’ll find countless ways to infuse your home with unique, handmade touches. If you’re looking for more easy and inspiring projects, delve into some of our favorites from the archives:
- DIY Clay Rose Marbled Incense Holder
- Speckled DIY Clay Keychain
- Clay Photo Holder
- Mini DIY Plant Pots
- DIY Clay Letter Keychain
- DIY Clay Decanter
- DIY Minimal Beaded Blanket Holder
- DIY Faceted Easter Egg Place Card Holders
- DIY Cat Trinket Dish
- DIY Napkin Rings And Thanksgiving Tabletop Idea
DIY Easy Clay Sculptures for Decor: Project Summary
Sharing how you can create and customize your own easy clay sculptures (on a budget and without a kiln) for your home!
Equipment
- Rolling pin or Sculpey Sculpting Tool Set
- Oven-proof baking surface (e.g., metal sheet, aluminum foil, or clay mat)
- Oven-safe bowl (for DIY Clay Fruit Bowl project)
Materials
- Polymer clay (in varying colors of your choice)
- Aluminum foil (to construct an armature mold)
- Coconut oil (to make a DIY Clay Fruit Bowl, or for general non-stick purposes)
Instructions
General Clay Sculpture Instructions:
- **Step 1:** Preheat your oven to 275 °F (130 °C).
- **Step 2:** Create and form your armature (a mold for your sculpture) with aluminum foil.
- **Step 3:** Once your mold is complete, unwrap, prep, and soften the clay by kneading it in your clean hands. Combine different colors if you want a custom marbled look. (Refer to the marbled clay instructions below for details.)
- **Step 4:** Flatten the clay with a rolling pin and carefully shape the clay around your armature.
- **Step 5:** Bake the sculpture for 30 minutes per every 1/4 inch thickness. (Always reference the package instructions for your specific clay, as recommended times may vary.)
To make marbled clay:
- **Step 1:** Roll out a large piece of your chosen dominant clay color.
- **Step 2:** Sporadically place pieces of your marble accent color on top and roll together the colors flat to begin blending.
- **Step 3:** Pick up and twist the combined clay with your hands before rolling it out flat again. Repeat twisting and rolling until your desired marble pattern is achieved. Your marbled clay is now ready to be sculpted.
To make the DIY Clay Fruit Bowl:
- **Step 1:** Lather the outside of an oven-safe bowl with coconut oil (or any type of grease) to prevent the clay from sticking.
- **Step 2:** Form strands of conditioned clay by hand and place them around the exterior of the greased bowl to create a clay grid or desired pattern. Press the pieces of clay firmly together to ensure they adhere when baking.
- **Step 3:** Bake the clay over top of the bowl in the oven at 275 °F (130 °C) for 30 minutes per every 1/4 inch thickness.
- **Step 4:** Once baked and cooled completely, gently remove the hardened clay from the outer shell of the bowl to reveal your own unique clay fruit bowl!
Notes
- Before starting any clay project, ensure your hands and work surface are impeccably clean to avoid dust or lint contamination.
- To prevent accidental color transfer, always work with lighter or white clay colors before handling darker shades.
- Properly condition your clay by kneading it until it’s soft and smooth; this ensures better manipulation and a stronger finished piece.
- Adhere strictly to package instructions for baking temperatures and times; never use a microwave, as it can ruin the clay and pose safety risks.