
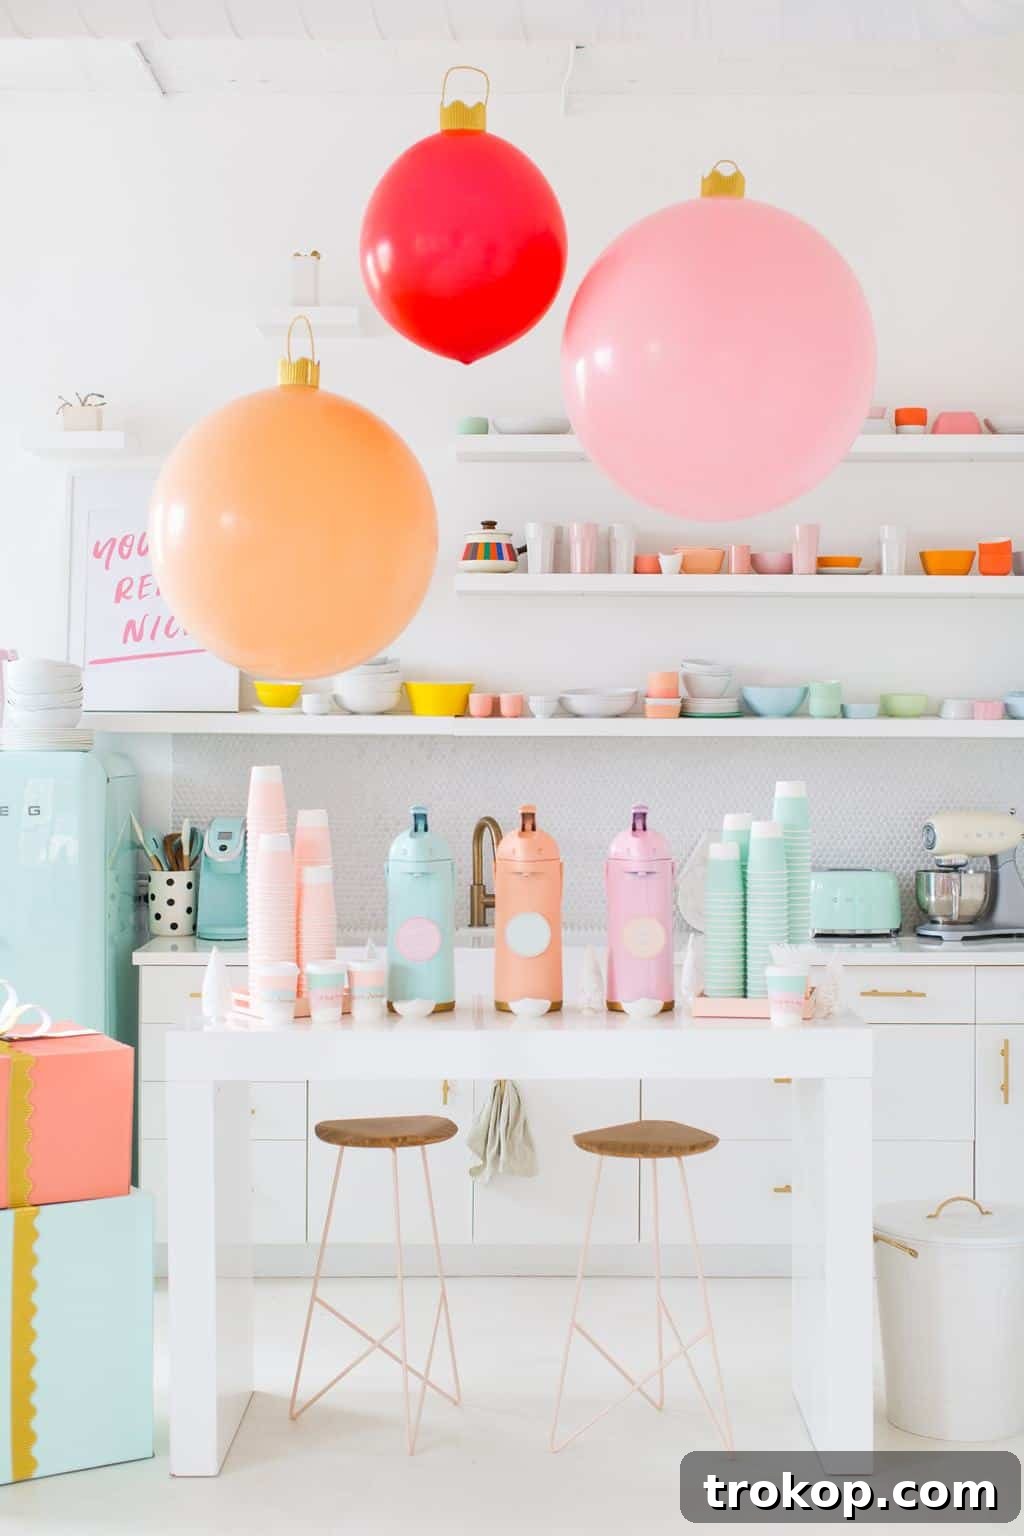
Crafting a Cozy & Charitable Holiday: Your Ultimate DIY Hot Chocolate Bar Guide
As the days grow shorter and the air turns crisp, nothing captures the spirit of winter, warmth, and heartfelt community fun quite like a vibrant DIY Hot Chocolate Bar. Imagine a spread of rich, comforting cocoa, an array of delightful toppings, and the joyful laughter of loved ones, all while contributing to a meaningful cause. This festive season, we’re bringing you an inspiring recap of our recent holiday charity event, where we combined the magic of a homemade hot chocolate bar with the joy of giving back, proudly sponsored by State Farm.
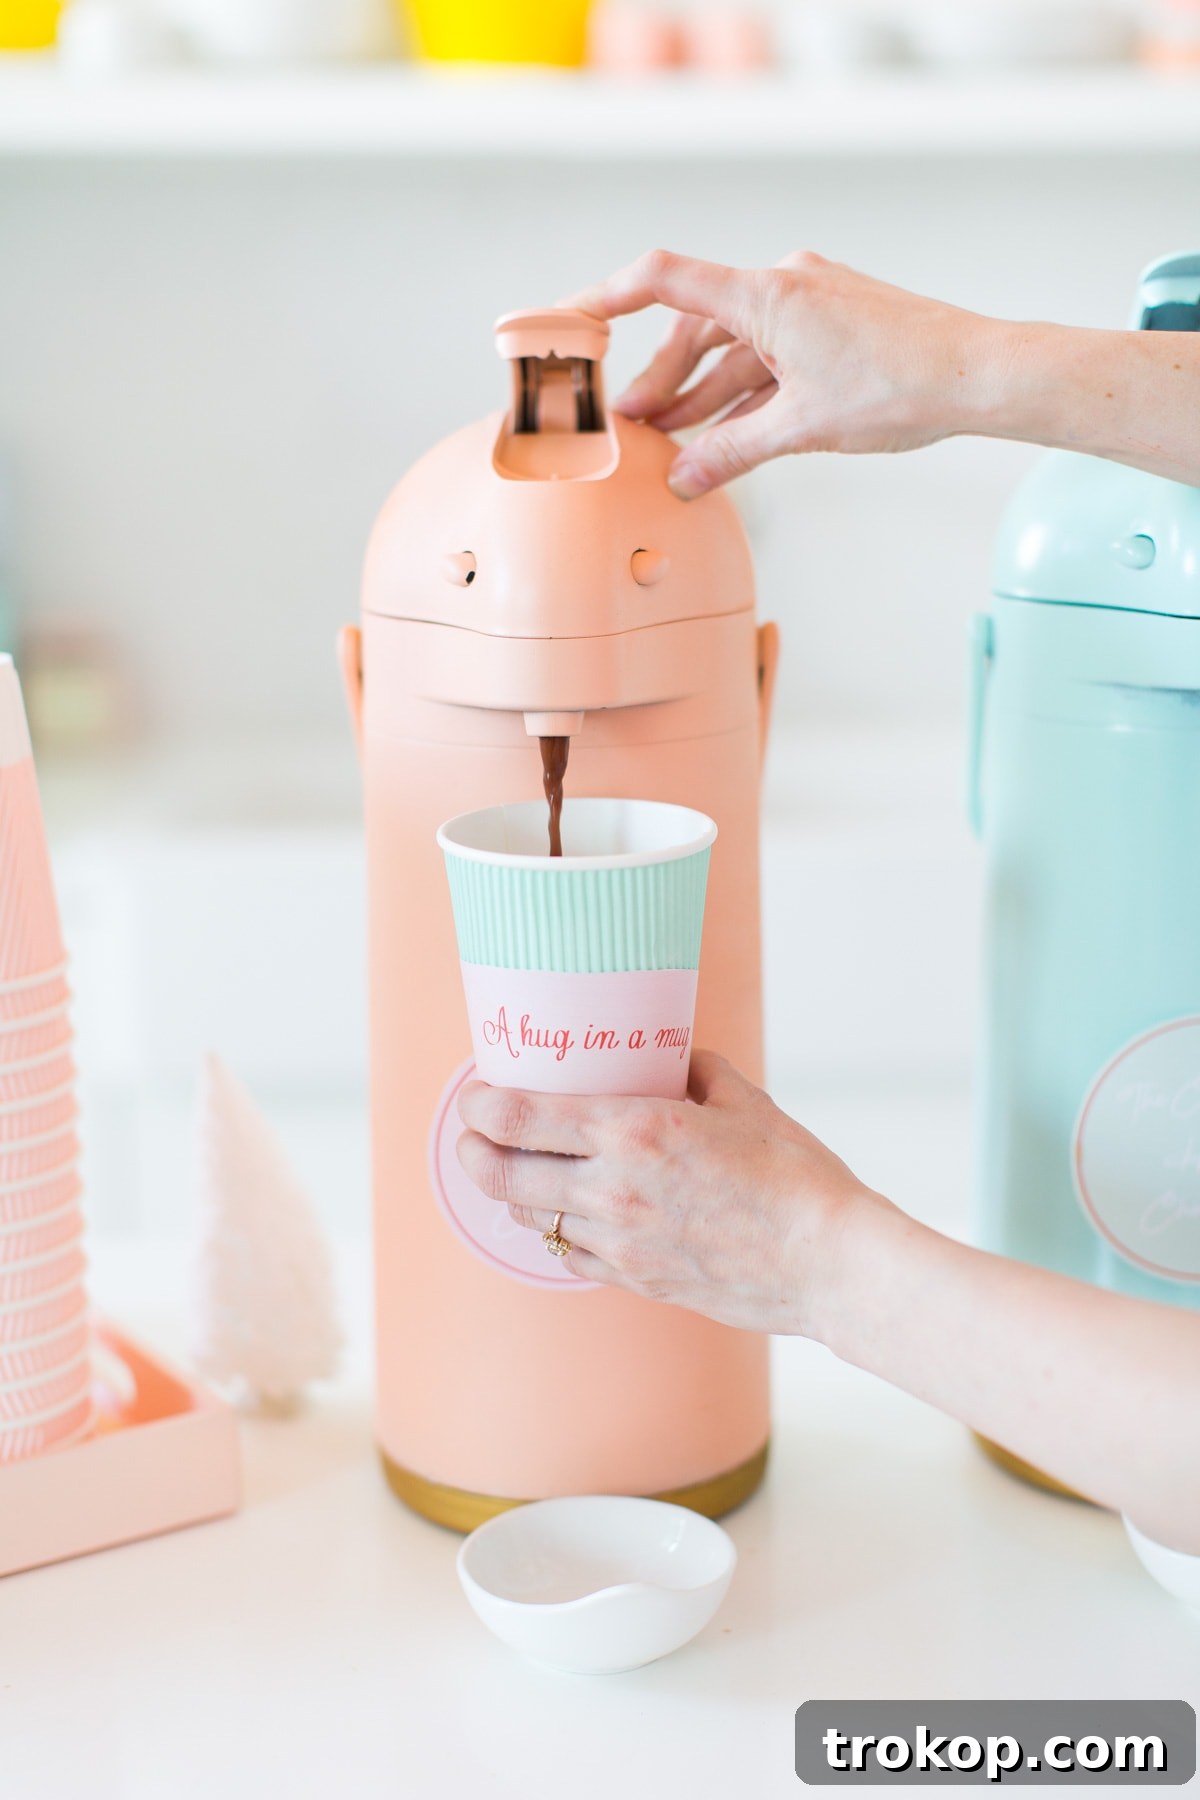
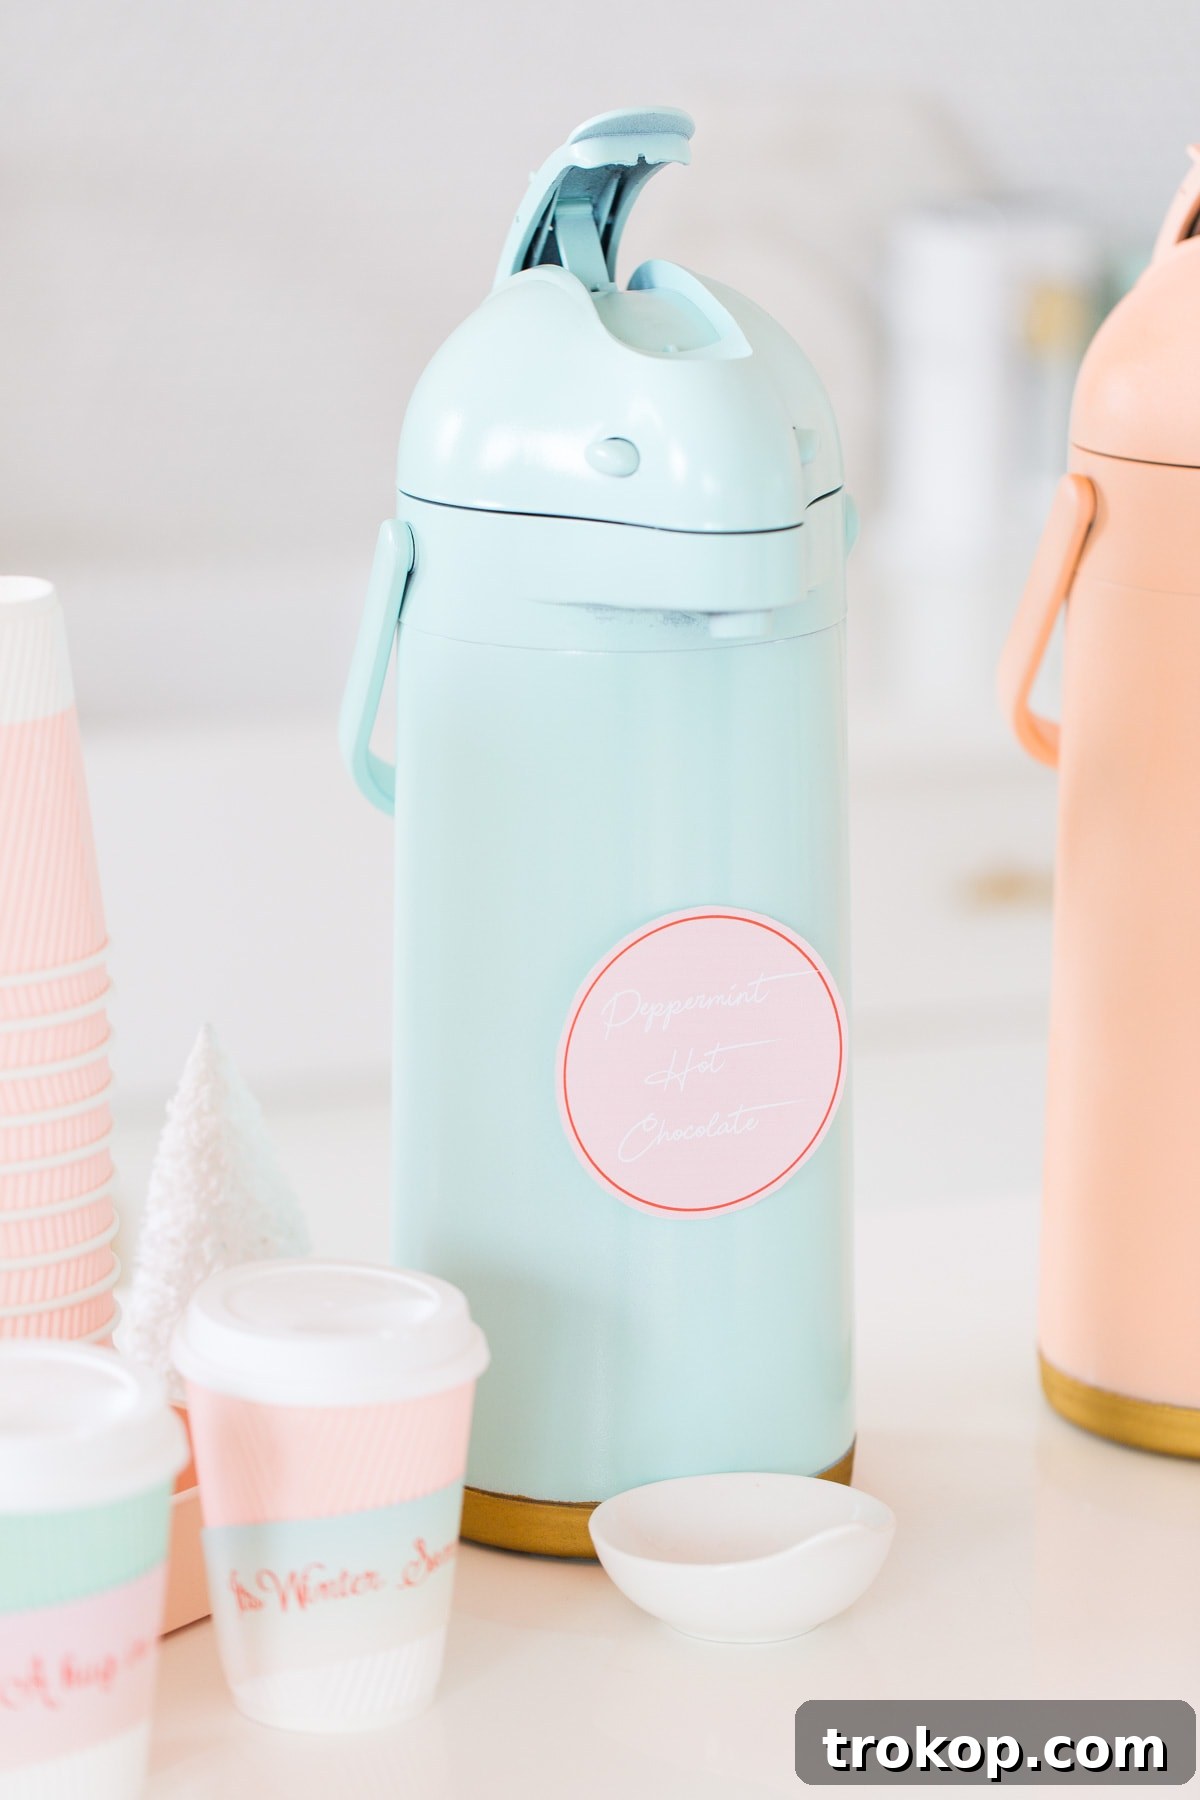
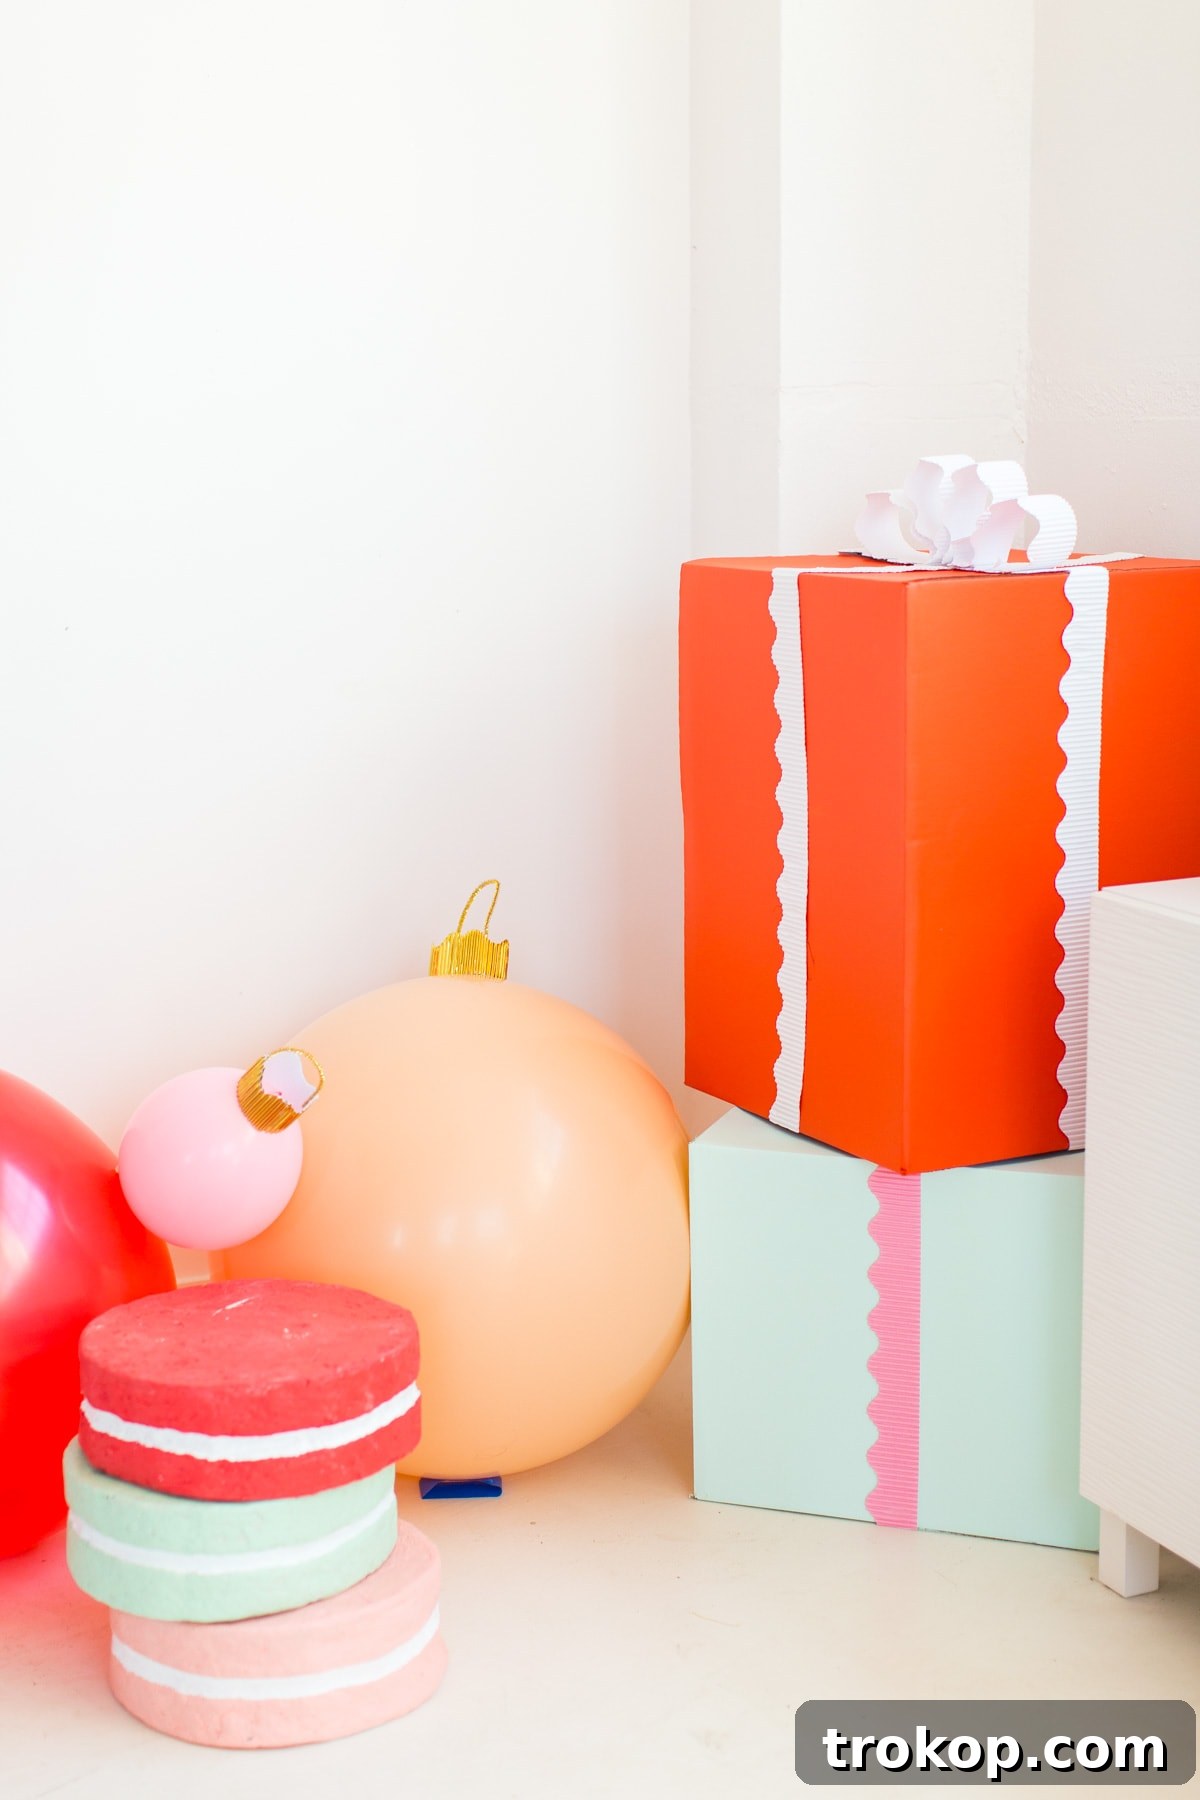
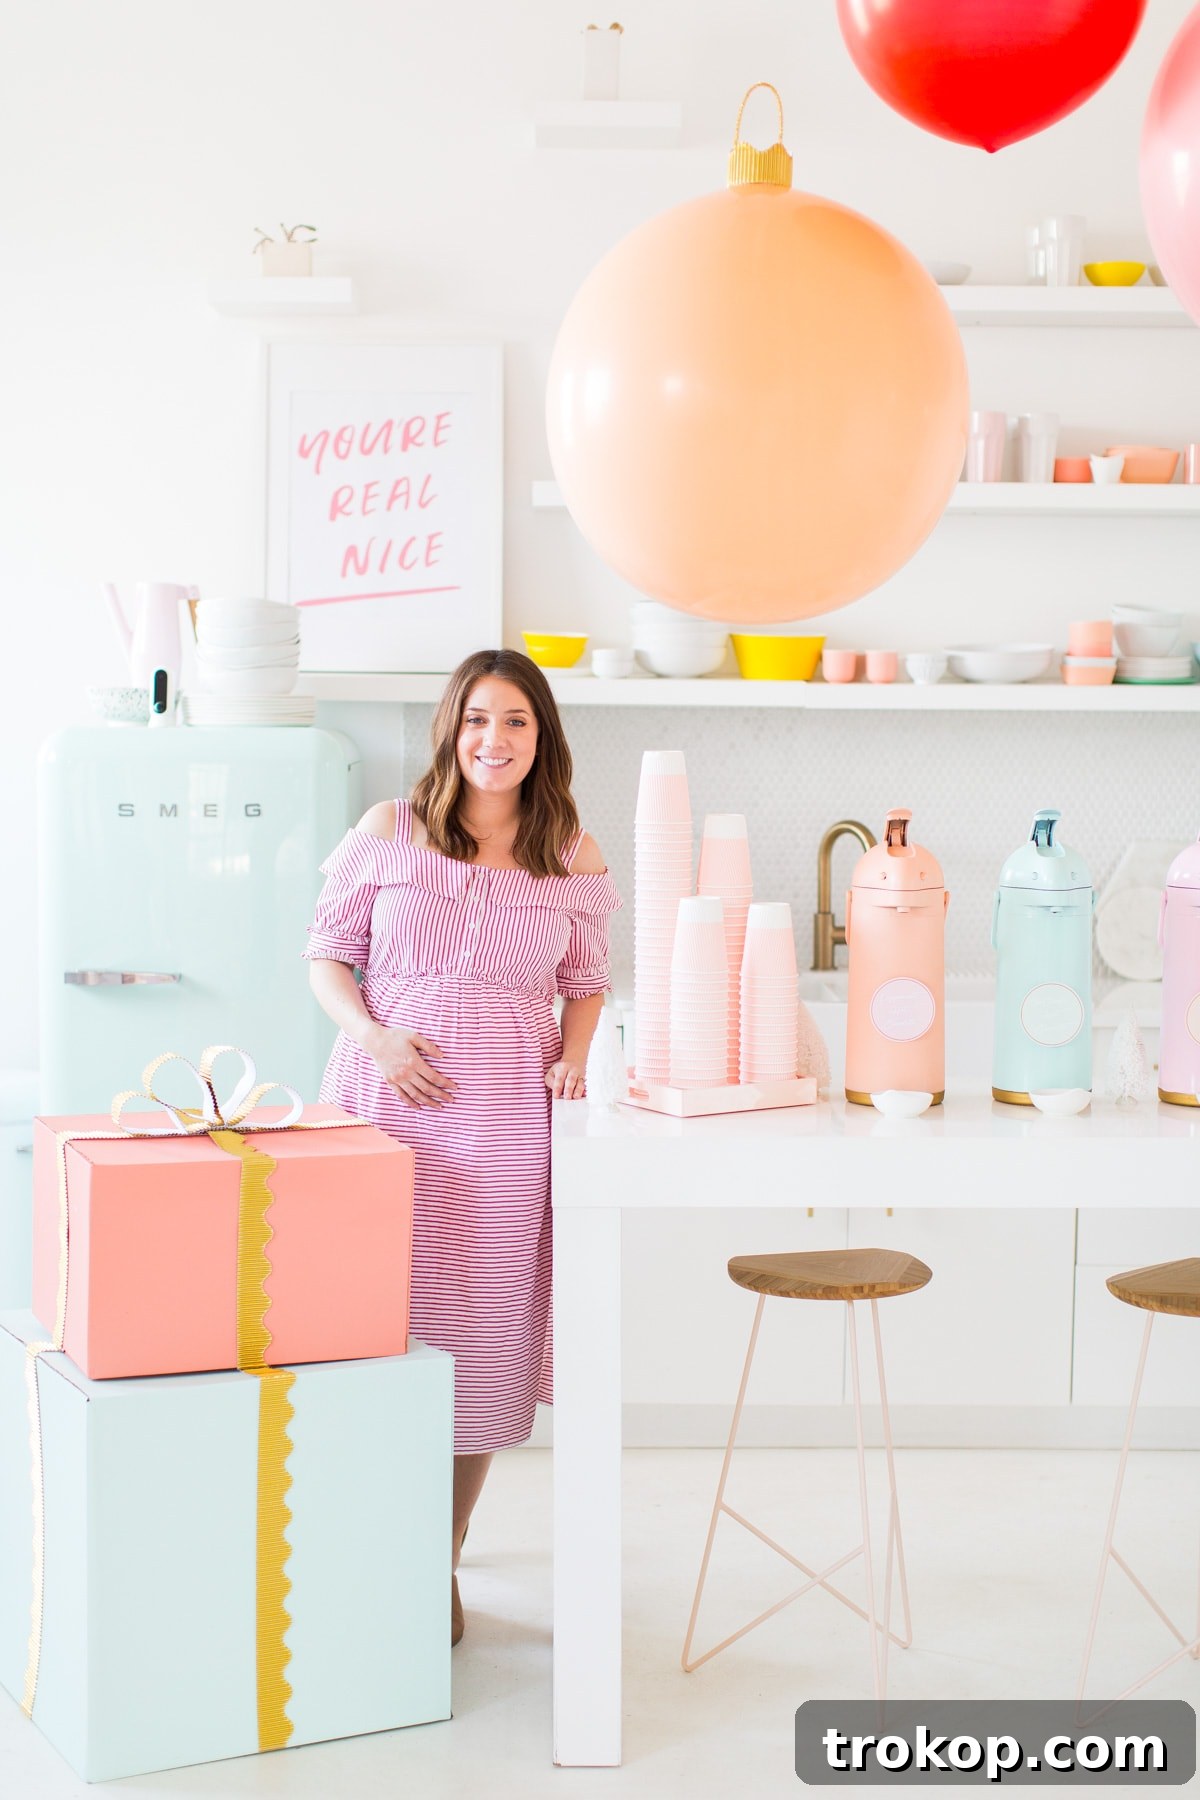
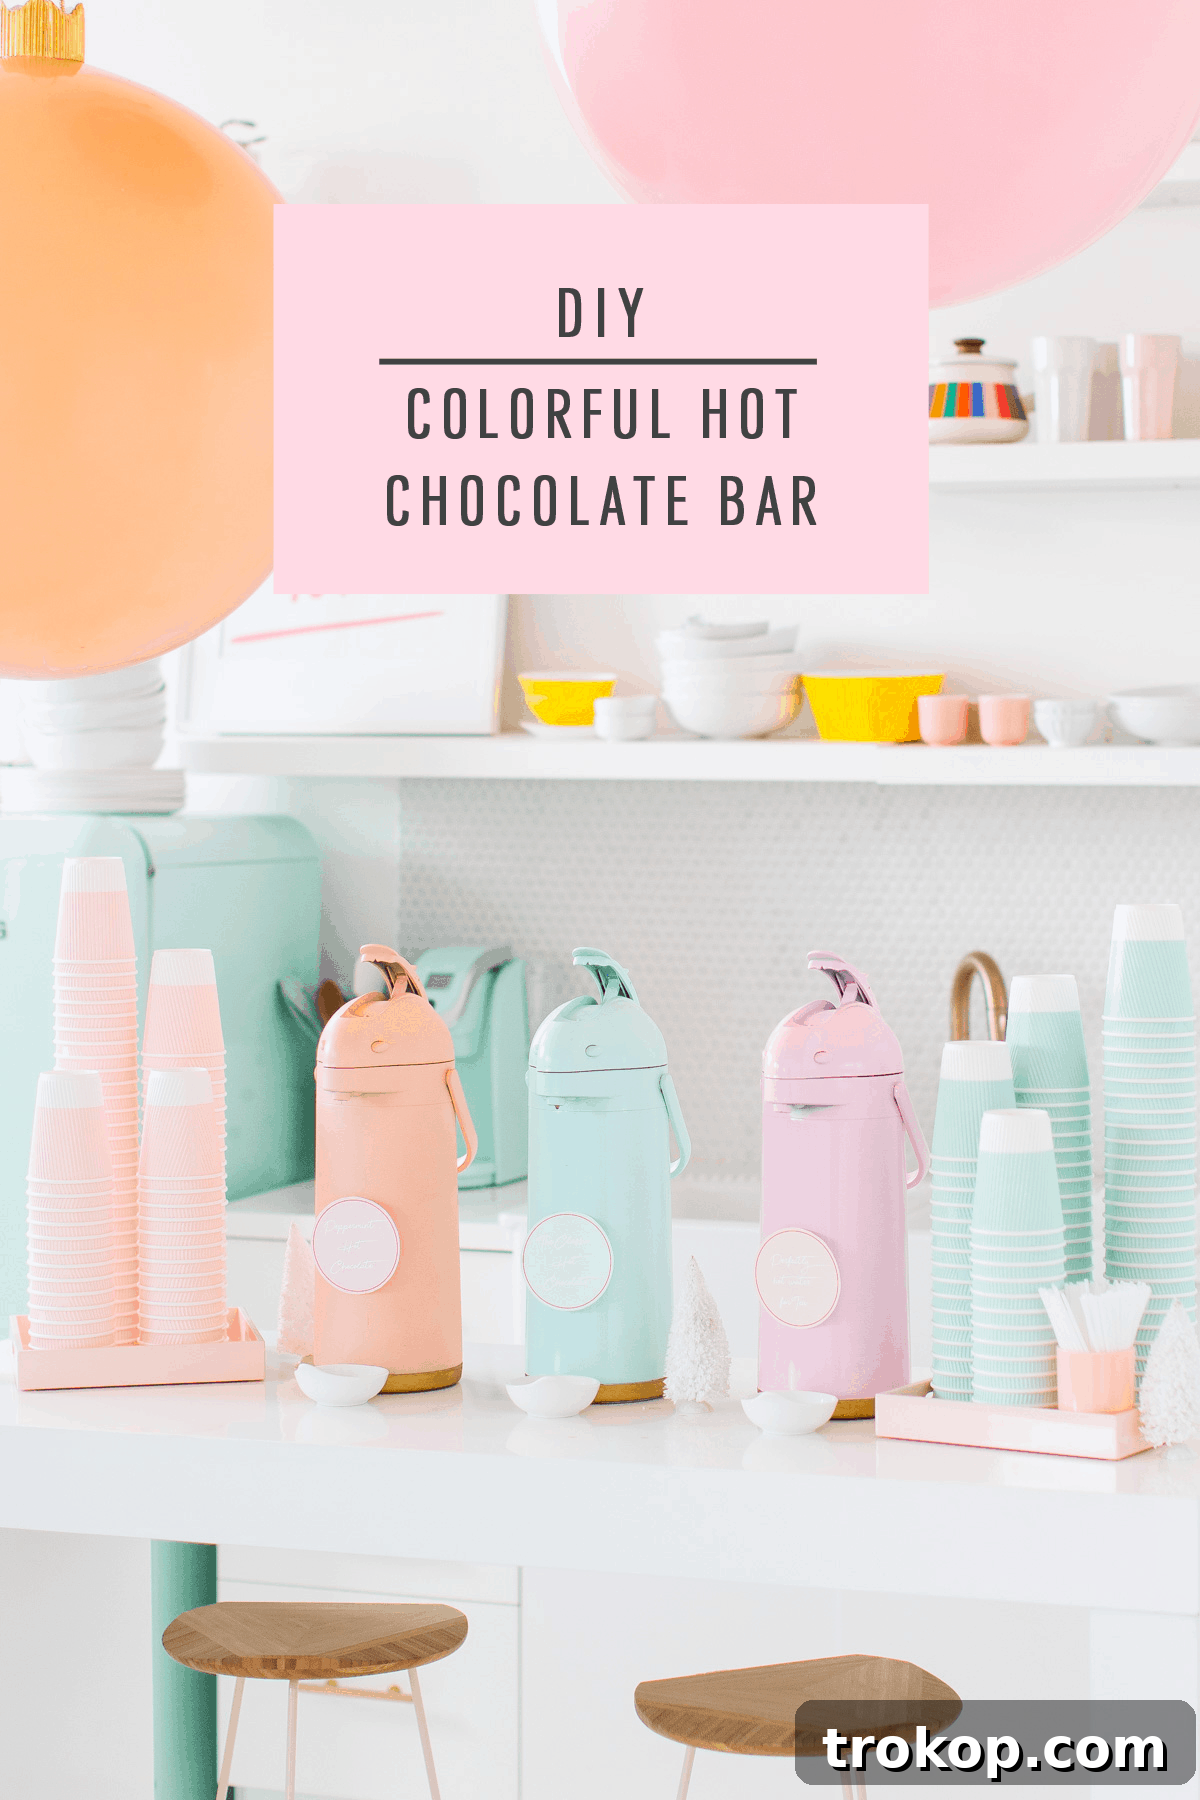
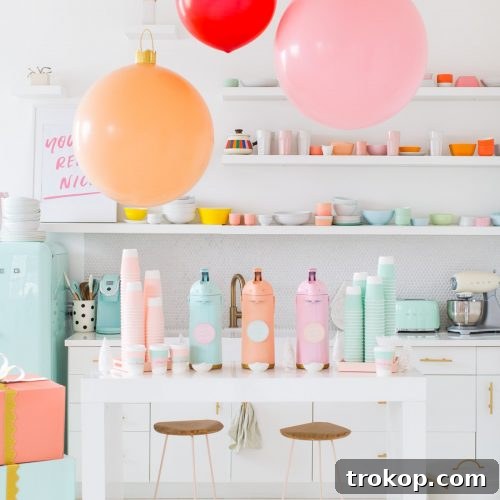
A few weeks ago, we had the immense pleasure of hosting a holiday charity event in partnership with State Farm, and the response to our DIY Hot Chocolate Bar was simply overwhelming! Everyone adored the festive decor and the thoughtful details that went into creating such a memorable experience. We were particularly thrilled to see how much love those colorful hot chocolate carafes received – who knew they would steal so many hearts?
Thanks to the incredible generosity of all who attended, our event wasn’t just about delicious drinks and festive cheer; it was about making a real difference. Together, we filled an entire shipping box with heartwarming, handmade holiday cards, all destined for The Holiday Project. This wonderful initiative brings holiday joy to those who might otherwise be forgotten, and your contributions truly embodied the spirit of the season.
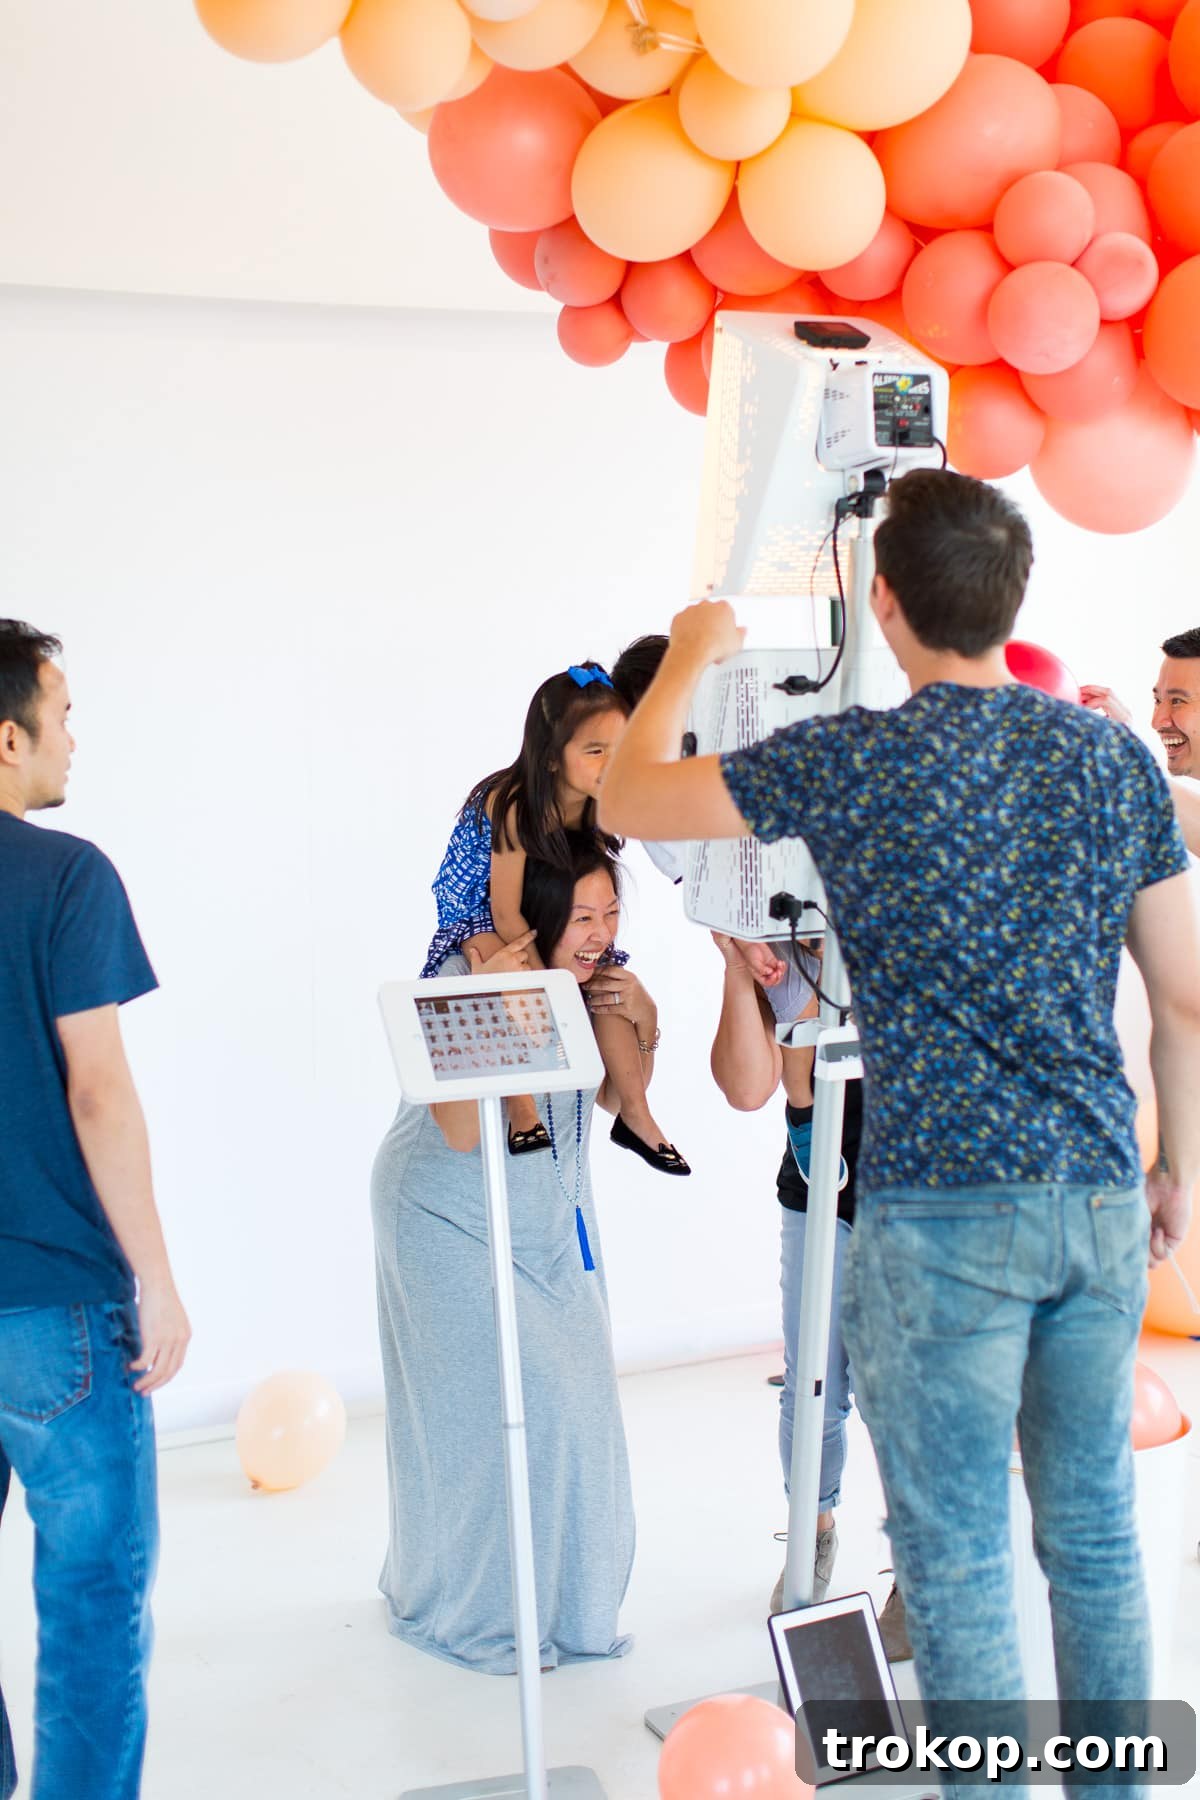
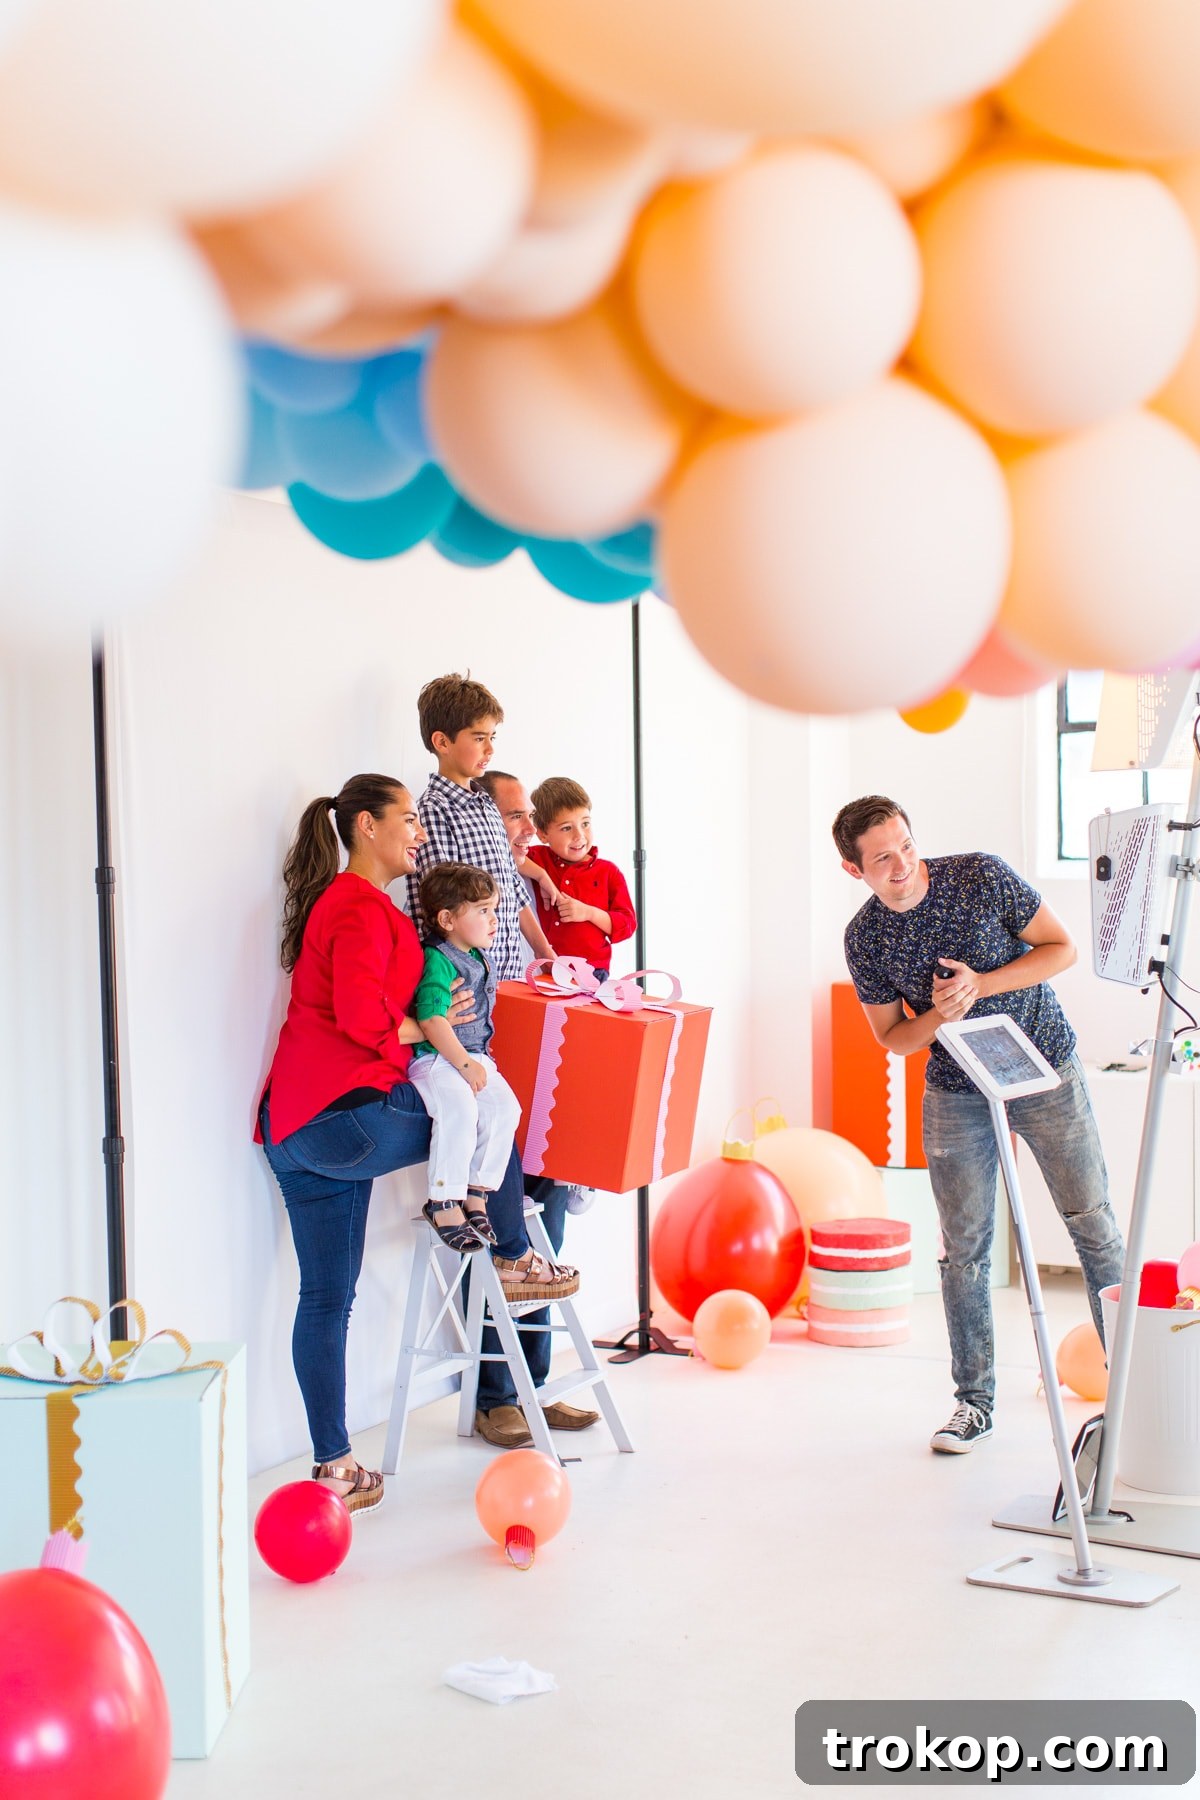
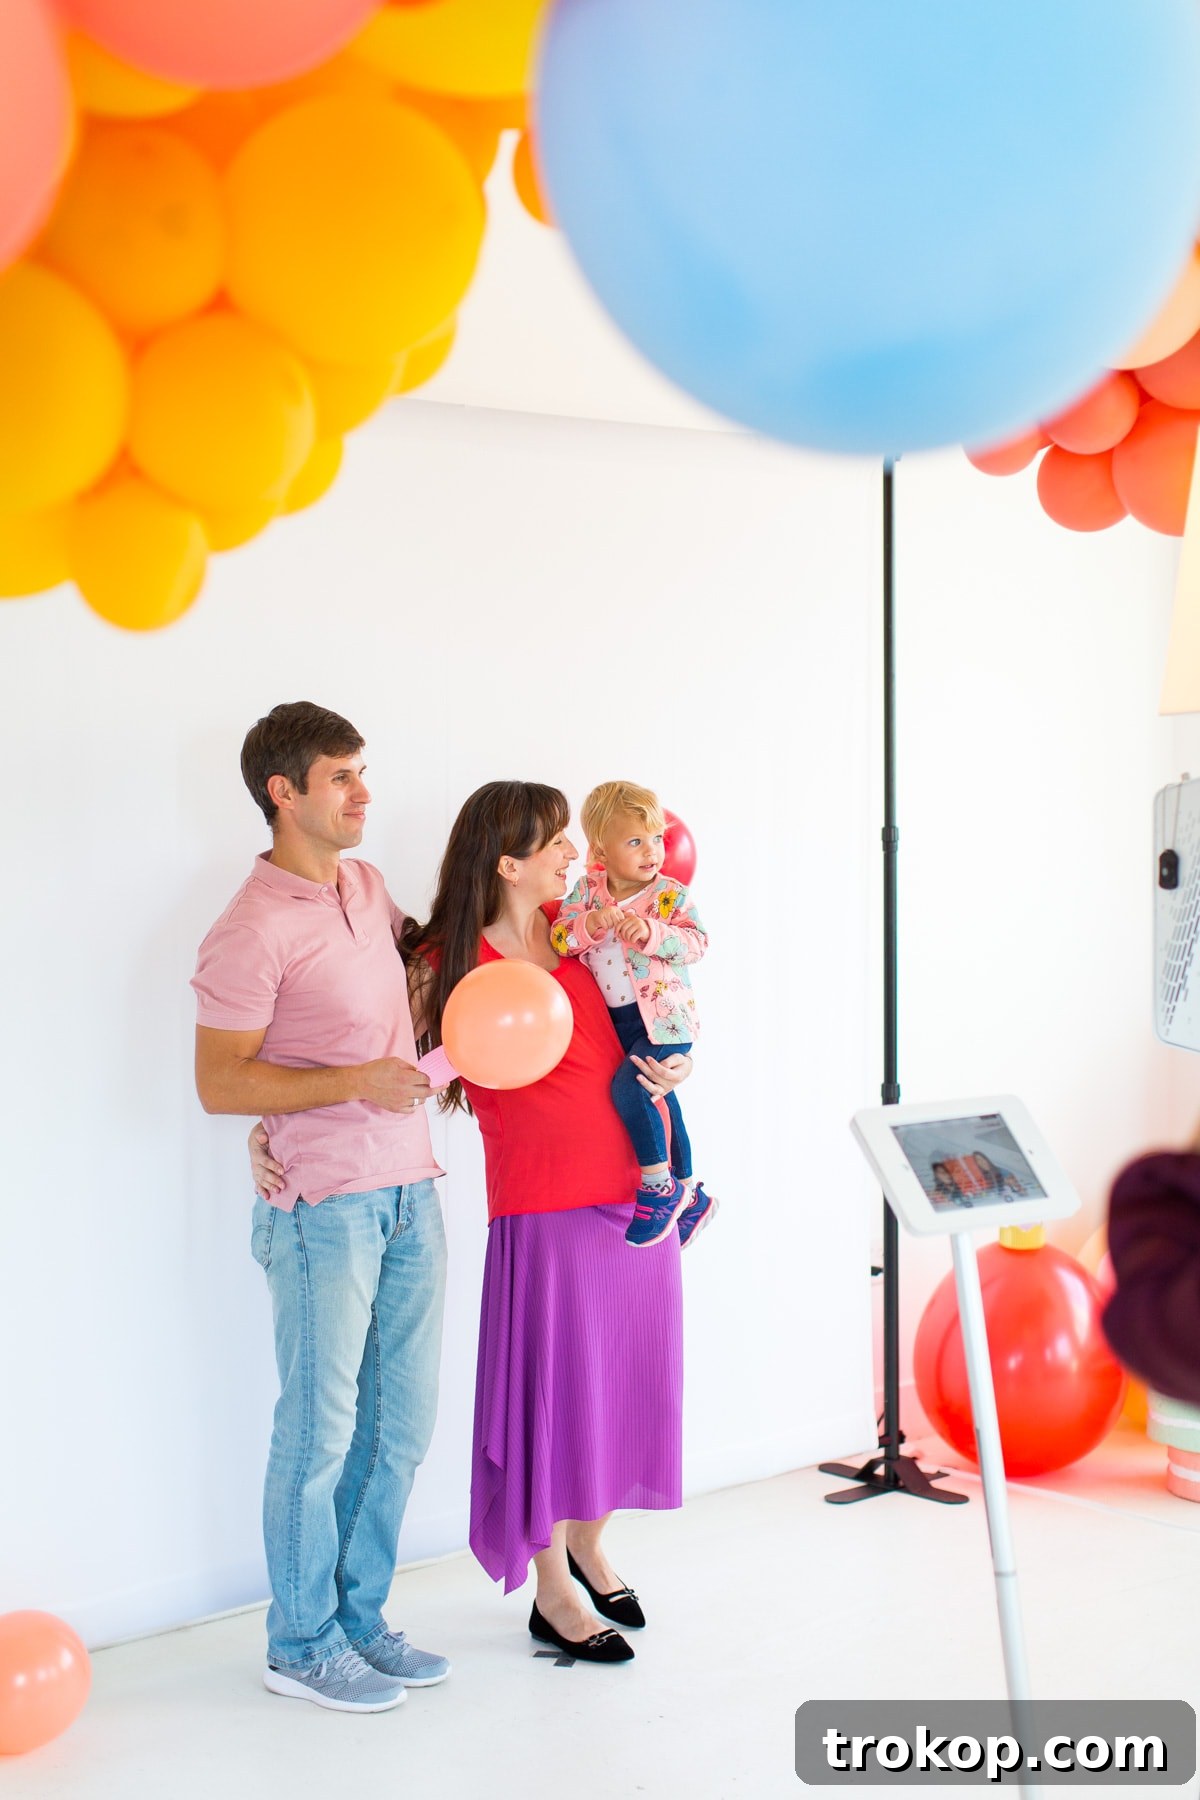
Beyond the crafting and the cocoa, our guests also captured precious family moments in style at the Smilebooth! It was a truly fulfilling day – one where we could give generously, receive heartwarming smiles, and enjoy a perfectly crafted hot chocolate along the way. We firmly believe that the holidays are about connection, community, and kindness, and this event beautifully encapsulated all three.
To fully immerse you in the festive atmosphere, we’ve also put together a short video recap of the event. Creating these charity-based events and parties throughout the year has been an absolute delight, and while it’s bittersweet to see the last one go live, we’re incredibly hopeful for many more opportunities to give back and spread joy in the coming year. Fingers crossed for an even bigger impact in 2018!
Embracing the spirit of generosity, here are more glimpses into the heartwarming moments from our State Farm holiday charity event:
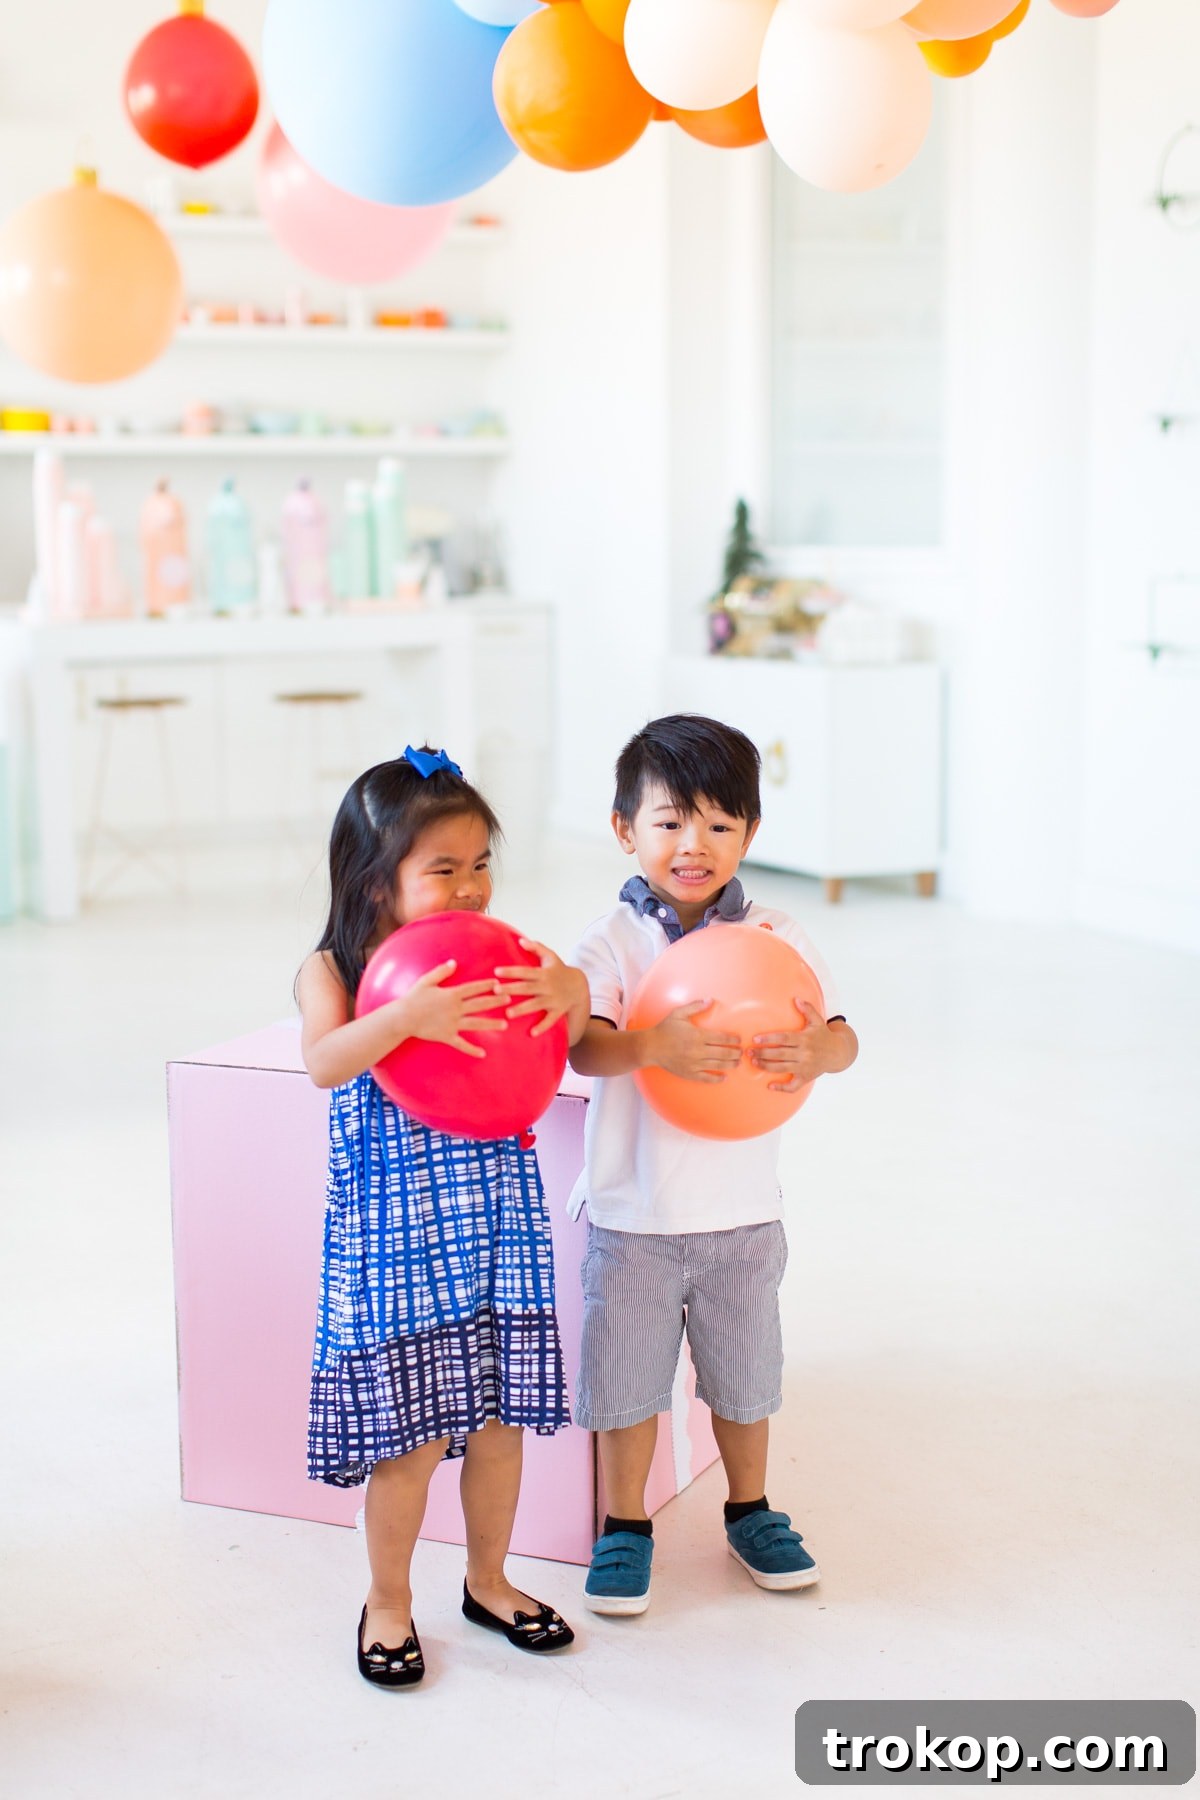
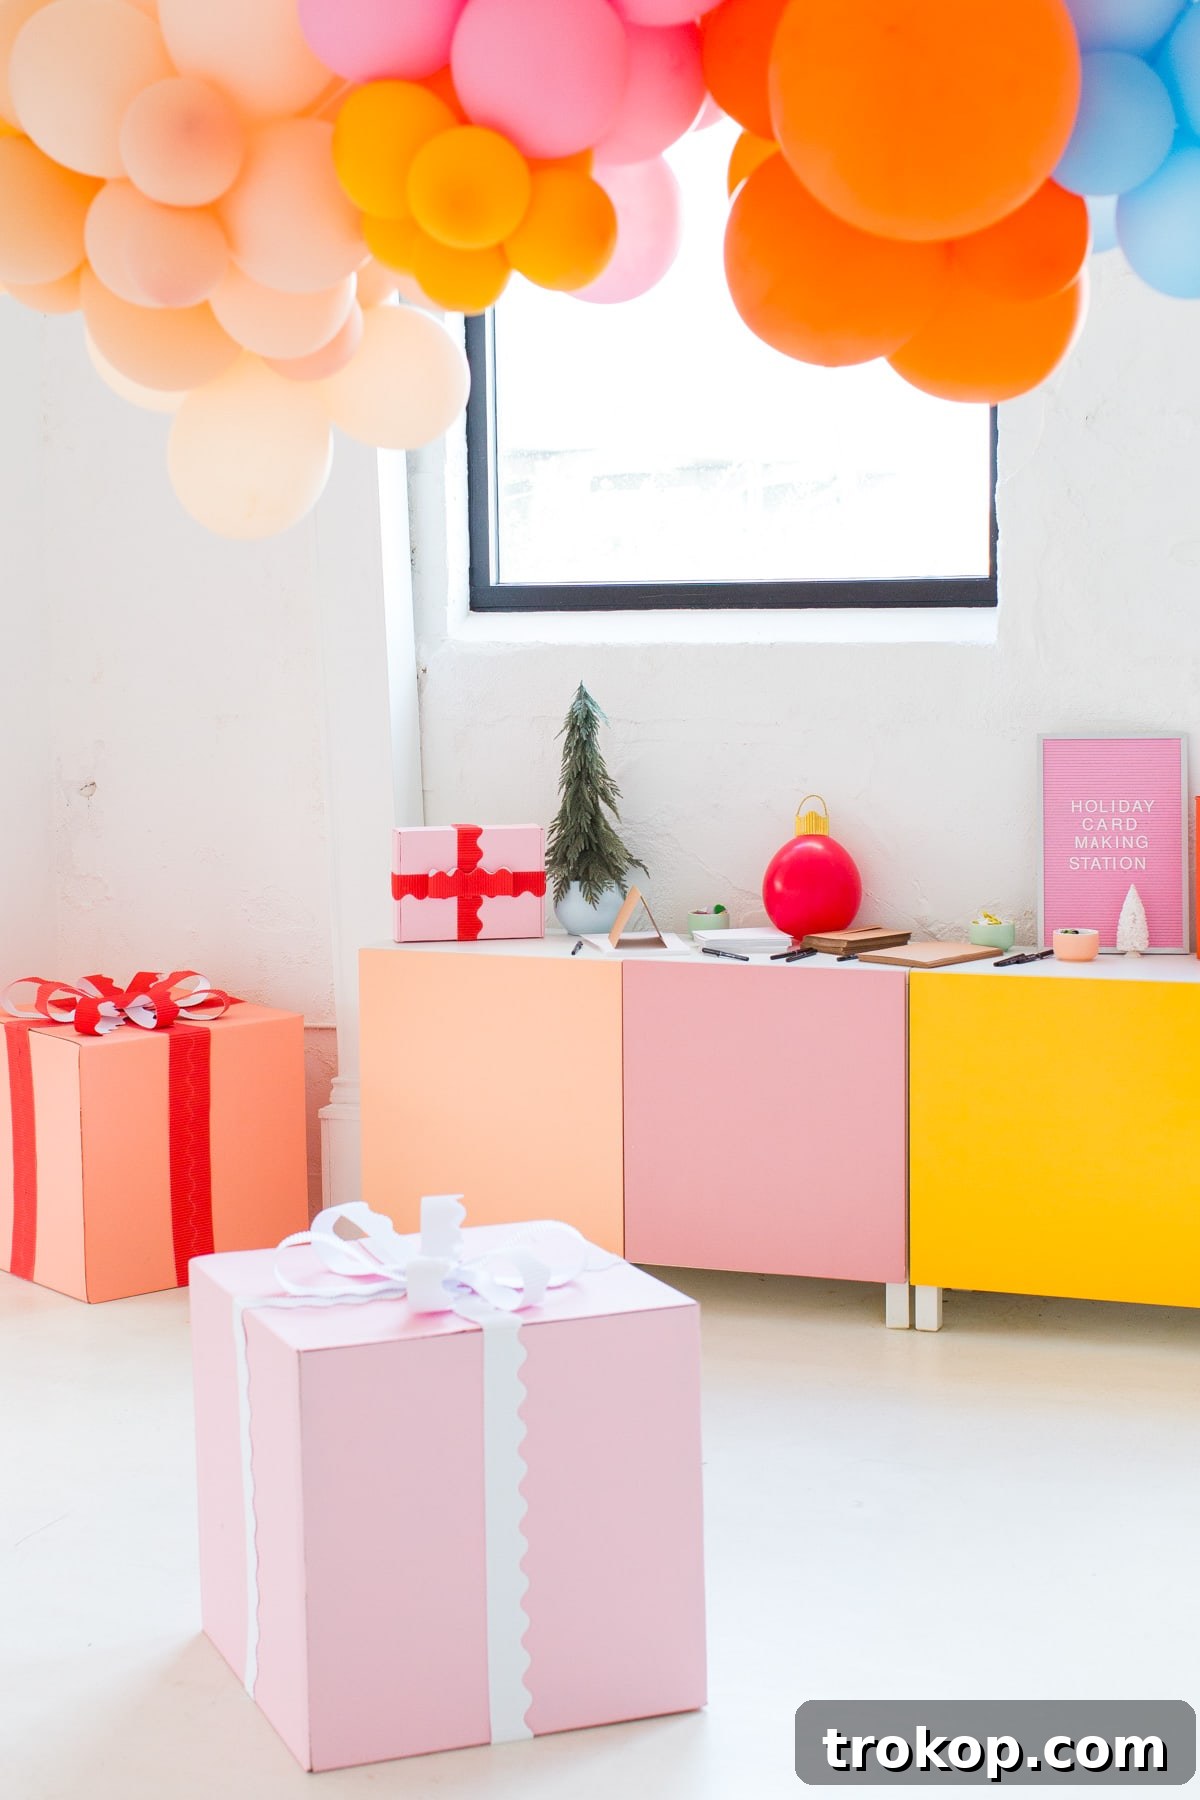
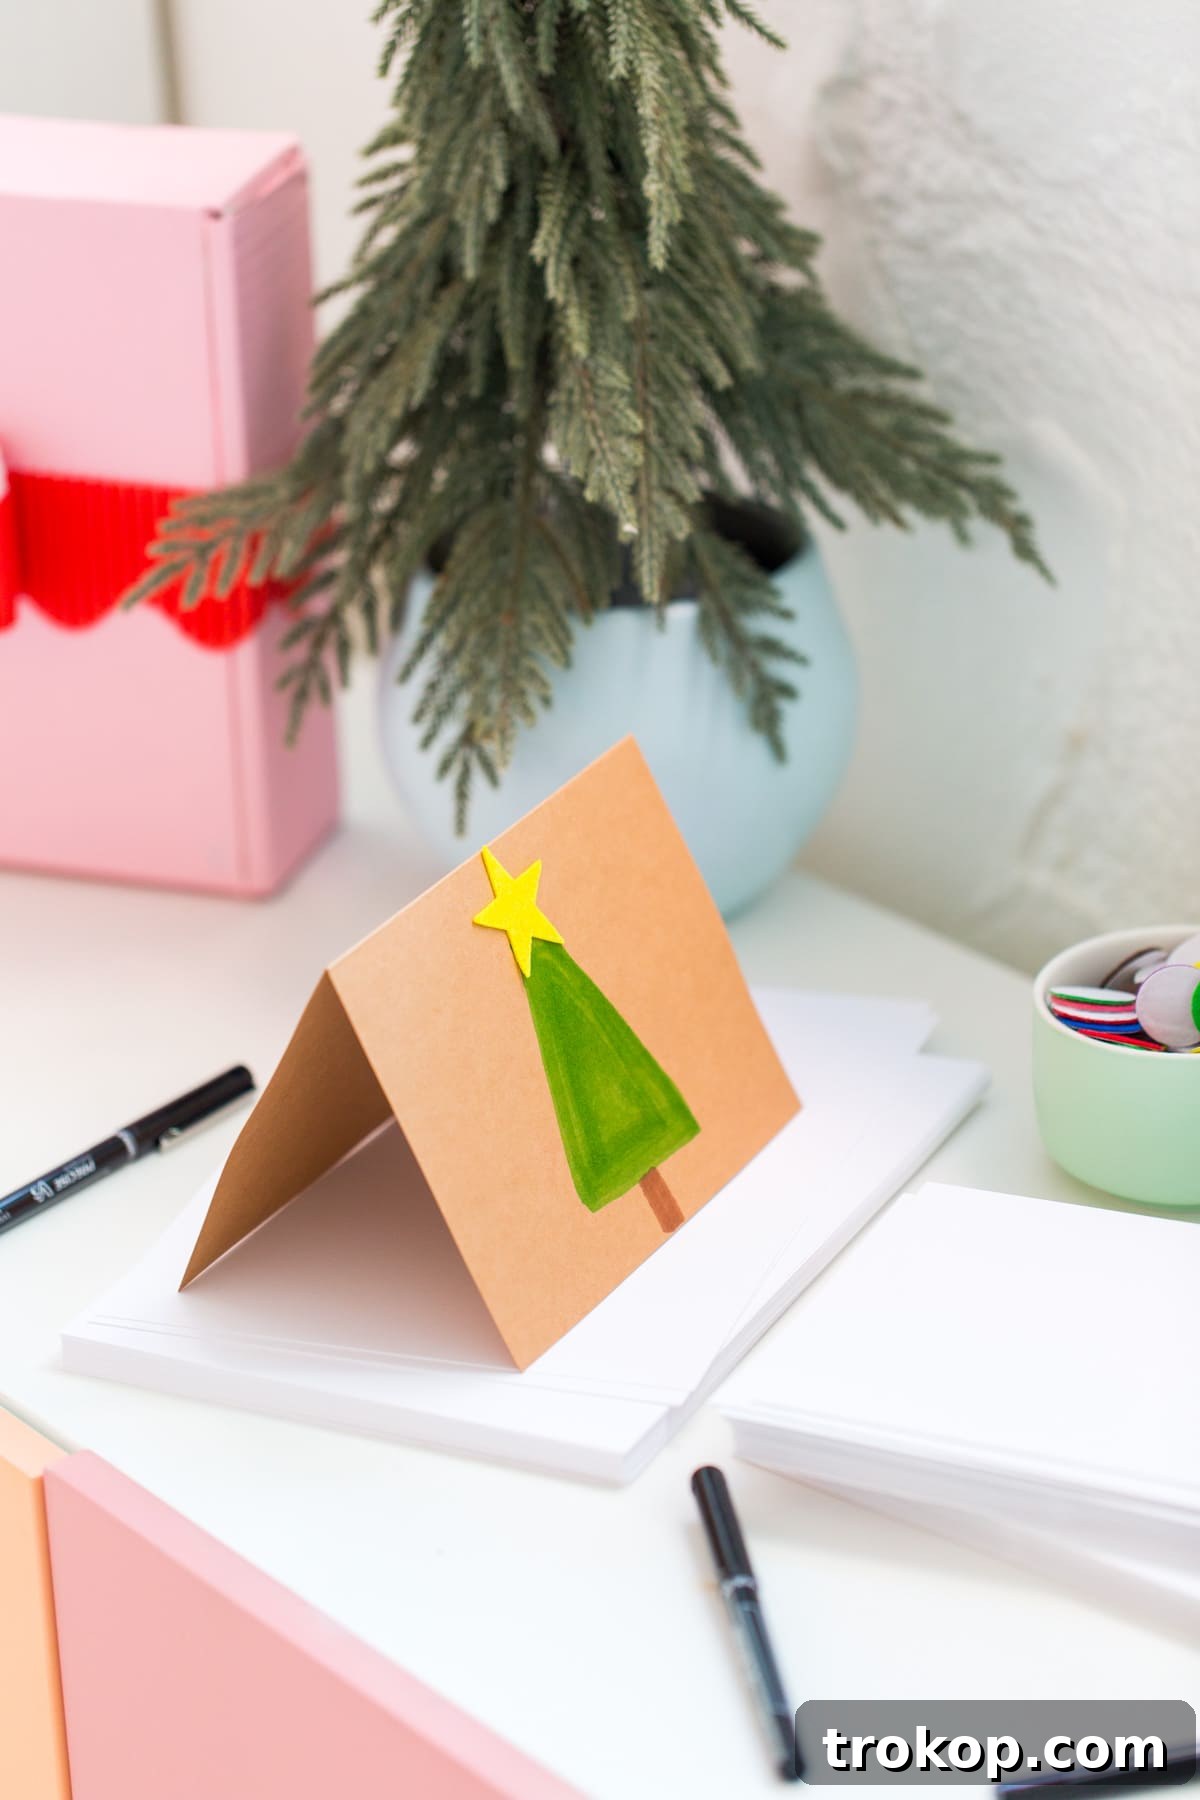
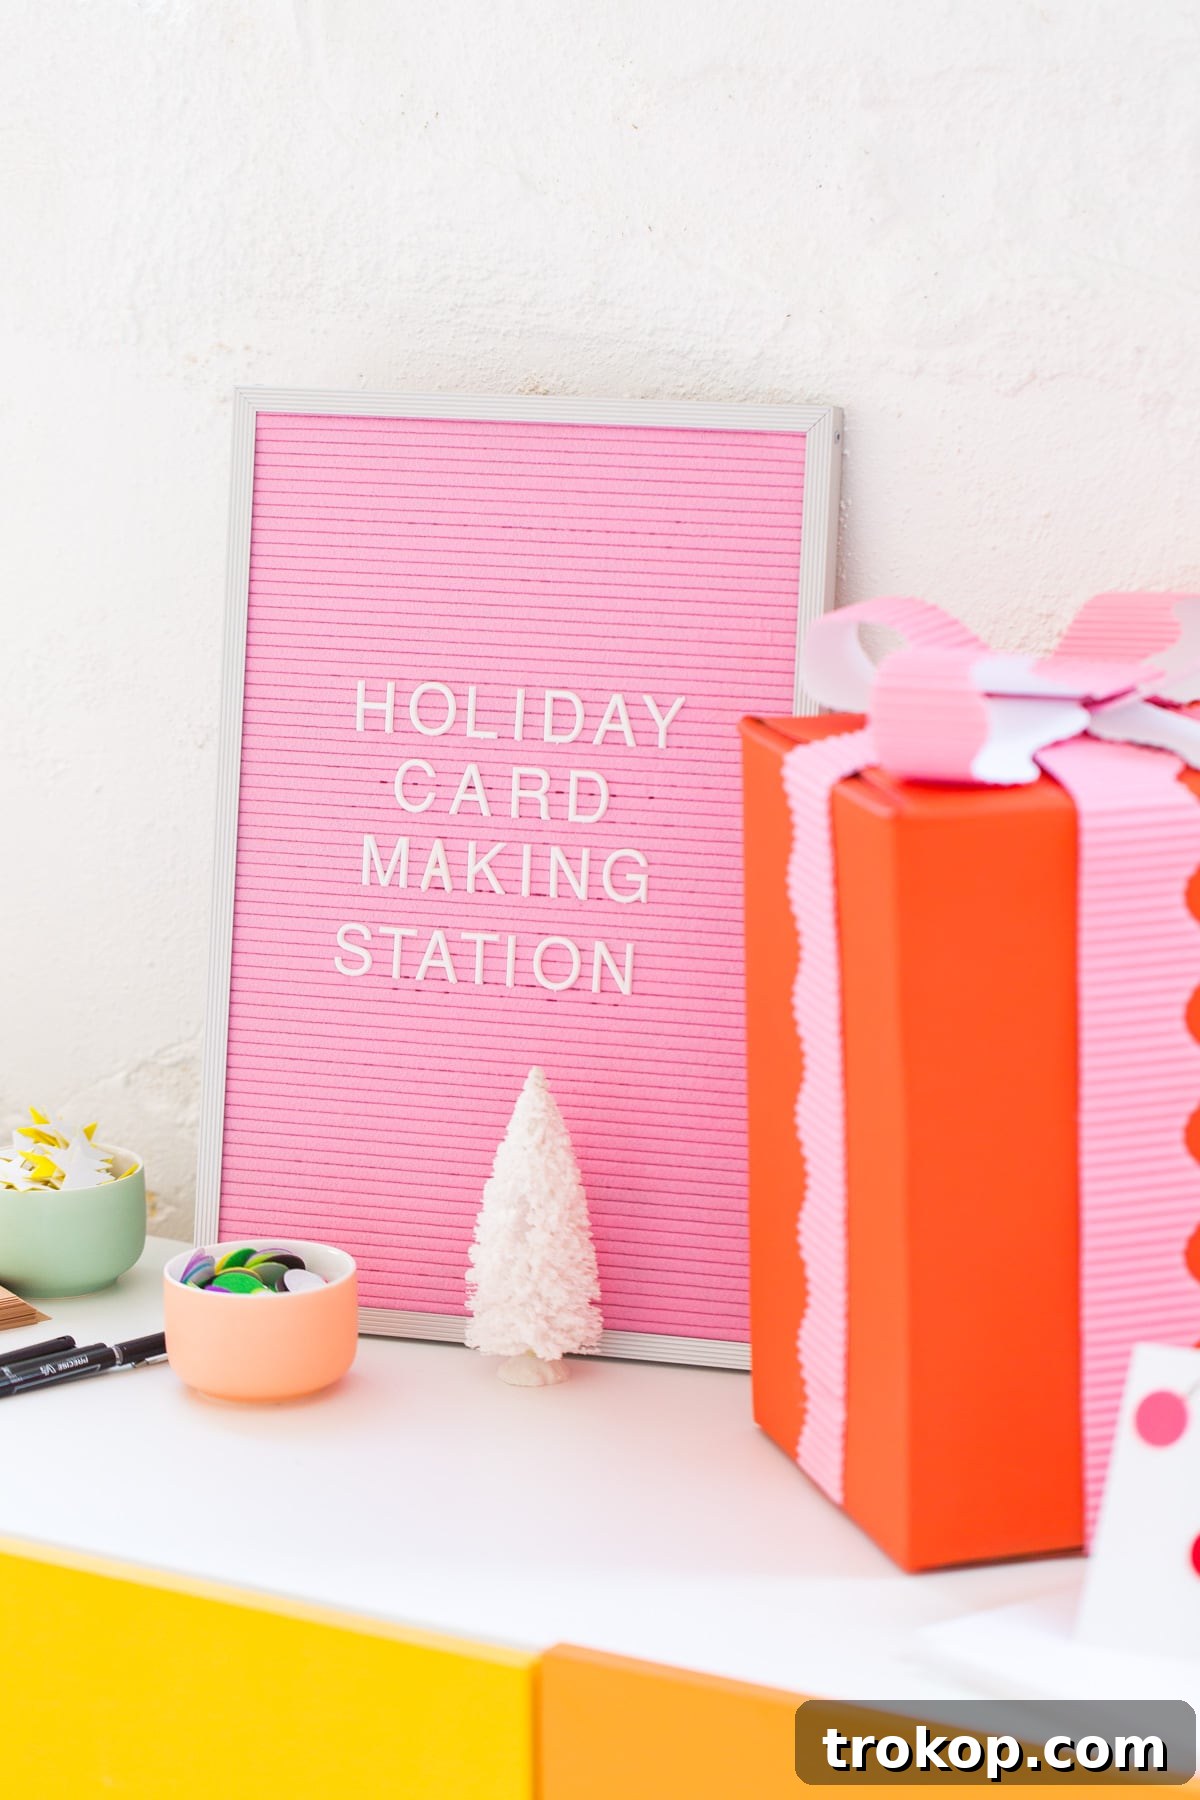
Holiday Party Idea | Holiday Card Making Station
A holiday card-making station is a fantastic addition to any festive gathering, especially one with a charitable focus. It provides a creative outlet for guests of all ages, encourages personal expression, and creates a tangible way to give back to the community. For our event, we wanted to make it easy and inspiring for everyone to craft beautiful, heartfelt cards.
To set up your own card-making station, begin with a foundation of quality blank cards. We opted for versatile sets of white cardstock and kraft paper blank cards, offering a nice contrast and texture. Then, the fun begins with the embellishments! We stocked up on an exciting variety of felt adhesive stickers in festive shapes and colors, adding a tactile and playful element. Gold paint pens provided an elegant touch for shimmering accents and personalized messages, while a selection of vibrant markers allowed guests to add their unique artistic flair. Provide plenty of space, a few example cards for inspiration, and watch as your guests create mini masterpieces filled with holiday cheer for a wonderful cause.
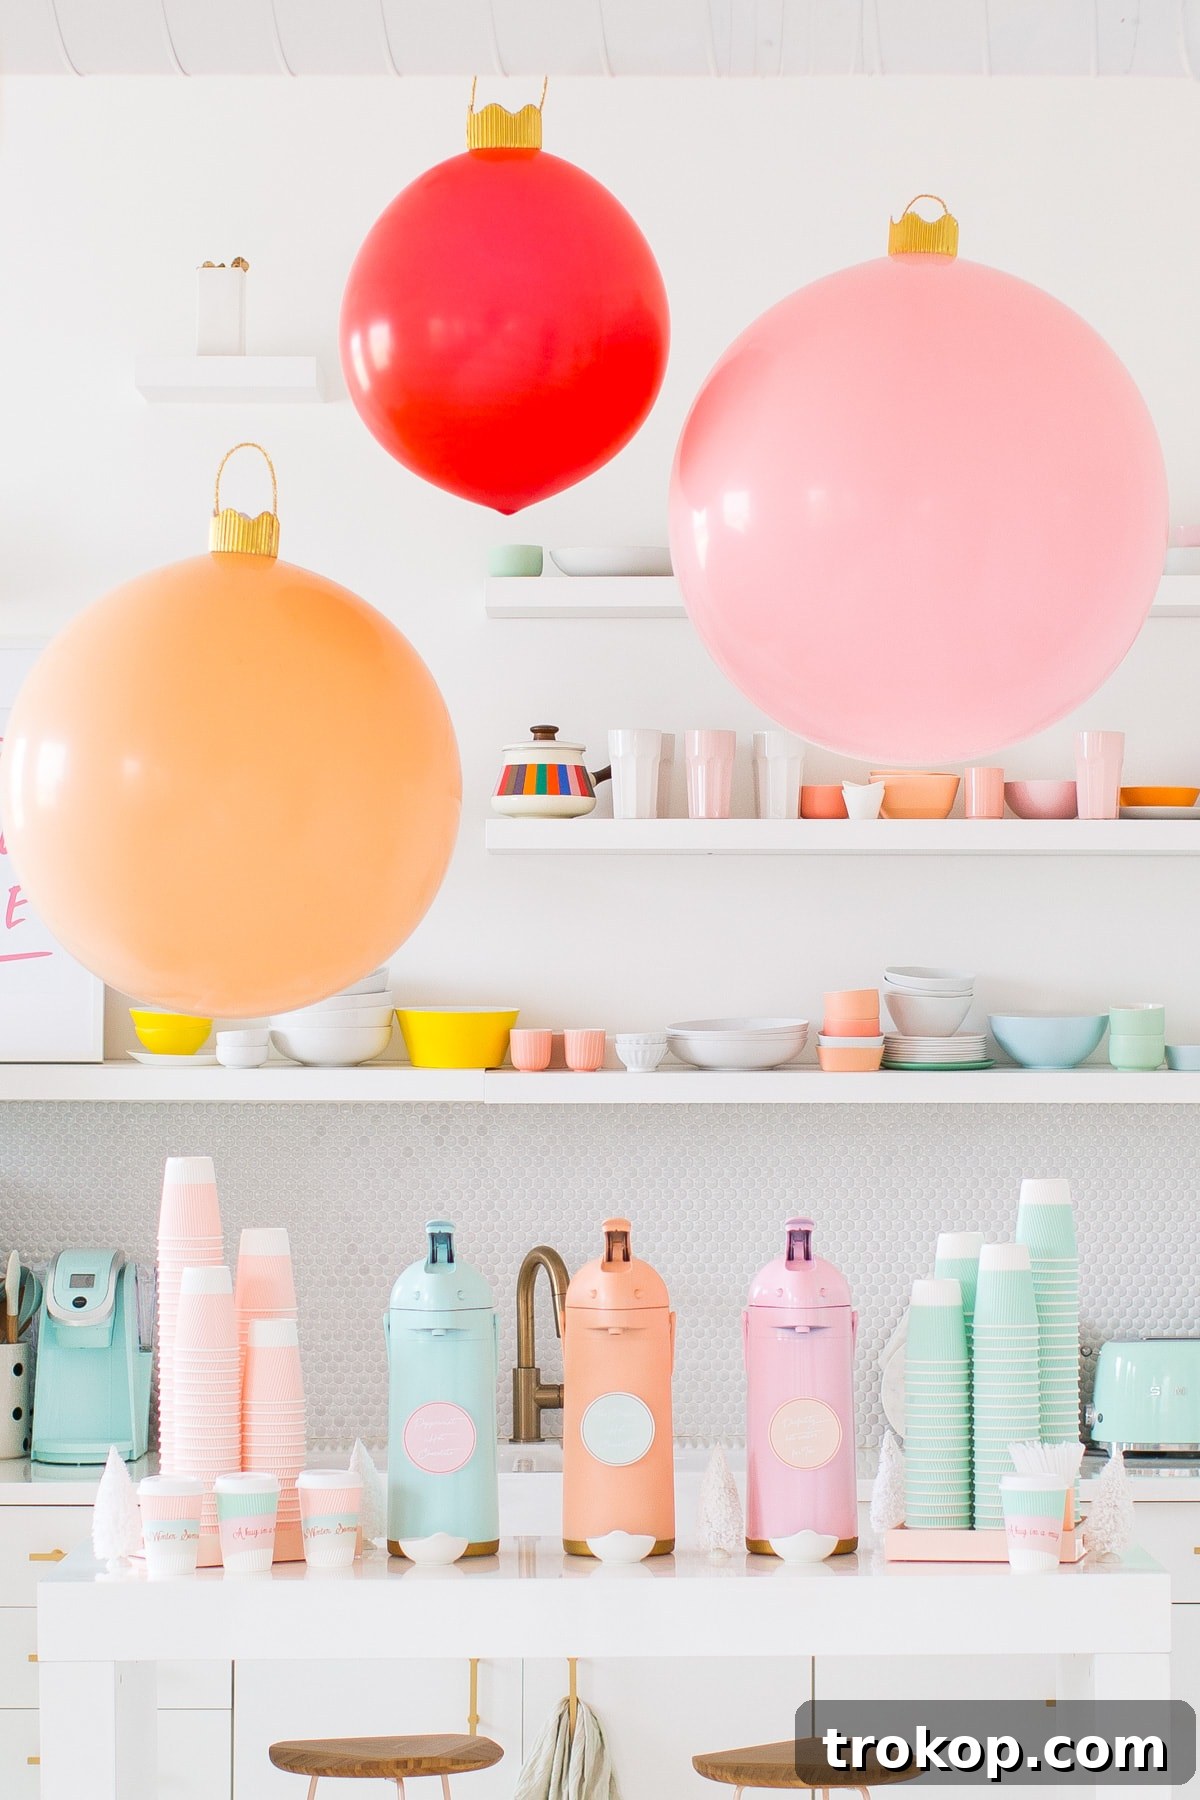
Materials And Tools To Make A DIY Hot Chocolate Bar
Transforming ordinary items into eye-catching decor is part of the DIY charm. For our colorful hot chocolate bar, we focused on customizing standard coffee carafes to match our vibrant holiday theme. Here’s everything you’ll need to create your own personalized hot chocolate station that’s both stylish and functional:
- Plain coffee carafes (the perfect base for customization)
- Painter’s tape (essential for clean lines and protecting specific areas)
- Gold Rub n’ Buff (for adding a touch of metallic elegance)
- Clear food-safe spray shellac (to seal your paintwork and ensure durability)
- Spray paint for plastic and metallic surfaces in the colors of your choice (think festive reds, mint greens, cheerful pinks, or classic metallics)
- Plastic gloves (to keep your hands clean during the Rub n’ Buff process)
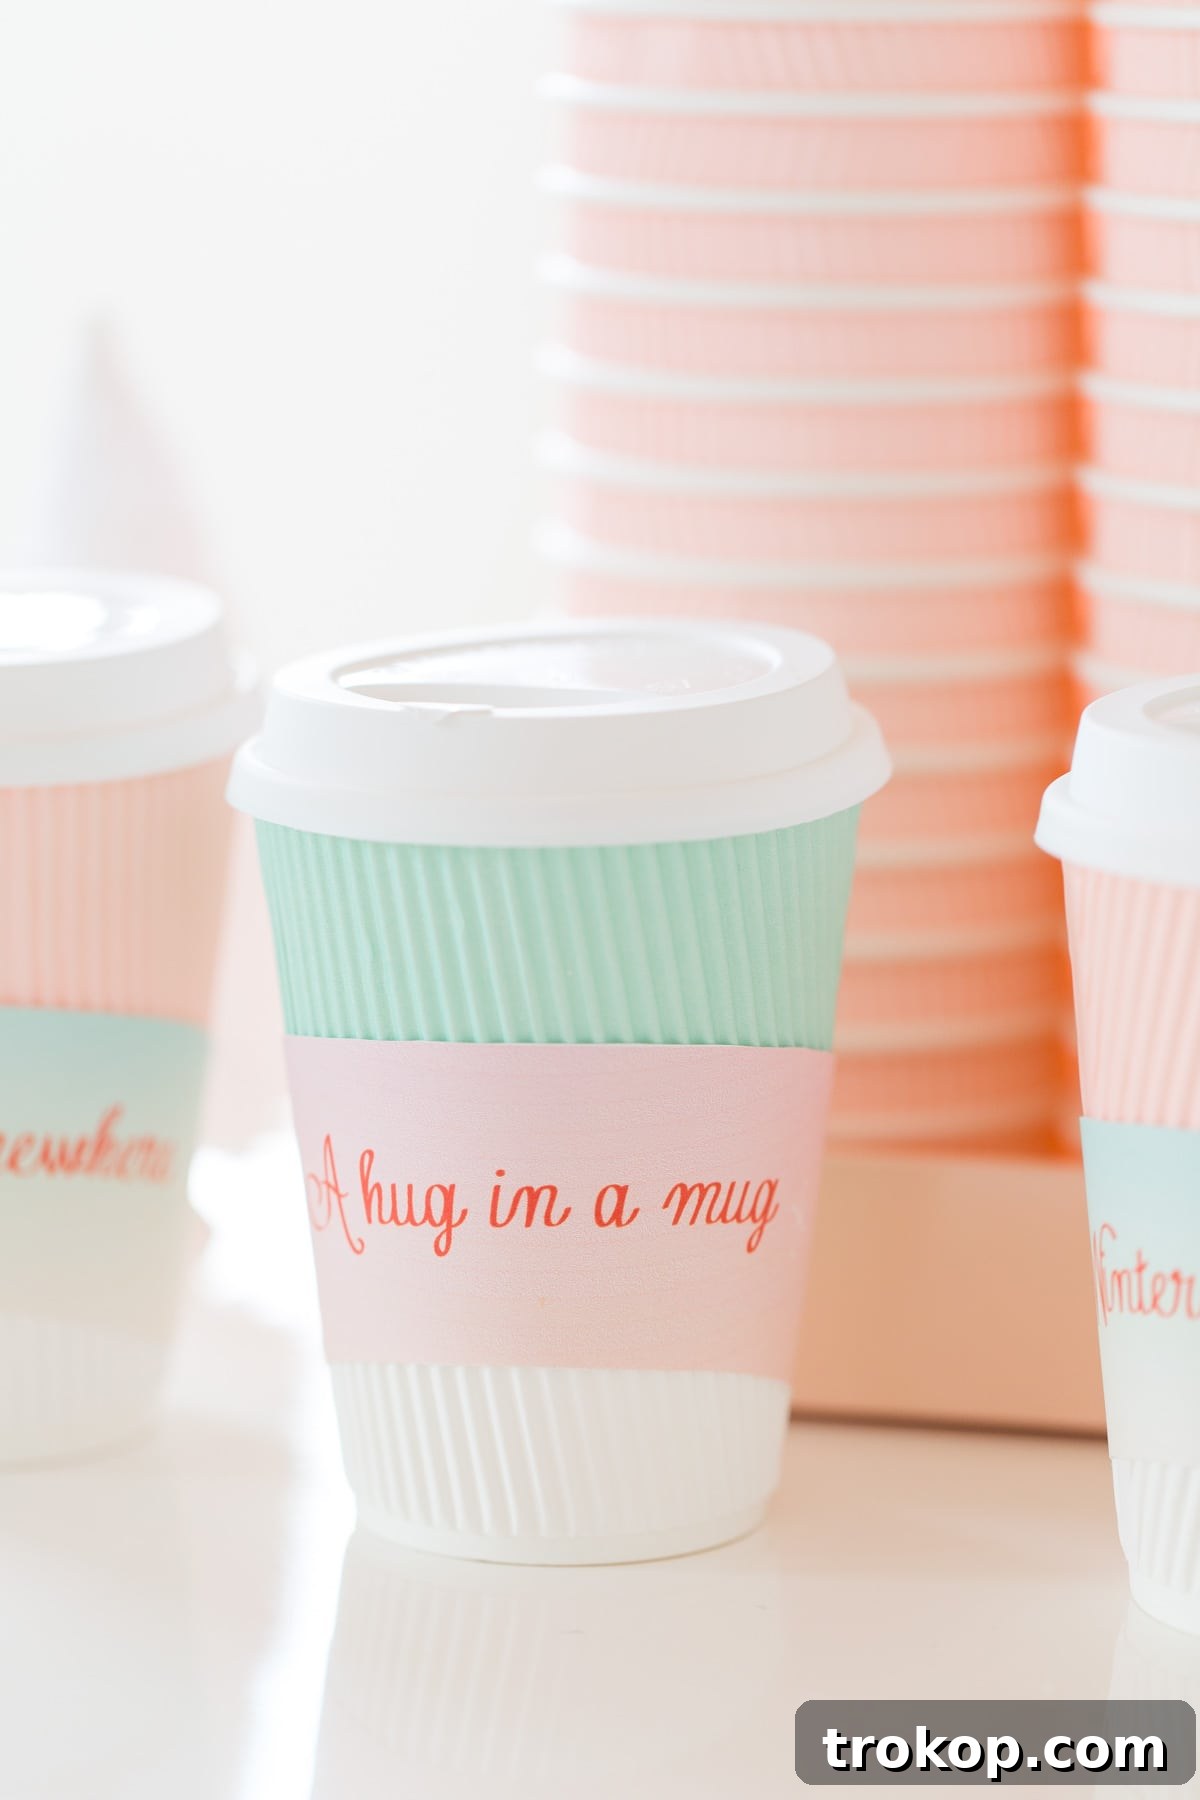
- Pink travel coffee cups with lids (for guests to enjoy their hot chocolate on the go)
- Mint green travel coffee cups with lids (adding another pop of color and convenience)
These materials will allow you to craft a cohesive and visually appealing hot chocolate bar that complements your holiday decor and elevates the overall party experience.
How To Make A DIY Hot Chocolate Bar
Creating a visually stunning and perfectly themed hot chocolate bar is easier than you think. The key is in thoughtful preparation and attention to detail, especially when customizing your serving carafes. Here’s a step-by-step guide to bringing your colorful hot chocolate bar to life:
Customizing Your Coffee Carafes:
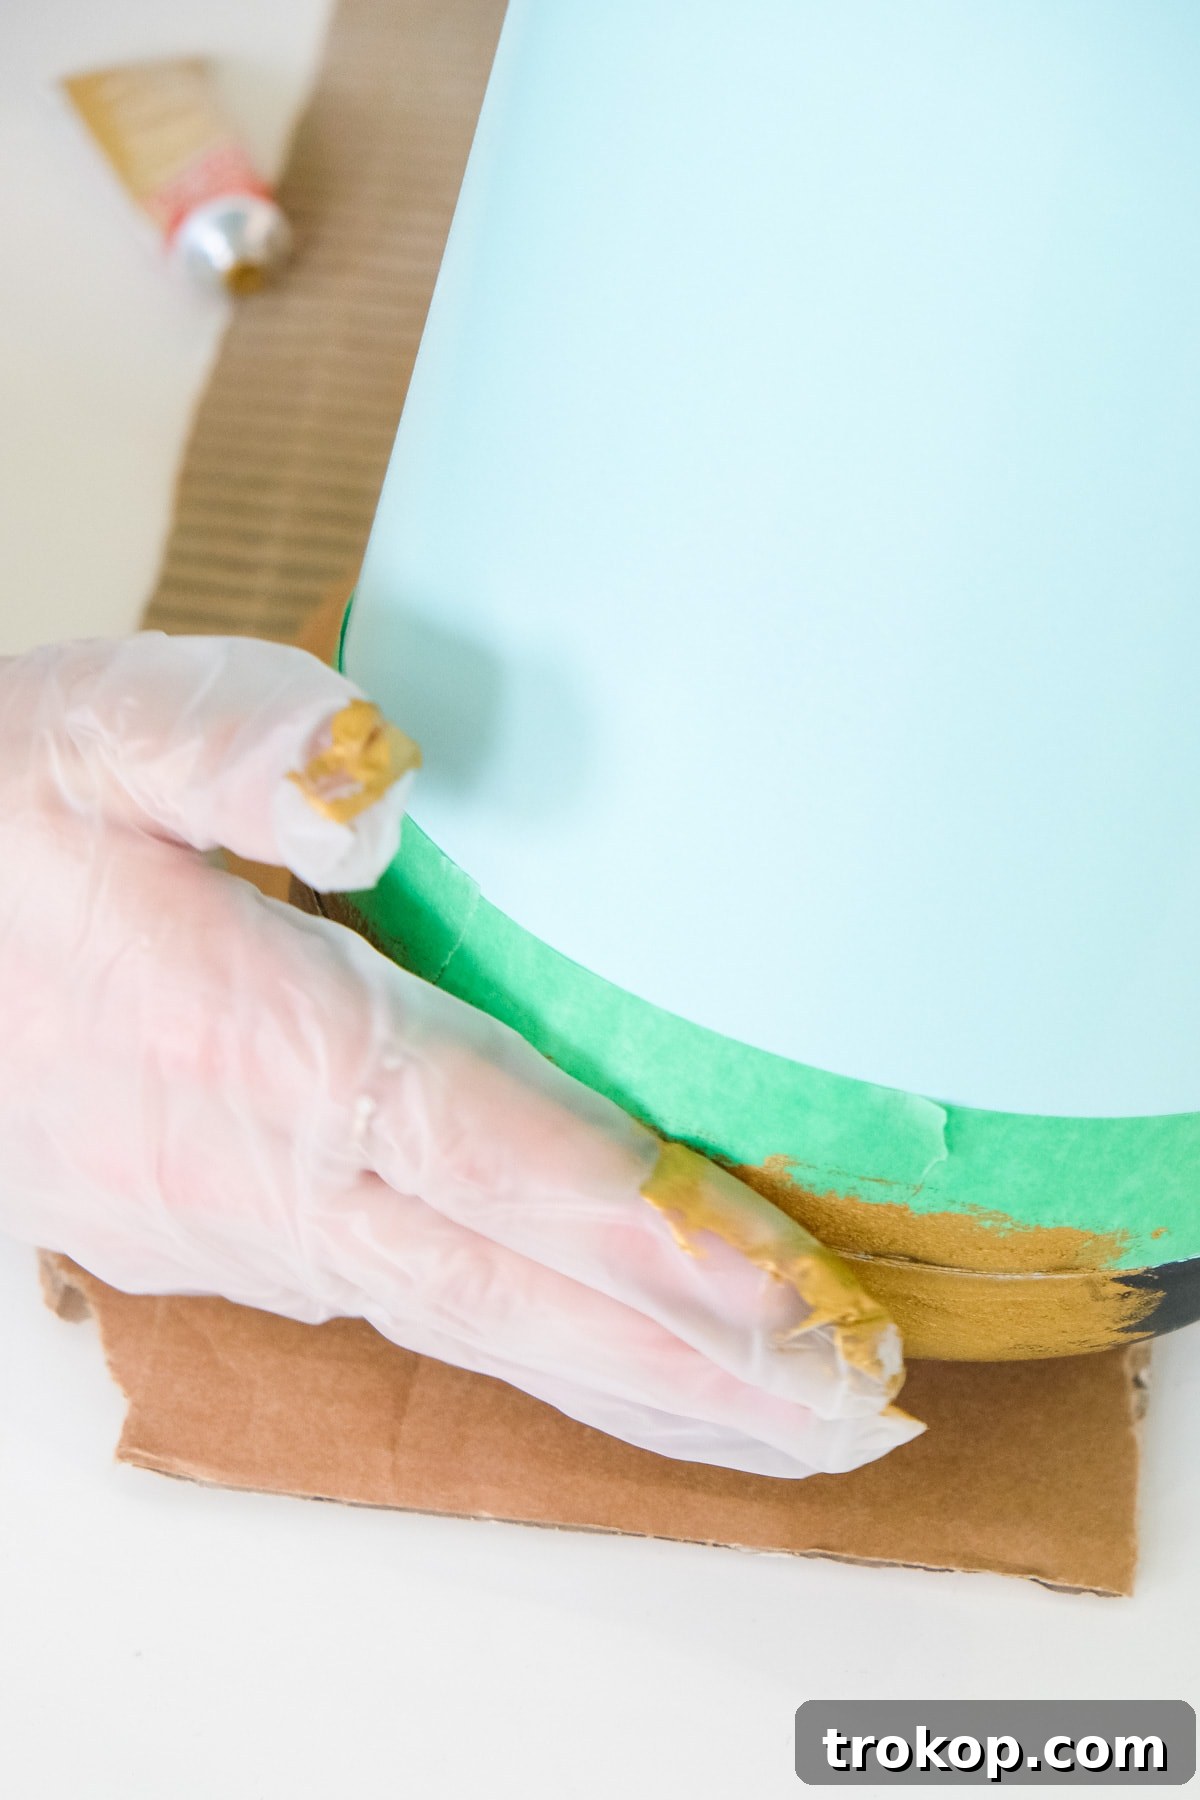
- Prepare for Painting: Before you begin, decide on your design. For our carafes, we chose to paint the main body a solid color and add a metallic gold base. The most crucial step here is to ensure the dispenser nozzle of each carafe is completely covered and secured with painter’s tape. This prevents any paint from entering the internal mechanism, maintaining the food-safeness of the carafe. Additionally, tape off the bottom plastic piece of the carafe where you intend to apply the Rub n’ Buff later. This will create a clean line between your spray paint and the metallic finish.
- Apply Spray Paint: Once the carafes are prepped with tape, apply two light, even coats of your chosen spray paint color over the entire untaped portion of the carafe. Applying light coats helps prevent drips and ensures a smooth, professional finish. Allow each coat to dry thoroughly according to the manufacturer’s instructions before applying the next.
- Add Gold Accents: After the spray paint is completely dry, carefully remove the painter’s tape from the bottom section of the carafe. Don a plastic glove to protect your hand, and using a small amount of Gold Rub n’ Buff, gently rub it onto the exposed bottom plastic piece. This will create a beautiful, rich gold finish that adds a touch of sophistication and festive sparkle.
- Seal for Durability: Once all the paint and Rub n’ Buff are completely dry, apply a thin, even coat of clear food-safe spray shellac over the painted areas. This crucial step seals your paint job, protecting it from frequent handling, potential scratches, and ensuring the vibrant colors last throughout your event and for future uses. Always ensure the shellac is food-safe if it will be near any food contact areas.
Designing Custom Tags and Sleeves:
To add an extra layer of personalization and professional polish, consider designing custom carafe tags and coffee cup sleeves. These can feature fun names for your hot chocolate flavors (e.g., “Classic Cocoa,” “Peppermint Delight,” “Spicy Mexican Hot Chocolate”) or simply carry your event’s theme. We quickly designed ours and printed them out for the occasion, adding a charming, cohesive look to our entire hot chocolate bar setup.
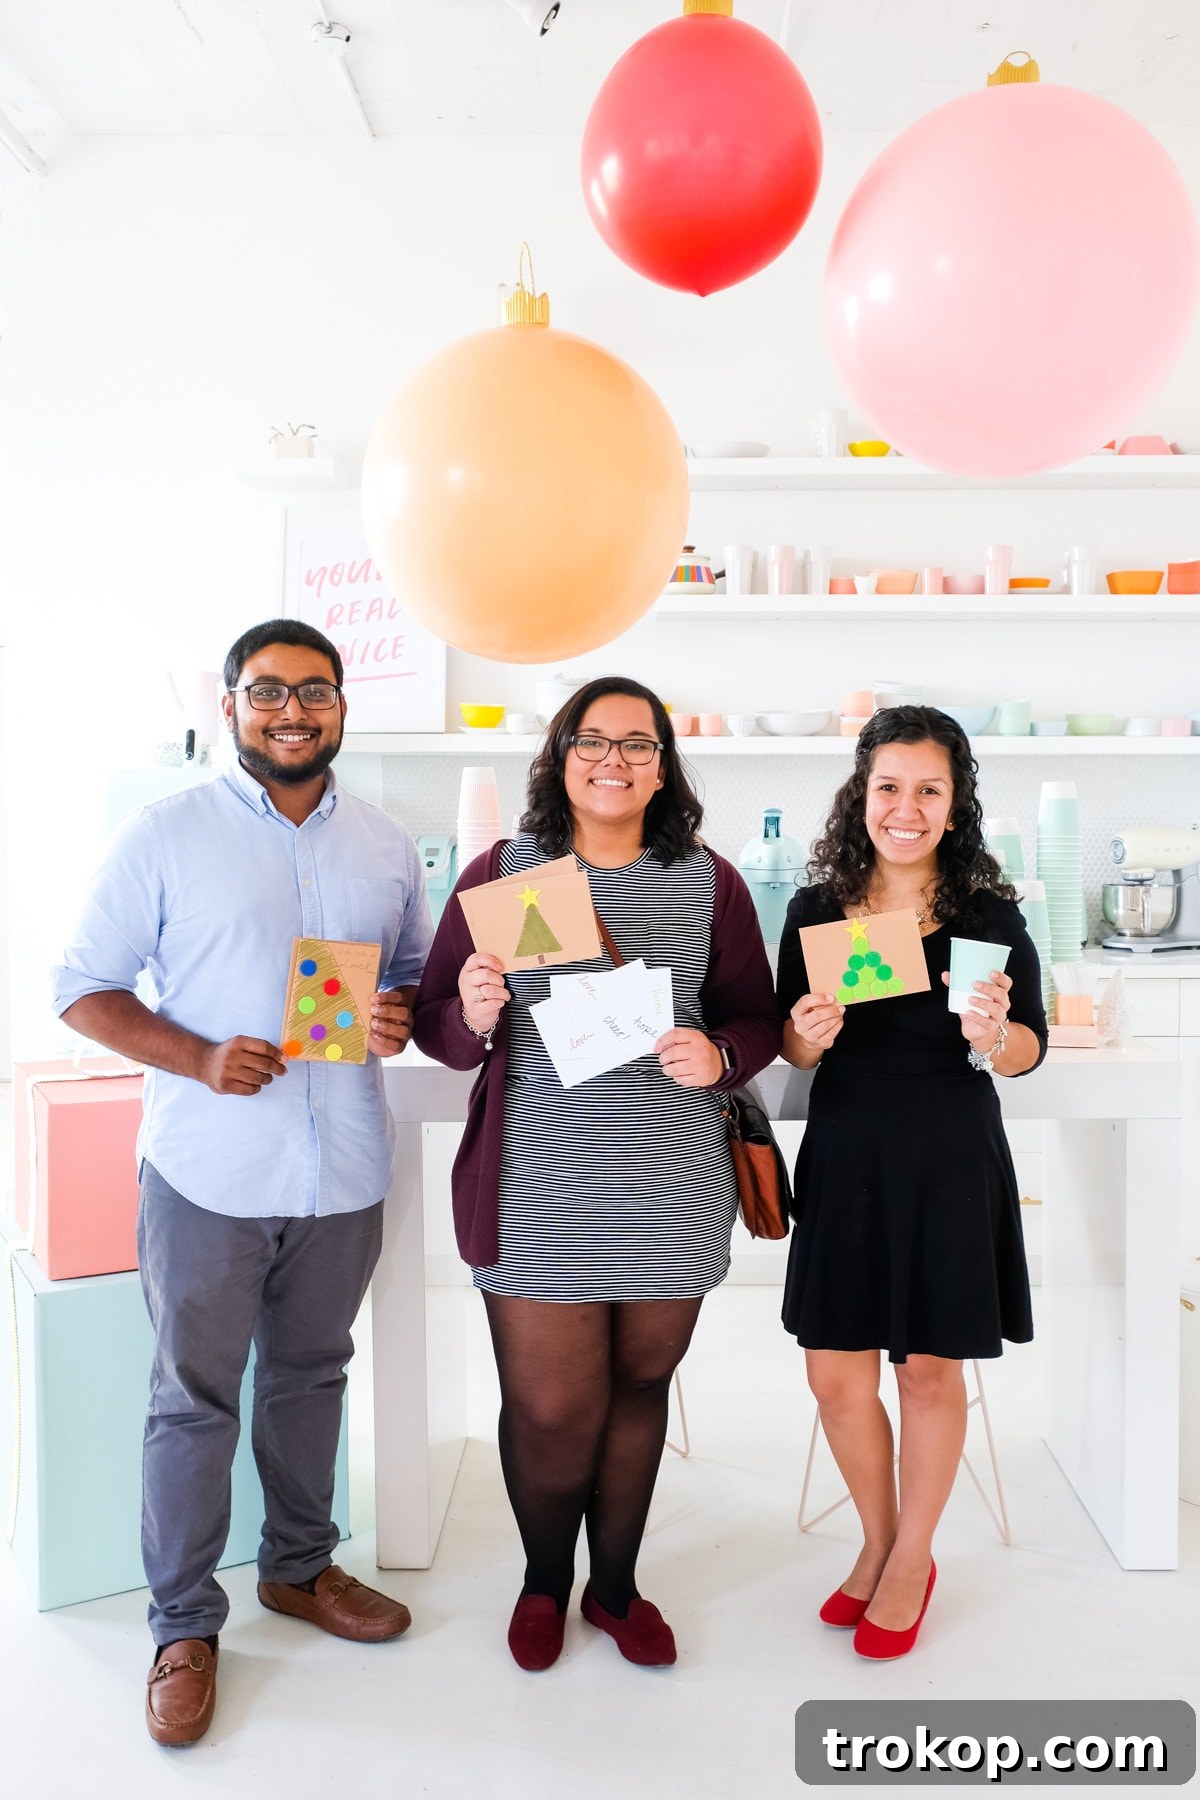
We extend our sincerest gratitude once more to everyone who came out to support our cause. Your presence and enthusiasm made our holiday event truly special, creating not only festive memories but also a tangible impact for The Holiday Project. We hope you all enjoyed a delightful Sunday afternoon filled with holiday cheer, good company, and, of course, delicious hot chocolate!
We are already looking forward to next year’s charity events and hope to see you there, continuing to spread kindness and holiday spirit!
The Ultimate DIY Hot Chocolate Bar
Print This Recipe
Nothing says winter, love, and good family fun quite like a colorful DIY Hot Chocolate Bar for your holiday gathering. This guide helps you craft a memorable and delicious experience for your guests.
Recipe Details
Total Time: 1 hour (preparation and customization)
Course: DIY | Category: Drink Bar
Equipment
- Plastic gloves
- Painter’s tape
- Clean workspace with good ventilation
Materials
- Plain coffee carafes
- Gold Rub n’ Buff
- Clear food-safe spray shellac to seal in the spray paint
- Spray paint for plastic and metallic surfaces in the colors of your choice
- Pink travel coffee cups with lids
- Mint green travel coffee cups with lids
- Various hot chocolate mixes (milk chocolate, dark chocolate, white chocolate, spiced)
- Milk or water for hot chocolate (and milk alternatives)
- Whipped cream, marshmallows (mini and jumbo), chocolate shavings, sprinkles, caramel sauce, chocolate syrup, peppermint sticks, cinnamon sticks, wafer cookies, Pirouettes, M&Ms, or other candies for toppings
Instructions
For the coffee carafes:
- Ensure Food Safety: Thoroughly tape and secure the dispenser nozzle of each carafe to prevent any paint from entering the internal mechanism. This step is crucial for maintaining the food-safeness of the carafe once it’s used for beverages.
- Prepare for Two-Tone Design: Using painter’s tape, carefully mask off the bottom plastic piece of the carafe. This will allow you to apply the Rub n’ Buff later, creating a distinct two-tone effect.
- Apply Base Color: In a well-ventilated area, spray two light, even coats of your chosen spray paint color over the entire untaped body of the carafe. Allow ample drying time between coats (refer to your spray paint’s instructions for specific times).
- Add Gold Detail: Once the spray paint is completely dry, remove the painter’s tape from the bottom section. Wear a plastic glove and apply a small amount of Gold Rub n’ Buff to the exposed bottom plastic piece, rubbing it gently to achieve a rich, metallic gold finish.
- Seal the Design: After the Rub n’ Buff has fully dried, apply a thin, even coat of clear food-safe spray shellac over all painted and buffed areas. This protective layer will seal the paint job, make it more durable, and help the carafes withstand frequent handling throughout your event.
For the carafe tags and coffee sleeves:
- Personalize Your Presentation (Optional): For an extra touch of charm, design custom carafe tags and coffee sleeves. These can feature names for different hot chocolate flavors, festive graphics, or a personalized message for your guests. Simply print and attach them for a cohesive and professional look.
Notes & Pro Tips
- The overall cost for your DIY Hot Chocolate Bar will vary based on the number of guests you’re expecting and the variety of hot chocolate drinks and toppings you offer. Our estimated cost accounted for customizing 3 carafes and serving approximately 90 guests.
- To keep your serving area clean and tidy, we highly recommend placing small, decorative bowls or saucers directly under each carafe’s dispenser. This ingenious trick will effectively catch any excess spillage, preventing sticky messes and ensuring a pristine presentation throughout your event.
- Elevate your hot chocolate bar with an irresistible array of toppings! Consider classic additions like mini marshmallows, whipped cream, and chocolate shavings. For extra flair, offer colorful sprinkles, crushed candy canes, gourmet caramels, and a selection of flavored syrups (vanilla, hazelnut). Don’t forget stirring options like cinnamon sticks or festive stirrers!
- Offer a variety of hot chocolate bases: classic milk chocolate, rich dark chocolate, creamy white chocolate, or even a spicy Mexican hot chocolate with a hint of chili. For adult guests, consider providing optional liqueurs like peppermint schnapps, Irish cream, or coffee liqueur to create boozy hot chocolate cocktails.
- Enhance the visual appeal of your bar with festive decorations. Think fairy lights, evergreen garlands, rustic wooden signs, or personalized chalkboards listing your offerings. Small tiered stands can elevate toppings, creating an abundant and inviting display.
Estimated Cost: $200 (for materials and basic ingredients for a medium-sized event)
Keywords: drink bar, holiday, holiday party, hot chocolate, DIY, festive drinks, winter activities, charity event, community giving, personalized decor

This post has been generously sponsored by State Farm – Here to help life go right.® State Farm encourages everyone to turn caring into doing and find inspiring volunteer opportunities in your own neighborhood by visiting NeighborhoodofGood.com®. At Sugar & Cloth, we are committed to making a difference, which is why we proudly donate 5% of all proceeds from our sponsored campaigns to charity. You can read more about our giving back initiative right here.